Pinch Pot Diy: Easy Tutorial with 9 Creative Ideas
Making pottery at home is easier than ever with the classic pinch pot technique. If you’re looking for a creative activity that combines art, craftsmanship, and relaxation, this simple method is a great place to begin.
Pinch pots are ideal for beginners because they require very few tools while teaching essential clay-working skills. This hand-building technique has been used for thousands of years by cultures around the world to create both practical and decorative pottery.
As you shape the clay with your fingers, you’ll gain a better understanding of how the material responds to pressure, moisture, and movement.
By the end of this tutorial, you’ll know how to create a unique handmade vessel and build a strong foundation for future pottery projects.
What You Need to Know About Clay Before Starting
Before shaping your first pinch pot, it’s helpful to understand how clay behaves. Clay becomes soft and workable when it contains the right amount of moisture, allowing it to be shaped without cracking or collapsing.
If the clay is too dry, it can break apart and develop cracks while you work. If it’s too wet, it may become sticky and struggle to hold its form. Finding the right balance is one of the most important parts of successful pottery.
For best results, start with properly wedged clay. Wedging removes trapped air pockets and creates an even consistency throughout the clay body. This simple preparation step improves workability and reduces the risk of cracks or weak spots as the piece dries.
Different clay types behave differently, but beginner-friendly earthenware and stoneware are often the easiest choices for learning pinch pot techniques.
How to Make Beautiful Pinch Pots: Step-by-Step Guide
Learn the ancient art of pinch pot making with this simple, hands-on tutorial that changes a ball of clay into functional pottery using only your fingers.
Tools and Materials Needed:
| Item | Purpose | Alternative |
|---|---|---|
| 1 pound of clay | Main material | Earthenware or stoneware clay |
| Water bowl | Keep hands slightly moist | Small dish |
| Sponge | Smooth surfaces | Damp cloth |
| Needle tool | Trim and refine rim | Craft knife |
| Plastic bag | Store clay and projects | Damp towel |
| Work surface | Support while shaping | Table or board |
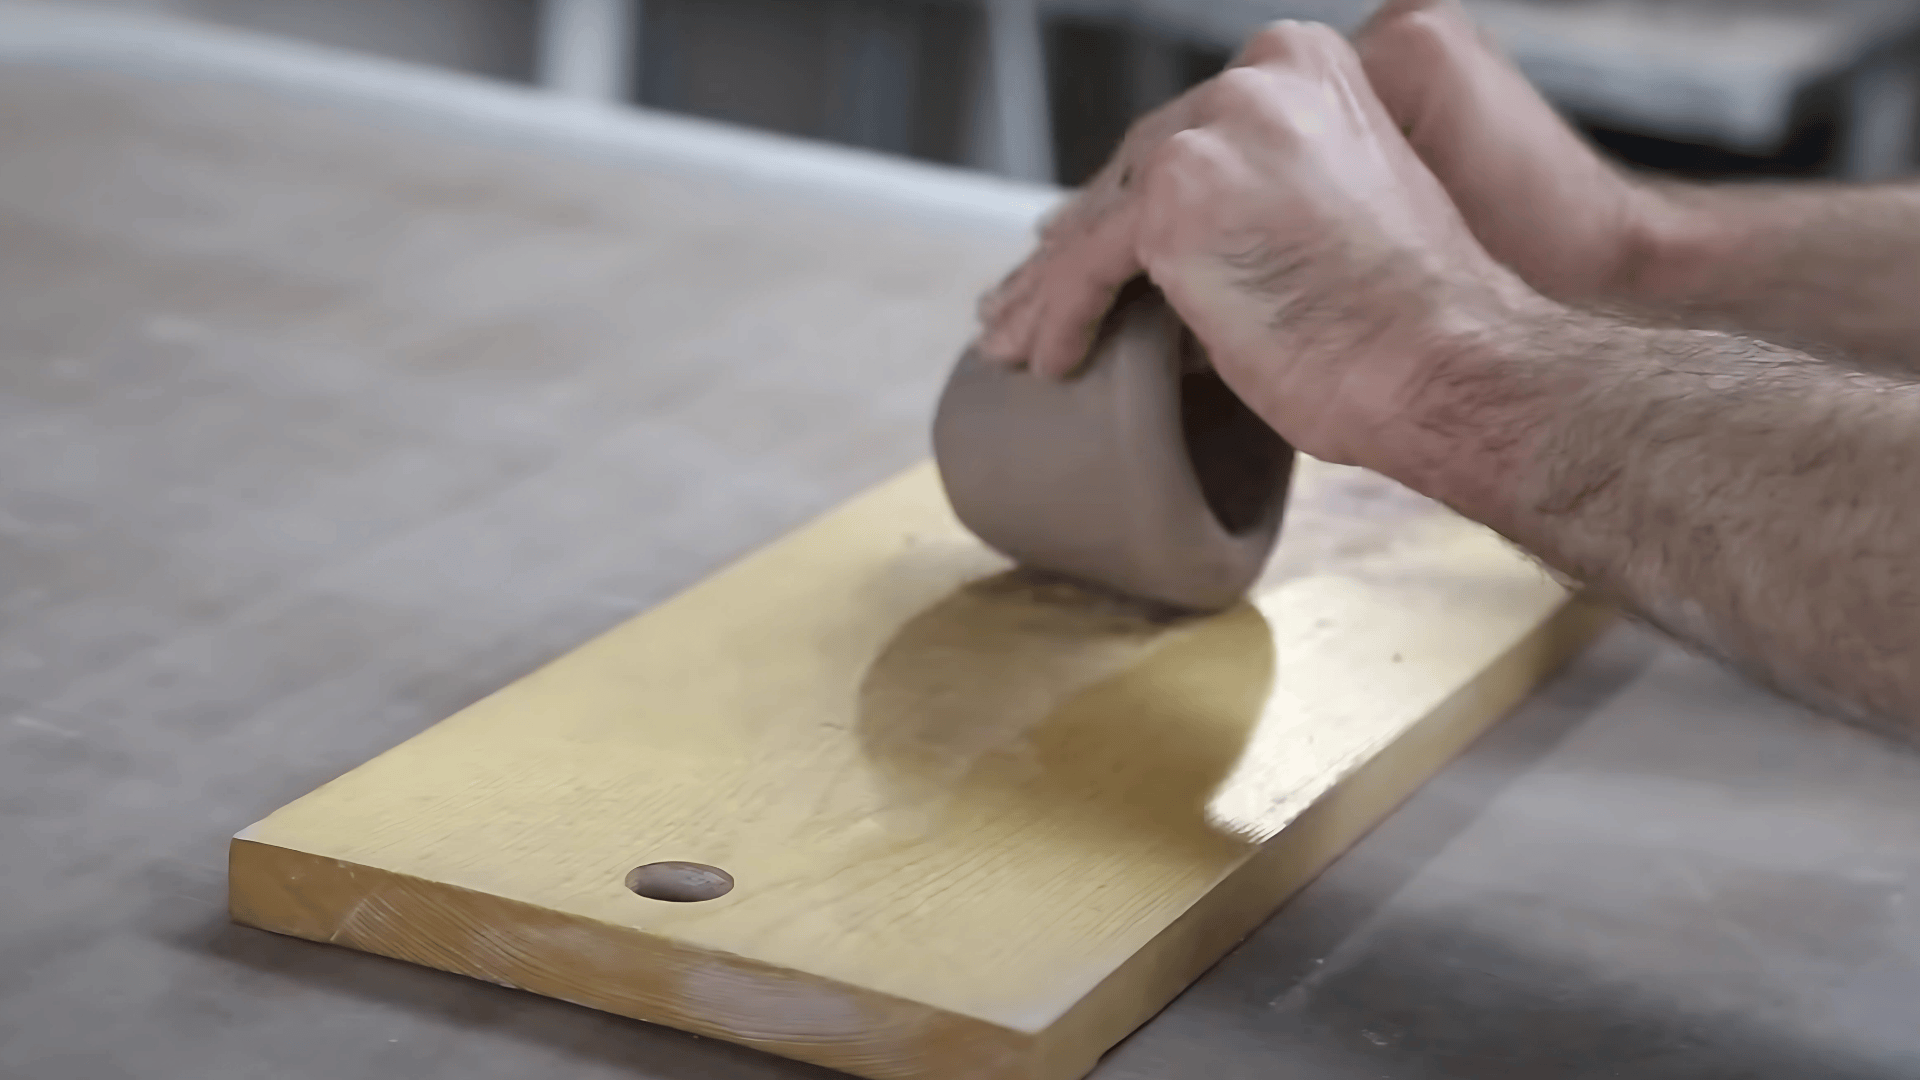
Step 1: Prepare Your Clay Ball
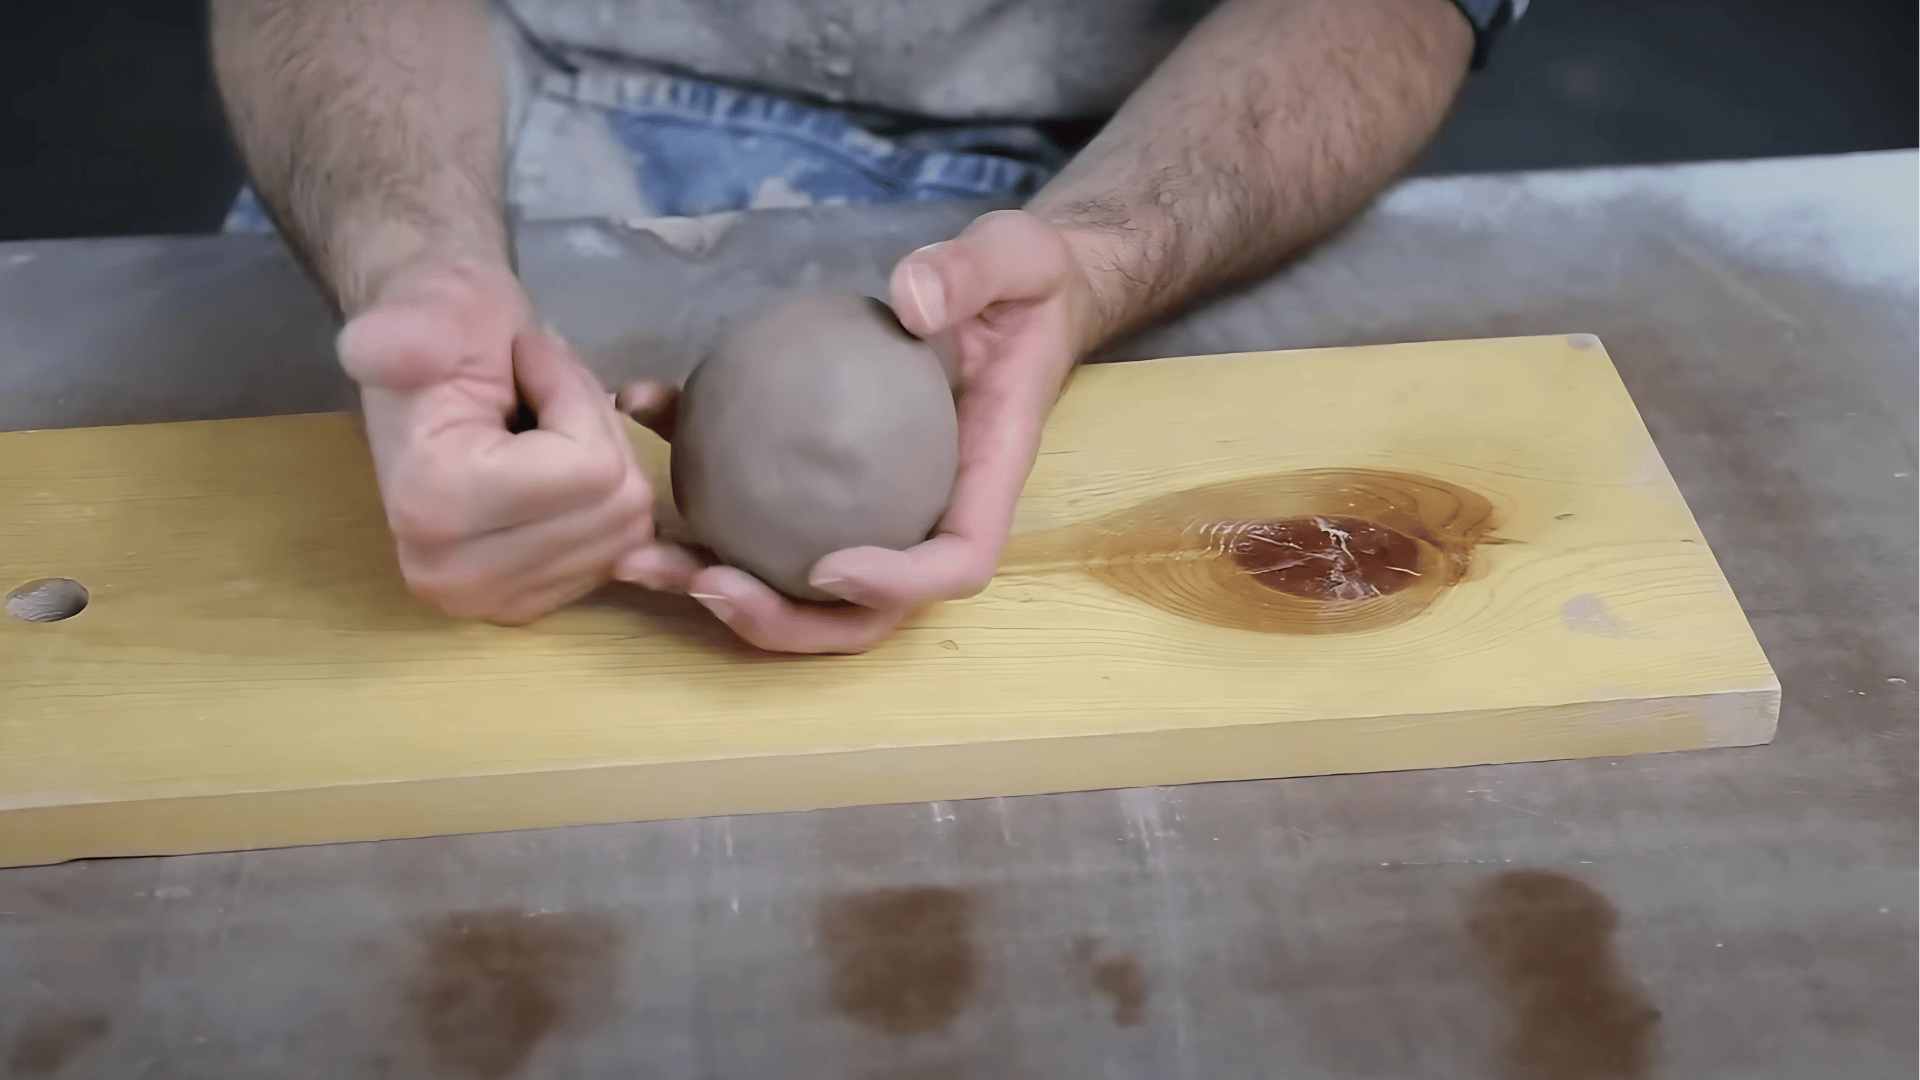
Begin with a one-pound piece of properly wedged clay and shape it into a smooth, round ball. Rolling the clay between your palms helps remove irregularities and creates an even starting form.
Place the ball on your work surface and gently press your thumb into the center. Leave about 1/4 inch of clay at the bottom to form a strong base. Avoid pushing all the way through, as the bottom supports the structure of the pot.
Materials required for this step: Wedged clay, clean work surface
Instructions:
- Roll clay into a smooth ball
- Press your thumb into the center
- Leave approximately 1/4 inch of clay at the base
- Keep the opening centered
Step 2: Begin the Pinching Process
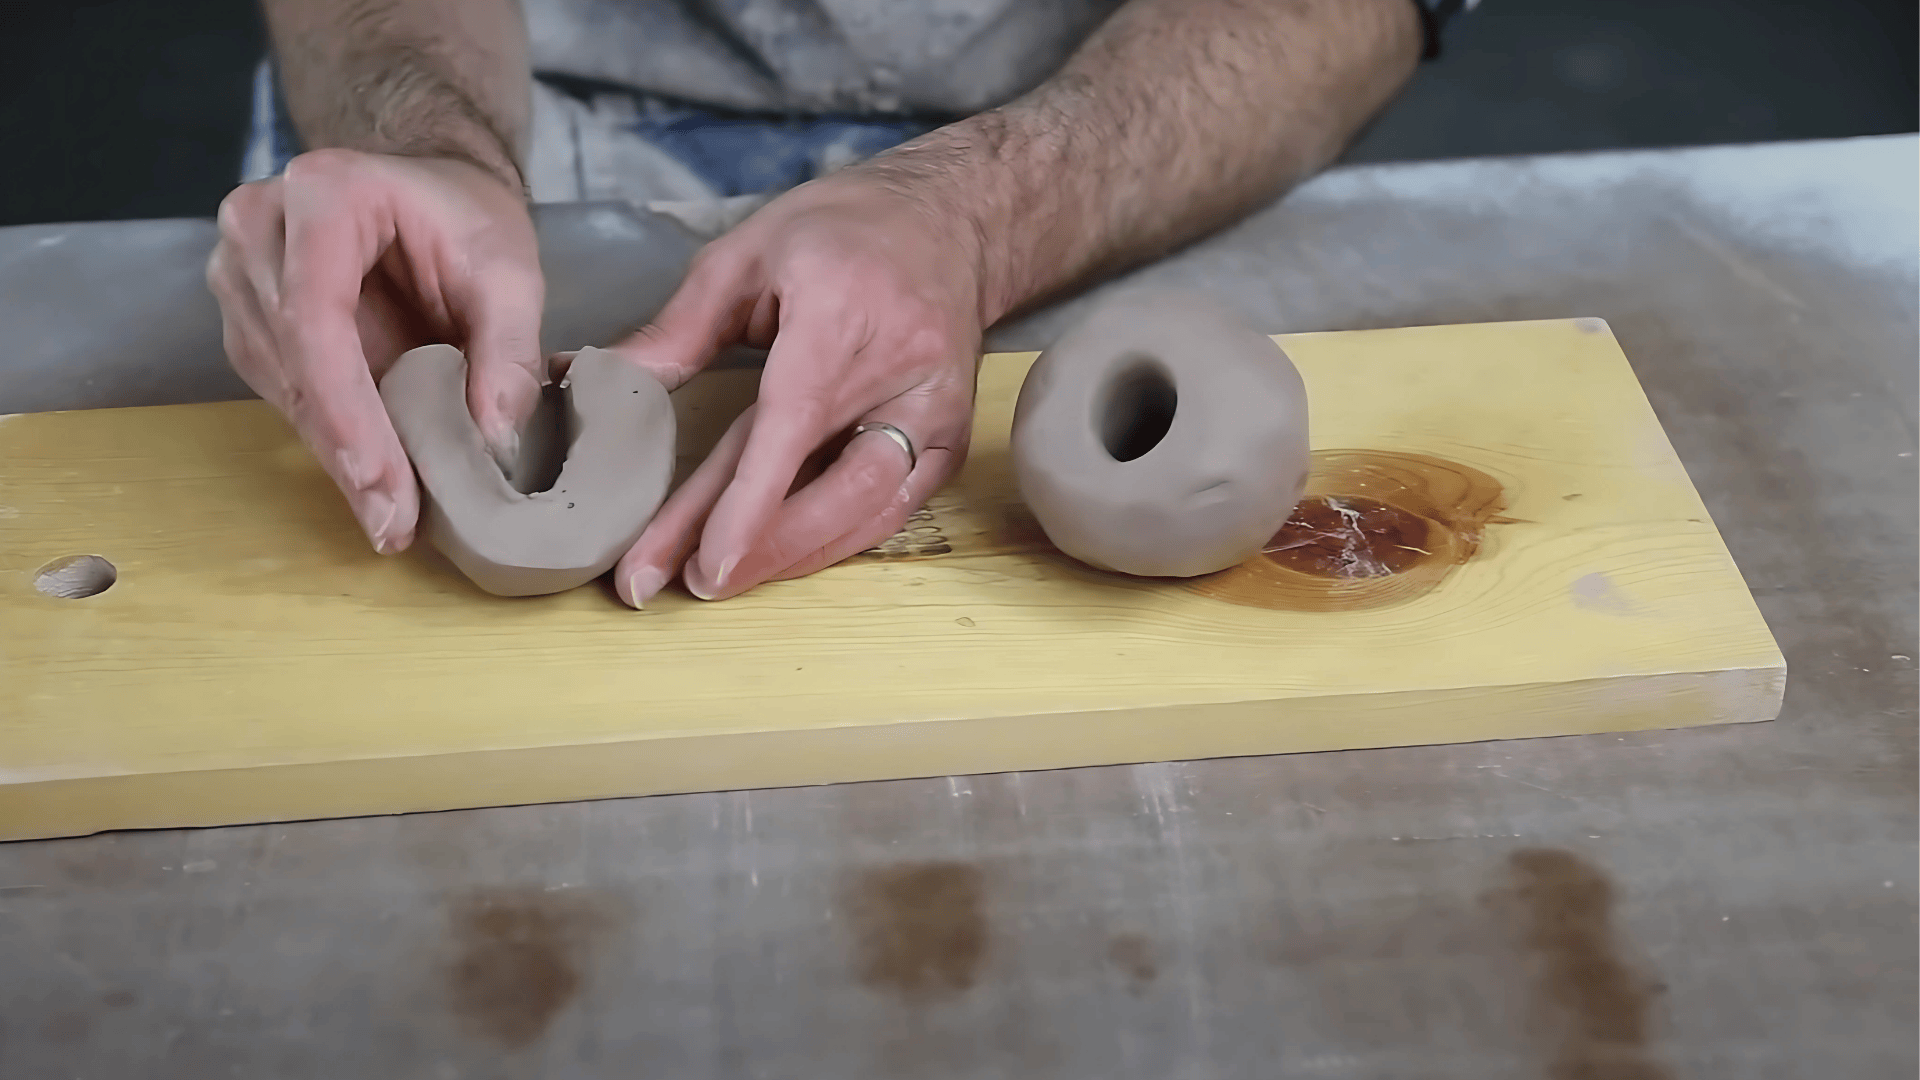
Place your thumb inside the opening and use your fingers on the outside to gently pinch the clay wall between them. Rotate the clay slightly after each pinch, working your way around the pot.
Start near the base and gradually work upward toward the rim. As you continue, the opening will widen and the walls will become thinner. Use steady, even pressure to avoid creating weak spots or uneven thickness.
Materials needed in this step: A small amount of water for fingertips
Instructions:
- Pinch clay gently between thumb and fingers
- Rotate the pot as you work
- Thin the walls gradually
- Maintain an even thickness throughout
Step 3: Shape and Refine Your Pot
Continue pinching while supporting the outside of the pot with your free hand. This support helps prevent distortion and keeps the form balanced.
As the opening becomes larger, you may find it easier to use both thumbs inside the vessel for greater control. Work slowly, checking the wall thickness often. If the clay begins to dry, lightly moisten your fingertips rather than adding water directly to the pot.
Use your work surface for additional support whenever needed to help maintain the desired shape.
Materials needed in this step: Damp sponge, water
Instructions:
- Support the outside while shaping
- Rotate frequently for an even form
- Check wall thickness regularly
- Smooth rough areas as needed
Step 4: Finish and Trim Your Pot
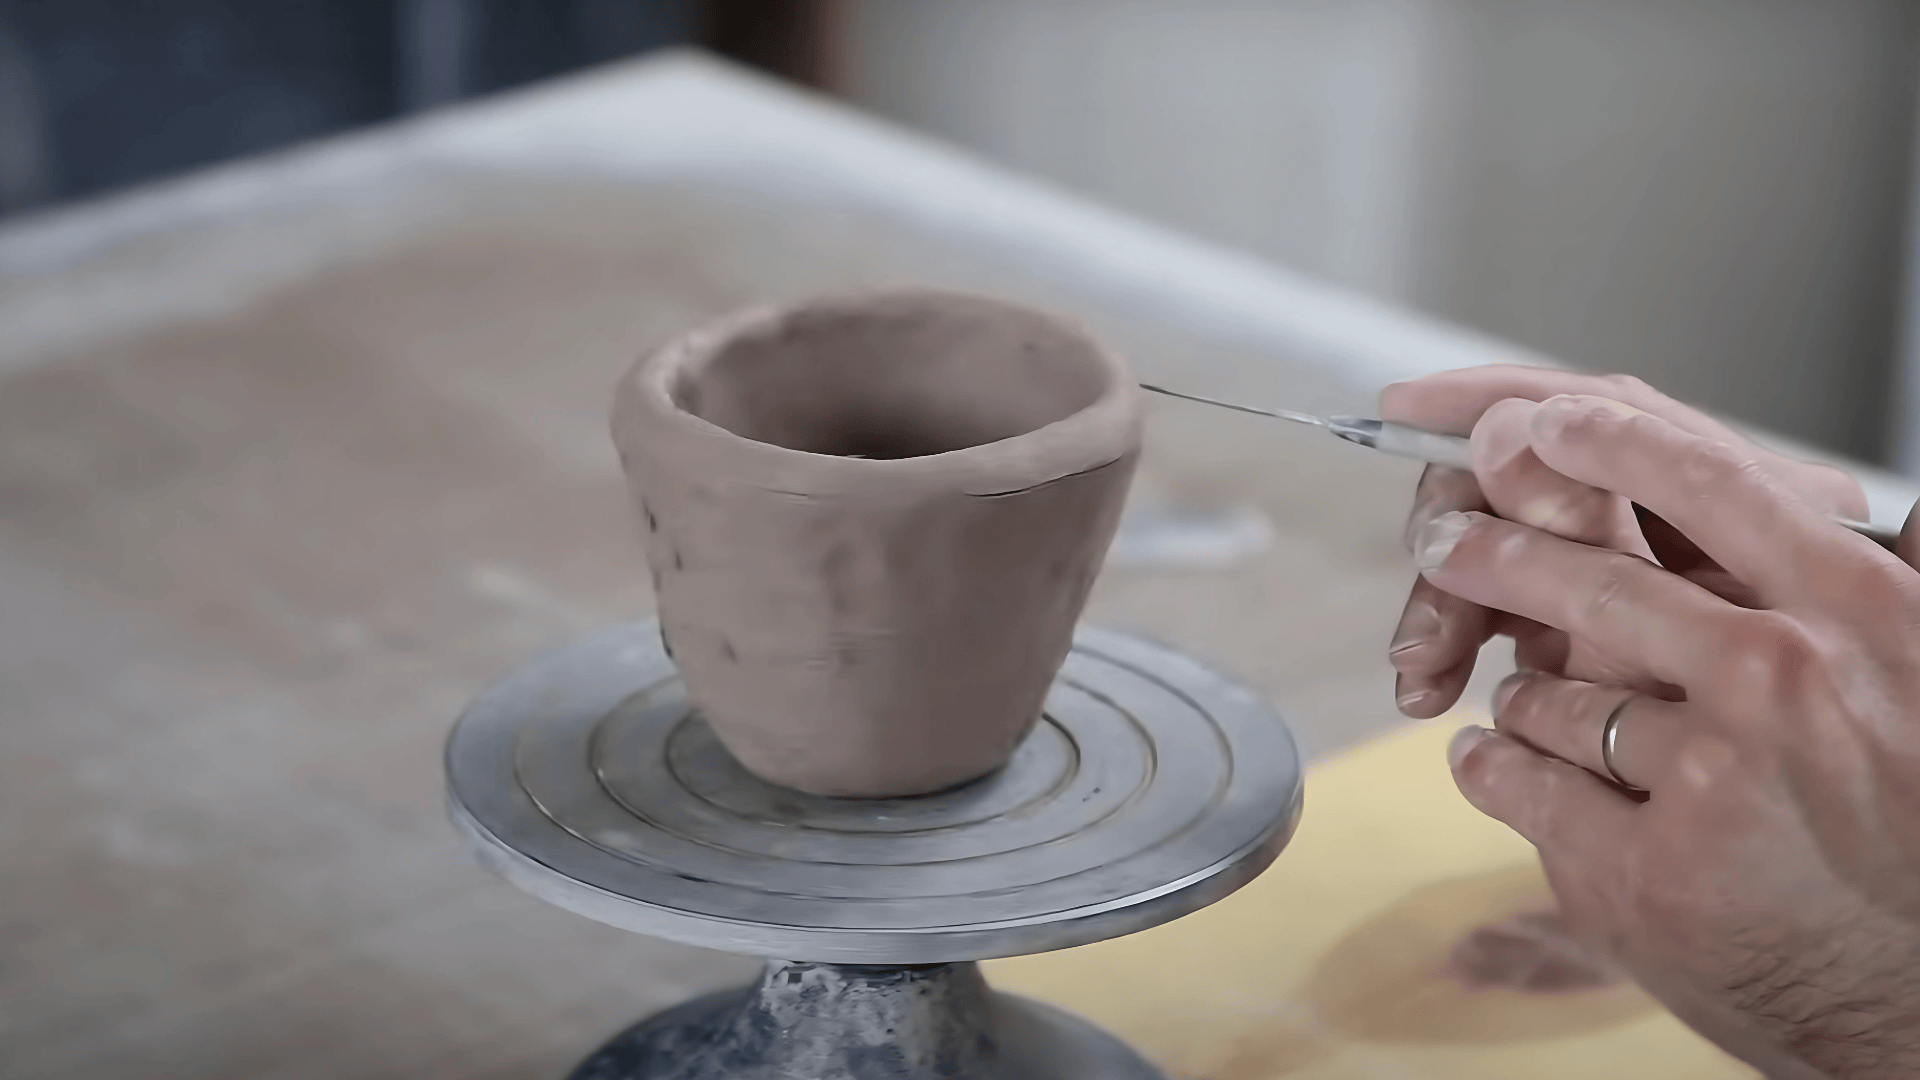
Once the pot reaches your desired size and shape, inspect it for uneven areas or small cracks. Lightly smooth the surface with a damp sponge and gently compress the rim to strengthen it.
If the rim appears uneven, carefully trim it with a needle tool while slowly rotating the pot by hand. Smooth the freshly trimmed edge with a damp sponge to create a clean finish.
Your pinch pot is now ready to dry slowly. Cover it loosely with plastic if needed to control the drying process and reduce the risk of cracking.
Materials needed in this step: Needle tool, sponge, water
Instructions:
- Smooth cracks and rough areas
- Compress the rim gently
- Trim uneven sections if necessary
- Allow the pot to dry slowly
Video Tutorial
Special thanks to Danny Bealer for providing valuable insights in their video, which I referenced while creating this guide.
Essential Tips for Clay Care and Maintenance
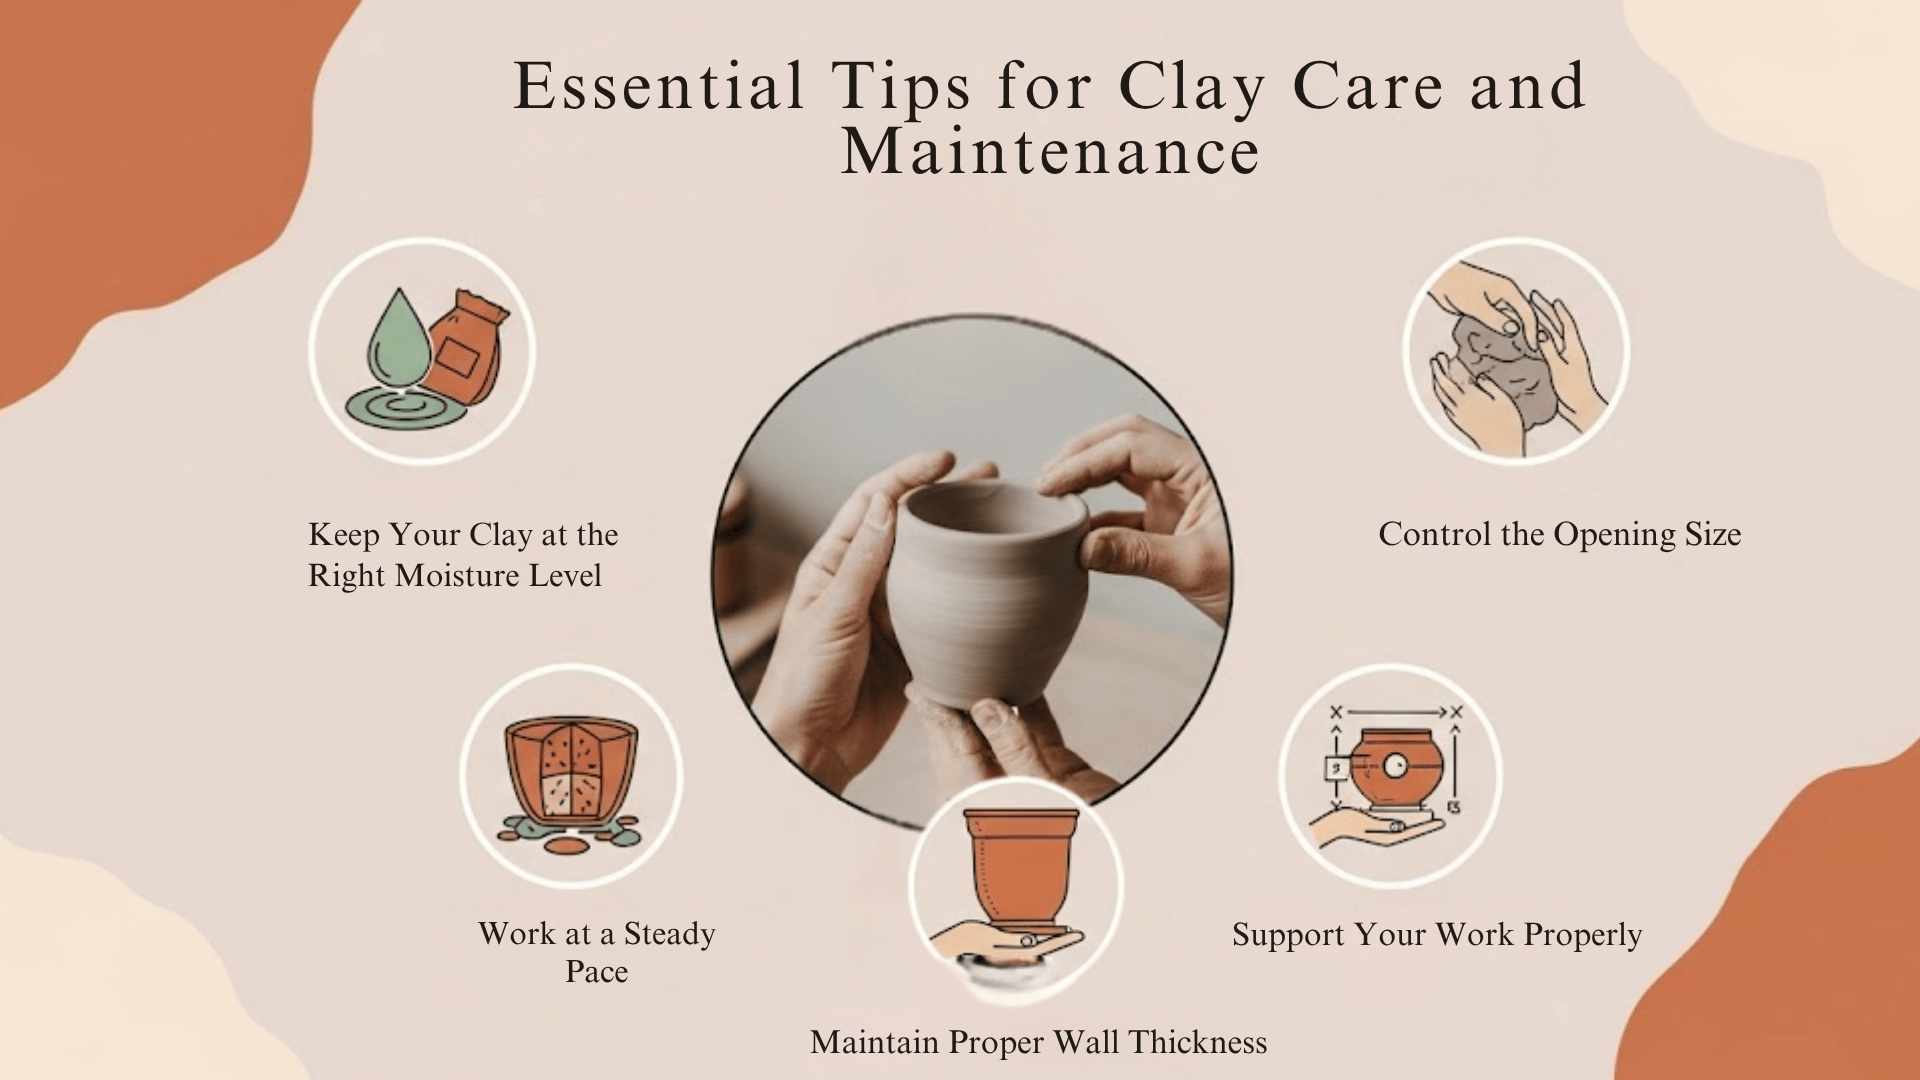
Master these basic clay-handling practices to improve your pinch pot results and reduce the chances of cracks, warping, or uneven drying.
1. Keep Your Clay at the Right Moisture Level
Proper moisture control is essential when working with clay. It should feel soft and workable without becoming sticky. If the clay begins to dry out, lightly dampen your hands rather than adding excess water directly to the surface.
Store unused clay in a sealed plastic bag to help maintain consistent moisture. If you pause during a project, loosely cover your work to prevent the exposed clay from drying too quickly.
2. Work at a Steady Pace
Taking your time produces better results than rushing through the process. Slow, controlled movements help create smoother walls and a more balanced shape.
Clay can retain stress from rough handling, which may contribute to cracking or warping as it dries. Consistent pressure and careful shaping help create a stronger finished piece.
3. Maintain Proper Wall Thickness
Aim for walls that are approximately 1/4 inch thick throughout the pot. Consistent thickness promotes even drying and reduces the risk of weak spots.
Walls that are too thick may dry unevenly, while walls that are too thin can become fragile. Check the thickness regularly as you shape the pot.
4. Support Your Work Properly
Always support the outside of the pot while shaping the inside. This prevents distortion and helps maintain the form you want.
Use your work surface for extra support when necessary, and avoid squeezing the pot too firmly. Gentle handling helps preserve both shape and structure.
5. Control the Opening Size
Expand the opening gradually as you work. Widening it too quickly can weaken the walls and make the pot difficult to control.
Pause occasionally to evaluate the shape. If the opening becomes too wide, gently guide the walls back into position while the clay is still soft and workable.
Beyond Basic Bowls: 9 Cool Pinch Pot Ideas to Try
Ready to take your pinch pot skills to the next level? These 9 ideas will help you make valuable items for your home, garden, and daily life.
1. Mini Succulent Planters
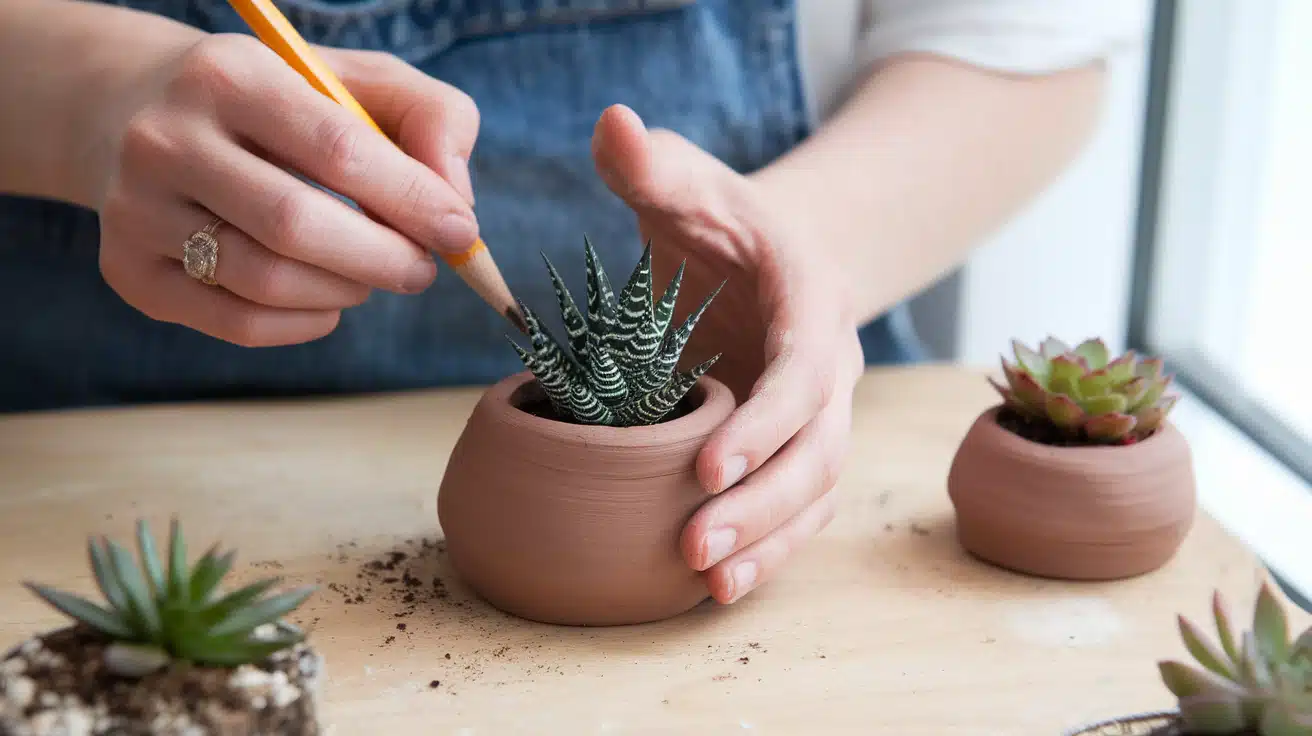
Create tiny homes for your favorite small plants with these charming planters. Shape your pinch pot with a wide opening and thick walls to support soil and roots.
Add drainage holes to the bottom using a pencil before the clay dries. These small vessels work perfectly for air plants, baby cacti, or herbs on your windowsill.
2. Tea Light Candle Holders
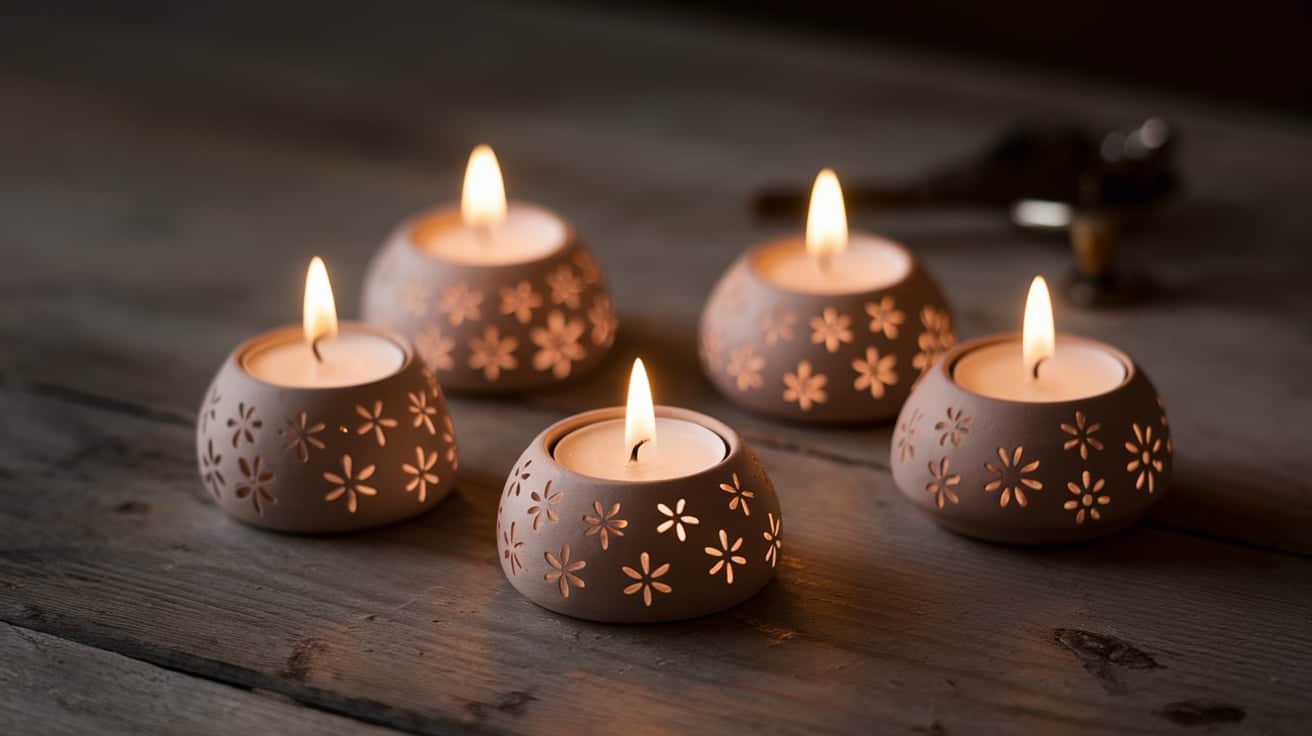
Form shallow, wide pinch pots that cradle tea light candles safely. Keep the walls low and create a stable base to prevent tipping.
You can pierce decorative patterns around the sides to let candlelight create beautiful shadows on your walls. These make wonderful gifts and add warm ambiance to any room.
3. Ring and Jewelry Dishes
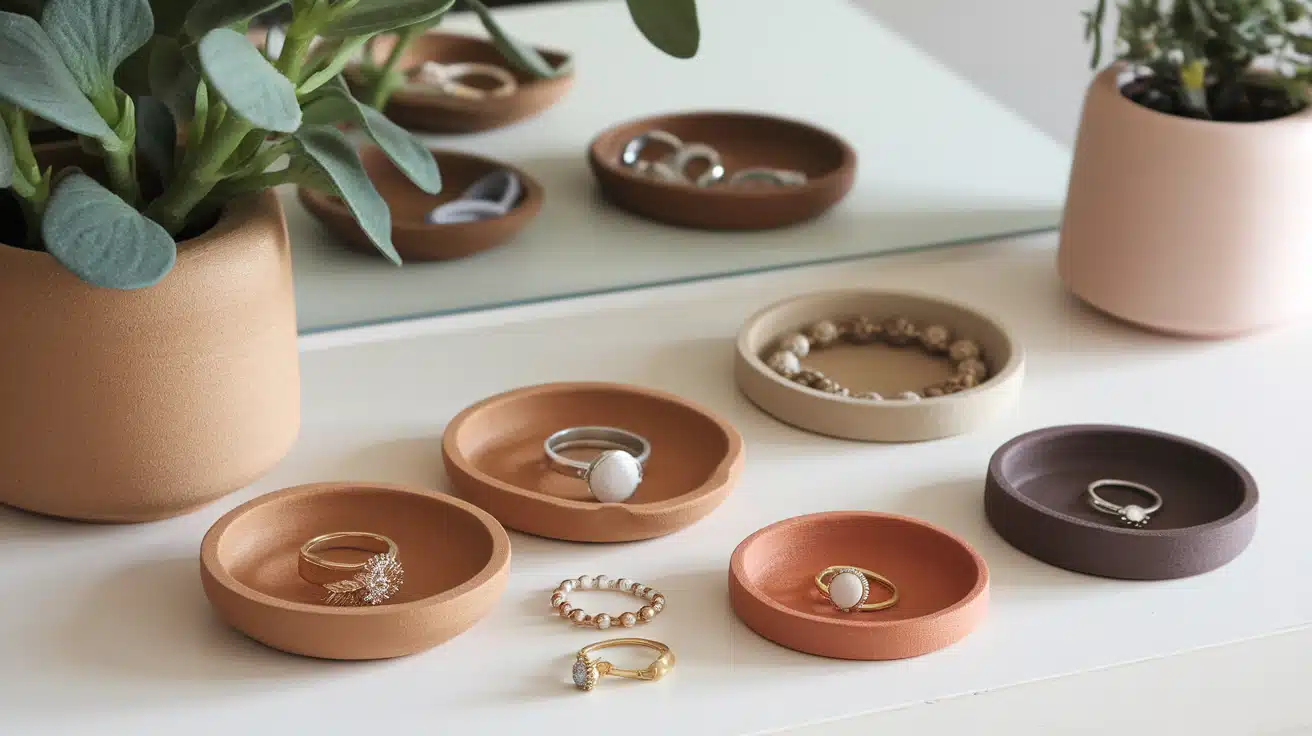
Shape small, flat-bottomed bowls perfect for holding rings, earrings, and other small treasures. Make the rim slightly curved inward to prevent items from rolling out.
Create different sizes for various jewelry pieces, or add small dividers inside for organization. Place them on your dresser or bathroom counter for convenient storage.
4. Kitchen Spice Bowls
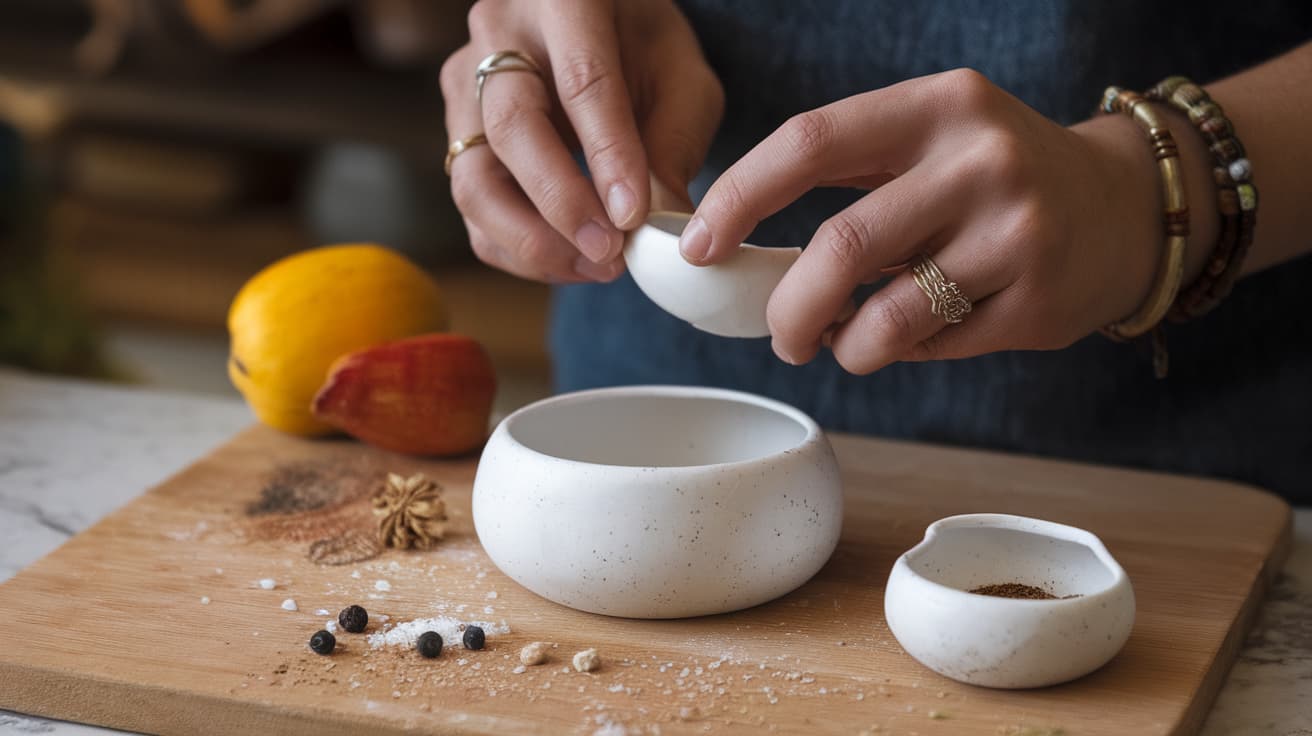
Craft small, deep bowls ideal for holding salt, pepper, or cooking spices while you prepare meals.
Make the opening wide enough for easy pinching of seasonings but small enough to keep contents fresh. Create a set of different sizes for various spices, and consider adding small spouts for easy pouring.
5. Decorative Bird Feeders
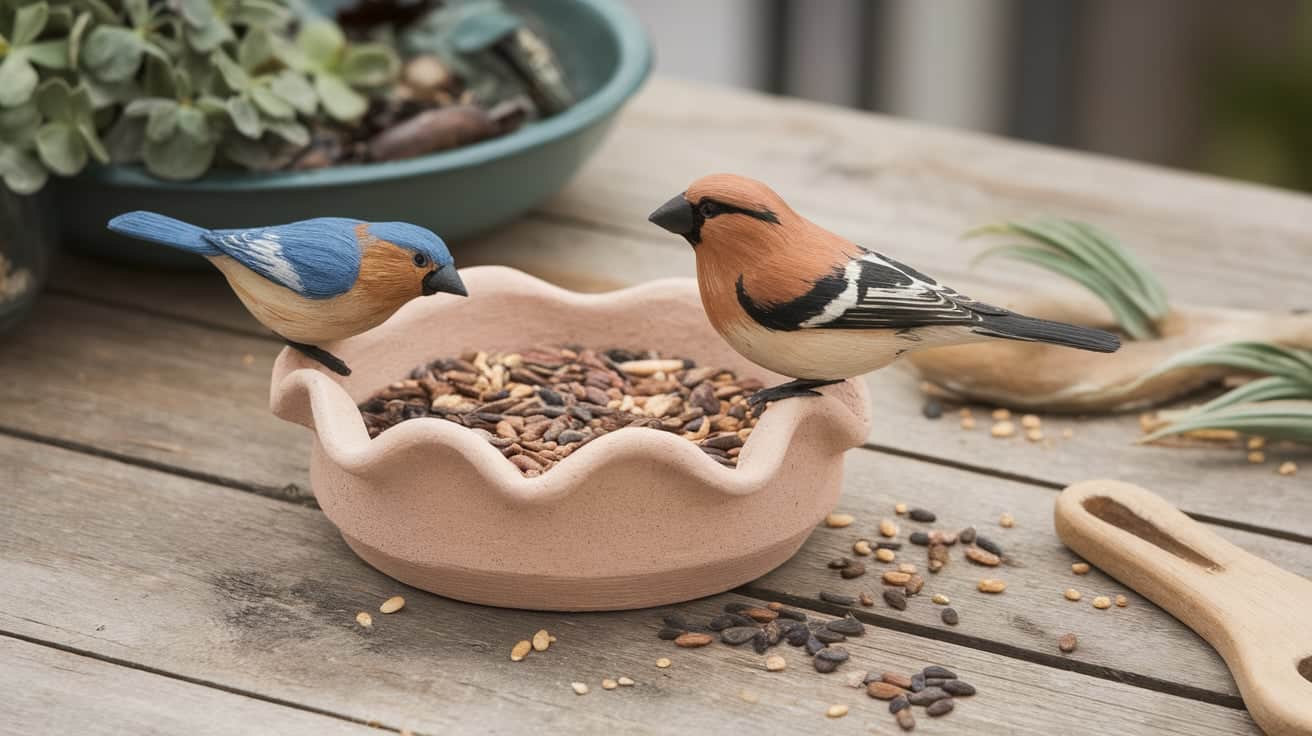
Form cup-shaped pots with slightly curved rims that birds can perch on while eating. Create a sturdy base and consider adding texture to the outside for a better grip.
Make drainage holes to prevent water from collecting, and size the openings appropriately for the seeds you plan to offer local wildlife.
6. Soap Dispensers
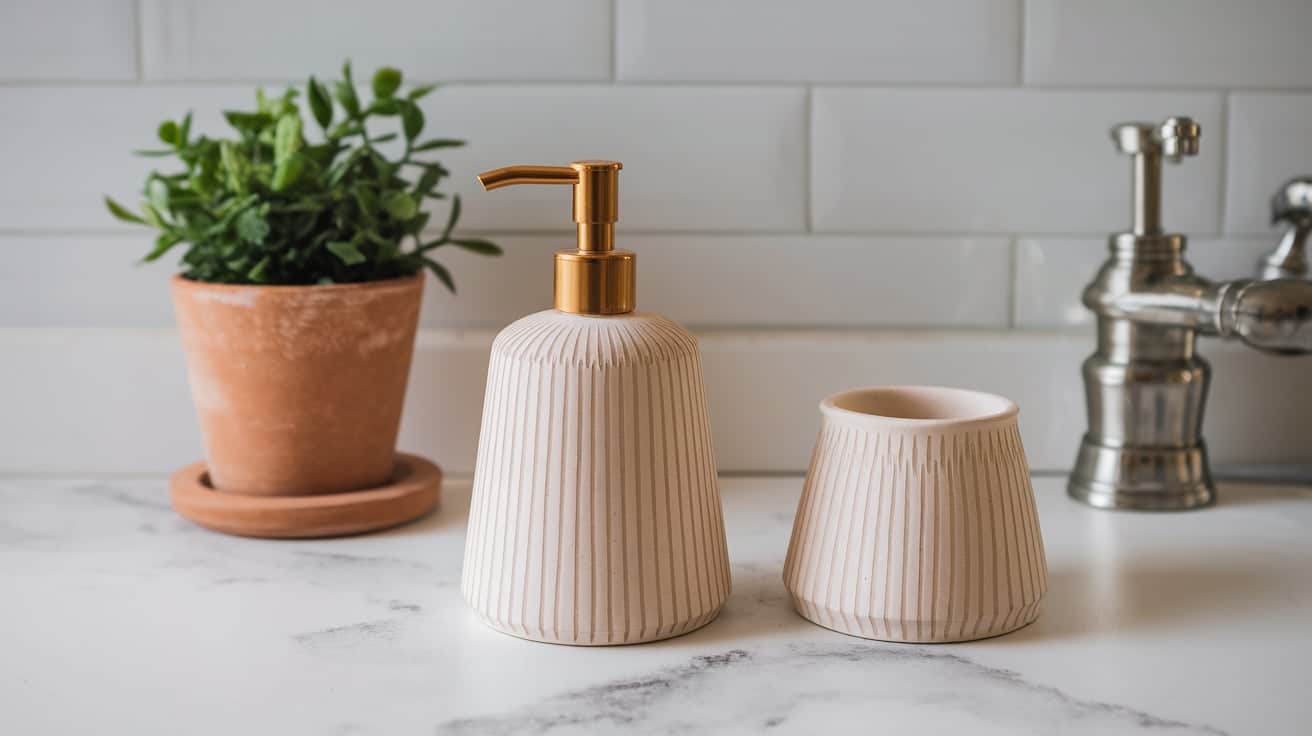
Create tall, narrow pots designed to hold liquid soap with a pump mechanism. Create a wide, stable base and smooth interior walls for easy cleaning.
Leave the top opening sized to fit standard pump tops, and make sure the walls are thick enough to support the weight when full.
7. Desktop Pen Holders
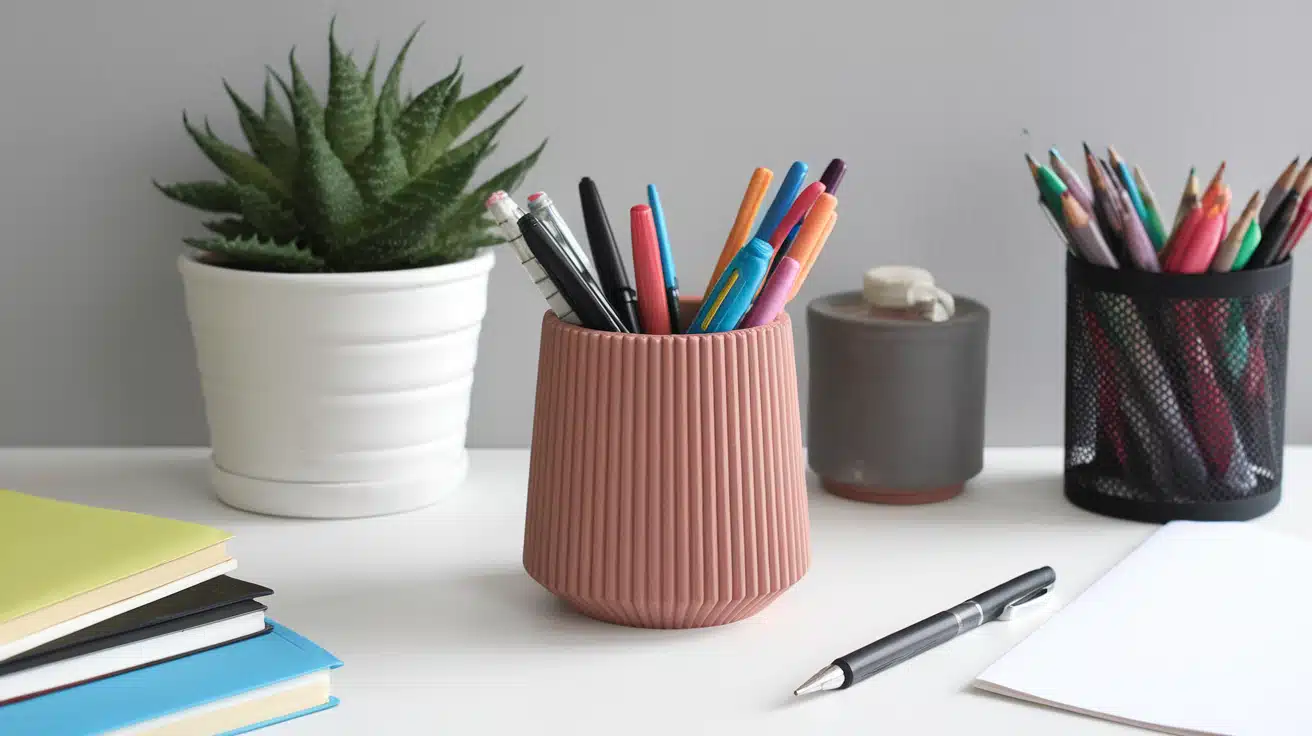
Create cylindrical or slightly tapered vessels perfect for organizing pens, pencils, and art supplies. Make the opening wide enough for easy access, but not so wide that items fall over inside.
Add weight to the base by making it thicker, ensuring your holder won’t tip over when you grab supplies quickly.
8. Incense Burners
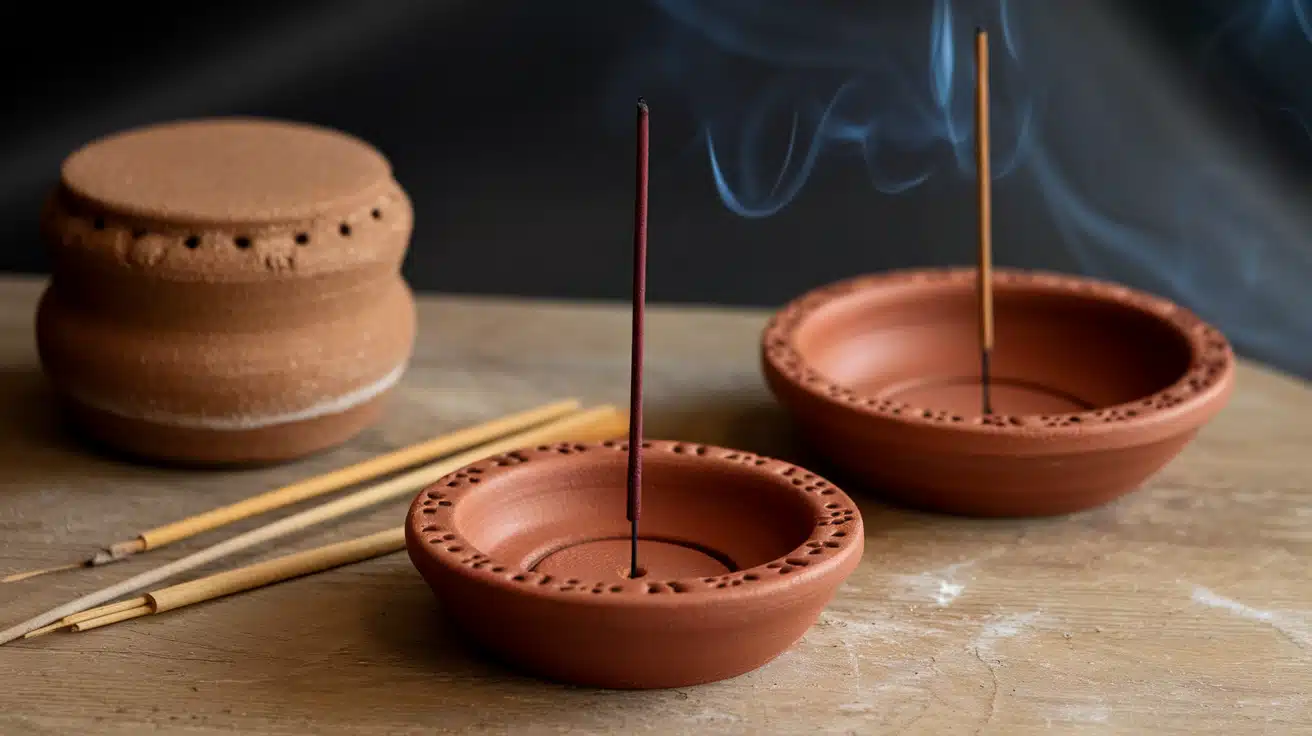
Form shallow bowls with small holes or channels for holding incense sticks safely. Create a catch area for ash and make sure all edges are smooth to prevent accidents.
Consider adding decorative elements around the rim, but keep the functional areas simple and easy to clean after use.
9. Mini Food Serving Bowls
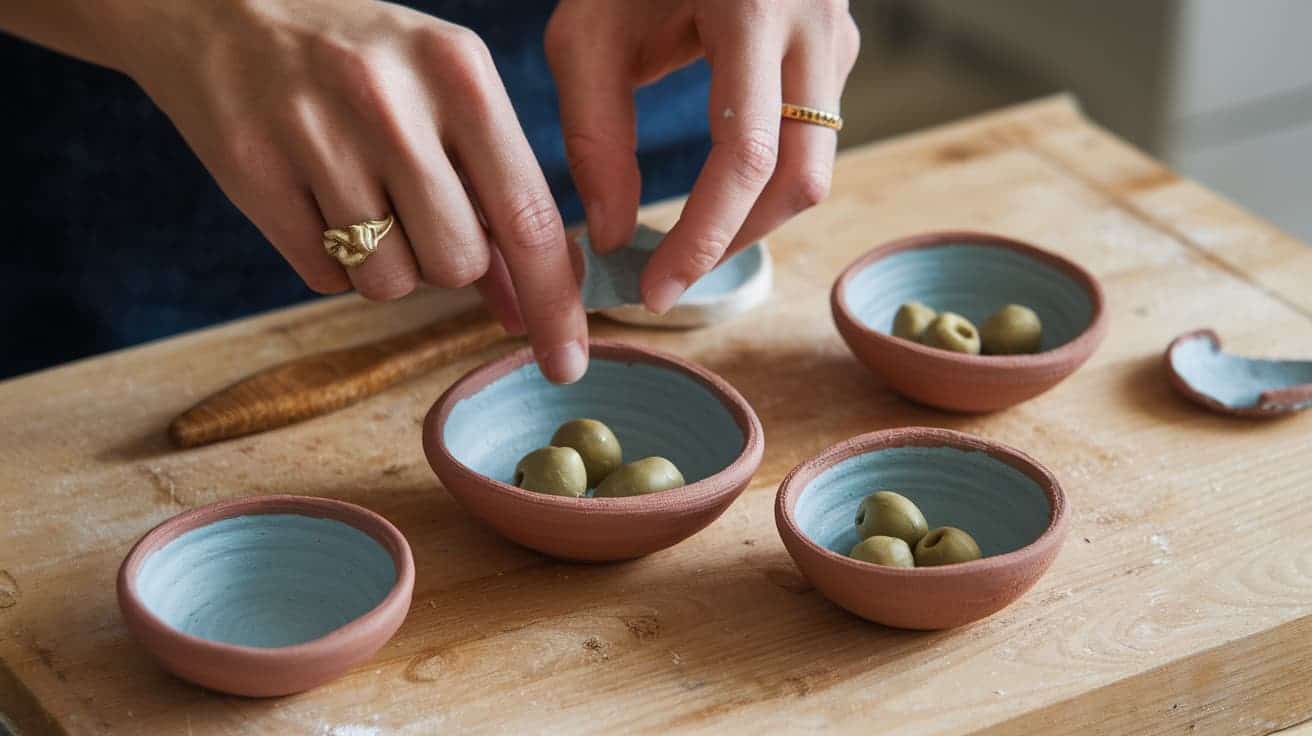
Shape small, food-safe bowls perfect for serving nuts, olives, or dips at parties. Keep the proportions balanced, with walls neither too thick nor too thin for comfortable handling.
Create smooth, rounded interiors that are easy to clean, and consider making sets of matching bowls in different sizes for variety.
Don’t Make These Pinch Pot Mistakes
| Mistake | Why It Happens | How to Prevent |
|---|---|---|
| Punching through the base | Too much pressure | Leave 1/4 inch minimum |
| Uneven walls | Inconsistent pinching | Check thickness regularly |
| Cracked rim | Clay too dry | Keep hands slightly damp |
| Collapsed walls | Too much water | Control moisture carefully |
| Lopsided shape | Poor support | Use a table for stability |
| Rough surface | Rushed finishing | Take time to smooth |
Advanced Pinch Pot Techniques
- Making Lidded Pinch Pots – Create fitted lids by widening the rim of the main pot and adding an interior flange to the lid for a snug fit.
- Joining Multiple Pinch Pots – Combine two pinch pots at the leather-hard stage using the slip-and-score technique to create larger, more complex vessels.
- Adding Spouts and Handles – Change basic pots by pinching the rim outward to form spouts and attaching clay coil handles using proper joining methods.
- Creating Textured Surfaces – Add visual interest during the leather-hard stage using stamps, rollers, or carved tools to achieve consistent decorative patterns.
- Building Sculptural Forms – Push beyond functional pottery by combining multiple forms and abstract shapes for artistic, non-functional pieces.
Final Call
Creating a pinch pot connects you to one of humanity’s oldest crafts while developing valuable hand skills and artistic expression.
You’ve learned the fundamental techniques that form the foundation of all pottery work. This simple method requires patience and practice, but the results are deeply satisfying.
Your finished pot will be unique, shaped by your own hands and reflecting your personal touch. Remember to work slowly, keep your clay at the correct moisture level, and support your work properly throughout the process.
With these skills mastered, you’re ready to explore more complex pottery techniques and create increasingly refined pieces for both function and beauty.
Feeling crafty? Check out more DIY projects to spark your creativity.