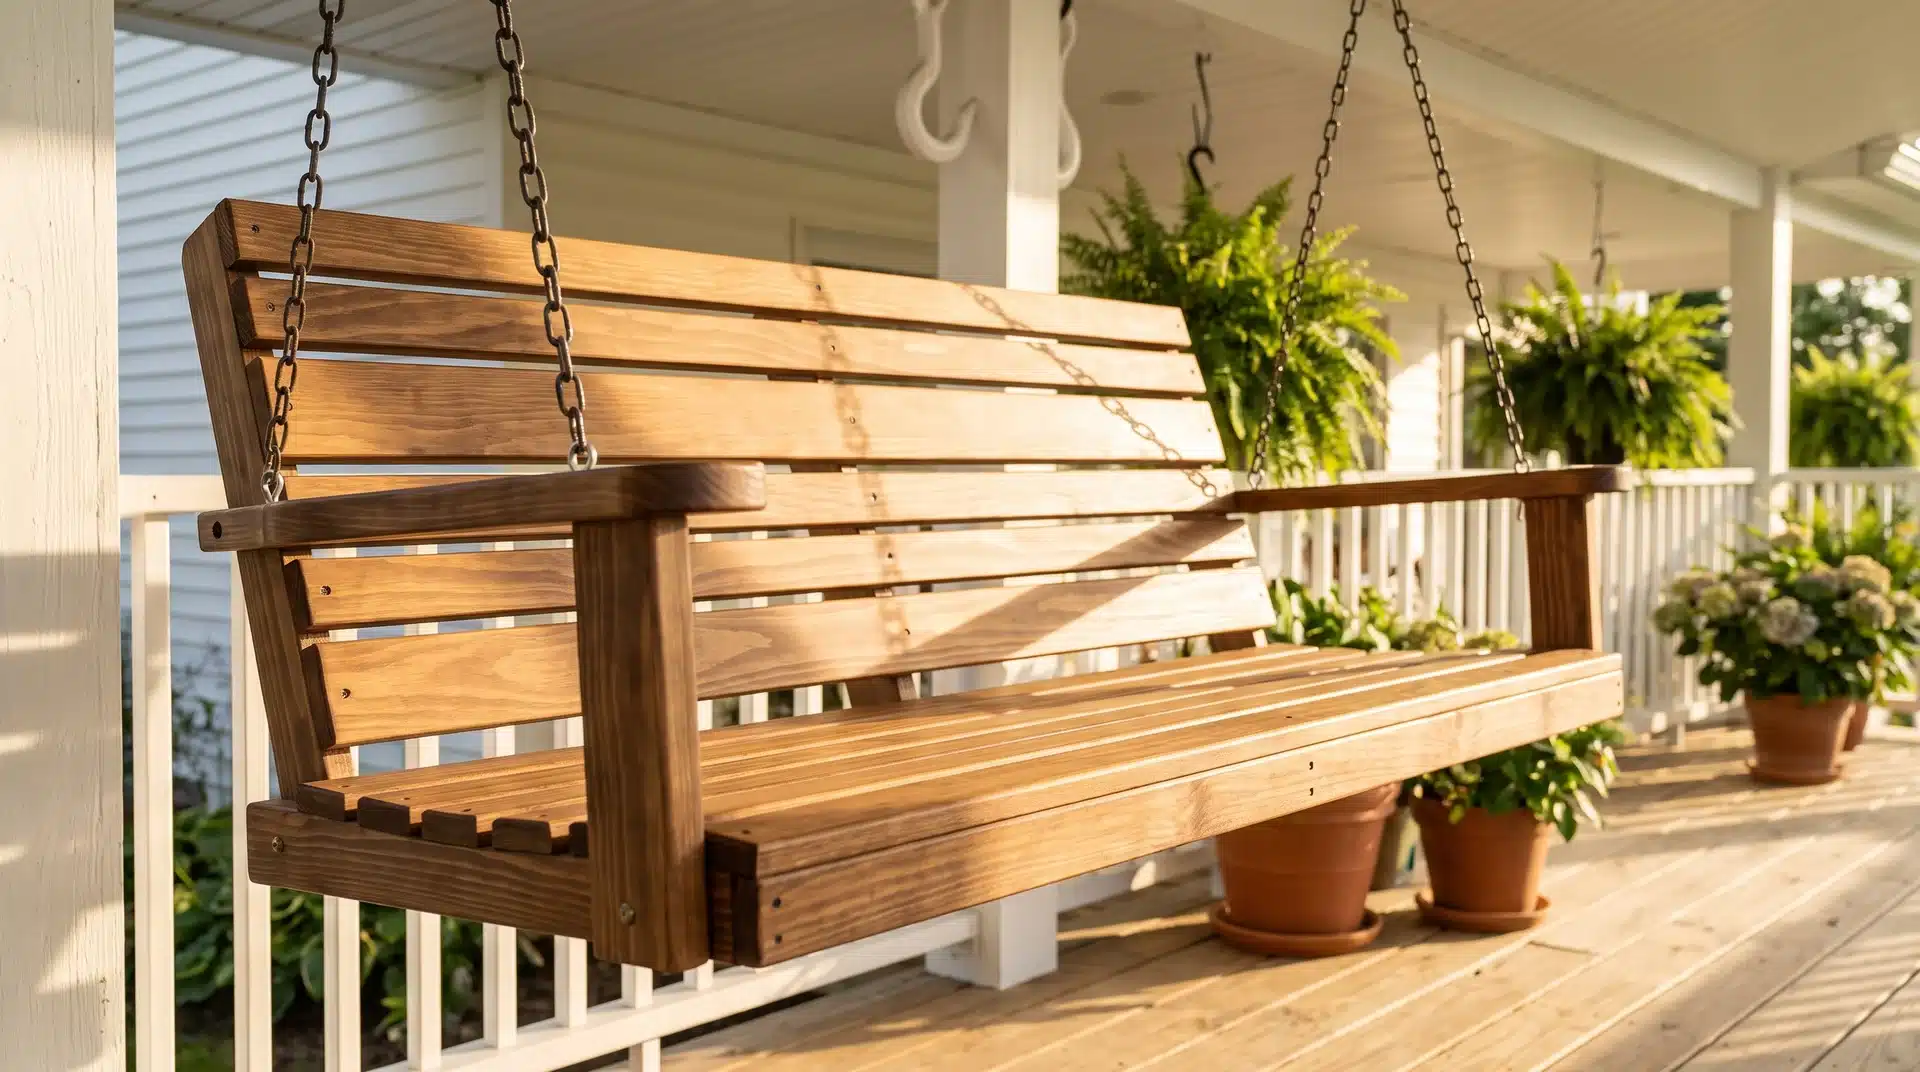
How to Make a Diy Porch Swing that Costs Under $200

Store-bought porch swings cost between $200 and $600. Many are made from materials you would not choose yourself.
This DIY porch swing costs a fraction of that. It takes about three hours from the first cut to the last screw. You need nothing beyond basic tools a homeowner typically keeps on hand.
No specialty equipment. No complicated joinery. No prior woodworking experience beyond basic comfort with a saw and a drill.
The porch swing in this post seats two adults comfortably. It hangs from standard ceiling hook screws and uses dimensional lumber available at any US home improvement store or local lumber yard.
What Wood Works Best for a DIY Porch Swing?
Cedar, redwood, and pressure-treated pine all handle outdoor conditions well. Cedar is the most popular choice for a porch swing. It weighs and takes stain or paint well.
Redwood performs similarly but costs more in most US markets. Pressure-treated pine is the most affordable and widely available, though it requires a full exterior finish to look its best.
For a covered porch that stays dry, almost any wood species works. For a swing exposed to direct rain or full sun, stick with one of the three options above.
Tools and Materials for Your DIY Porch Swing
Before you make the first cut, gather everything. This project runs on standard lumber and common hardware, and a little planning here saves a lot of back-and-forth once you start cutting. Everything you need to build a diy porch swing from scratch:
Tools and Materials:
| Tools | Materials |
|---|---|
| Circular saw | 2×4 lumber (see cut list below) |
| Drill and driver | 1×4 lumber or 1×8 ripped to width |
| Jigsaw | 3-inch exterior screws |
| Sander or 60-grit sandpaper | Wood glue |
| Tape measure and pencil | Finishing nails or finishing nailer |
| Clamps | 5/16 by 4-inch hook screws (×4) |
| Router with 1/4-inch round-over bit (optional) | Porch swing hanging kit |
| Paint can (for tracing armrest curve) | Exterior wood finish, stain, or paint |
Full Cut List:
| Piece | Material | Dimensions | Quantity |
|---|---|---|---|
| Seat frame long sides | 2×4 | 45 inches | 2 |
| Seat frame cross braces | 2×4 | 19 inches | 4 |
| Back support uprights | 2×4 | 23.5 inches | 4 |
| Armrest uprights | 2×4 | 14 inches | 2 |
| Armrest horizontal arms | 2×4 | 26 inches | 2 |
| Back slats | 1×4 | 48 inches | 4 |
| Seat slats | 1×4 | 45 inches | 5 |
How to Build a DIY Porch Swing Step by Step
These steps follow the build sequence. Each one builds on the last, so work through them without skipping ahead. Pre-drilling all screw holes throughout the build is worth the extra minute per connection.
It prevents the wood from splitting and gives you a much cleaner result, especially at the ends of 2×4 boards where splitting is most likely.
Step 1: Cut All Your Lumber to Size First
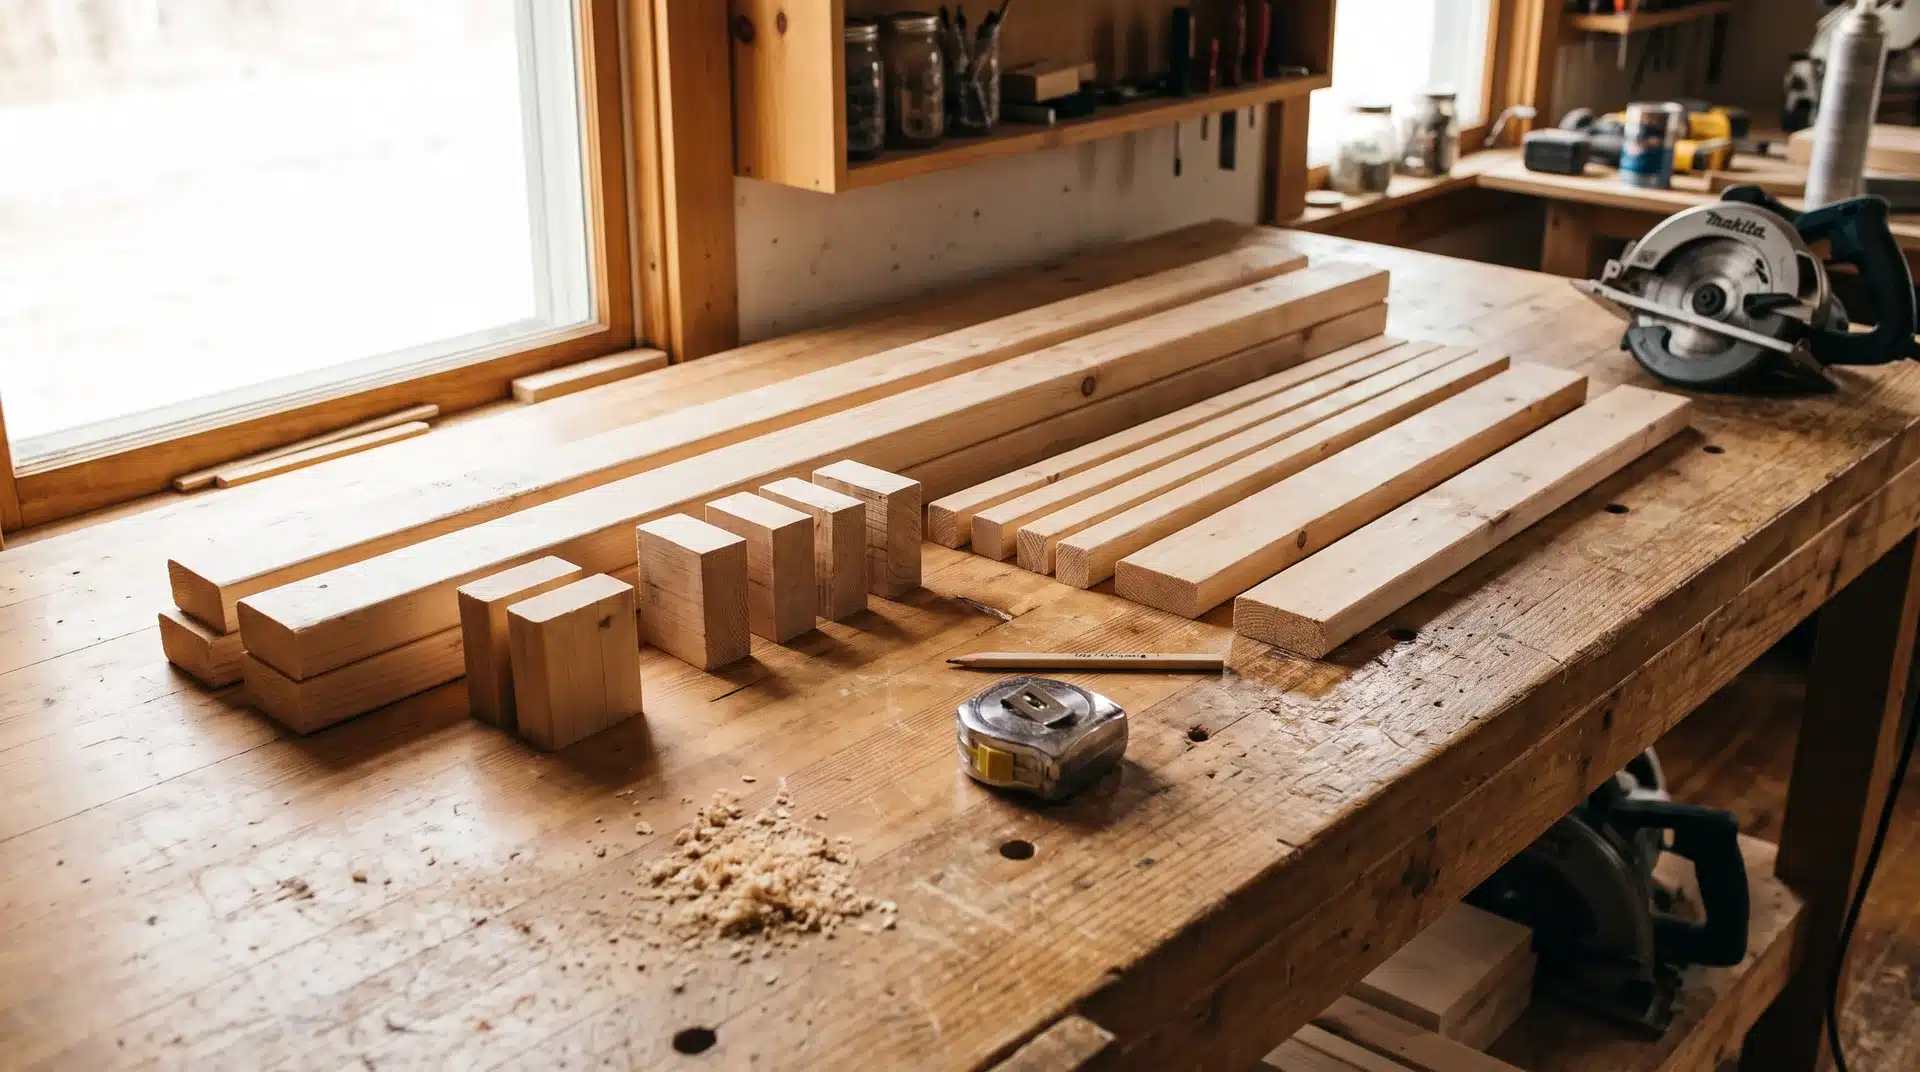
Cut everything before you start assembling anything. It keeps the workflow clean and prevents you from having to stop mid-assembly to measure and cut. Work through the cut list above in one session at the saw.
One money-saving note worth flagging here: if 1×8 lumber is on sale at your local store, buy it and rip it down to 1×4 width on the saw. You get the same board for less money, and the quality is usually better than pre-dimensioned 1×4 stock.
This is exactly the approach used in the original build, and it makes sense to consider whenever lumber prices are running high.
Once everything is cut, do a quick layout on the floor to confirm all the pieces are present before you start drilling.
Step 2: Build the Seat Frame for Your DIY Porch Swing
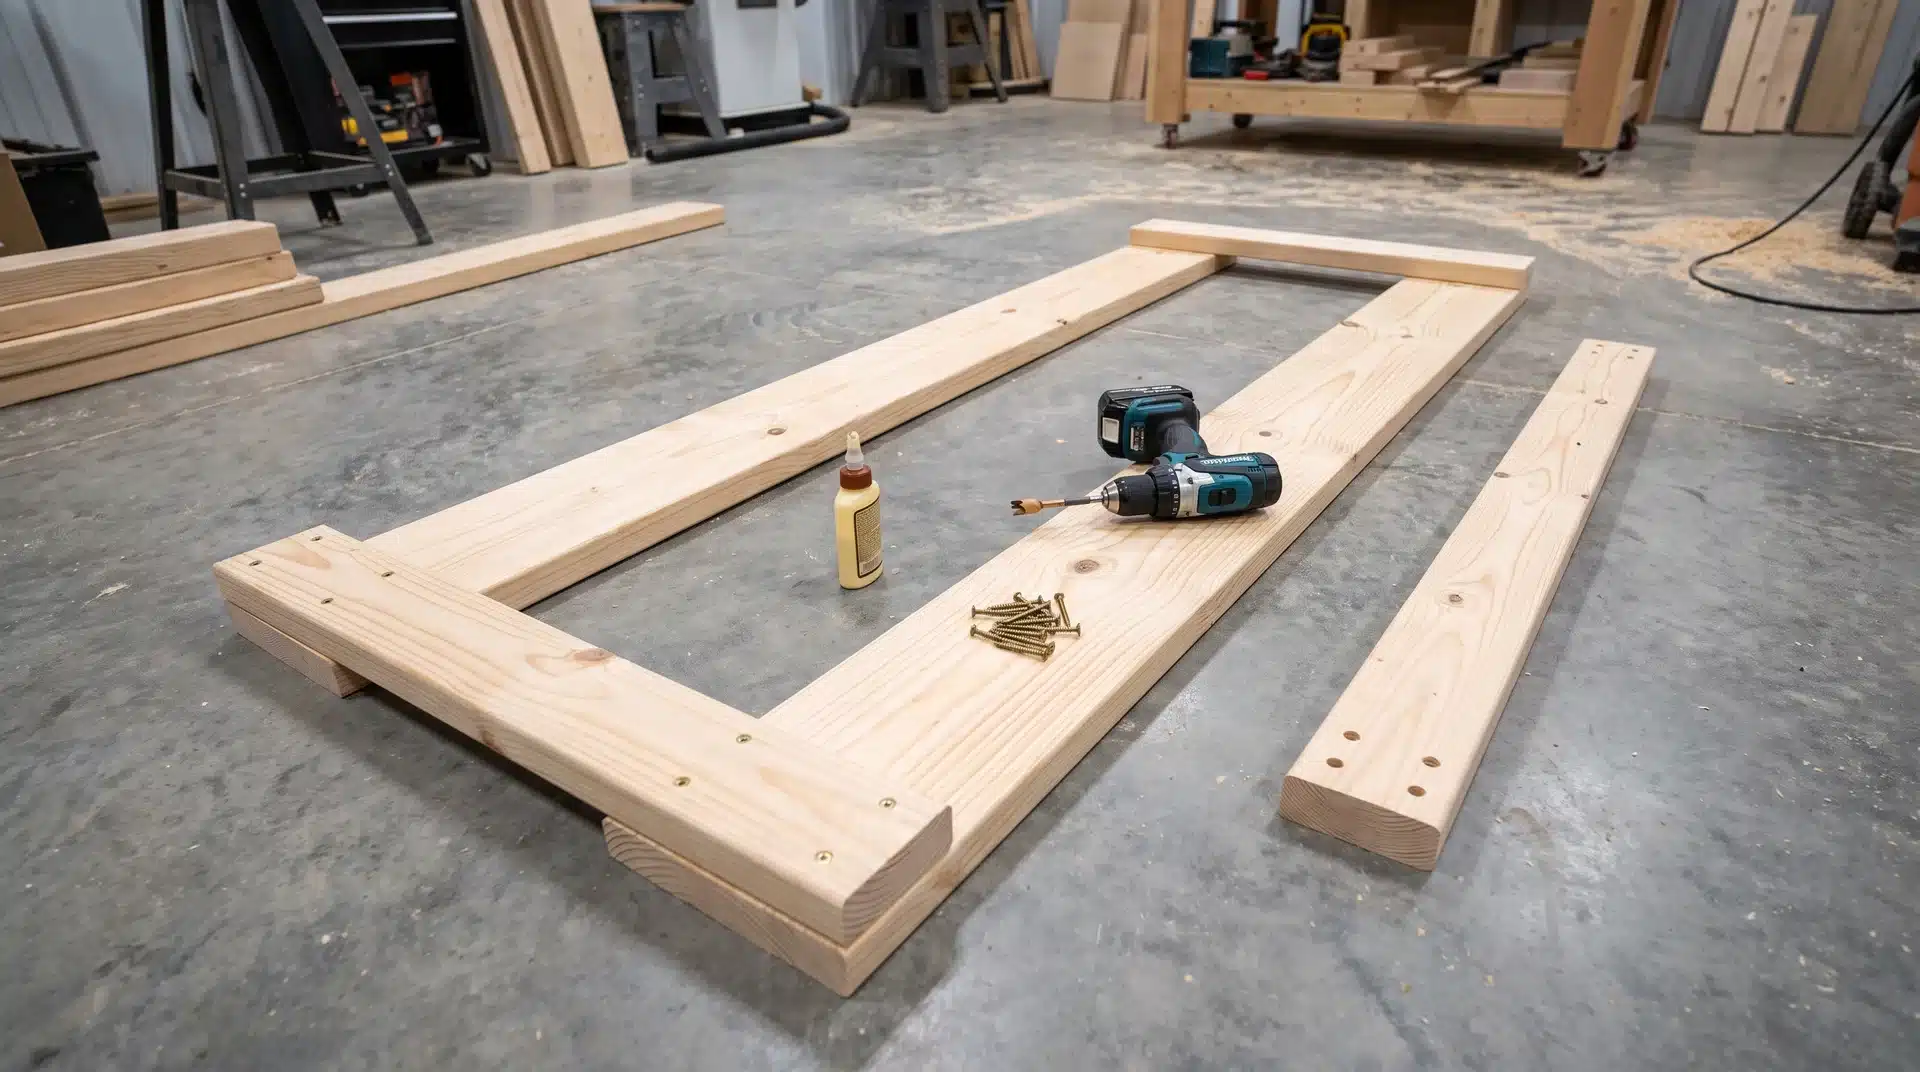
The seat frame is the structural base of the entire build. Get this square and solid, and the rest of the assembly becomes much easier.
Position the two 45-inch 2×4s parallel to each other. These are the long sides of the frame. Take two of the four 19-inch cross braces and attach them flush at each end, between the long sides, using wood glue and 3-inch exterior screws.
Space the remaining two 19-inch cross braces evenly in the middle. The center of each middle brace should sit approximately 15 and 3/8 inches from each end. You do not need to hit this measurement exactly.
The goal is even spacing, not a precise fraction. Pre-drill all screw holes at the ends of the cross braces before driving the screws home. The completed seat frame should measure 45 inches long by roughly 22.5 inches wide.
Step 3: Build the Back Support Frame
The back supports are the angled uprights that carry the seat back and attach to the rear of the seat frame. Four 2×4s cut to 23.5 inches are the starting point.
On each board, mark 2.25 inches over from the right side, then 3 inches up from the bottom. Place the bottom corner of a 2×4 scrap piece at one mark and the opposite corner at the other mark.
Trace the two inside edges of this scrap piece onto the board. That traced line is your angle cut.
Cut one board along that line, then use the cut piece as a template to mark the remaining three. Only cut two of the four boards outright. The other two need to be mirror images of the first pair.
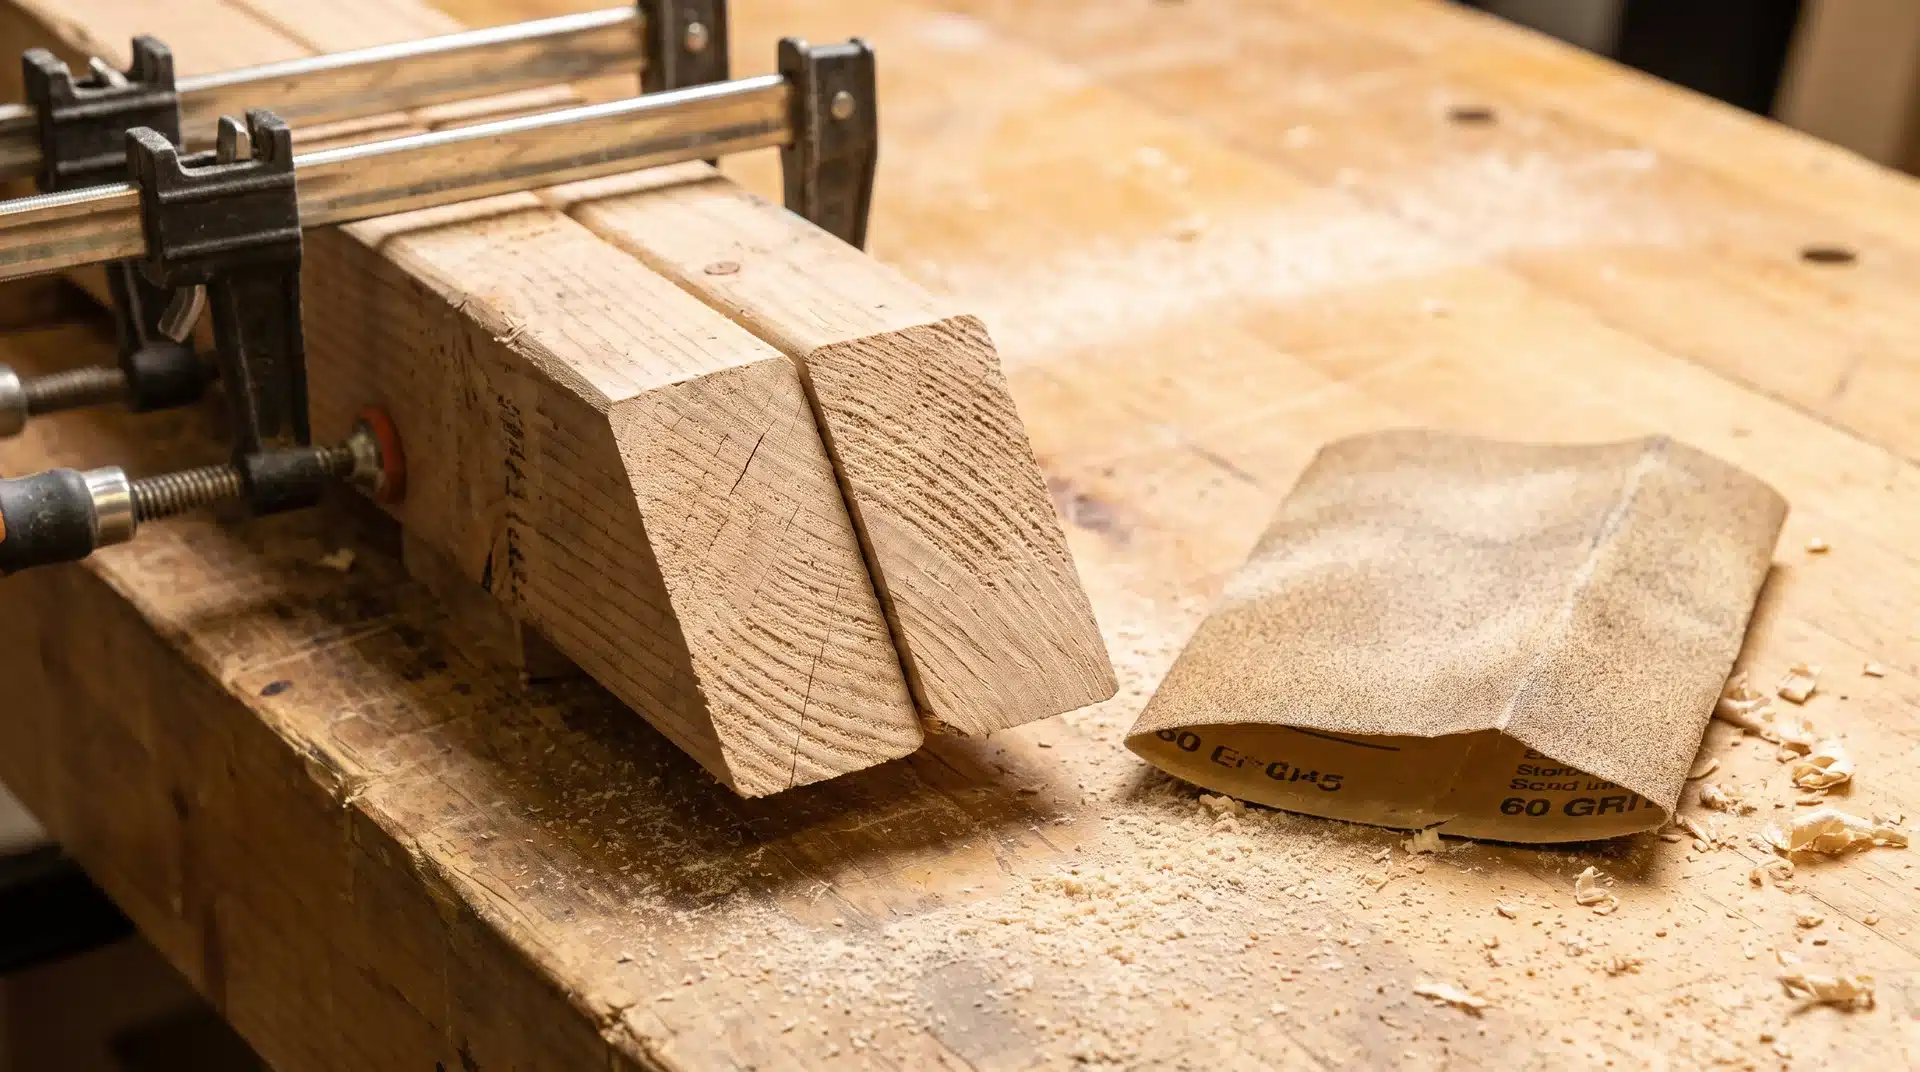
The fastest approach: clamp the two mirror-image boards together and sand them both to the same profile using 60-grit sandpaper.
Sanding them together is faster and more accurate than trying to cut them to match separately.
Step 4: Attach the Back Supports to the Seat Frame
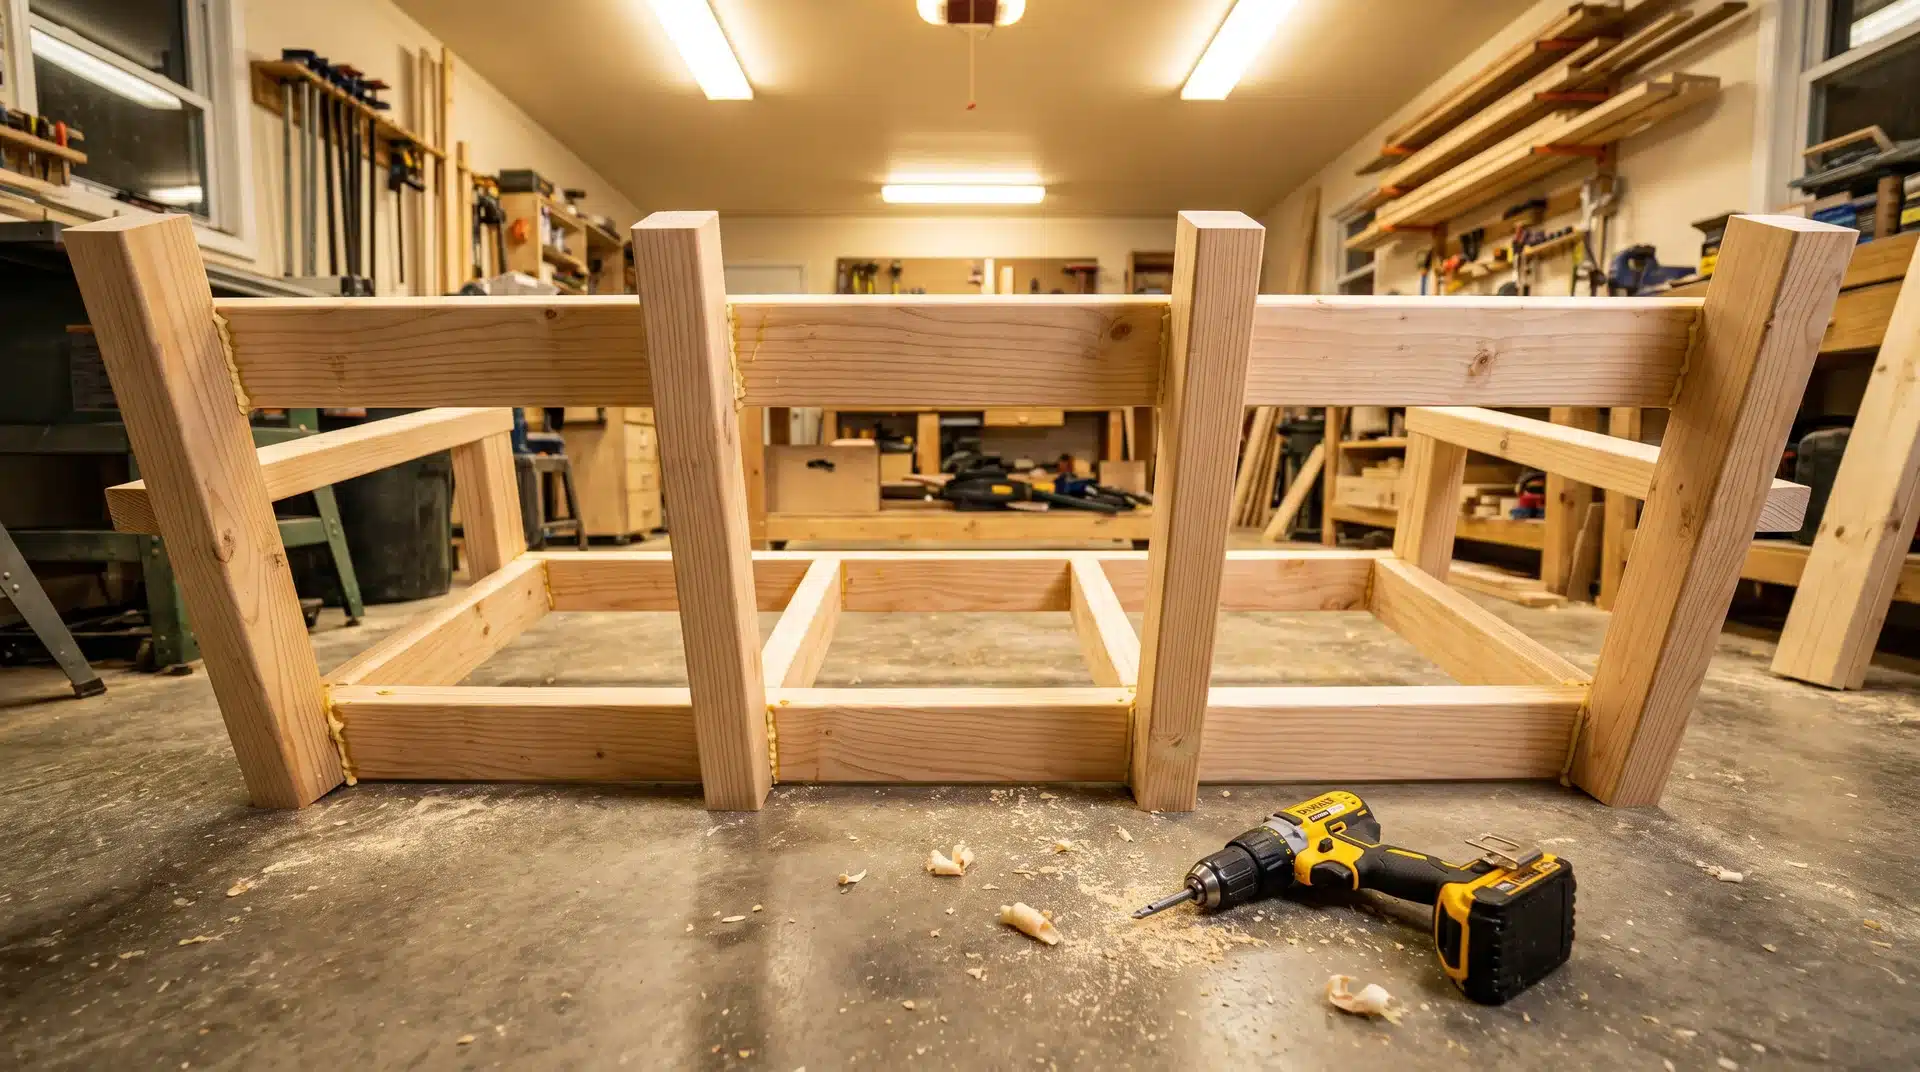
With the back supports shaped, it is time to attach them to the seat frame. Start with the two center back supports. Position them in line with the middle cross-braces of the seat frame and attach them with wood glue and 3-inch screws.
The angled cut at the bottom of each support faces outward, which gives the back its natural lean when the swing hangs.
Once the two center supports are in place, attach the left and right outside supports flush with the outer edges of the seat frame. Align them on the angle marks made in the previous step.
Check that all four supports are plumb and consistent before the glue sets. Clamp them in place while driving the screws if you have the clamps to spare. This is the core structure that everything else references from here on.
Step 5: Build and Shape the Armrests
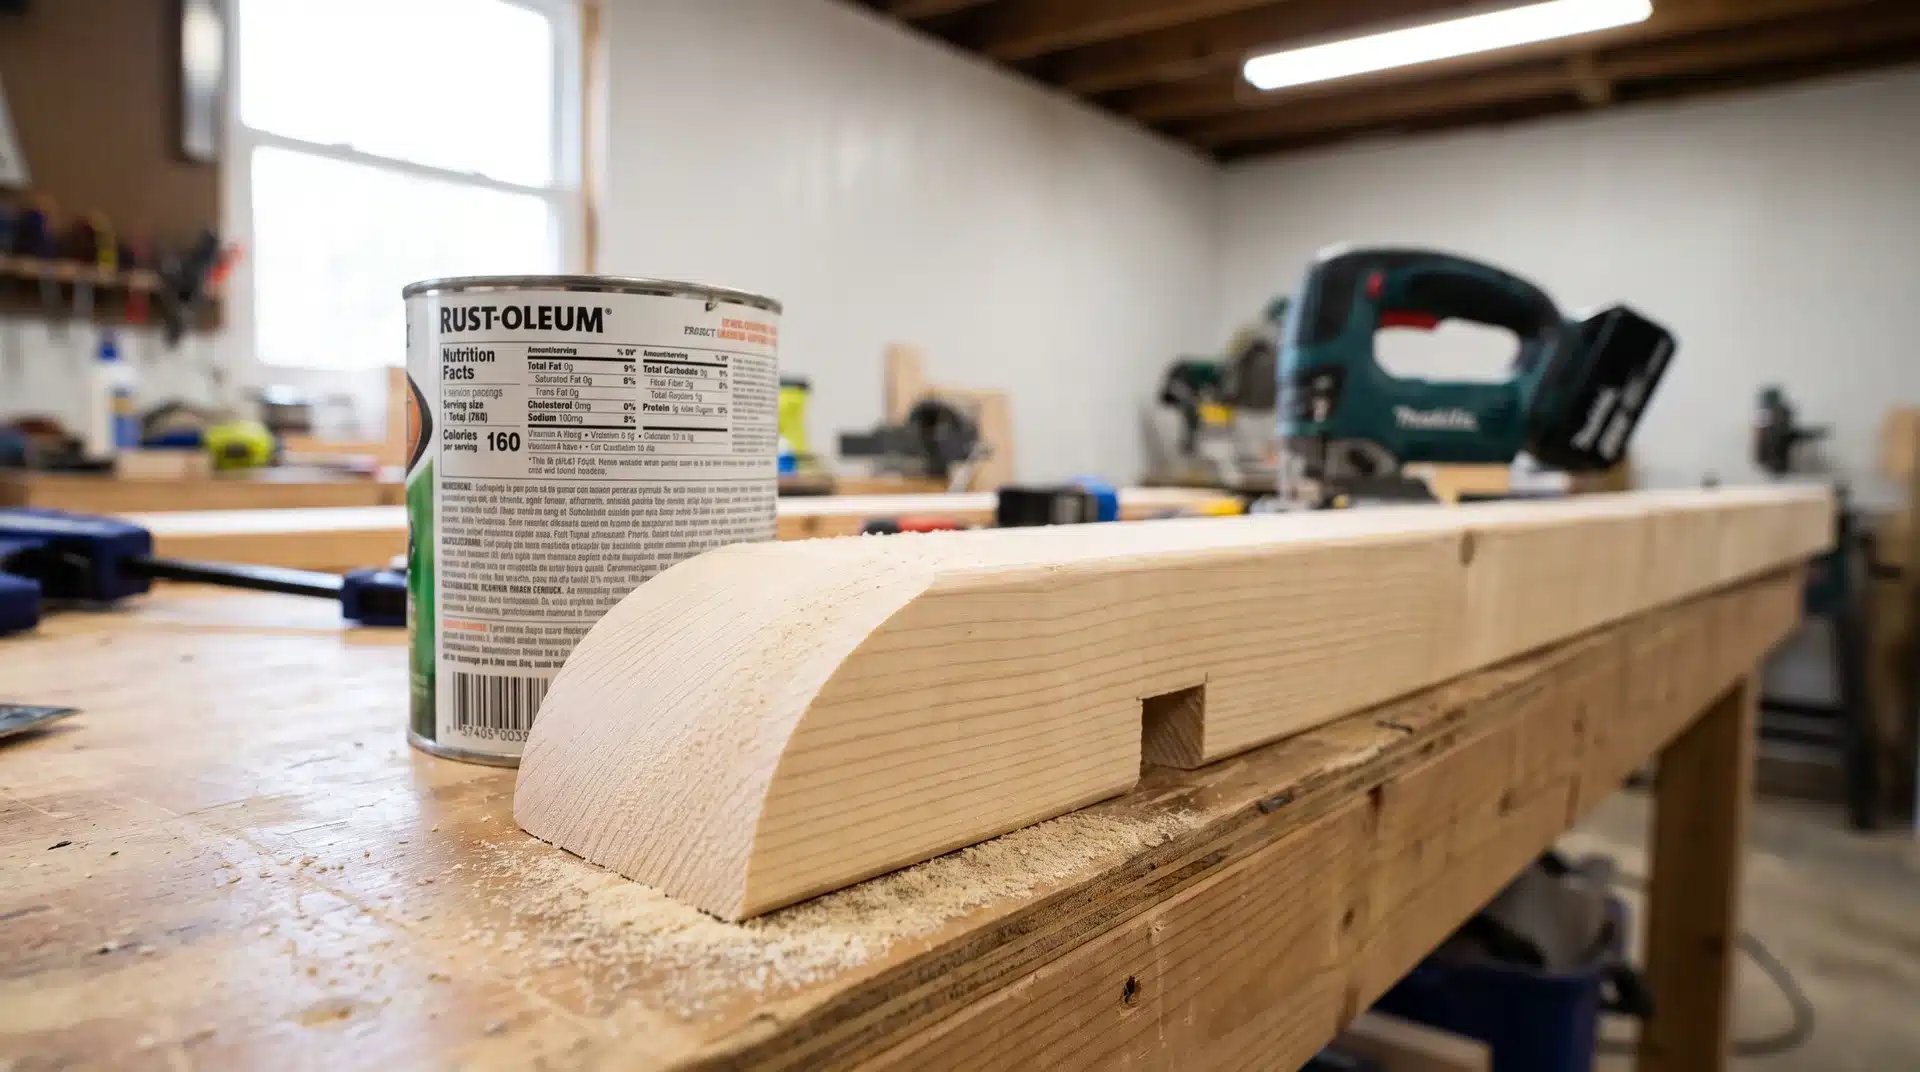
Each armrest is two pieces: a short upright (14 inches) and a longer horizontal arm (26 inches). The shaping here is what gives the porch swing its finished, furniture-like look, so take a few extra minutes on this step.
On the bottom of each 26-inch arm, draw a line 1 inch from the front edge. On the back of the arm, mark 1.5 inches from one side and 2 inches from the very back. Connect these two marks to form a small rectangle.
Cut this rectangle out with a jigsaw. This notch is what allows the armrest to sit cleanly over the back support upright without a gap.
For the front of each armrest, trace the edge of a standard paint can to create a curved profile, then cut along that line with the jigsaw. Clamp both armrests together and sand the curved fronts with 60-grit sandpaper until both match.
If you have a router, running a 1/4-inch round-over bit along all the exposed edges gives the armrest a smooth, polished feel. If you do not own a router, skip this step entirely. It is optional, and the swing looks great either way.
Step 6: Attach the Armrests to the Porch Swing Frame
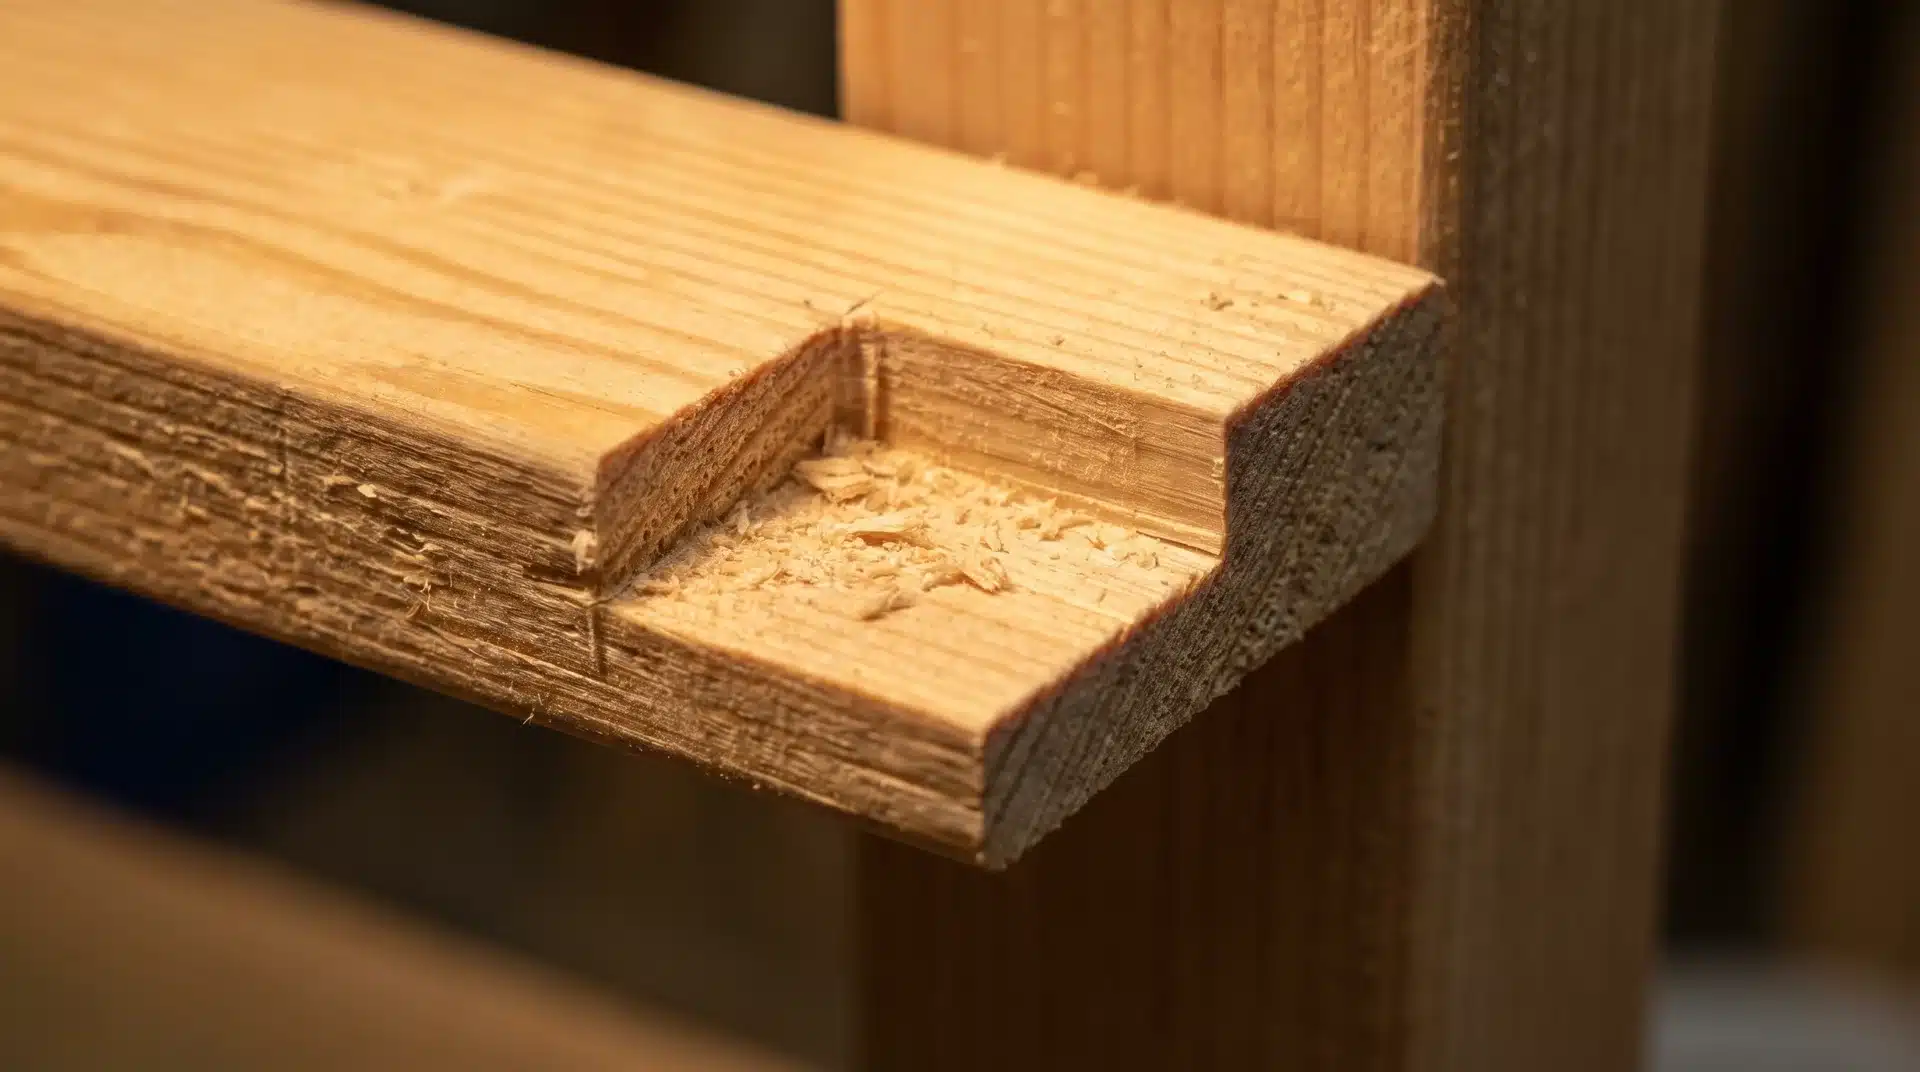
Both armrests are shaped and matched. Now attach the 14-inch upright pieces first. These go on the outside edge of the seat frame, flush with the front face. Use wood glue and 3-inch screws.
Next, position the 26-inch arm pieces on top of the uprights. The front face of each arm should sit directly on the 1-inch mark drawn in the previous step. The back of the arm does not need a precise mark. Square it up so it naturally falls over the back support, then attach with wood glue and screws.
Check that both armrests are at the same height relative to the seat frame before the glue sets. An uneven pair will be visible once the swing is hanging, so it is worth pausing here to measure and confirm both sides before moving on.
Step 7: Build and Attach the Seat Slats
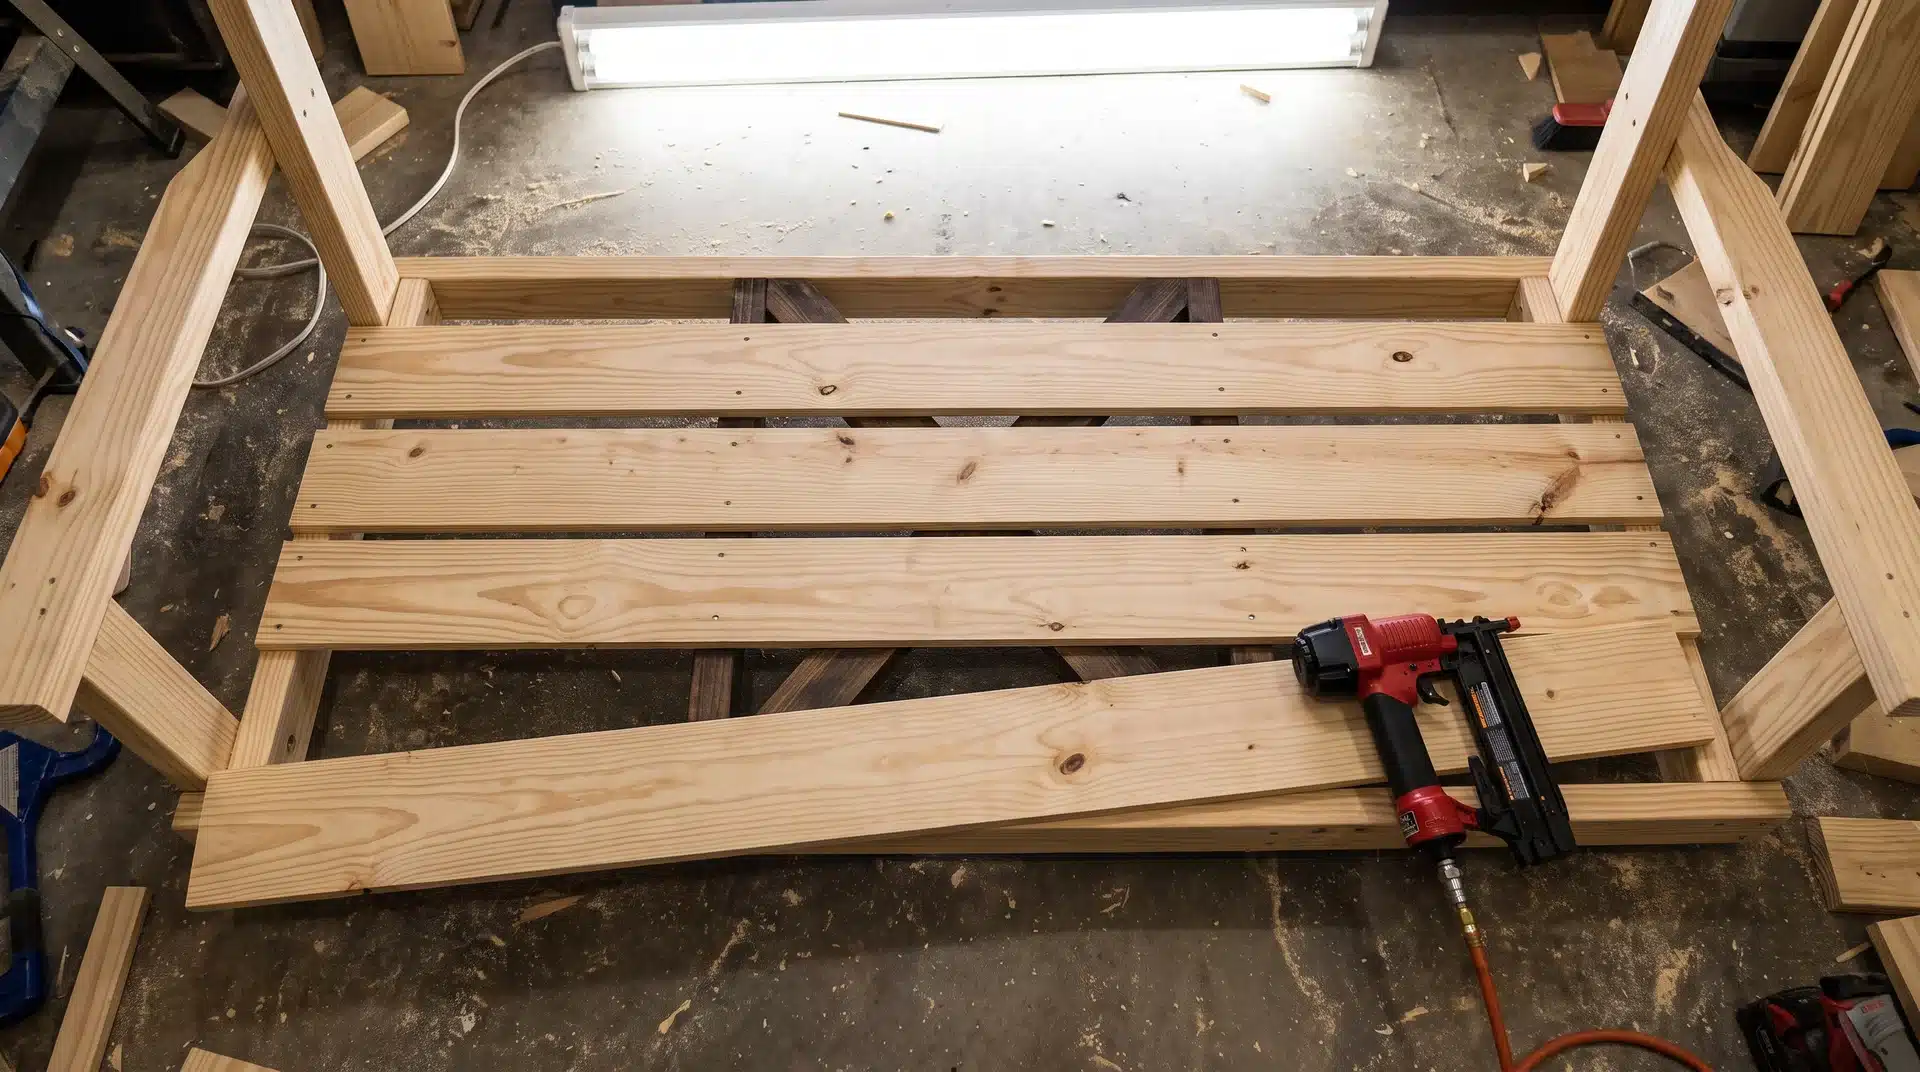
Cut five 1×4 boards to 45 inches each. These sit horizontally across the top of the seat frame, forming the seat surface.
Attach with wood glue and a finishing nailer, or screws if a nailer is not available. Space the five slats with approximately half an inch of gap between each one.
This gap is not just cosmetic. It lets water drain off the seat surface, which extends the life of the wood in outdoor conditions. Start from one edge and work across.
Minor adjustments to the gap between boards are fine as you go. What matters is that the overall surface sits flat and the last slat lands close to the back of the seat frame.
Step 8: Build and Attach the Back Slats
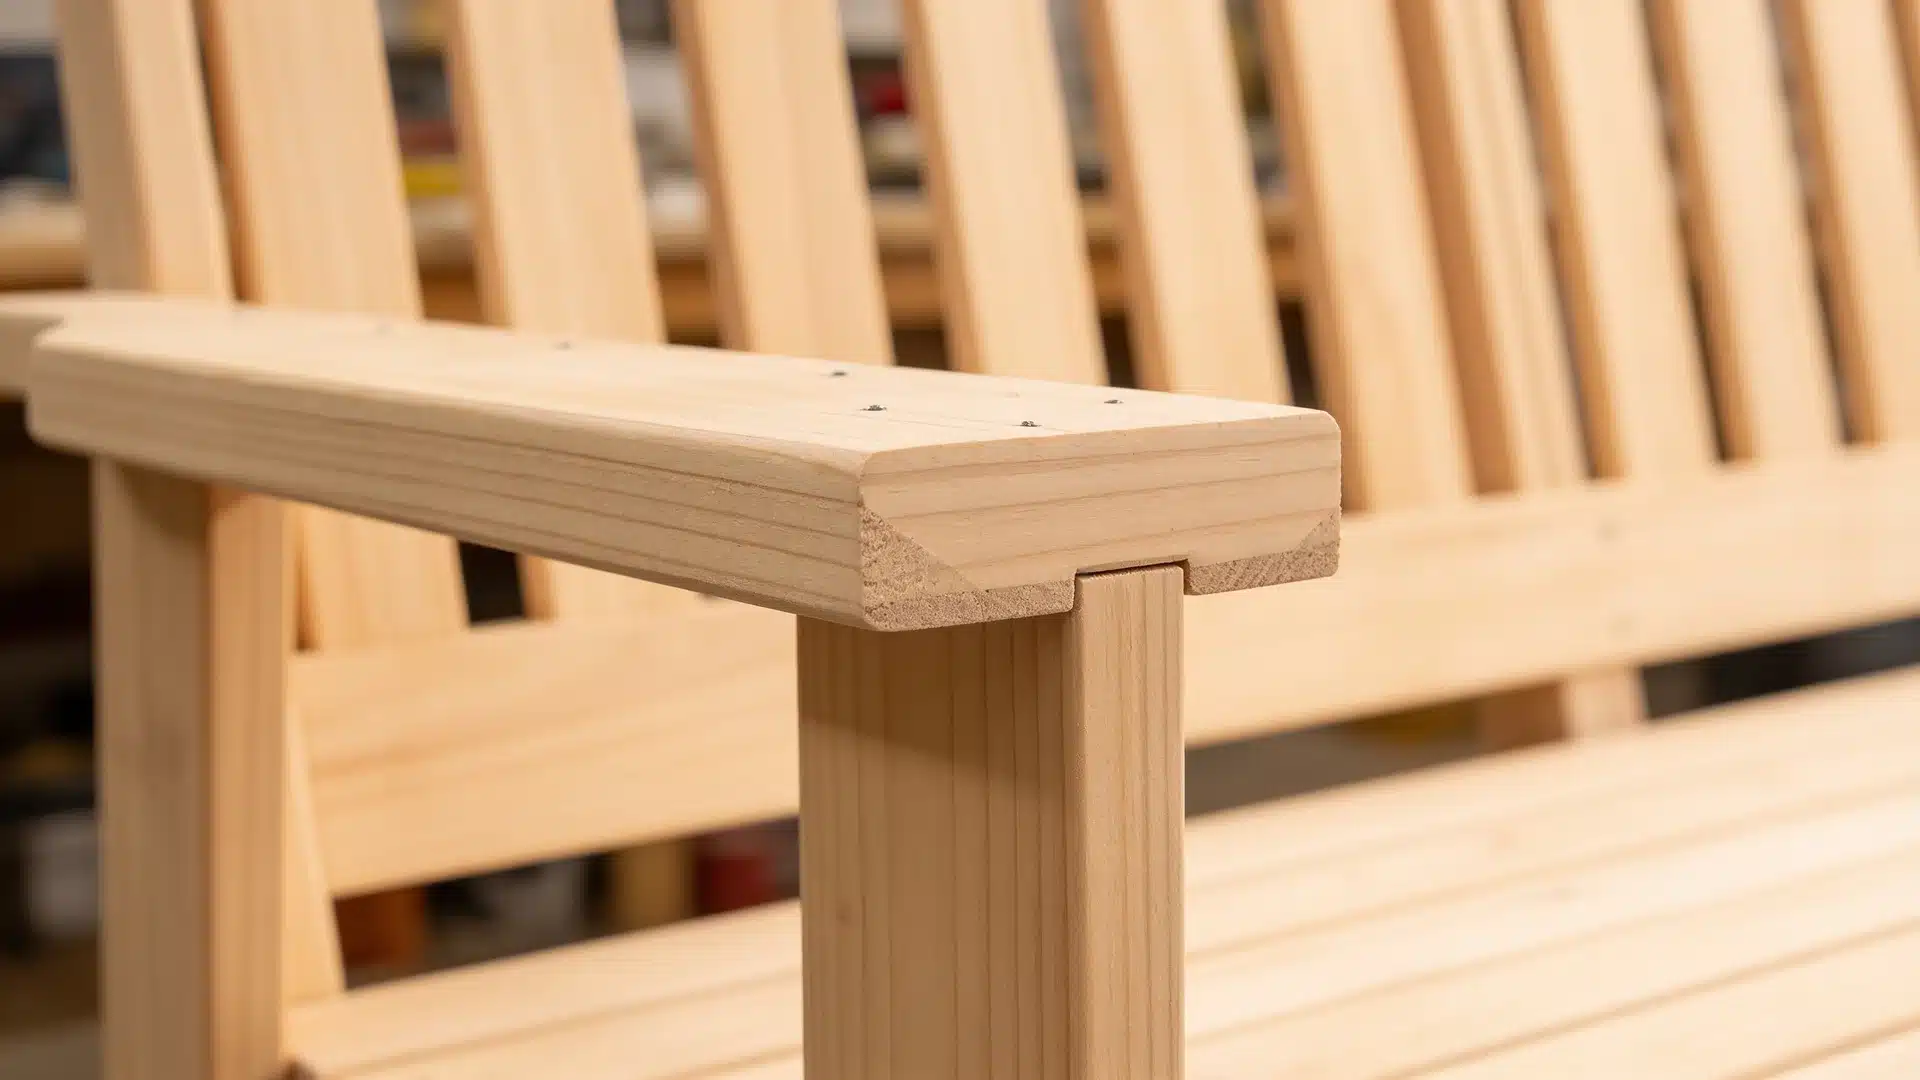
Cut four 1×4 boards to 48 inches. These form the seat back.
On the board that attaches just above the armrest level, cut a 1.5-by-0.75-inch rectangular notch from each bottom corner using the jigsaw.
This notch allows the board to drop flush against the armrest uprights, with no gap at the joint. Attach all four back slats with wood glue and finishing nails.
Space the four boards evenly across the back supports. With four boards, the gap between each should be approximately 2.25 inches.
Work from the bottom board upward. The lowest board sits just above the armrest attachment point, with the notched corners fitting over the uprights.
The top of the back slats should sit within the top edge of the back support uprights when the spacing is even.
Step 9: Sand and Finish Your DIY Porch Swing
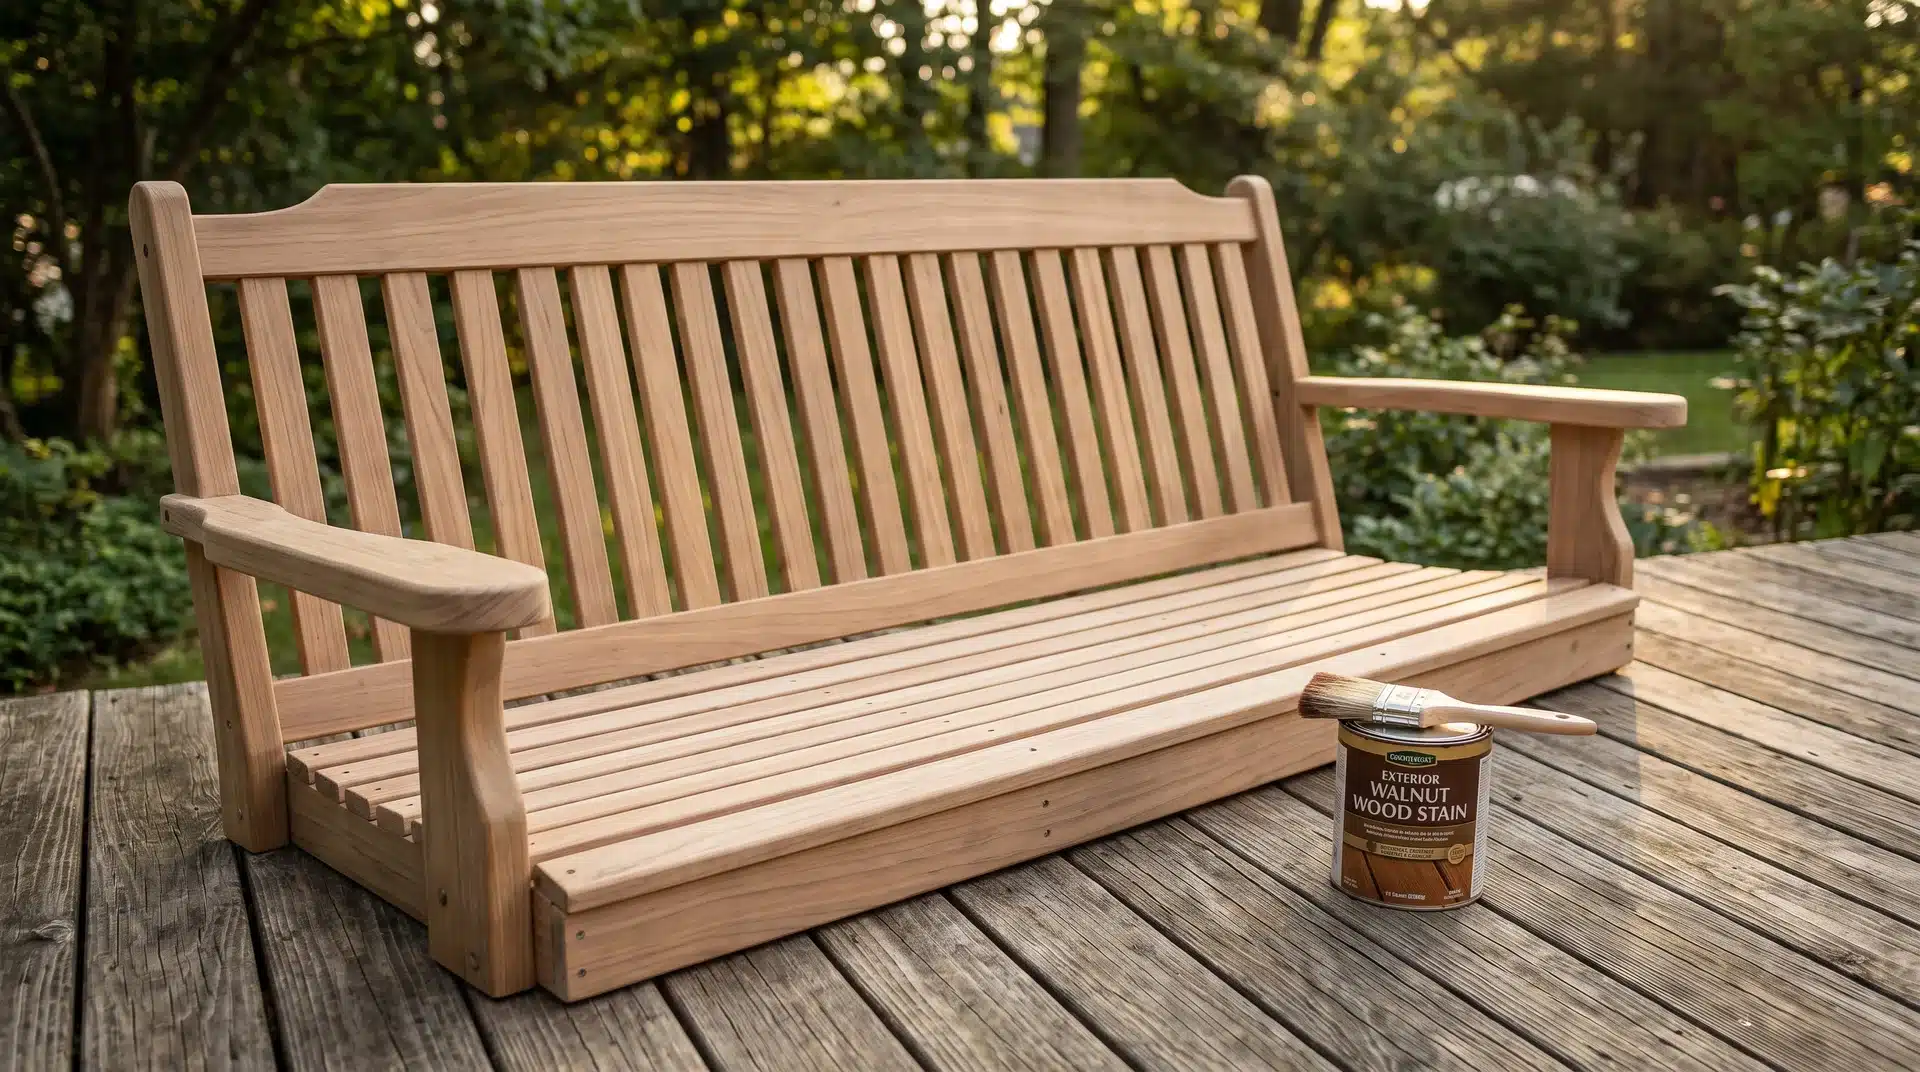
Finishing is the most time-consuming part of this whole build, and it is also the step most people rush. If you have someone to recruit for this part, now is the time to make that call.
Sand the entire swing before applying anything. Pay close attention to the edges of the back and seat slats, where splinters are most likely to appear.
Start with 60-grit sandpaper to handle rough spots and saw marks. Follow with 120-grit for a smooth final surface. Wipe down everything with a tack cloth or a damp rag to remove all the sanding dust before opening a can of finish.
Apply an exterior wood finish, exterior stain, or exterior paint rated for outdoor use. This is what protects the lumber from moisture, UV exposure, and the general wear that comes with outdoor furniture.
Step 10: Hang Your DIY Porch Swing From the Porch Ceiling
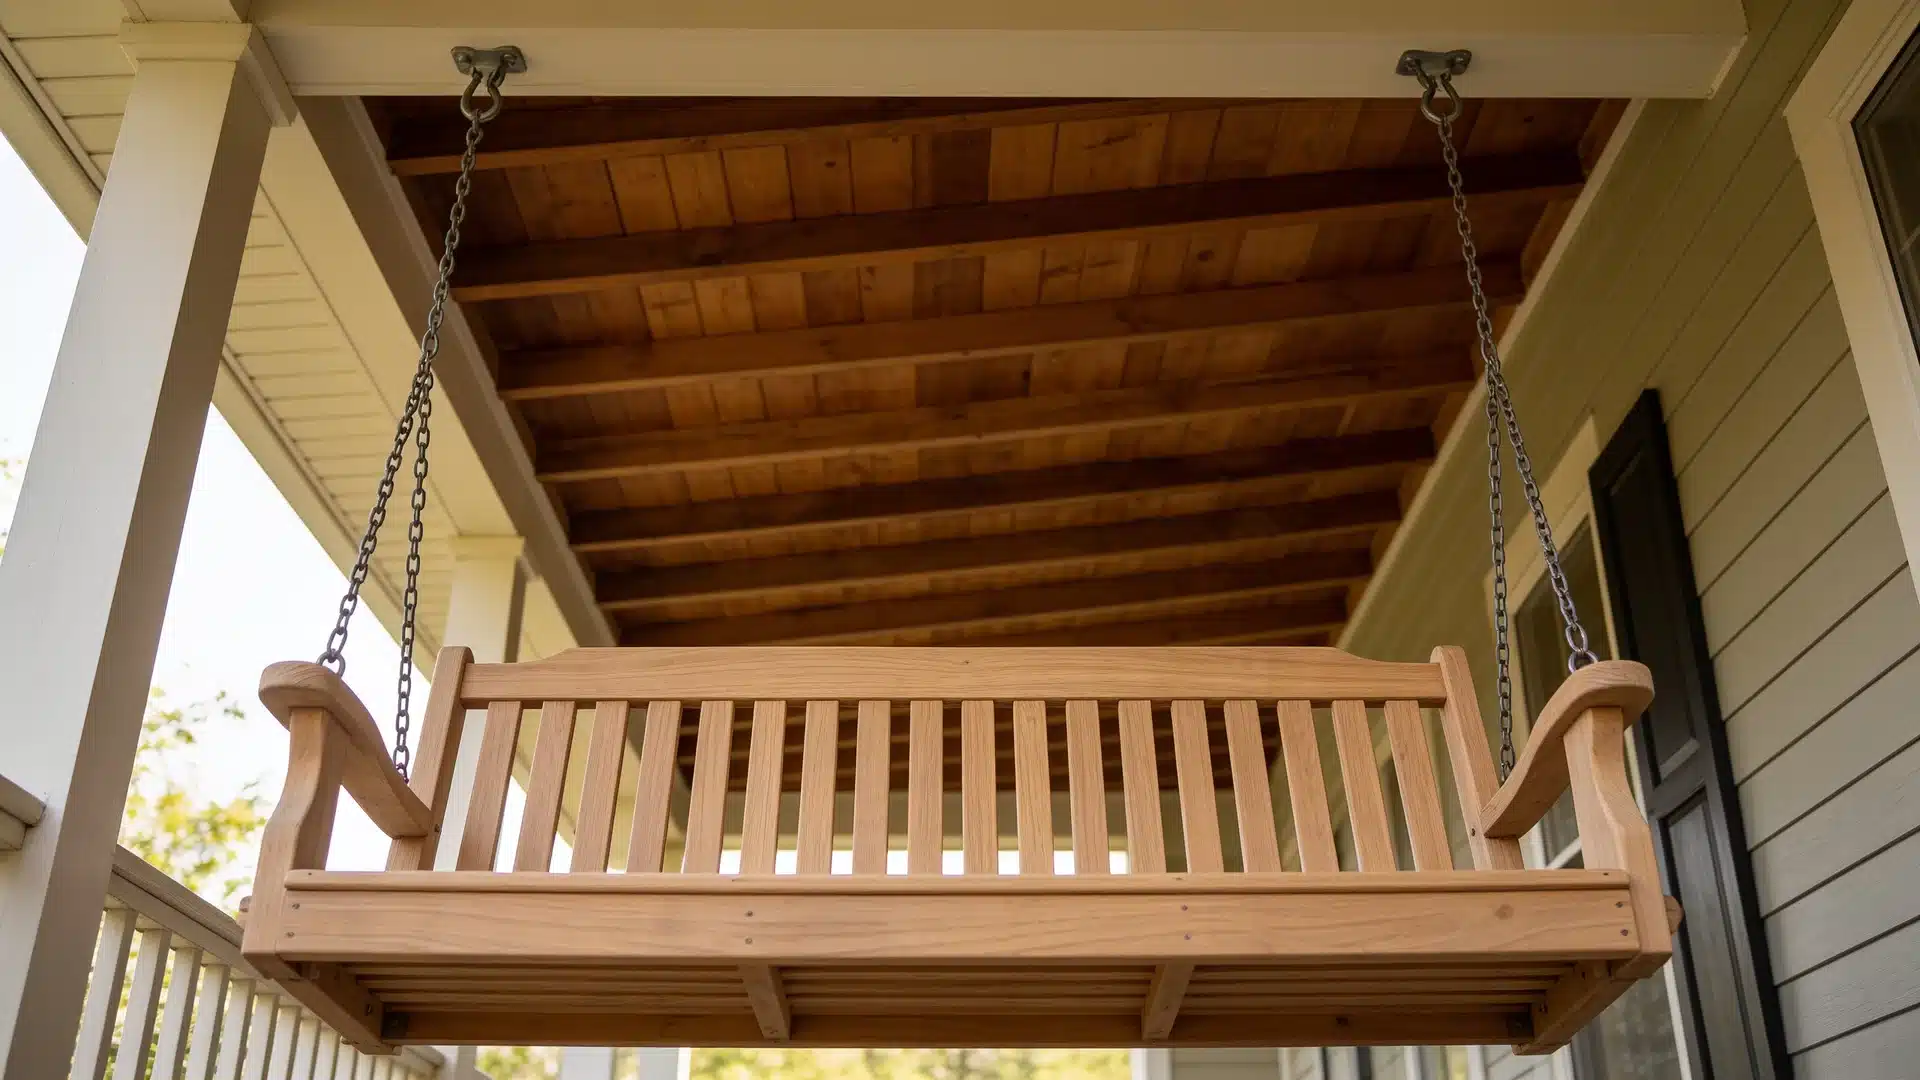
Use 5/16-by-4-inch hook screws to hang the swing. Pre-drill the ceiling holes slightly smaller than the screw thread, then drive the screws in by hand. Attach the hooks approximately 2 inches up from the bottom of the ceiling joist.
This is the most important safety detail in the entire build: the hook screws must go into solid ceiling joists or a header beam, not into drywall or ceiling material alone.
A porch swing supporting two adults puts a real load on those ceiling attachment points. If you are not sure where your joists are, use a stud finder on the porch ceiling before drilling anything.
Position the four hook points far enough apart that the swing chains or ropes do not rub against the armrests during use.
Porch swing hanging kits work directly with these hook screws. They include chains, S-hooks, and eye bolts for the swing end.
Once everything is connected, give the swing a test sit before final-tightening all the hardware. Adjust the chain or rope length until the seat hangs at the angle that feels right. Then tighten everything down and enjoy what you built.
How Much Does It Cost to Build a Porch Swing?
Building your own swing costs less than a finished store model in most cases. Final cost depends on your wood choice, finishing product, and whether you already own the tools.
| Item | Estimated Cost |
|---|---|
| Lumber | $50 to $200 |
| Hardware and hanging kit | $30 to $100 |
| Exterior finish or stain | $20 to $75 |
| Cushions (optional) | $50 to $200 |
Cedar lumber and a basic hanging kit put most builds in the $100-$175 range before cushions.
Ways to Customize Your Porch Swing
Once the frame is finished, there are several ways to make it your own. Many of these add comfort or function without changing the build itself.
- Outdoor cushions: a seat cushion makes a big difference for long sits
- Cup holders: drill a hole sized for your cup into the armrest face
- Storage hooks: mount small hooks underneath the seat frame
- Paint or stain color: match your home exterior or porch furniture
- Decorative wood details: routed edges, carved name boards, or heart cutouts on back slats
A covered porch layout with the right furniture mix often determines how well a swing fits into the space. Think about scale and clearance before settling on a final color or cushion style.
Conclusion
A hand-built DIY porch swing is not the same as one ordered online and assembled in 20 minutes. It is the right width for the porch you have. It is built from lumber you chose.
The armrests are shaped by hand. The whole thing took about three hours on a weekend morning and cost less than a single trip to a furniture store.
Once the finish has cured and the hardware is set, bring a cup of coffee outside and give the swing a proper test. Push off from the porch railing and let it settle into its hang. That is the moment this build is for. And it tends to feel a lot better knowing you put it together yourself.
If you want to take your outdoor setup further, these front porch deck ideas cover furniture placement, flooring, and seasonal touches that pair well with a new swing.
Frequently Asked Questions
Should I Hang a Porch Swing With Rope or Chain?
Steel chain is easy to adjust and lasts long when galvanized, while rope is warm to the touch, won’t rust, and has slight give for added comfort. Either works well for this build.
What Is The Ideal Height For A Porch Swing From The Ground?
A seat height of around 17 to 19 inches from the ground works well for most adults. Adjust the chain or rope length after hanging until the swing feels comfortable, then tighten it securely.
Can I Build A Freestanding Porch Swing Without A Porch?
A freestanding A-frame structure supports a porch swing without any ceiling attachment, making it suitable for a lawn, deck, or patio. Plans for freestanding frames are widely available online for most swing sizes.
How Long Does a Homemade Porch Swing Last?
A cedar or pressure-treated pine swing with a proper exterior finish lasts 10 to 20 years. Annual inspection of hardware and a fresh coat of finish every 2 to 3 years extends its lifespan significantly.