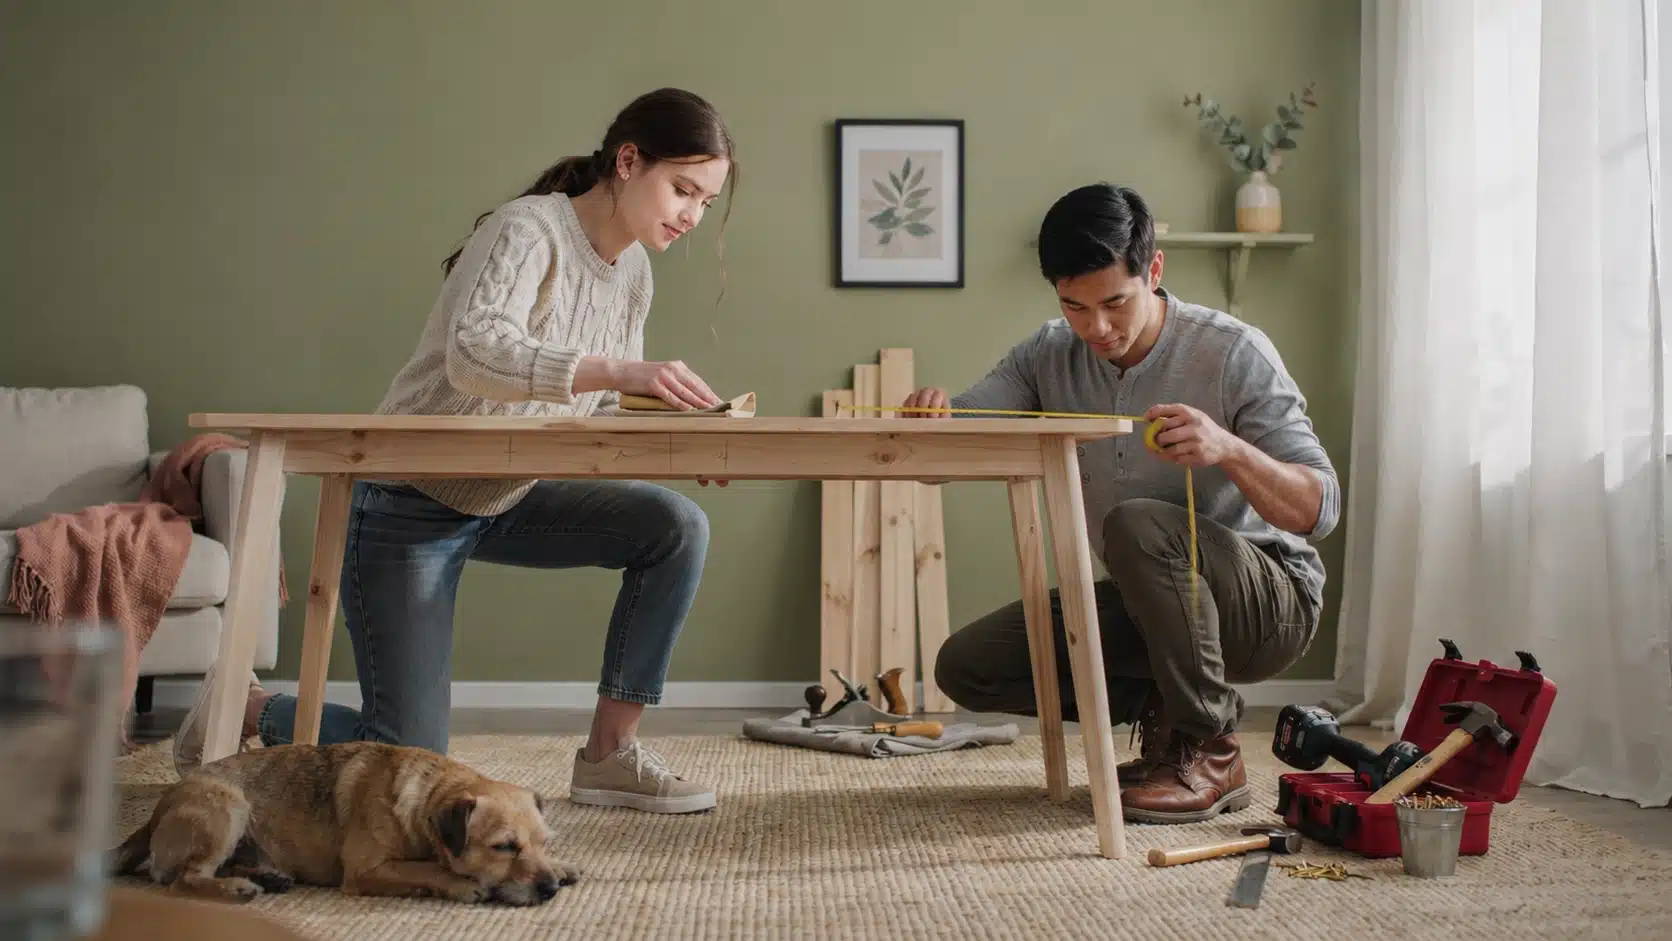
DIY Sofa Table: Build One in a Weekend for Under $100

Building a DIY sofa table costs far less than buying one at a store.
A basic build takes a few hours and under $50 in lumber. You get a table that fits your sofa perfectly, holds drinks and lamps, and hides cords along the wall.
Store-bought versions rarely match your sofa’s exact length. A custom build gives you the right size every time. This guide walks you through the full process, from picking your wood to the final coat of stain.
You will also find tips on adding a built-in outlet, style options, and simple decorating ideas.
What Is a DIY Sofa Table?
A DIY sofa table is a narrow table you build and place along the back of your sofa. It sits in the space between the back of the sofa and the wall.
Standard height ranges from 28 to 32 inches, matching the back cushions on most sofas. The depth is usually 6 to 12 inches. The length should match the width of your sofa.
A sofa table goes by several names. You may hear it called a console table, a behind-the-couch table, or a couch shelf. The job is the same no matter the name: a flat surface for lamps, drinks, plants, and remotes.
How Much Does It Cost to Build a DIY Sofa Table?
A basic DIY sofa table costs between $20 and $75 in materials. The price depends on the wood type you choose and the length of the table.
Here is a rough cost breakdown for a standard 6-foot pine build:
| Material | Estimated Cost |
|---|---|
| 1×8″ pine boards (2, 8-foot) | $18–$24 |
| 2×4″ lumber for legs (1–2 boards) | $6–$10 |
| Wood screws and L-brackets | $5–$8 |
| Sandpaper (80, 150, 220 grit) | $4–$6 |
| Wood stain or paint | $8–$15 |
| Polyurethane top coat | $8–$12 |
| Total | $49–$75 |
Use reclaimed boards or wood you already have on hand to cut the cost below $30. Some builds come in even lower this way.
What Wood Works Best?
Pine is the most popular choice for a DIY sofa table. It is affordable, easy to cut, and resistant to stains. You can find it at any home improvement store.
- Pine 1×8 or 1×6 boards for the tabletop. Light and easy to work with.
- 2×4 or 2×3 lumber for the legs. Strong enough to support weight without bowing.
- 3/4-inch plywood for a wider, gapless tabletop. Cut it to any width you need.
- Oak or poplar for a finer wood grain. These cost more but finish with a clean look.
Start with pine on your first build. It handles minor mistakes well, sands smoothly, and stains evenly.
How to Build a DIY Sofa Table Step by Step
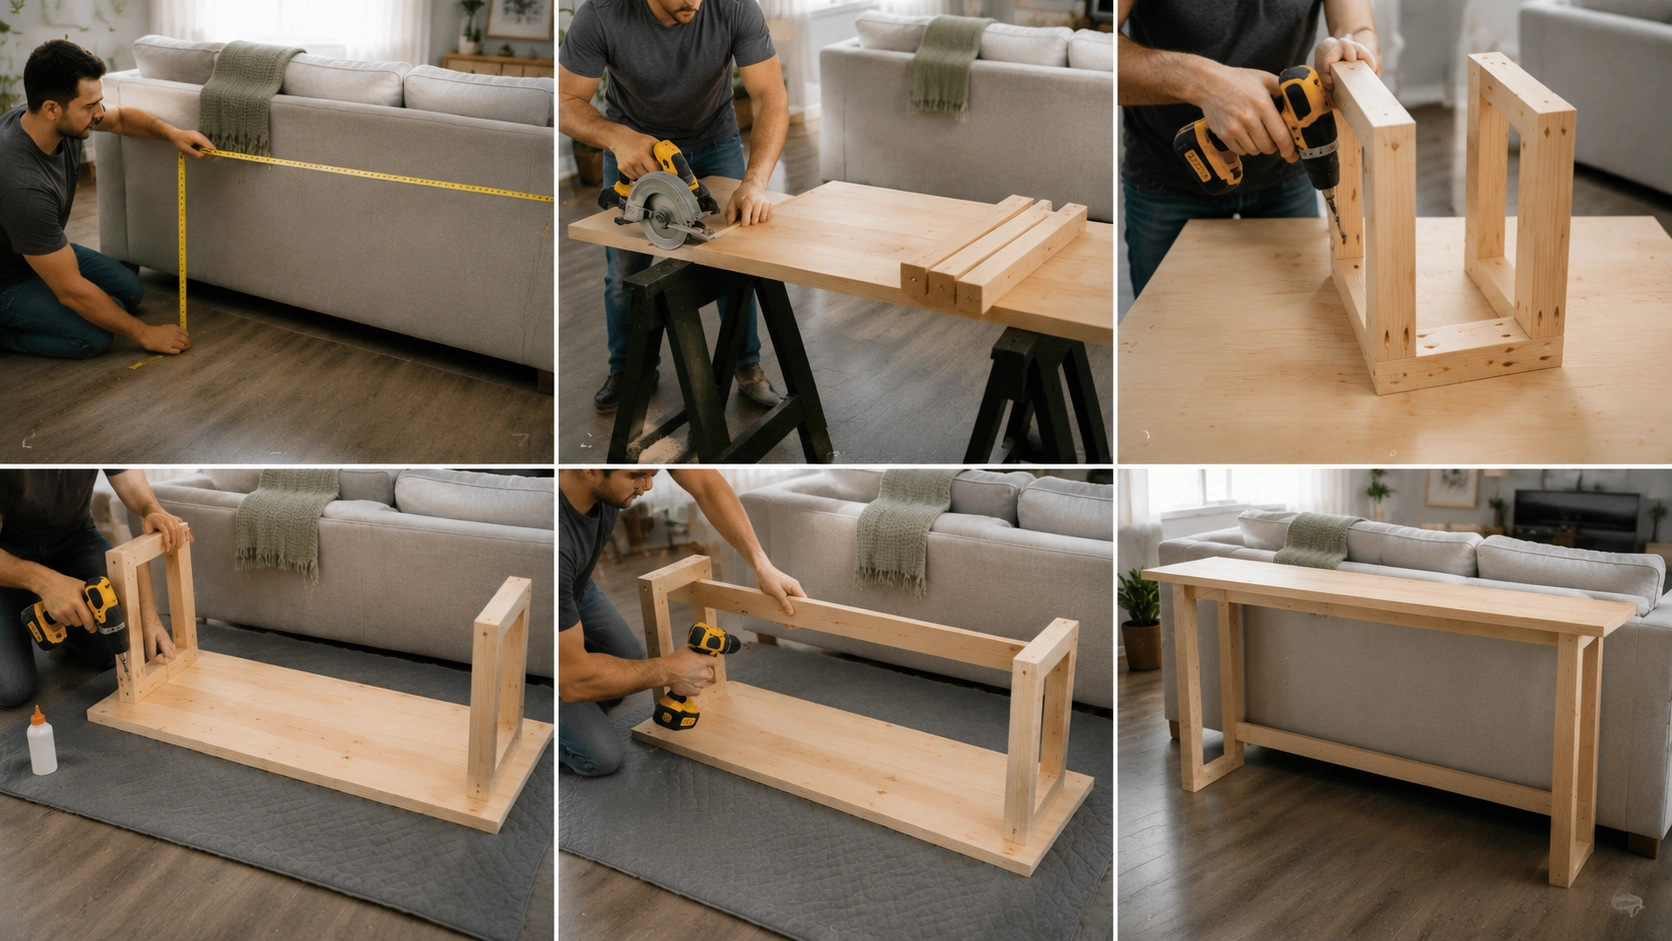
This plan builds a simple flat-top sofa table. Adjust the dimensions to fit your sofa exactly. For the right starting measurements, a table dimensions reference can help you match proportions to your room size before cutting.
Tools and Materials You Need:
You do not need a full workshop for this build. Here is what to gather before you start:
- Miter saw or circular saw to cut boards to length
- Drill for driving screws and making pilot holes
- Measuring tape and pencil for marking cuts
- Orbital sander or sandpaper in 80, 150, and 220 grits
- Corner clamps to hold pieces while glue dries
- Safety goggles when cutting or sanding
Optional but helpful:
- Kreg pocket hole jig for hidden, clean joints between boards
- Jigsaw, if you plan to cut a hole for a recessed outlet
- Pre-stain wood conditioner for an even stain on pine
Pro Tip: Ask the home improvement store to cut your boards to length. They do it at low or no cost. You only need a drill at home to complete the build.
Step 1: Measure Your Space
Measure the length of the back of your sofa. Write that number down. This becomes your tabletop length.
Next, measure the height of the sofa back. Your table should match or sit just slightly taller. For most sofas, that target height falls between 28 and 32 inches.
Check the gap between your sofa and the wall. The table needs to fit in that space without tipping forward. A depth of 8 to 10 inches works well for most gaps.
Step 2: Cut the Wood
Cut your tabletop board to the length of your sofa. If the board runs short, join two boards side by side with wood glue and pocket screws. Clamp them flat while the glue sets.
Cut the legs to your target height, minus 3/4 inch for the tabletop thickness. For a 30-inch target height, cut the legs to 29.25 inches. Measure twice before each cut.
Step 3: Build the Legs
You have two options for the legs. A single 2×4 is the simplest. A box leg, built from two 2×4 pieces glued into an L-shape, adds strength and looks cleaner from the front.
Always drill pilot holes before driving screws. This stops the wood from splitting along the grain.
Build two legs for a table under 6 feet long. Add a third leg in the center for any table over 6 feet.
Step 4: Attach the Legs to the Top
Lay the tabletop face down on a flat surface. Position the legs at each end. For a long table, place the center leg at the midpoint.
Apply wood glue to the top of each leg. Press each leg against the underside of the tabletop. Clamp and wait 10 minutes. Then drive two screws up through each leg into the tabletop for a firm hold.
Step 5: Add a Support Rail
A support rail runs between the legs along the back underside of the table. It stops the legs from wobbling.
Cut a 1×3 board to the inside distance between your outer legs. Attach it horizontally across the back of the legs with screws and wood glue.
For a table over 6 feet long, add diagonal bracing from the center leg to each outer leg. This locks everything in place and removes all side-to-side movement.
Step 6: Sand and Finish
Sand all surfaces with 80-grit sandpaper first. Move to 150-grit, then finish with 220-grit. This three-step process leaves the wood smooth enough for an even coat of stain or paint.
Fill any visible screw holes with wood filler. Let it dry completely, then sand the patches smooth.
Apply stain with a foam brush, working with the wood grain. Let it sit for 10 to 15 minutes, then wipe off the excess with a clean cloth. Add a second coat for a deeper color. Finish with two coats of polyurethane. Sand lightly between coats with 220-grit paper.
How to Add a Built-In Outlet
A built-in outlet turns your sofa table into a charging station. You cut a small hole in the tabletop and install a recessed outlet box. The cord runs down the back and plugs into a wall outlet.
Here is how to do it:
- Mark the outlet location near one end of the tabletop, where it will stay hidden behind the sofa.
- Use a jigsaw to cut the hole to match the outlet box size.
- Feed a recessed outlet box or power strip extension through the hole from below.
- Snap the outlet box into place and secure it with the included hardware.
- Run the cord down the back of the table. Plug it into a standard wall outlet.
If you want a hardwired outlet rather than a plug-in version, hire a licensed electrician. Wiring into a home circuit requires a permit in most areas.
DIY Sofa Table Styles to Try
You can build a sofa table in almost any style. The legs and finish do most of the work. Here are four popular options:
- Farmhouse: Use 2×4 lumber and paint it white or light gray. Square legs with chunky proportions give this style its look.
- Industrial: Combine a wood plank top with black metal pipe legs. Galvanized pipe, flanges, and T-fittings cost under $30 and install with no cutting at all.
- Modern: Use oak or poplar with slim hairpin legs. Hairpin legs come pre-made and screw on in minutes. A natural oil finish keeps the look clean.
- Rustic/Reclaimed: Use salvaged boards with natural knots and rough grain. Sand lightly and finish with a clear top coat to keep the character of the wood.
How to Add Extra Functionality to Your Sofa Table
Adding features does not require advanced skills, just a bit of extra planning before you start building. Let’s look at ways to boost your table’s everyday use.
1. Add Open Shelves
Open shelves give you a spot for books, baskets, or small decorative items. They also make it easy to grab what you need without digging through drawers. Keep frequently used items on the shelf and save the tabletop for display pieces.
2. Include Drawers or Hidden Compartments
Drawers are perfect for storing remotes, chargers, and other small living room essentials. Hidden compartments keep clutter out of sight while still being easy to reach. This is a great option if you like a clean, tidy look.
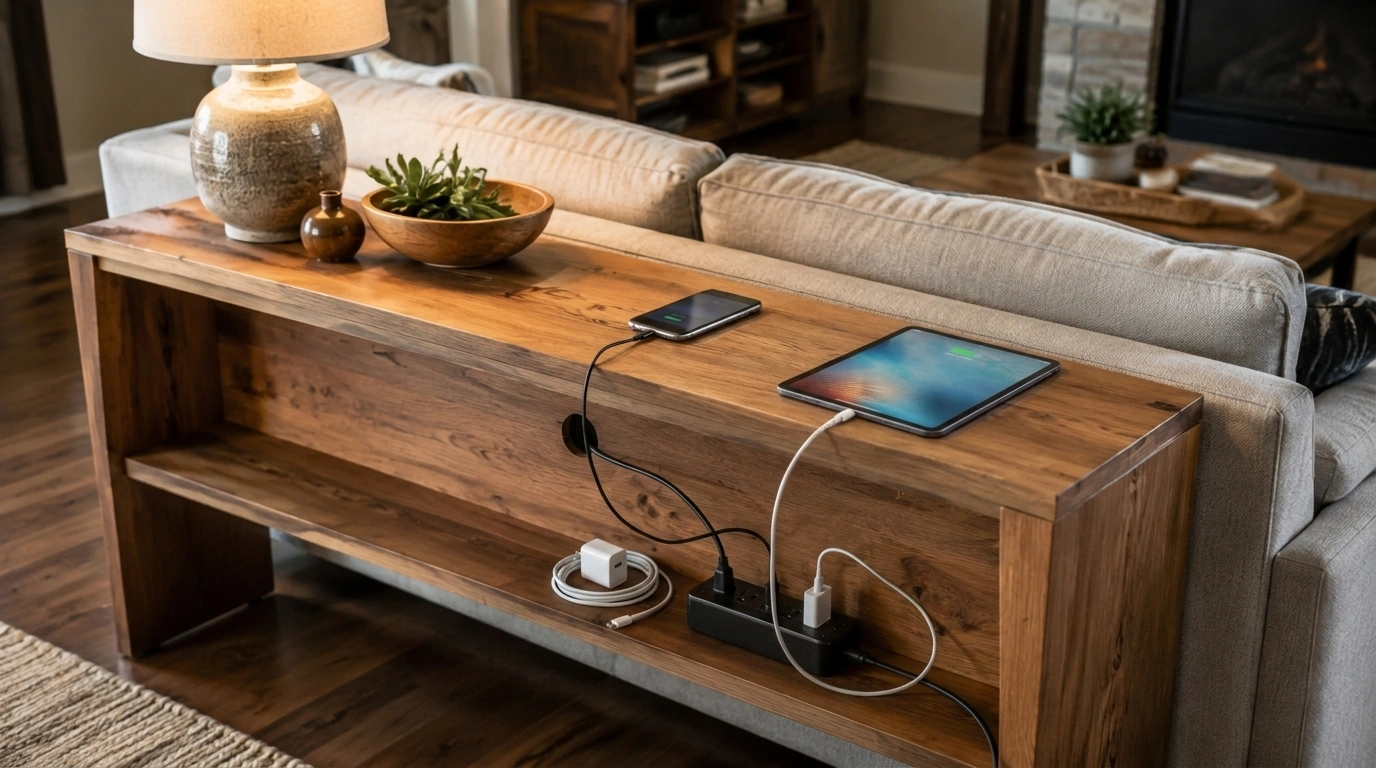
3. Create a Charging Station
Drill a small cable hole in the back of your table to keep wires organized and out of view. Install a simple charging strip or outlet if you want a built-in station. This keeps your phone charged without cluttering the tabletop.
4. Add Lighting Features
A small table lamp adds both light and style to your setup. LED accent lighting underneath the table creates a cozy glow in the evening. Either option makes the space feel warmer and more inviting.
How to Style Your DIY Sofa Table
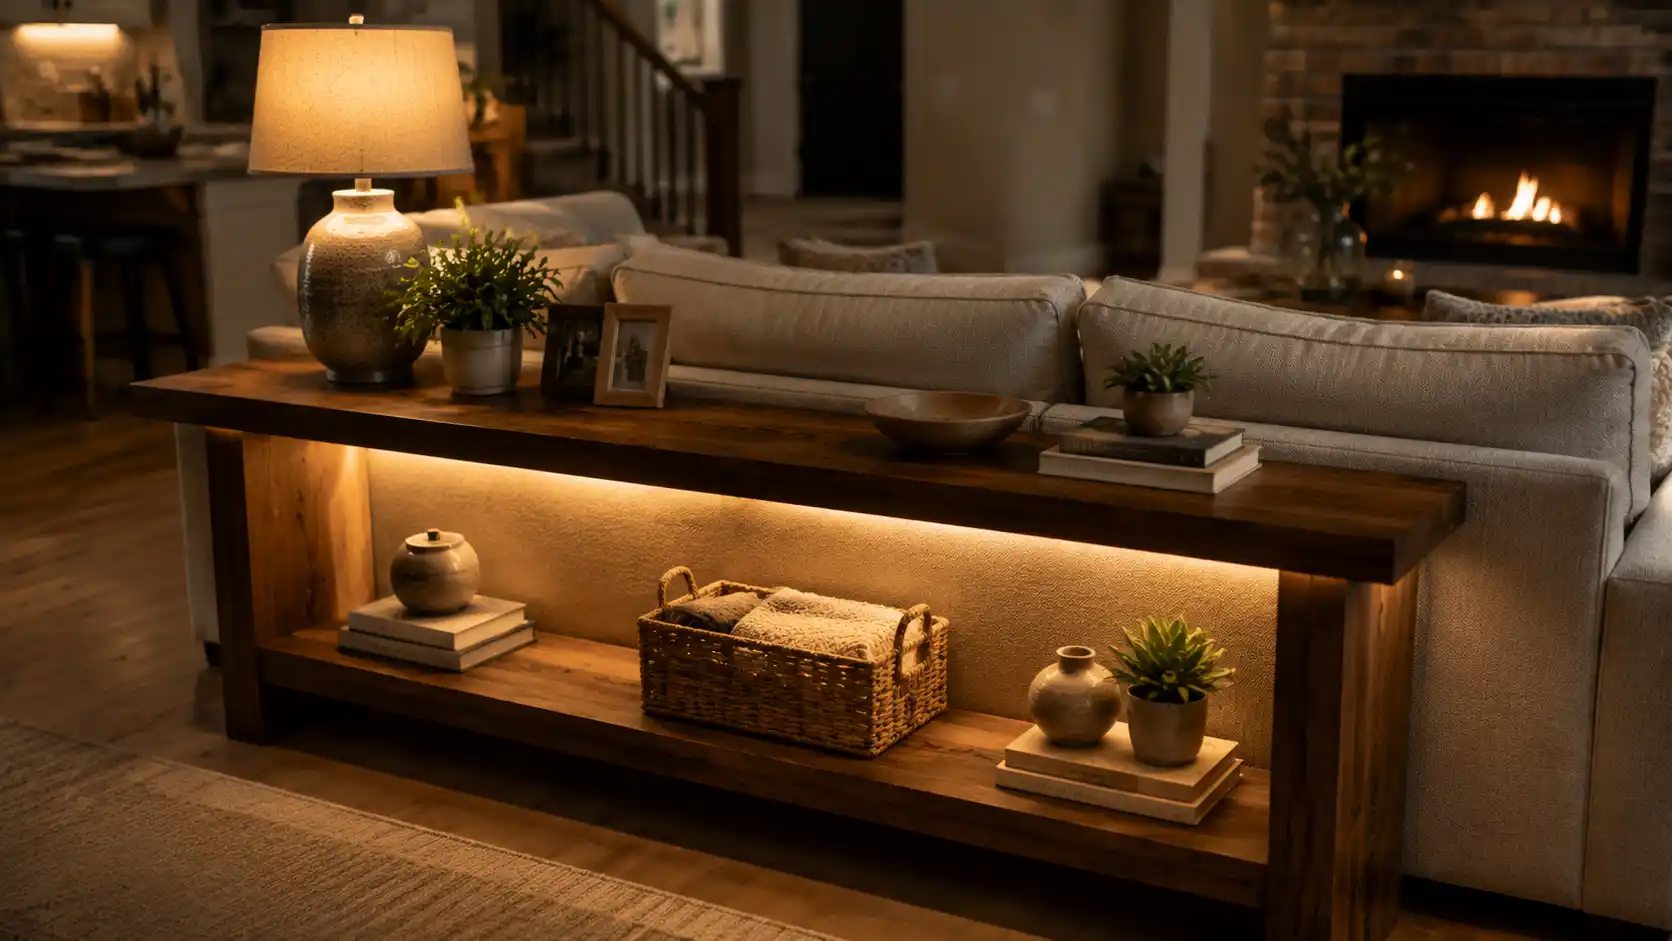
Keep the tabletop from looking crowded. Three to five items work best for most sofa table setups.
- Place a lamp at each end for light behind the sofa
- Use a small tray in the center for a plant and a candle
- Leave one open section for drinks and remotes
- Add a small stack of books or a simple bowl for everyday items
If the table is visible from across the room, keep items at or below the height of the sofa back. Tall objects block the line of sight and make the space feel closed off.
Building Advice for a Long-Lasting Sofa Table
After building a few of these tables myself, I have picked up some habits that make a real difference.
Always measure twice before you cut once. It sounds simple, but it saves more wood and frustration than any other tip on this list.
Take your time during preparation, since a well-planned build goes together much faster. Choose sturdy construction over anything overly complicated, especially for your first project.
Test the stability of your frame before adding a finish, and always protect the surface to ensure it can handle daily use.
Think about how your family actually uses the space, whether that means holding a heavy lamp or standing up to little hands reaching for the remote.
Final Thoughts
A DIY sofa table gives you a custom piece that fits your space and costs a fraction of retail prices. With basic lumber, a drill, and a few hours, the build is done in a single afternoon.
Start with pine if this is your first woodworking project. It is forgiving, budget-friendly, and stains well in any color.
Once the table is finished, add a lamp, a small plant, and a spot for the remote. The space behind your sofa does not have to sit empty. A simple build like this one makes it feel useful and personal.
Frequently Asked Questions
How Much Space Should Be Left Between a Sofa and a Sofa Table?
Leave about 1 to 2 inches of clearance so the table sits snugly against the couch without pushing it forward.
Can You Build a Sofa Table without Power Tools?
Yes, hand tools like a hand saw and screwdriver can work, though the process will take a bit longer.
Can a Sofa Table Support Heavy Items Like a TV or Large Decor?
A sturdy frame with strong joints can hold a TV or heavy decor, but plan the support structure with that weight in mind from the start.