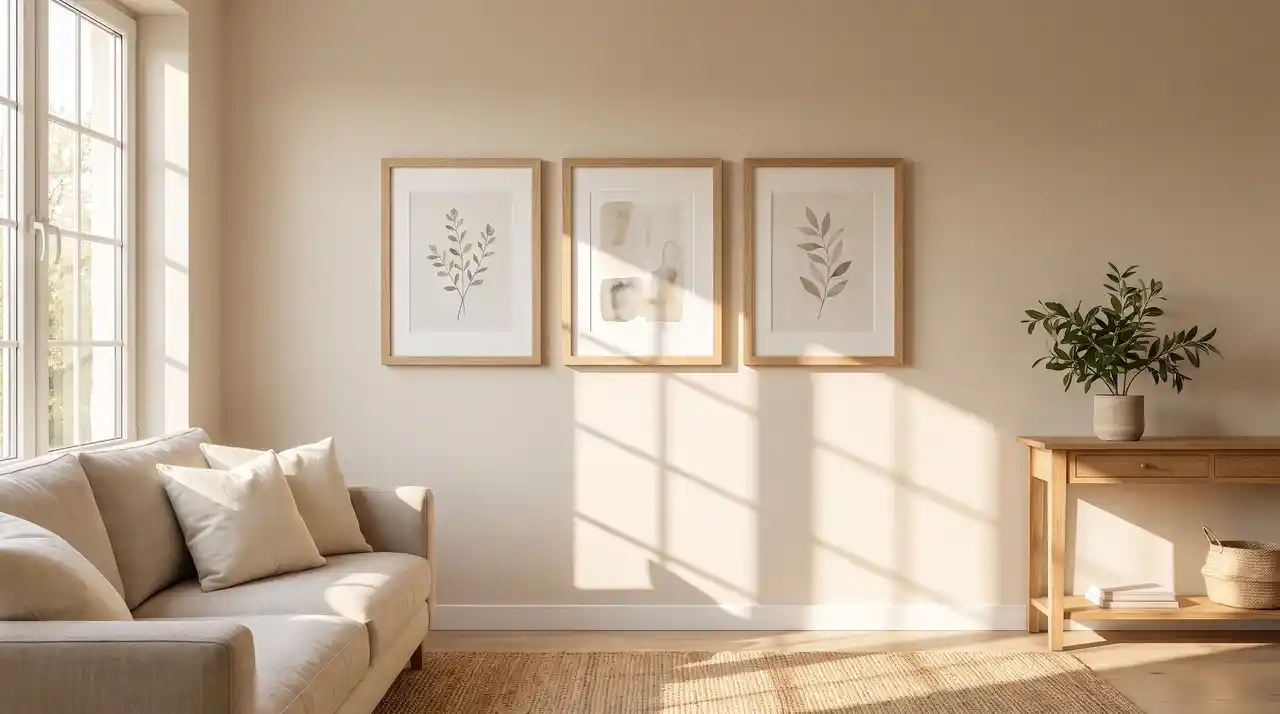
How to Hang Pictures on a Wall Easily With Perfect Placement

The nail goes in the wrong spot on the first try. You measure once, tap the hammer, and the hole ends up half an inch too high.
Then you try again. Now there are two holes, and the frame still looks crooked. It does not have to go that way.
Learning how to hang pictures on a wall is easier when you know the right method before you start.
This blog covers every approach: nails, the picture hanging hack with tape, and no-nail options for renters and delicate walls.
By the end, you will know exactly what to do before the hammer ever comes out. No guessing. No extra holes.
What Do You Need to Hang a Picture on The Wall?
Before you start, gather the right tools. Having everything ready saves you from stopping mid-task to find a level or hunt for wall anchors.
Here is what you need for most projects:
- Hammer and nails (standard picture nails or finishing nails).
- Painter’s tape or masking tape.
- Tape measure.
- Pencil
- Level (or a free level app on your phone).
- Stud finder (for heavier frames over 20 lbs).
- Wall anchors (for drywall when no stud is nearby).
- Drill (for plaster, brick, or concrete walls).
How to Hang Pictures on a Wall Using Nails
Nails are still the most reliable method for most frames. When done correctly, a nail holds a frame straight, secure, and level for years.
The key is knowing where to place the nail before you drive it in.
Step 1: Mark Your Spot
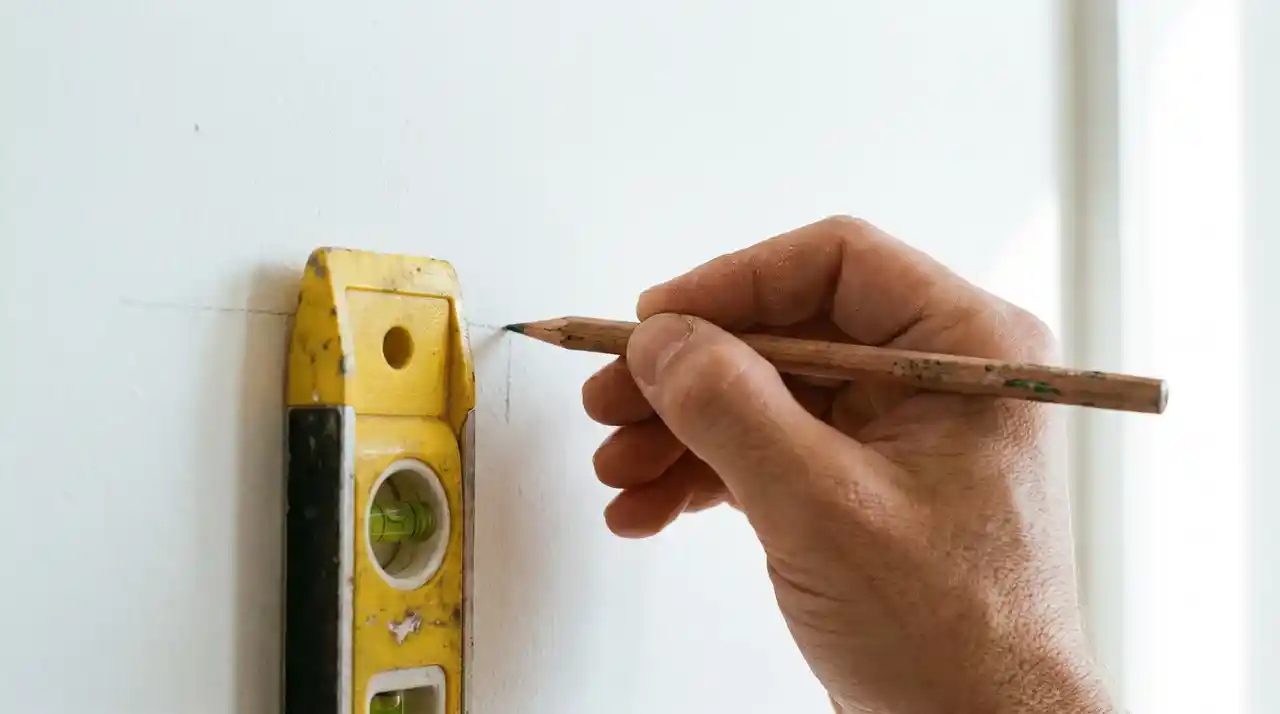
Marking before nailing saves you from putting holes in the wrong place. Take your time here; a few extra seconds of measuring prevent a lot of patching later.
- Measure 57 inches from the floor and mark it with a light pencil dot.
- Use a level or level app to draw a faint horizontal guide line.
- Mark the center point of where you want the frame to sit.
Step 2: Find a Stud or Use a Wall Anchor
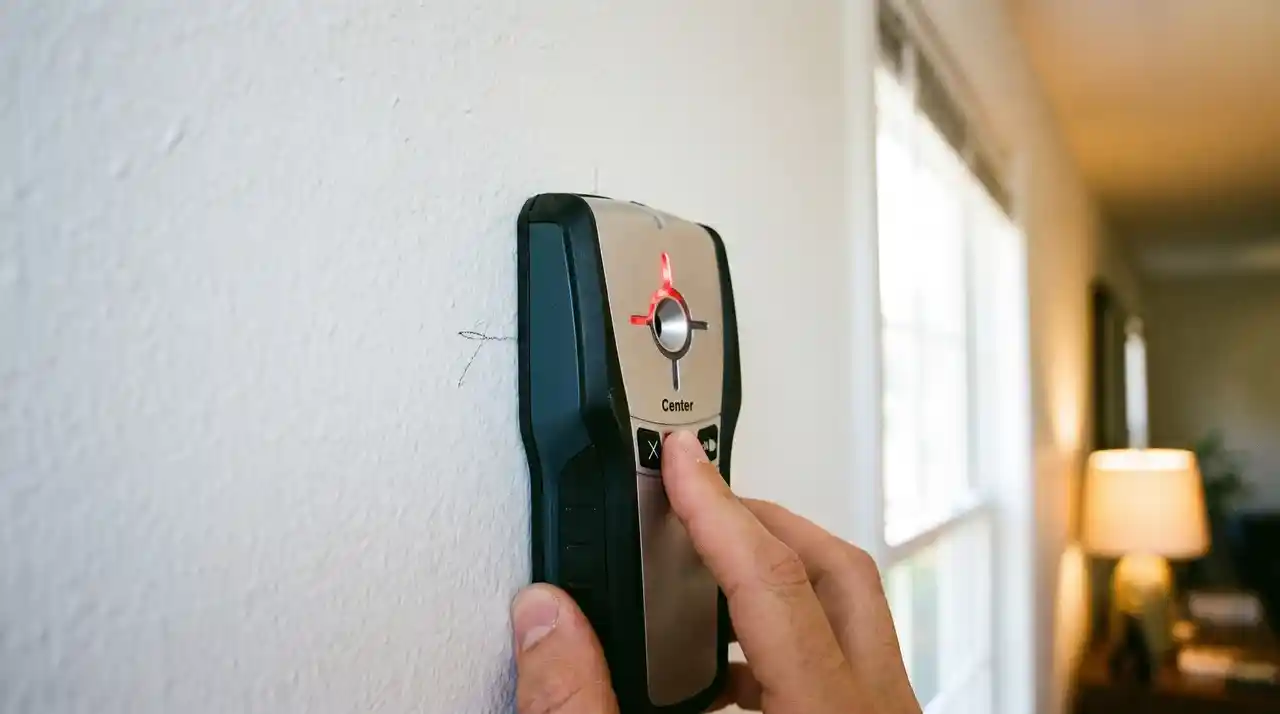
Choosing the right anchor point is the difference between a frame that holds and one that falls. This step matters most for heavier or larger frames.
- Frames under 20 lbs can go into drywall with a standard picture nail.
- Frames over 20 lbs need a wall stud or a drywall anchor for safe support.
- Use a stud finder or knock on the wall and listen for a solid (not hollow) sound.
- Mark the stud location with a pencil before nailing.
If you recently framed a canvas to display, check the total weight, frame plus canvas, before choosing between a nail and a wall anchor.
Step 3: Drive the Nail at an Angle
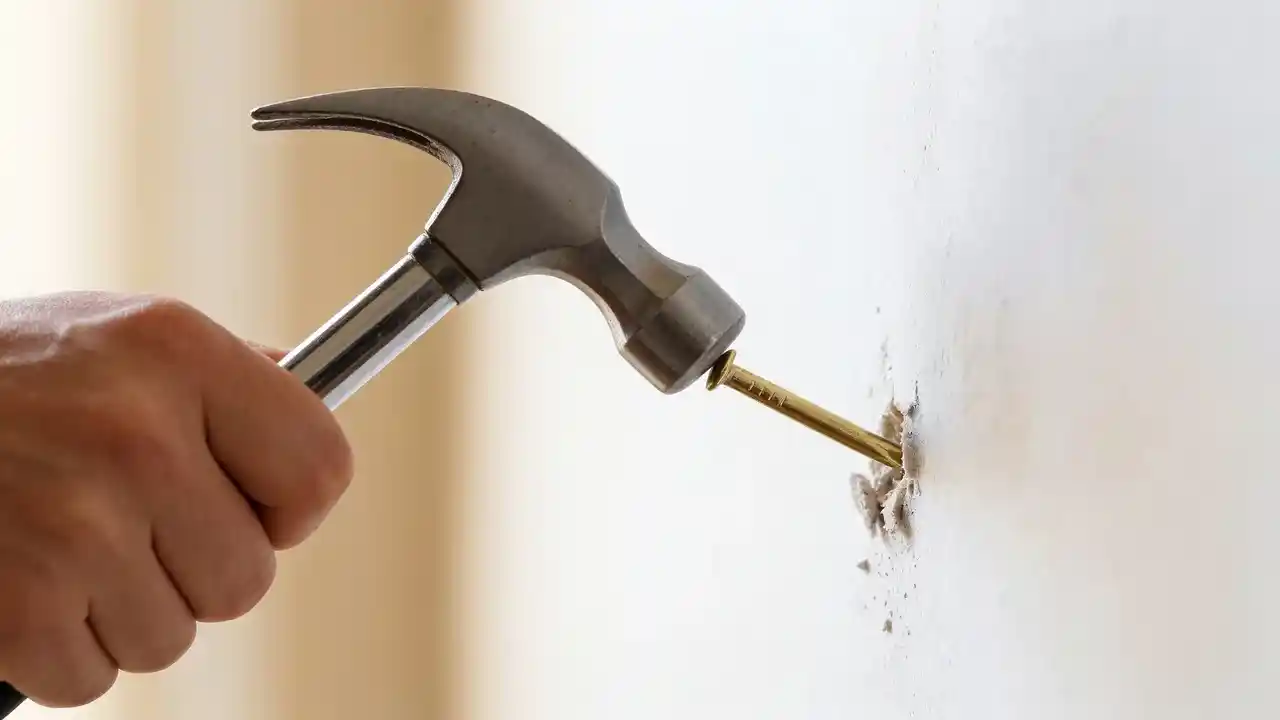
The angle of the nail affects how well it grips the wall. A straight-in nail pulls out more easily than one driven at a slight downward angle.
- Hold the nail at a 45-degree downward angle.
- Drive it gently with a hammer; no need to sink it deep.
- Leave about half an inch of the nail head sticking out to catch the frame hanger.
Step 4: Hang and Check Level
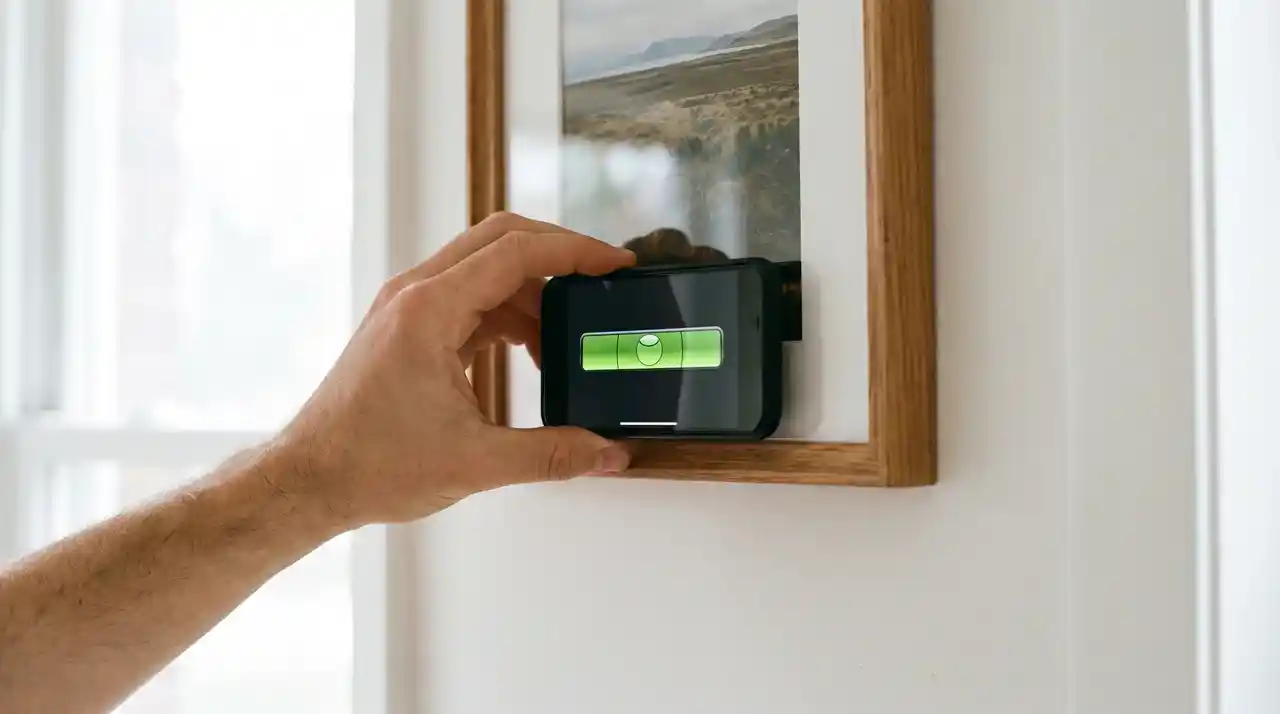
Once the nail is in, hang the frame and check before walking away. Frames often look straight up close but sit crooked from a few feet back.
- Hang the frame on the nail.
- Step back at least 5 to 6 feet and look at it from a normal viewing distance.
- Use your phone level app to double-check the angle.
- Adjust left or right until the frame sits flat and straight.
The Picture Hanging Hack with Tape
The picture hanging hack with tape is one of the simplest ways to get nail placement right, especially for frames with two hooks.
Instead of measuring twice and still getting it wrong, the tape does all the work for you.
What Type of Tape Should You Use:
Not all tape works for this hack. The wrong tape can damage your wall or fail to hold its position long enough to mark your nail spots.
- Painter’s tape is the best option; it sticks well and peels off cleanly.
- Masking tape serves as a backup if painter’s tape is unavailable.
- Avoid regular Scotch tape; it leaves sticky residue on painted walls.
- Do not use duct tape or packing tape on any wall surface.
Step-by-Step: The Painter’s Tape Method
This method works for any frame with two hooks or a sawtooth hanger.
- Tear a strip of painter’s tape long enough to span both hooks on the back of the frame.
- Press the tape flat across the back, directly over both hook positions.
- Mark each hook location on the tape with a pen or marker.
- Peel the tape off the frame carefully, keeping the marks intact.
- Stick the tape onto the wall exactly where you want the frame to hang.
- Hold a level against the tape and adjust until it reads straight.
- Hammer your nails through the pen marks on the tape.
- Tear the tape away and hang your frame.
The Toothpaste Transfer Trick
This trick works well for sawtooth hangers or single-hook frames.
- Put a small dab of white toothpaste on each hook or sawtooth hanger.
- Hold the frame against the wall in the exact position you want it.
- Press the frame firmly against the wall for a few seconds.
- Pull the frame away. The toothpaste leaves a clear mark on the wall.
- Drive your nail directly into the toothpaste mark.
How to Hang Pictures on a Wall without Nails
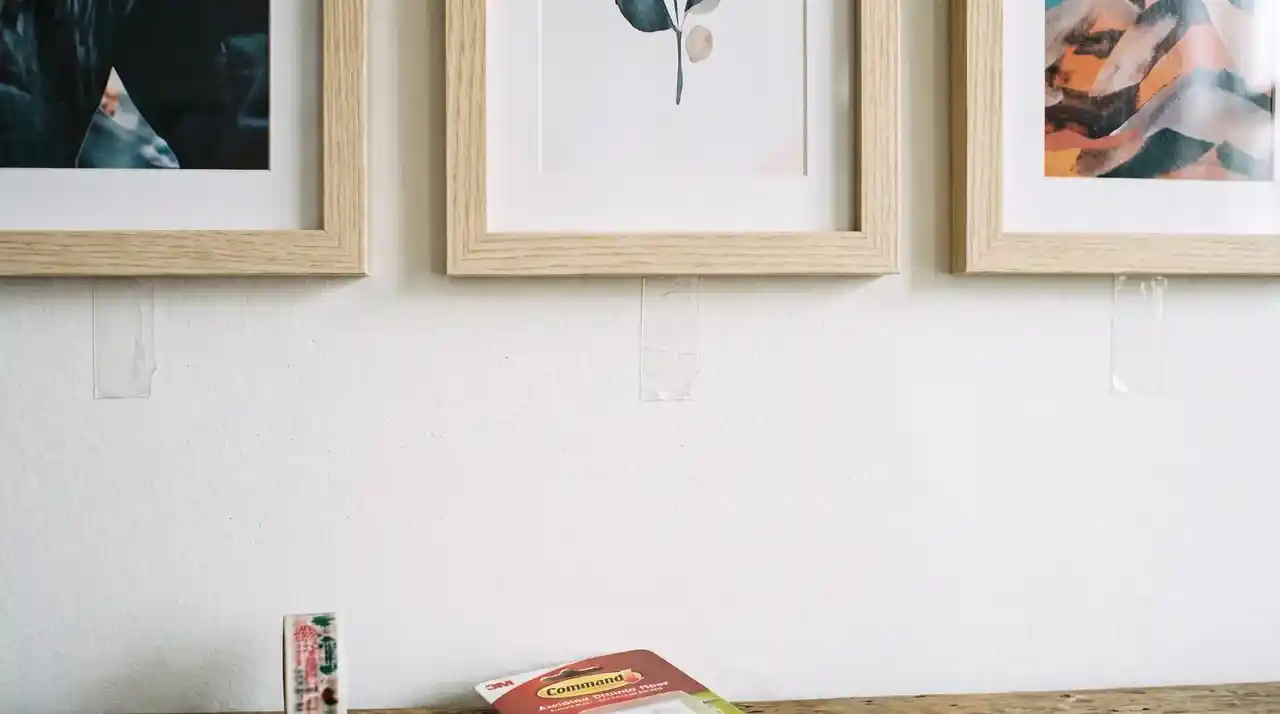
No nails means no options. Renters, apartment dwellers, and anyone with delicate walls can hang pictures and art above any space cleanly using the methods below.
The key is matching the right method to the weight of your frame.
| Method | Best For | Weight Limit |
|---|---|---|
| Adhesive Strips | Framed photos, small art | Up to 16 lbs |
| Washi Tape | Unframed prints, paper photos | Very lightweight only |
| Mounting Putty | Keeping frames level | Lightweight accent use |
Adhesive Strips (Command Strips)
Adhesive strips are the most popular no-nail option for good reason. They hold well when applied correctly and leave no wall damage when removed.
- Clean the wall with rubbing alcohol before applying.
- Press the strip firmly against the wall for 60 seconds.
- Wait 1 hour before hanging the frame.
- Do not use on wallpaper, textured walls, or brick.
- Check the weight rating on the package before buying.
Washi Tape for Lightweight Prints
Washi tape works well for decorative photo displays, especially in kids’ rooms or rental spaces where you want to change things often.
- Apply tape to all four corners of the print.
- Press firmly against the wall and smooth out any air bubbles.
- Works best on clean, flat, painted surfaces.
- Easy to reposition, just peel and re-stick.
- Not suitable for glass frames or anything with significant weight.
This method also works for repurposed picture frames that are light and unglazed; just confirm the total weight stays under the tape’s limit.
Mounting Putty
Mounting putty is a small but useful tool. Most people use it as a finishing touch rather than a primary hanging method.
- Press a small pinch behind each bottom corner of the frame.
- It stops the frame from tilting forward or swinging side to side.
- Works alongside nails for extra stability on heavier frames.
- Does not leave marks on most painted walls when removed carefully.
Common Mistakes to Avoid when Hanging Pictures
Knowing what goes wrong helps you skip the problems entirely. These are the most common errors and what to do instead.
-
Hanging frames too high. The center of the frame should sit at 57 inches from the floor, not the top edge. Measure from the center, not the top.
-
Using one nail for a heavy frame. Frames over 20 lbs need a stud or a wall anchor. One thin nail in drywall will not hold for long.
-
Skipping the level. A frame that looks straight up close often sits crooked from a few feet away. Always check with a level before you finish.
-
Leaving a large gap above the sofa. More than 8 to 10 inches between the sofa top and the frame bottom makes the wall look disjointed.
-
Using the wrong tape. Regular Scotch tape damages painted walls. Always use painter’s tape for the picture hanging hack with the tape method.
-
Putting adhesive strips on wallpaper. They pull the surface off when removed. Use chalk marks and nail carefully instead.
-
Not measuring the distance from the top of the frame to the wire. This measurement tells you how far below your pencil mark the nail should go. Without it, the frame will hang lower than you planned.
Conclusion
Learning how to hang pictures on a wall comes down to knowing your wall, choosing the right method, and measuring before you nail.
The 57-inch rule handles height. The picture hanging hack with tape handles placement. Wall anchors handle weight. And paper templates handle gallery walls.
None of this requires special skills. It just requires a few minutes of prep that most people skip. Start with one frame. Use painter’s tape to mark your spots.
Check the level before you call it done. Get that one right, and every wall after it gets easier. Your walls deserve more than crooked frames and patched-over holes.
Now you have everything you need to get it right the first time.
Frequently Asked Questions
What is the Best Height to Hang Pictures on a Wall?
The center of the frame should sit 57 inches from the floor. This is the standard used by most designers and galleries because it matches the average standing eye level for most people.
How do I Hang a Heavy Picture Safely?
Find a wall stud with a stud finder or use a drywall anchor rated for the frame’s weight.
Can I Hang Pictures on a Plaster Wall without cracking it?
Yes, but always drill a small pilot hole first. Use a masonry drill bit if the plaster sits over brick. Go slow and avoid hammering directly into plaster without pre-drilling.