How to Sew Curtains: Complete Diy Guide
Making your own curtains can feel overwhelming, but it doesn’t have to be. Many people struggle with finding the perfect window treatments that match their style and budget.
Store-bought curtains often fall short in terms of size, color, or quality. The good news is that sewing curtains at home is easier than you think.
With just basic sewing skills and the right guidance, you can create professional-looking curtains that fit your windows perfectly and complement your decor.
This guide will walk you through four curtain styles, from simple rod-pocket curtains to more detailed tab-top designs, offering options for every skill level and window type.
Essential Curtain Construction Fundamentals
Before jumping into specific curtain styles, it’s important to understand the fundamentals of curtain construction. All curtain projects share common elements that form the foundation of successful window treatments.
The key to professional-looking curtains lies in accurate measurements and consistent seam allowances. Most curtains require similar preparation steps, including pre-washing fabric, pressing seams, and creating uniform hems.
Professional Curtain Sewing: Step-by-Step Method
These proven steps ensure consistent results and professional-quality curtains every time you sew.
Tools and Materials Needed
| Category | Items Required | Purpose |
|---|---|---|
| Fabric | Pre-washed cotton, linen, or curtain fabric | Main curtain material |
| Sewing Tools | Sewing machine, scissors, measuring tape | Construction and cutting |
| Measuring Tools | Sewing gauge, ruler, water-soluble marking pen | Accurate measurements and marking |
| Pressing Tools | Iron, ironing board | Creating crisp seams and hems |
| Notions | Thread, pins, magic clips | Securing and sewing fabric |
| Optional Tools | Sewing stiletto, tube turning tool | Easier handling of small details |
Step 1: Prepare Your Fabric and Take Measurements
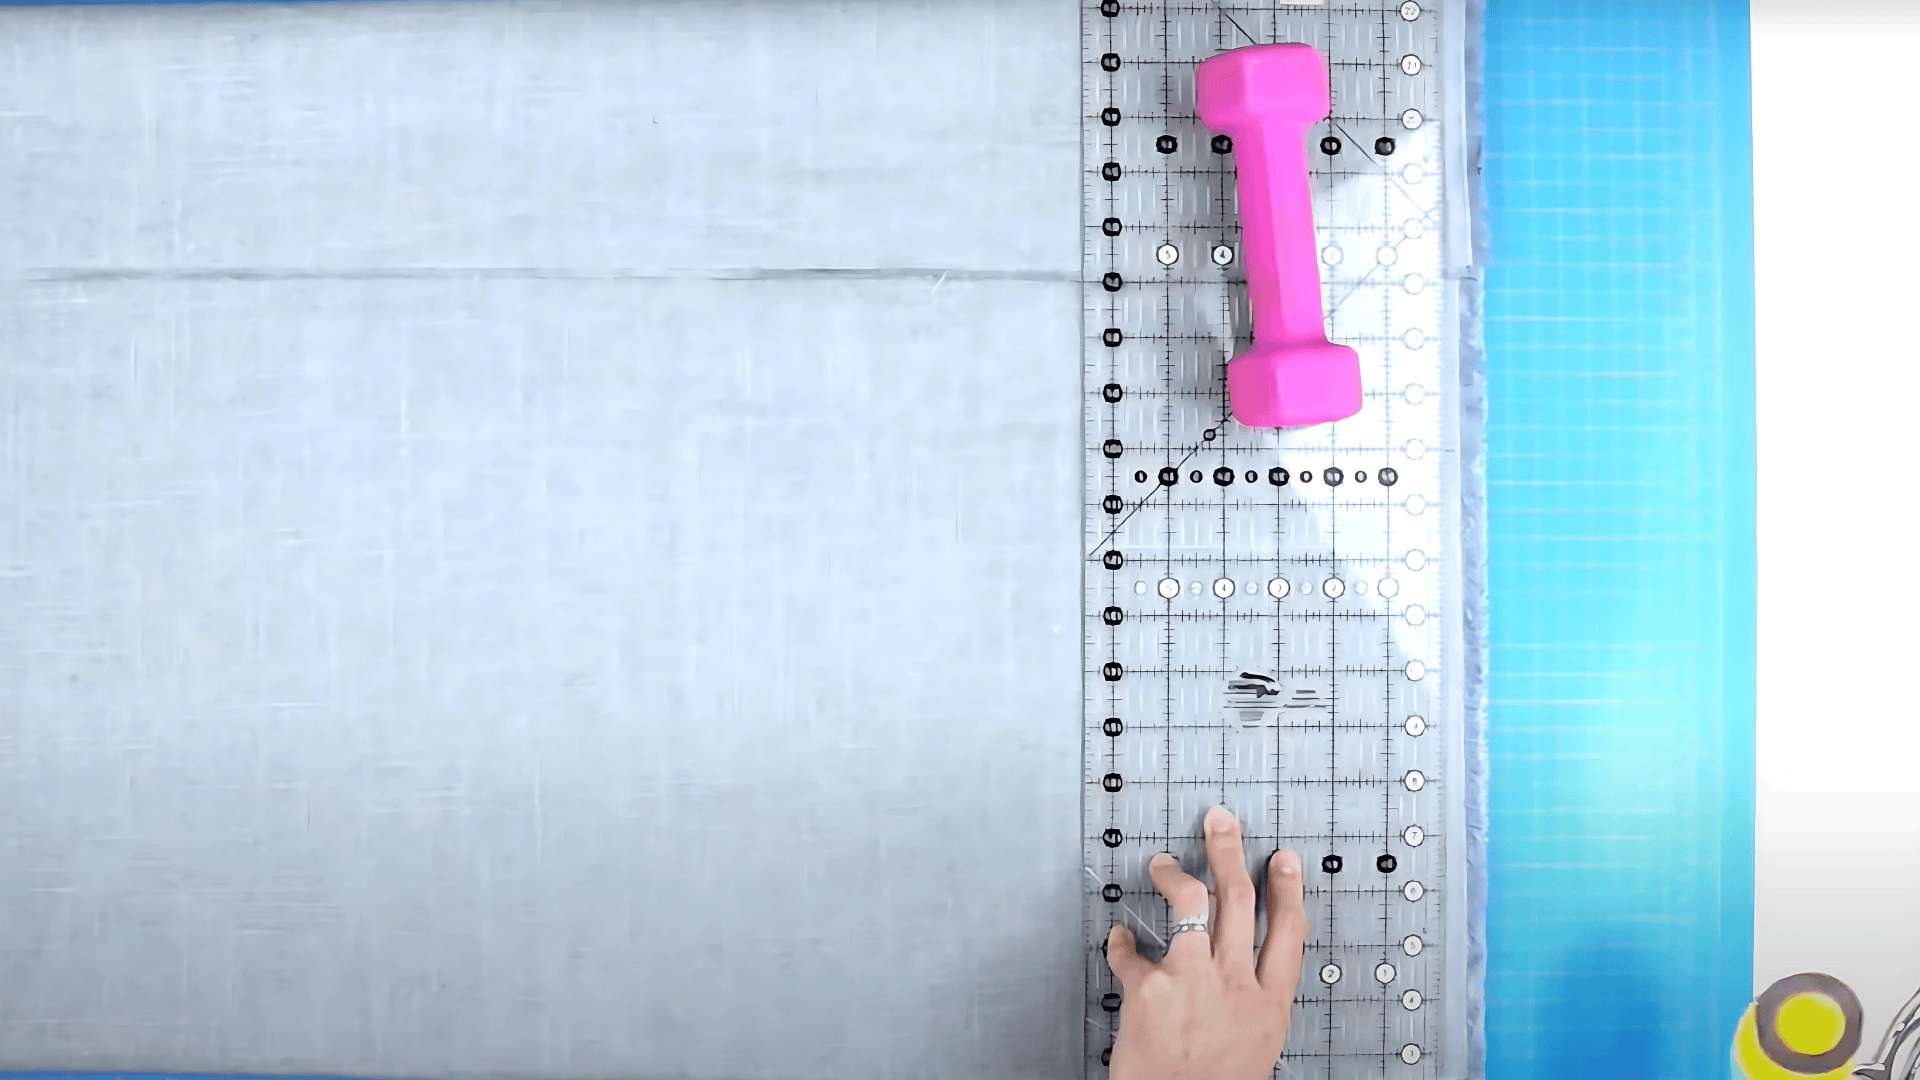
Calculate your curtain dimensions based on your window size and desired coverage. For curtain math, measure your window width and add extra fabric for fullness. Most curtains look best with 1.5 to 2 times the window width.
Materials needed in this step: Measuring tape, fabric, scissors, marking tools
Instructions:
- Pre-wash and press your fabric completely
- Cut fabric pieces, adding 4 inches to the width for side seams and 8 inches to the height for the bottom hem
- Mark cutting lines clearly before cutting
Step 2: Create Perfect Side Seams

Side seams provide the finished edges for your curtains and should be consistent throughout the entire length. This step is identical for all four curtain styles.
Materials needed in this step: Iron, sewing gauge, thread, sewing machine
Instructions:
- Fold each side edge in 1 inch and press, then fold another 1 inch again
- Sew with 1/4 inch seam allowance along the inner edge
- Start and stop with backstitches for security
Step 3: Prepare the Bottom Hem Foundation
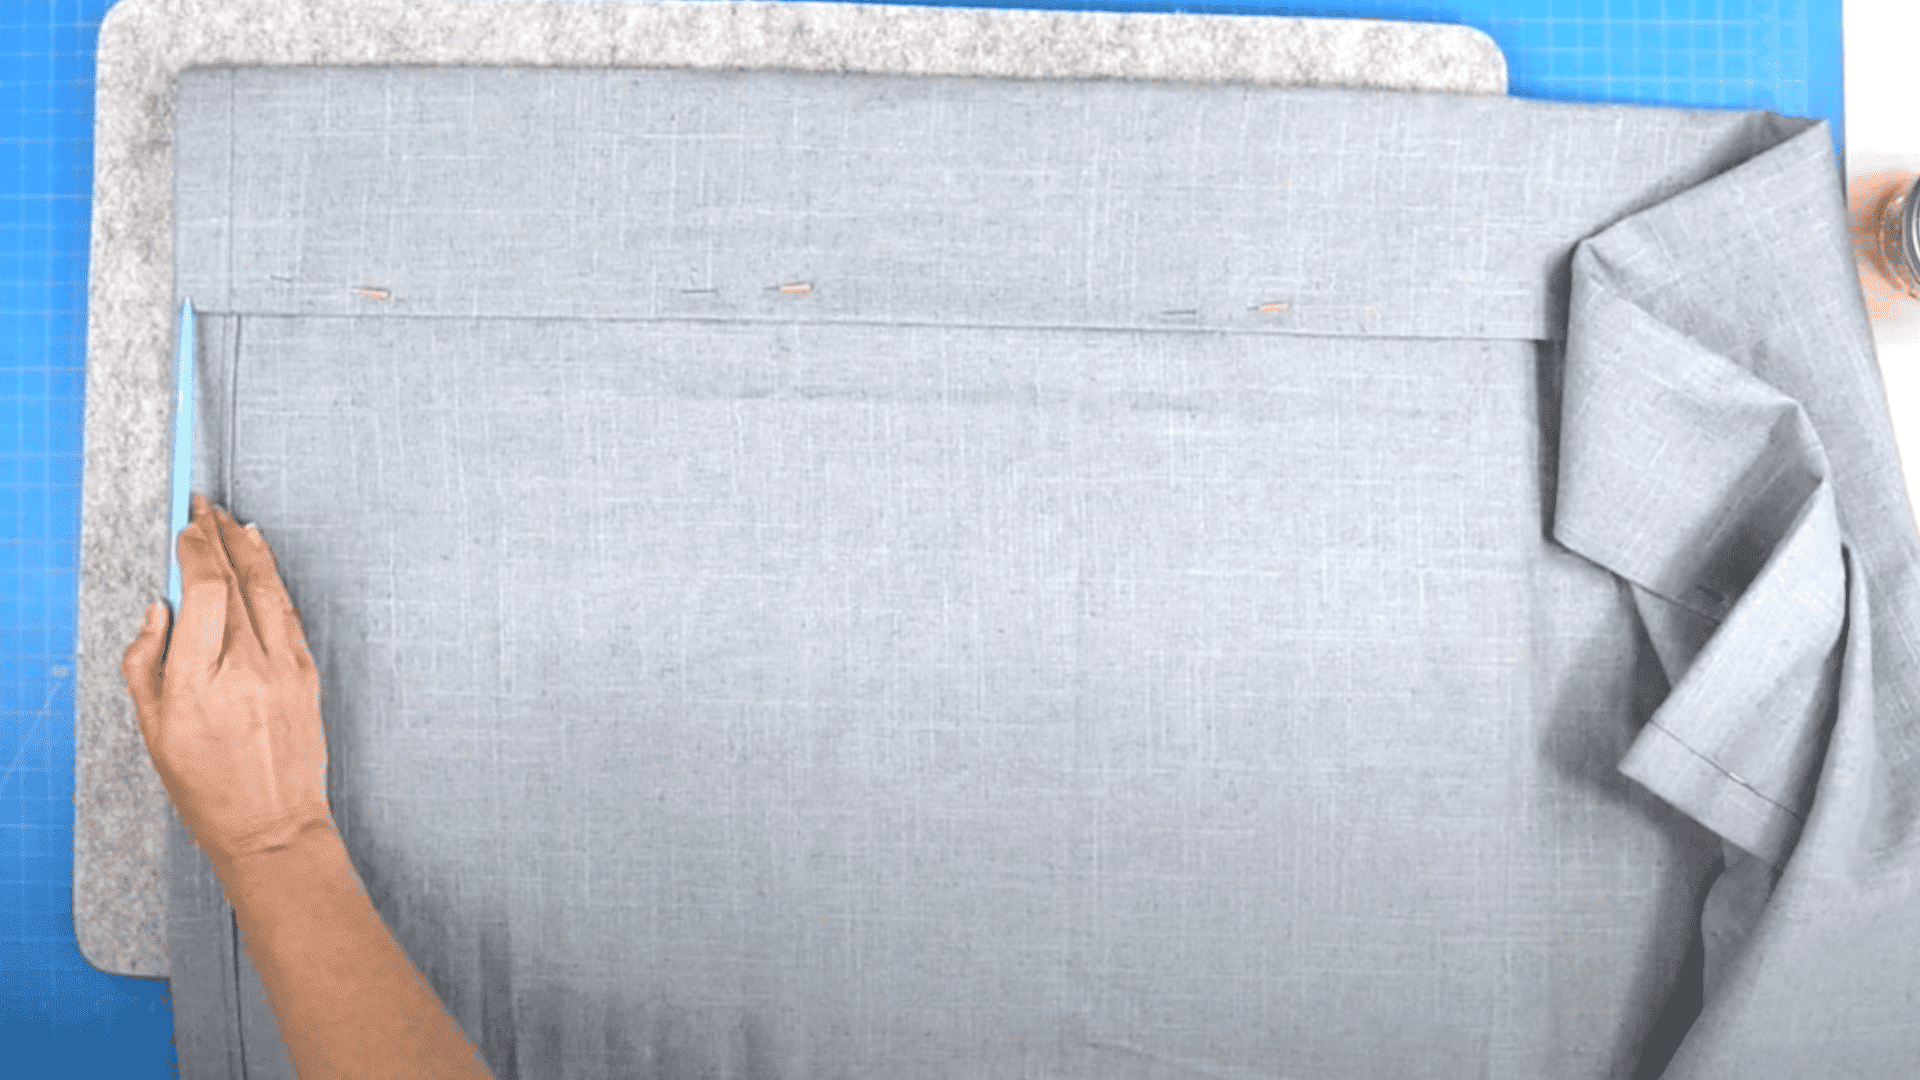
The bottom hem requires careful attention since it will be visible and affect the curtain’s overall appearance. You’ll make final hem adjustments after completing the top of your curtain.
Materials needed in this step: Measuring tape, iron, pins, sewing gauge
Instructions:
- Fold the bottom edge up 4 inches and press, then fold up another 4 inches
- Pin in place, but don’t sew yet
- Mark the final hem after hanging the curtain
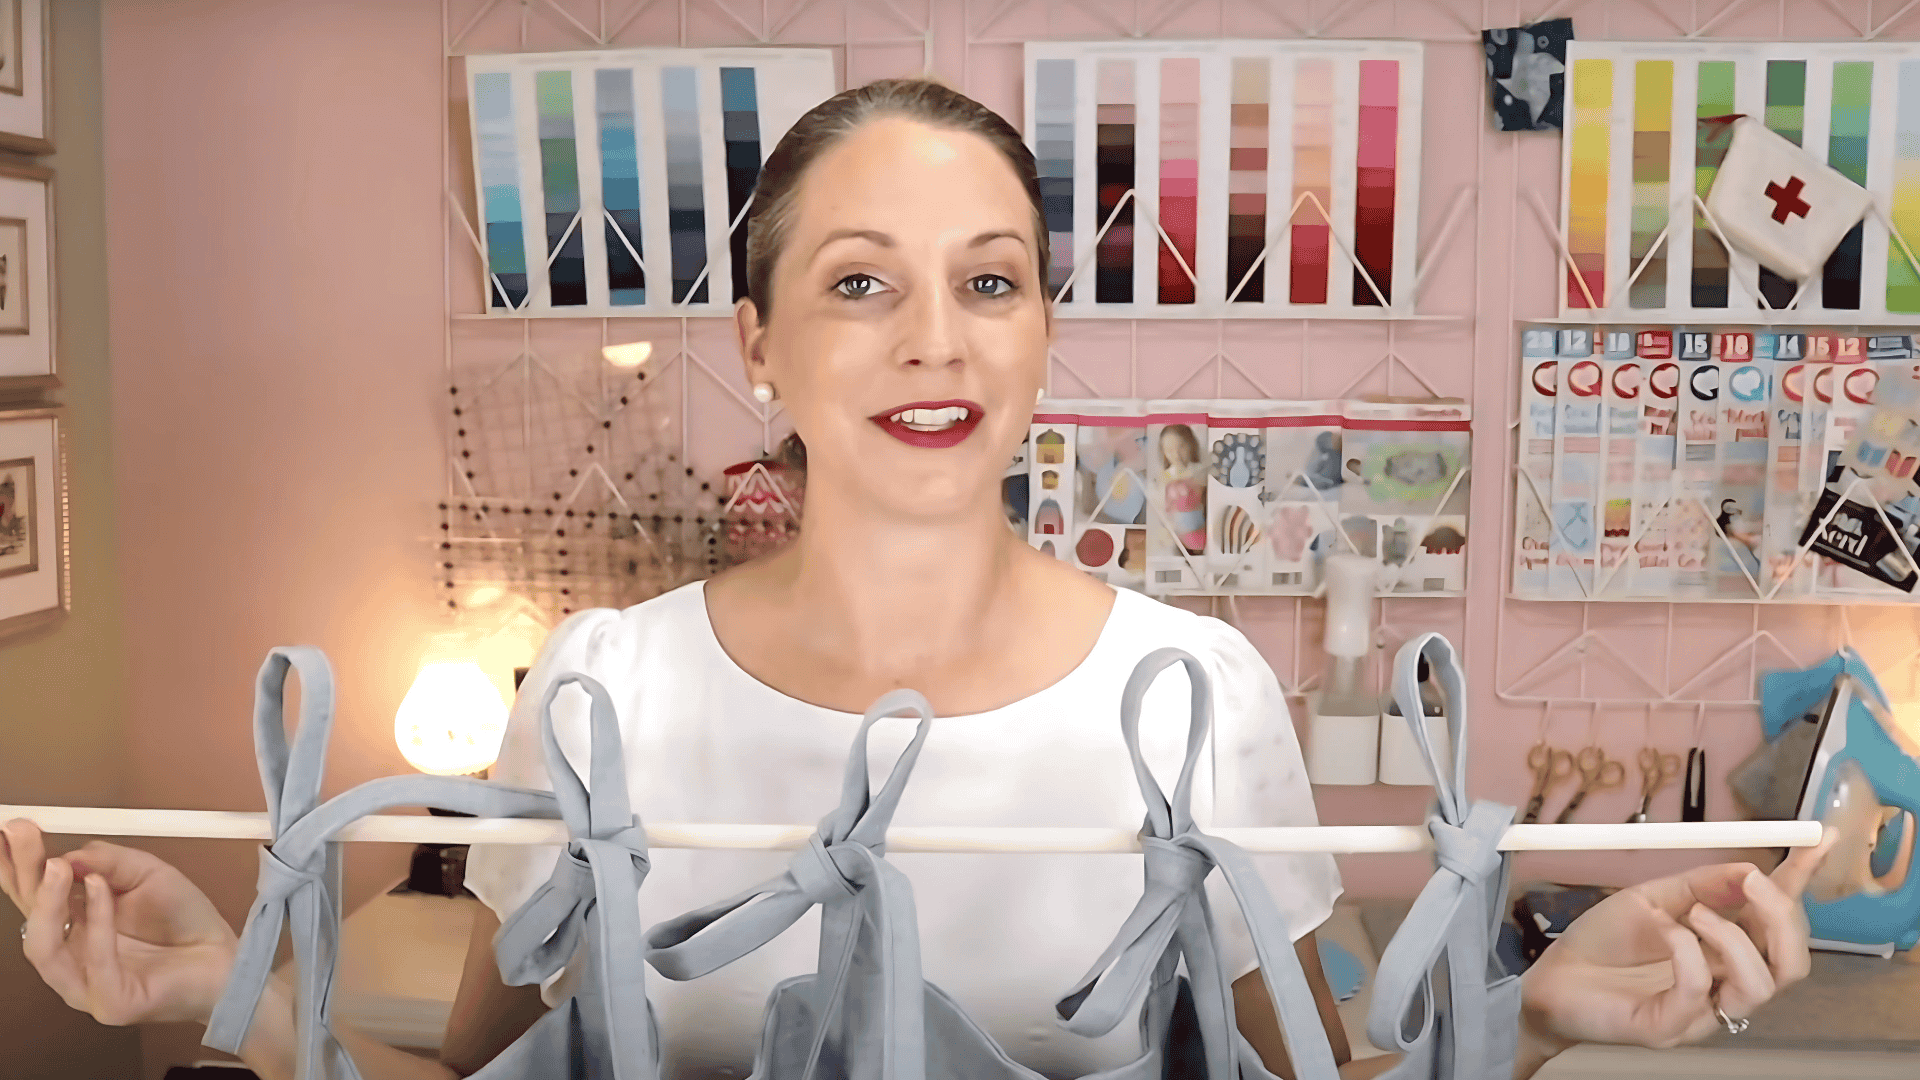
Step 4: Choose and Create Your Curtain Top Style
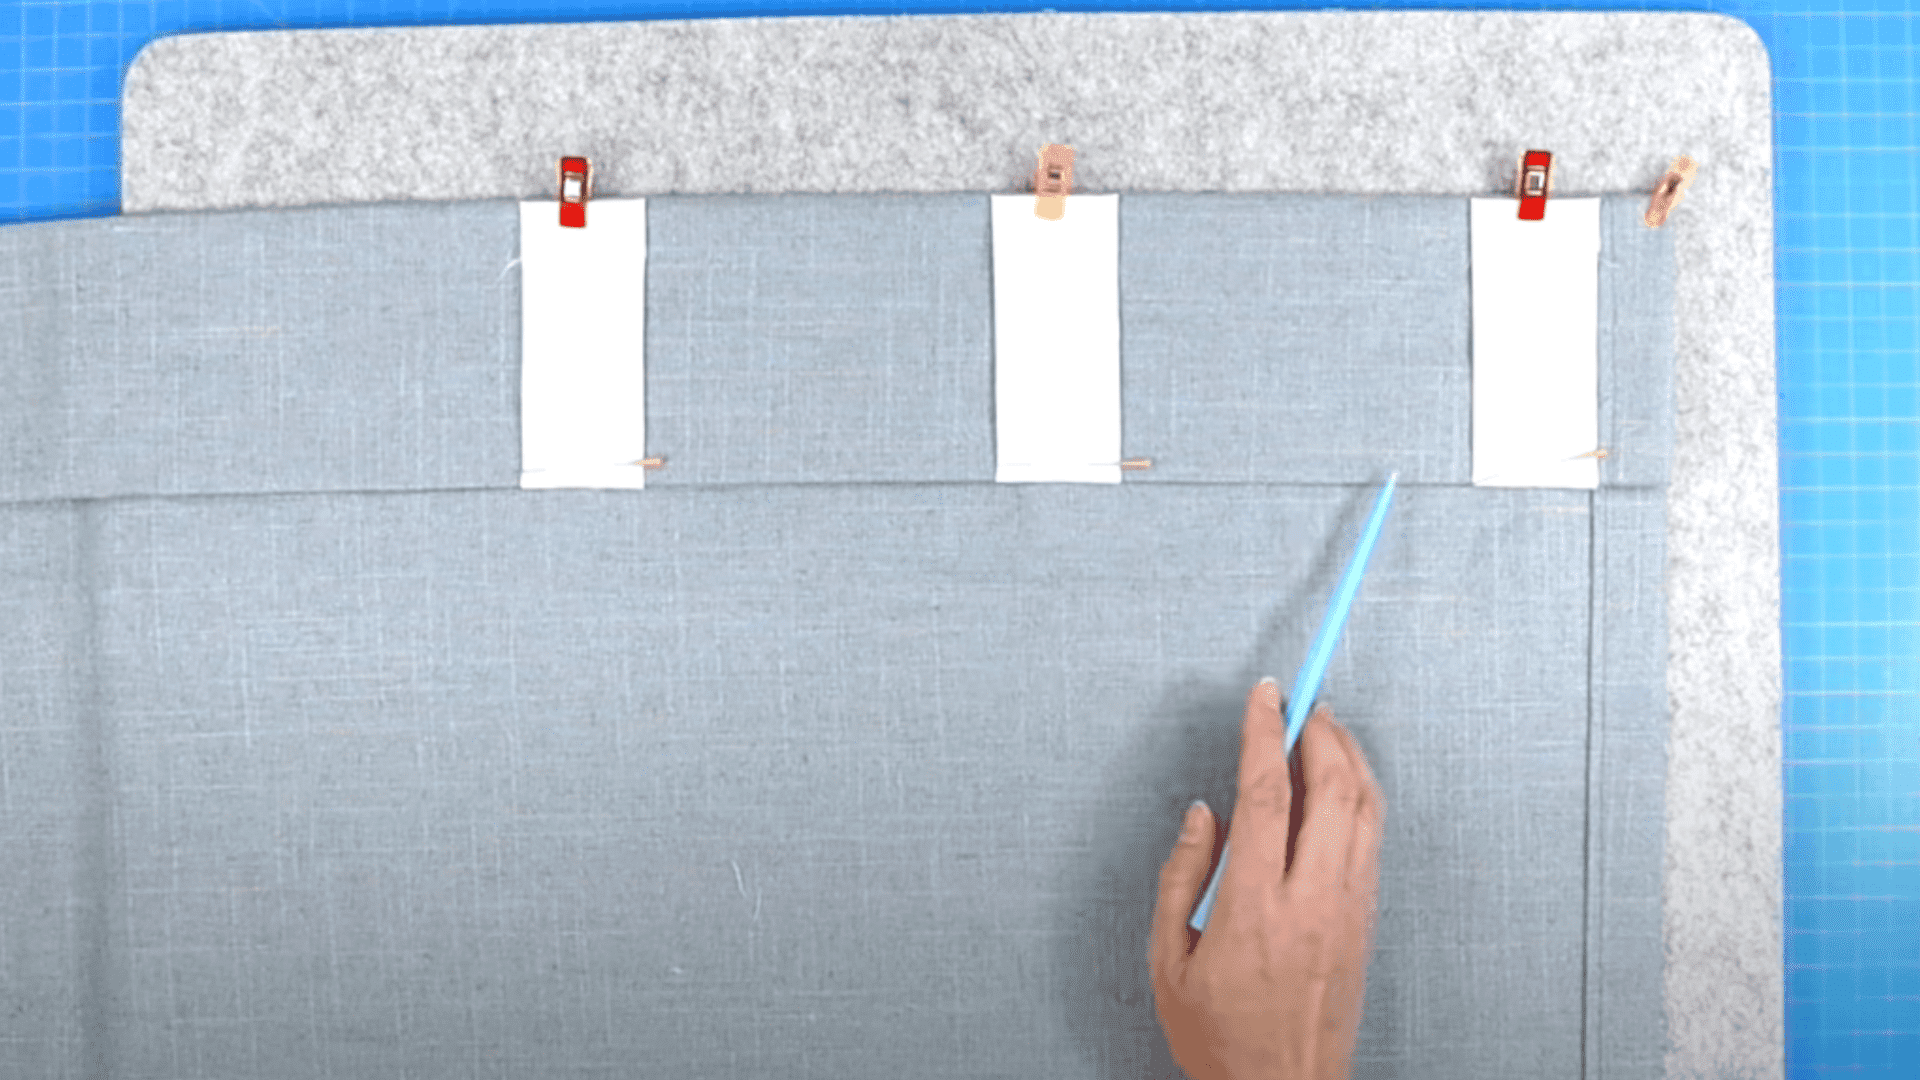
This step varies depending on which of the four curtain styles you select. Rod-pocket curtains slide directly onto the curtain rod. Back tab curtains hang behind the rod with fabric loops. Tab top curtains feature visible loops. Tie-top curtains offer adjustable height.
Materials needed in this step: Additional fabric strips (for tabs/ties), measuring tools, pins
Instructions:
- Cut additional fabric pieces based on the chosen style
- Follow specific construction steps for your selected method
- Create consistent spacing between tabs or ties
Step 5: Complete the Top Attachment Method
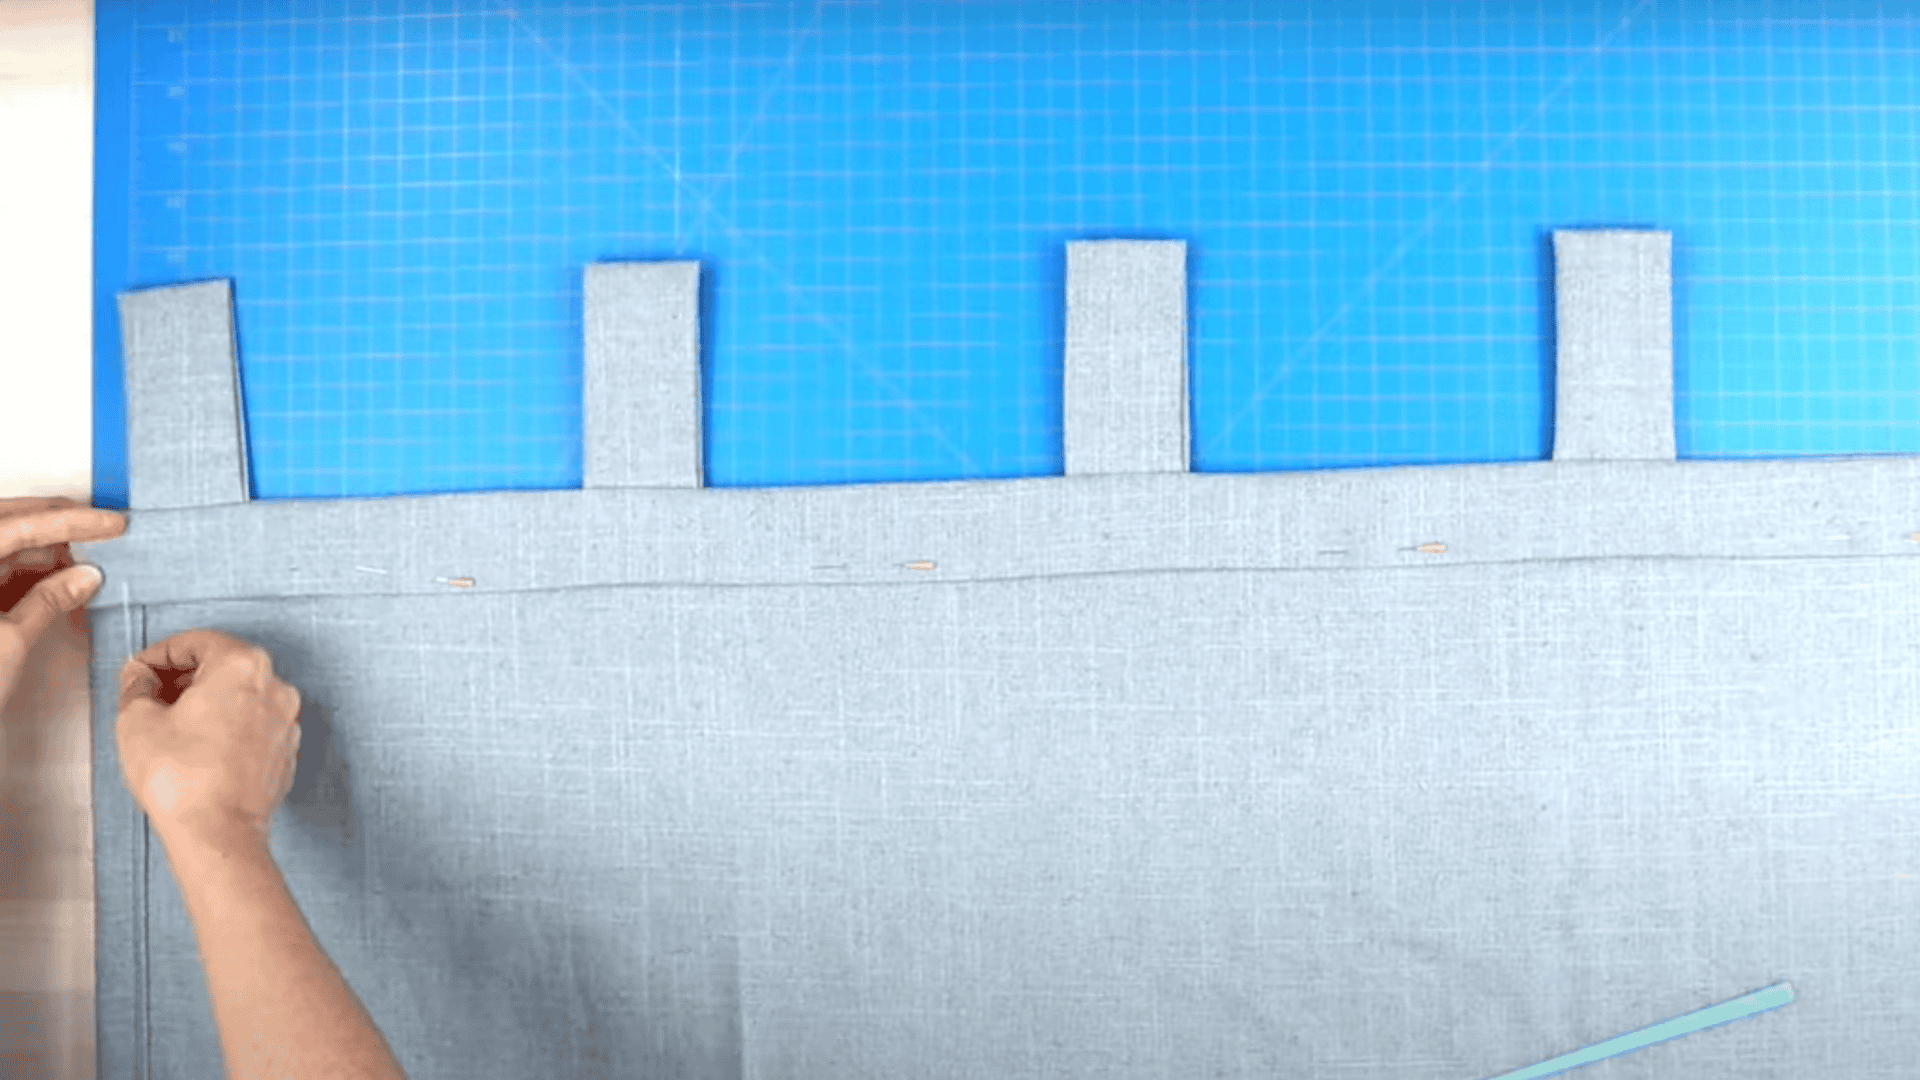
Once you’ve created your chosen top style elements, you need to attach them to make a functional hanging system properly. The attachment method varies between styles, but all require careful alignment.
Materials needed in this step: Coordinating thread, additional fabric strip, sewing machine
Instructions:
- Align tabs or ties evenly across the curtain width
- Create a backing strip if required for your chosen style
- Sew with appropriate seam allowances for strength
Step 6: Finalize Bottom Hem and Final Adjustments
With your curtain top complete, hang the curtain to determine the exact placement of the bottom hem. This ensures perfect length and a professional finish.
Materials needed in this step: Thread, measuring tape, scissors, and an iron
Instructions:
- Hang the completed curtain to check the length
- Mark desired hem placement with pins
- Sew the bottom hem with 1/4 inch seam allowance
Video Tutorial
Special thanks to TamarasJoyDIY for providing valuable insights in their video, which I referenced while creating this guide.
Selecting Perfect Hardware for Your Curtains
Selecting the right hardware ensures your handmade curtains hang beautifully and function smoothly for years to come.
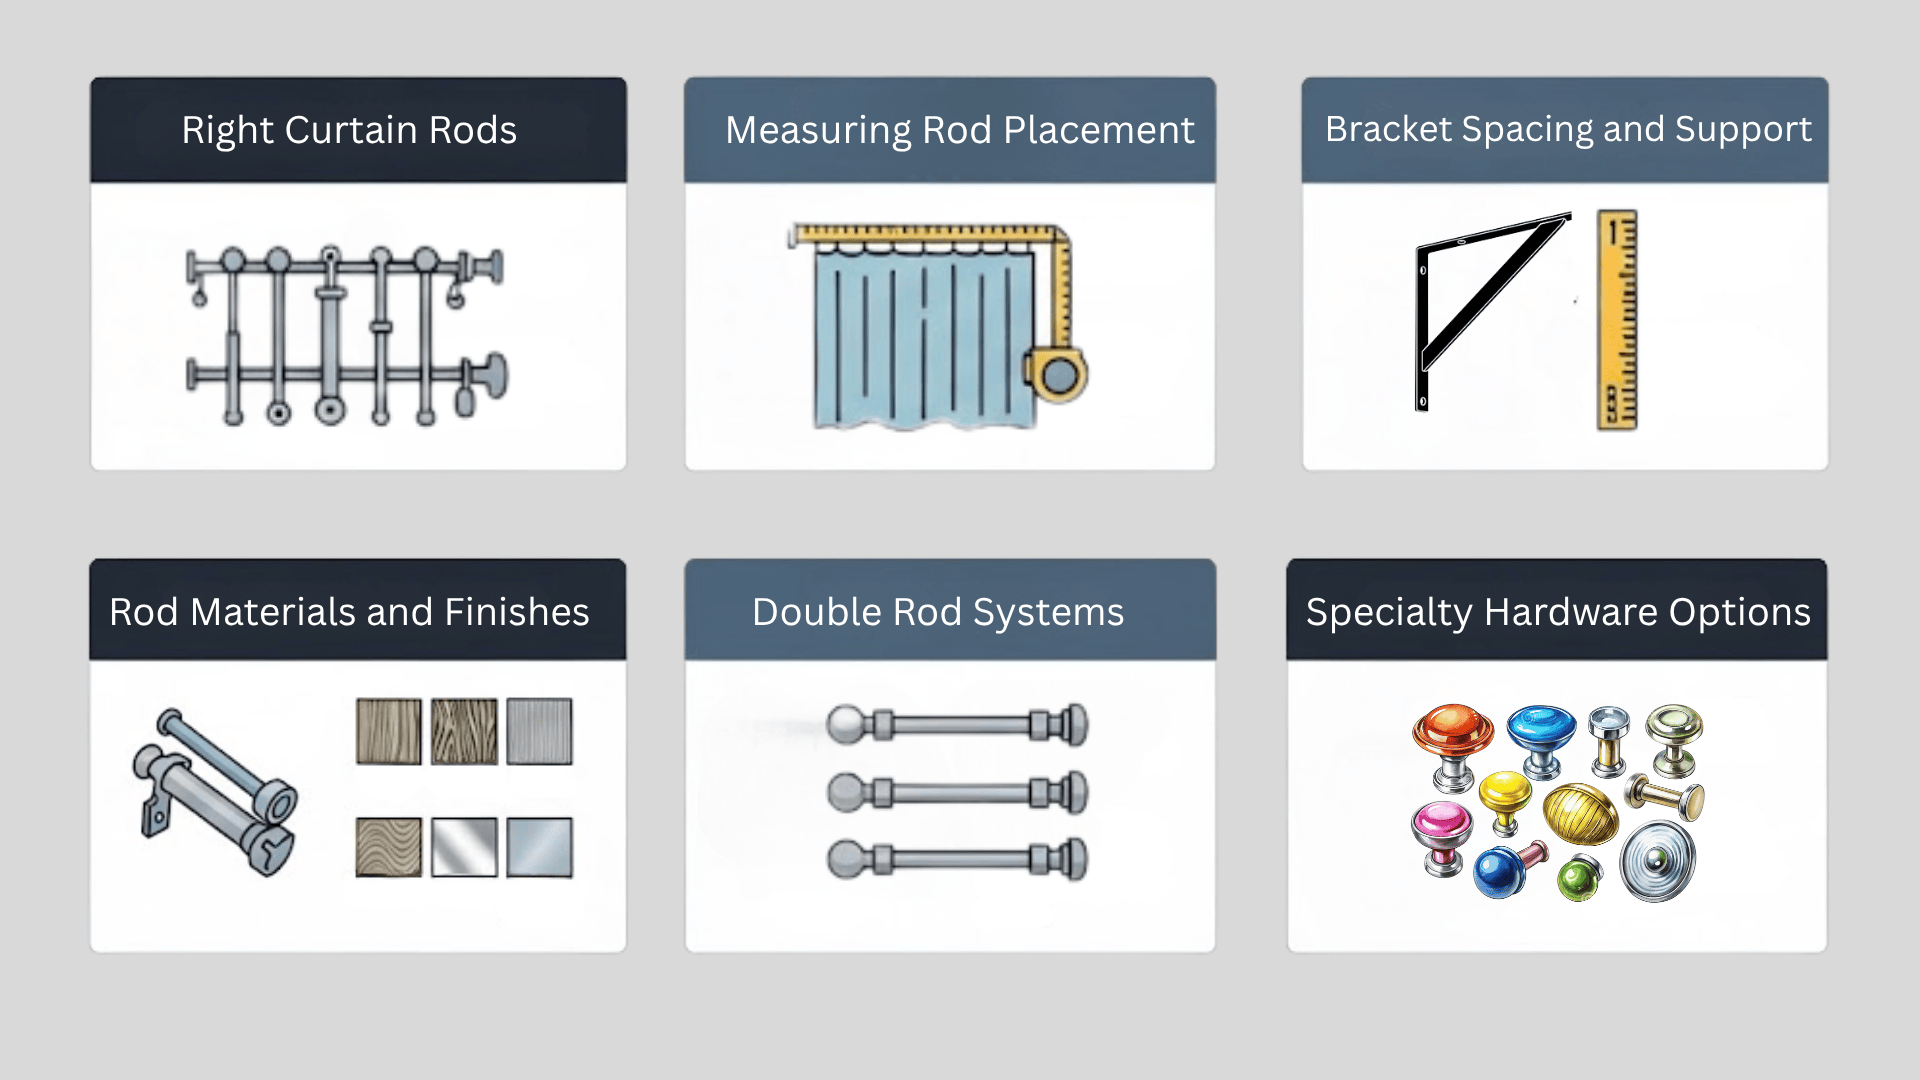
1. Choosing the Right Curtain Rods
Different curtain styles work better with specific rod types. Rod pocket curtains need smooth rods that slide easily through the pocket. Tab-top styles require rods that complement the visible hardware elements.
Rod diameter should match your curtain’s construction. Standard rods range from 5/8 inch to 1 3/8 inches in diameter. Heavier fabrics require sturdier rods with proper support brackets.
2. Measuring for Perfect Rod Placement
Standard placement puts rods 4-6 inches above the window frame and extends 3-4 inches beyond each side. This positioning creates the illusion of larger windows and provides better light control.
Consider ceiling height when determining rod placement. In rooms with standard 8-foot ceilings, mounting rods closer to the ceiling creates vertical visual interest and makes rooms feel taller.
3. Bracket Spacing and Support
Proper bracket spacing prevents rod sagging and ensures smooth curtain operation. For standard-weight curtains, place brackets every 36-48 inches. Heavier fabrics or longer spans require additional center support brackets.
Wall anchors are essential for drywall installations. Use appropriate anchors rated for your curtain weight to prevent brackets from pulling away from the wall.
4. Rod Materials and Finishes
Metal rods offer durability and strength for heavier curtains. Choose finishes that complement your room’s hardware and decor elements for a cohesive look.
Wood rods provide warmth and natural beauty but may require more maintenance. They work exceptionally well with casual curtain styles and rustic decor themes.
5. Double Rod Systems
Double rod installations allow layering of curtains for improved light control and insulation. Mount sheer curtains on the front rod and heavier panels on the back rod.
Adjustable double rods offer flexibility for seasonal changes or varying privacy needs throughout the day.
6. Specialty Hardware Options
Tension rods work well for lightweight curtains in rental properties where permanent installation isn’t allowed. They’re perfect for cafe curtains or temporary window treatments.
Magnetic rods offer another no-drill solution for metal window frames or appliances. They support lightweight fabrics without requiring permanent installation.
Things to Avoid When Sewing Curtains
Avoiding these common mistakes will save you time and frustration and ensure professional-looking results on your first attempt.
| Common Mistakes | Why to Avoid | Better Alternative |
|---|---|---|
| Skipping fabric pre-washing | Causes shrinkage after completion | Always pre-wash and dry fabric |
| Inconsistent seam allowances | Creates an uneven appearance | Use a sewing gauge for accuracy |
| Wrong fabric grain alignment | Results in crooked hanging | Check the grain before cutting |
| Inadequate pressing | Produces unprofessional results | Press each seam thoroughly |
| Poor measurement accuracy | Leads to ill-fitting curtains | Double-check all measurements |
Conclusion
Creating beautiful curtains at home is an achievable goal that adds personal style to your living space while saving money.
The four methods covered in this guide offer options for every skill level and window treatment need. Rod pocket curtains provide simple construction with professional results.
Back tab and tab-top styles add visual interest while maintaining functionality. Tie-top curtains offer the flexibility of adjustable length and casual appeal.
Remember that success comes from careful measurement, consistent seam allowances, and proper pressing throughout the construction process.
Take your time with each step, especially the preparation and hemming phases, as these details make the difference between homemade-looking and professionally finished curtains.
With practice, you’ll develop the confidence to tackle more complex designs and customize your window treatments perfectly.
Feeling crafty? Check out more DIY projects to spark your creativity.
Frequently Asked Questions
Can a Beginner Sew Curtains?
Yes, curtains are perfect beginner projects requiring only basic straight seams and simple measurements.
Are Curtains Difficult to Sew?
No, curtains are among the easiest sewing projects since they primarily involve straight lines and basic hems.
What Is the Best Stitch for Sewing Curtains?
A straight stitch with 1/4 inch seam allowance works best for most curtain construction and hemming.
Is It Cheaper to Sew Your Curtains?
Yes, making curtains typically costs 30-50% less than buying ready-made curtains of similar quality.