How to Replace a Toilet Seat in Under 5 Minutes (Step-by-Step)

Changing a toilet seat is a simple job, but getting under the toilet can be the part nobody looks forward to. If you have kids in the house, especially boys, wear gloves because the underside may need a serious clean first.
The actual replacement takes just a few minutes. The tricky part is removing the old bolts without making a mess and avoiding common mistakes like skipping the cleanup or tightening plastic parts too much.
Here is the right way to replace a toilet seat from start to finish.
What You Need to Replace a Toilet Seat
Get everything together before you start. Stopping mid-task to find a tool means touching something you already touched once. That is not a situation worth repeating.
| Tool or Material | Purpose |
|---|---|
| Flathead screwdriver | Pry plastic caps and unscrew mounting bolts |
| Pliers | Hold wing nuts or tabs under the bowl during removal |
| Rubber gloves | Non-negotiable. Wear them. |
| All-purpose bathroom cleaner | Clean the mounting area before the new seat goes on |
| Paper towels or cloths | Wipe and dry the mounting area thoroughly |
| New toilet seat with hardware | Sized to match your existing toilet bowl |
| Manufacturer instructions | Read these before touching the hardware |
How to Replace a Toilet Seat in 10 Steps
These steps follow the correct order from start to finish. Read them once before you begin. Then work through them one at a time.
Step 1: Find the Plastic Caps at the Back of the Bowl
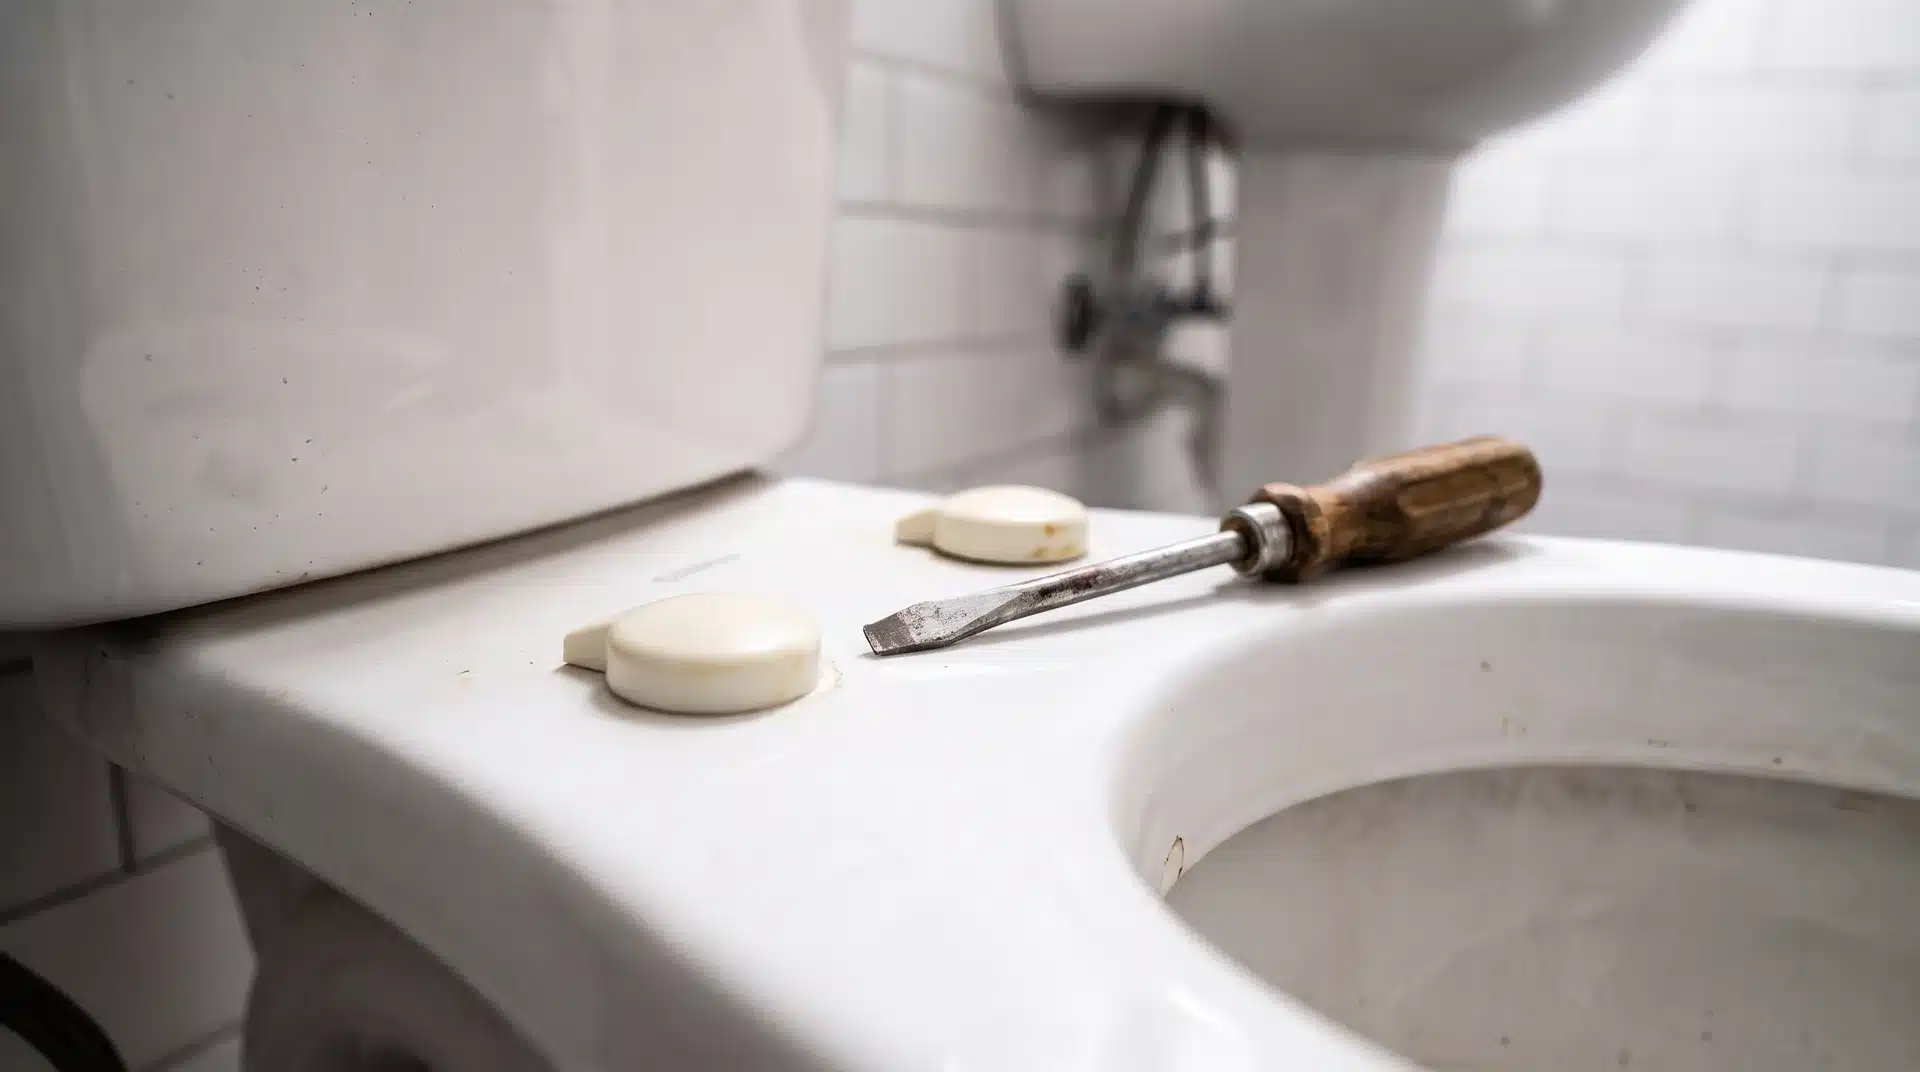
Two plastic caps sit on top of the hinges at the back of the toilet bowl, covering the mounting screws underneath.
These are the starting point, and they come off one of two ways. Some pry off with a flathead screwdriver. Others flip up by pressing a small tab built into the cap itself.
Check which type you have before applying force. I have cracked a flip-up cap by prying it like a regular one, and that is a completely avoidable mistake.
If the caps are yellowed, brittle, or cracked, check whether the new seat includes replacements before deciding whether to save the originals.
Once the caps are off or flipped up, the screw heads are exposed, and you are ready to move.
Step 2: Hold the Hardware Underneath the Bowl
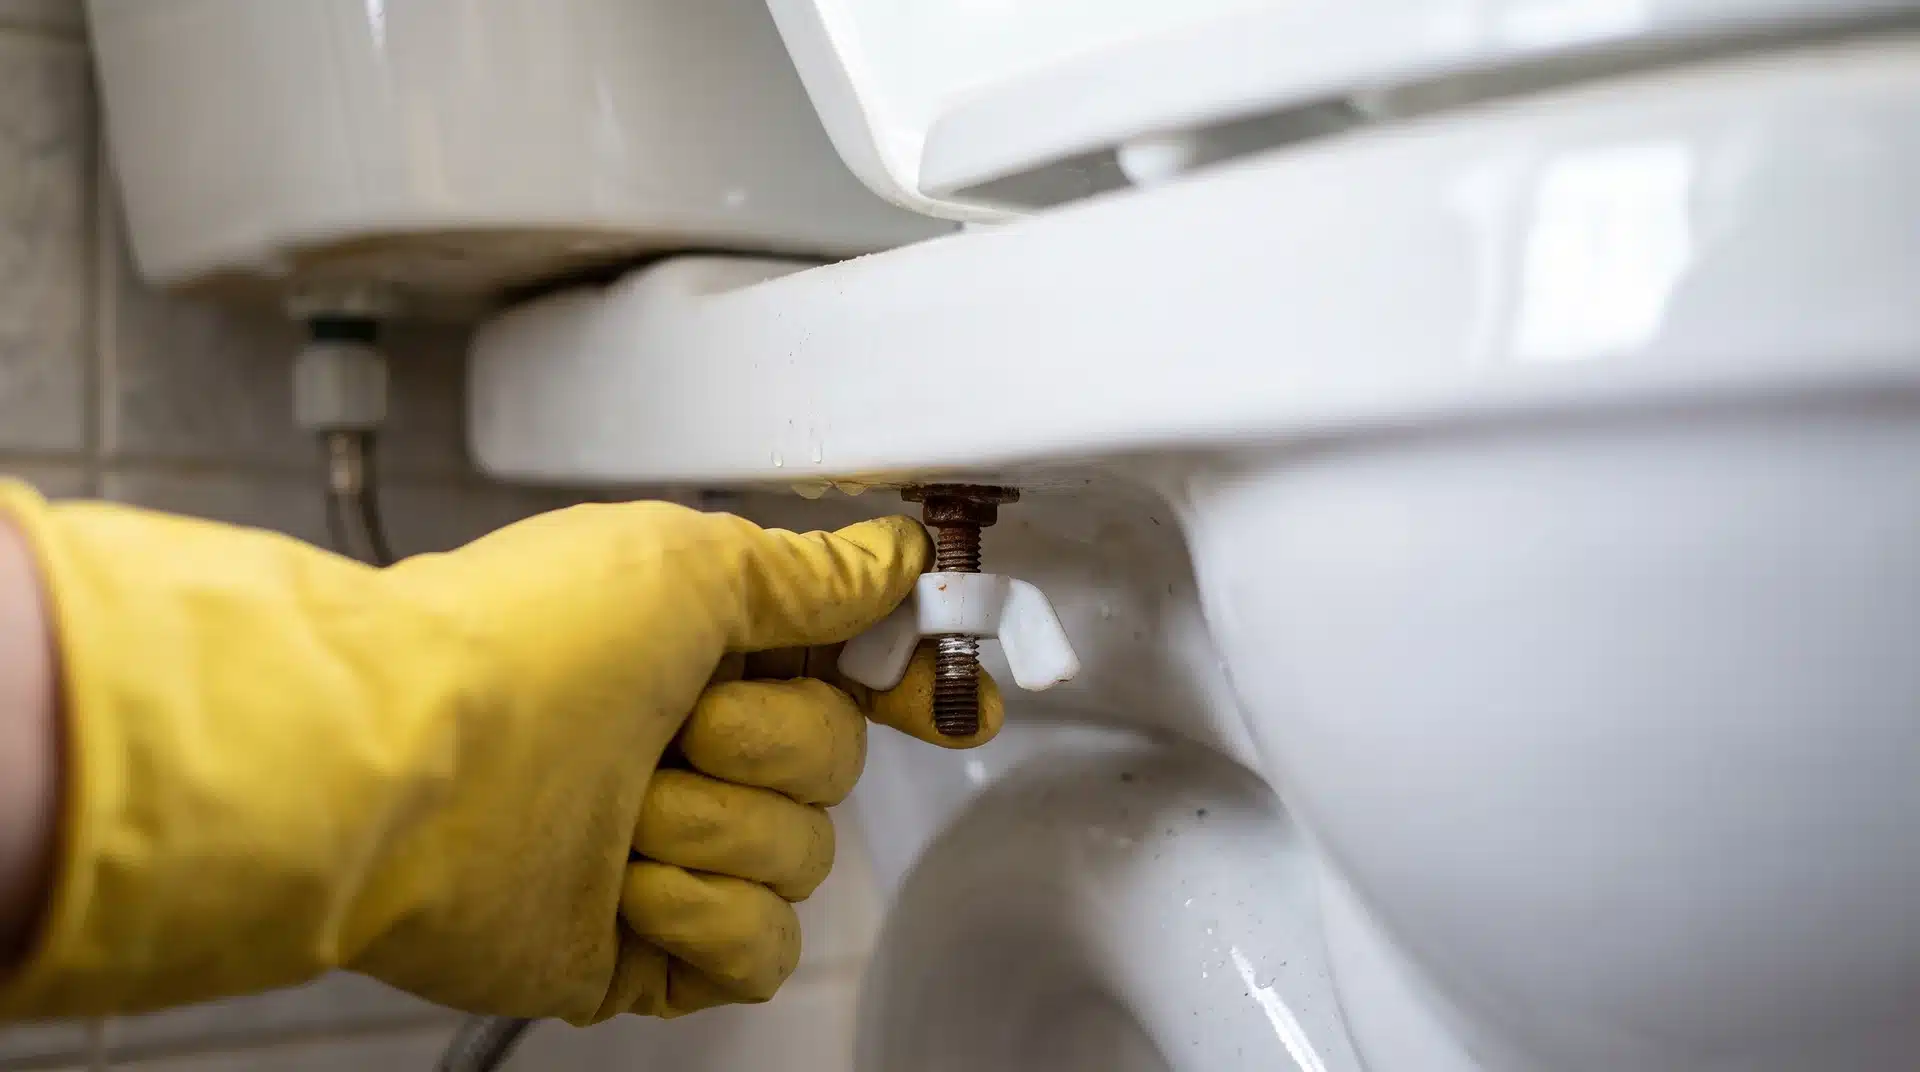
Put your gloves on before this step. The underside of a toilet bowl collects grime fast. If the toilet has been in use for a few years with metal hardware, expect corrosion.
Grip the wing nut, plastic tab, or metal nut underneath the bowl. Use your hand or a pair of pliers to stop it spinning while you unscrew from the top. Corroded metal nuts that will not move need penetrating oil.
Apply a small amount and wait five minutes before trying again. Forcing corroded hardware strips it faster than it frees it.
Step 3: Unscrew the Mounting Bolts from the Top
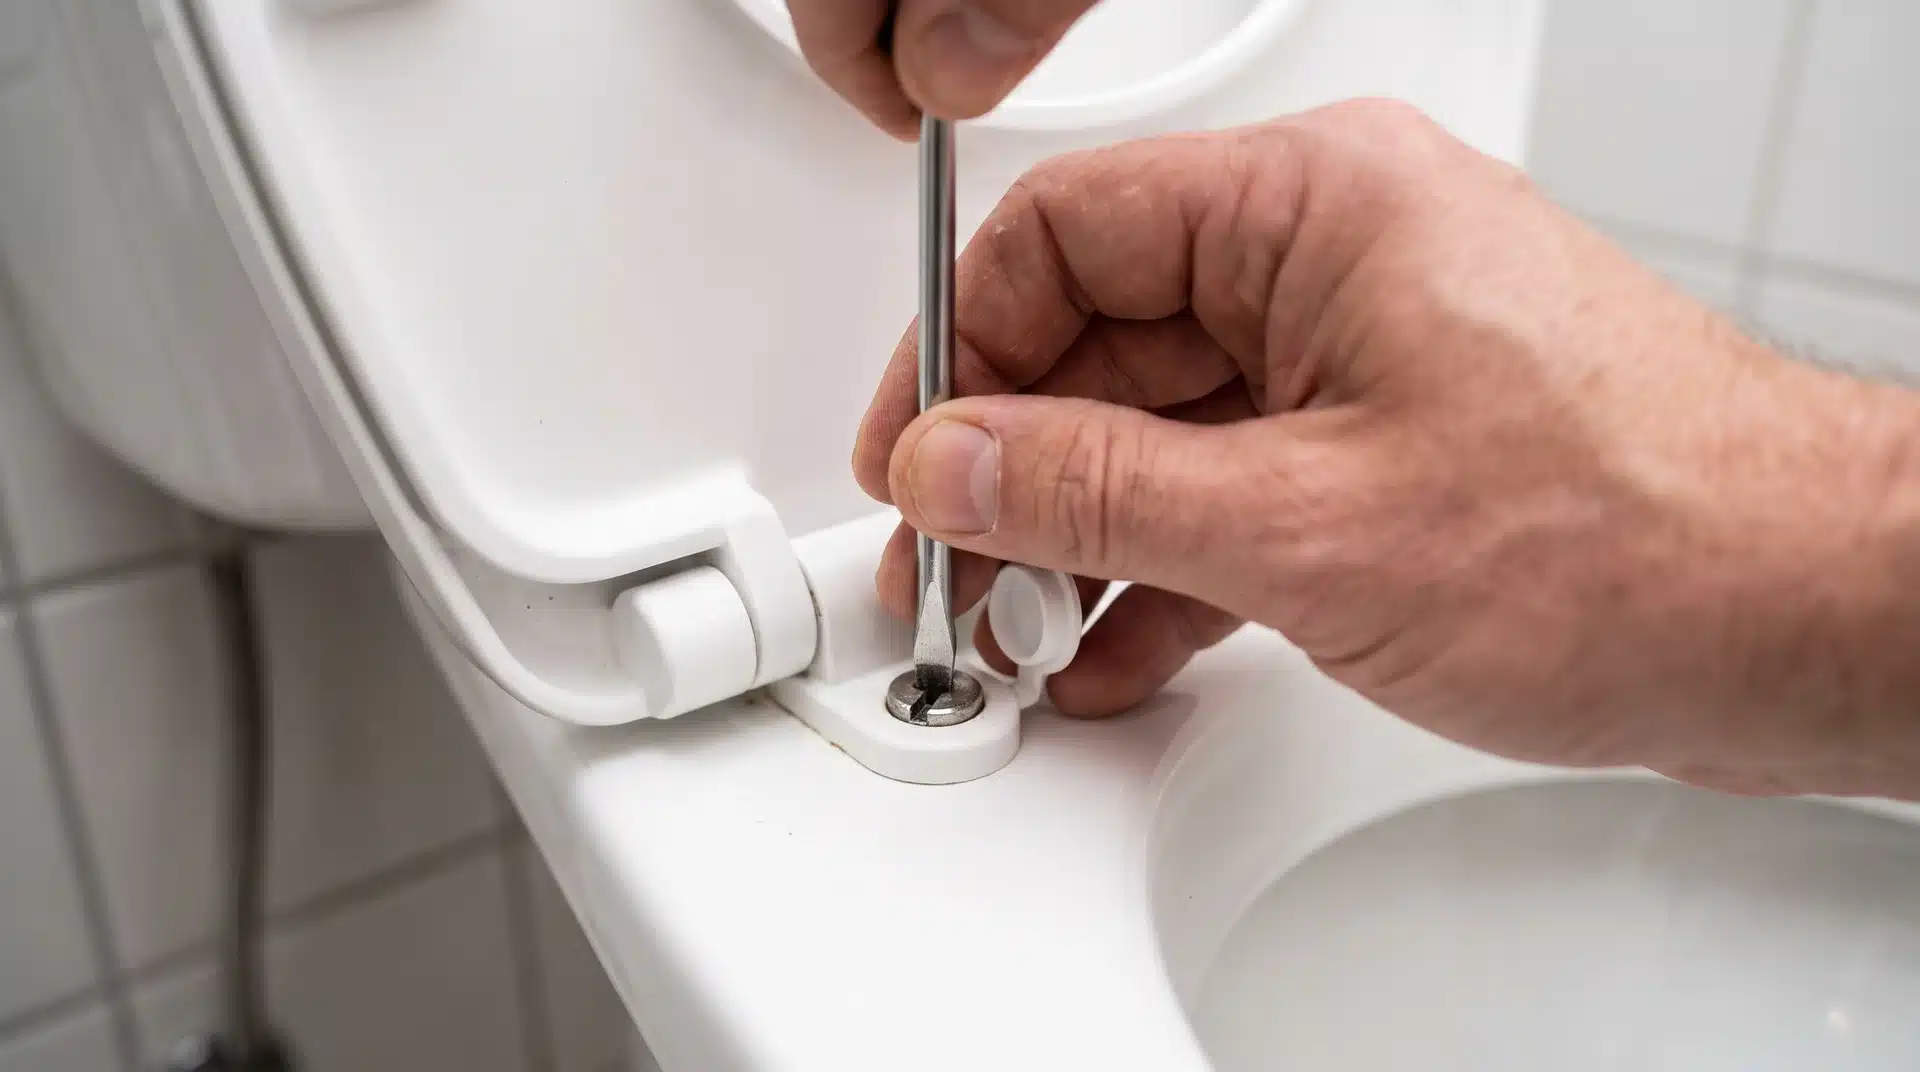
With the hardware held steady underneath, use a flathead screwdriver to turn the mounting bolt counterclockwise from the top.
Keep steady downward pressure on the screwdriver the whole time so it does not slip off the bolt head mid-turn and gouge the porcelain, which is exactly the kind of thing that turns a three-minute job into an embarrassing story.
Continue unscrewing until the wing nut or tab drops away underneath. Repeat on the second bolt.
Keep a paper towel nearby to drop the removed hardware into right away.
Hardware left on the floor next to a toilet disappears faster than it has any logical reason to.
Step 4: Lift and Remove the Old Toilet Seat
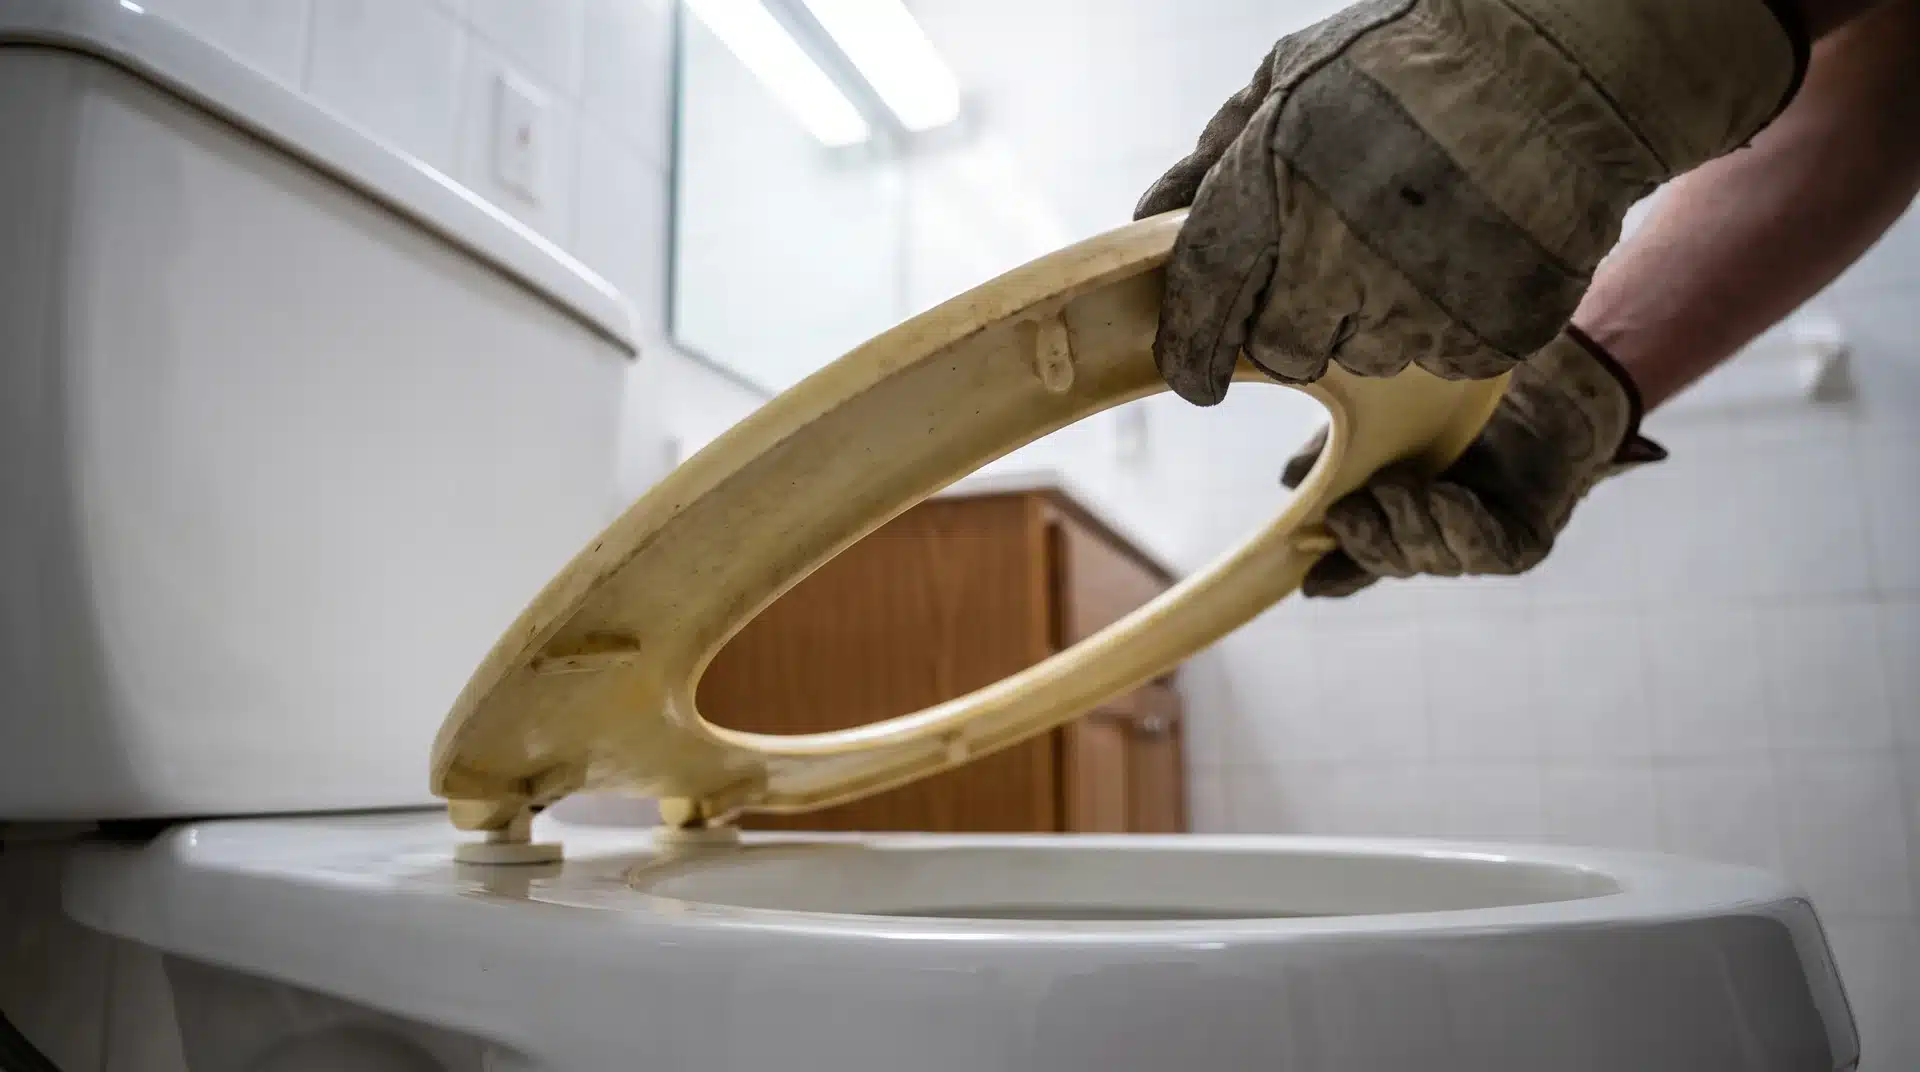
With both bolts out, lift the old seat and lid straight up and off the bowl. Go ahead and drop it directly into a garbage bag.
I am not judging you for not wanting to handle it further. Before moving on, look at the mounting holes.
Old seats leave behind mineral deposits, grime, and rust staining that need addressing before the new seat goes on.
If the replacement seat has not been purchased yet, note the bowl shape here. Most toilets use standard round or elongated configurations, but confirming saves a return trip.
A quick photo of the bolt hole area and old hardware before tossing everything is worth thirty seconds if anything from the new seat does not match up.
Step 5: Clean the Toilet Bowl Mounting Area Thoroughly
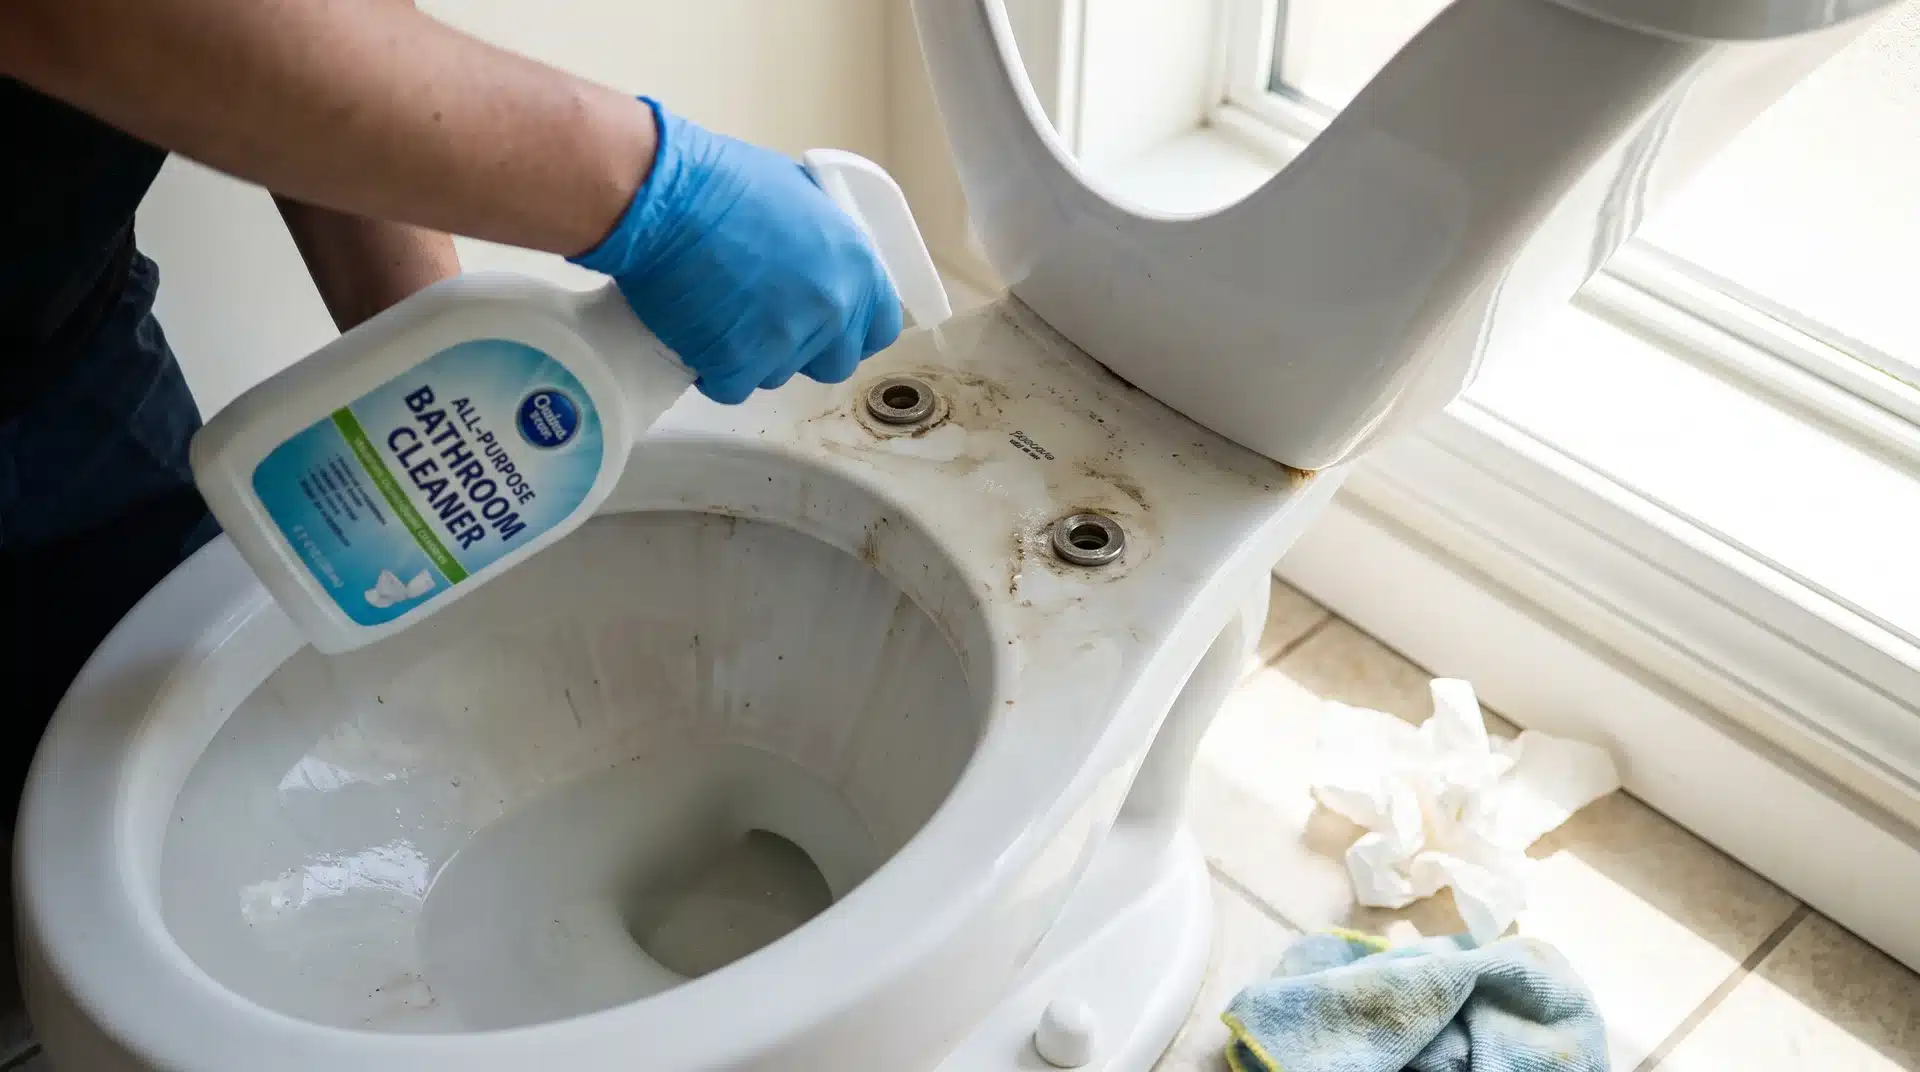
This is the step that gets rushed or skipped entirely. That is the main reason a new seat feels like it was never properly installed.
Spray an all-purpose bathroom cleaner across the back of the bowl. Cover the mounting holes and the full hinge area. Let it sit for one to two minutes. Then wipe every surface clean with paper towels or a cloth.
Dry the area completely before the new seat goes on. Wet surfaces stop the hardware from sitting correctly and cause the seat to shift over time.
Rust staining around the bolt holes responds well to a baking soda and white vinegar paste. Leave it on for five minutes, then wipe clean.
The same natural ingredients used in homemade cleaning solutions work on porcelain without scratching the surface. Wipe clean and dry thoroughly before moving on.
Step 6: Read the Manufacturer Instructions for the New Seat
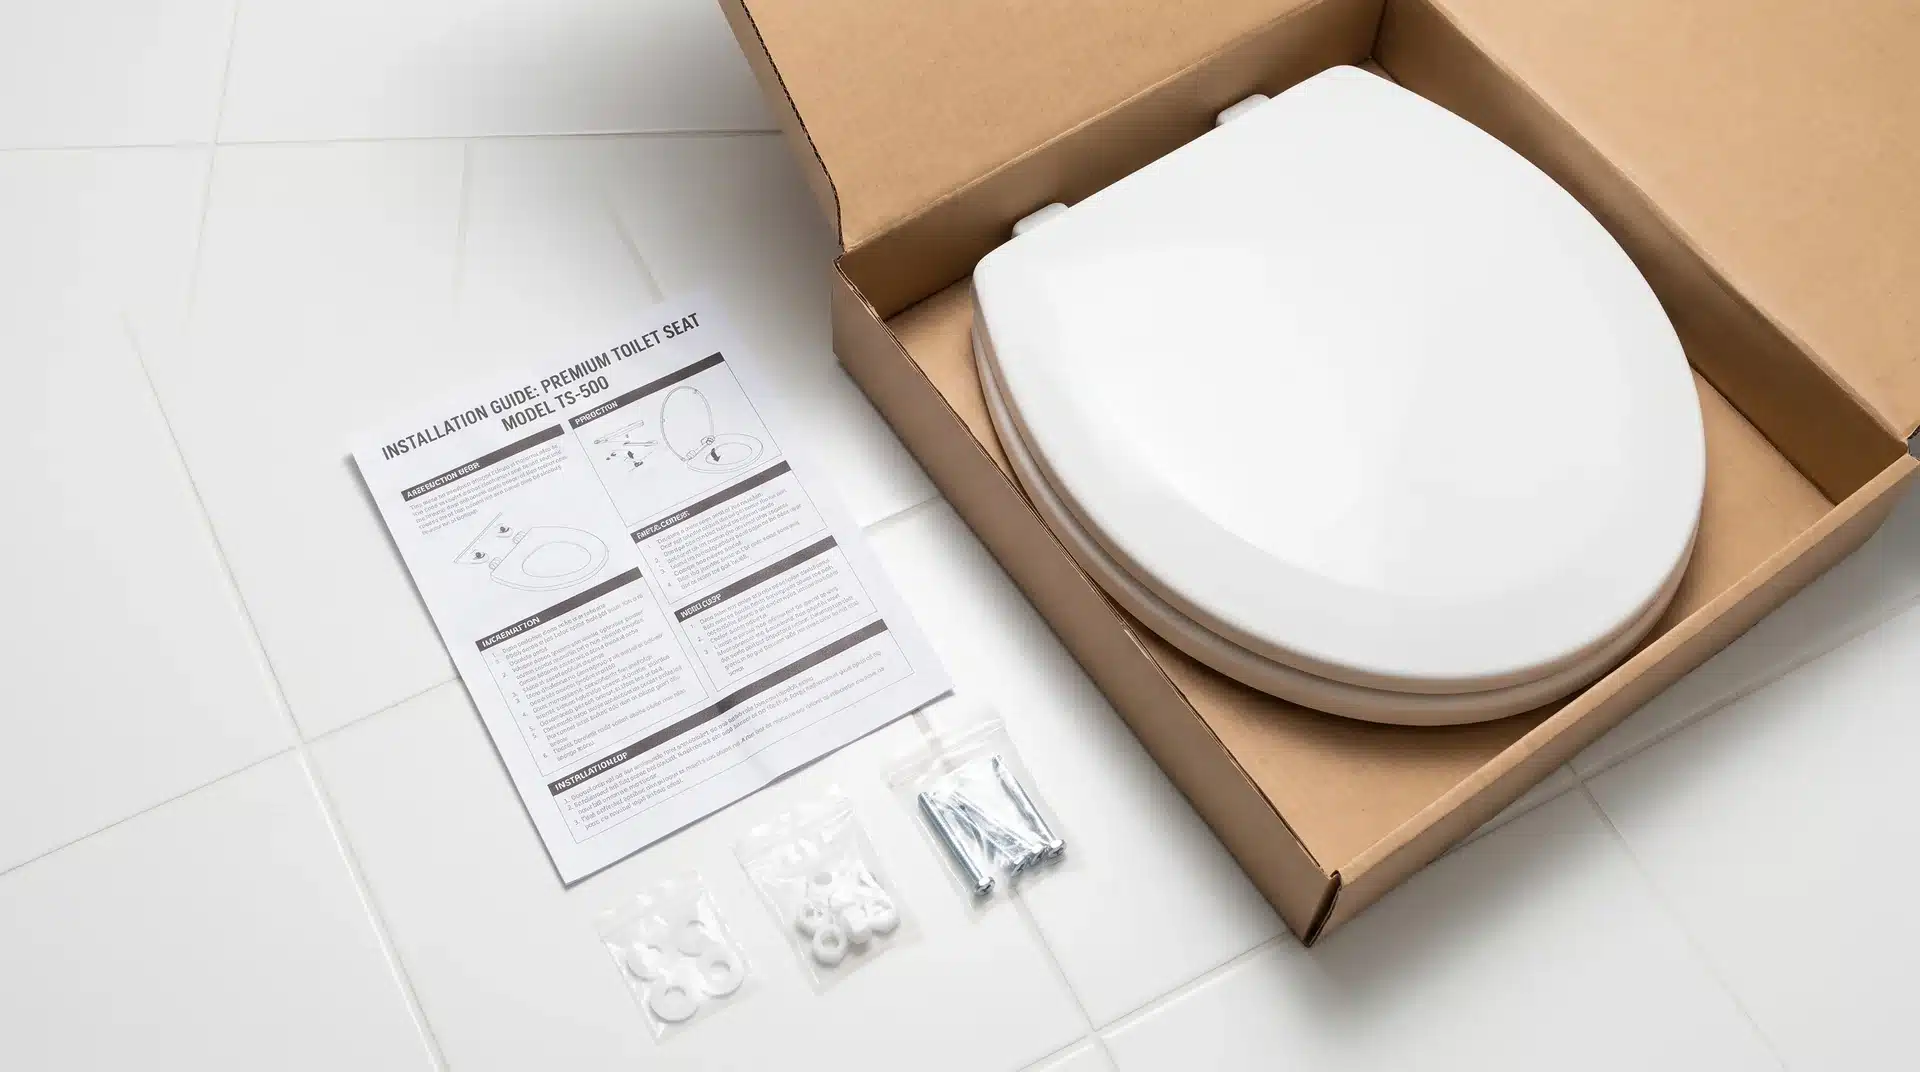
I already told you to read these. I am telling you again because this is the step where people decide the instructions are optional and then end up cracking the plastic anchor by installing it backward.
Every toilet seat brand uses different hardware and a different attachment method.
The general process is the same across most seats, but the locking mechanism varies enough to matter.
Set the instructions on the floor beside the toilet before opening the hardware packaging. If they are missing from the box, search the manufacturer website by the seat model number.
Every reputable brand publishes installation guides online. Find it before you start guessing.
Step 7: Insert the New Mounting Hardware
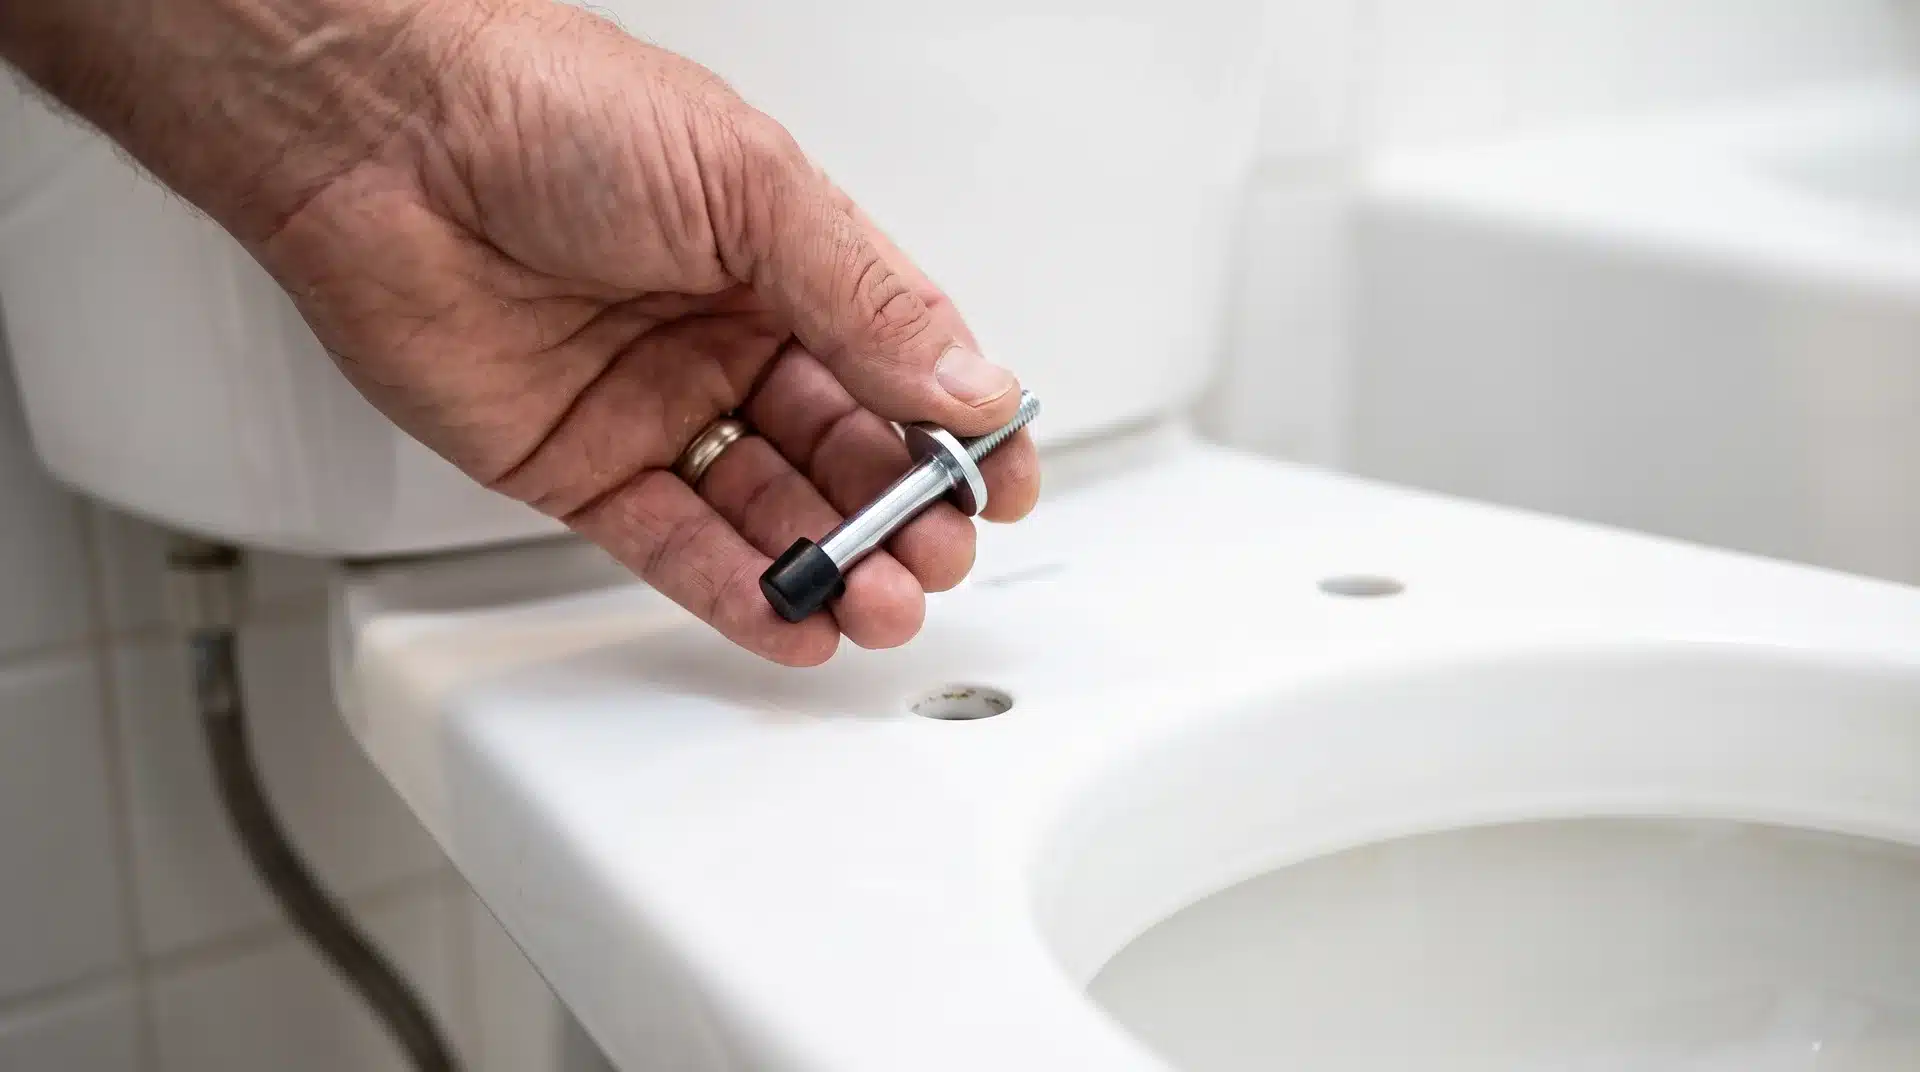
Most new seats include a bolt and a locking mechanism that secures under the bowl. Two common types exist:
- Rubber-tipped anchor style: Remove the bolt from the anchor, push the anchor through the mounting hole from above, and release it so it expands against the underside of the porcelain. These work like a wall anchor.
- Standard bolt and wing nut: Works the same way as the hardware you just removed. Insert the bolt through the hole from above and hand-tighten the nut below.
Push the mounting components through the holes one side at a time. Check that each one is properly seated before moving to the next. Keep the bolt accessible from above before locking the anchor so both hands are free to work underneath.
Step 8: Position the New Seat Before Tightening Anything
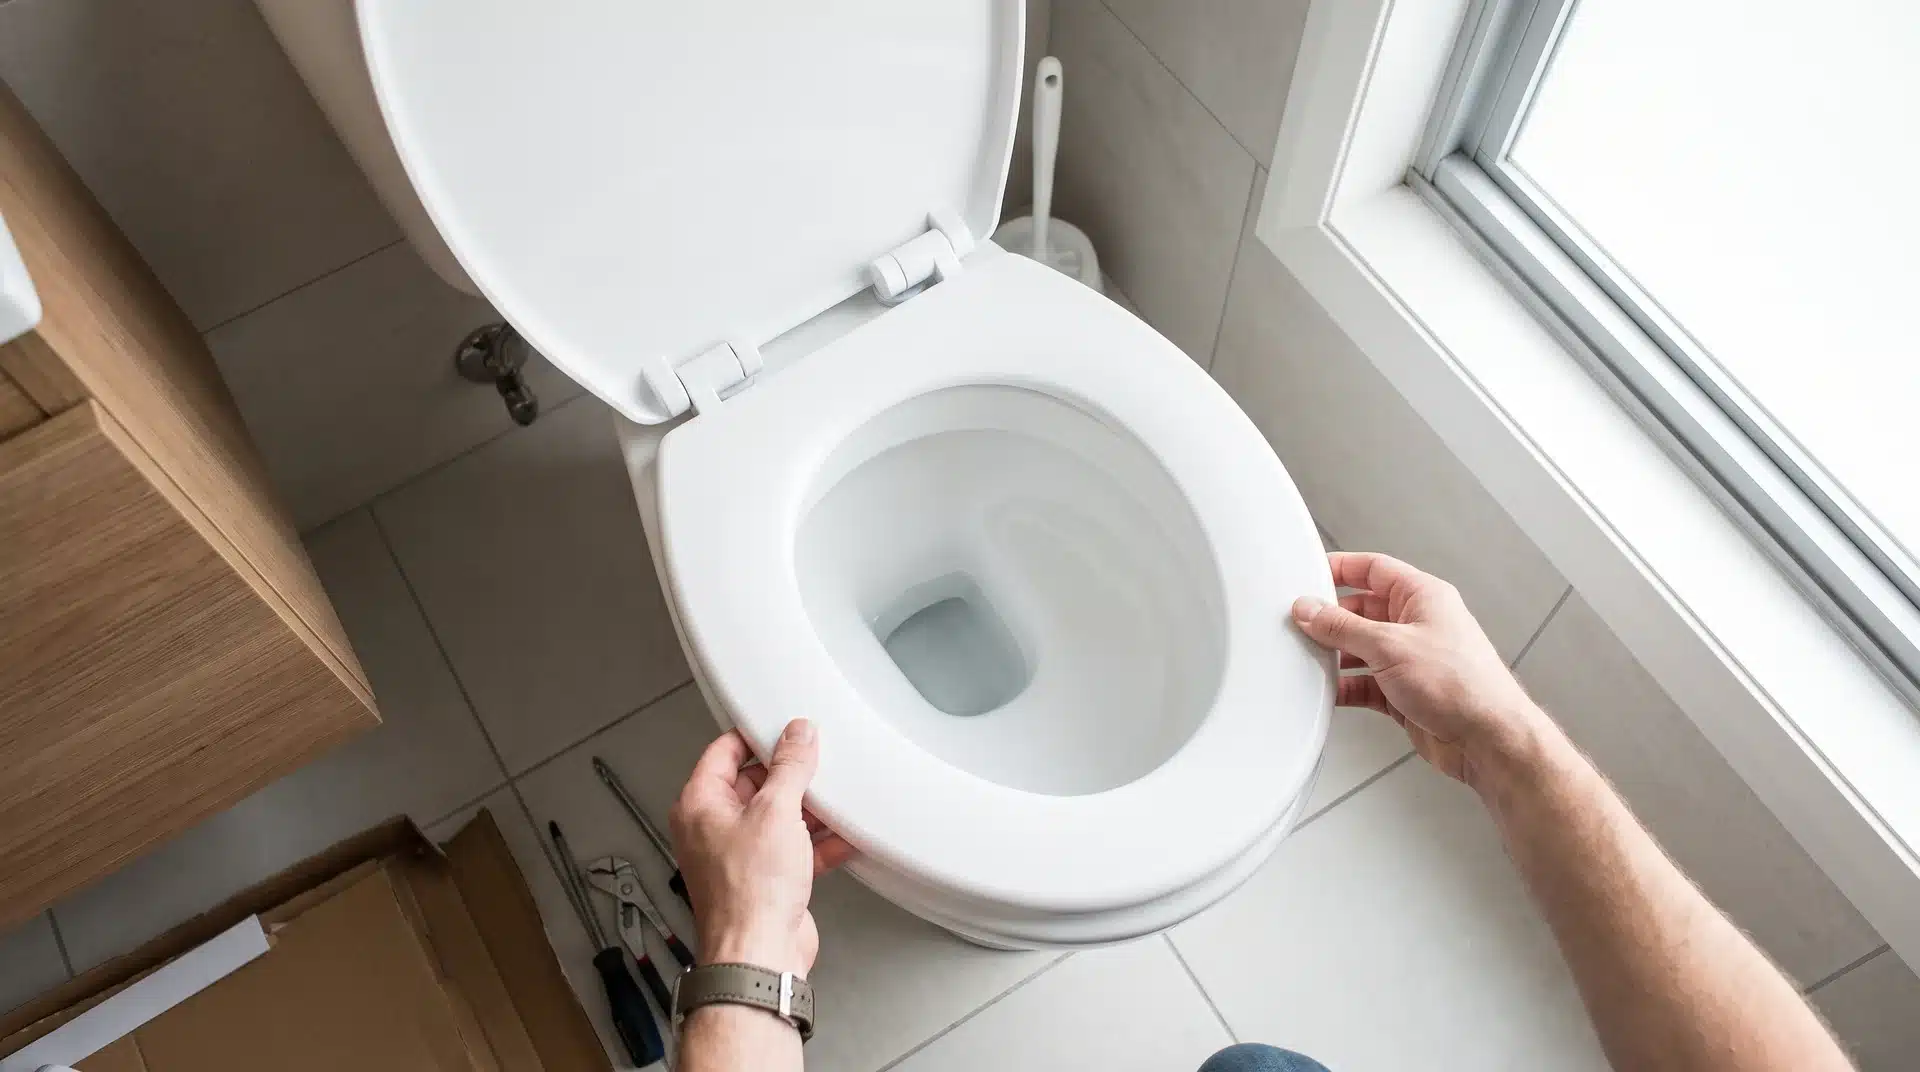
Before touching the hardware, get the seat centered and level on the bowl. It should not hang off the front edge, shift to either side, or sit at a visible angle.
Look straight down from above and compare the seat edge to the bowl edge on all sides.
Fix the alignment now. Once the hardware is locked down, correcting the position means loosening everything and repeating this step, which adds ten minutes and a fair amount of frustration to a job that should already be done.
Most seats have a small amount of adjustment built into the mounting holes, enough to slide forward or backward by about half an inch. Use that range to get it exactly right before securing anything.
Step 9: Tighten the Hardware and Snap the Caps Back Down
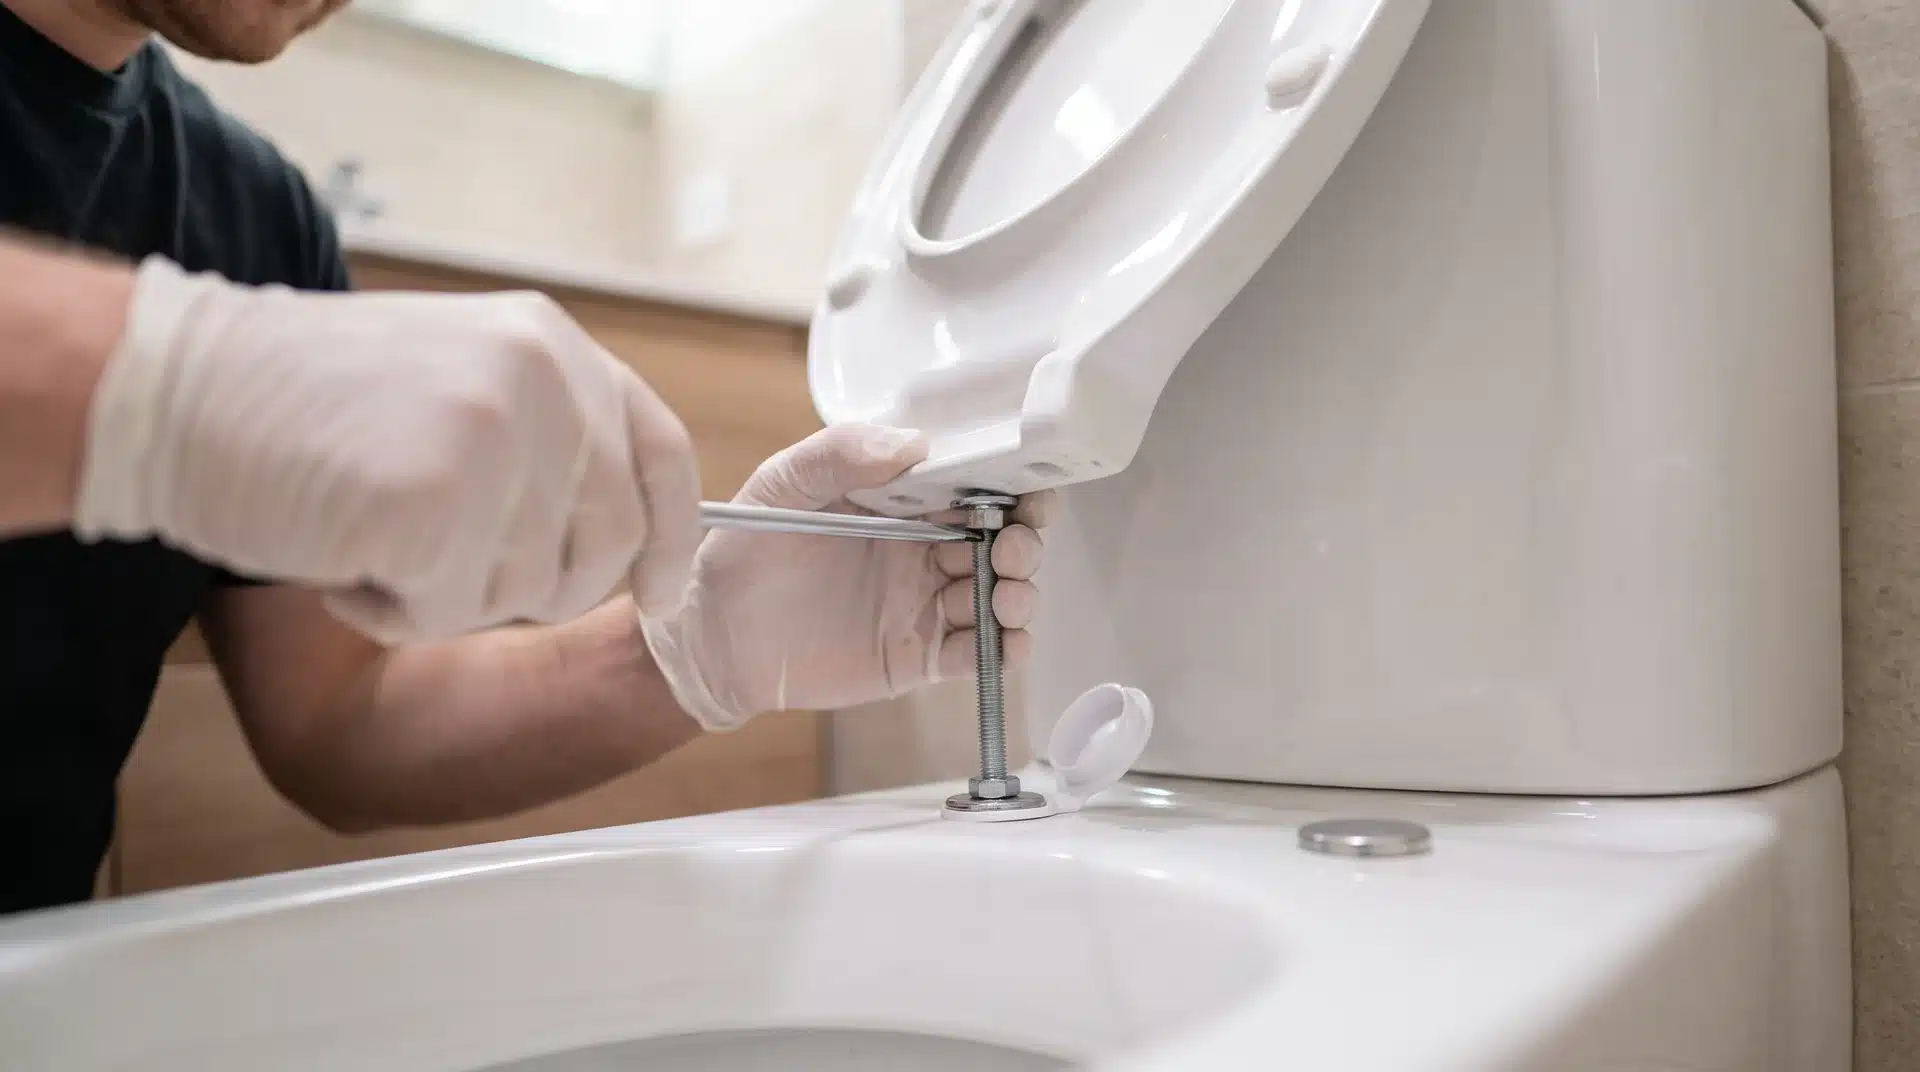
With the seat centered, tighten the mounting hardware using the screwdriver on the bolt from above while holding the mechanism underneath steady. Fasten it until the seat holds firmly and does not shift when pressed side to side.
Stop when it feels snug. I cannot stress this enough: do not overtighten.
Plastic components strip and crack under too much torque, and a cracked wing nut means another store run before the job is finished.
Snug is the target. That is it. Once both sides are secured, press the seat firmly on each side to confirm it holds without movement, then snap the plastic caps back down over the bolt heads. Done.
Step 10: Test the Seat and Learn the Quick-Release Function
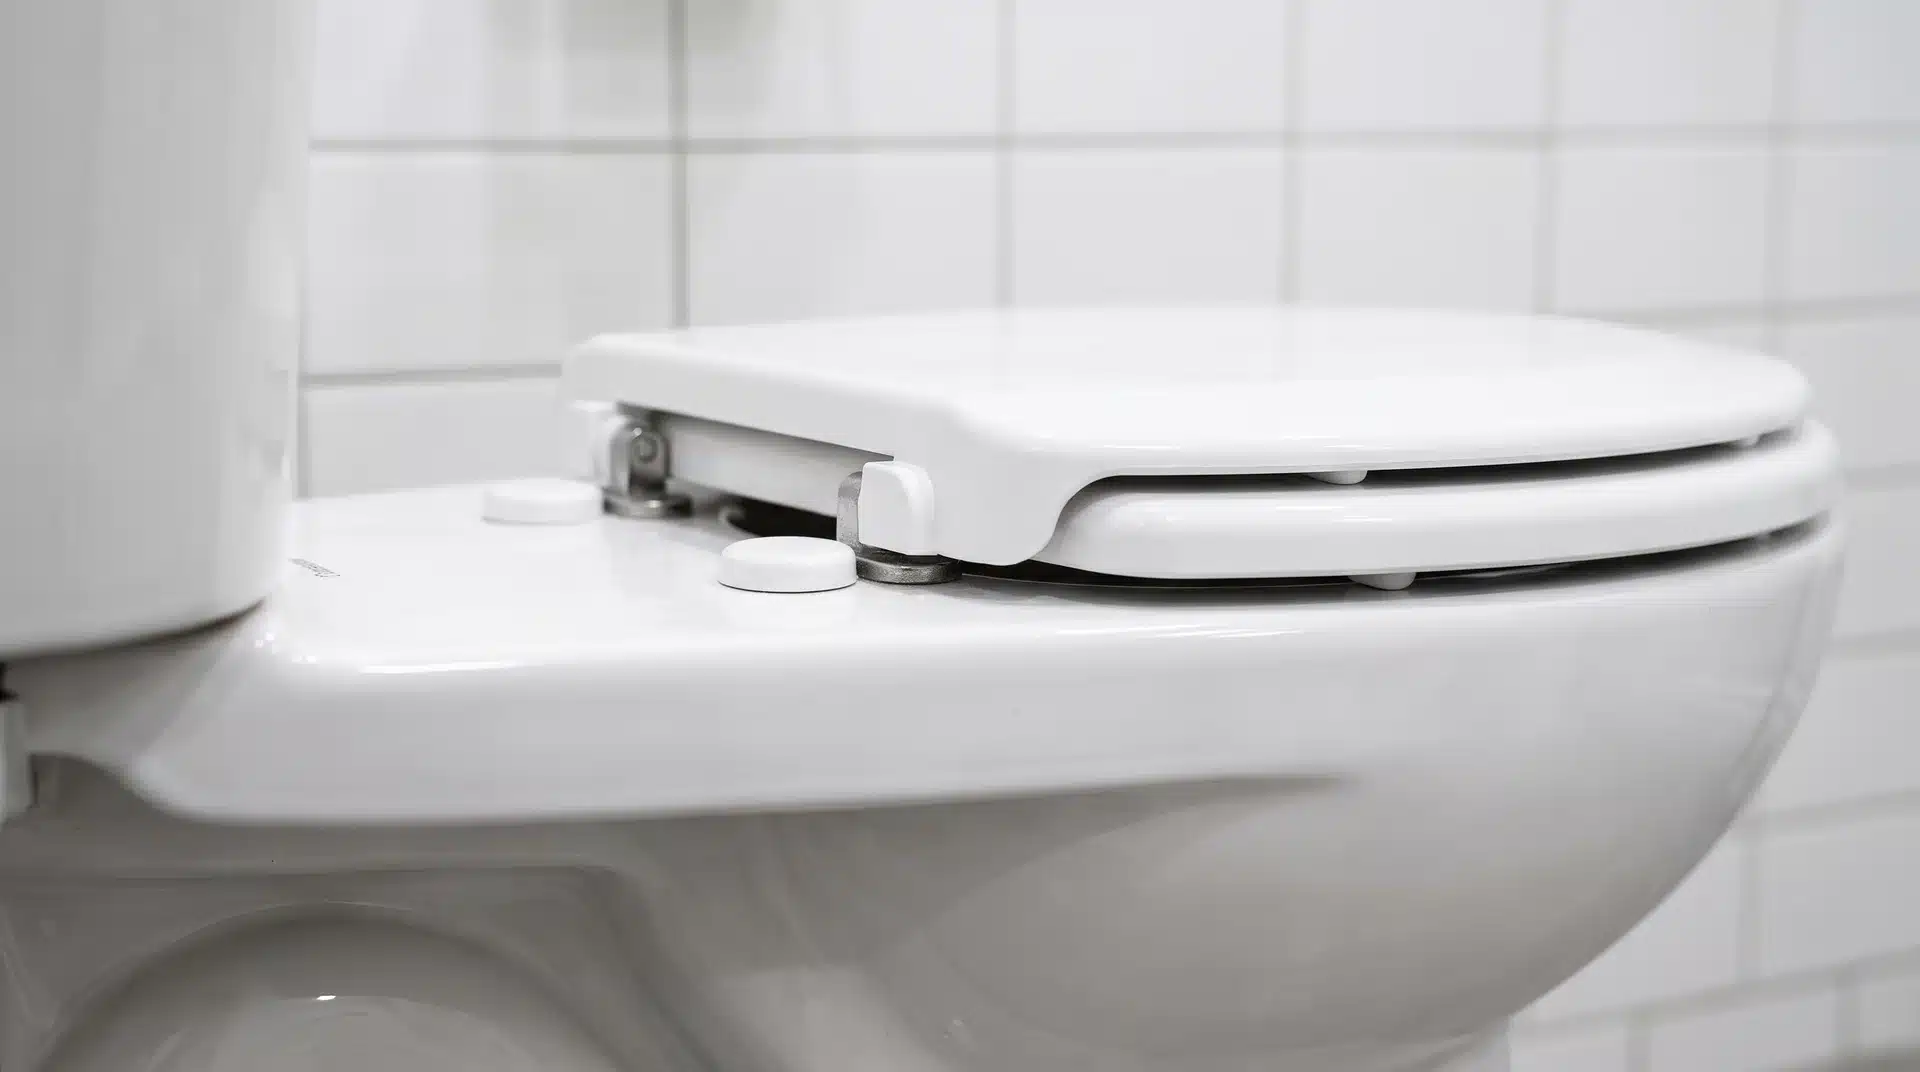
Sit on it. Shift your weight around. A correctly installed seat holds steady without moving, sliding, or lifting away from the bowl.
Open and close the seat and lid a few times to make sure the hinges move freely without catching.
If the seat has a quick-release function, which I recommend paying the extra few dollars for, learn how it works before walking away.
Quick-release seats lift off for cleaning by unlocking tabs at the hinge and pulling the seat forward.
Test it now: unlock the tabs, pull the seat off, pretend to clean under there like the responsible person you are, and reattach it.
Make sure it locks back in place before calling it done. The hinge area is the hardest surface to clean on any toilet, and a seat that lifts off without tools makes that job something you might actually do.
How to Choose the Right Replacement Seat
Before buying, confirm the bowl shape and take one measurement.
Measure from the center of the bolt holes to the front rim of the bowl. Under 16.5 inches is a round bowl. Over 16.5 inches is elongated. Most toilet seats sold in the US come in these two standard sizes. Width typically measures 14 to 14.5 inches on both shapes.
A few features worth considering when choosing your seat:
- Soft-close hinges: Internal hinges slow the lid and seat as they lower. They stop the slamming sound and hold up well over time.
- Quick-release hinges: The seat lifts off completely without tools. This makes cleaning the hinge area far easier and is worth the small price difference.
- Antimicrobial coatings: Some seats include coatings that slow the buildup of bacteria and mold on the surface.
Keeping bathroom fixtures in good condition is part of routine home maintenance, and choosing a seat with durable materials reduces how often you need to repeat this task.
Frequently Asked Questions
How Do I Know What Size Toilet Seat to Buy?
Measure the bowl length from the center of the bolt holes to the front rim. Under 16.5 inches is round. Over 16.5 inches is elongated. Width typically measures 14 to 14.5 inches on both.
Can I Replace Just the Toilet Seat Without Replacing the Whole Toilet?
Yes. The seat and toilet are separate components. As long as the bowl is in good condition, replacing only the seat is a practical and cost-effective update for any bathroom.
What Is the Difference Between Standard and Soft-Close Toilet Seats?
Soft-close seats use internal hinges that slow the lid and seat as they lower, preventing the slamming sound. They cost more than standard seats but hold up well and are worth the upgrade.
Can I Replace a Toilet Seat without Removing the Toilet?
Yes. The toilet stays in place throughout the entire process. You only work on the seat and the two mounting bolts at the back of the bowl.
How Do I Know if My Toilet Is Round or Elongated?
Measure from the center of the bolt holes to the front edge of the bowl. Under 16.5 inches is round. Over 16.5 inches is elongated. Both shapes use standard seat sizes available at any hardware store.
Why Does My New Toilet Seat Keep Shifting After Installation?
A shifting seat usually means the mounting area was not dried before installation, the hardware was not tightened enough, or the bolt anchor was not fully locked. Remove the seat, dry the mounting area completely, reinsert the hardware, and tighten until snug.
Replacing a Toilet Seat Is a Quick Win
Three to four minutes. One screwdriver. One pair of gloves. That is all it takes to replace a toilet seat correctly.
Read the manufacturer’s instructions before opening the hardware packaging. Clean and dry the mounting area before the new seat goes on. Stop tightening when the seat holds steady. Test the quick-release function if your seat has one.
Do those four things and the job is done right the first time. Have you found a particular seat type that holds up well over time? Share it with others who might be making this same upgrade.