How to Clean a Burnt Pan Without Damaging It (and Save Your Cookware)

You step away for one minute and come back to a black, crusty pan. Most of the time, that burnt layer is not permanent. Learning how to clean a burnt pan starts with understanding your cookware material.
What works on stainless steel can damage nonstick coatings. The right technique makes the difference between a restored pan and one that gets tossed.
This post covers every method, from simple soaks to material-specific treatments. You will find what works for your pan type.
What Happens When a Pan Gets Burnt?
Burnt residue is not just dirt sitting on top of your cookware. It is a chemical change.
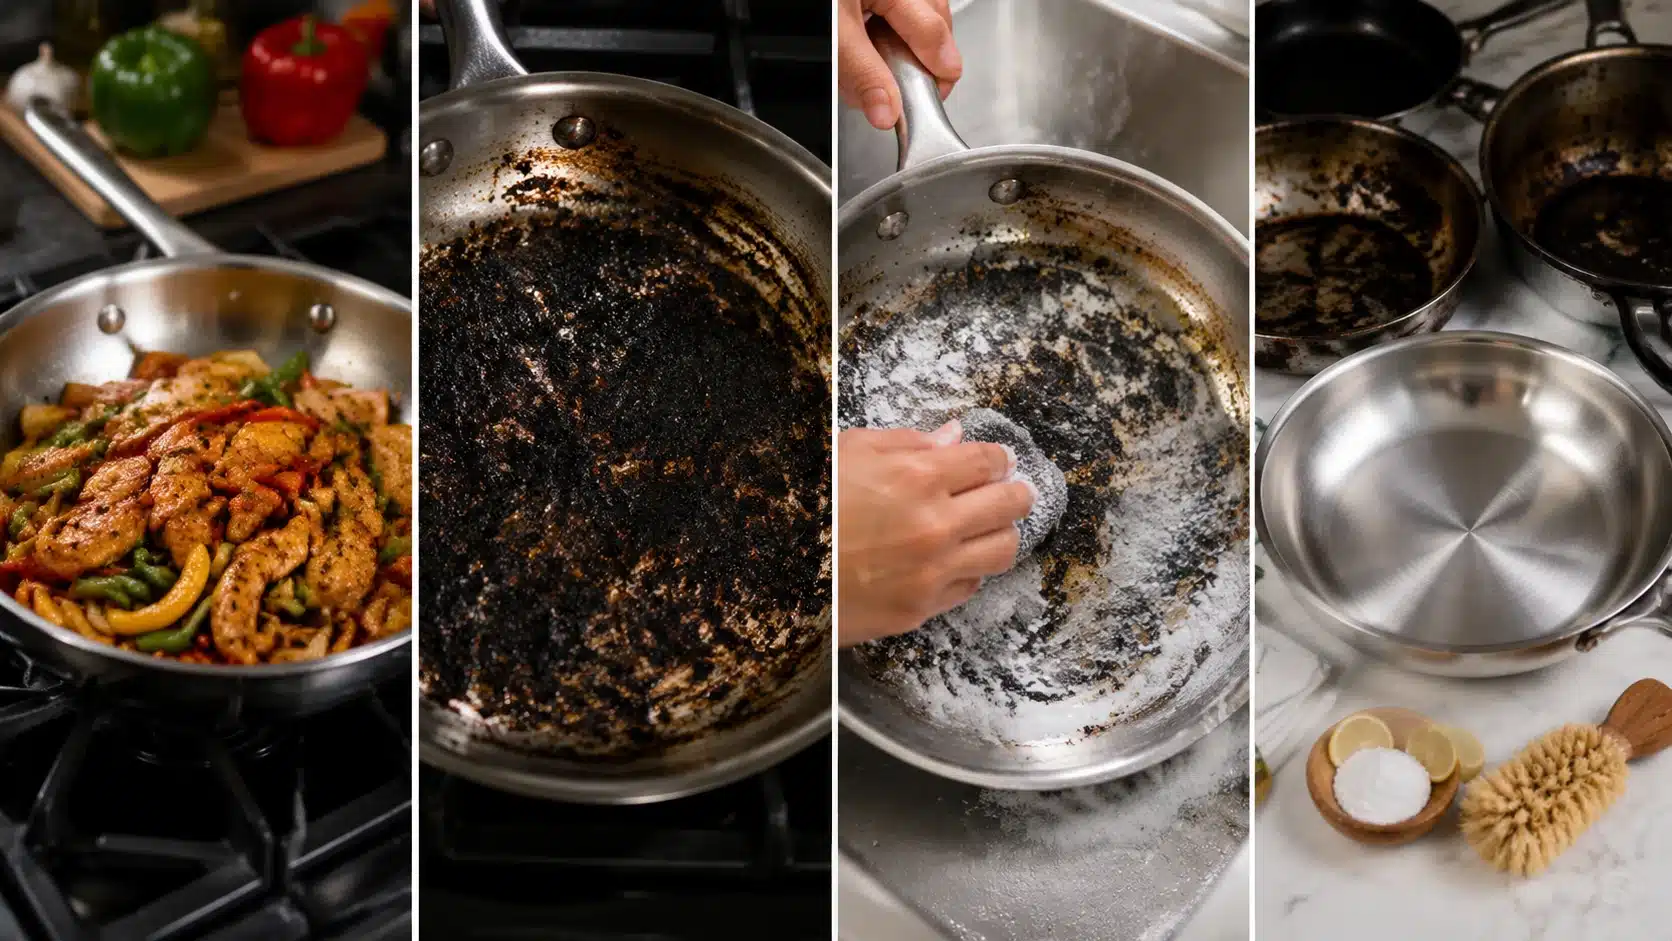
When food sugars, oils, and proteins get exposed to high heat for too long, they undergo carbonization. The organic compounds break down and form a hard, dark layer. That layer bonds tightly to the surface of the pan.
That is why a quick rinse or wipe does not do much. The residue is not loose. It is fused to the surface.
A few things can happen when a pan sits on heat too long:
- Burnt food forms a hard crust on the cooking surface
- Burnt oil creates a sticky, dark film that feels almost varnished
- Discoloration forms from mineral deposits or overheating
- In severe cases, the surface warps or the coating breaks down permanently
Knowing which type you are dealing with helps you pick the right cleaning approach instead of guessing.
Pro Tip: Scraping burnt residue aggressively with metal tools can do more harm than the burn itself. On nonstick and ceramic cookware, hard scraping can strip away the coating permanently.
What You Need to Clean a Burnt Pan
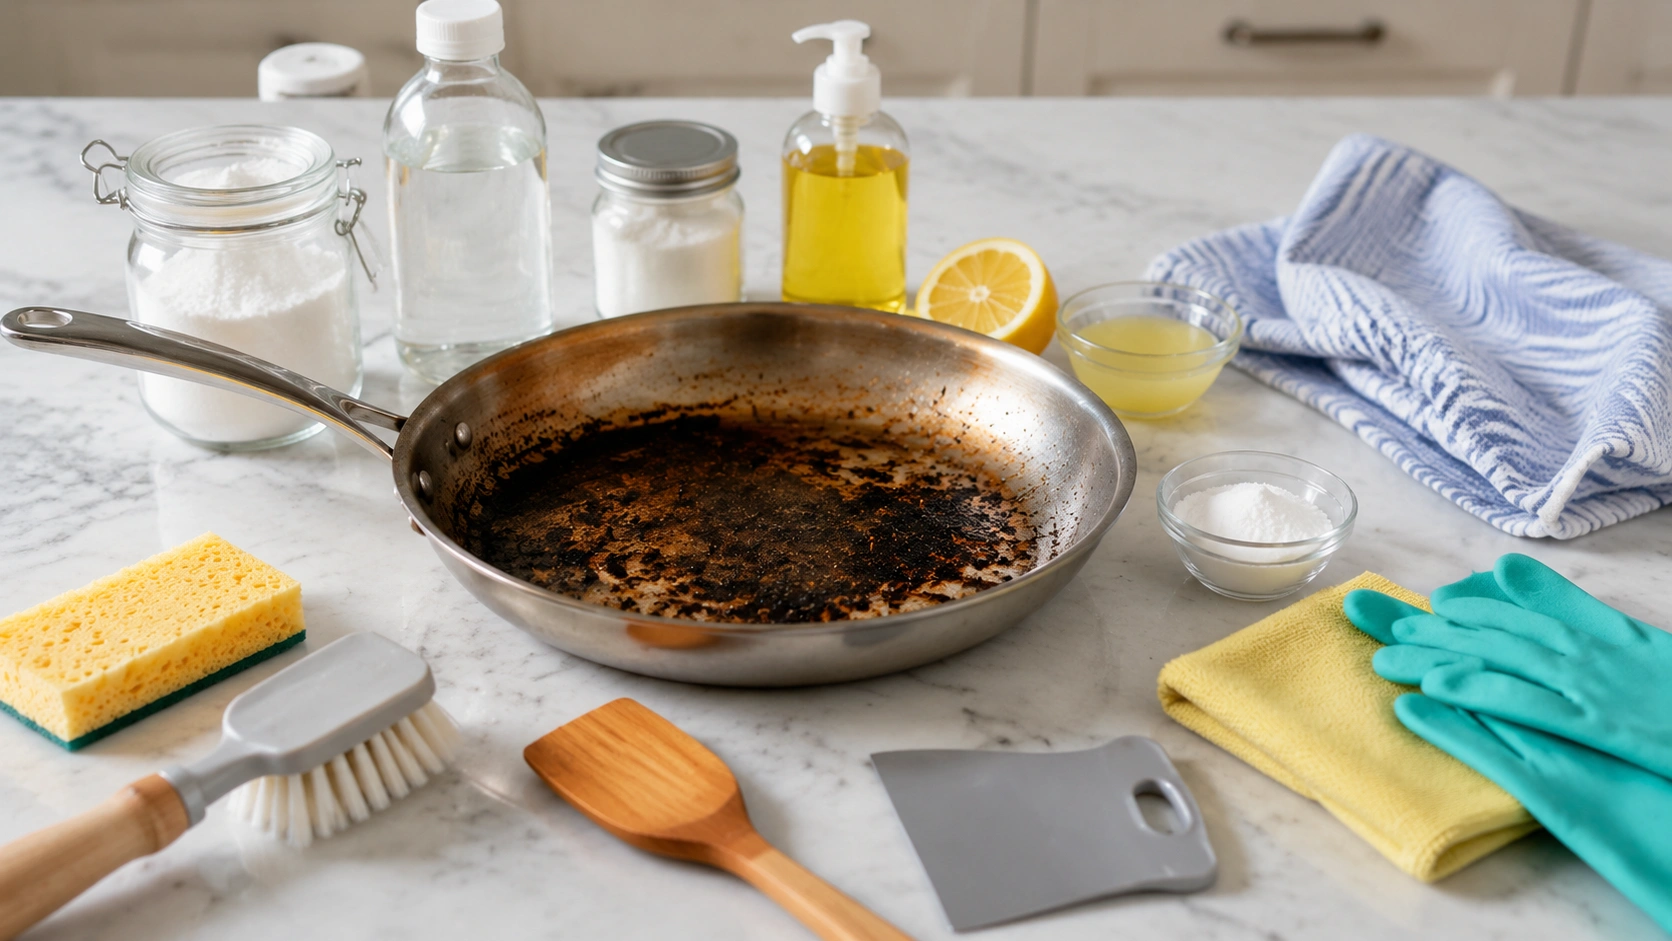
You do not need anything specialized or expensive. Most of these items are already in your kitchen.
Cleaning Supplies
| Supply | Best Used For |
|---|---|
| Baking soda | General residue, paste treatments, mild scrubbing |
| White vinegar | Loosening mineral deposits and stuck food |
| Dish soap | Everyday soaking and light grease |
| Lemon juice | Freshening and mild acidic cleaning |
| Salt | Gentle scrubbing on cast iron |
| Cream of tartar | Removing discoloration on stainless steel |
| Cookware cleaner | Stubborn or discolored stainless steel |
Tools
| Tool | Best Used For |
|---|---|
| Non-scratch sponge | Everyday scrubbing on coated and uncoated pans |
| Nylon brush | Exterior grease and stubborn residue |
| Wooden spatula | Lifting loose burnt food safely |
| Microfiber cloth | Final wipe-down and drying |
| Plastic scraper | Removing hardened residue without scratching |
| Rubber gloves | Protecting hands during longer cleaning sessions |
A note on abrasive tools: Steel wool and metal scouring pads should only be used on cookware built to handle them, like uncoated stainless steel or cast iron. Using them on nonstick or ceramic pans will scratch the surface, even if it does not look damaged right away.
How to Clean a Burnt Pan Step by Step
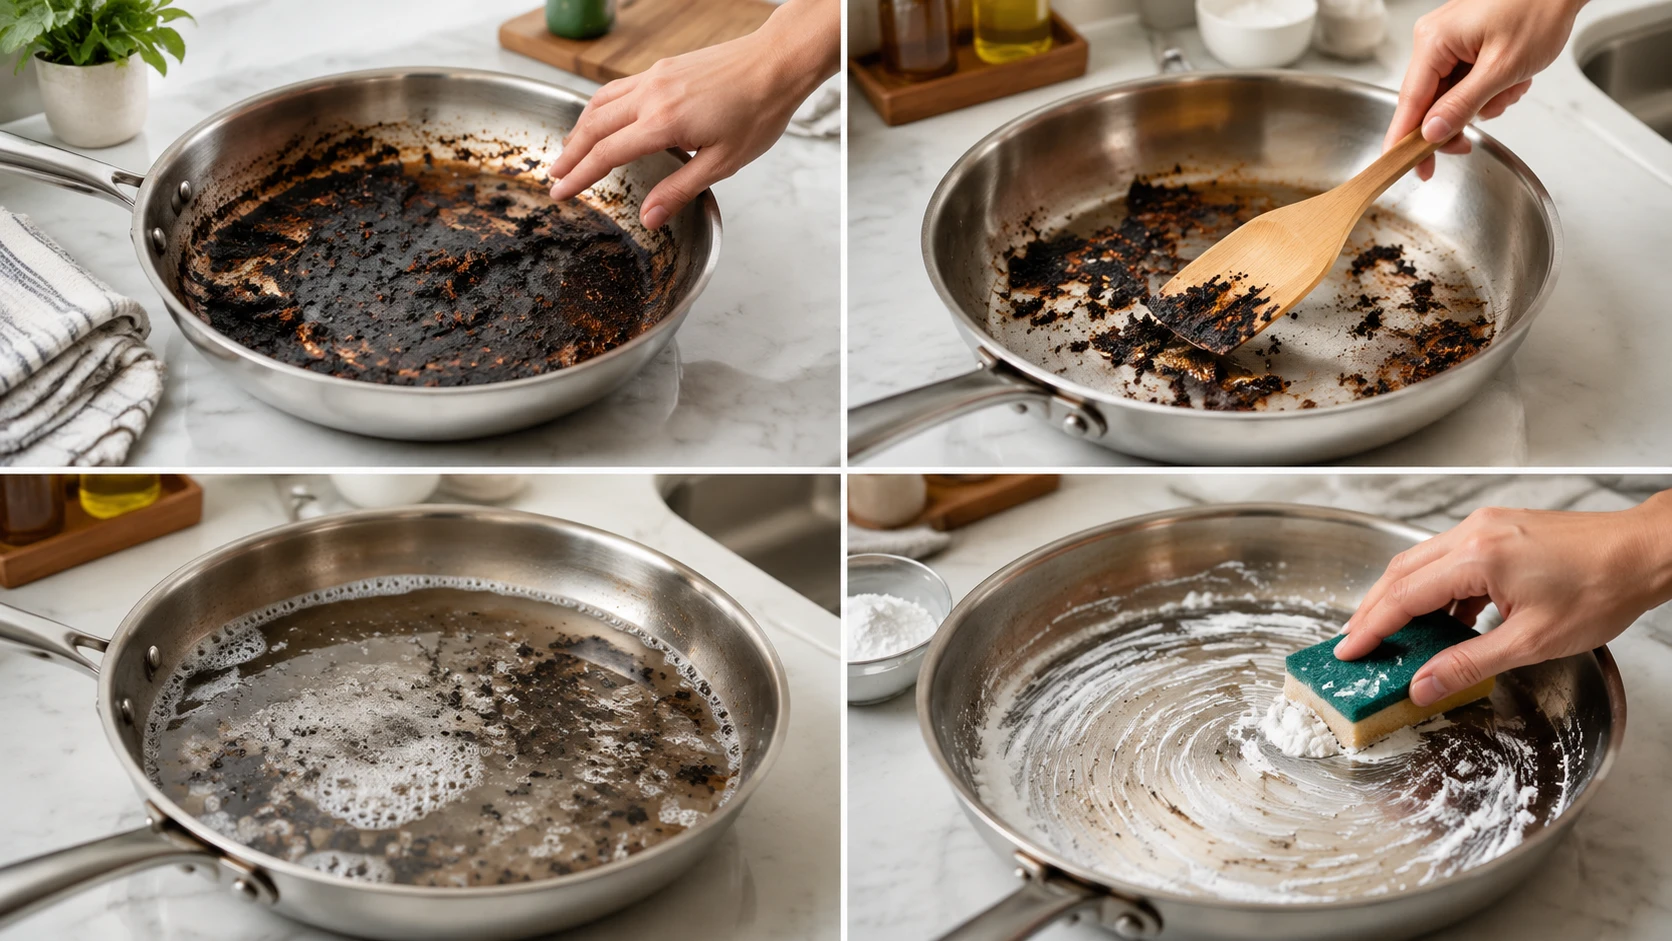
This method works as a starting point for most burnt pans, regardless of material. Material-specific adjustments are in the next section.
Step 1: Let the Pan Cool Completely
Never run a hot pan under cold water.
The sudden temperature change can warp thin metal cookware. It can also cause stress cracks in ceramic and enameled surfaces. Set the pan aside and let it cool to room temperature before adding any water or cleaner.
Step 2: Remove Loose Burnt Food
Once cool, use a wooden or silicone spatula to lift off anything that comes away easily. This clears the surface so your cleaning solution can focus on the residue that is actually stuck. Avoid metal utensils here, especially on coated cookware.
Step 3: Soak With Hot Water and Dish Soap
Fill the pan with warm water and a few drops of dish soap. Let it sit for at least 30 minutes. For severe burns, leave it longer.
Soaking gives the water time to soften the carbonized layer from below. This makes the next steps far less work.
Step 4: Apply a Baking Soda Paste
Mix baking soda with a small amount of water to form a thick paste. A 3:1 ratio of baking soda to water works well. Spread it over the burnt areas and let it sit for 15 to 20 minutes.
Scrub in circular motions with a non-scratch sponge. Baking soda is mildly abrasive and lifts residue without gouging most surfaces.
Step 5 (Optional): Use Vinegar and Baking Soda for Heavy Residue
For pans that still have thick, stuck-on layers after the paste treatment, add equal parts water and white vinegar. Bring the mixture to a simmer for a few minutes.
Remove it from heat and stir in two tablespoons of baking soda. It will fizz. This helps loosen mineral deposits and residue from the surface.
The fizzing alone will not finish the job. You will still need to scrub once it settles.
How to Clean a Burnt Pan Based on the Material
This is where a lot of general cleaning advice falls short. What’s safe for one type of pan can permanently damage another, so it’s worth treating this section as the most important part of the guide.
1. Stainless Steel Pan
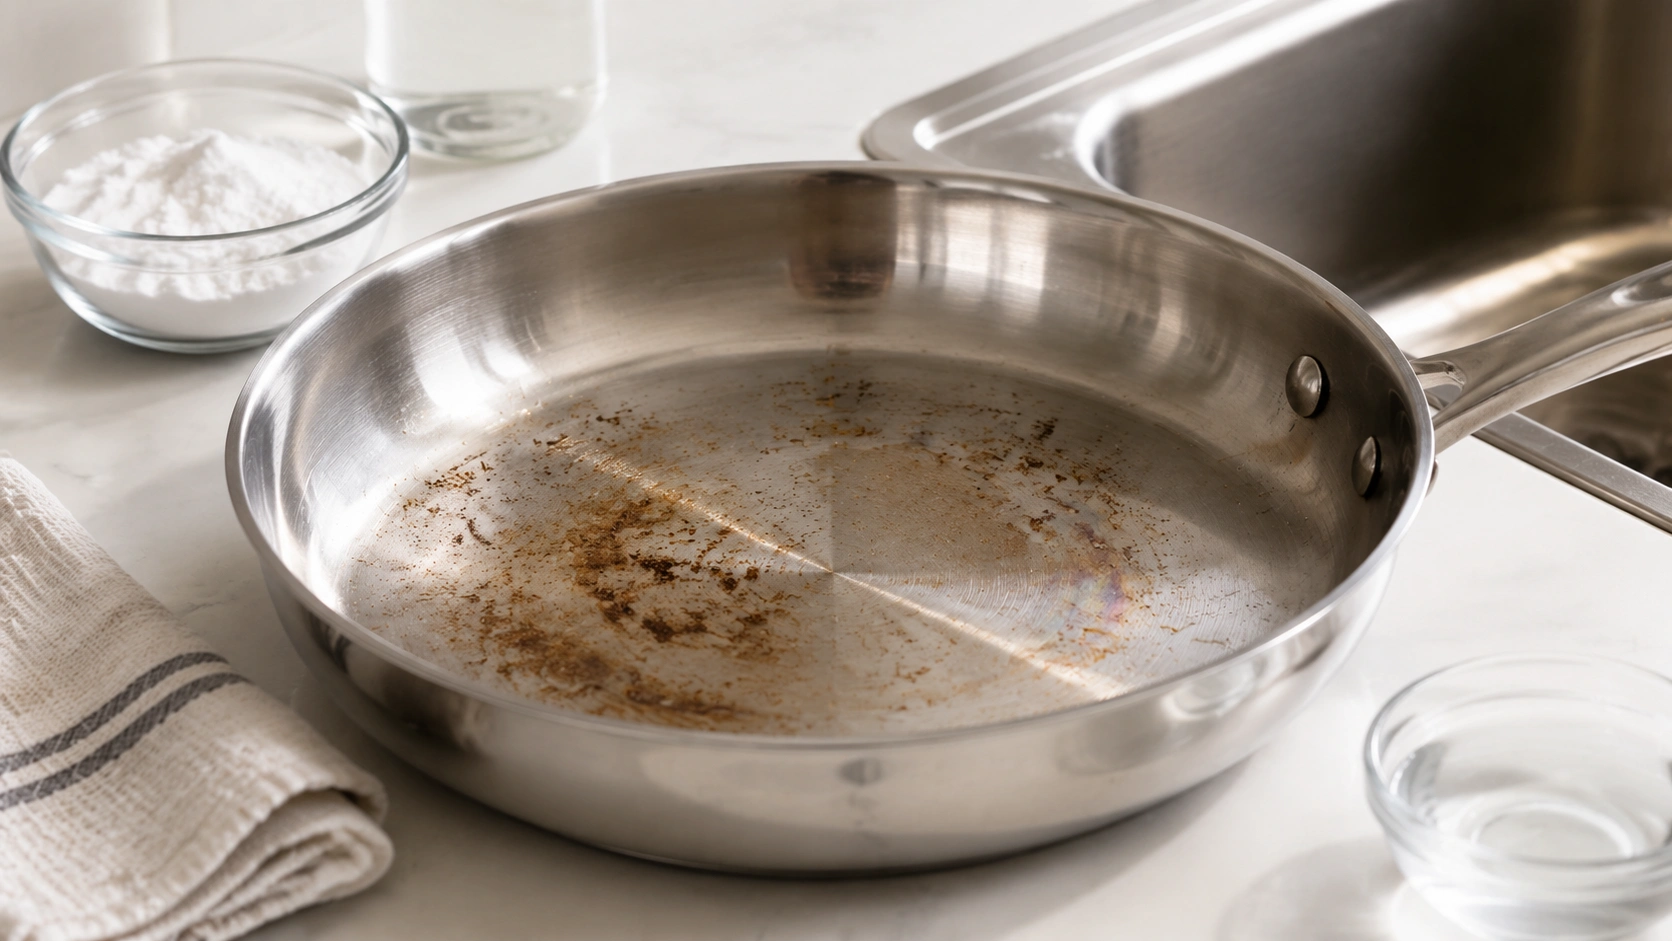
Baking soda and vinegar handle most stainless steel burns well. Use both methods above for moderate to heavy residue.
To loosen stuck food without heavy scrubbing, fill the pan with water and bring it to a gentle boil for 5 to 10 minutes. Let it cool before wiping.
For rainbow-colored heat stains, a paste of cream of tartar and water can restore the finish. A stainless-steel safe cleaner works well for stubborn discoloration.
2. Nonstick Pan
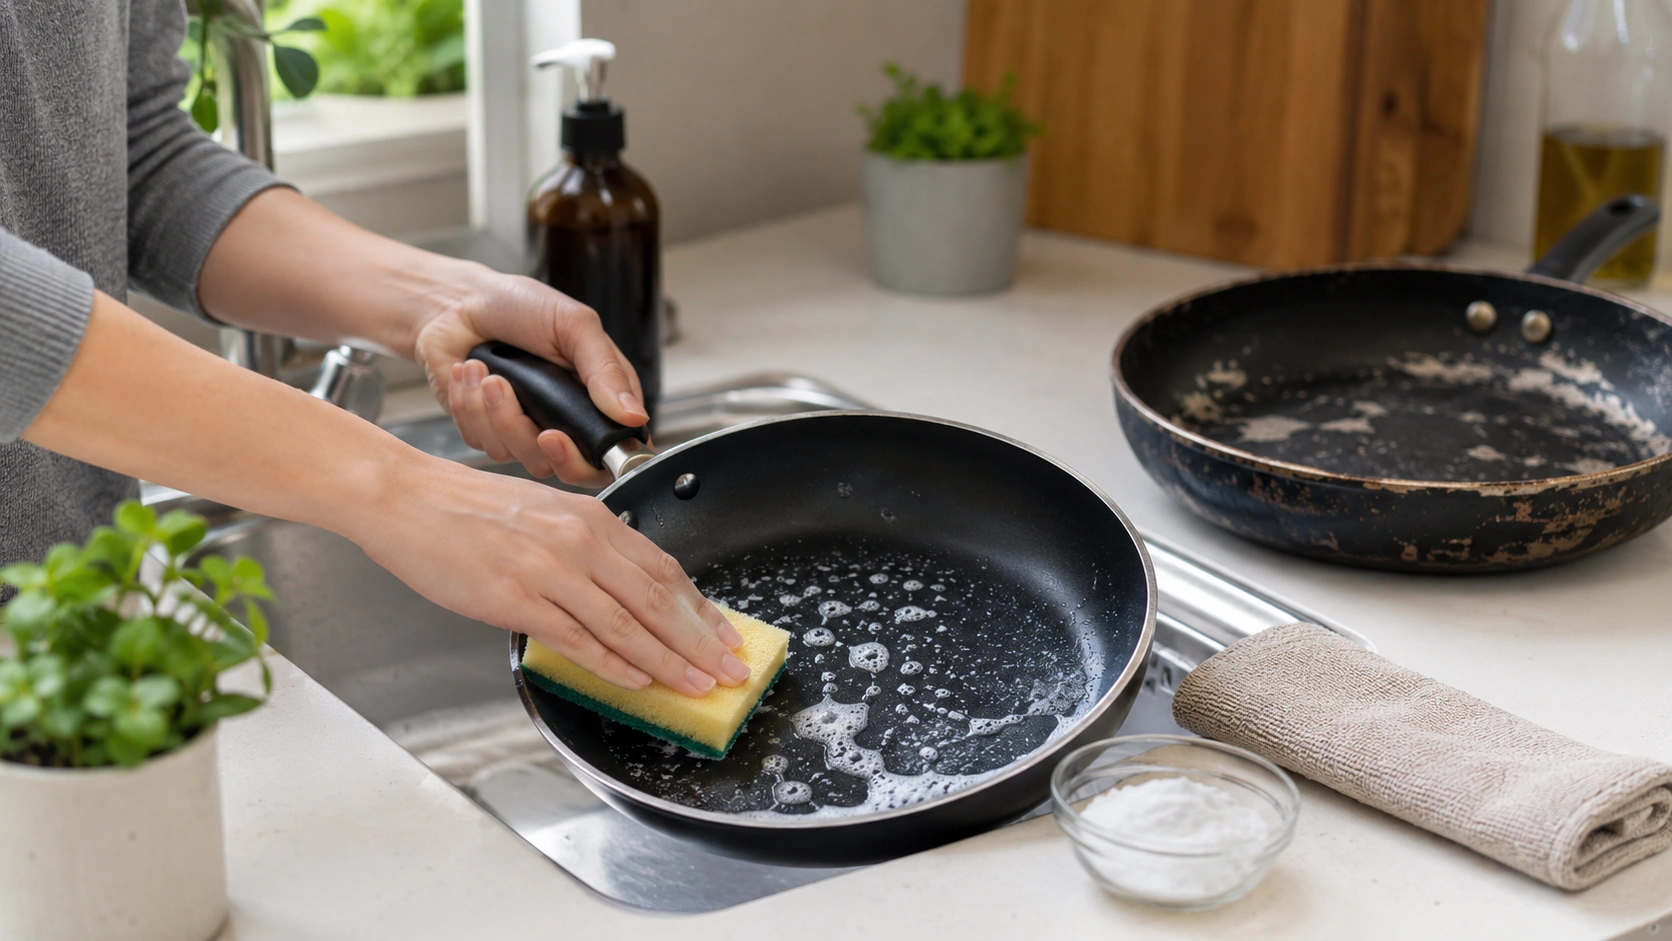
Avoid steel wool and harsh scrubbing entirely. Nonstick coatings scratch easily. Once the coating is compromised, food sticks permanently.
Stick to warm water, dish soap, and a soft sponge. A gentle baking soda paste is fine for light residue. Skip anything with a rough texture.
If you see flaking, peeling, or deep scratches, the pan needs replacement. A damaged nonstick coating can release material into food.
3. Cast Iron Pan
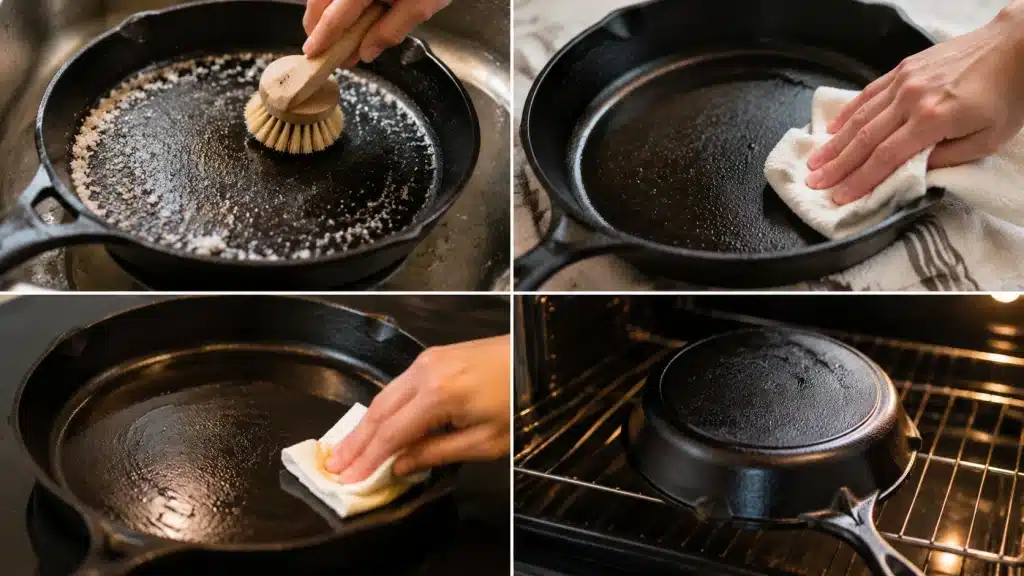
Avoid long soaks. Cast iron can rust if it sits in water too long.
Scrub gently with coarse salt and a small amount of water. This removes residue without stripping the seasoning.
Dry the pan completely right after cleaning. Any leftover moisture invites rust. Then rub a thin coat of oil over the surface and heat it briefly. This restores the pan’s protective layer.
4. Ceramic or Enamel Pan
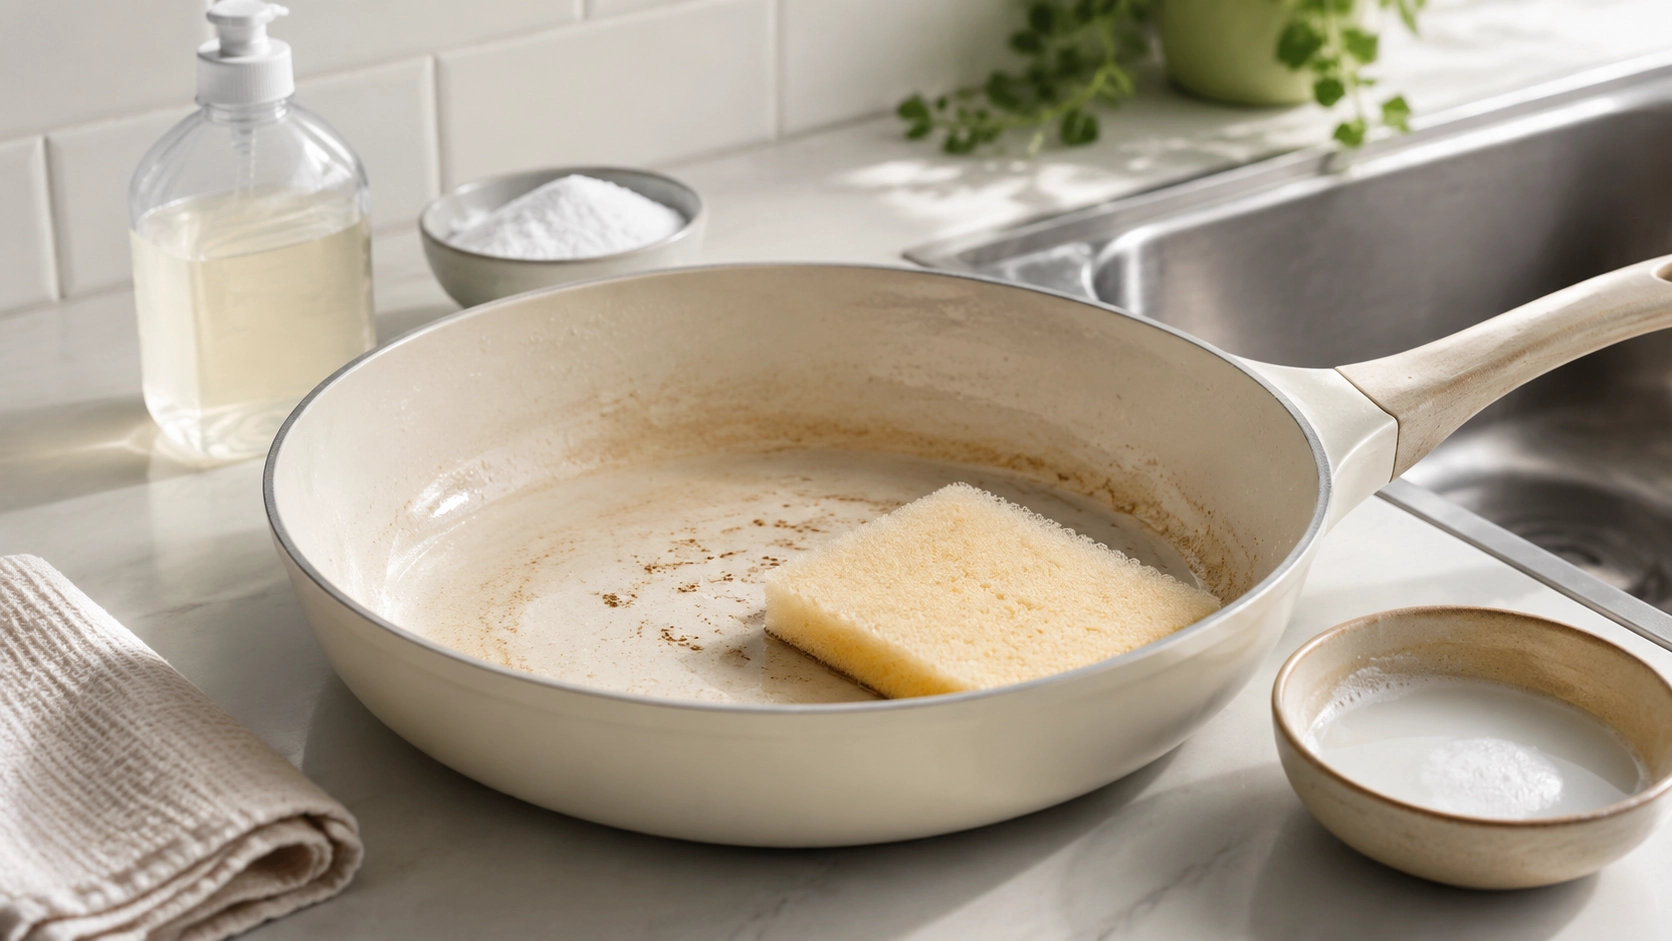
Dish soap and warm water handle most residue without risking the finish. Avoid aggressive abrasives. Ceramic and enamel coatings are more brittle than metal and can chip or dull with rough scrubbing.
Treat stains with patience rather than pressure. A longer soak with a mild baking soda solution is safer than scrubbing harder.
5. Aluminum Pan
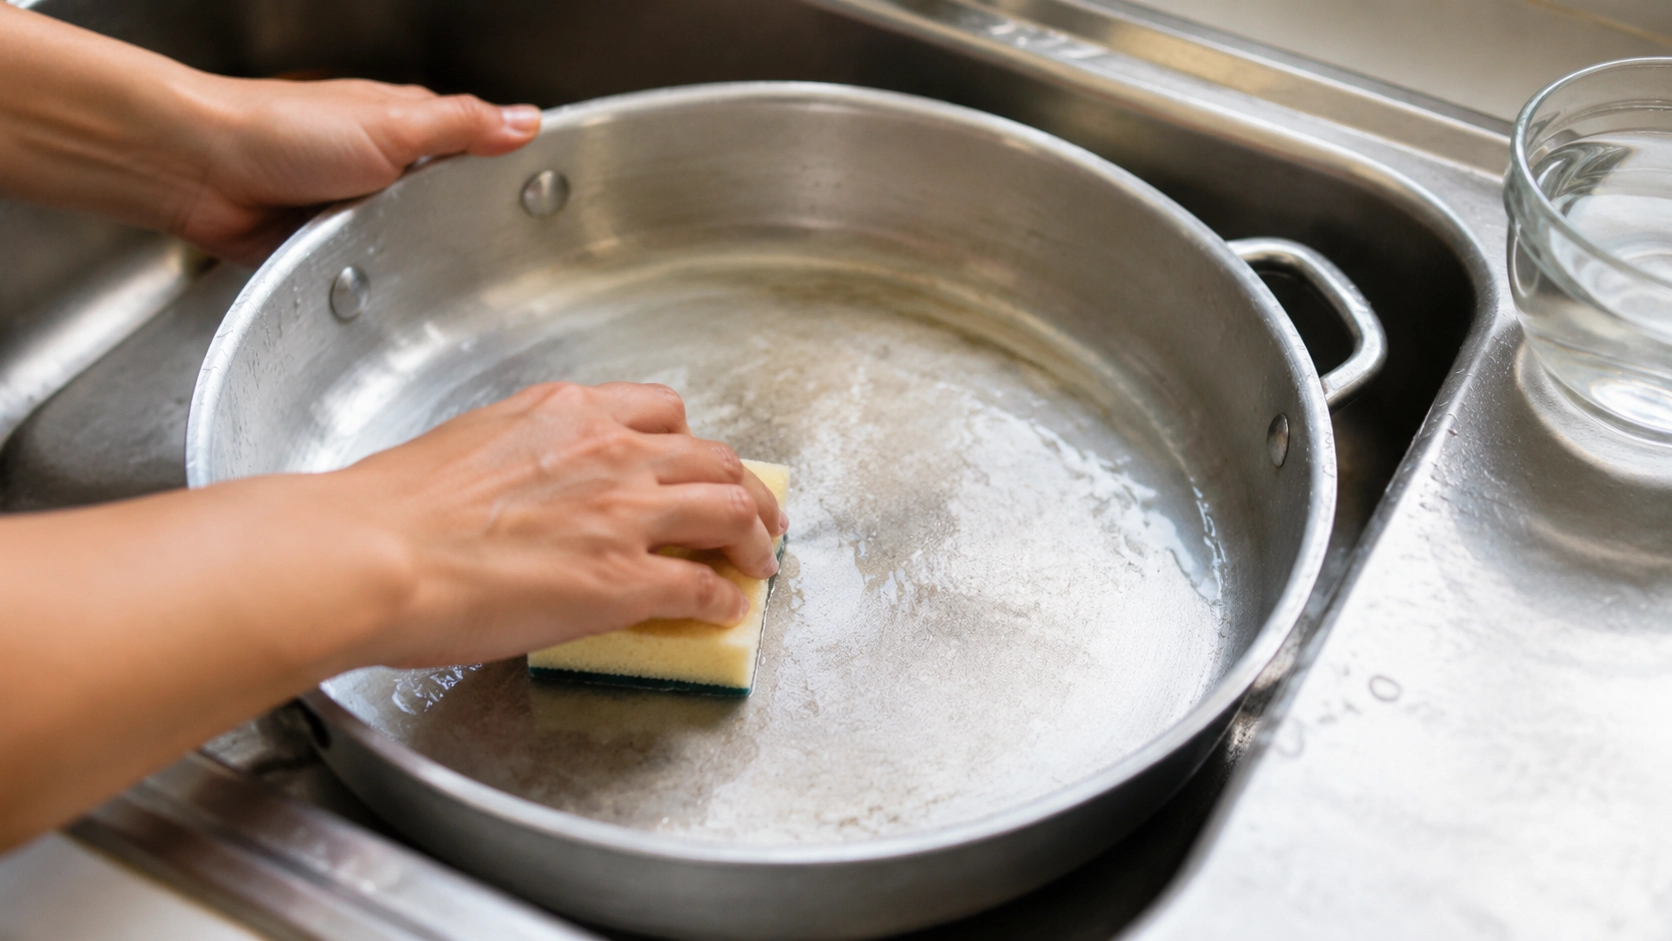
Skip harsh chemical cleaners. Aluminum reacts with strong alkaline products, which can cause pitting or discoloration.
A diluted vinegar solution helps with discoloration, but rinse the pan well afterward. Warm water, dish soap, and a soft sponge remain the safest routine option.
How to Remove Thick Black Burnt Layers From a Pan
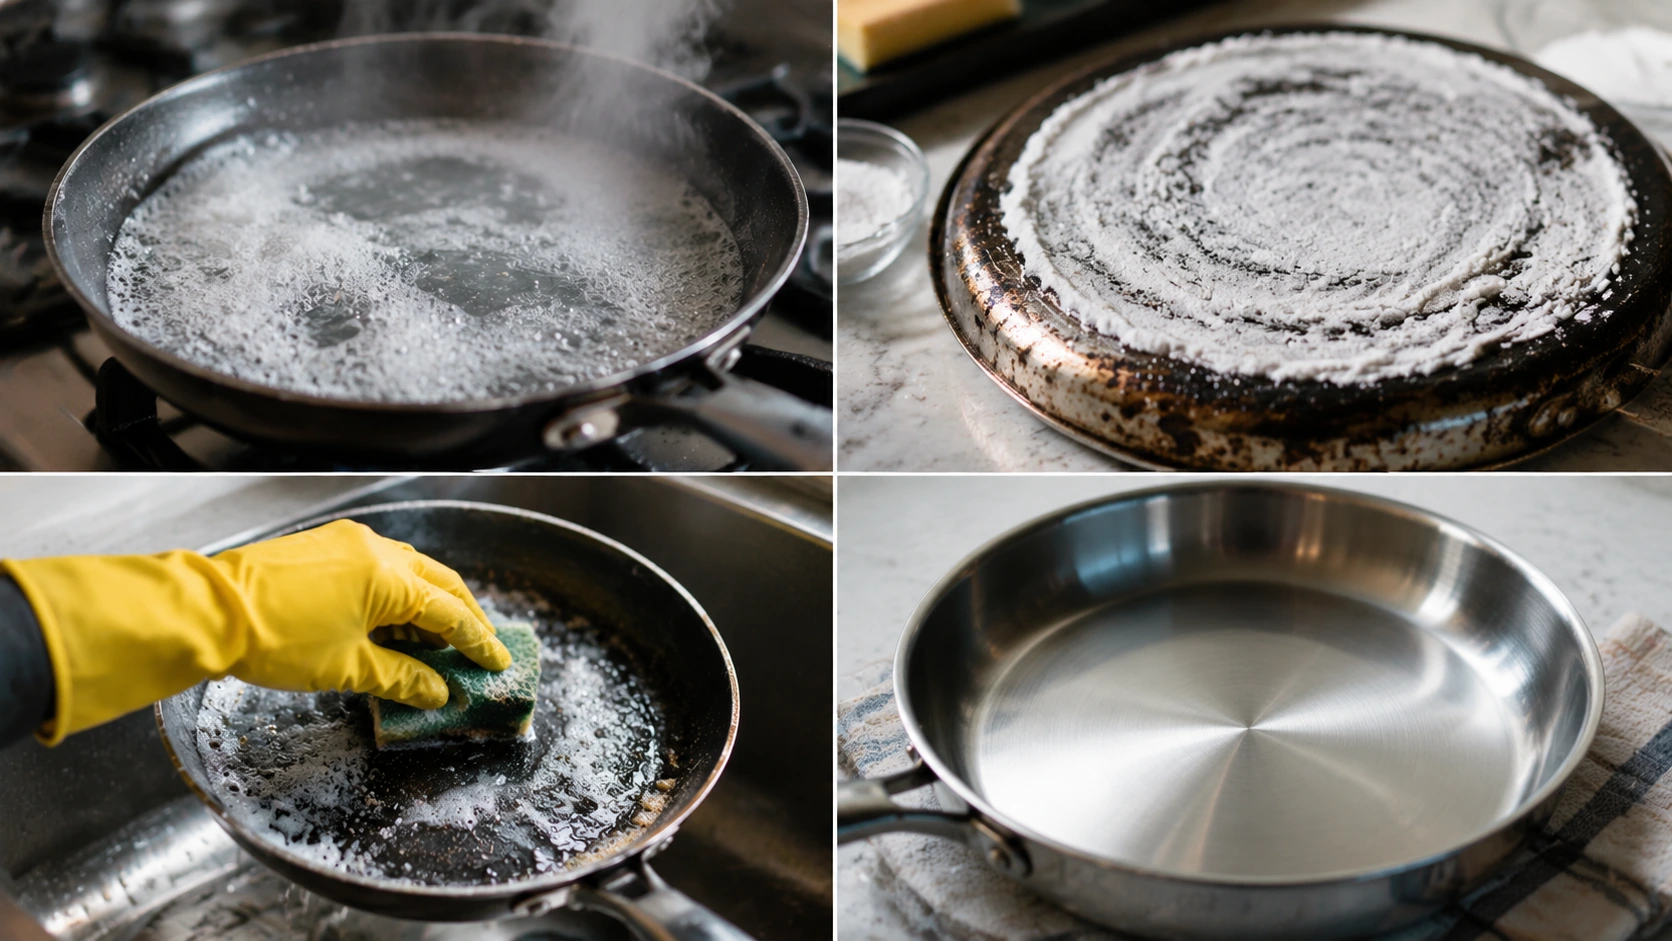
Some burns go well beyond a light morning-after crust. If your pan has a thick, black, tar-like layer, try these stronger methods before giving up on it.
1. Boiling Water and Dish Soap
Fill the pan with water and add a generous squeeze of dish soap. Bring it to a boil for 10 to 15 minutes. This loosens even thick stuck-on layers so scrubbing takes far less effort afterward.
2. Baking Soda Overnight Treatment
For heavy buildup, spread a thick baking soda paste over the affected area. Let the pan sit overnight rather than just 15 to 20 minutes. The extended contact time gives the baking soda much more opportunity to break down stubborn residue.
3. Commercial Cookware Cleaners
When household methods are not cutting it, a dedicated cookware cleaner made for your pan’s material can finish the job. Always follow the manufacturer’s instructions. Some cleaners are only safe for certain surfaces.
Matching the cleaner to the specific pan type works better than reaching for the strongest product available. This matters most on coated or delicate finishes.
How to Clean Burnt Grease From the Outside Bottom of a Pan
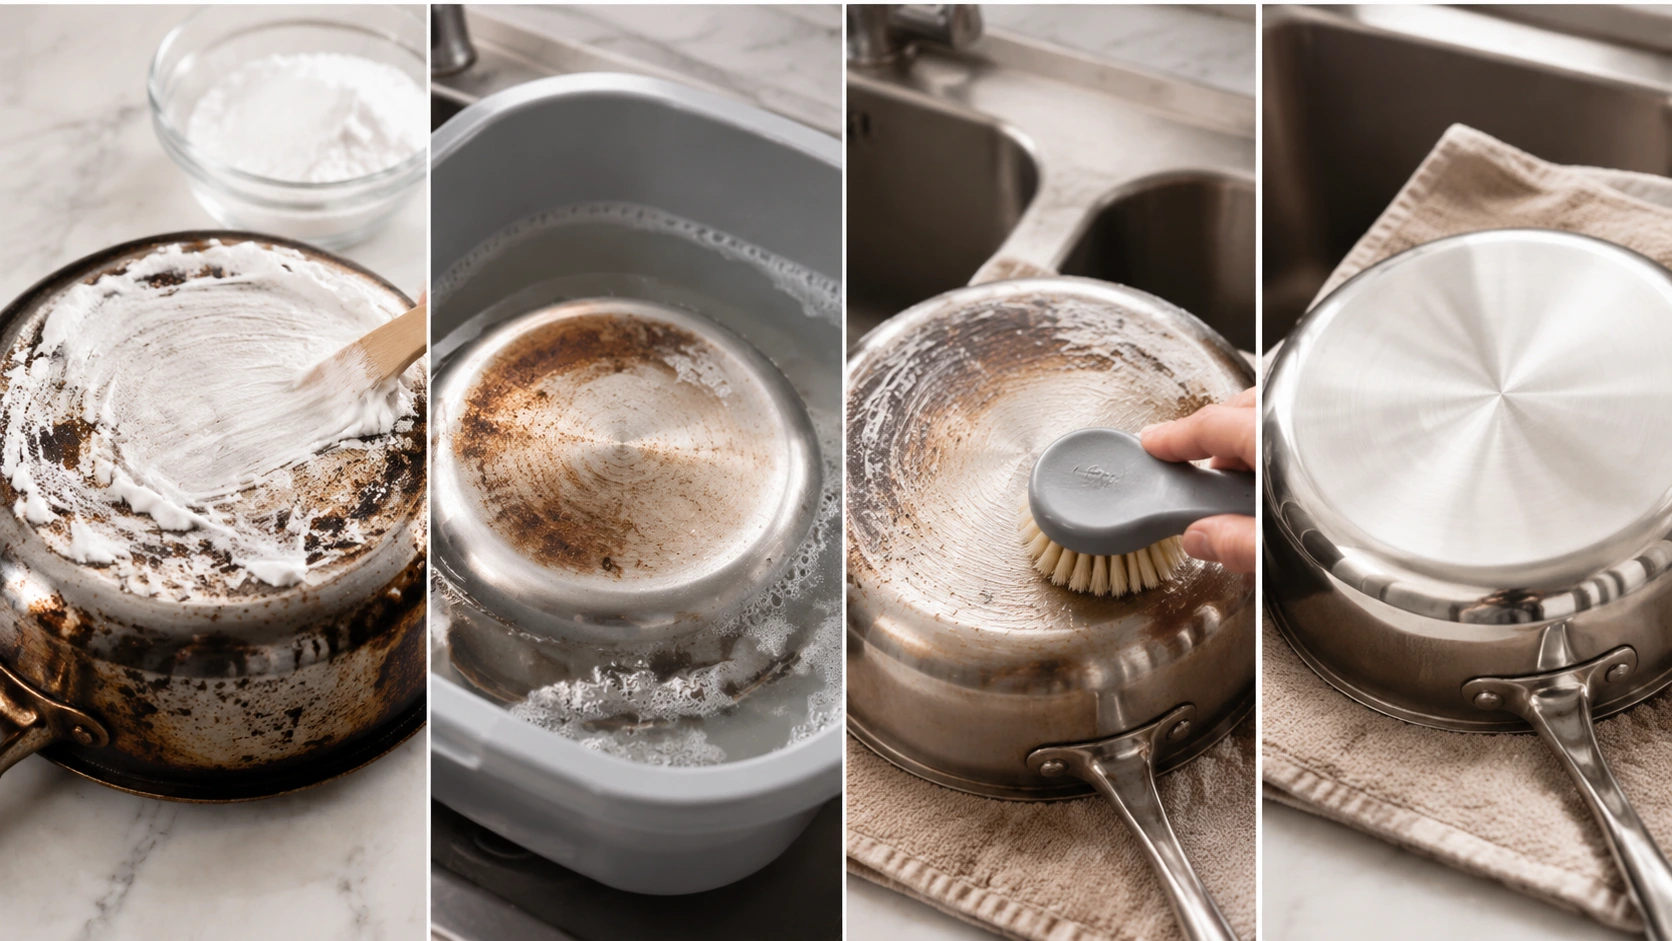
This part of the pan gets overlooked constantly. Grease buildup on the underside is just as common as burnt food on the cooking surface.
Why it happens: Splattered oil and grease drip down the sides of a pan during cooking. Direct stovetop heat bakes that grease onto the bottom repeatedly. Over time, it builds into a dark, sticky layer. It is harder to remove than surface burns because it has gone through many heating cycles.
- Baking soda paste: Apply a thick paste to the pan bottom and let it sit for at least 30 minutes. For heavy buildup, extend this to a few hours before scrubbing.
- Soaking method: Submerge the pan bottom-down in a basin of warm water and dish soap. This cuts through grease that resists dry scrubbing.
- Scrubbing tool: A nylon brush handles most exterior grease without scratching the underlying metal.
- Polished exteriors: On pans with a mirror-finish exterior, use only soft sponges. Scratches on the outside are just as permanent as on the cooking surface.
How to Prevent a Pan From Burning Again
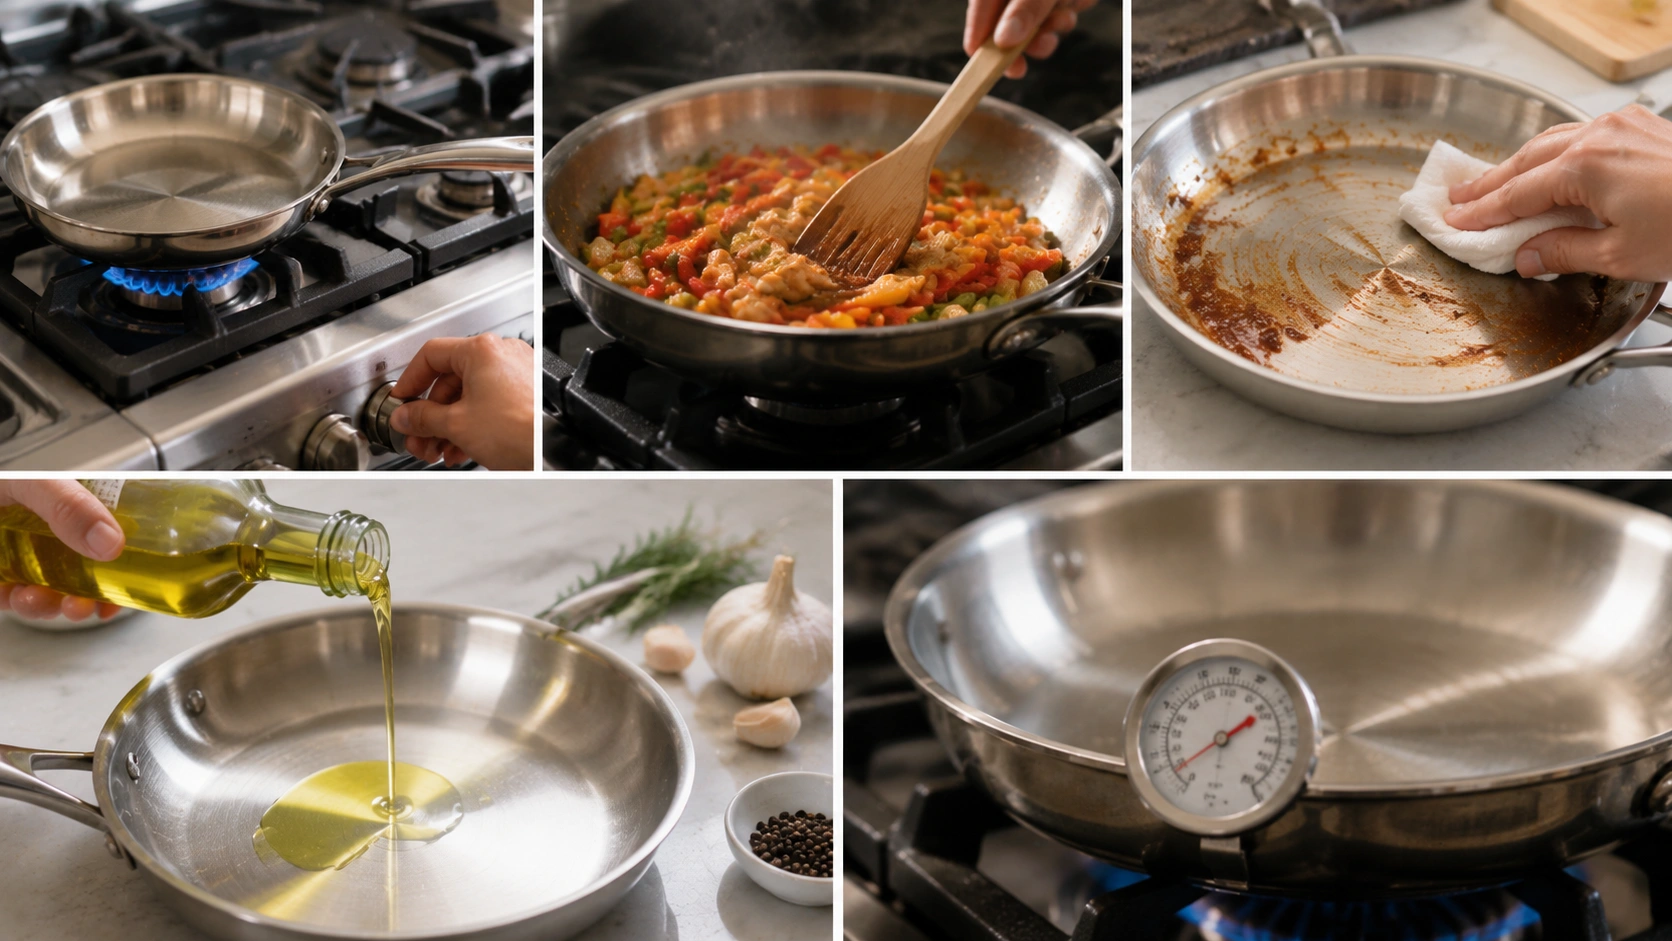
A few small habits go a long way toward avoiding another deep cleaning session.
- Match your heat level to the type of cookware you are using
- Never leave an empty pan on high heat, even briefly
- Stir foods with high sugar content more often, since sugar burns fast
- Clean residue while it is still fresh, before it has time to harden
- Use oils suited to your cooking temperature, since some oils burn at lower heat than others
None of these habits eliminate burns entirely. But they cut down how often you will need the deeper cleaning methods above.
When Should You Replace a Burnt Pan?
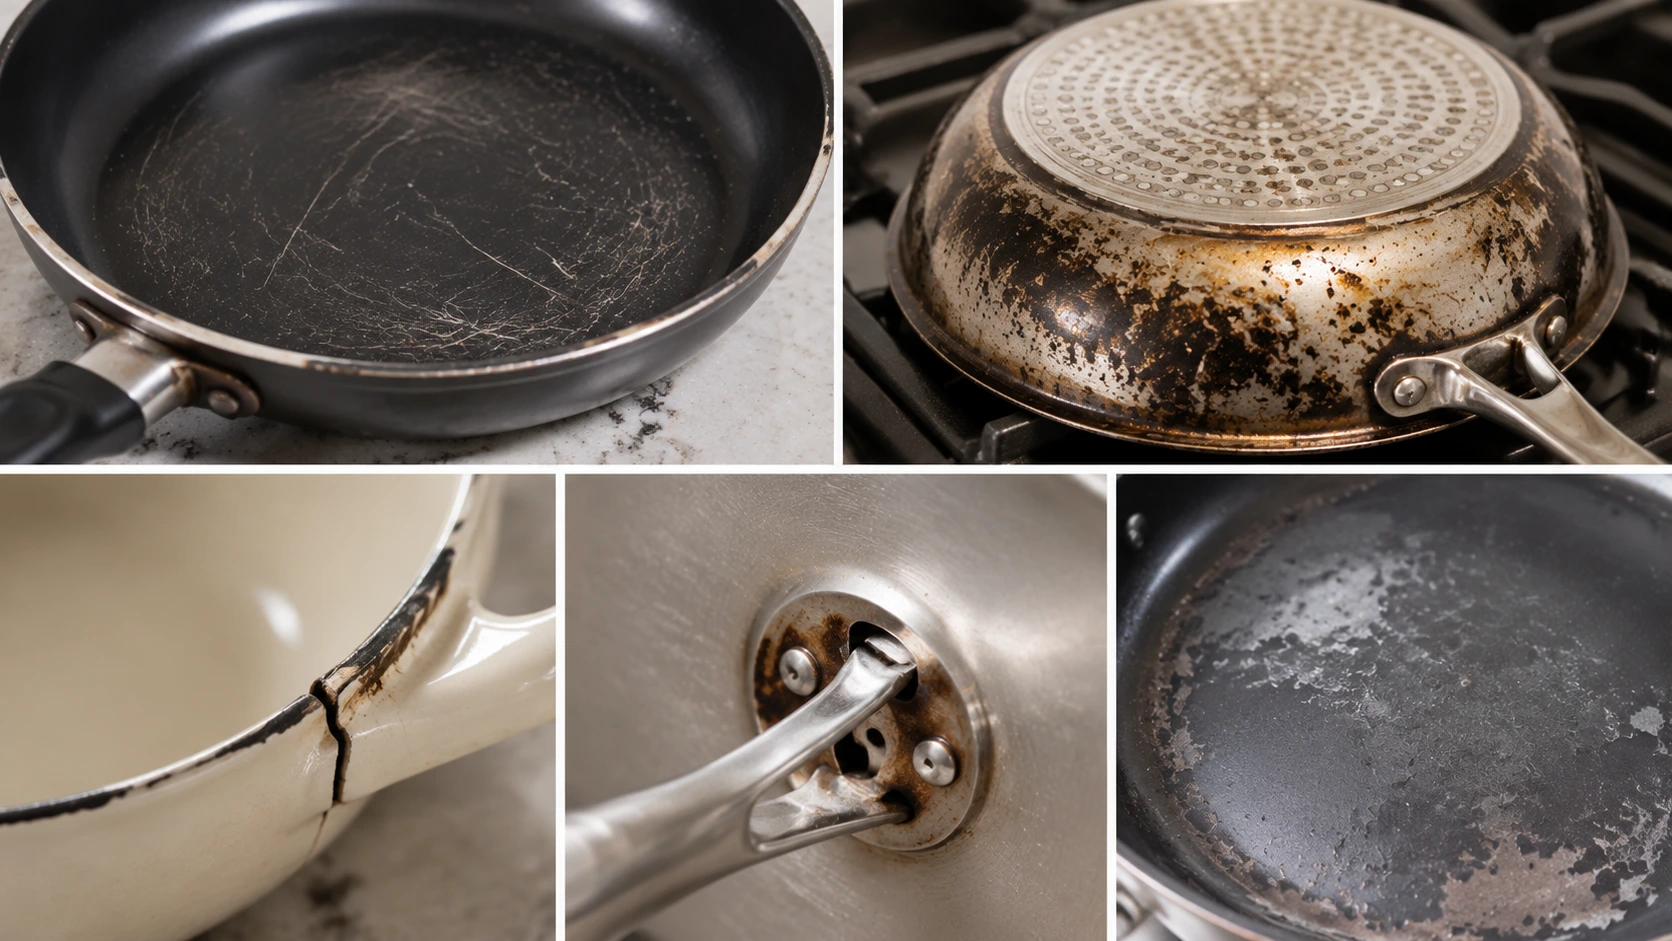
Cleaning solves most burnt pan problems, but not all of them. Some damage is permanent, and no amount of scrubbing will bring the pan back.
Consider replacing a pan if you notice:
- Deep scratches through a nonstick coating
- A warped or uneven bottom that no longer sits flat on the stove
- Cracks in a ceramic or enamel surface
- A loose or wobbly handle
- Persistent odors or visible coating breakdown even after thorough cleaning
If the damage affects how food cooks or how safe the surface is, replacing the pan makes more sense than continuing to clean around the problem.
Frequently Asked Questions
Can Baking Soda Clean a Completely Burnt Pan?
Yes, for most residue. Baking soda handles light to moderate burns well on its own, while thick black layers usually need an overnight soak or a commercial cleaner used alongside it for full results.
How Long Should I Soak a Burnt Pan?
At least 30 minutes works for light burns and everyday residue. Heavy buildup or thick, crusted layers often need several hours or a full overnight soak to loosen completely before scrubbing.
Can Vinegar Damage a Pan?
Vinegar is generally safe for stainless steel and aluminum when used in moderation and rinsed afterward. Avoid prolonged contact with cast iron, since the acidity can strip seasoning and encourage rust over time.
How Do You Clean a Burnt Nonstick Pan?
Stick to warm soapy water and a soft sponge, since nonstick coatings scratch easily. Skip steel wool or anything abrasive, and replace the pan once the coating starts flaking or peeling.
Can a Burnt Pan Be Restored?
Most burnt residue can be removed with the right soaking and scrubbing method for the material. Physical damage like warping, deep scratches, or cracked coating usually can’t be reversed through cleaning.
Give Your Pan a Second Chance
A burnt pan looks like a lost cause, but it rarely is. The real fix when you clean a burnt pan is patience over force. Let soaking do the heavy lifting.
Start with the gentlest method your cookware allows, and only move to stronger treatments if the residue holds on.
Match the technique to the material, and you protect the surface while still getting it clean. A few minutes of extra care now saves you from replacing cookware that still has plenty of good meals left in it.