How to Make a Closed Terrarium: A Simple Beginner’s Guide

Creating a terrarium is simpler than most people think. A closed terrarium offers an easy way to bring a little nature indoors, requiring minimal effort once you get the basics right.
Whether you’re just starting with plants or looking for a simple project to add some greenery to your space, a closed terrarium is a great choice.
Sure, it takes a little trial and error to get things perfect, but once you’ve found the right balance of moisture and light, it pretty much runs itself.
Let’s dive into how you can make one for yourself.
Choosing the Right Plants for Your Closed Terrarium
Selecting the right plants is one of the most important steps in building a successful closed terrarium.
The best choices are moisture-loving plants that thrive in humid, low-light conditions and fit comfortably within an enclosed space.
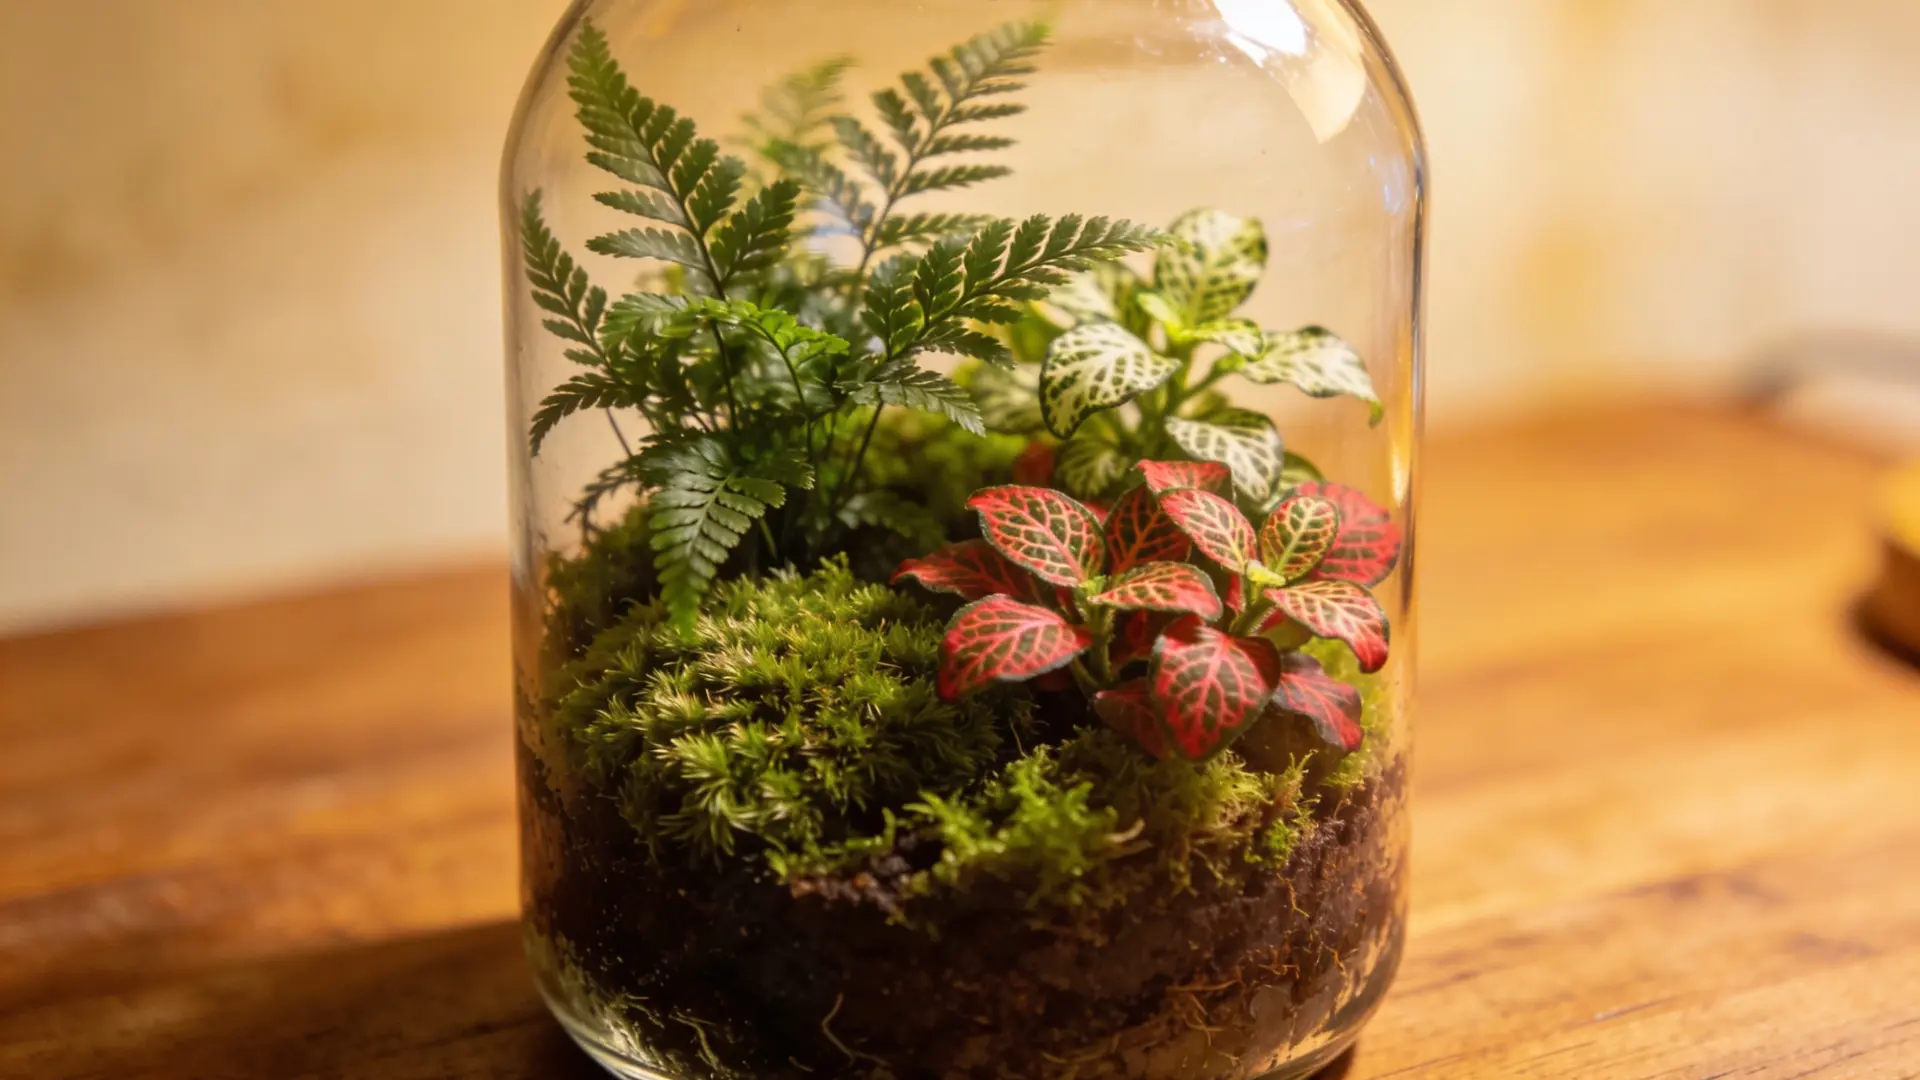
Some of the best plants for a closed terrarium include:
- Ferns: thrive in high humidity and low light
- Moss: fills gaps beautifully and loves a moist environment
- Fittonia (Nerve Plants): colorful, compact, and humidity-friendly
- Peperomia: easy to maintain and ideal for enclosed spaces
When choosing your plants, keep these points in mind:
- Avoid plants that need direct sunlight or dry conditions
- Pick plants of varying heights and textures for visual balance
- Consider how each plant will grow and interact with others over time
- Stick to slow-growing varieties to avoid overcrowding
Mixing different shapes, sizes, and leaf textures not only creates a more visually appealing terrarium but also helps build a healthier and more balanced miniature ecosystem overall.
Tools and Materials Required
Here’s a list of the essential tools and materials you’ll need to create your closed terrarium:
- Glass container with a lid
- Pebbles, gravel, or LECA
- Mesh screen or sphagnum moss
- Activated charcoal
- Tropical or suitable potting soil mix
- Small tropical plants
- Decorative elements (optional)
- Springtails
- Spray bottle or watering can
- Bright, indirect light source
- Tweezers or chopsticks
How to Make a Terrarium: Step by Step
Making a closed terrarium at home is easier than it looks. Follow these simple steps to build your own thriving miniature ecosystem from scratch:
Step 1: Choosing the Container
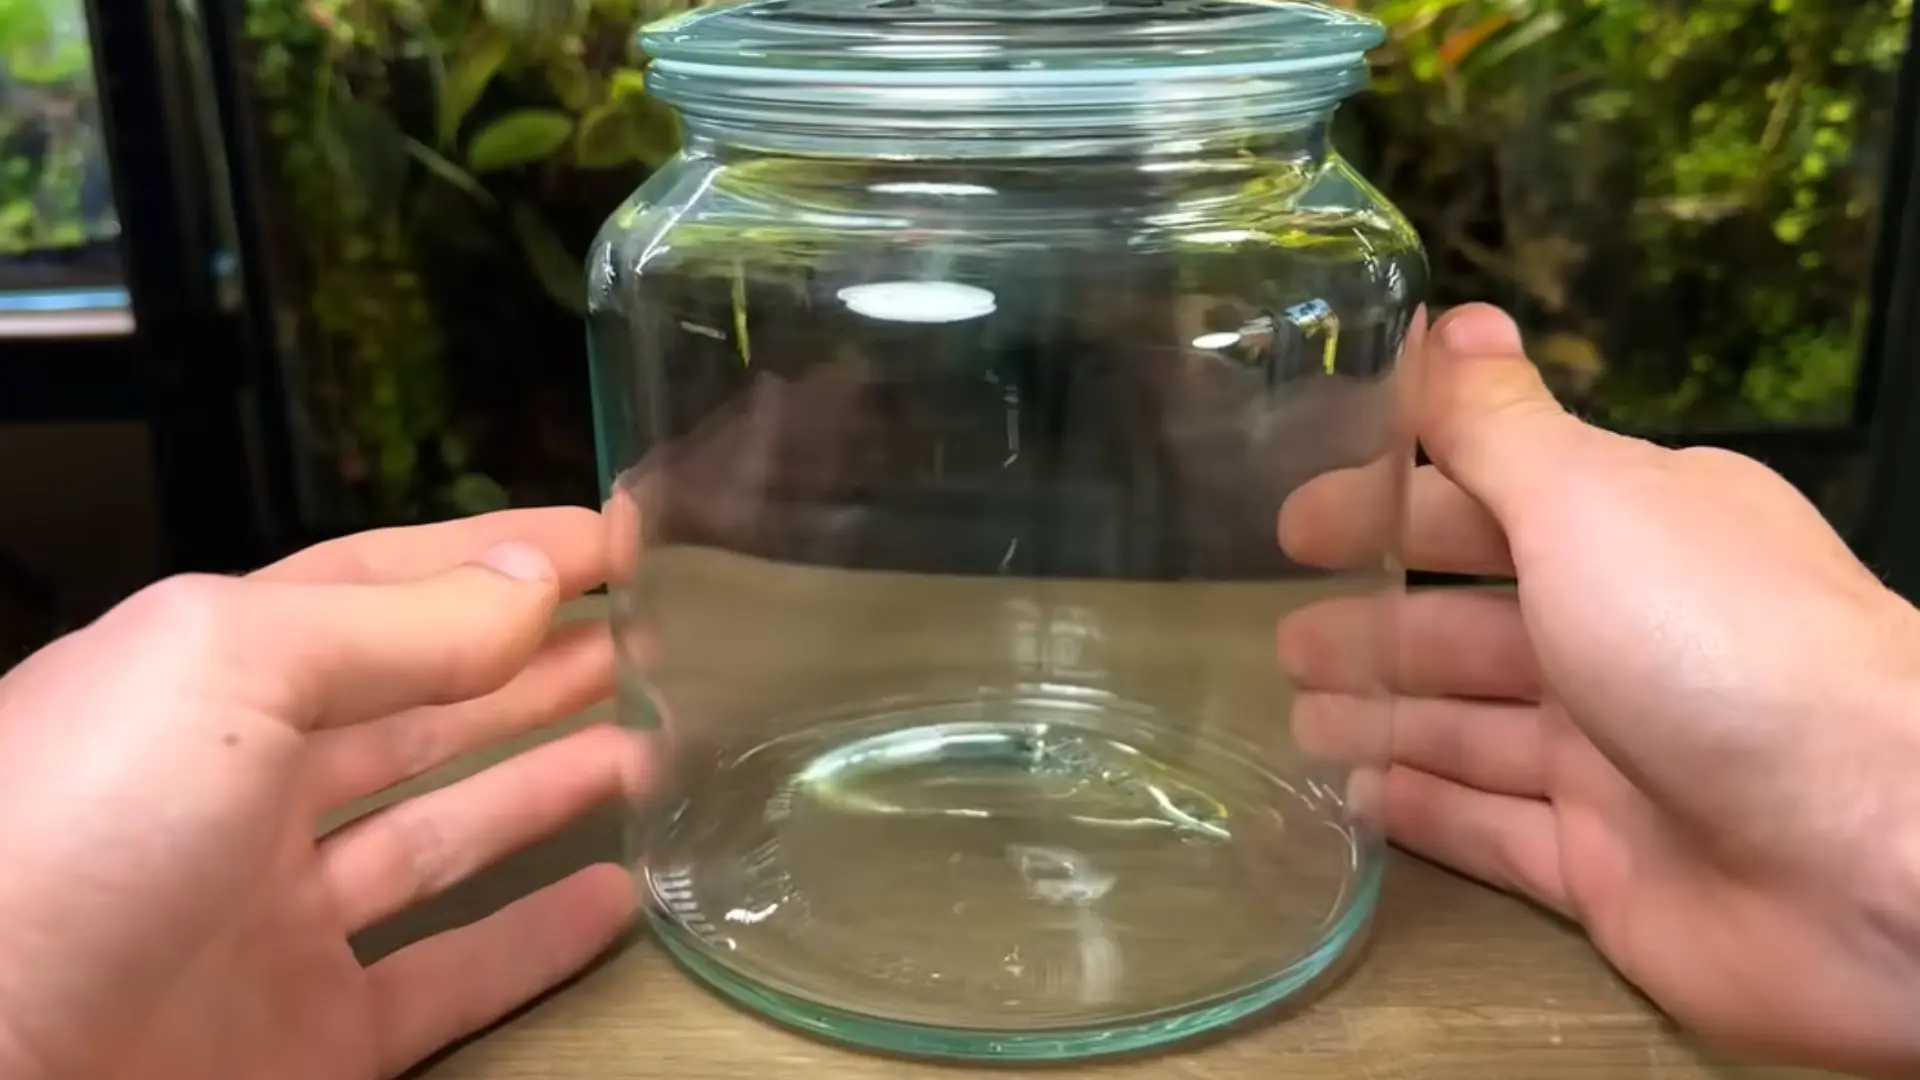
Start by selecting a clear glass container with a lid. The size will depend on the space available and the plants you choose.
Make sure the container is large enough to provide air circulation while still being sealed when needed. A jar or bottle works best for beginners as it’s easy to work with and allows you to see the layers clearly.
Step 2: Making the Drainage Layer
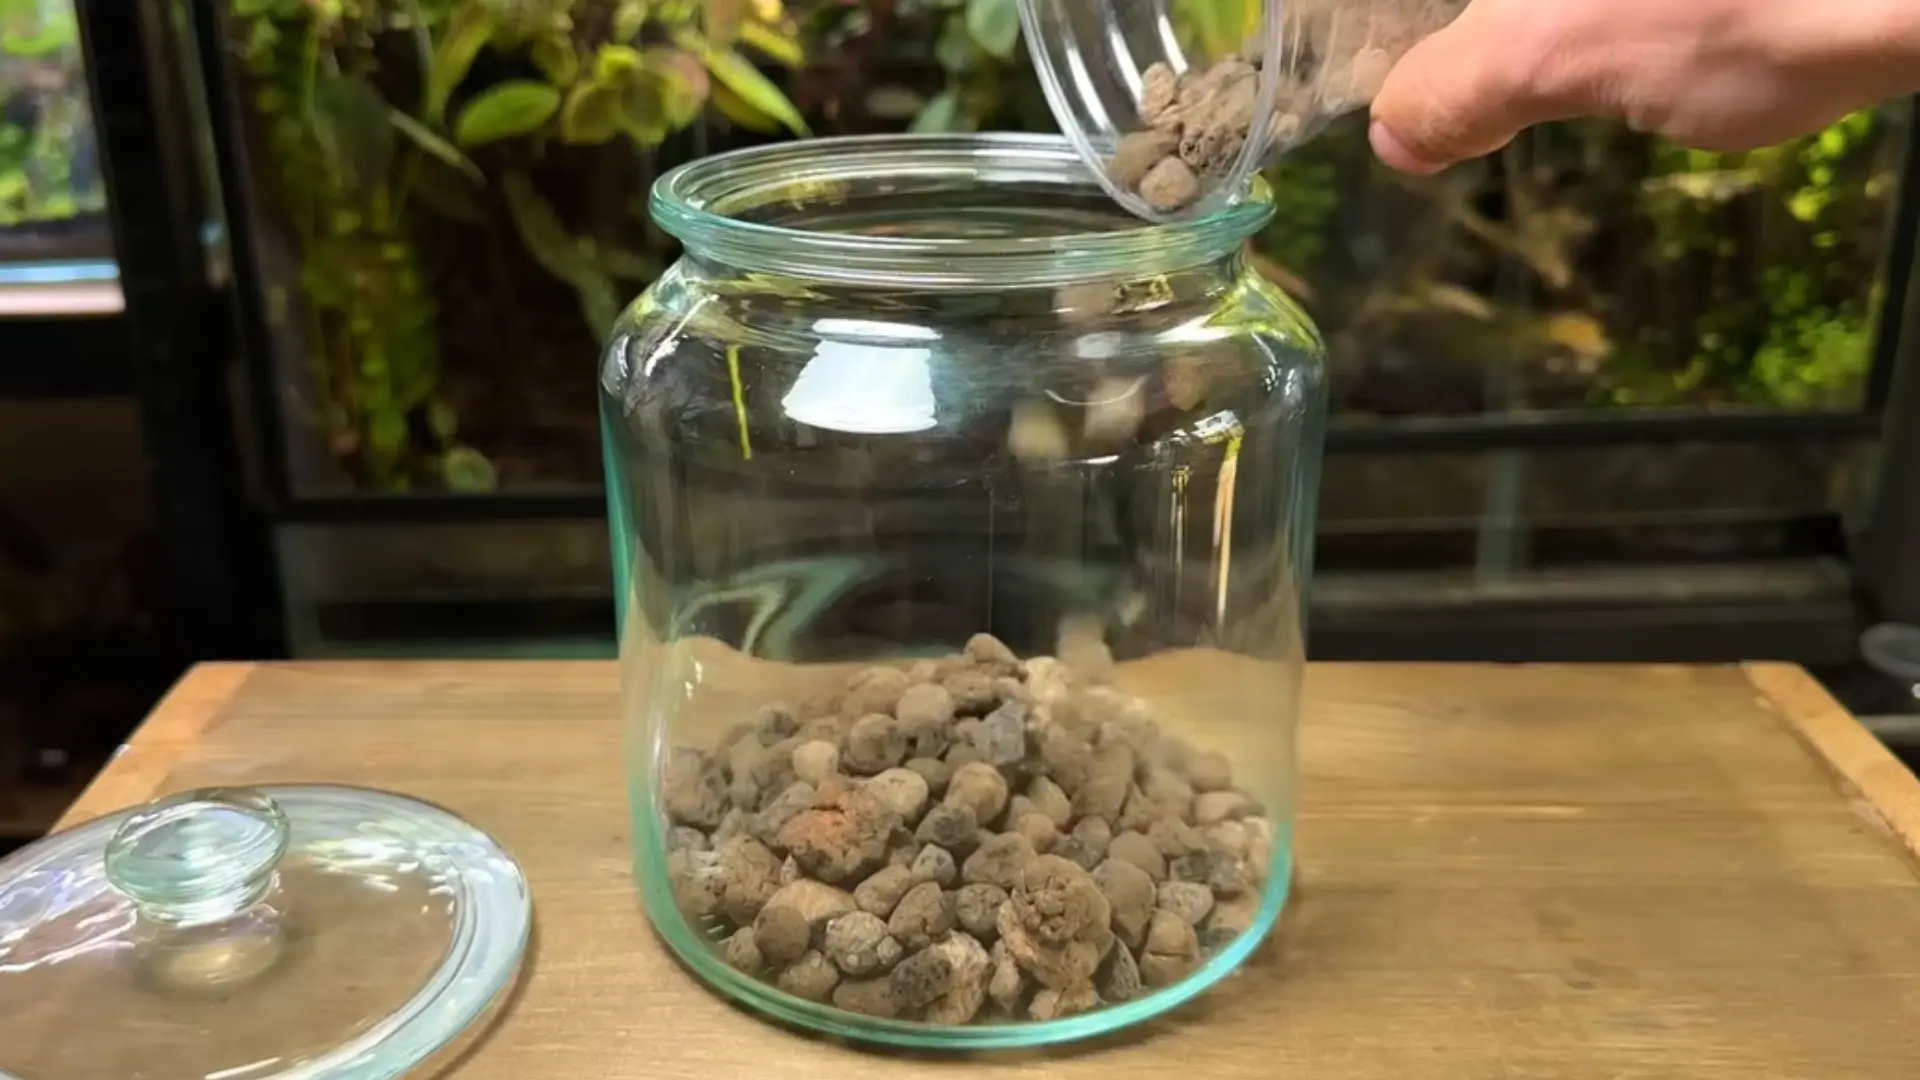
Add 1–2 inches of drainage material at the bottom of your container. This helps prevent water from accumulating at the base, which can cause the plants’ roots to rot.
Use pebbles, gravel, or LECA for drainage. These materials allow excess water to escape and maintain proper moisture levels.
Step 3: Adding the Substrate Barrier
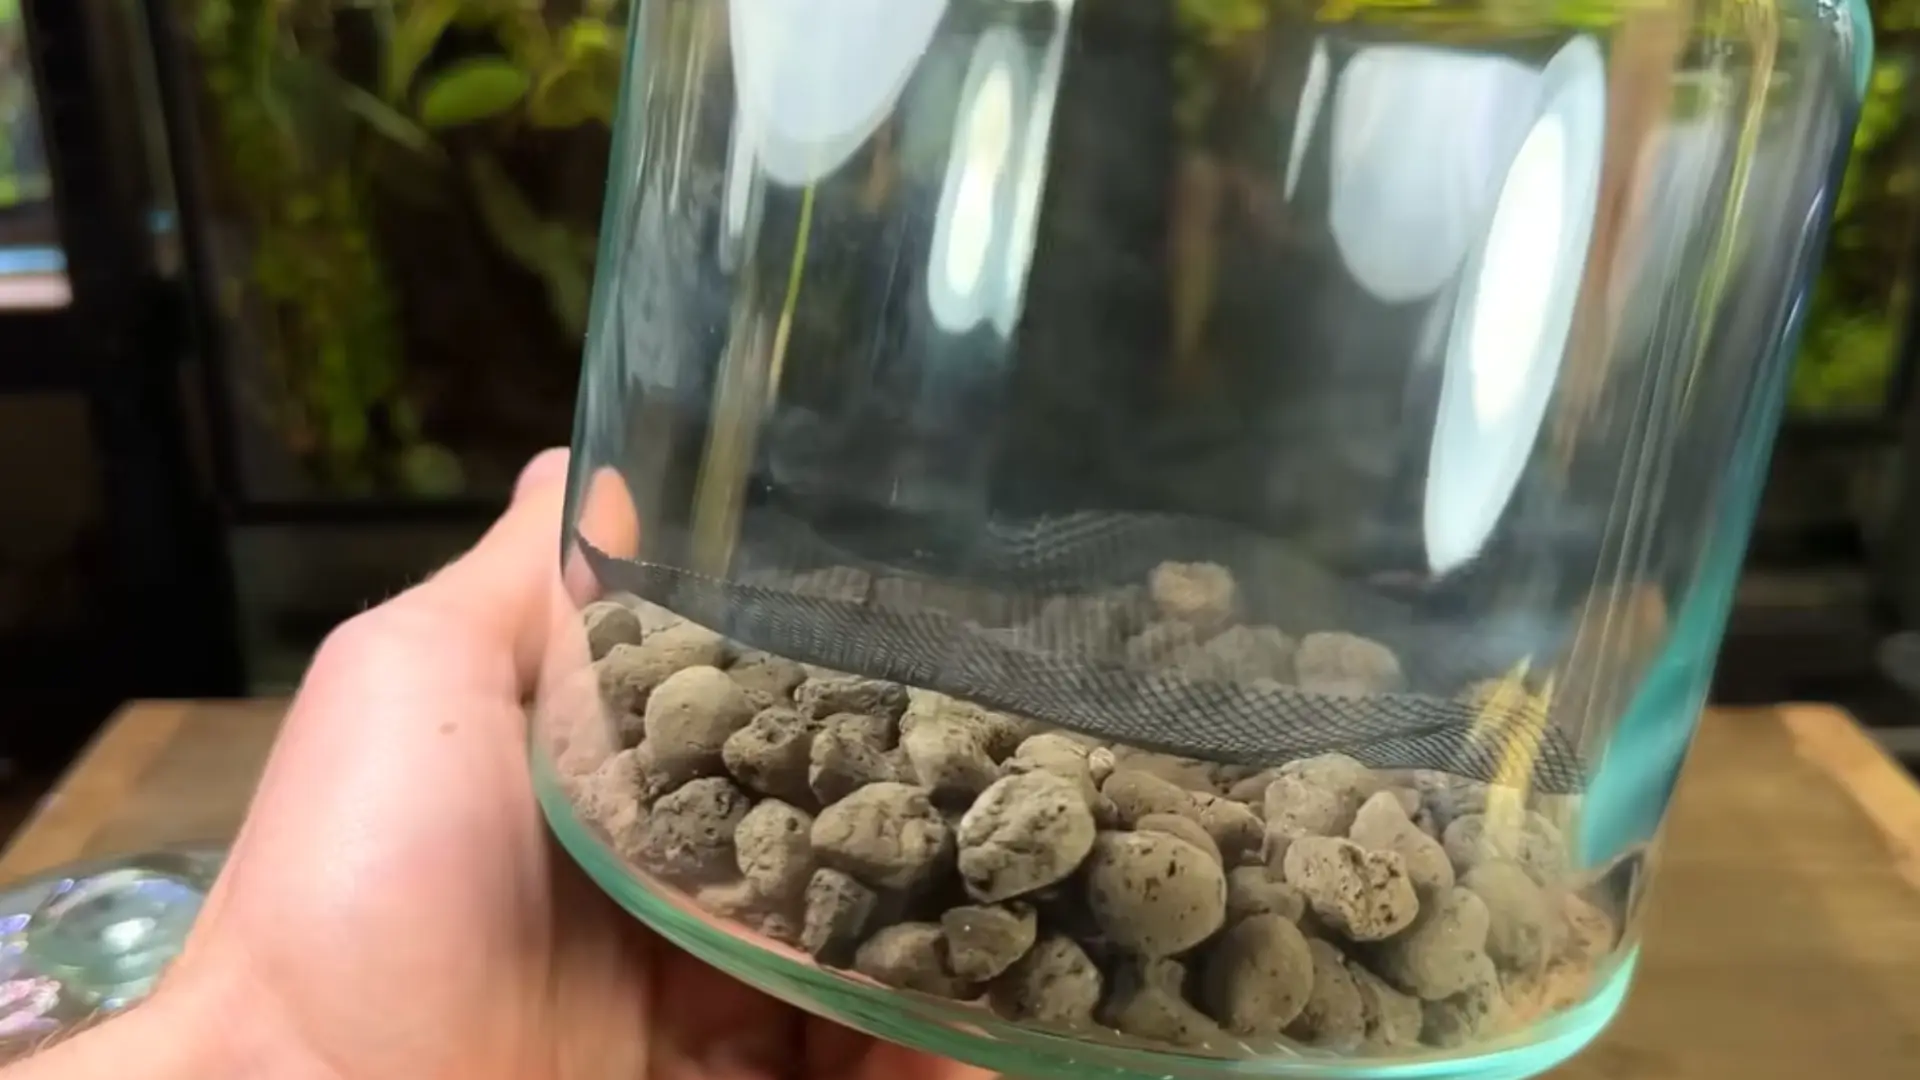
Lay down a thin layer of mesh screen or sphagnum moss directly over the drainage layer. This barrier will prevent the soil from mixing with the drainage material and clogging the flow of water.
The substrate barrier helps maintain proper water flow and keeps the layers separate for better plant health.
Step 4: Creating the Substrate Mix

Mix the soil that suits your plants. For tropical plants, a light, well-draining mix works best. Combine regular potting soil with organic materials like coco coir or orchid bark to create a breathable texture.
Make sure the soil is damp, but not too wet, to avoid overwatering and to create an ideal environment for root growth.
Step 5: Planting the Plants and Adding Springtails
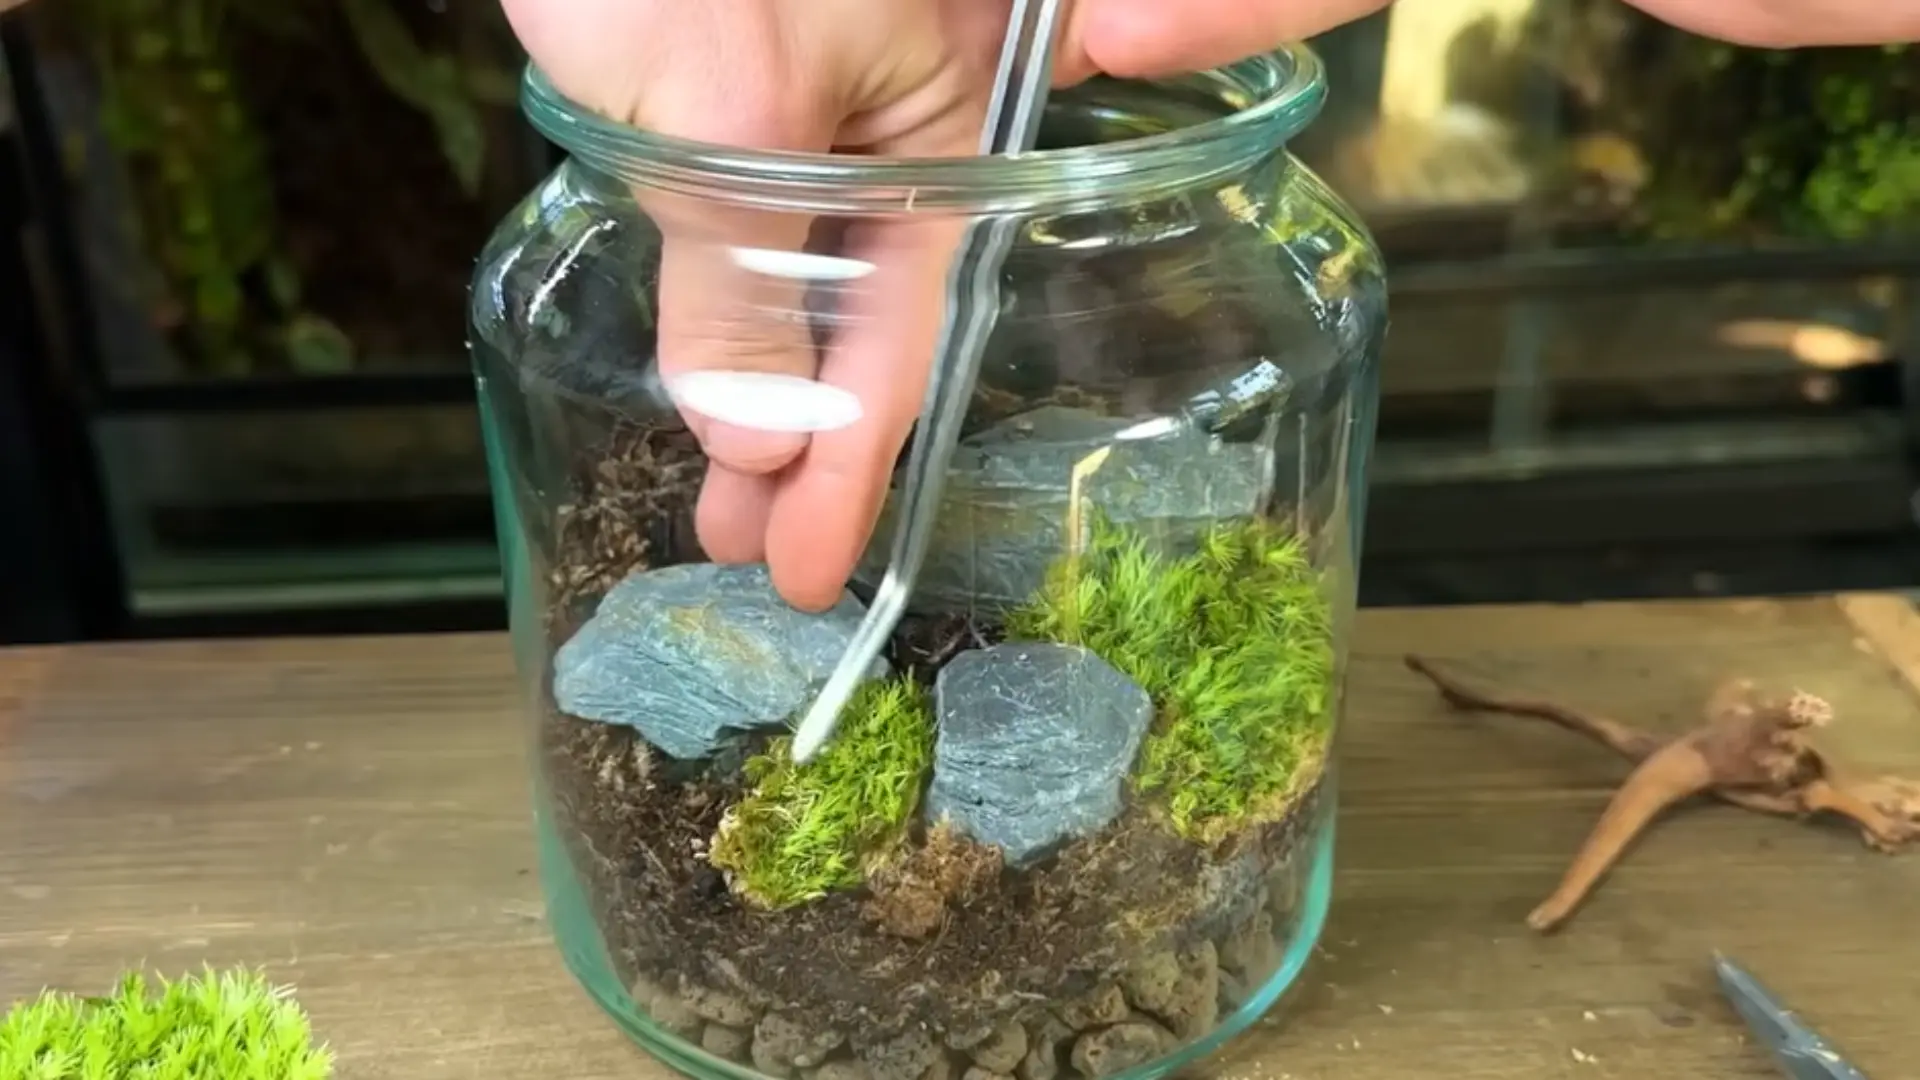
Start by placing the largest plants first, gently pressing them into the soil. Ensure the roots are fully covered. Add smaller plants or moss in the remaining spaces for balance and visual interest.
Springtails are tiny creatures that help maintain the ecosystem balance by controlling mold and fungi. Add a small amount to your terrarium to keep it healthy.
Step 6: Watering, Sealing, and Setting the Light
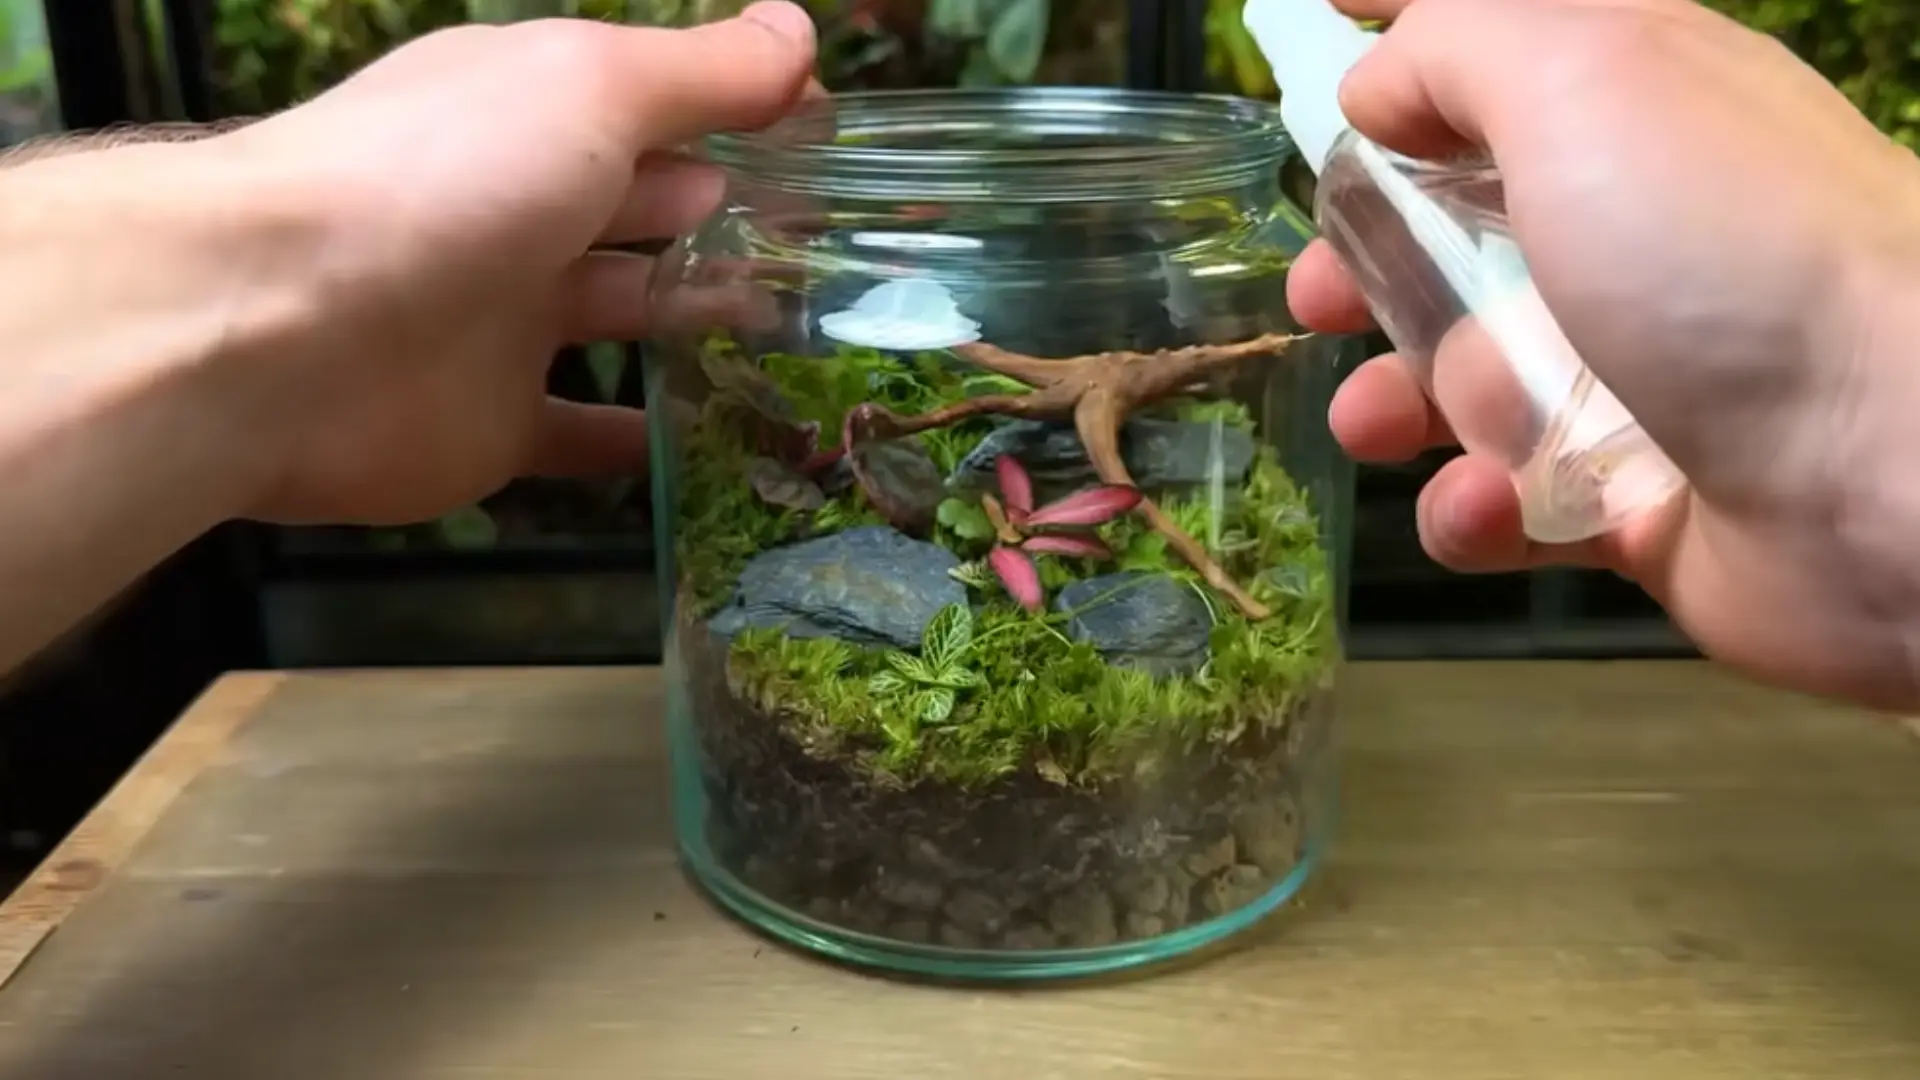
Lightly spray the plants and soil with water, making sure the soil is moist but not soaked. Seal the container to maintain humidity, which is essential for your plants to thrive.
Place your terrarium in a bright spot with indirect sunlight. Avoid direct sunlight, as it can cause the terrarium to overheat. Regularly monitor moisture levels and open the lid if condensation becomes excessive.
For an in-depth walkthrough of the whole process, check out the complete video tutorial by Terrarium Designs below:
Common Mistakes to Avoid When Making a Closed Terrarium
Creating a closed terrarium is a fun process, but beginners often make a few common mistakes. Here’s what to watch out for to ensure your terrarium thrives:
- Overwatering: Too much water can lead to mold and plant rot. Always check moisture levels and avoid soggy soil.
- Poor Container Size: A container that’s too small can restrict airflow, affecting plant growth. Choose a container with ample space for air circulation.
- Wrong Plant Selection: Not all plants suit a closed environment. Avoid succulents or plants that need dry, sunny conditions.
- Lack of Ventilation: Even in a closed terrarium, occasional air exchange is necessary to prevent excess moisture and mold buildup.
- Not Monitoring Light: Placing your terrarium in direct sunlight can overheat the plants, leading to damage. Opt for indirect light instead.
How Long Do Terrariums Last in a Jar?
A well-maintained closed terrarium in a jar can last for decades when given the right conditions. The key factors are proper moisture balance, suitable plant selection, and adequate indirect light.
Some closed terrariums have been known to thrive for 30 to 40 years with little to no intervention.
However, neglect, overwatering, or poor plant choices can significantly shorten that lifespan.
With the right setup and occasional monitoring, a jar terrarium is truly a long-term, low-maintenance piece of living decor.
Conclusion
Building a closed terrarium is a rewarding and simple way to bring nature indoors.
By following the right steps and avoiding common mistakes, you can create a self-sustaining ecosystem that thrives in any space.
From choosing the right container and plants to proper maintenance, you now have all the tools you need to start your own terrarium project.
Now that you know how to make a closed terrarium, why not give it a try?
Begin your mini garden adventure today and enjoy watching your plants thrive. Share your experience building a terrarium in the comments below!
Frequently Asked Questions
How Do I Choose the Right Container for a Closed Terrarium?
Look for a clear glass container with a lid to allow light while maintaining humidity. Ensure it’s large enough for air circulation.
Can I Use Succulents in a Closed Terrarium?
No, succulents prefer dry, sunny conditions and won’t thrive in a humid, closed environment. Choose moisture-loving plants instead.
How Often Should I Water My Closed Terrarium?
Water your terrarium lightly, ensuring the soil is moist but not soaked. Check for condensation; if it’s excessive, open the lid to dry out.