
How to Clean Leather Furniture Properly Without Damaging It

Your leather sofa costs real money. Leather furniture can last for decades, but only when it is cleaned the right way.
The damage rarely comes from neglect. It comes from the wrong product, applied to the wrong leather type.
A simple wipe-down is not always safe for every type of leather. Some finishes handle moisture well, while others absorb it and stain permanently. That is why cleaning leather furniture properly starts with understanding the material before applying anything to the surface.
This post covers how to properly clean leather furniture, based on your specific leather type, the stain you are dealing with, and how often the piece actually needs attention.
What You’ll Need and What You Should Avoid
Using the right tools is the difference between safe cleaning and permanent damage.
Safe Cleaning Supplies
- Microfiber cloths (two, one for cleaning, one for drying)
- Vacuum with soft brush attachment
- Mild pH-neutral soap or gentle dish soap
- Distilled water (prevents mineral spotting)
- Soft-bristled brush for seams and tufted areas
- Leather-safe commercial cleaner (optional but useful)
What You Should Never Use
- Baby wipes (contain drying agents and chemicals)
- Bleach or ammonia-based cleaners
- Furniture polish or silicone sprays
- Hairspray (can stain and harden leather)
- Olive oil (can turn rancid inside leather pores)
Spot Test Rule: Always test any cleaner on a hidden area, such as the underside of a cushion. Wait a few minutes to check for discoloration or texture change before cleaning the full surface
Know Your Leather Type Before You Start
Not all leather reacts the same way to moisture or cleaners. Knowing your leather type prevents the most common cleaning mistakes.
Aniline Leather
- No protective coating
- Highly absorbent
- Requires dry or minimal-moisture cleaning only
Semi-Aniline Leather
- Light protective layer
- Can handle mild soap solutions with care
Pigmented (protected) Leather
- The most durable type for daily household use
- Safe for gentle water-based cleaning
Bonded or Faux Leather
- Synthetic or mixed material
- Requires manufacturer-specific cleaners
How to Find Your Leather Type: Check the Care Tag
Look for a care tag sewn into the underside of a cushion or along the sofa frame. Many leather pieces include a care code that tells you what cleaning method is safe:
| Code | What it means |
|---|---|
| W | Water-based cleaning is safe |
| S | Use solvent-based cleaner only — no water |
| S/W | Both water-based and solvent cleaners are safe |
| X | Vacuum or brush only — no liquid at all |
If there is no tag, contact the furniture manufacturer before applying any liquid or cleaner to the surface.
How to Clean Leather Furniture Properly Step by Step
Leather furniture lasts longer and looks better when cleaned the right way. Using gentle tools, the correct cleaning method, and the right amount of moisture helps prevent cracking, fading, and buildup while keeping the leather soft and polished.
Step 1: Vacuum the Full Surface First
Run a soft brush vacuum attachment over the entire piece before touching it with any cloth. Pay close attention to seams, cushion gaps, tufted buttons, and arm creases where crumbs and fine grit collect.
Skipping this step means you drag debris across the surface while cleaning, which scratches the leather from the inside out.
Step 2: Dry Wipe Before Any Moisture
Take a dry microfiber cloth and wipe the full surface first. This lifts surface dust that the vacuum missed and stops it from turning into a muddy smear when your damp cloth arrives. Two minutes here save you from redepositing dirt across the leather.
Step 3: Mix the Right Cleaning Solution
For pigmented or protected leather, add a few drops of mild dish soap to distilled water. For tougher buildup on protected leather only, a 50/50 mix of distilled water and white vinegar works well.
Never use vinegar on aniline, nubuck, or any uncoated leather; it strips the surface and leaves permanent marks.
Step 4: Wring the Cloth Until It Is Barely Damp
This step is where most cleaning goes wrong. Dip the cloth, then wring it out firmly until it feels barely damp to the touch, not wet, not moist, barely damp.
Too much water soaks into seams, causes uneven tide marks, and builds moisture inside cushion folds that you cannot see or feel until damage is already done.
Step 5: Work in Small Sections with Circular Motions
Clean one section at a time: one cushion, one arm, one back panel. Use gentle circular motions and rewet and wring the cloth often.
If you keep wiping with a dirty, damp cloth, you are not cleaning the leather; you are spreading a thin layer of grime across the whole surface.
Step 6: Remove All Soap Before It Dries
Take a second clean cloth, dampen it with plain distilled water only, and wipe over every area you just cleaned. Soap that dries on leather creates a dull film and pulls dirt back to the surface faster. This rinse step takes one minute and keeps the leather looking clean between washes.
Step 7: Dry Properly: No Heat, No Shortcuts
Blot any remaining moisture with a dry cloth, then leave the piece to air-dry for at least 30 minutes. Keep it away from radiators, floor vents, and windows with direct sunlight while it dries. Heat at this stage causes the leather to contract unevenly, which leads to cracking at fold points and seams over time.
How to Remove Common Stains from Leather Furniture
The speed of your response matters more than the product you use. A spill treated in the first 60 seconds stays on the surface. A spill left for an hour works its way into the leather and requires more aggressive treatment.
Each stain type below uses a different removal method. Read the right one for your stain before touching it; using the wrong approach can set a stain permanently.
1. Grease and Oil Stains
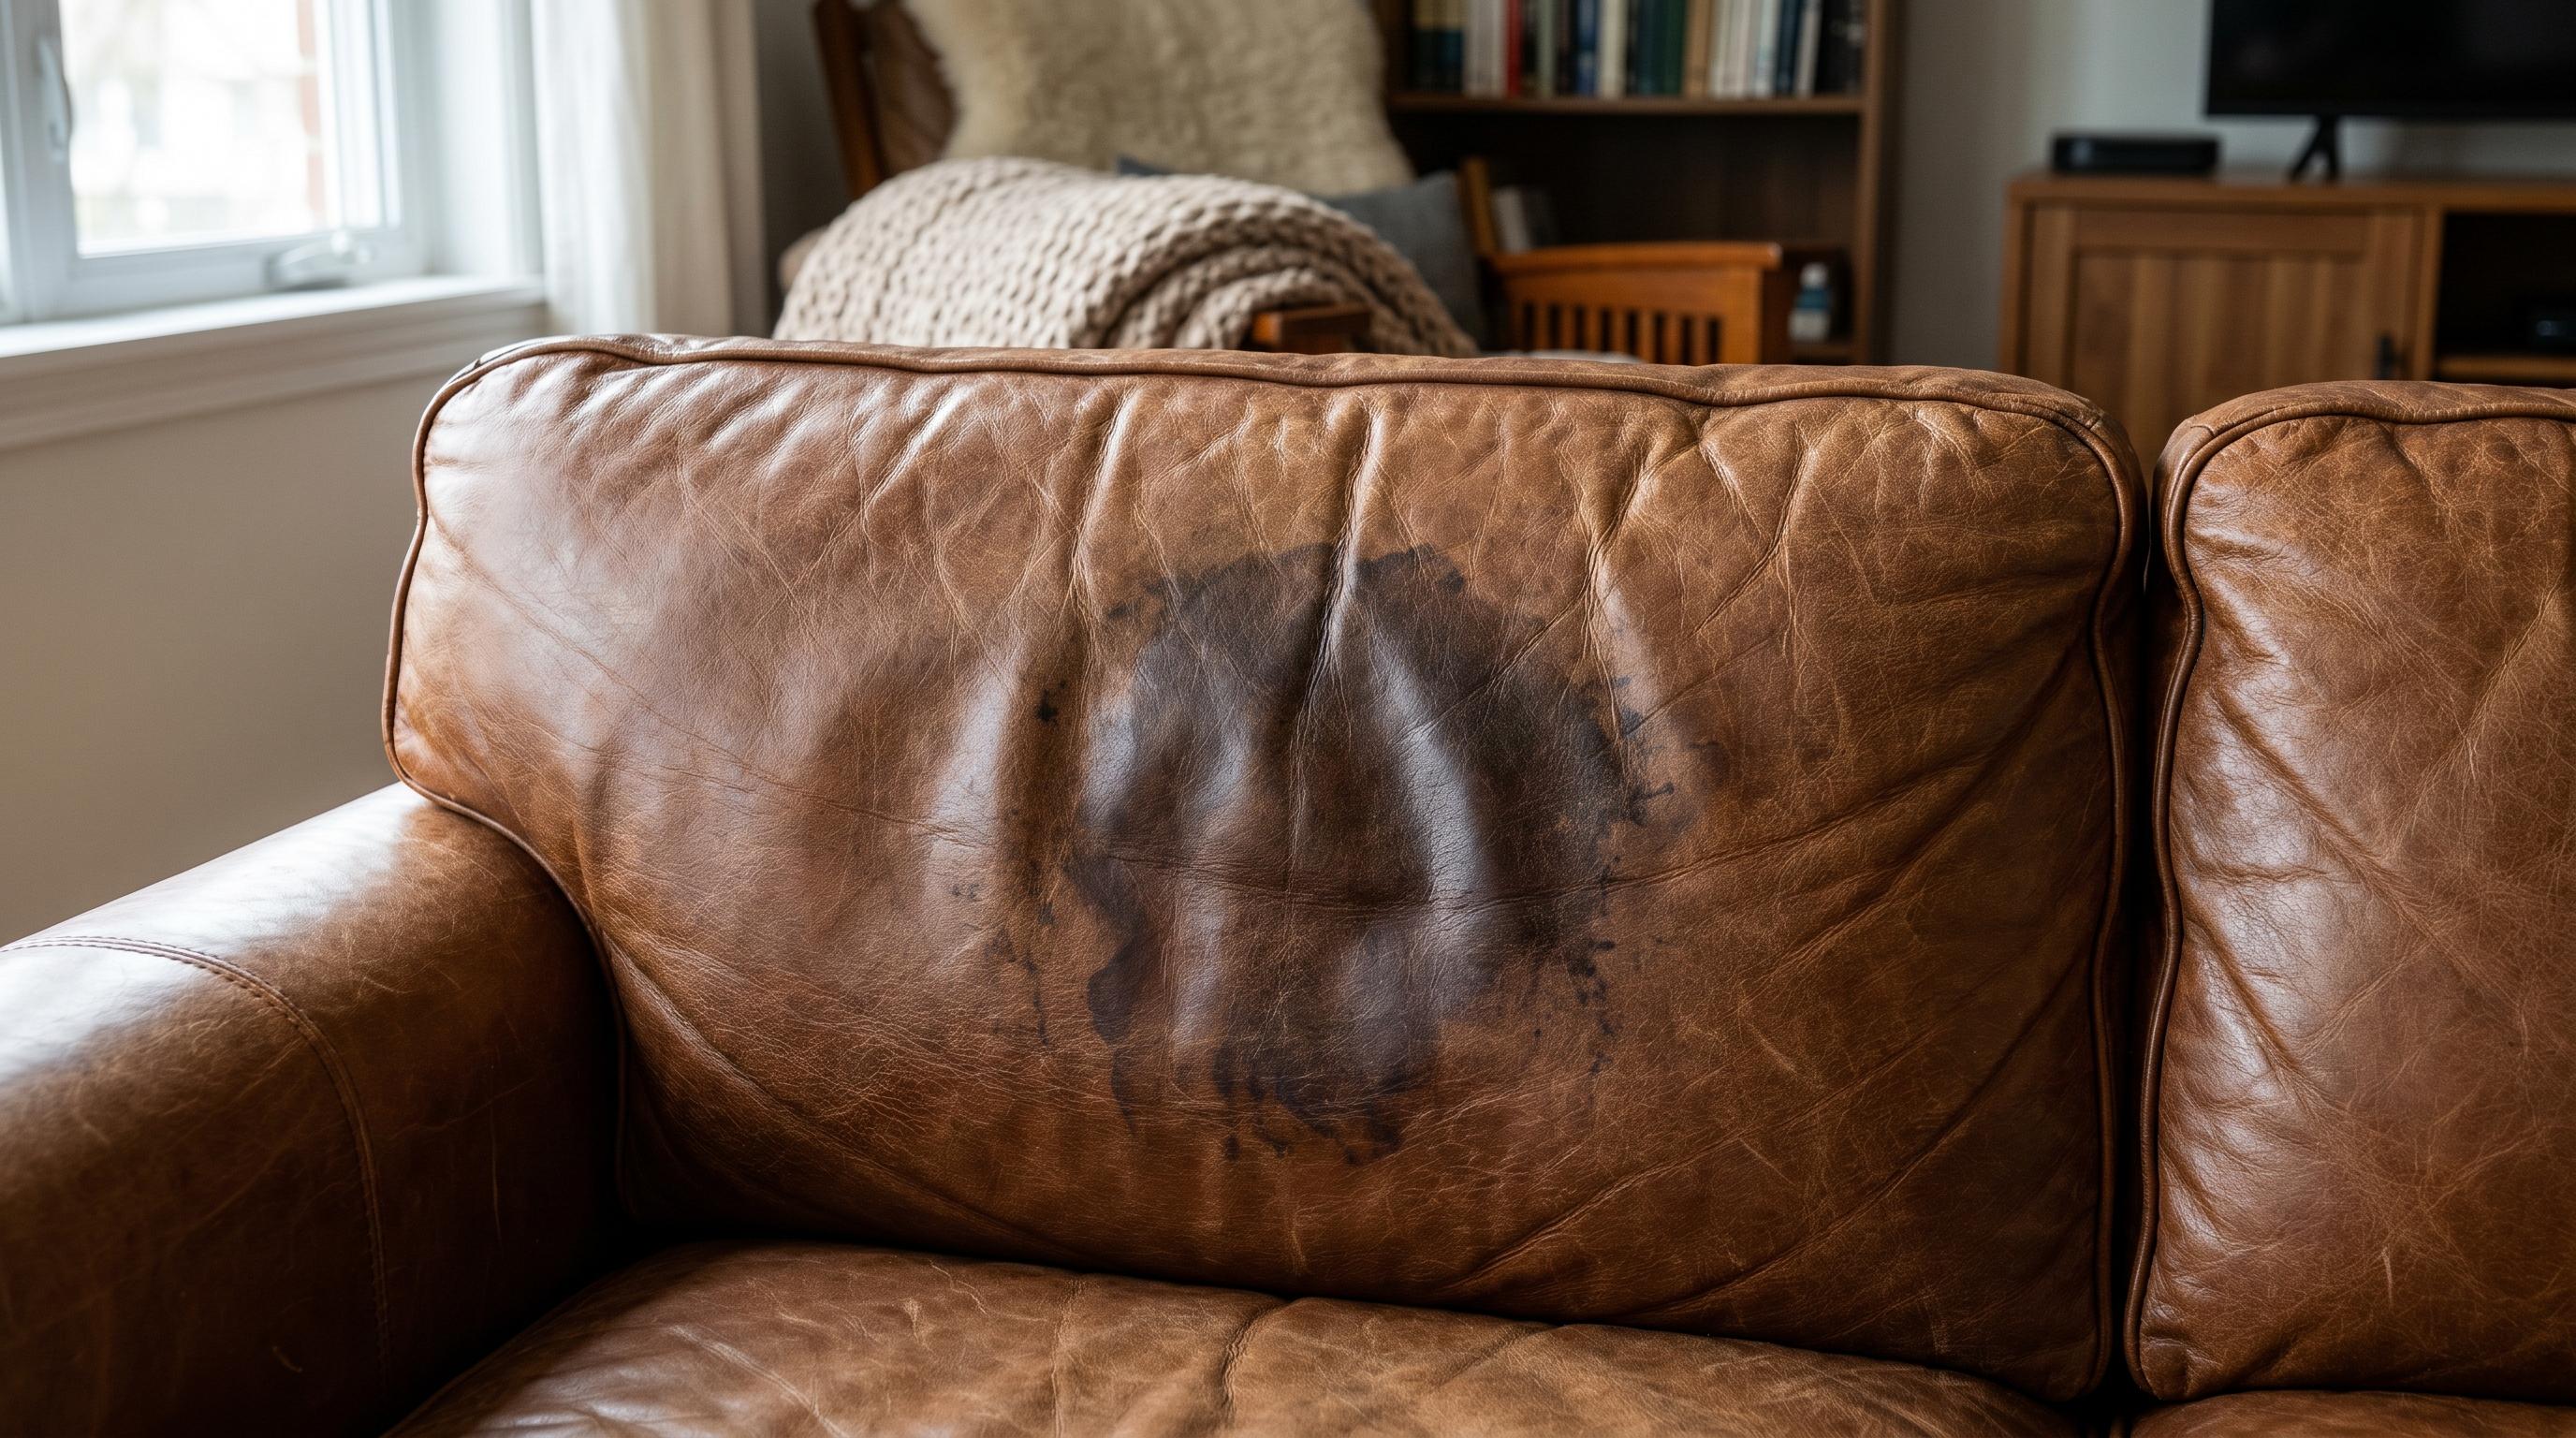
Oil stains cannot be wiped away with water. Rubbing or wiping them with a damp cloth only pushes the grease deeper into the leather fibers. The goal is to draw the oil out, not clean over it.
Baking soda works by absorbing oil from the surface without adding moisture. The longer you leave it, the more it pulls out. Overnight is always better than a few hours; do not rush this step.
- Blot the excess oil immediately with a dry cloth; do not rub
- Sprinkle baking soda generously to cover the stain completely
- Leave undisturbed for at least 4 hours, or overnight for a deep stain
- Brush off the baking soda gently with a soft-bristle brush
- Wipe the area with a dry microfiber cloth
Materials used: dry microfiber cloth, baking soda, soft-bristle brush
2. Ink Stains
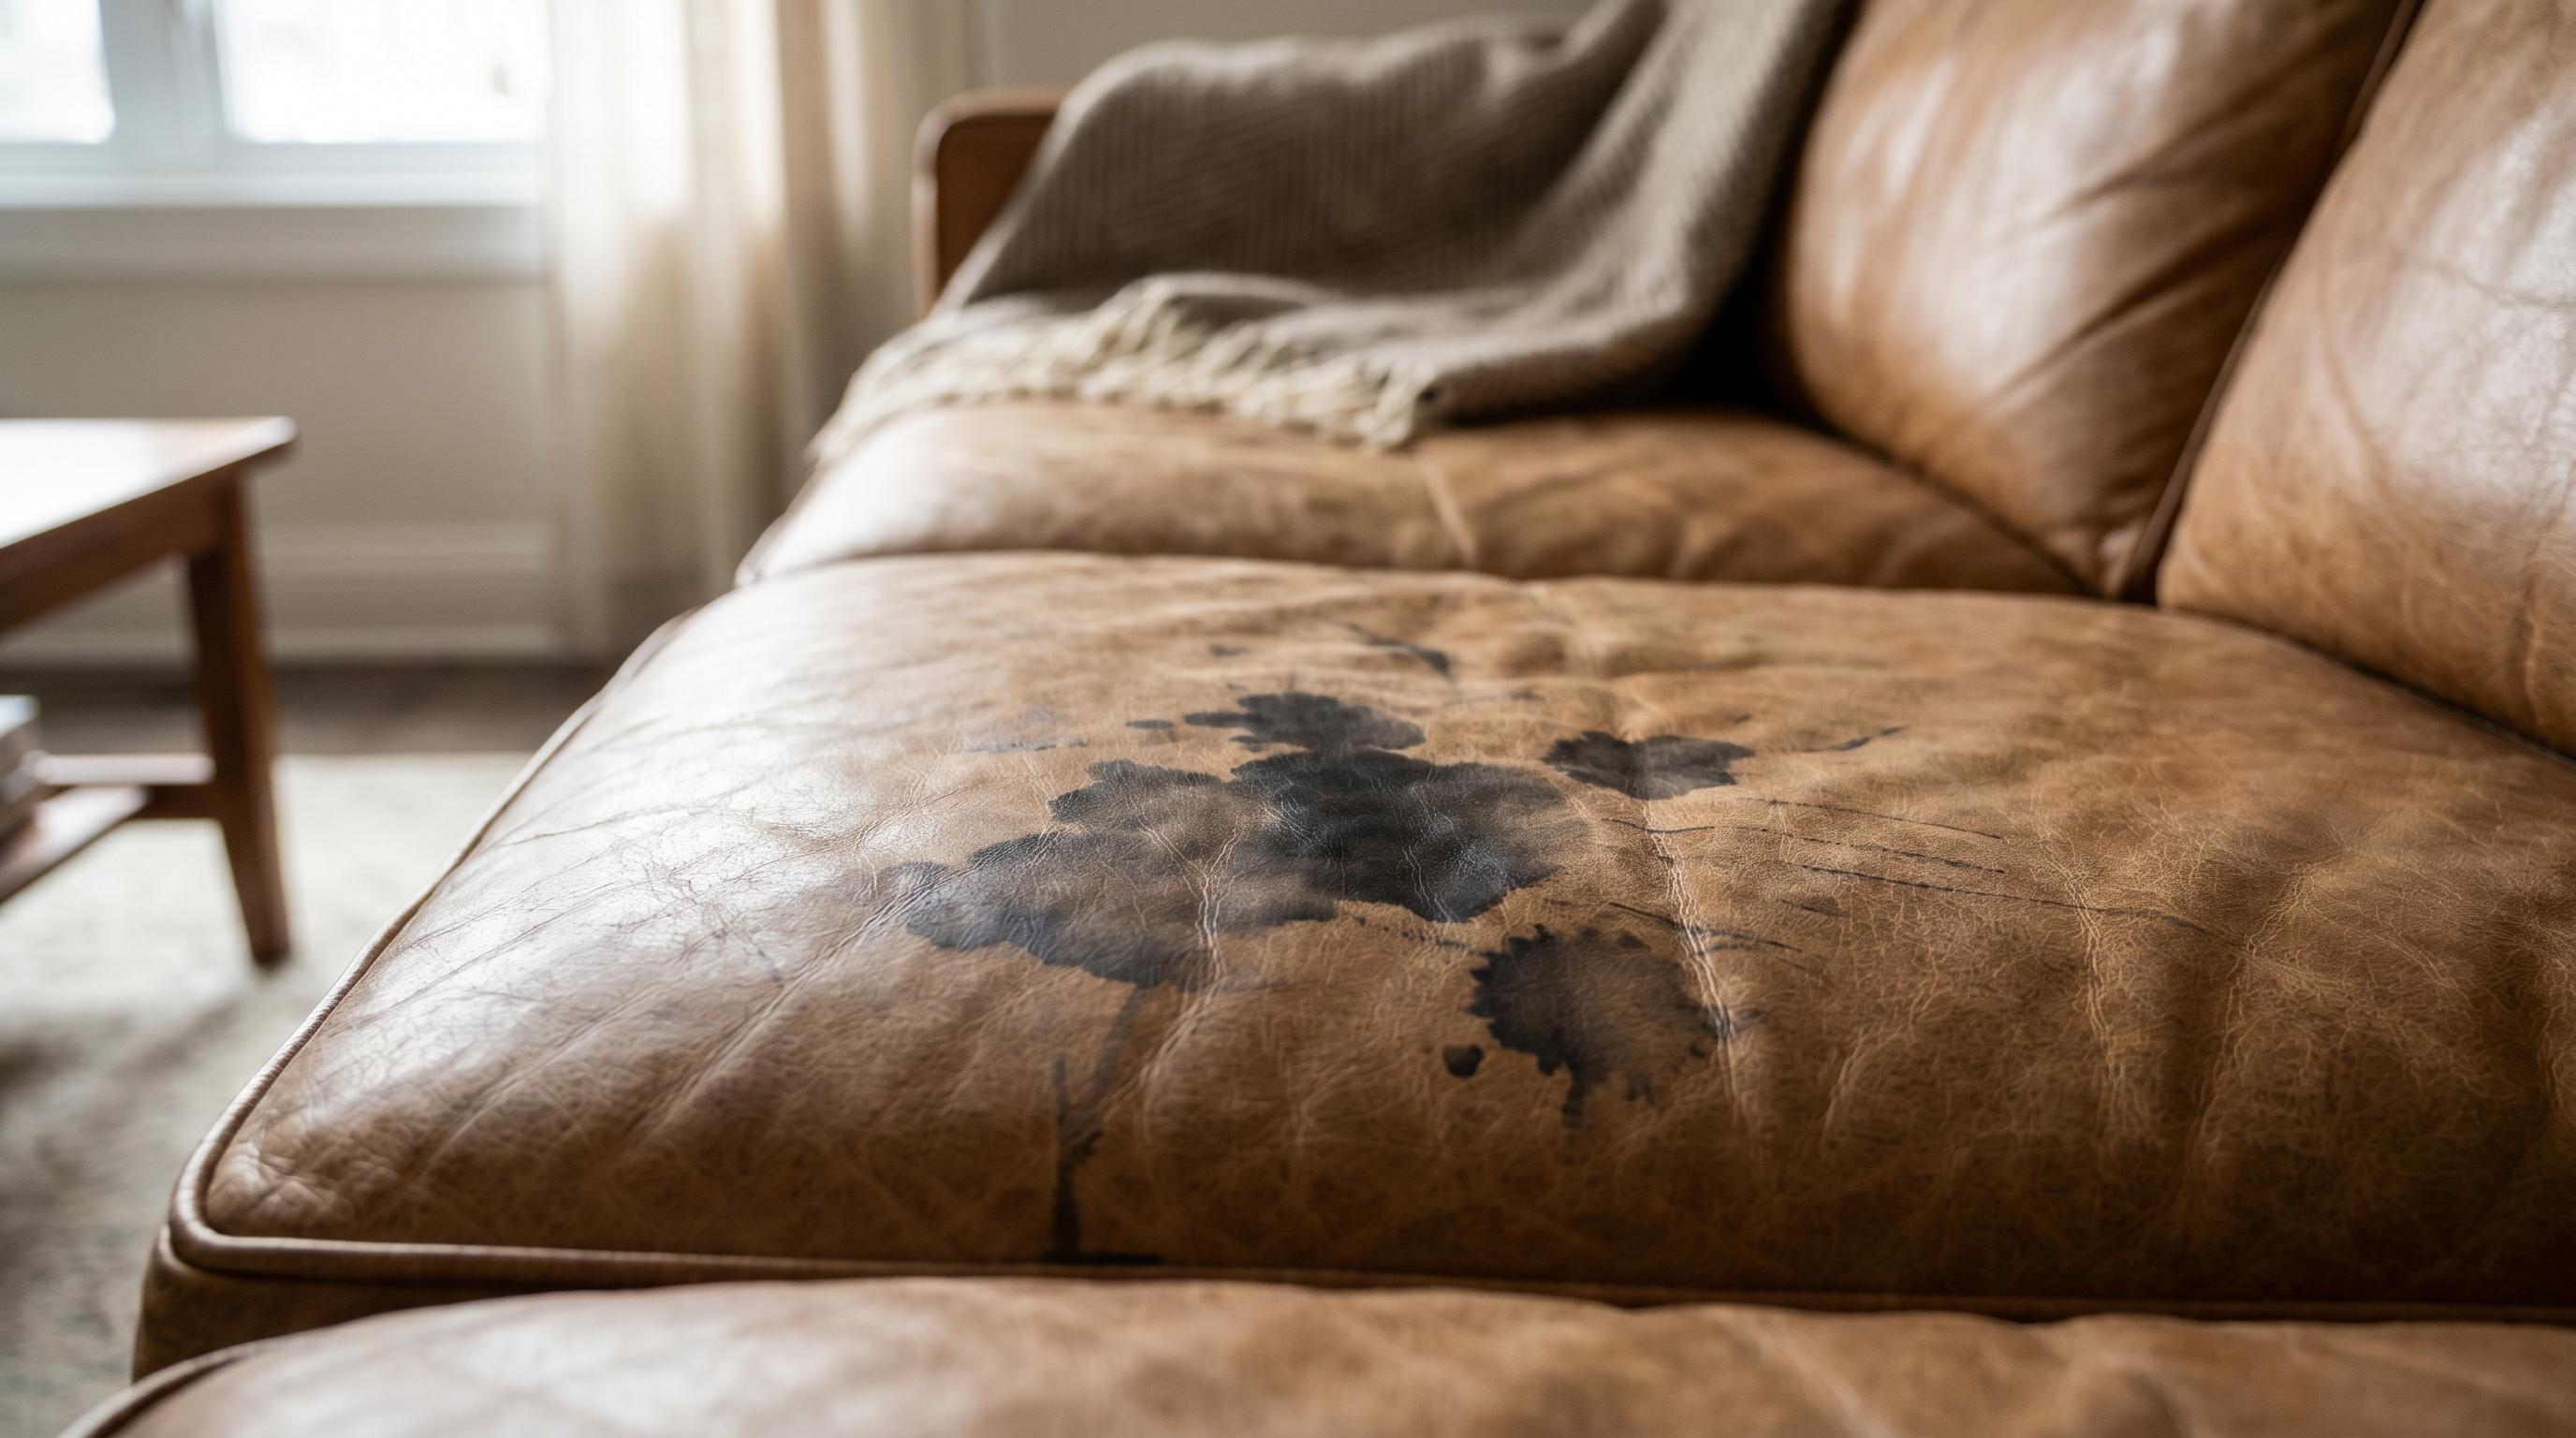
Ink spreads quickly if you rub it. The pigment in ballpoint and marker ink suspends in a solvent base, which means pressure pushes it outward and downward into the leather grain. The only safe method is to dab.
Rubbing alcohol dissolves most ink when applied in small, controlled amounts. Work from the outer edge of the stain inward so you are always pulling toward the center, not spreading outward. Replace the cotton swab as soon as it picks up ink.
- Dip a cotton swab in rubbing alcohol, but do not saturate it
- Press gently against the outer edge of the stain
- Work inward in small dabs toward the center
- Use a fresh swab, as the old one picks up ink
- Wipe the area with a damp cloth once the ink lifts
- Allow to air-dry
Materials used: rubbing alcohol, cotton swabs, damp microfiber cloth
3. Water Stains
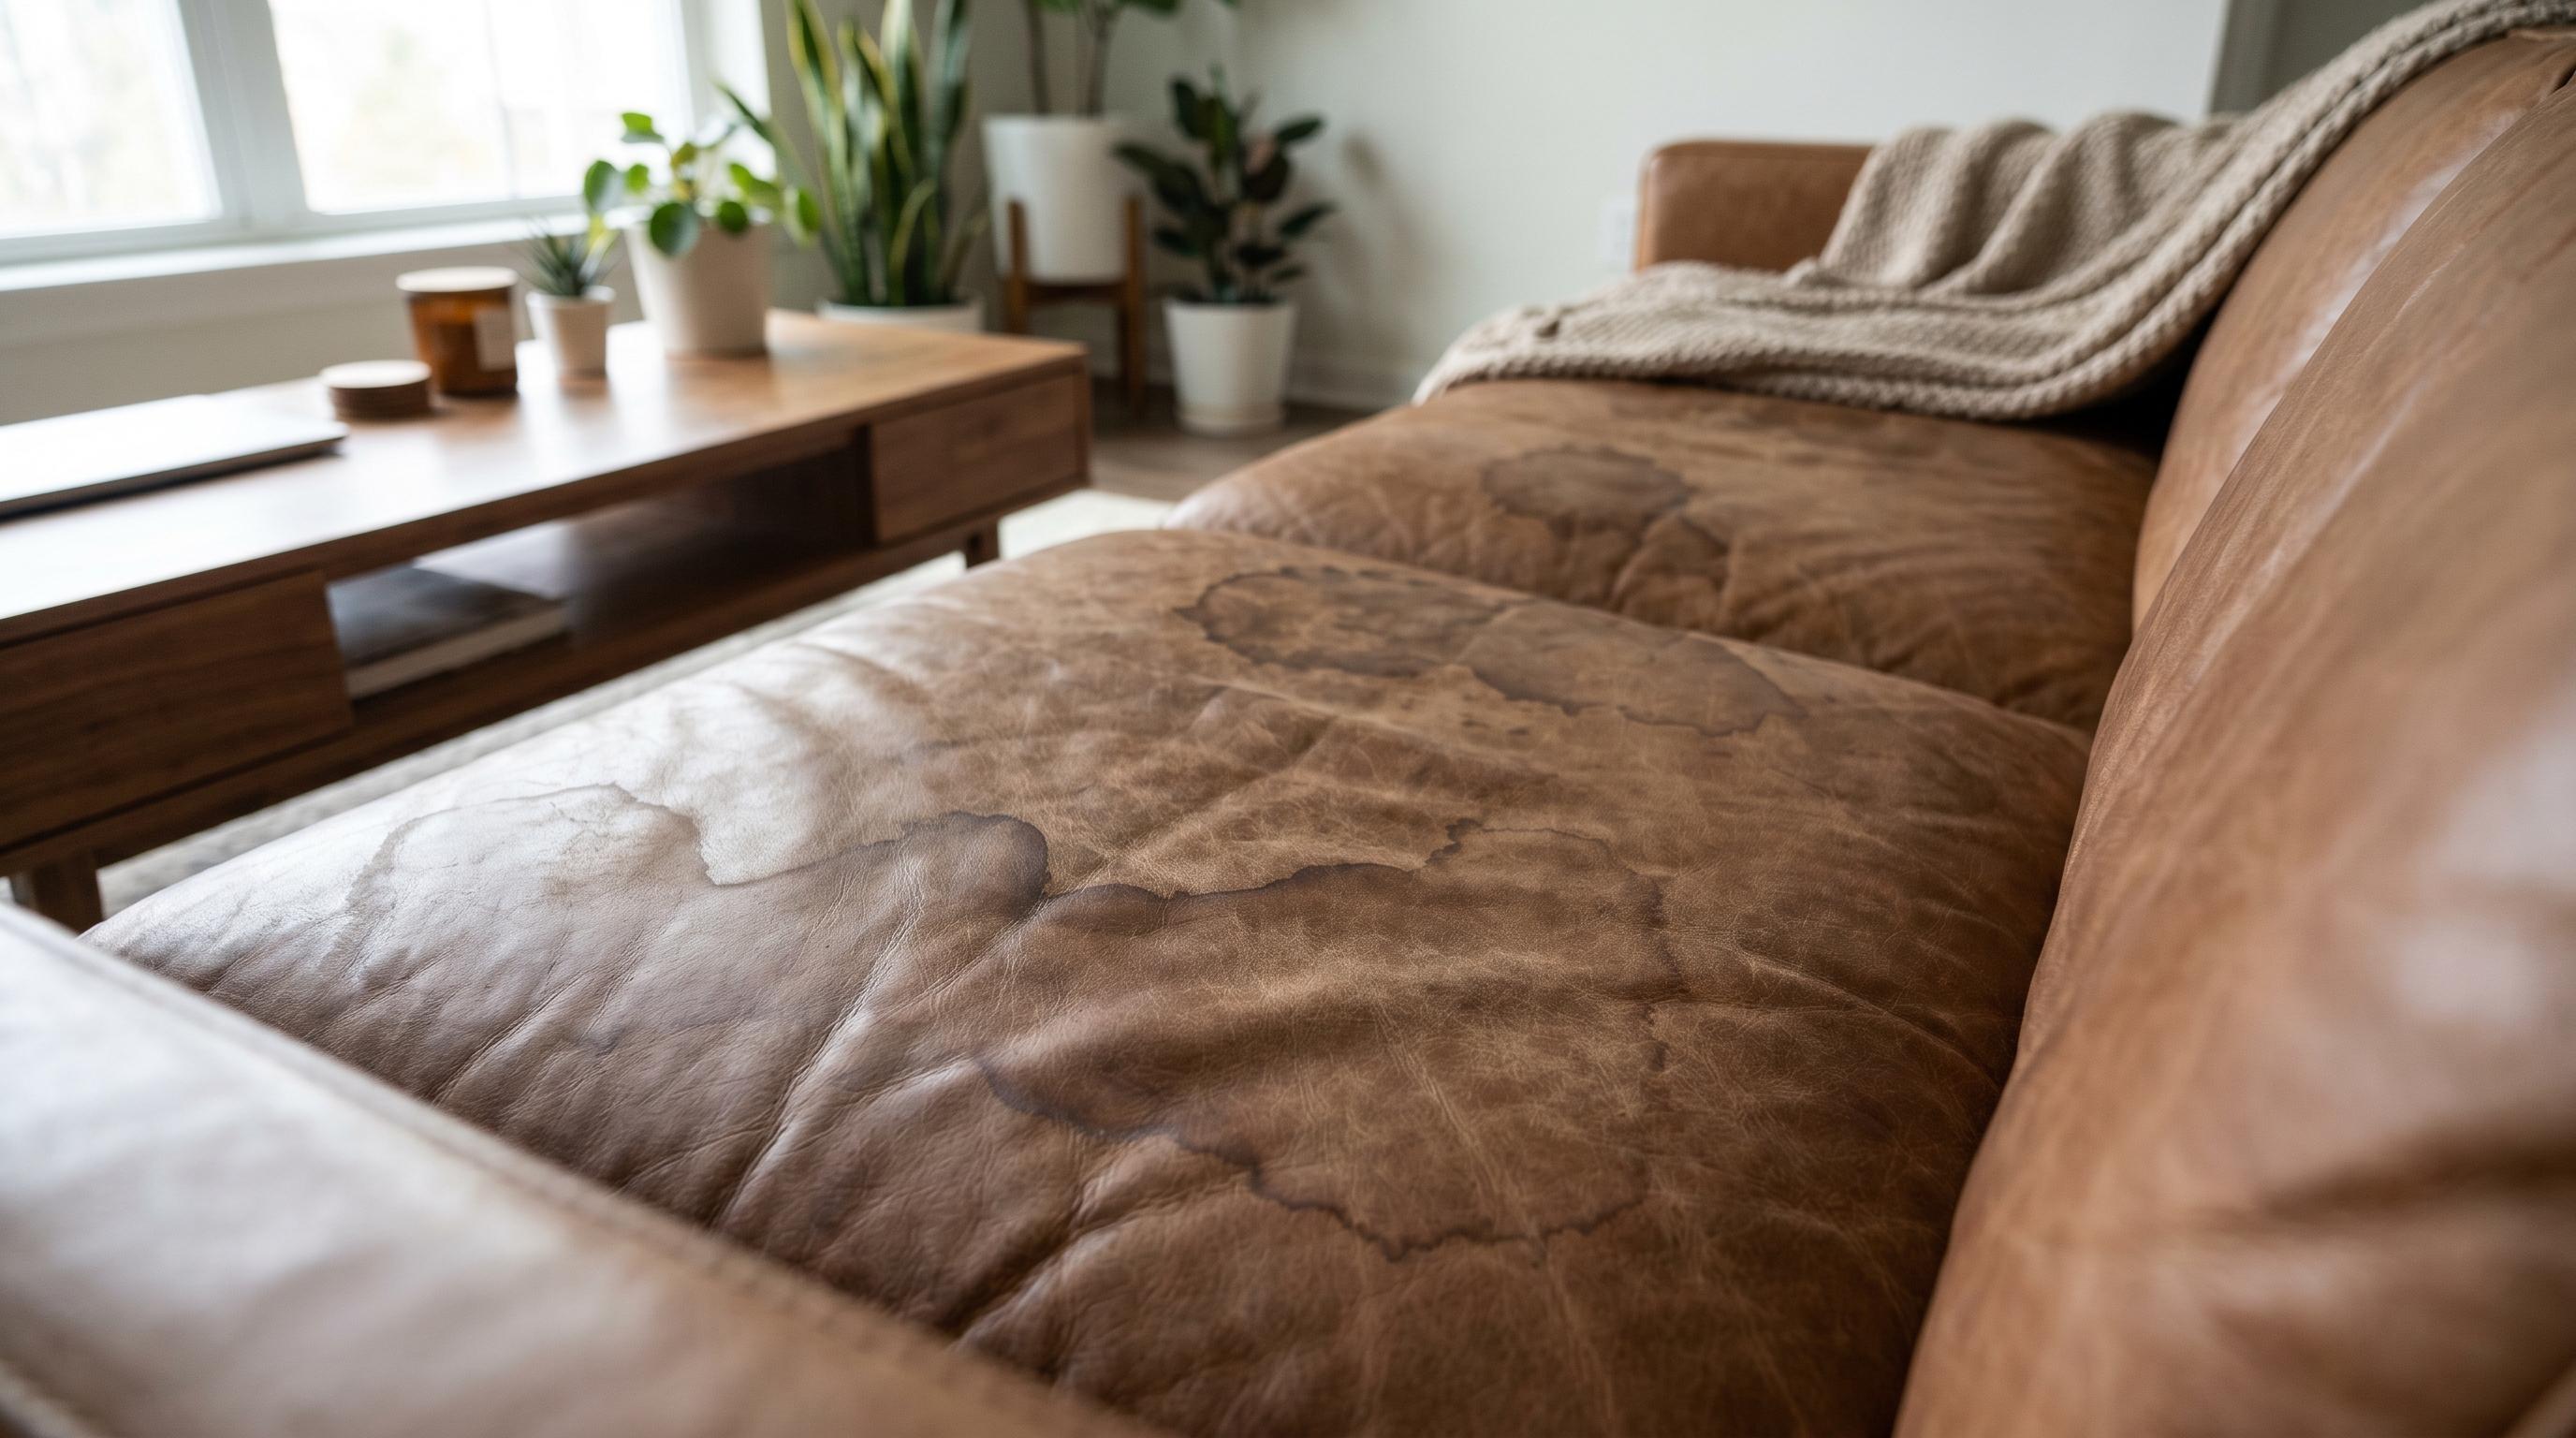
Water stains on leather are caused by uneven drying, not by the water itself. When one small area dries faster than the surrounding surface, a tide mark forms at the boundary line. Trying to dry just the stained spot makes this worse.
The fix is to dampen the entire leather panel so the whole surface dries at the same rate. As it dries evenly, the tide mark fades with it.
- Lightly dampen the full leather panel with a clean cloth, not just the stained spot
- Lay the piece flat on a level surface
- Keep it away from heat sources and the sun while drying
- Allow full air-drying before use, for at least 30 minutes
Materials used: distilled water, clean cloth
4. Mold or Mildew
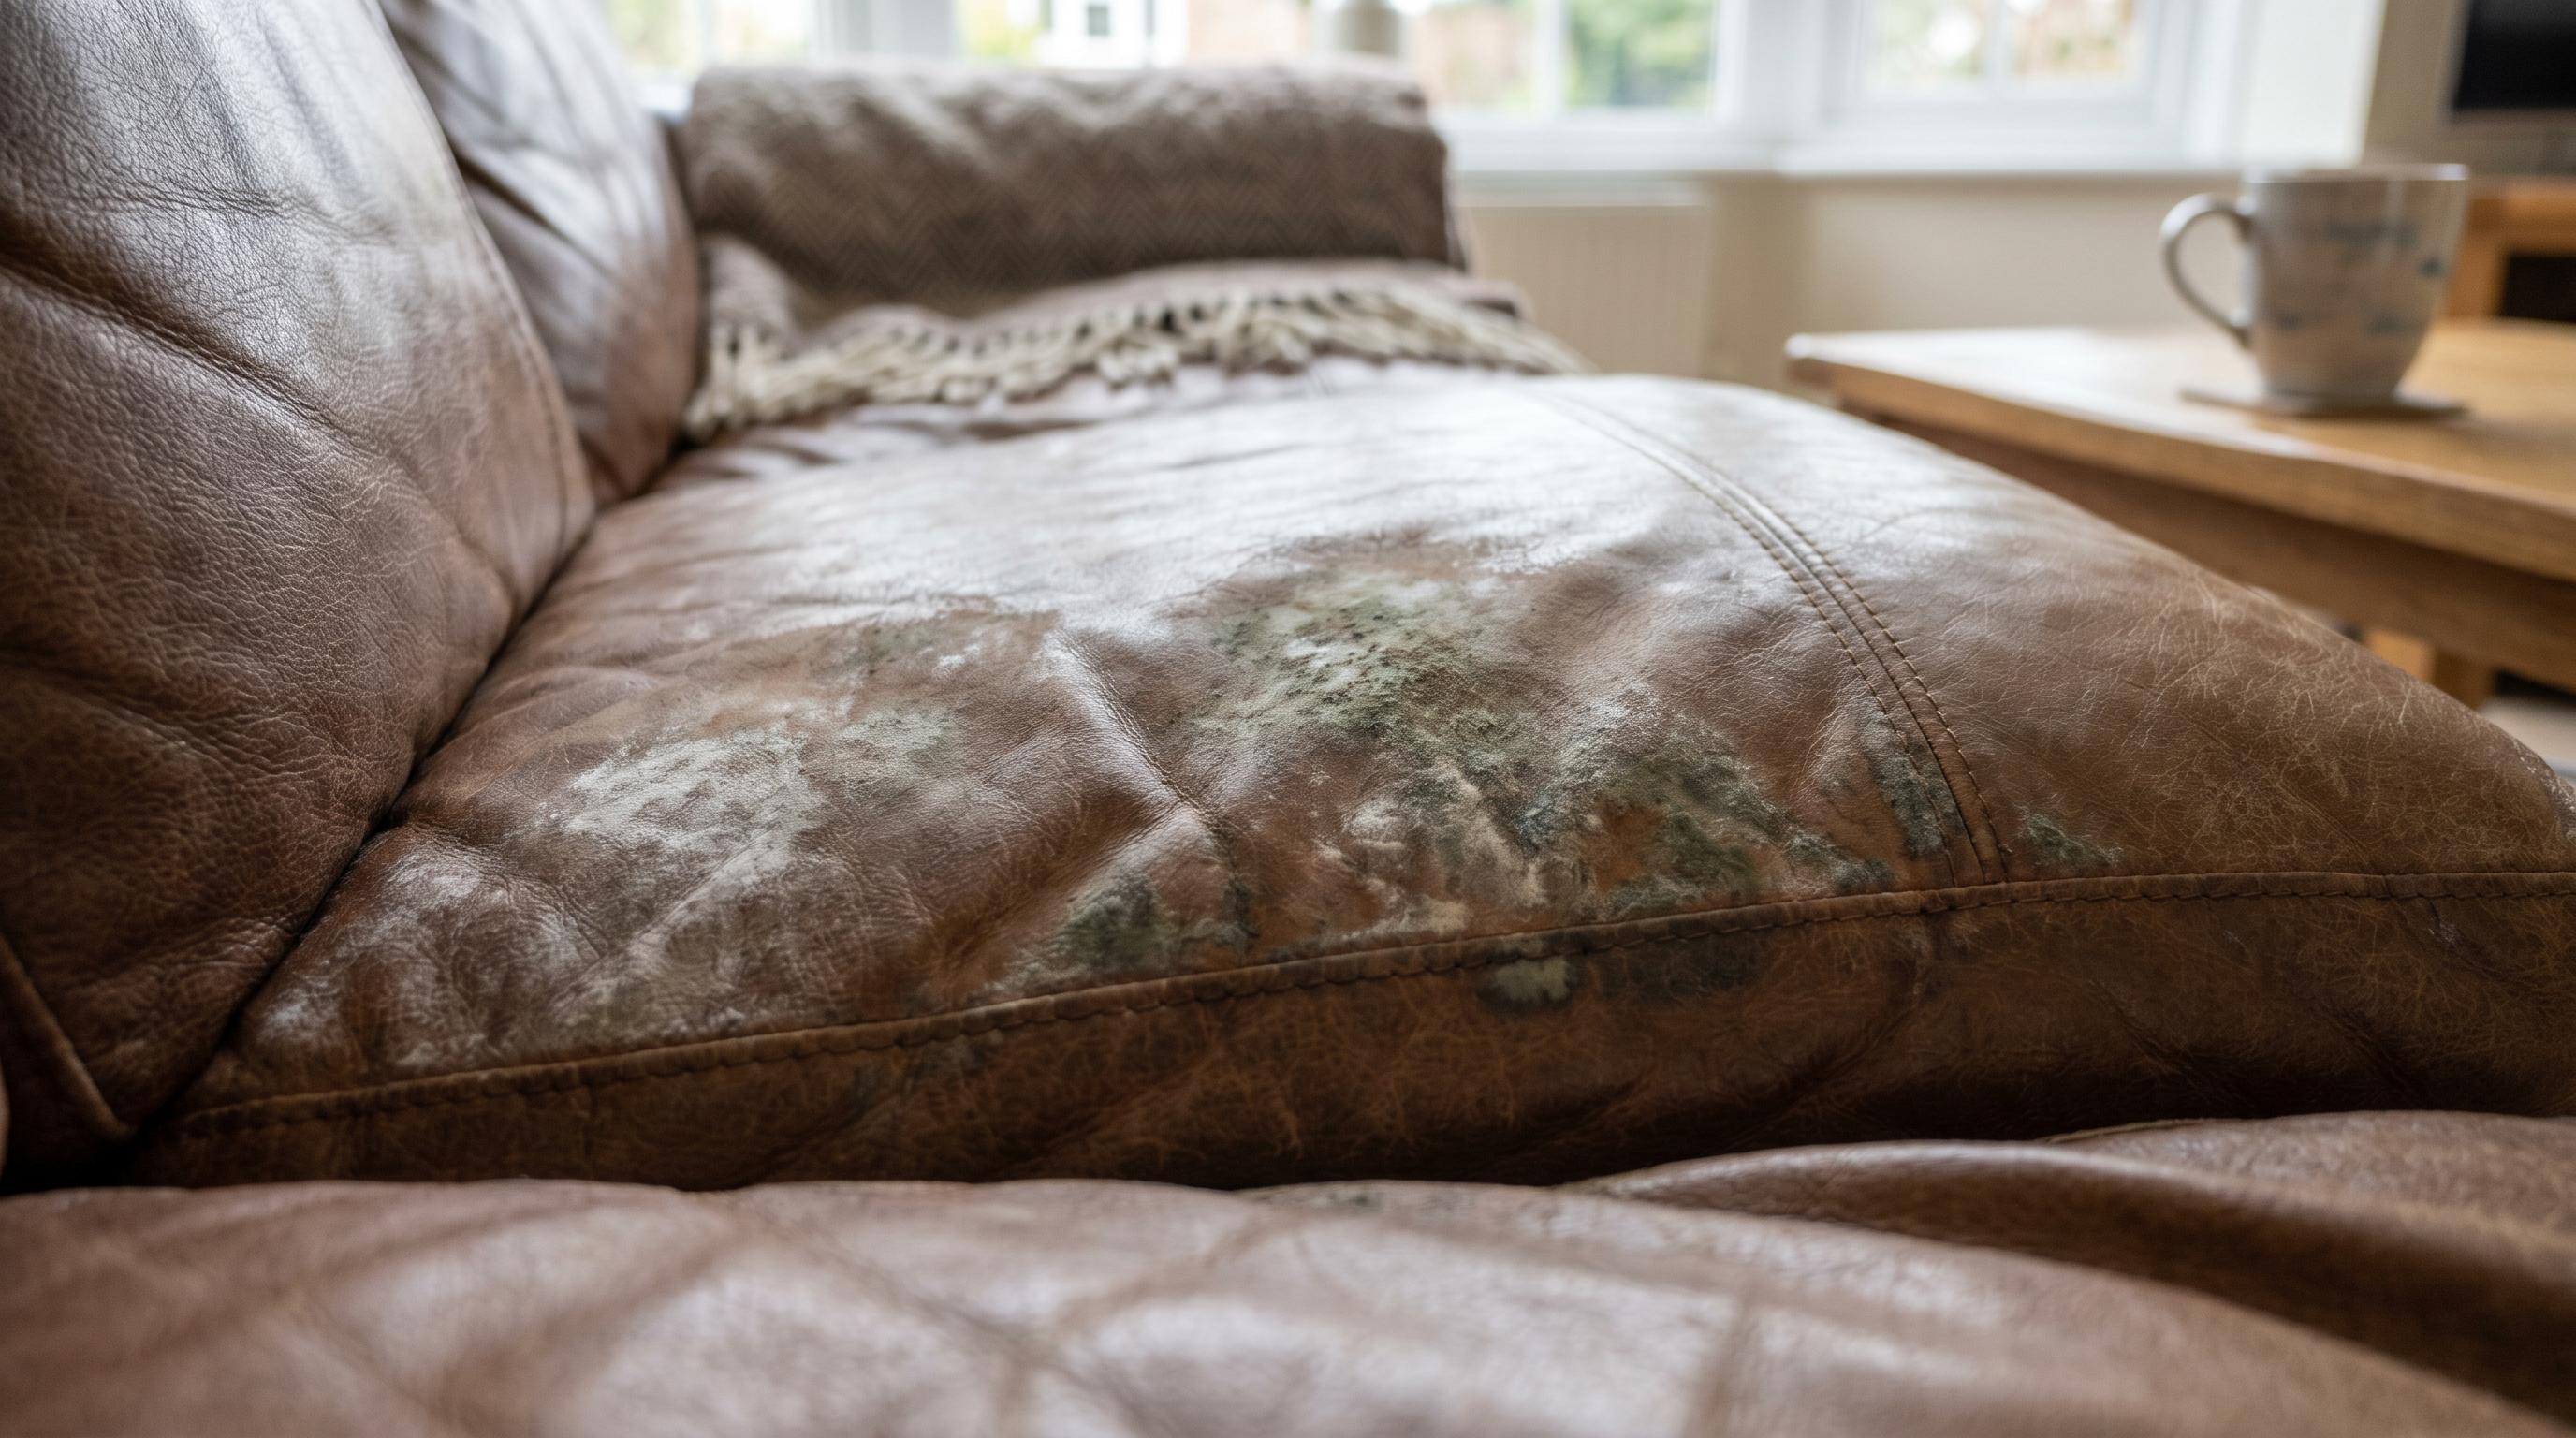
Mold grows on leather when moisture gets trapped in the surface or inside seams and is not allowed to dry fully. It spreads fast and can leave a permanent mark if left too long. Speed matters here more than with any other stain type.
A diluted rubbing alcohol solution kills mold spores without soaking the leather. After treatment, airflow is as important as the cleaning itself; mold returns if the piece is returned to a low-ventilation space while still damp.
- Mix rubbing alcohol and water in equal parts in a small bowl
- Apply with a clean cloth, wipe in one direction, and do not scrub
- Wipe the affected area and a small border around it
- Move the piece to a well-ventilated space
- Allow it to dry fully before returning it to its position
Materials used: rubbing alcohol, water, clean cloth
5. Marker or Pen
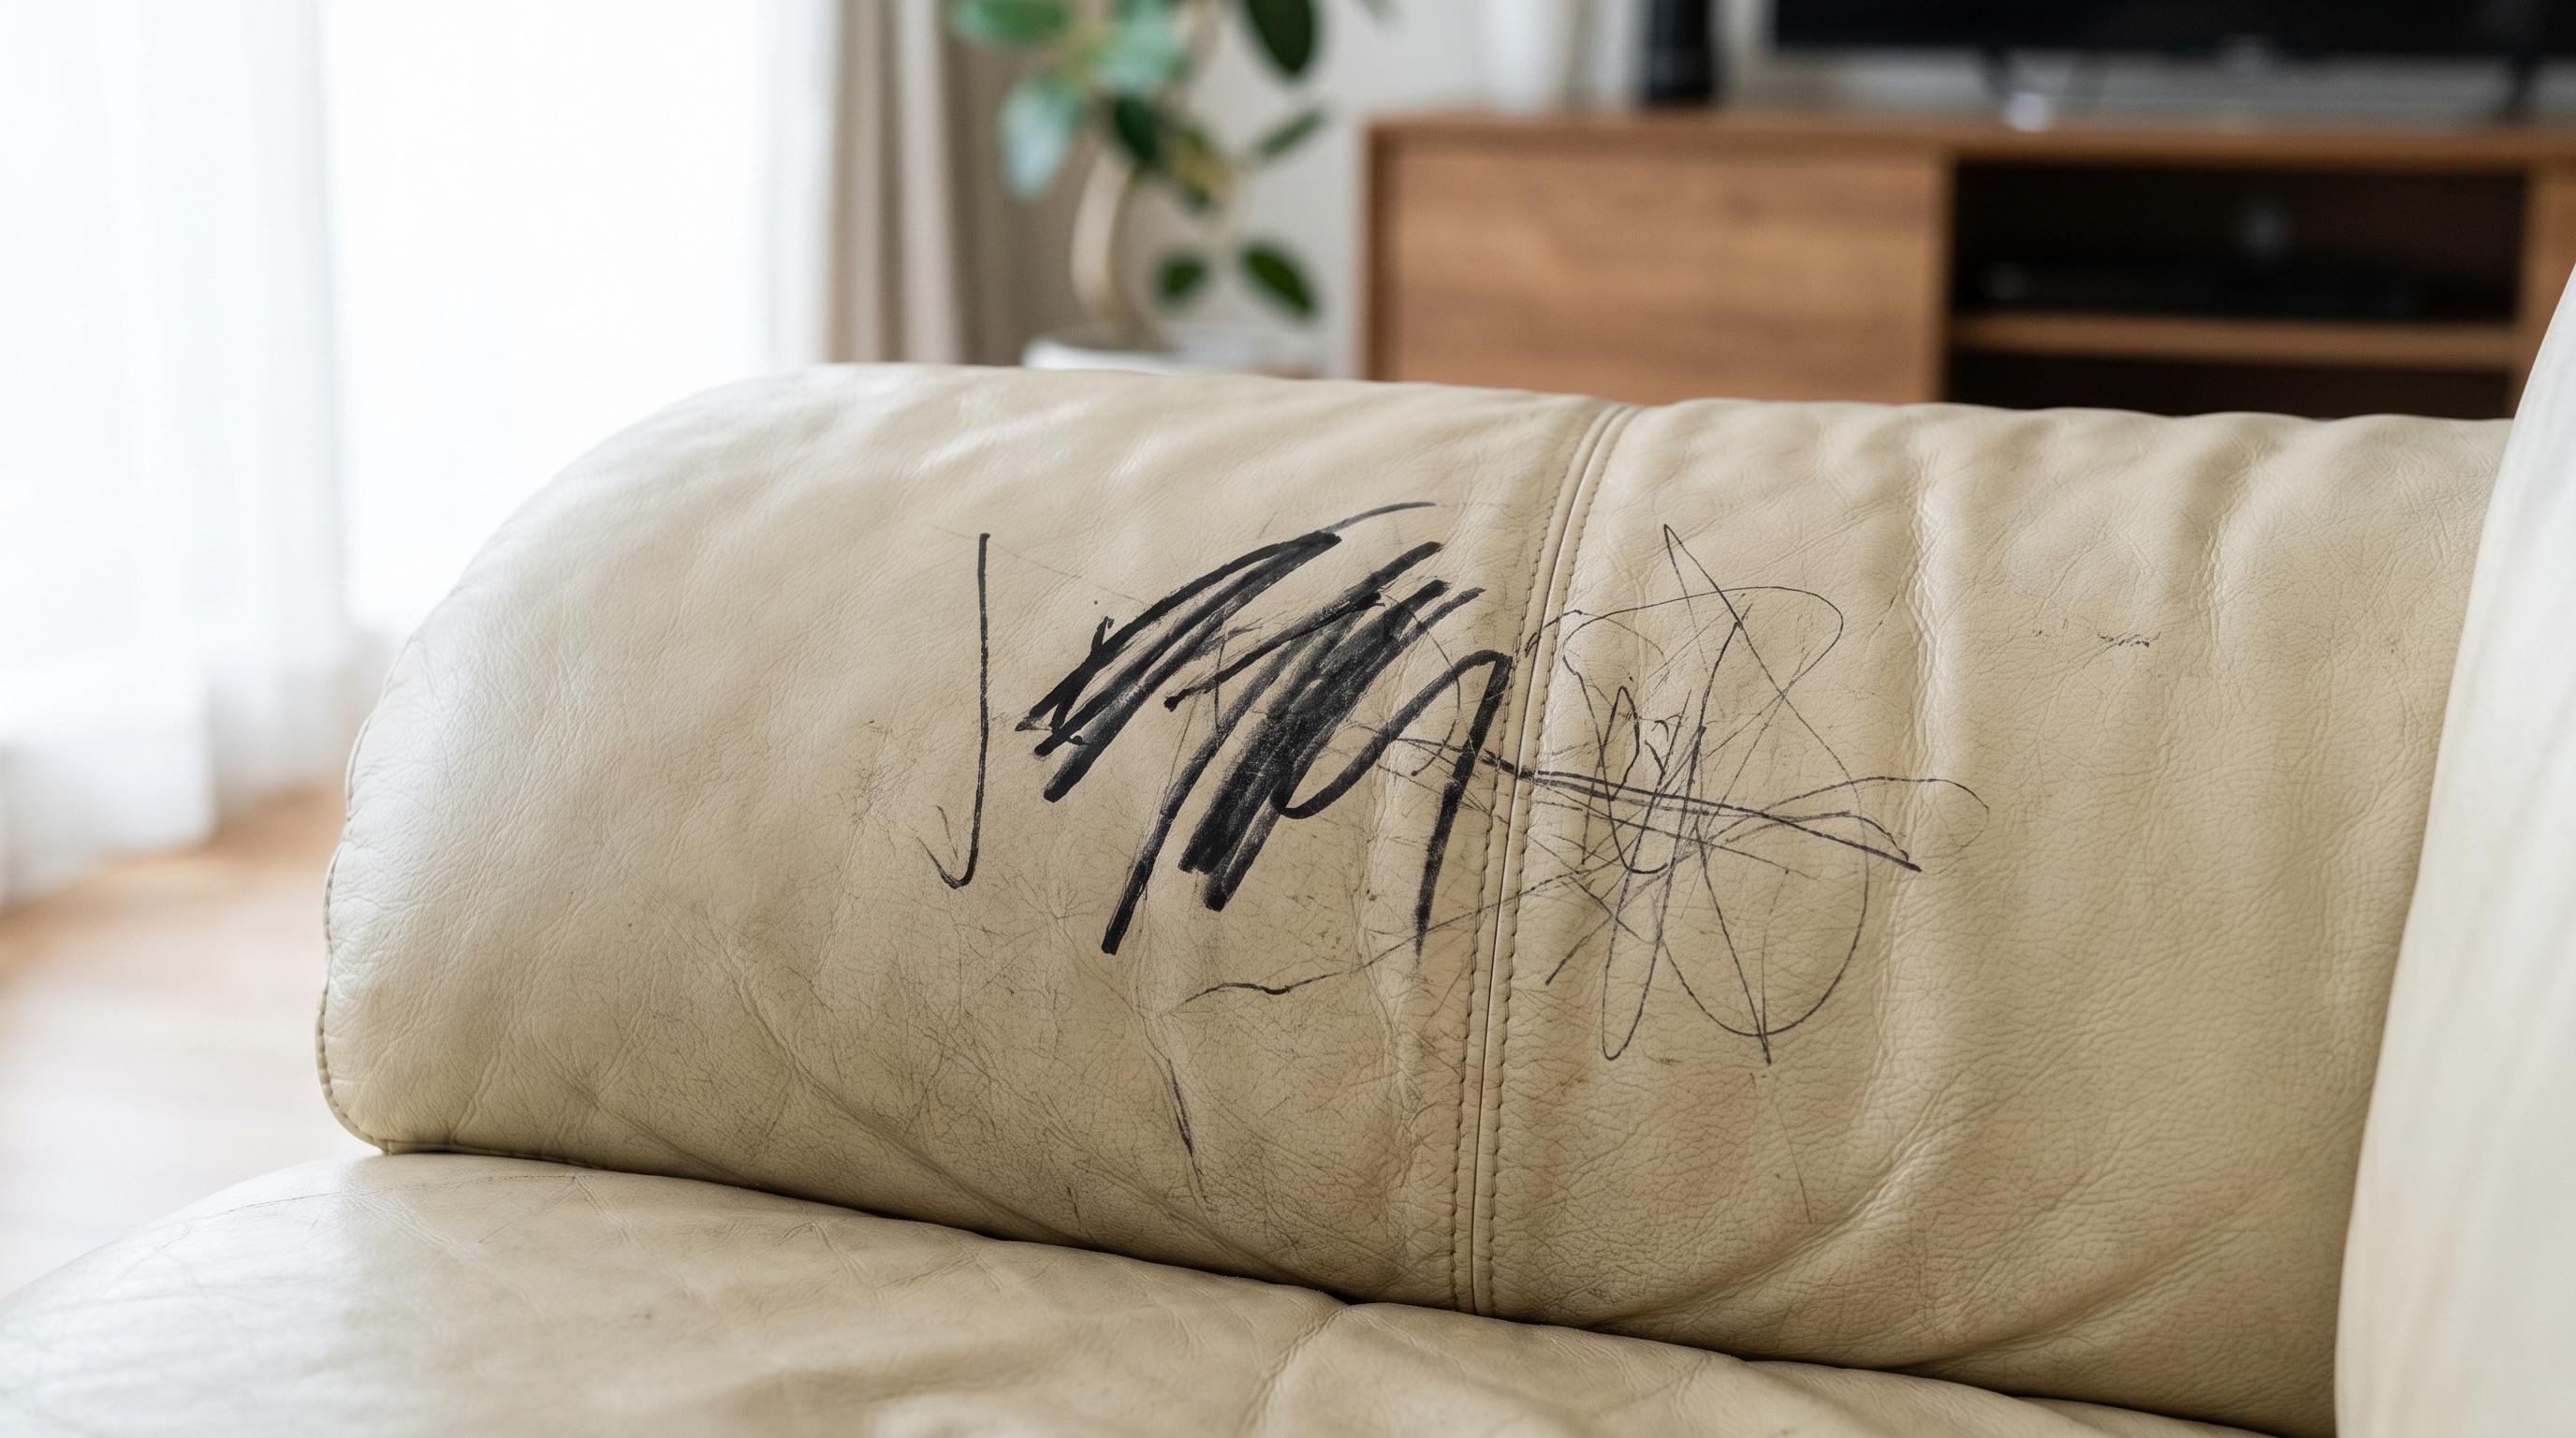
Permanent marker is harder to remove than ballpoint ink. Both hairspray and eucalyptus oil can break down the ink compound in most marker types, but the result depends on how quickly you act. Fresh stains respond better than dried ones.
Apply the product to a cloth first; never spray or pour directly onto the leather. Light leather is at greater risk of residual discoloration from the treatment itself, so the spot test here is not optional.
- Test hairspray or eucalyptus oil on a hidden spot and wait 5 minutes
- Apply a small amount to a clean cloth, not directly to the leather
- Press gently against the stain and hold for a few seconds
- Wipe away with a damp cloth
- Condition the area after cleaning to restore moisture
Materials used: aerosol hairspray or eucalyptus oil, clean cloth, damp microfiber cloth, leather conditioner
How Often Should You Clean Leather Furniture?
Many of you clean your leather furniture too rarely and too aggressively when you finally get around to it. A more regular, lighter approach protects the leather better.
- Weekly: Dust with a dry microfiber cloth. This takes two minutes and stops grit from embedding into the grain.
- Every two weeks: Vacuum all surfaces, including crevices and seams.
- Every 6 months: Full clean followed by conditioning.
- After spills: Blot immediately without rubbing. Do not use a cleaner first; just blot.
Homes with pets or young children should do the weekly dusting two to three times a week, since pet hair and food spills speed up grime buildup.
Cleaning Different Furniture Pieces
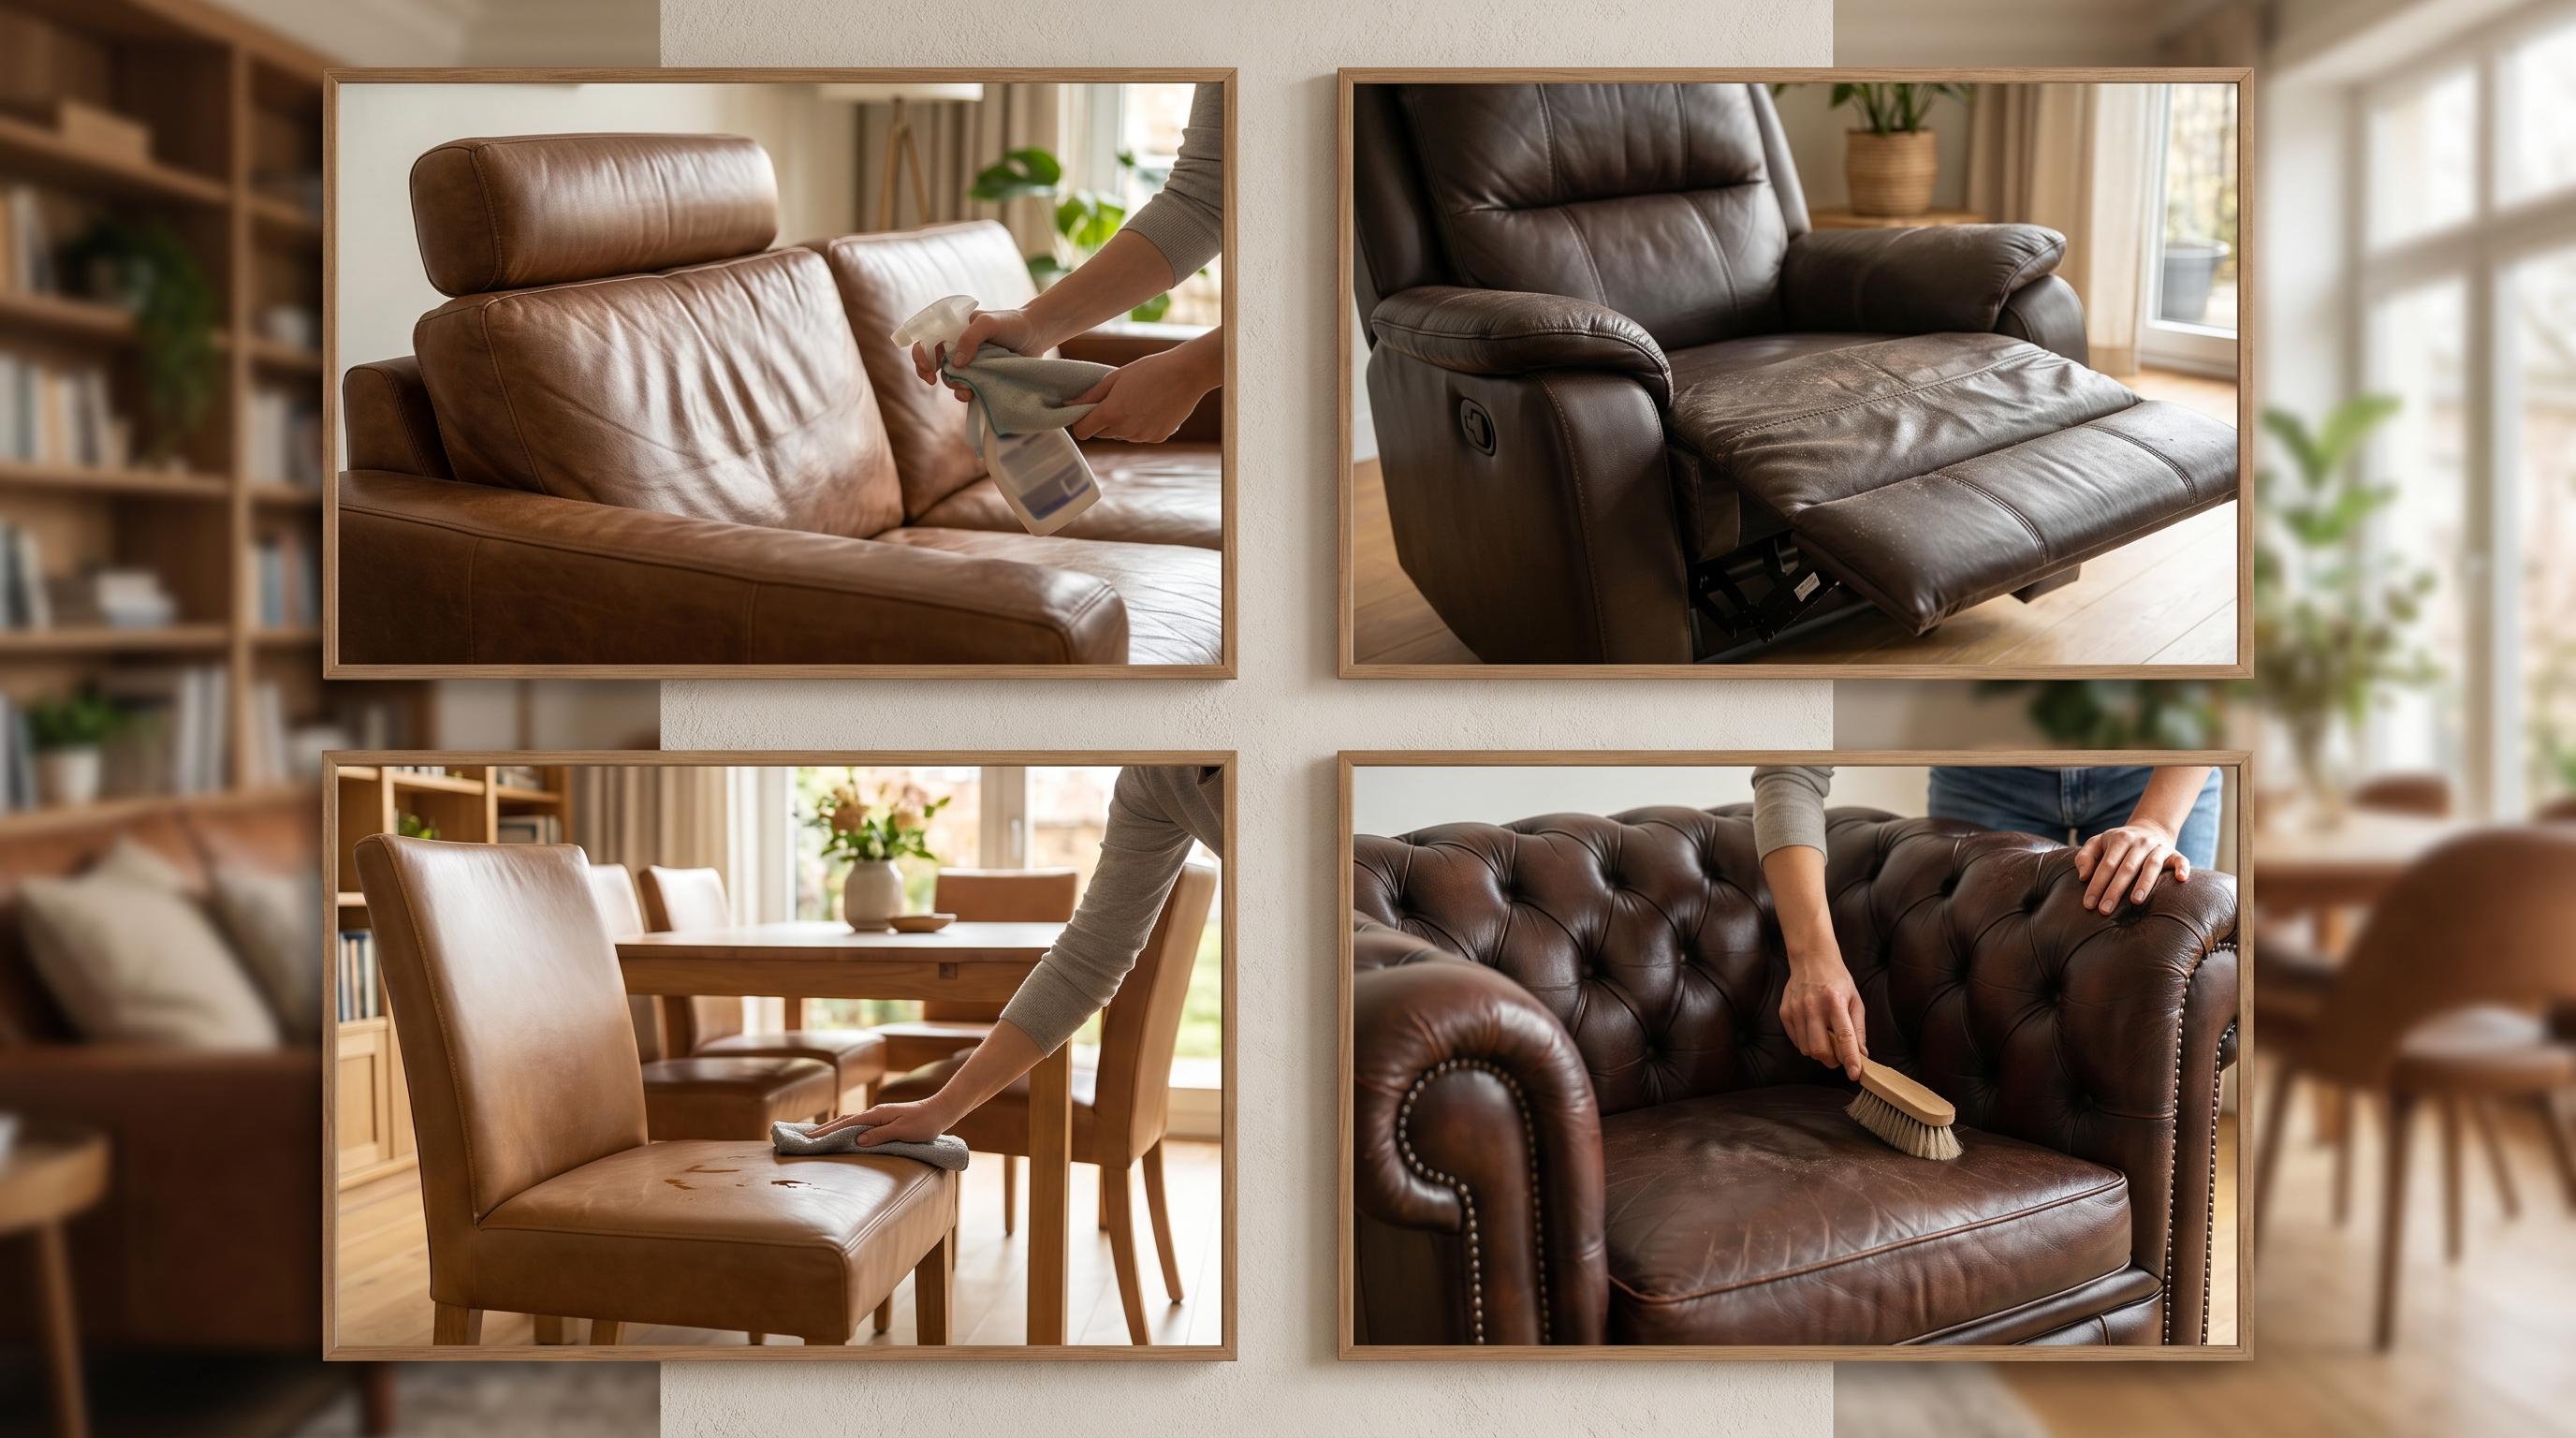
A leather sofa and a leather recliner are not the same cleaning job. Different pieces collect grime in different ways.
- Sofas: The armrests and headrest zone collect the most skin oil and hair product. These areas need the most attention during a deep clean. If you own a modular couch with individual leather sections, clean and condition each section separately.
- Recliners: The footrest crease, where the leather folds when the chair is upright, traps dead skin and debris that a vacuum alone won’t reach. Use a soft-bristle brush before vacuuming.
- Leather dining chairs: These are exposed to food oils and spills more than any other piece. A quick wipe after each meal goes a long way toward keeping the surface clean.
- Tufted leather: The recessed buttons and stitched channels gather dust that a flat cloth misses entirely. Use a soft-bristle brush or an old toothbrush to work through those sections, then vacuum again.
Leather is one of the more demanding durable furniture materials in terms of care requirements. Knowing this upfront makes the maintenance feel less like a chore and more like a worthwhile habit.
When to Avoid in Diy Cleaning Leather Furniture
Home cleaning works well for surface dirt, routine stains, and regular maintenance. When the damage goes deeper than the surface, continuing to clean at home risks making it worse.
| Damage Type | Why Stop DIY |
|---|---|
| Peeling or flaking leather | The protective top coat has broken down. Home cleaning removes more of it. |
| Deep cracks through the surface layer | Moisture worsens cracking. Needs professional filler and resealing. |
| Large ink stains on white or cream leather | Spreading risk is high. Home treatment can permanently set the stain. |
| Recurring mold after repeated cleaning | Spores have penetrated the leather structure. Needs specialist treatment. |
| Heavy fading or full discoloration | Re-dyeing requires professional-grade tools and techniques. |
| Structural surface damage or gouges | Filling and refinishing are beyond what any household product can achieve. |
When to Call a Professional
If your leather is peeling, deeply cracked, heavily faded, or showing mold that keeps returning after cleaning, contact a leather restoration specialist.
Professional restorers can re-dye faded surfaces, fill cracks, and apply a fresh protective seal, often at a fraction of what replacement costs.
If you are unsure whether damage qualifies, contact the furniture manufacturer first. They can advise on approved repair or restoration services for your specific piece.
Conclusion
Cleaning leather furniture properly comes down to one rule: match the method to the leather type before you start. Using the wrong cleaner on the wrong type of leather causes more damage than any spill ever would.
Well-maintained leather does not just hold up; it actually gets better with time.
A dry wipe once a week, a vacuum every two weeks, and a proper clean with conditioning twice a year is enough. The key is starting before the leather looks bad, not after.
Treat it consistently, and quality leather furniture will outlast almost everything else in your home.
Frequently Asked Questions
How to Clean Leather With Vinegar?
Mix equal parts white vinegar and distilled water, then gently wipe the leather with a damp microfiber cloth in circular motions.
Best Homemade Leather Cleaner?
A simple homemade leather cleaner is a mix of equal parts white vinegar and distilled water. For extra gentle cleaning, add a few drops of mild dish soap.
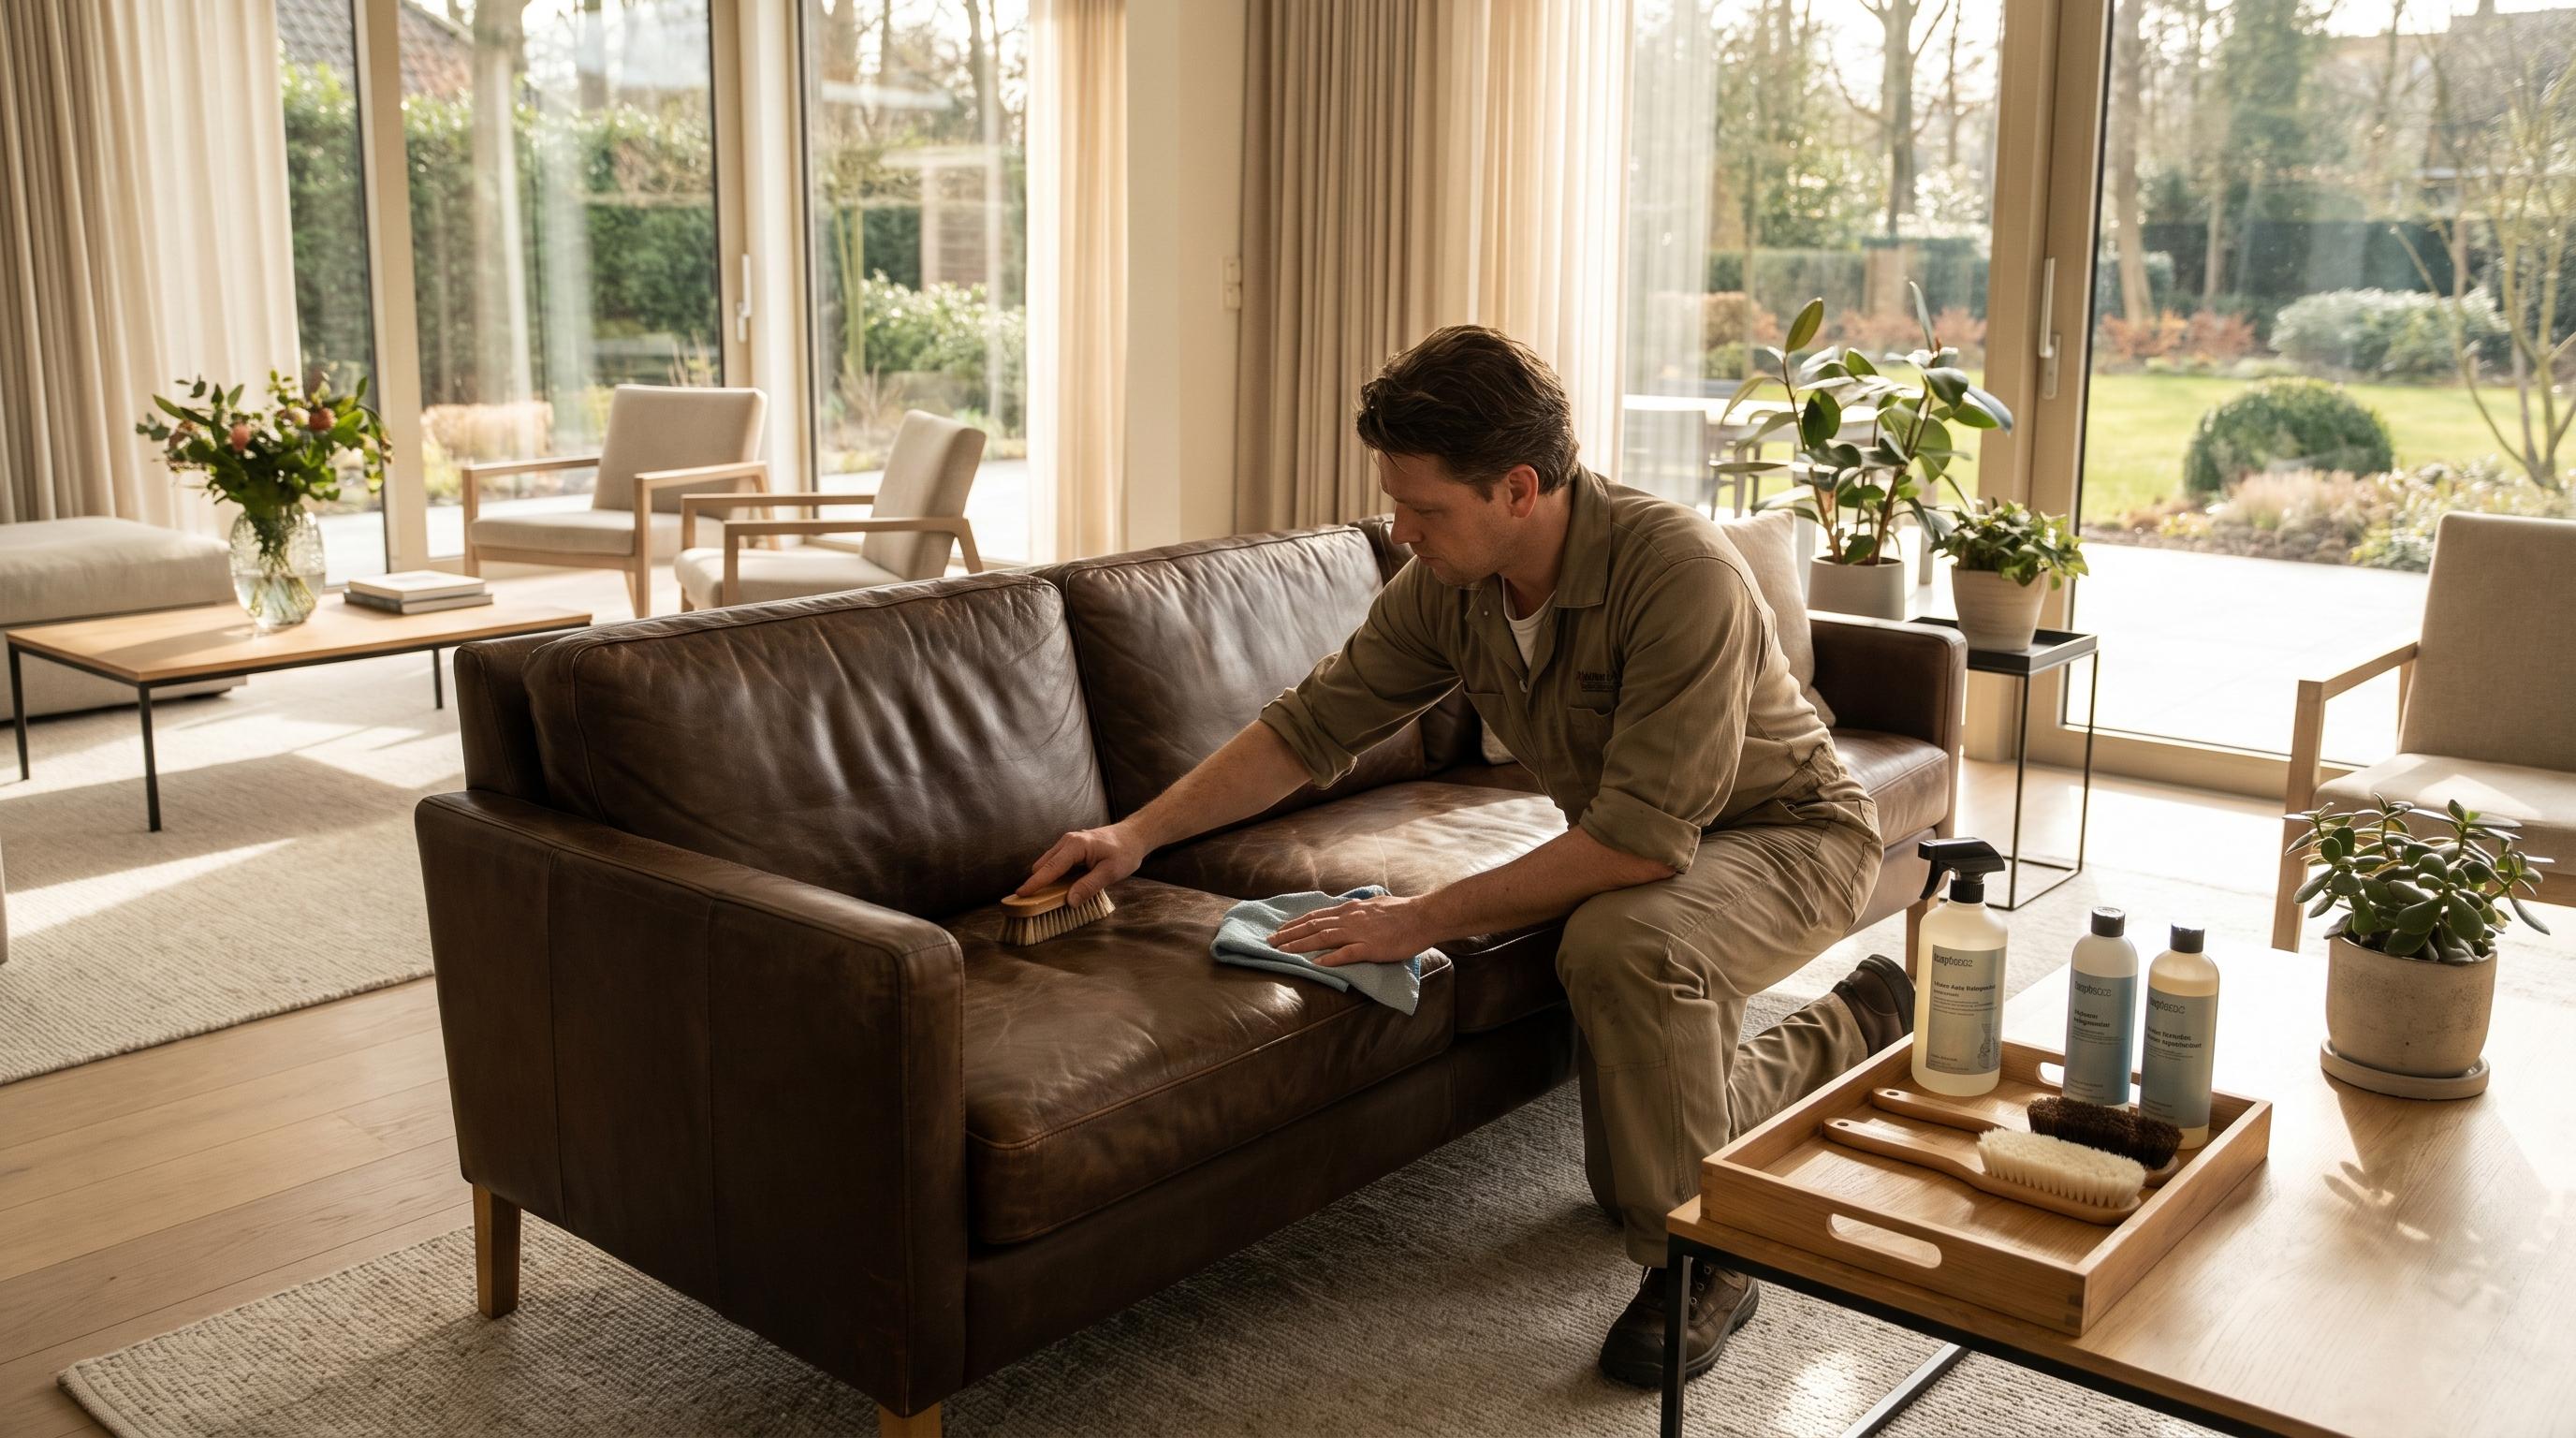
How to Clean a Leather Sofa Professionally?
Vacuum the sofa first with a soft-bristled brush attachment, then clean it with a damp microfiber cloth and a leather-safe cleaner, using gentle circular motions.