How to Do Magic Loop Knitting with One Needle

Four needles. Three are already lost under the couch cushions.
That is the double-pointed needle experience for a lot of knitters.
Magic loop knitting fixes this. One long circular needle does the job instead. You fold the cord, split your stitches into two groups, and knit each half. Your hands pick up the motion fast, and the mess disappears.
This post covers everything you need to get started: the right tools, a clear step-by-step method, and simple fixes for common problems.
What Is Magic Loop Knitting?
Magic loop knitting uses a single long circular needle to knit small round items. It works well for socks, hats, mittens, and sleeves.
Most patterns for small pieces call for double-pointed needles, also known as DPNs. You end up holding four or five thin needles at once. One always slides off and rolls under the furniture.
Magic loop skips that. You take one long circular needle, fold the cord, and split your stitches into two groups. Knit one group, then the other. No juggling, no lost needles.
Once your hands learn the flip and fold, the motion feels almost automatic. You also need fewer needles to buy and carry. That is why so many knitters never go back.
What You’ll Need Before You Start Magic Loop Knitting

Choosing the right tools makes the process much smoother. You only need a few basic supplies.
Long circular needle: Pick a needle with a 32-inch or 40-inch cord. A shorter cord will not give enough room to create the loop.
Flexible cable: Choose a needle with a soft, bendy cord that moves easily. Stiff cables make the process harder and slow you down.
Correct needle size: Use the size your pattern recommends. Magic loop only changes how you hold your work. It does not change your stitch count or knitting tension.
| Supply | What to Look For |
|---|---|
| Circular needle cord | 32 inches or 40 inches long |
| Cable flexibility | Soft and bendy, not stiff |
| Needle size | Matches your pattern |
How to Knit the Magic Loop Technique
Follow these simple steps to create a smooth, seamless project using the Magic Loop method.
Step 1: Cast On Your Stitches
Cast the required number of stitches onto a long circular needle. A 32-inch or 40-inch cable works well for most projects.
Before moving on, check that all stitches face the same direction. Make sure none are twisted around the needle.
Step 2: Split the Stitches Into Two Halves
Divide your stitches into two equal sections. Slide half of the cable onto the cable, then pull the cable loop out between the two groups.
You should now have half the stitches on each needle tip, with a loop of cable between them.
Step 3: Arrange the Needles and Yarn
Set up your needles before making your first stitch. Keep the working yarn at the back needle. Place that needle behind the front needle.
Check that no stitches are twisted before moving forward.
Step 4: Pull the Back Needle Forward
Pull the back needle out from the stitches. Bring the needle tip around to the front. Hold it like a regular knitting needle while keeping the cable loop to the side.
This needle will now knit the first section of stitches.
Step 5: Knit the First Half of the Stitches
Begin knitting across the front needle. Work through all stitches on this needle. Keep the first stitch slightly snug. This helps prevent a loose gap where the round begins.
The cable may bend or form a small loop while you work. That is completely normal.
Step 6: Turn Your Work and Reset the Loop
Finish the first half, then turn your work around. Keep the working yarn at the back.
Pull the cable loop through and slide the next group of stitches onto the front needle. Your setup should now look the same as when you started.
Step 7: Knit the Second Half of the Stitches
Pull the back needle forward and knit across the front needle. Keep your tension even throughout.
When this section is finished, you have completed one full round of magic loop knitting.
Step 8: Repeat the Motion for Each Round
Continue the same movement for every round. Pull the cable loop out. Bring the back needle forward. Knit the front stitches. Turn your work and repeat.
After a few rounds, a small knitted tube begins to take shape.
Video Tutorial
I’d like to give credit to LoveCrafts for their informative video, which served as a reference for this guide
How to Fix Gaps and Loose Stitches
Small gaps can appear when you first join your stitches into a circle. This is common during the first few rounds.
Keep the first stitch of each section slightly tighter. Avoid pulling too hard, though. With more rounds, the stitches settle, and the gap becomes less noticeable.
Pro Tip: The cable pulls through the stitches at the same spot every round. This can leave slightly looser stitches in that area. Moving the loop a few stitches over every couple of rounds can help spread out any looseness so it is not obvious in your finished piece.
Other Knitting Methods Worth Knowing
Magic loop is one way to knit, but not the only one. Knitters use different methods for different projects. Some work better for flat pieces. Others are built for knitting in the round.
1. Flat Knitting
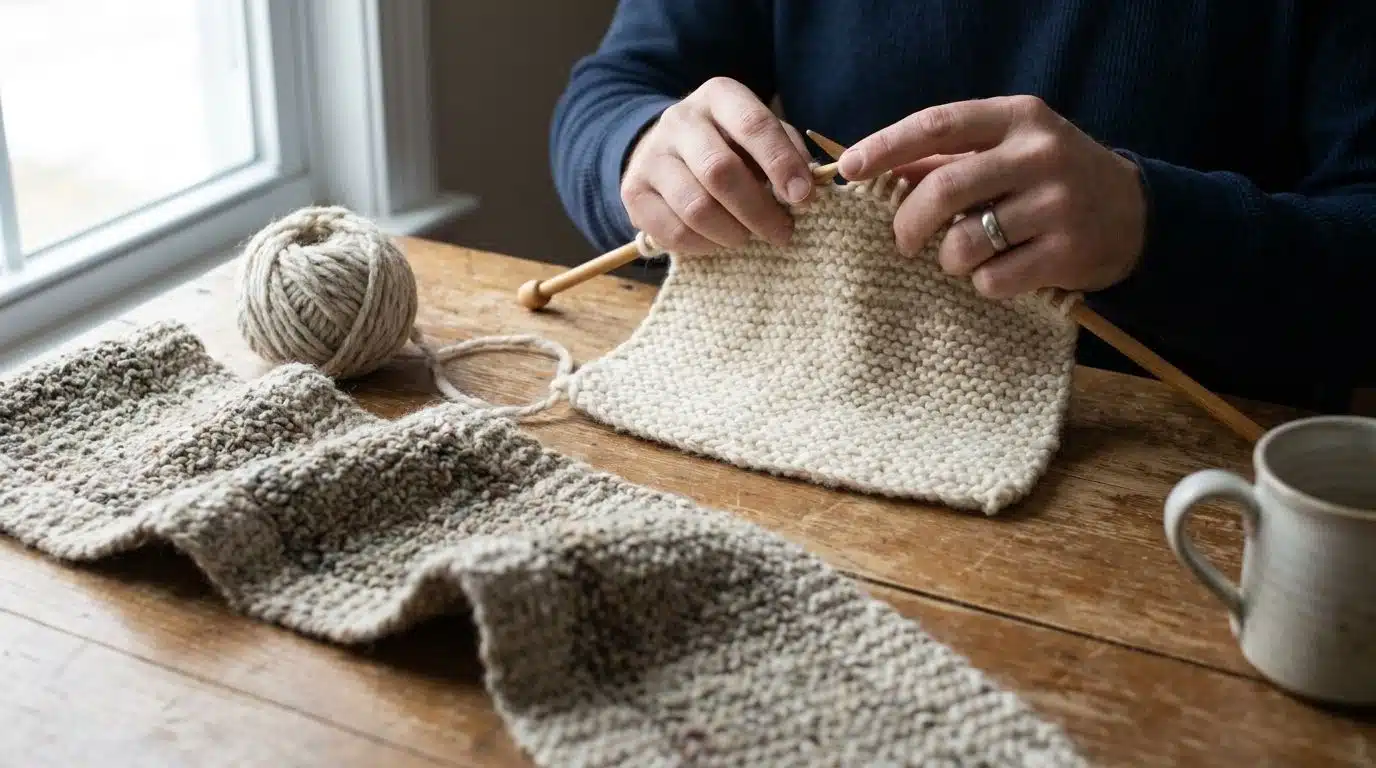
Flat knitting is the easiest starting point for new knitters. You use straight needles and work back and forth in rows. Scarves and blankets are common examples. If you need a tube shape, you can sew the edges together after finishing.
2. Two Circular Needle Knitting
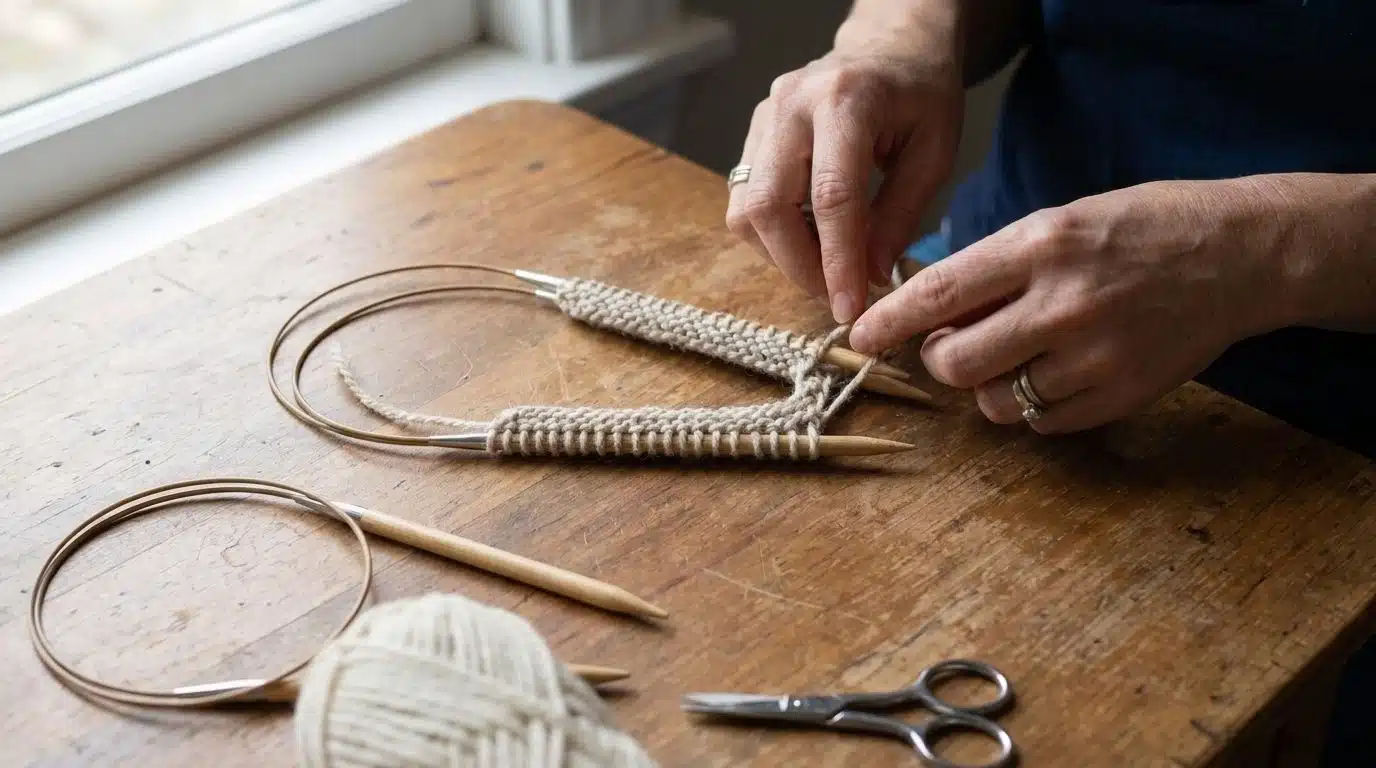
This method uses two circular needles instead of one. You split stitches between both needles and knit from one to the other. Some knitters prefer this because it feels easier than handling several needles. The main downside is that you need two circular needles of the same size.
3. Double-Pointed Needle Knitting
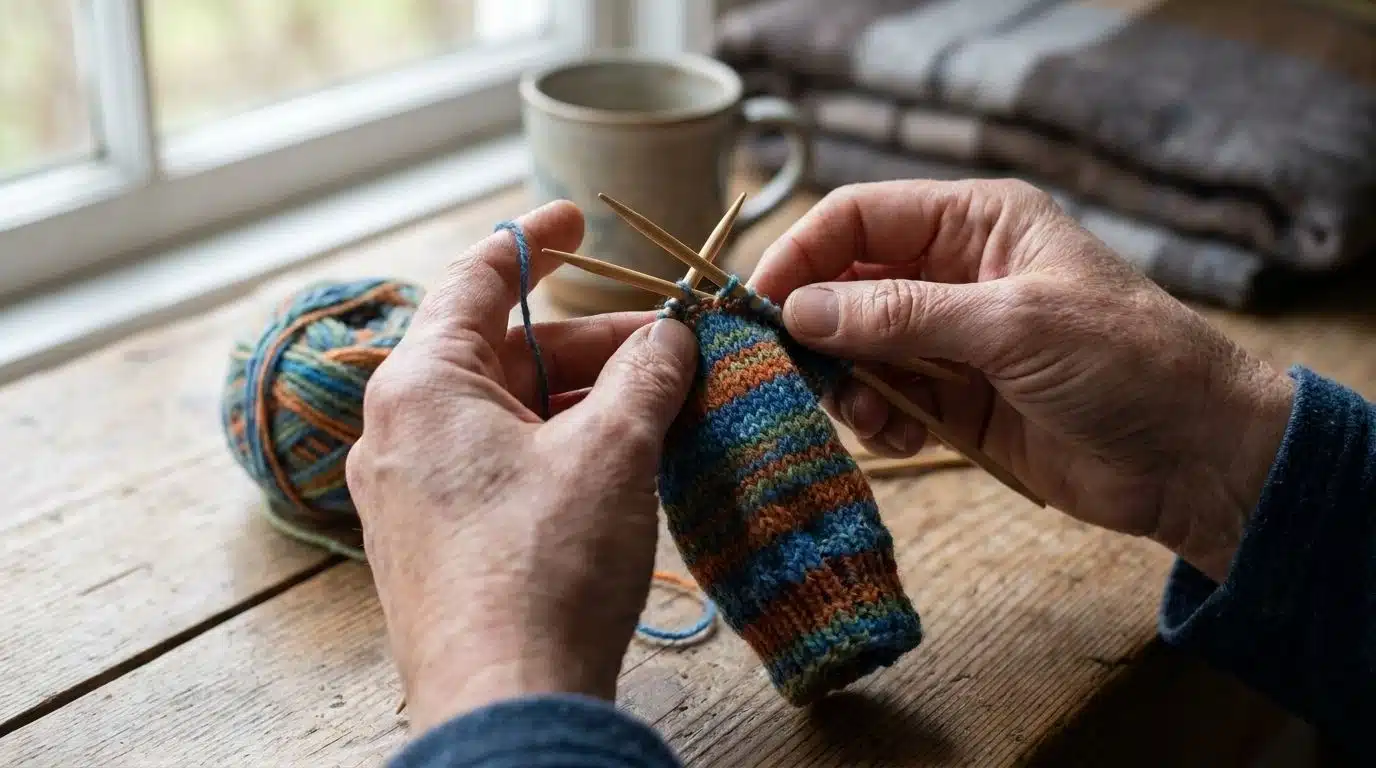
Double-pointed needles work well for small round projects like socks, mittens, and hat tops. You spread stitches across three or four needles and knit with another. It takes practice, but many knitters enjoy this classic method.
4. Continental Style Knitting
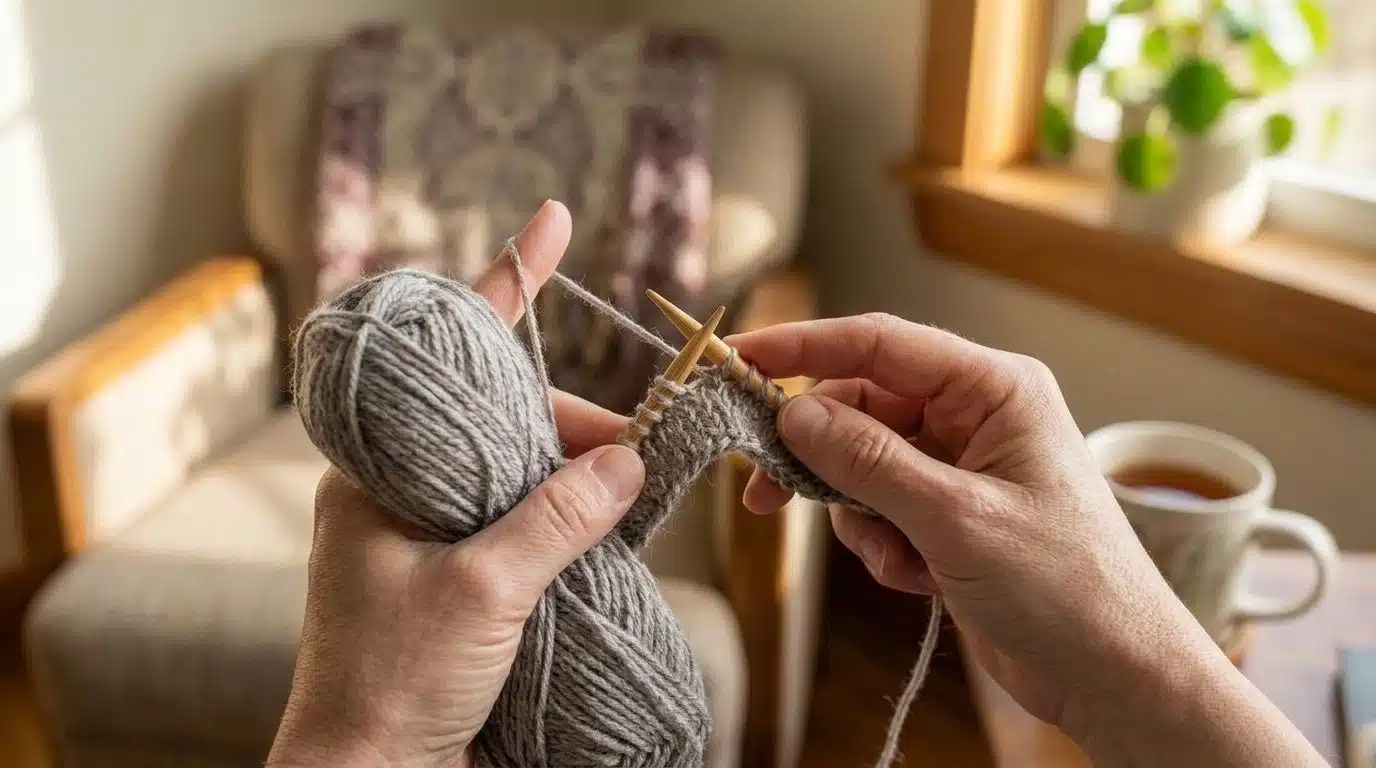
In continental knitting, you hold the yarn in your left hand. You use the needle to pick it through each stitch. The movements stay small and can feel faster once you get the hang of it.
5. English Style Knitting
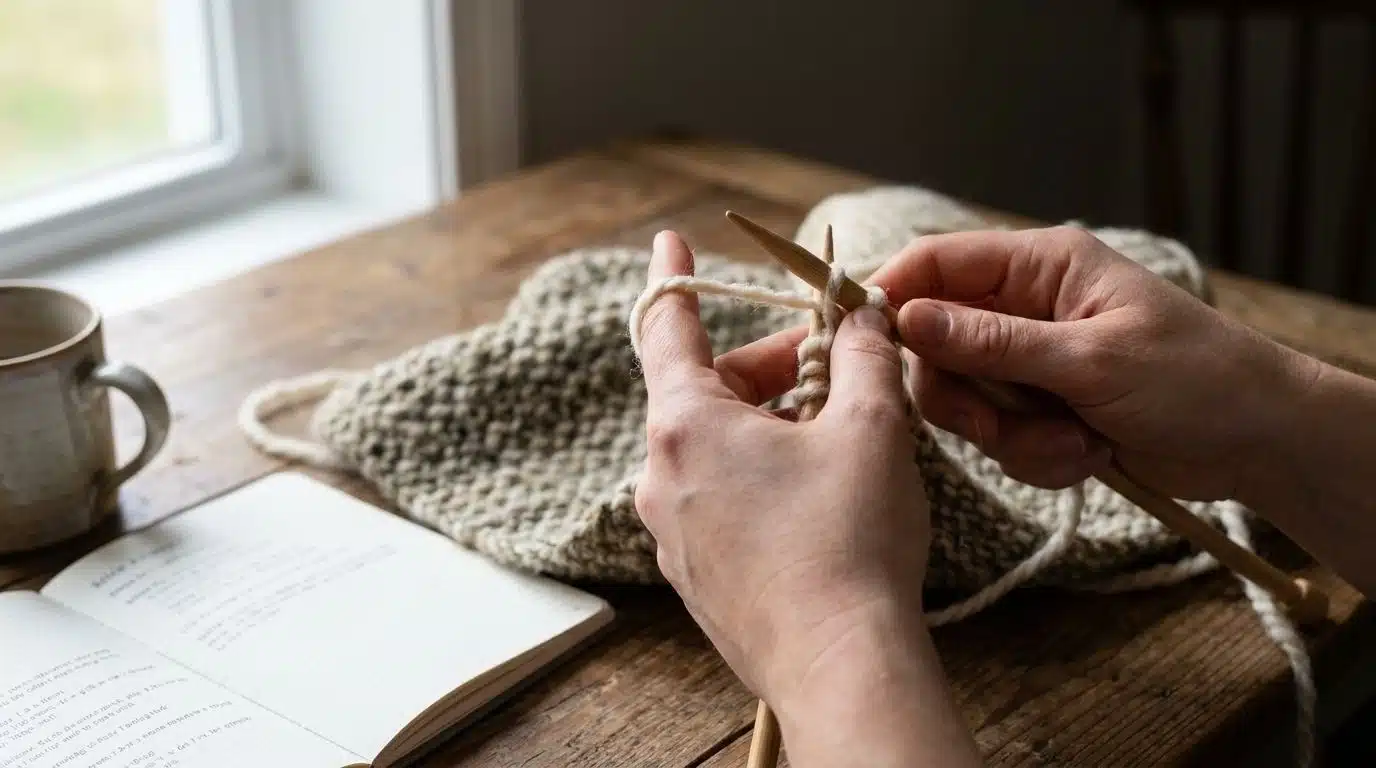
In English knitting, you hold the yarn in your right hand and wrap it around the needle for each stitch. This is one of the most common styles for beginners because it feels natural and easy to follow.
What Can You Make with Magic Loop Knitting?
Continue knitting until your project reaches the length your pattern calls for. Once you feel comfortable with the technique, the magic loop works for many small round projects.
You can use it for:
- Socks
- Hats
- Mittens
- Sleeves
- Small toys
It works anywhere you would normally reach for double-pointed needles.
Ready to Cast On?
Magic loop knitting is not complicated. It is just a smarter way to knit small round items. One circular needle, one folded cord, and you skip the DPN mess for good.
Cast on your stitches, split them in half, pull the loop, and knit each side. Your hands pick up the rhythm quickly. Small gaps fade with practice and an even tension.
Pick a simple project like a hat or a pair of socks and give the magic loop a real try. You may never reach for double-pointed needles again. Which project are you planning to cast on first?
Frequently Asked Questions
What needle length works best for magic loop knitting?
A 32-to 40-inch cord is ideal for most projects. Use 40 inches or longer if you plan to knit two items at the same time. Shorter cables do not give enough room for the loop.
What makes a circular needle good for the magic loop method?
Choose needles with a flexible cable, smooth joins, and a cord that does not hold its coiled shape. Soaking stiff cables in hot water can help soften them.
How do you split stitches on the needles?
Divide stitches in half and pull a cable loop between the two groups. Place both halves on the needle tips. Check that no stitches are twisted before you start knitting.
Can magic loop knitting work for any project?
It works best for small projects knitted in the round, such as socks, hats, mittens, sleeves, and small toys. Use it anywhere you would normally rely on double-pointed needles.
Is magic loop easier than double-pointed needles?
Many beginners find it easier because it uses only one circular needle. You do not need to balance several needles at once, which reduces the chance of stitches sliding off.