How to Refinish Furniture at Home Without Ruining It?

That worn dresser. Grandma’s mismatched bookcase. The coffee table with the sentimental scratch.
You don’t need to buy everything new to make your space feel like you.
Learning how to refinish furniture preserves memories and saves money. It creates a result that no store-bought piece can match.
It takes some prep and patience. Each step brings worn furniture back to life. The result feels intentional and loved.
Basic Refinishing Kit for Furniture Refinishing
The right tools make the process faster, safer, and cleaner. Buy everything before you start. Running out of materials mid-project slows you down and can affect results.
1. Sanding tools
- Electric orbital sander for large flat surfaces
- Sanding block for curved areas and tight corners
- Multiple grit sandpaper: Start at 80–100 grit to strip, move to 120, then finish with 220 for a smooth surface
2. Stripping tools
- Chemical stripper (gel formulas work best on vertical surfaces)
- Plastic scrapers to lift softened finish without scratching the wood
- Old brushes to apply and spread the stripper evenly
3. Finishing materials
- Chalk paint or latex paint for a solid, opaque look
- Wood stain, if you want the natural grain to show
- Polyurethane or finishing wax to protect the final coat
Choosing the best paint for wood furniture depends on your project. Chalk paint needs little prep and gives a soft matte look. Latex paint dries fast and cleans up with water.
Oil-based paint holds up well on high-use pieces. It just takes longer to dry.
4. Safety gear (required)
- Nitrile gloves
- N95 respirator mask
- Safety goggles
- Drop cloths to protect your floor and surrounding area
Ventilation is not a preference. It is a requirement. Chemical strippers and oil-based finishes release fumes that quickly build up in enclosed spaces. Open windows. Run a fan. Work outdoors when the weather allows.
How to Refinish Furniture: The 6 Key Stages
Furniture refinishing follows a clear and logical sequence. When each stage is done properly, the process becomes manageable and predictable rather than overwhelming.
Each step builds on the one before it, and skipping or rushing any part often shows up later in the final finish.
1. Stripping the Old Finish
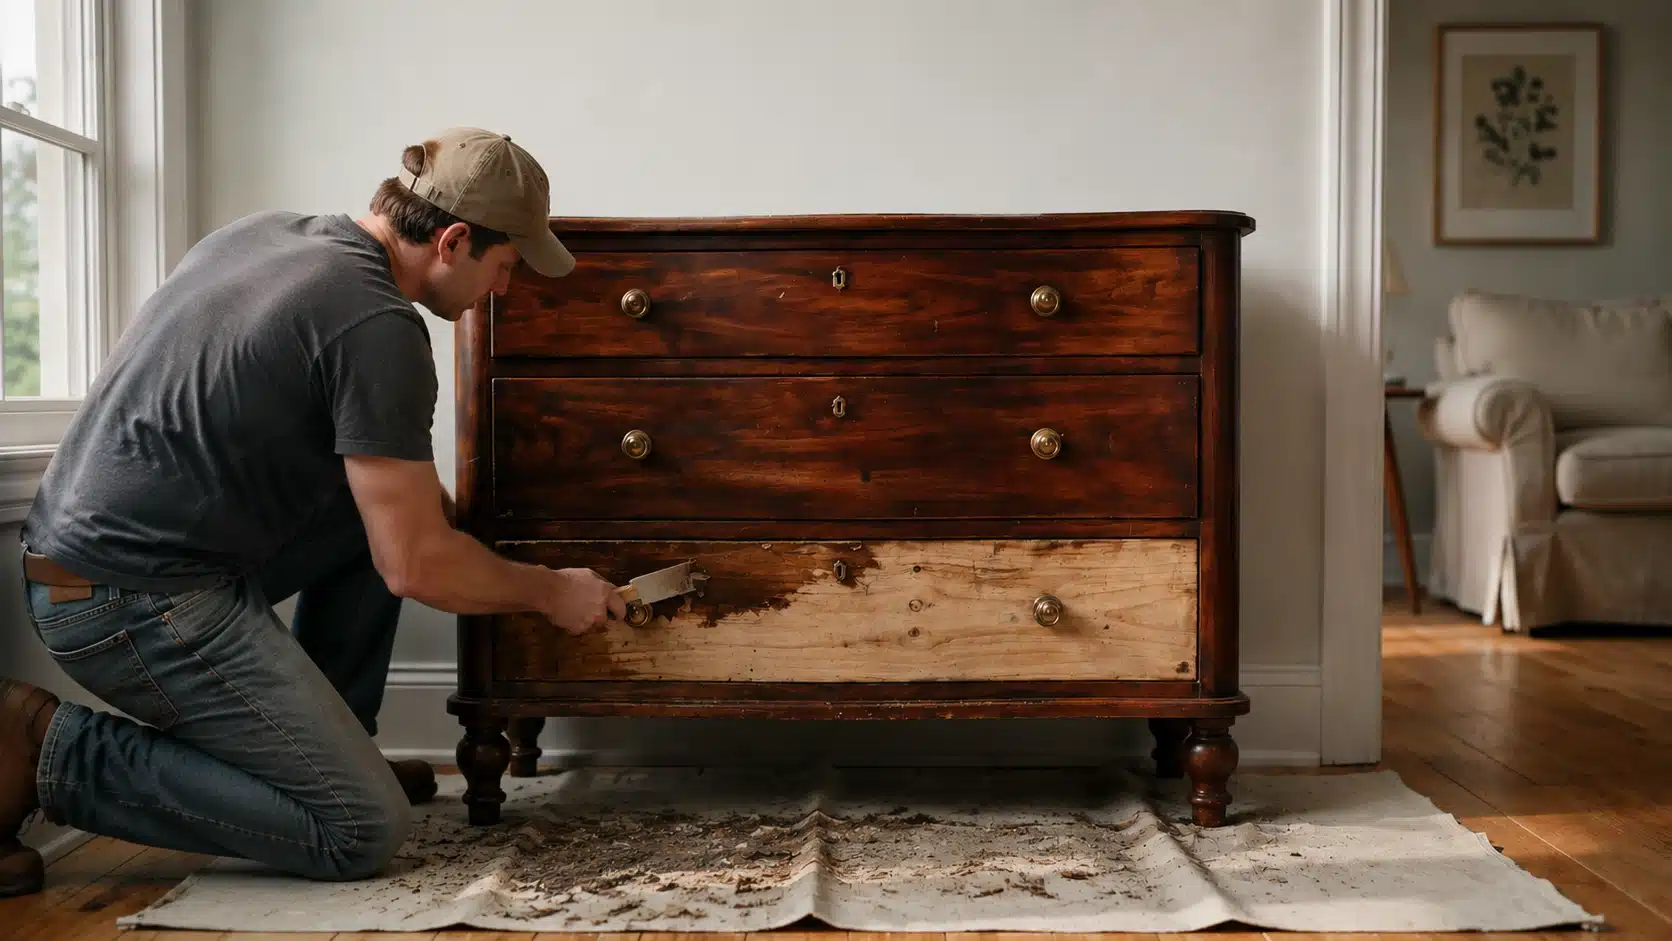
This is the most thorough stage in the process. The goal is to completely remove the existing surface. This exposes the raw wood underneath for refinishing.
If the old finish is thick, cracked, or peeling, sanding alone will not be enough. In these cases, a chemical stripper is used to soften and lift the coating more effectively.
Safety is essential during this step. Protective gloves, a respirator, and eye protection should always be worn before handling any stripping products.
Apply the stripper in a thick, even layer. Let it sit according to the product instructions until the finish begins to loosen.
Once softened, use a plastic scraper to gently remove the residue without damaging the wood surface.
Clean off remaining material with mineral spirits or water, depending on the product. Let the surface dry completely.
For older furniture with multiple layers of paint or varnish, a second application may be required. This is common and usually indicates the piece has been refinished previously.
2. Sanding the Surface Smooth
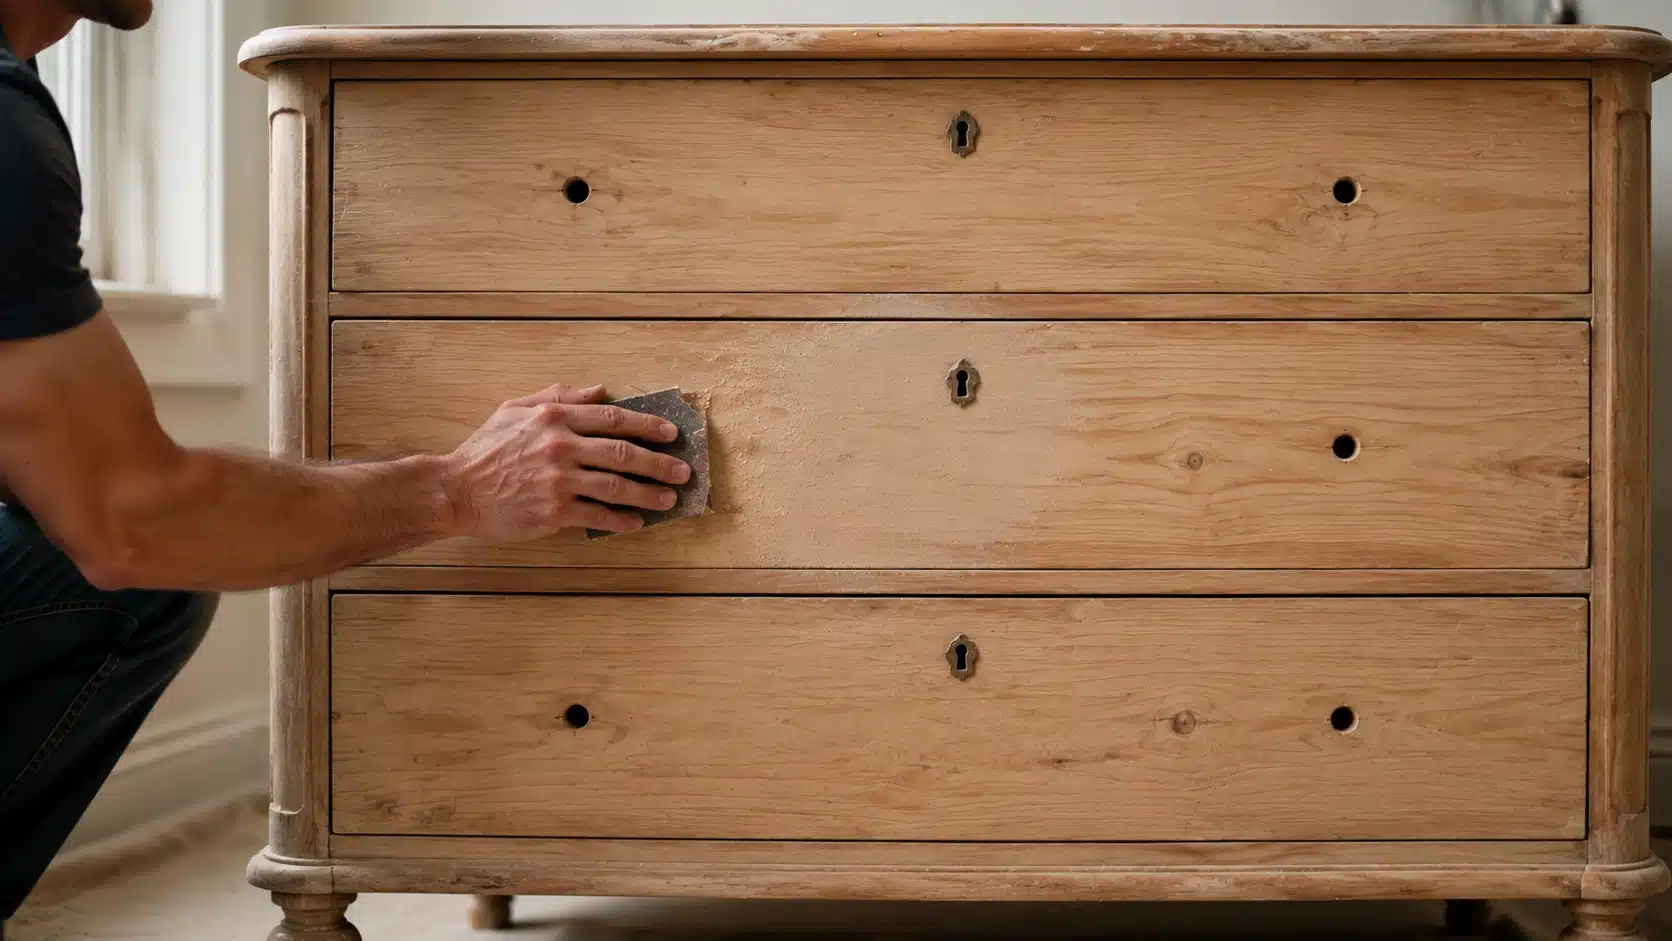
After stripping, sanding is used to refine the surface and prepare it for finishing. This stage determines how smooth and even the final result will look, so consistency is important.
Begin with 80-grit sandpaper to remove any remaining finish and level the surface. Then move to 120-grit to refine it further, and finish with 220-grit for a smooth, ready-to-finish surface.
Always sand in the direction of the wood grain. Cross-grain sanding creates scratches that show through stain or paint.
After sanding, the surface must be cleaned thoroughly. Use a tack cloth or a slightly damp rag to remove fine dust particles. Any dust left behind can interfere with adhesion and lead to an uneven finish.
3. Repairing Damage or Gaps
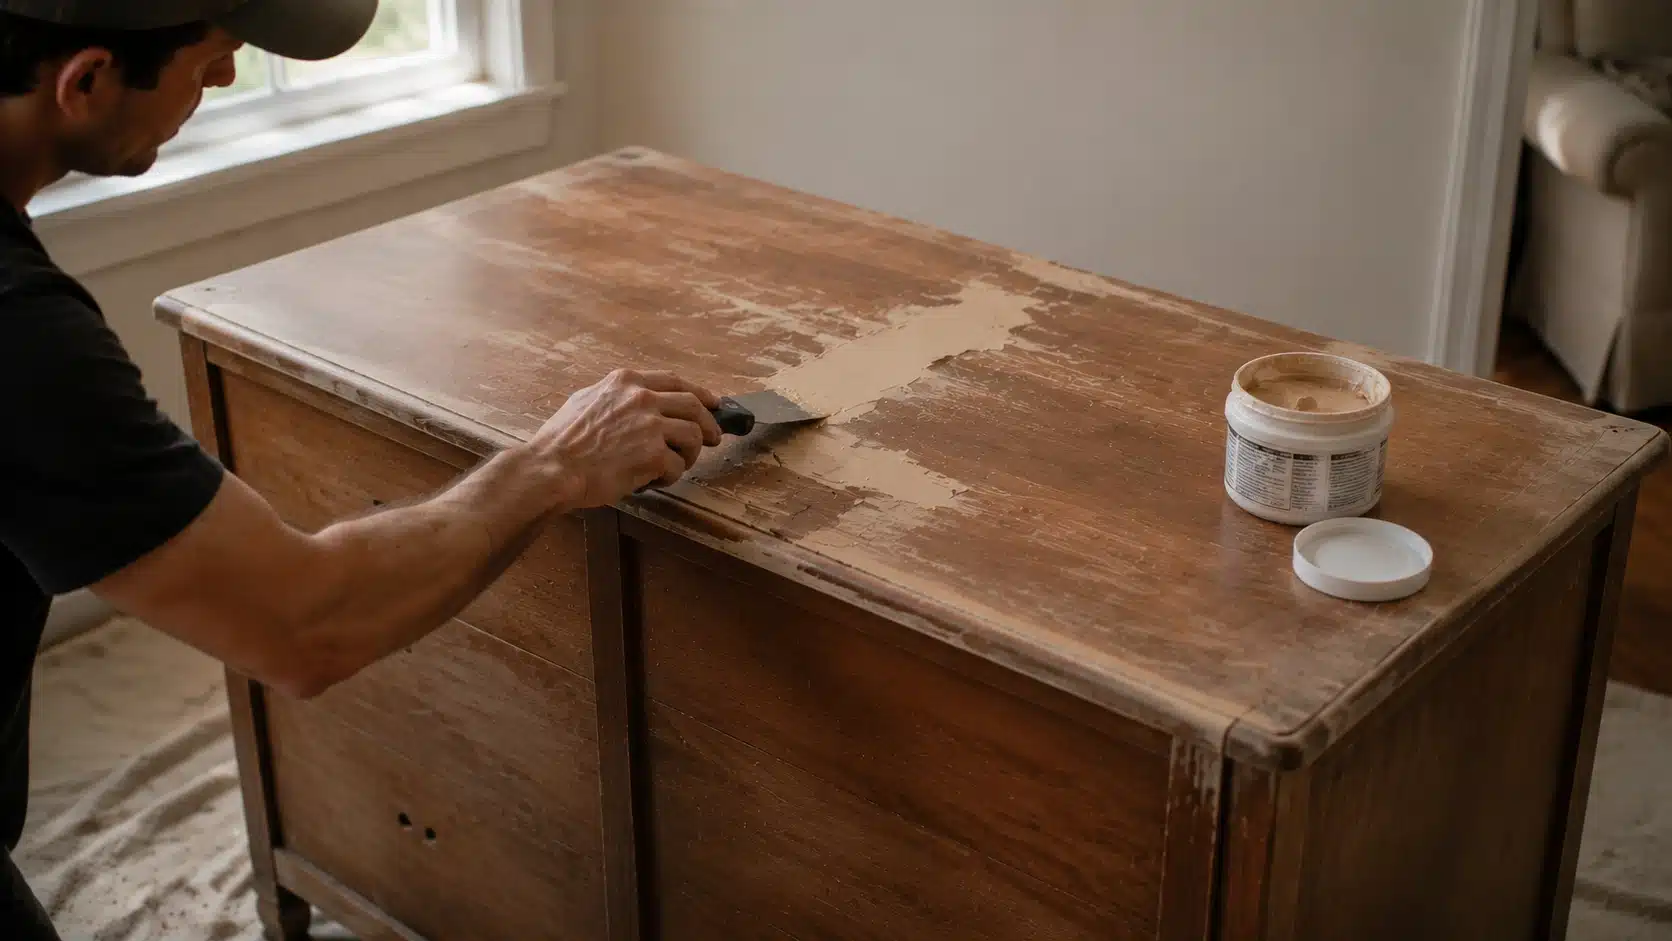
Once the surface is clean and smooth, any imperfections become easier to identify. This stage focuses on repairing cracks, filling gaps, and tightening any loose joints.
Wood filler is commonly used for small holes or surface damage. It should be applied carefully and allowed to dry fully before sanding it flush with the surrounding surface.
Fix loose legs and unstable joints at this stage. The piece needs to be stable before finishing begins.
Taking time here ensures the final result looks intentional and well-finished rather than highlighting existing flaws.
4. Applying Your Chosen Finish
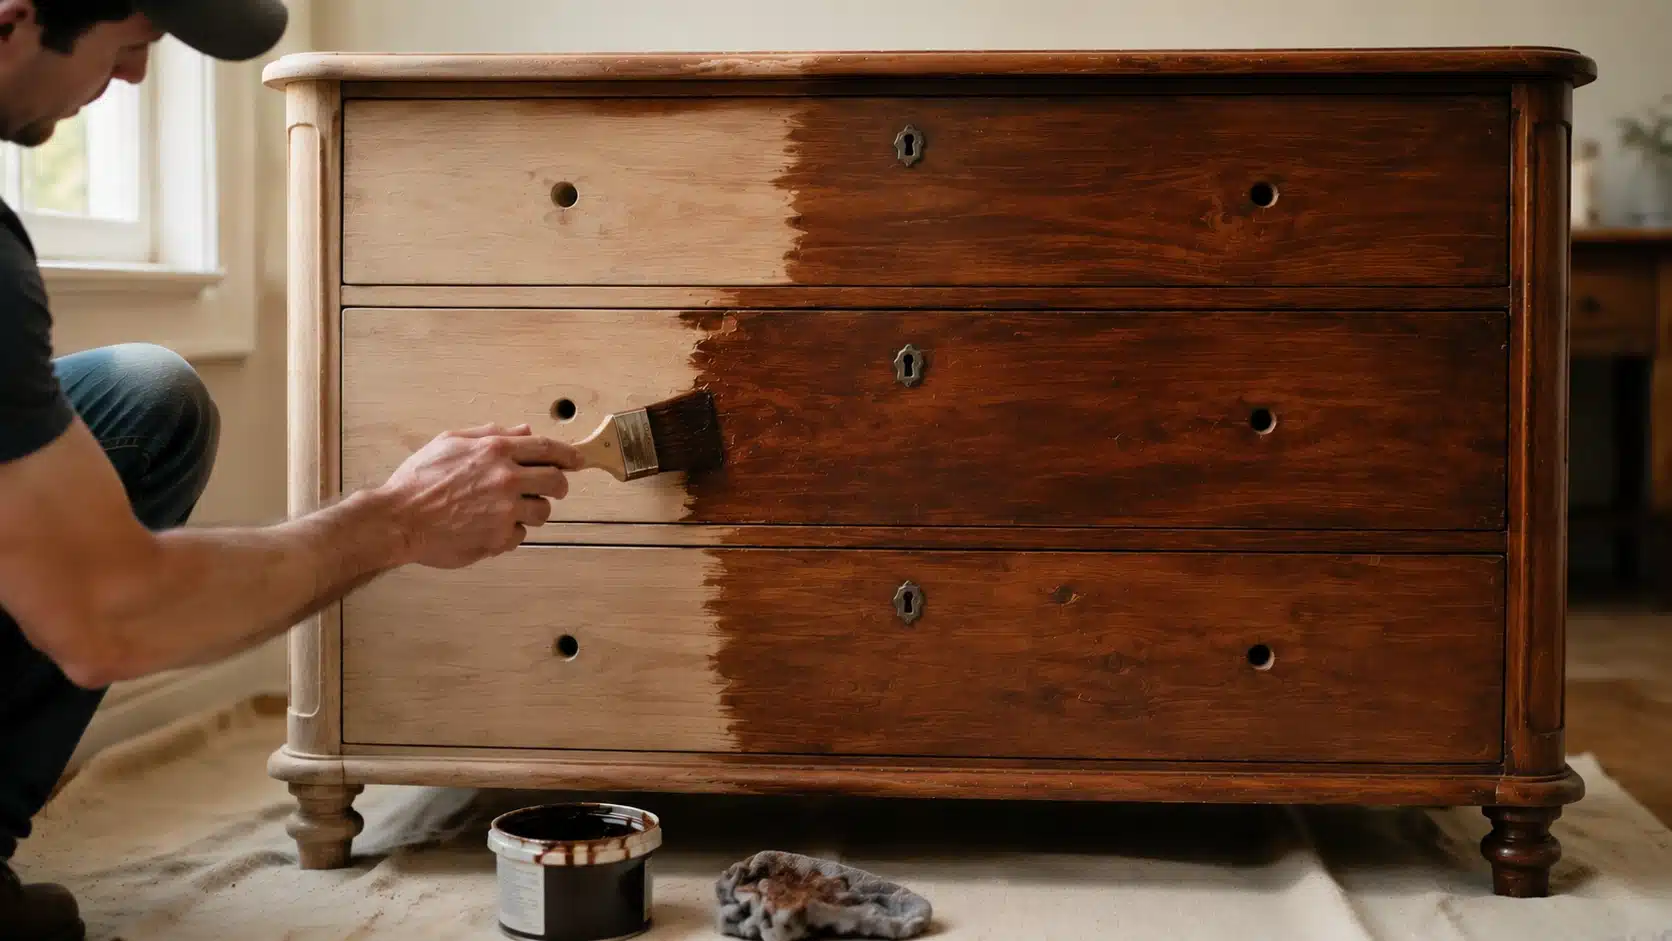
At this stage, the furniture begins to take on its final appearance. The choice between paint and stain depends on both the condition of the wood and the desired end result.
Paint is typically used when full coverage is needed or when imperfections must be concealed. It creates a smooth, modern finish and allows for a wide range of color options.
Stain is used when the natural grain of the wood is worth highlighting, offering a more traditional and organic look. In some cases, both methods can be combined for layered or textured effects.
Application should always be done in thin, even coats. Thick layers often lead to drips, uneven drying, or visible brush marks.
Each coat must be allowed to dry fully before the next is applied to ensure a consistent finish.
5. Sealing for Durability
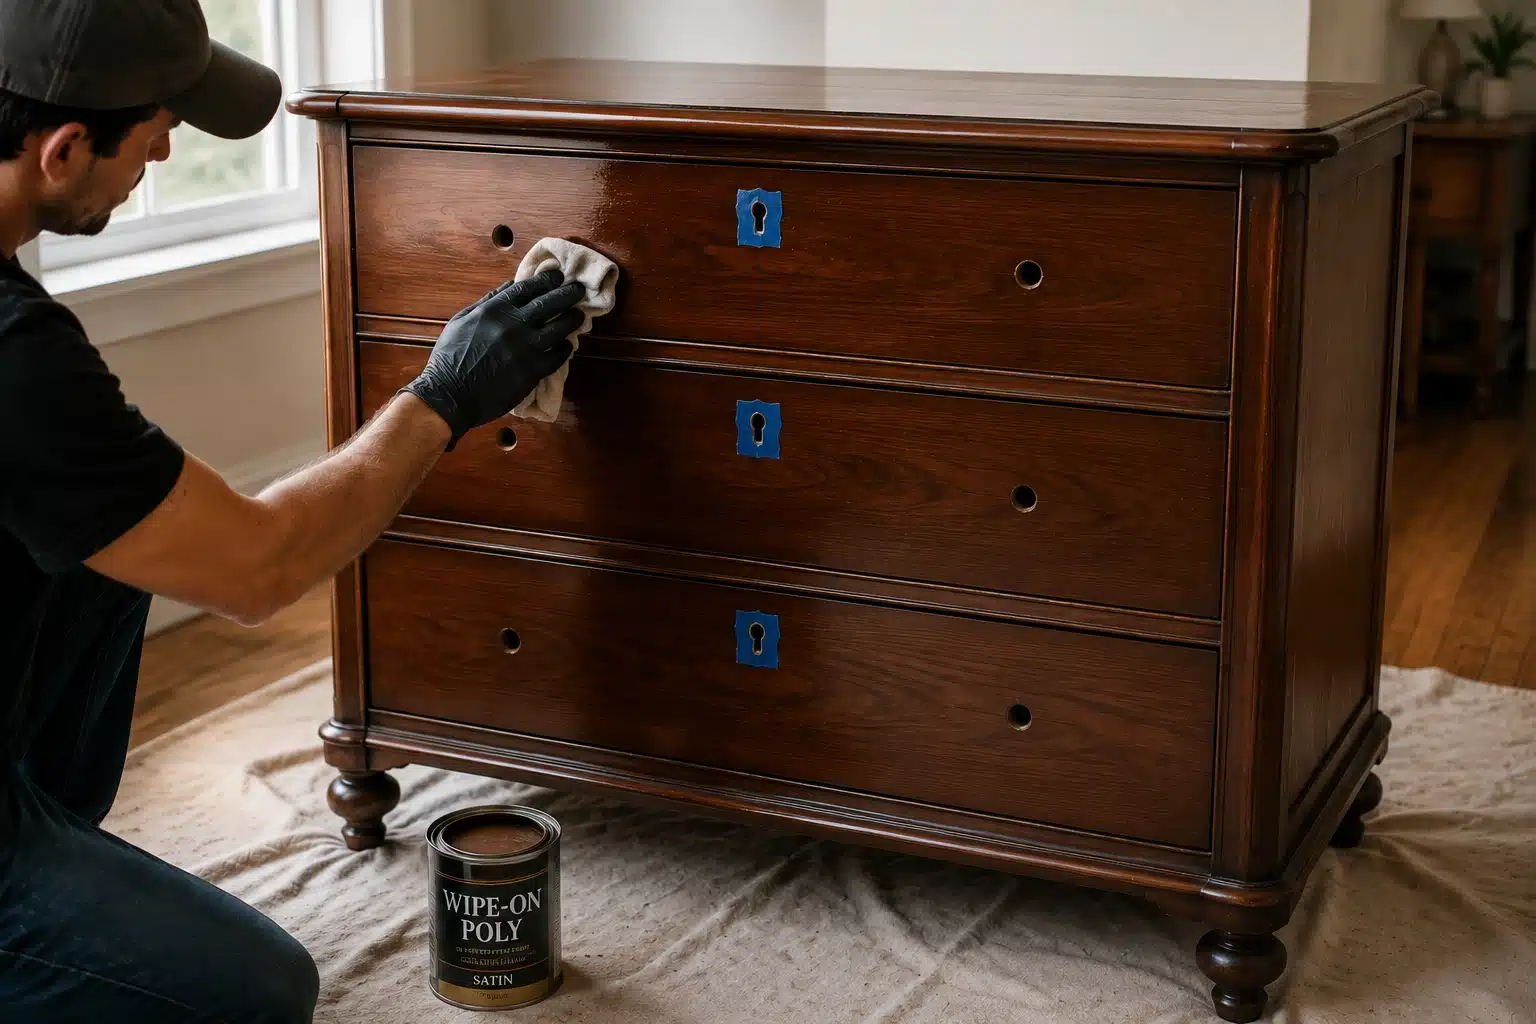
The final stage protects the completed work and ensures long-term durability. Without proper sealing, even a well-finished piece can wear down quickly with regular use.
Polyurethane is one of the most durable options and is commonly used for high-traffic furniture. Water-based versions dry faster and have less odor. Oil-based versions offer a harder, more durable surface.
Wax finishes are often used over chalk paint and provide a softer protective layer that can be refreshed periodically.
A key factor at this stage is curing time. While surfaces may feel dry within hours, full curing typically takes one to three weeks.
During this period, the finish continues to harden, and the furniture should be handled with care to avoid damage.
What to Know Before Refinishing Furniture at Home

Furniture refinishing is a smart alternative to buying new. Solid wood pieces can last decades with proper care. Replacing them costs far more than restoring. You can also shape the final look to fit your space.
Three good reasons to refinish instead of replace:
- It costs a fraction of buying new furniture
- You keep solid, usable materials out of the landfill
- You get a custom look that no store-bought piece can match
Which Wood Types Work Best for Refinishing?
Solid wood is always the easiest and most rewarding to work with. Pieces made from oak, maple, pine, walnut, and most hardwoods respond well to sanding, staining, and painting.
They hold up through the process and usually reveal beautiful natural grain underneath.
On the other hand, materials like particleboard and MDF can be tricky. They do not handle sanding well and can swell, chip, or warp when exposed to moisture or chemical strippers.
Before starting any refurbishing of wooden furniture, it is worth taking a close look at the piece.
Solid construction, visible wood grain, dovetail joints, and sturdy connections are all good signs. They mean the piece is worth restoring.
If the furniture feels loose, soft, or has surface damage, it may need extra care before refinishing.
Mistakes to Avoid When Refinishing Furniture
Most errors in refinishing wood furniture come from rushing. Here’s what to watch out for:
| Mistake | Why does it cause problems | How to prevent it |
|---|---|---|
| Skipping sanding | The new finish won’t grip and will peel early | Sand thoroughly between every coat |
| Applying thick coats | Leads to drips, bubbles, and cracking | Apply thin, even layers every time |
| Mixing incompatible products | Water-based primer under oil paint can peel | Check compatibility before layering products |
| Rushing drying time | The surface stays soft and marks easily | Follow the drying time on the product label |
| Poor ventilation | Fumes build up fast and affect finish quality | Work in open, aired spaces at all times |
Oil-based primer under water-based paint usually works fine. Going the other direction, using a water-based primer under oil-based paint is a common cause of peeling. Always check the label before combining product types.
A quick pass with 220-grit sandpaper between coats helps the next layer grip. It also removes small dust particles before they build up and create rough spots.
How to Maintain Refinished Furniture?
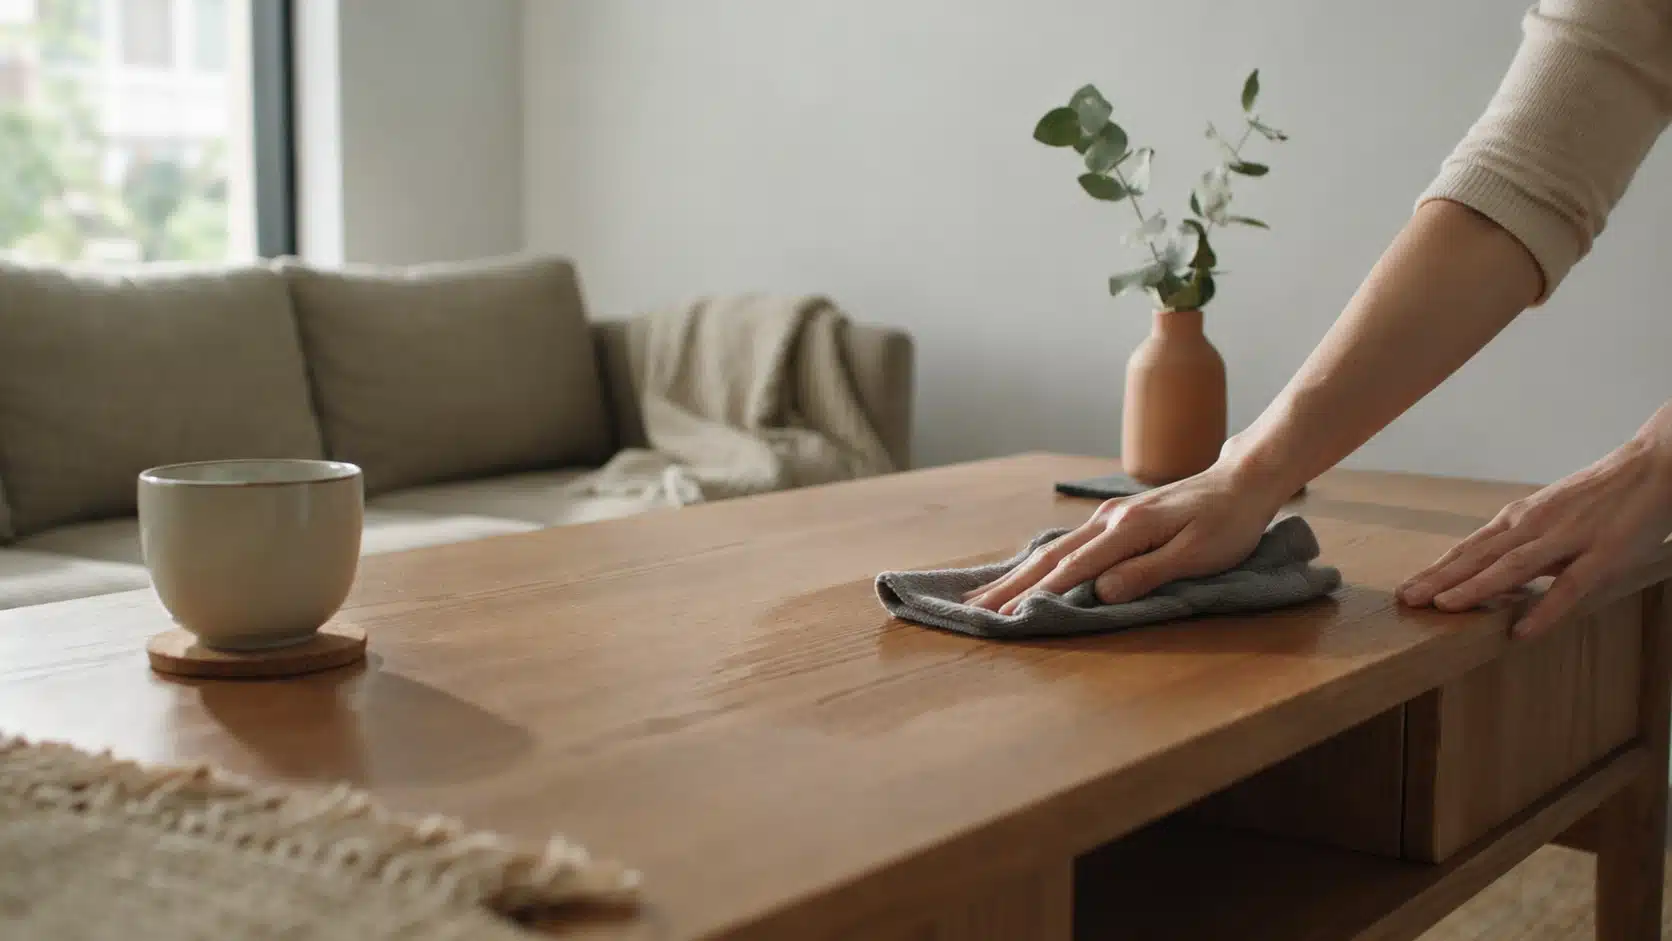
The right care routine keeps a refinished piece looking good for years.
Day-to-day care:
- Wipe with a soft, dry cloth to remove dust
- Use a lightly damp cloth for any sticky residue
- Stay away from harsh cleaners, bleach, and abrasive scrubbers
Protection habits:
- Place felt pads under anything sitting on the surface
- Use coasters under glasses and cups
- Keep the piece away from direct sun exposure and heat vents
Touch-up repairs
Minor scratches and chips are easy to address. Keep a small amount of the original paint or stain for this purpose. Apply a thin layer with a small brush, let it dry, and seal over it.
Moisture is the biggest threat to any wood surface. Wipe up spills right away. Never let water sit on a painted or stained surface for more than a minute or two.
When flipping furniture for resale, consistent maintenance keeps the finish in good condition and the piece presentable for buyers.
Conclusion
Learning how to refinish furniture shifts how you look at old things.
That worn-out chair is still solid wood underneath. That scratched table still has a strong structure. They’ve already lasted years of use, and with the right work, they can last many more.
DIY furniture refinishing teaches you to see damage differently. Every scratch and chip is just the surface. The structure underneath is usually fine.
Start small. Pick one piece. Get the prep right. See what happens when you take your time with something that deserves it.
Share your before-and-after in the comments. It might be the push someone else needs to get started.
Frequently Asked Questions
How Long Does Refinished Furniture Typically Last Before Needing a Full Redo?
With good sealing and regular care, refinished wood furniture can last 10-20 years before needing a full redo. High-use pieces like dining tables may need touch-ups every 3-5 years.
Can Room Humidity During the Curing Period Affect the Finish Long-Term?
High humidity during curing slows drying and can cause a soft, dull finish or early peeling. Work in a cool, dry space during the full curing period.
Can You Refinish Furniture That Already Has Latex Paint on it?
Yes, but proper prep is essential. Lightly sand to remove sheen, clean thoroughly, and apply a bonding primer before finishing. Without it, the new coat may peel from the old latex layer within months.