How to Build a DIY Farmhouse Table From Scratch
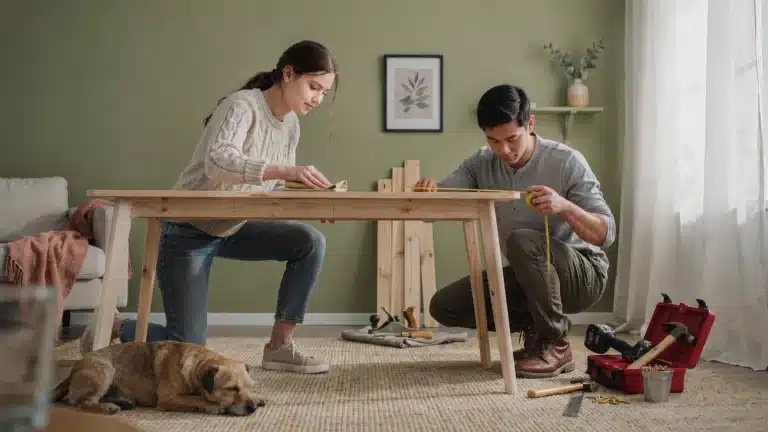
A DIY farmhouse table is one of the most popular woodworking projects for home builders right now. It looks great in almost any space and costs far less than buying one from a store.
This guide will walk you through building a sturdy, stylish farmhouse table from scratch, step by step. No prior woodworking experience is needed to get started.
Each section covers a specific part of the build, from cutting lumber to finishing the top. By the end, you will have a solid, handmade table ready for your home.
Gathering Supplies
Before starting your build, having the right tools and materials ready will save you a lot of time. Going through this list once before buying anything is always a good idea.
Tools:
- Miter Saw, Circular Saw, Jig Saw
- Drill/Driver, Pocket Hole Jig
- Clamps, Power Sander, Tape Measure, Speed Square
- Safety Gear: Glasses, Gloves
Materials:
- Lumber: 2x4s, 2x6s, 2x8s, 4×4 posts (depending on size)
- Screws: 3″, 2½″ Pocket Hole Screws
- Wood Glue
- Optional: Wood Filler, Paint/Stain, Polyurethane
How to Make a DIY Farmhouse Table?
Building a farmhouse table at home is simpler than it looks. With the right materials, basic tools, and a little patience, anyone can put together a solid, good-looking table.
Step 1: Preparing Your Workspace
A clean, level workspace makes the whole build process much easier. Clear out enough floor space to lay all your boards flat and move around freely without any trouble.
Before cutting anything, check each board for warping or bowing. A straight board is much easier to work with and gives you cleaner joints and a better final result.
Always measure twice before making any cut. This simple habit prevents wasted lumber and helps keep your entire build on track right from the very first step.
Step 2: Cutting and Preparing Lumber
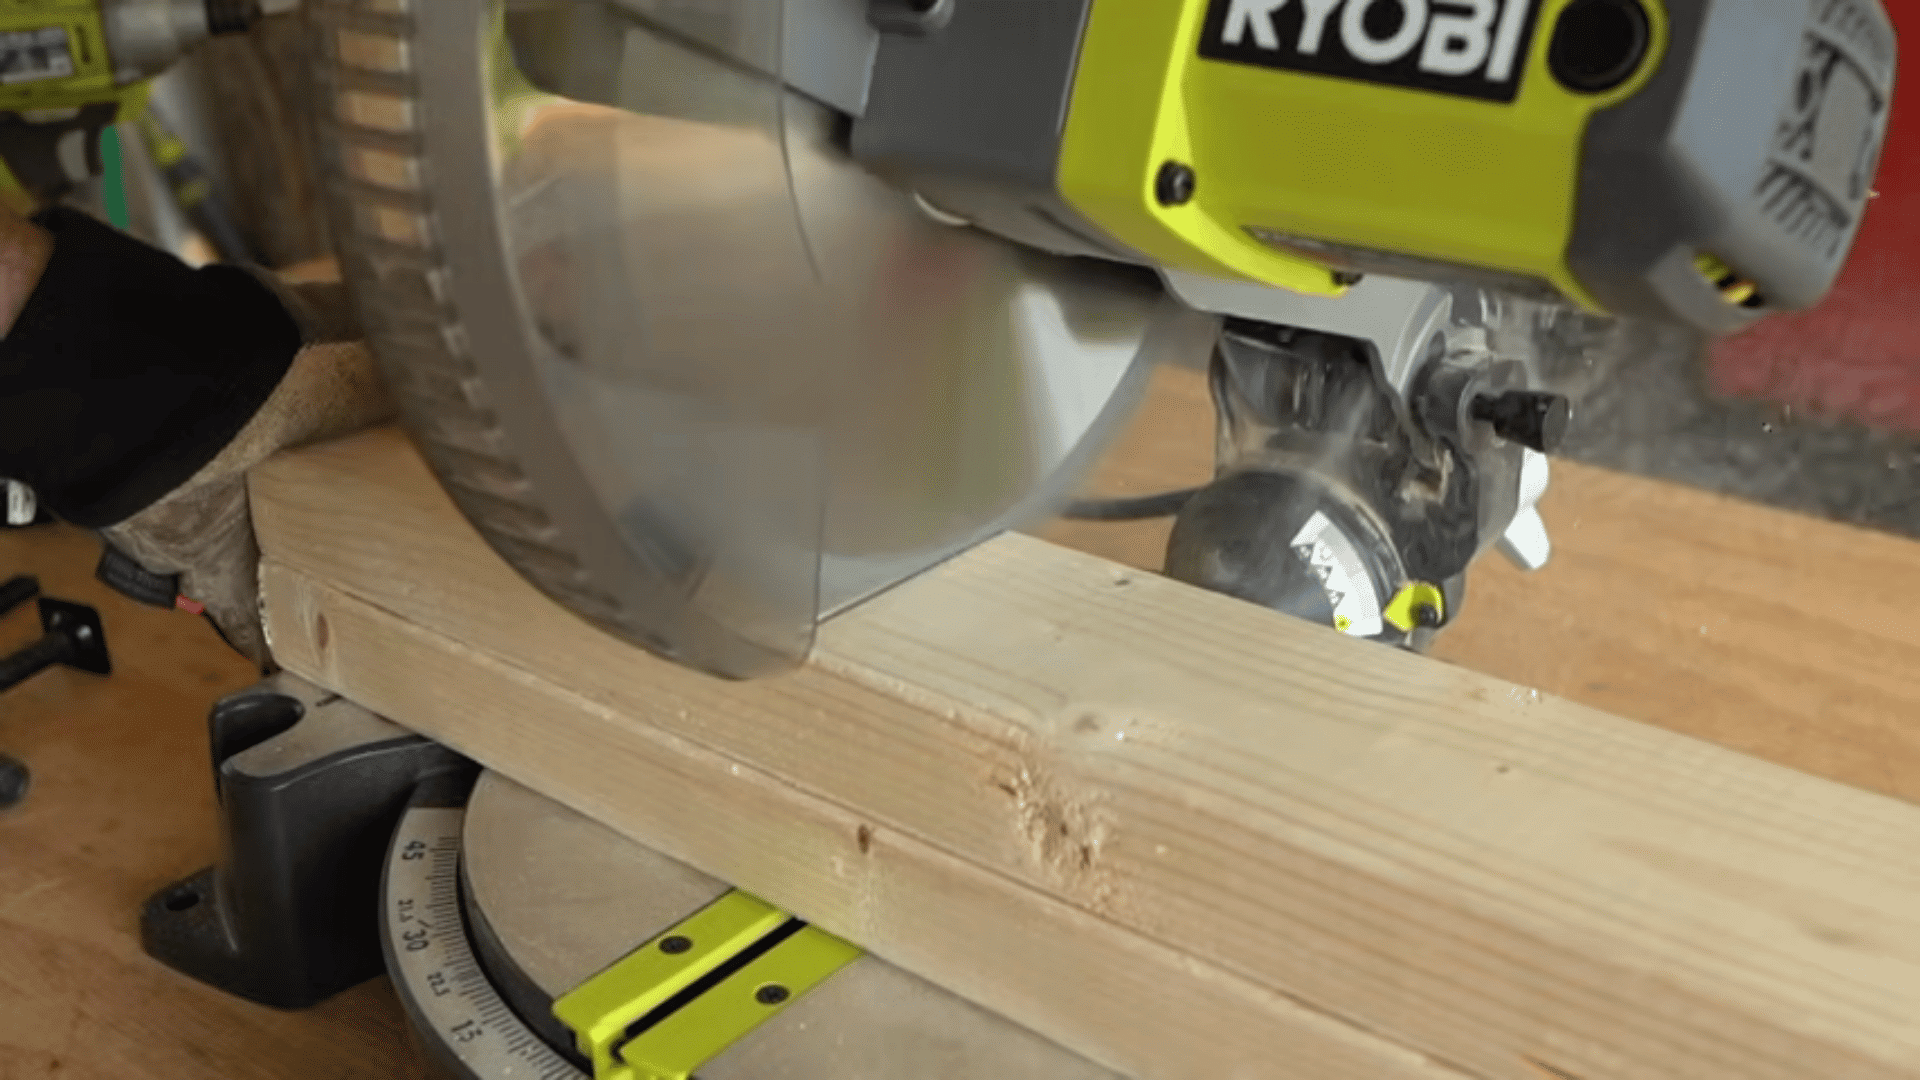
Getting your cuts right at this stage makes every step after it much easier. Take your time with each measurement and cut, since small errors here can affect how the whole table fits together.
| Piece | What to Do |
|---|---|
| Table Legs | Cut 4×4 posts down to 29 inches for a standard dining table height |
| Apron Pieces | Cut to the correct length based on your planned table dimensions |
| Stretcher Joints | Notch the ends if building with traditional joinery for a tighter fit |
| Edges and Surfaces | Sand all cut pieces smooth before moving on to assembly |
| Breadboard Ends | Measure and cut to match the final width of the assembled tabletop |
Beginner Tip: Always sand the edges and faces of each piece before assembly. It is much harder to sand tight corners and joints properly once everything is glued and screwed together.
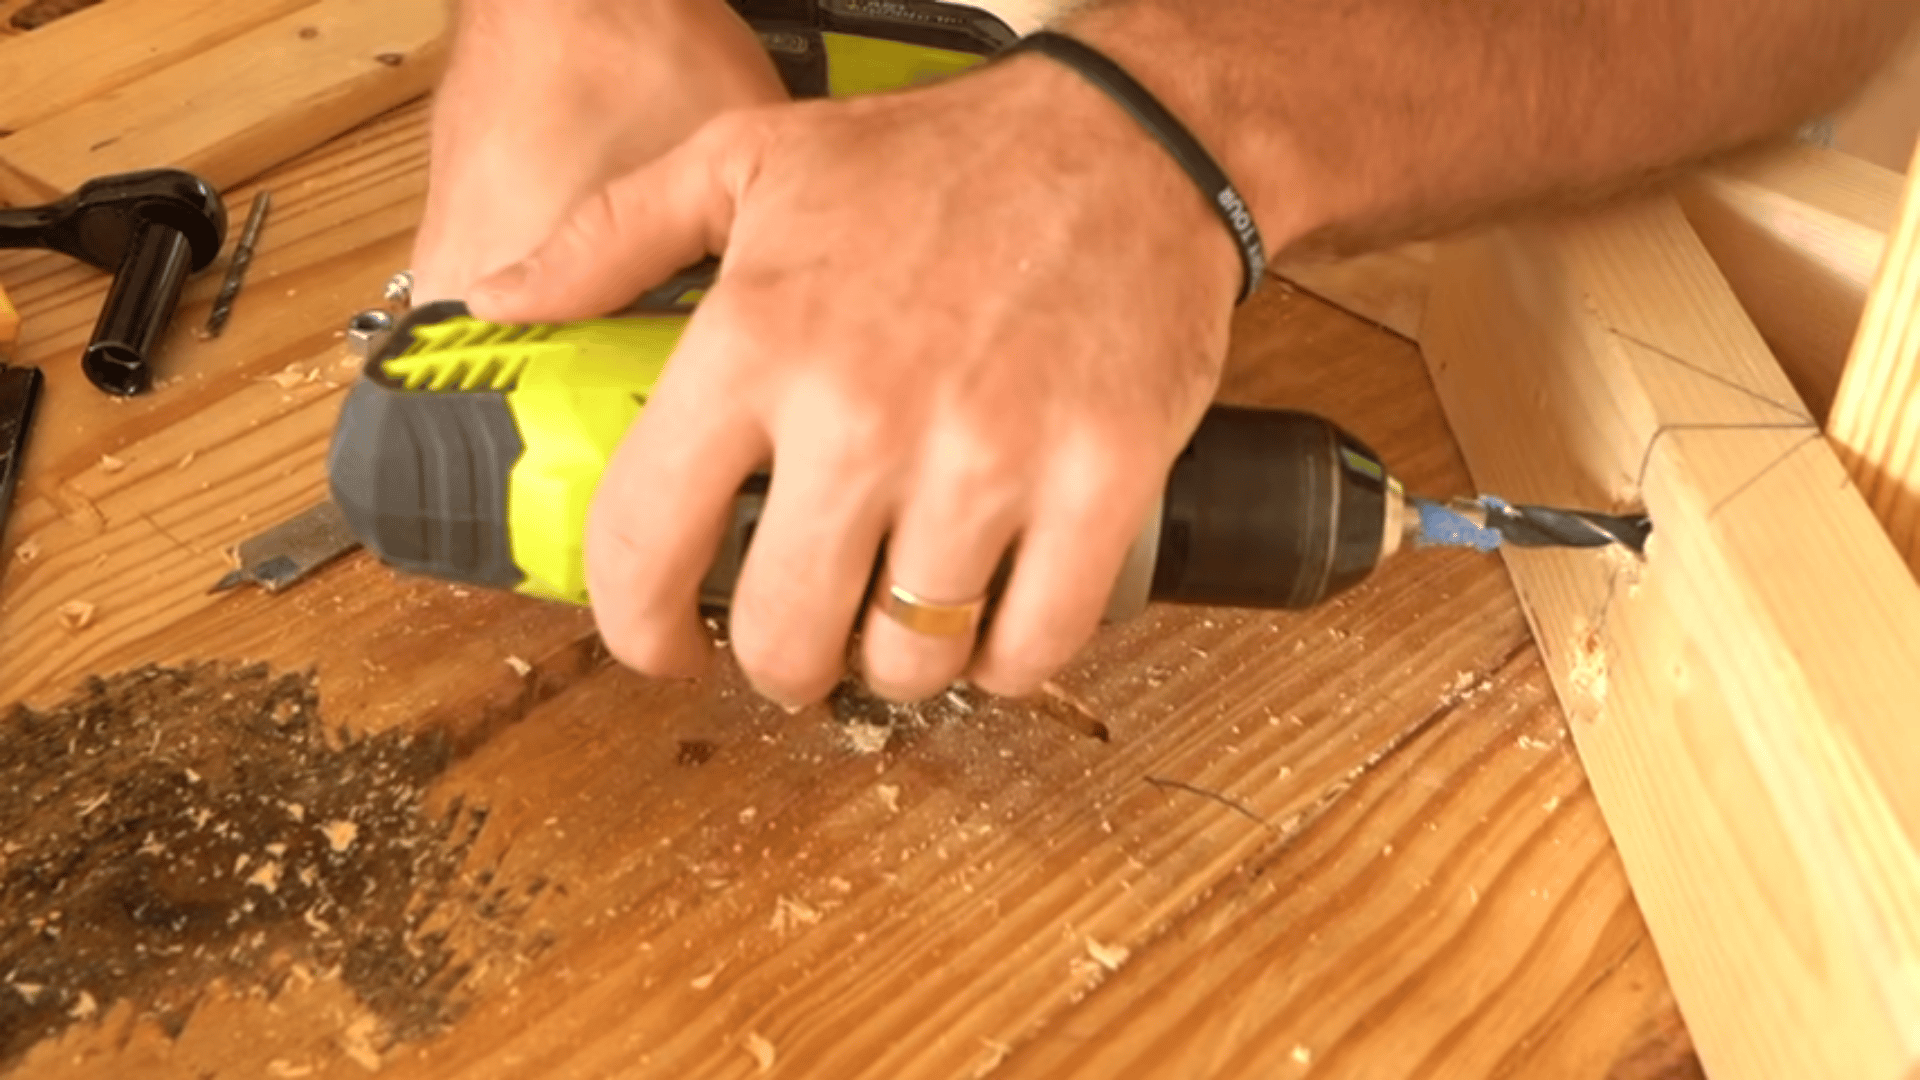
Step 3: Building the Table Base
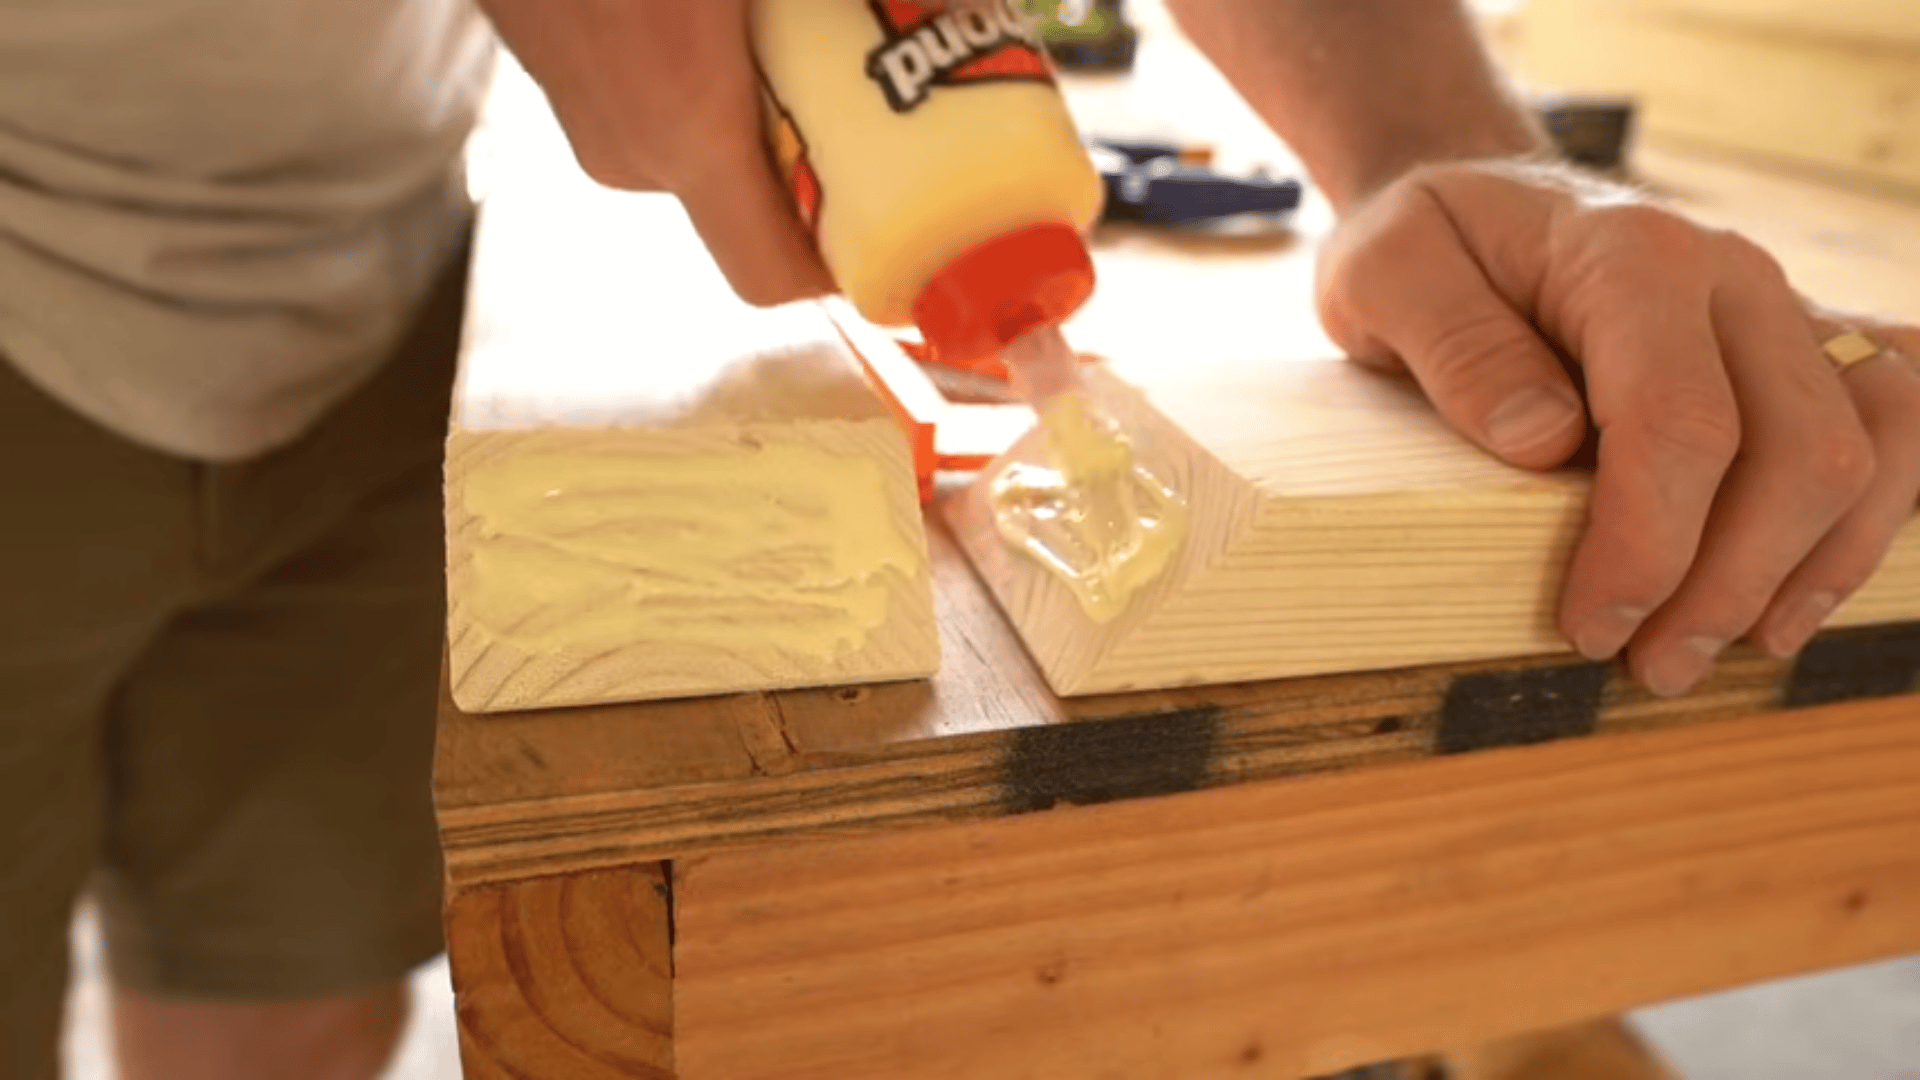
Start by putting the legs and stretchers together first. This creates the main frame and gives the entire base its core shape and strength before anything else is added.
- Attach the long aprons to connect both long sides of the leg frame together
- Attach the short aprons across both ends to complete the rectangular base structure
- Drive pocket hole screws through the aprons into the legs for clean, hidden fasteners
- Add corner and middle supports inside the base to keep everything stable and square
- Optional grooves where pieces meet, giving the base a more finished look.
Before You Attach the Tabletop: This is the best time to paint or stain your base. Working on the base separately is much easier than trying to finish it after the tabletop is already attached.
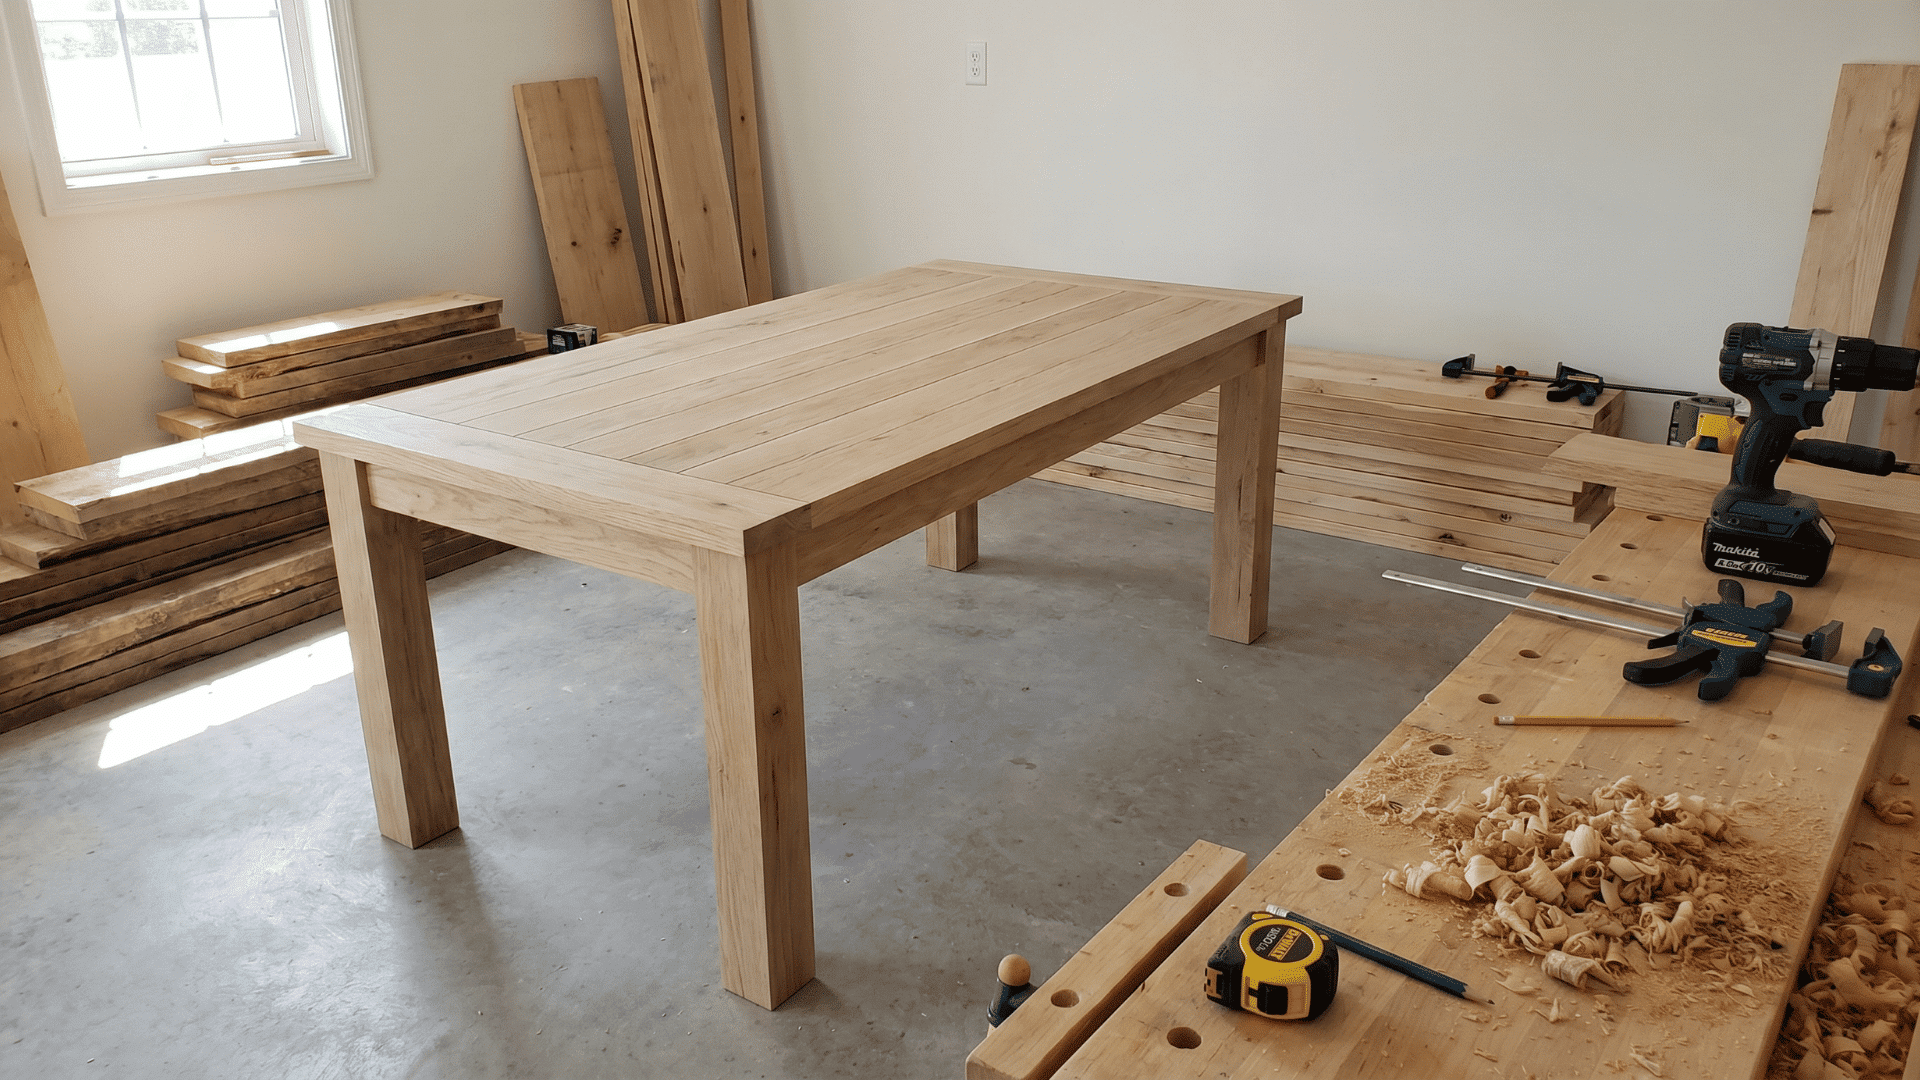
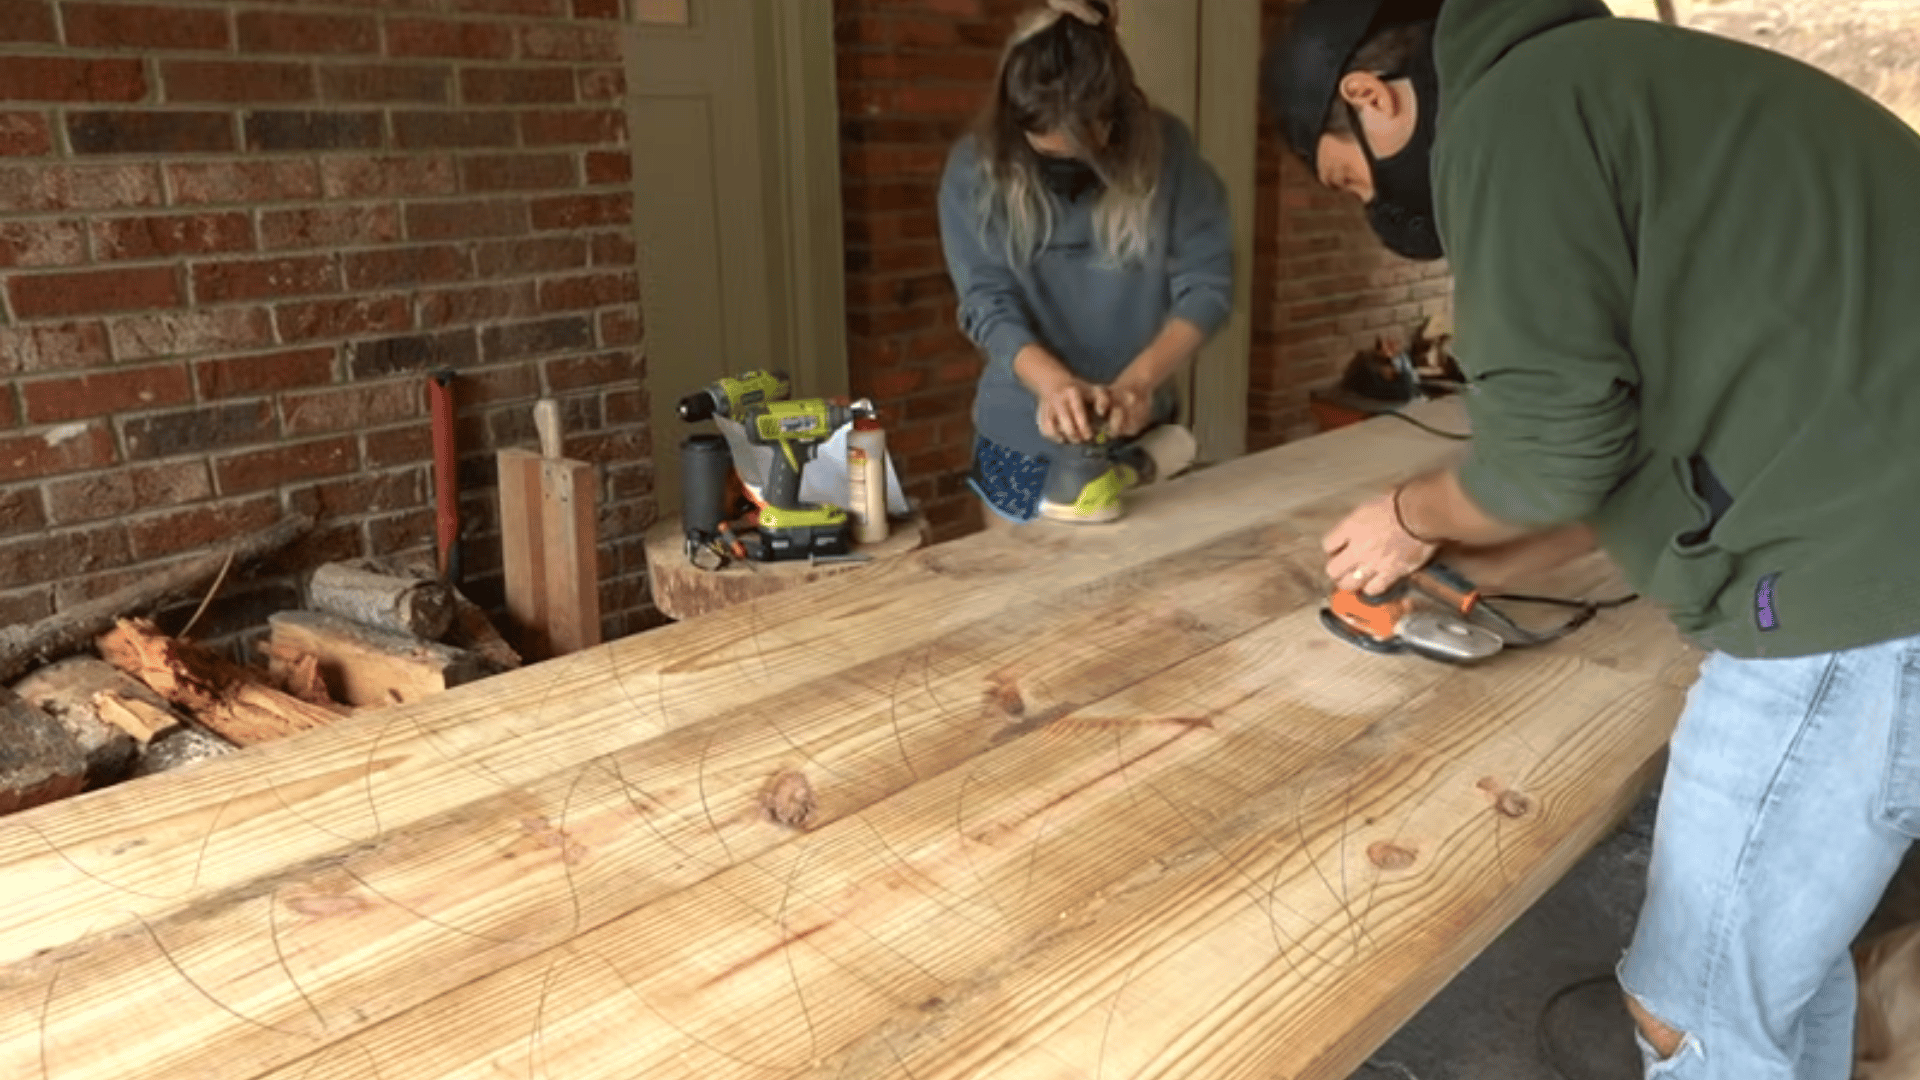
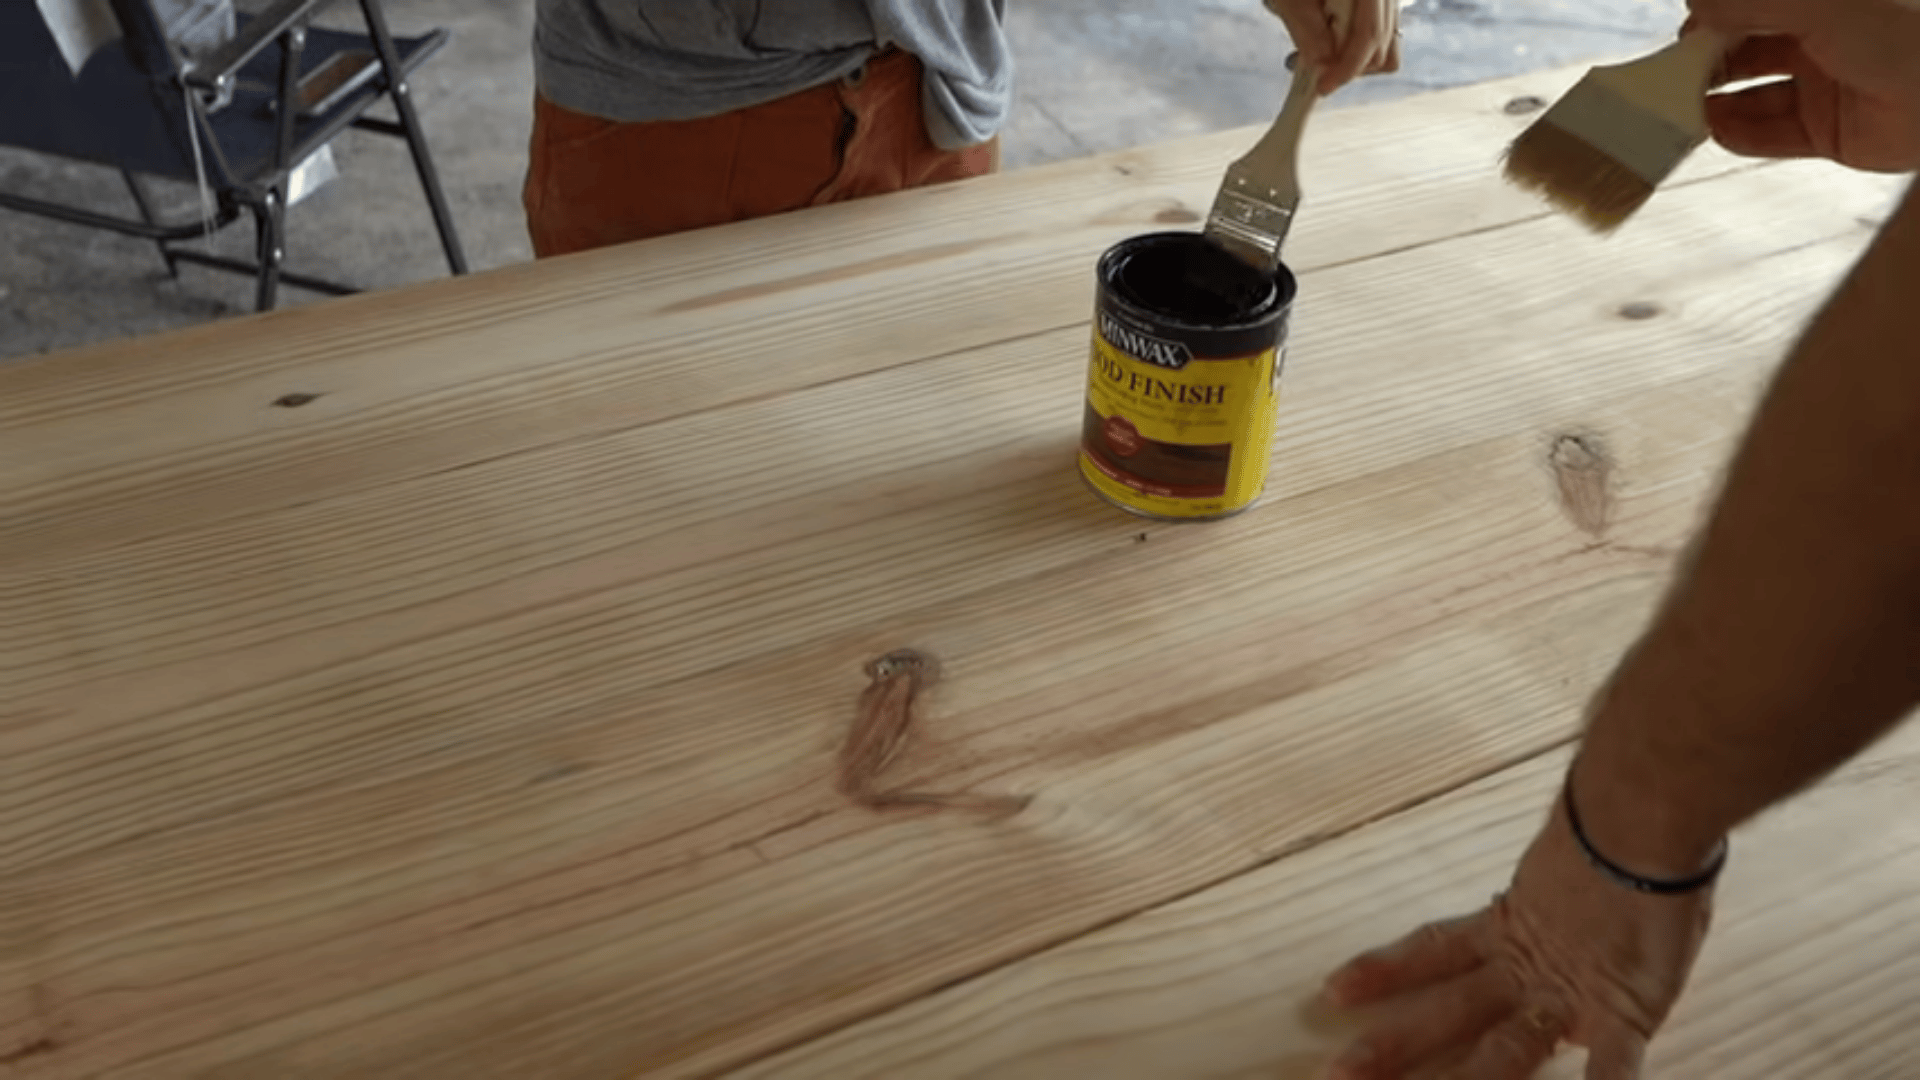
Step 4: Constructing the Tabletop

Pine is affordable and beginner-friendly, while hardwoods last longer. Square the edges, apply wood glue, press boards together one at a time, clamp firmly, and let dry overnight.
| Step | What to Do |
|---|---|
| Trim | Cut the glued top to its final dimensions using a circular saw |
| Sand | Start at 80 grit and work up to 220 grit for a smooth surface |
| Fill | Apply wood filler or epoxy to any knots or cracks and let it dry fully |
| Stain | Apply your chosen stain evenly and let it dry before moving to the next step |
| Seal | Finish with multiple coats of polycrylic or polyurethane for a lasting surface |
Quick Tip: Always sand lightly between sealant coats. This removes any bumps or dust particles and gives the final coat a much cleaner, smoother look.
Step 5: Attaching the Tabletop
Drill slotted holes into the base supports before placing the tabletop. These slots allow the wood to expand and contract naturally with changes in humidity without cracking or warping.
Set the tabletop onto the base and adjust it until the overhang looks even on all four sides. Take your time here since small adjustments now make a big difference later.
Drive screws and washers through the slotted holes to lock the tabletop in place. Once secured, check that the surface sits level and the base feels completely stable before moving on.
Step 6: Finishing Touches
The last few steps are what separate a good table from a great one. Take your time here and the final result will look clean, polished, and well worth the effort.
| Action | Why It Matters |
|---|---|
| Sand lightly and wipe away all dust | Prepares the surface for clean, even coats of paint or stain |
| Add cork or felt pads under each leg | Protects floors from scratches and stops the table from sliding |
| Apply thin coats of paint or stain | Dries more evenly and is far less likely to drip or streak |
Pro Tip: For the smoothest possible surface, apply a coat of wood conditioner before staining. This helps the stain absorb evenly, especially on softer woods like pine that tend to blotch easily.
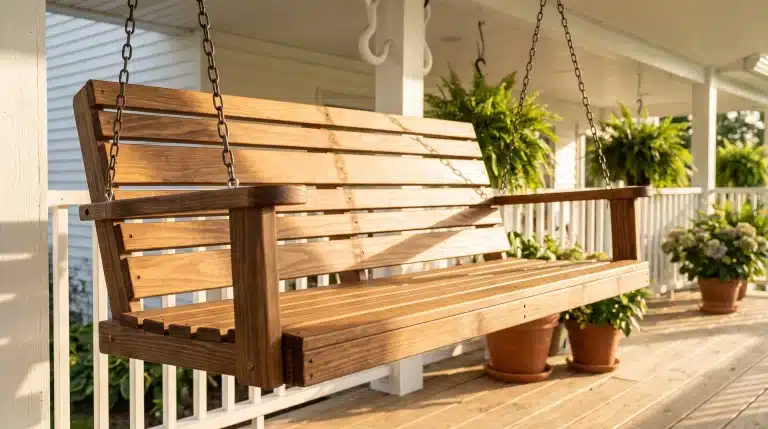
Step 7: Customizations and Variations
One of the best things about building your own table is the freedom to make it exactly how you want. These options let you adjust the design to fit your space and style.
- Table Size: adjust board widths and lengths to fit your available space
- Leg Style: choose turned legs, simple 4×4 posts, or modern metal legs
- Finish Style: go rustic with stain, modern with paint, or try a two-tone design
- Outdoor Use: use weather-resistant lumber and apply a waterproof sealant throughout
Cedar and redwood are naturally resistant to moisture and insects, making them solid choices for outdoor builds. Both woods also take stain well and age nicely without much maintenance.
For a helpful visual tutorial, see this video by Justin and Jess DIY, which offers a clear and easy-to-follow demonstration to enhance your understanding.
Tips for Success
These small habits make a big difference in how your finished table looks and holds together.
Keeping them in mind throughout the build will save you time and prevent common mistakes.
| Tip | Why It Helps |
|---|---|
| Pre-drill holes before driving screws | Prevents wood from splitting and keeps screws sitting flush |
| Use pocket hole joinery | Keeps fasteners out of sight for a much cleaner finished look |
| Test fit pieces before gluing | Lets you catch sizing problems early before they become permanent |
| Allow full drying time for glue and finishes | Rushing this step leads to weak joints and uneven surface coats |
| Watch tutorial videos for tricky steps | Seeing the process in action makes difficult steps much easier to follow |
Final Verdict
Building a diy farmhouse table from scratch is well within reach for any beginner. The right wood, basic tools, and patience are all it takes.
A handmade table does more than fill a room. It is built to your exact size, finished your way, and made to last for years.
Now you know what it takes to plan, cut, build, and finish a solid table from the ground up. Take it one step at a time and the results will follow.
Got questions or ideas to share? Drop them in the comments below and let others know what worked, what you changed, or what you would do differently.
Frequently Asked Questions
How Much Does It Cost to Build a Diy Farmhouse Table?
Most builds cost between $100 and $300 depending on wood choice. Pine keeps costs low, while hardwoods like oak can push material costs significantly higher.
How Long Does It Take to Build a Farmhouse Table from Scratch?
Assembly usually takes one to two days. Add another day or two for staining, sealing, and allowing all finishes to dry fully before use.
Can a Complete Beginner Build a Farmhouse Table without Prior Woodworking Experience?
Yes. Farmhouse tables use basic cuts and simple pocket hole joinery. With the right tools and careful measuring, a first-time builder can complete one in a weekend.