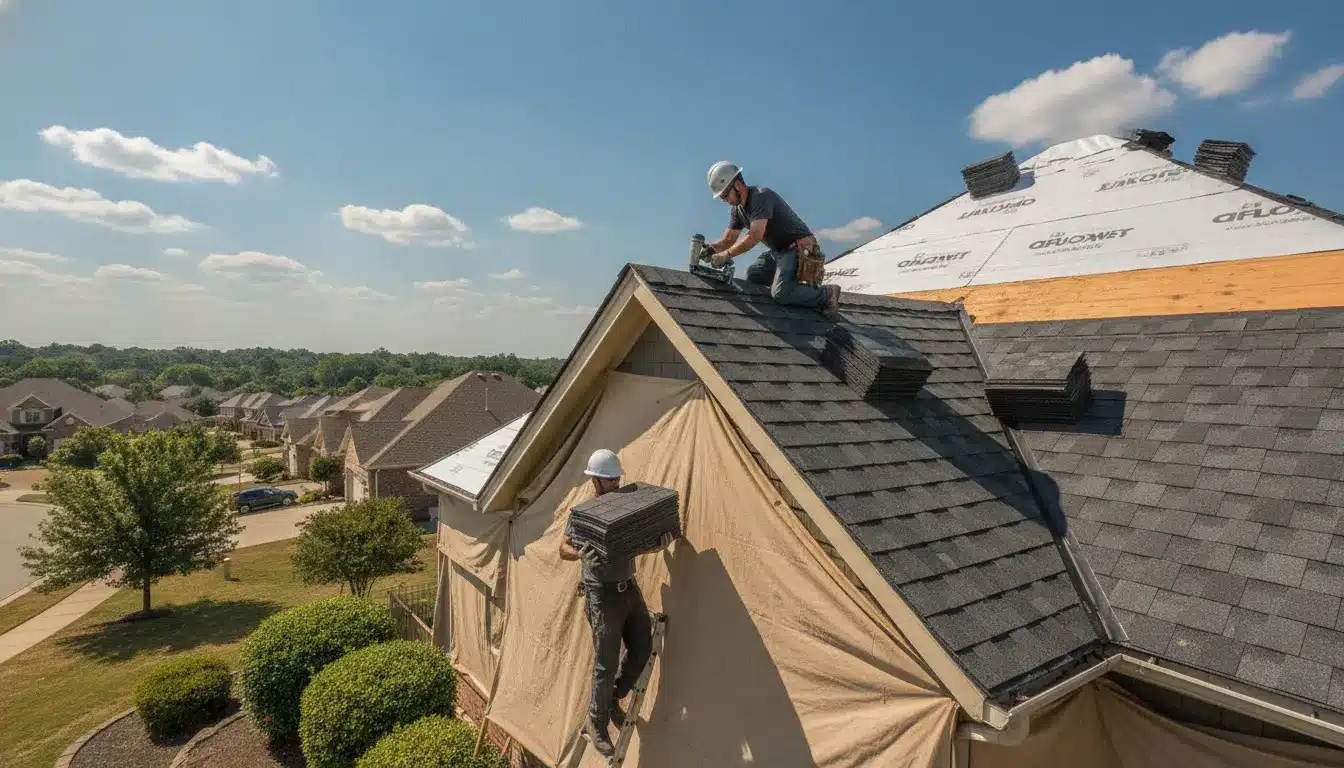
What to Expect During a Professional Roof Installation Project

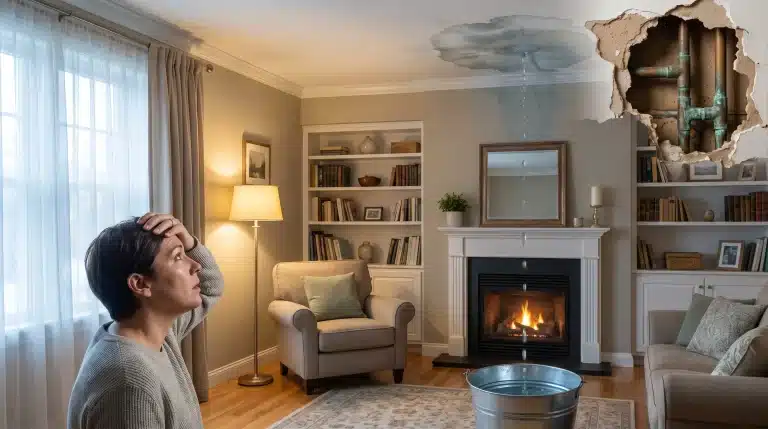
For most property owners, a roof replacement is a once-in-a-generation project. Imagine a homeowner stepping into their driveway and noticing curling shingle edges along the roofline or spotting a growing collection of mineral granules pooling at the base of their gutter downspouts. These subtle indicators often signal that the underlying materials have reached the end of their functional lifespan.
Deciding to move forward with a complete replacement can feel daunting. The sheer scale of the construction, the logistical coordination, and the temporary disruption to daily life can cause significant hesitation. However, understanding the exact timeline and structural steps of the replacement turns a complex construction event into a manageable property upgrade.
Knowing what happens before, during, and after the project helps homeowners make informed choices and ensures a smooth transformation that protects their capital investment for decades.
Tracking the Roots of Roof Deterioration
Roofs degrade through a combination of daily environmental exposure and sudden severe weather events. Understanding why materials break down highlights the importance of taking timely action before minor damage becomes an emergency.
The primary catalyst for structural deterioration is long-term solar radiation. Ultraviolet rays dry out the protective oils in asphalt shingles, causing the material to become brittle and crack. This daily weathering is accelerated by thermal cycling, where intense daytime heat expands the roof structure and cool evening temperatures contract it. Over a decade or more, this continuous movement weakens joints, breaks sealants, and loosens fasteners.
When severe weather strikes, high winds can catch loose shingle tabs, leading to wind uplift that shears the material from the deck. Hail impacts also cause hidden fractures in the underlying fiberglass reinforcement mat. While localized problems can often be managed with prompt spot repairs, widespread material failure requires renewing the entire moisture-shedding envelope to prevent structural wood rot and mold in living spaces.
The Crossroads: Repair vs. Replacement Considerations
Determining whether to invest in targeted repairs or a complete system replacement requires a logical evaluation of the roof’s history, age, and physical condition. Property owners must weigh the upfront cost against the long-term value of a secure structure.
If a roofing system is less than twelve years old and the damage is confined to a single slope, localized repair services can successfully restore the barrier. However, if structural wear affects more than twenty percent of the surface area, patching individual sections often becomes an inefficient game of catch-up.
A professional assessment can determine the extent of damage and clarify your structural options, a methodology favored by Storm Guard Roofing & Construction to prevent unneeded property expenses.
| Property Assessment Factor | Indicators for Targeted Repair | Indicators for Full Installation |
|---|---|---|
| Material Age | The system is well within its target lifespan | Materials are approaching or exceeding 20 years |
| Damage Scope | Isolated wind tears or missing shingles | Systemic curling, splitting, and bare spots |
| Structural Integrity | The roof deck beneath is dry and stable | Plywood shows deflection, sagging, or rot |
| Leak History | A single, easily traceable flashing leak | Multiple recurring leaks across separate rooms |
The Step-by-Step Roof Installation Process
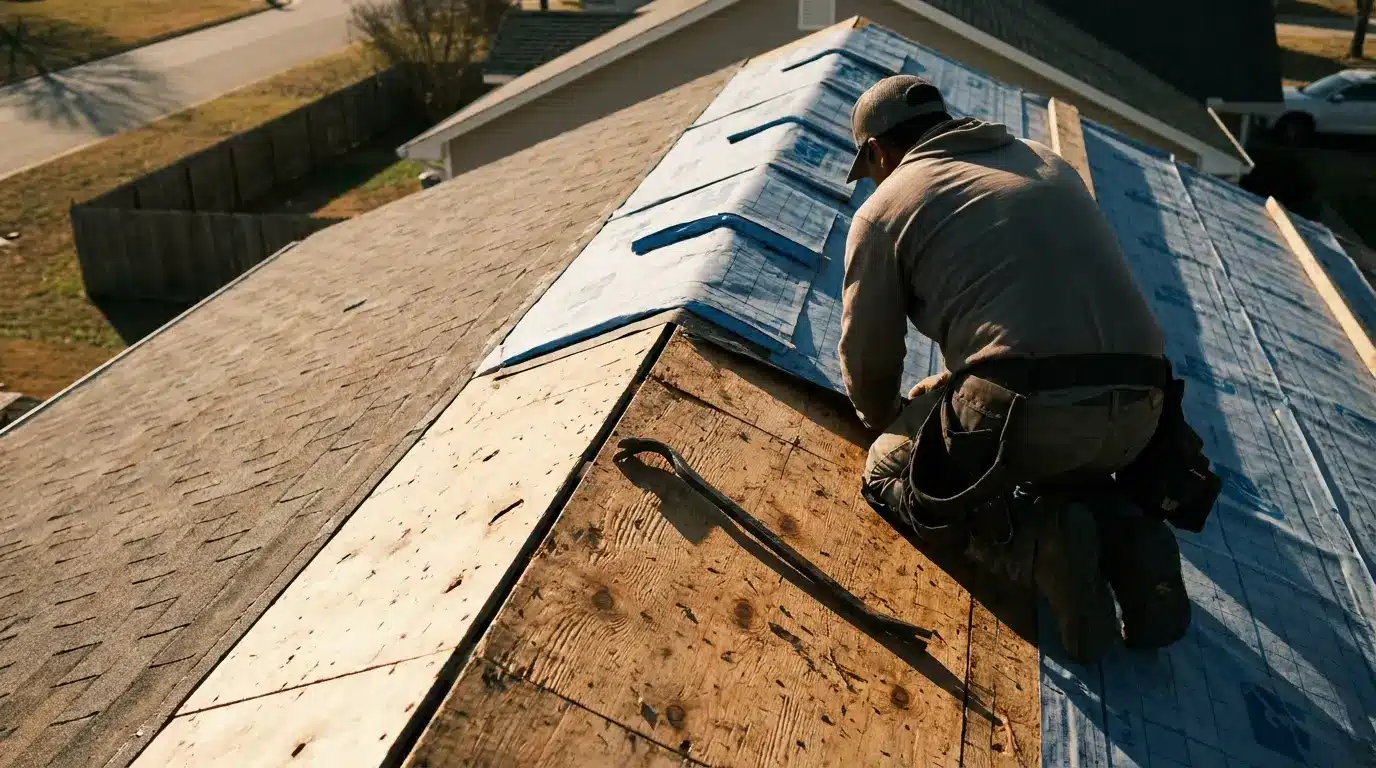
Once you choose a complete replacement, the project moves through a structured framework designed to ensure structural integrity and safety. Storm Guard’s local teams help homeowners understand their roofing and exterior restoration options by detailing every stage of this installation workflow.
Phase 1: Property Preparation and Protection
Before a single tool is lifted, the installation crew secures the perimeter of the home. Technicians drop heavy canvas tarps over landscaping, prize shrubs, and delicate flowerbeds. They place protective plywood sheets over air conditioning condensers and windows to shield them from falling debris. The team also designates a specific parking zone for the waste containers to ensure old materials can be discarded efficiently without damaging the driveway.
Phase 2: The Complete System Tear-Off
A common mistake made by inexperienced crews is leaving old felt or shingles in place. A professional installation requires stripping the roof completely down to the bare wooden deck. Removing the old layers is essential because it allows technicians to inspect the structural deck for hidden water damage, soft spots, and sagging rafters. Any rotted or unstable plywood sheets are cut out and replaced with fresh wood to establish a flat, structurally sound foundation.
Phase 3: Laying the Protective Sub-Layers
With the deck secured, the crew installs the primary defense mechanisms. They lay an ice and water shield directly along the eaves, valleys, and rafter intersections. This self-adhering waterproof barrier stops water from backing up under shingles during winter freeze cycles or heavy rains. Next, the team rolls out premium synthetic underlayment across the remaining deck expanse, replacing traditional organic felt with a highly durable, tear-resistant moisture barrier.
Phase 4: Flashing Integration and Material Application
The crew then addresses the most vulnerable areas of the structure: the valleys, walls, and pipe penetrations. Technicians install heavy-gauge metal flashing around chimneys, dormers, and ventilation stacks to ensure rushing water is safely directed into the drainage paths. Following flashing setup, the installation of the primary roofing material begins. Shingles are secured using precise, manufacturer-recommended fastening patterns to maximize wind resistance and preserve long-term product warranties.
Phase 5: Cleanup and Final Inspection
The final stage of the project focuses on site restoration and quality control. Crews use high-powered magnetic sweepers to collect stray nails from lawns, walkways, and landscaping beds. They clear all construction debris from the gutters and execute a comprehensive final walkthrough. The lead technician verifies that the attic ventilation systems are completely unobstructed, ensuring balanced airflow that prevents heat and moisture from trapping inside the structure over time.
Seasonal Maintenance Tips to Protect Your New Asset
Investing in professional roof installation services provides a durable shield for your property, but long-term performance relies on simple, routine seasonal care. Property owners can maximize their system’s lifespan by following a few proactive guidelines each year.
- Clear Valley and Gutter Debris: Clean out fallen leaves, twigs, and organic matter every autumn to ensure water flows freely away from the structure.
- Monitor Attic Air Ventilation: Check that your soffit and intake vents are completely clear of insulation, dust, or pest nests to maintain a stable attic temperature.
- Trim Encroaching Tree Branches: Keep overhanging limbs cut back at least ten feet from the roof surface to eliminate scraping damage and prevent rodent access.
Preserving Long-Term Property Health
A roof installation is an essential investment that protects your property’s value, your family’s safety, and operational continuity. By treating your roof as a coordinated system of flashing, underlayment, and shingles, you achieve lasting protection against unpredictable weather. Relying on professional expertise provides absolute clarity, turning a massive home project into an orderly, successful upgrade.
To learn more about modern construction standards and structural care, explore dedicated educational resources on residential exterior management. Learn more about roof installation services and how credentialed installations preserve your home’s interior for the future.
Frequently Asked Questions
1. How long does a professional roof installation project typically take to finish?
Most residential roof installations are completed within one to three days, depending on the property’s size, roof pitch complexity, and weather conditions. Widespread structural deck repair can occasionally extend this timeline by an additional day.
2. What steps should I take to prepare my home interior before the installation crew arrives?
Because the tear-off and nailing processes create significant structural vibrations, homeowners should remove fragile items from top-floor walls and shelves. It is also wise to park family vehicles down the street to keep the driveway clear for deliveries of materials and waste containers.
3. Why is it necessary to tear off the old shingles rather than roofing over them?
Tearing off old materials is critical because it allows technicians to inspect the underlying wood deck for hidden rot, mold, and structural sagging. A roof-over hides these flaws, adds excessive weight to the rafters, and can void your manufacturer’s material warranty.
4. How does a new roof system improve a home’s monthly energy efficiency?
A new system improves efficiency by replacing worn, compressed underlayment and integrating modern, balanced attic ventilation. This allows airflow to naturally remove trapped solar heat during the summer months, reducing the cooling load on your interior HVAC system.
5. What should be done if structural wood rot is found during the tear-off phase?
When wood rot or water damage is found, the damaged section of plywood decking must be cut out and replaced with new, structurally sound sheets of plywood. This ensures the new shingles have a stable, secure surface for proper nail retention.