What Really Happens During a Home Water Softener Installation

Hard water leaves clear signs around a house: mineral crust on fixtures, dull glassware, dry-feeling skin, and laundry that feels rough after washing. A softener treats the issue near the entry point, before minerals reach taps, heaters, valves, and appliances. The work requires more than setting the equipment beside a pipe. A qualified installer checks water chemistry, pressure, drainage, space, and household demand before making permanent connections.
Initial Check
Before water softener installation begins, the technician tests the water’s hardness, locates the main line, and confirms where the treated supply should enter. This early review protects household fixtures, the water heater, the washing machine, and piping from scale accumulation. It also guides system size, so cleaning cycles use the appropriate amount of salt and controlled discharge instead of guesswork.
Choosing the Location
Placement affects service life and daily use. Most units belong near the main entry line, often in a garage, basement, utility room, or mechanical space. The area must have enough room for the resin tank, brine container, bypass valve, and salt access. A nearby drain matters as well, since the system needs a discharge route during its cleaning cycle.
Shutting Off the Supply
The installer closes the main valve before opening any pipe. Nearby faucets may run briefly to relieve pressure and clear standing water from lines. That step keeps the work area controlled and reduces spray. Older shutoff valves sometimes leak or fail to seal fully, so a careful technician checks their condition before cutting into existing plumbing.
Pipe Connections
Once the line is safe to open, the installer adds fittings that direct the cold supply through the softener. A bypass valve usually sits at the unit. That part allows service or repair without shutting off water to every fixture in the house. Materials may include copper, cross-linked polyethylene, chlorinated polyvinyl chloride, or approved connectors, depending on code and pipe type.
Drain Setup
A softener must flush captured minerals from resin beads during regeneration. That rinse moves through a drain line, which needs firm support and an approved air gap. The gap reduces backflow risk and helps protect household plumbing. Poor drain placement can lead to leaks, odors, or failed inspection, even if every other connection looks sound.
Brine Tank Prep
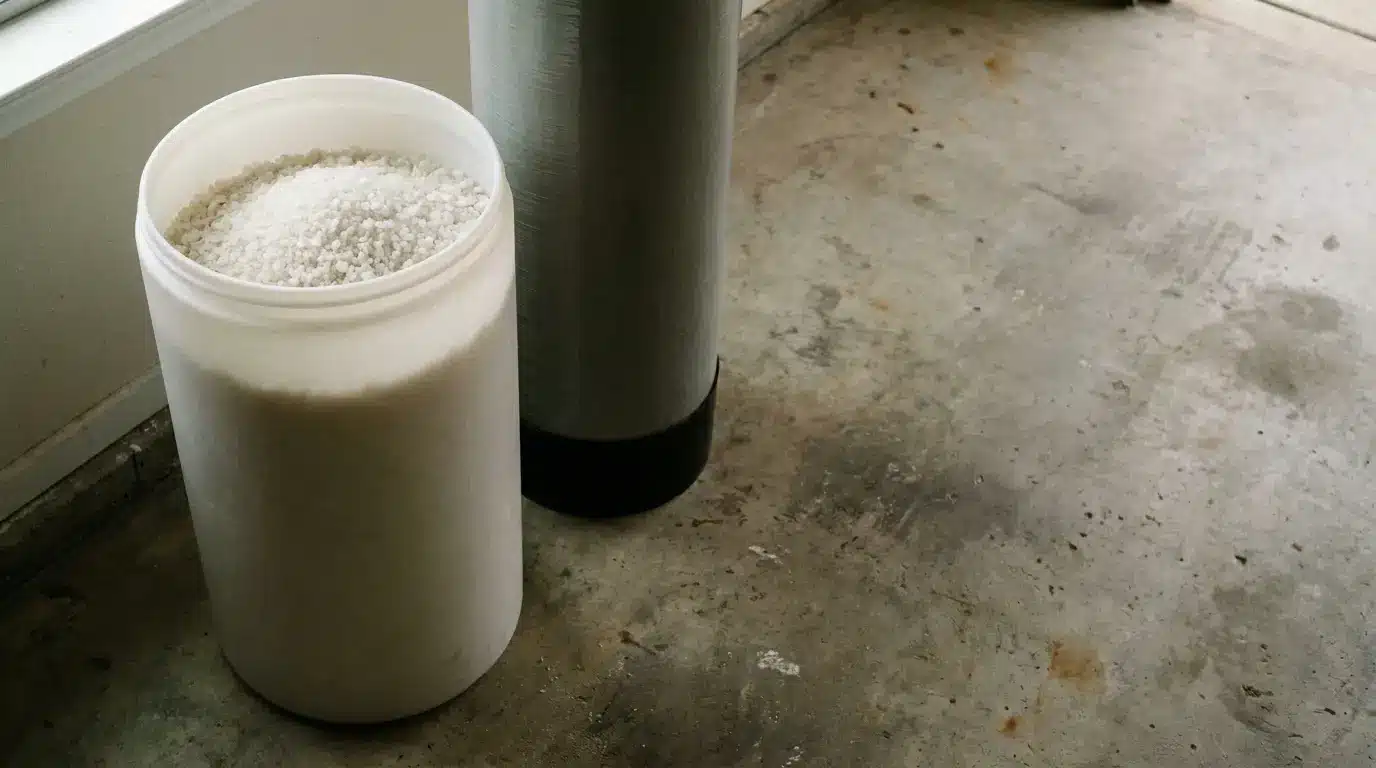
The brine tank holds salt and the measured amount of water used to clean the resin bed. After positioning it, the technician connects the brine line and checks the float assembly. Salt is added near the end of setup, with enough water for the first cycle. The container should remain easy to reach because regular refilling is part of routine maintenance.
Programming the Valve
The control valve needs accurate settings before the system enters normal service. The technician enters the hardness level, household size, regeneration time, and sometimes the iron content. Demand-based models respond to actual usage. Timer-based units run on a set schedule. Correct programming protects the softened water supply during busy periods and limits excess salt use between cleaning cycles.
First System Cycle
After plumbing is complete, water pressure returns slowly. A gradual start helps protect new joints and gives trapped air a path out through open fixtures. The installer may begin a manual regeneration to rinse the resin media, fill the brine tank, and confirm flow. Any discoloration, sputtering, or pressure change should be checked before the visit ends.
Leak and Flow Review
Every new joint deserves inspection while the system runs. The technician watches fittings, bypass position, drain discharge, and brine movement. Fixture pressure should feel steady across the house. If flow drops, valves may need adjustment, or a restriction may be present. This review helps catch small defects before moisture reaches flooring, cabinets, or wall cavities.
What Homeowners Notice
Changes usually appear through routine tasks. Soap lathers more easily and rinses away with less residue. Glassware can become clearer after several dishwasher cycles. Scale around faucets may build up more slowly, although older mineral deposits still need cleaning. Skin and hair may feel different because calcium and magnesium no longer interfere with cleansing products in the same way.
Basic Care
Care remains simple when the unit is accessible. Salt levels should be checked every few weeks and refilled before the tank runs low. The brine container may need occasional cleaning if residue collects at the bottom. Follow-up hardness testing can confirm that the system is performing properly. Homes with iron, sediment, or unusual chemistry may require added filtration before softening.
Conclusion
A home water softener installation follows a practical order: testing, placement, pipework, drain routing, programming, startup, and final review. Each step affects efficiency, safety, and long-term performance. Proper sizing and careful setup help the system protect plumbing, fixtures, appliances, laundry, and dishes from mineral buildup. Once running, it works quietly in the background, making daily household tasks feel cleaner and more predictable.