How to Clean a Chimney and Remove Creosote (Easy Steps)
Most people only think about chimney cleaning after something goes wrong. Knowing how to clean a chimney before problems appear is what keeps your fireplace safe and reliable.
Buildup inside the flue starts accumulating from the very first fire and grows silently with every use. The right tools, a clear process, and basic safety steps are all it takes.
Here you’ll find everything needed to complete the job correctly, from gathering tools and preparing the fireplace to brushing the flue and doing a final inspection.
Read through each section once before picking up a brush. Having a clear picture of the full process makes every step feel more manageable and far less stressful.
Why Cleaning Your Chimney Is Important?
Every time you burn wood in your fireplace, it leaves behind soot and creosote inside the flue. These substances stick to the inner walls and build up over time.
Creosote is highly flammable. Even a thin layer inside the chimney can raise the risk of a chimney fire, which can spread quickly and cause serious damage to your home.
Heavy buildup does not just create a fire hazard. It can also block airflow inside the flue, causing smoke to back up into your living space instead of going out.
Most chimneys need to be cleaned at least once a year. If you use your fireplace often during winter, cleaning it before the season starts is a smart habit.
Quick Rule to Remember: Check the inside of your flue regularly. If the buildup looks to be around 1/8 inch thick or more, it is time to clean the chimney before your next use.
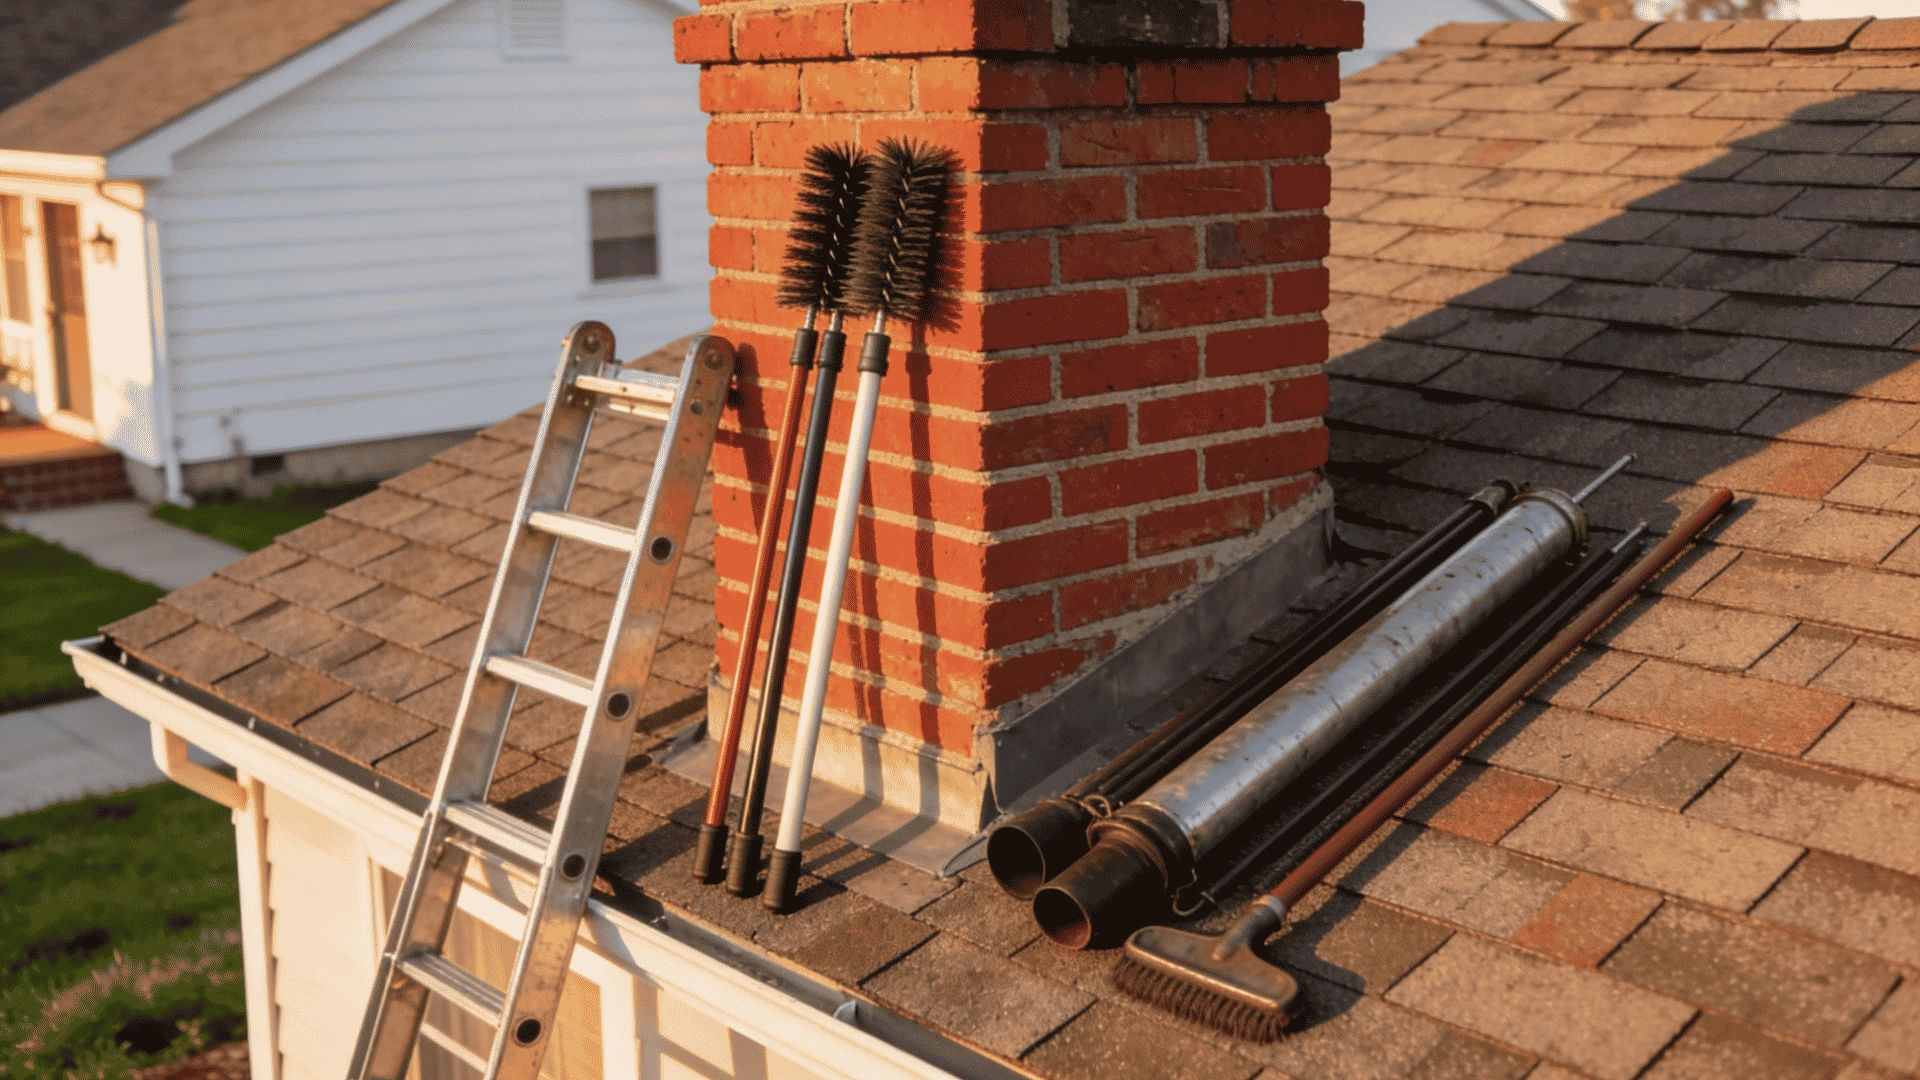
Tools and Safety Gear You Need
| Tool / Gear | Purpose |
|---|---|
| Chimney brush (correct size) | Scrubs soot and creosote off flue walls |
| Wire brush | For masonry chimneys |
| Nylon or polypropylene brush | For metal liners to prevent scratching |
| Extension rods | Extends brush reach through full flue length |
| Shop vacuum (HEPA or fine dust filter) | Cleans up fine soot safely |
| Plastic sheeting and drop cloths | Protects floors and furniture from soot |
| Duct tape | Seals plastic sheeting in place |
| Flashlight | Helps inspect inside the flue |
| Gloves, goggles, and respirator | Protects hands, eyes, and lungs |
Important: Brush Size Matters A brush that is too small will miss buildup along the flue walls. One that is too large can scrape and damage the liner. Always check your flue dimensions before buying.
When accessing the roof, use a sturdy ladder placed on level ground. Always have someone nearby to hold it steady and assist if needed.
Prepare the Fireplace Before Cleaning
Before touching anything, make sure the fireplace is fully cooled and the area around it is protected. Proper preparation prevents soot from spreading across your home.
Before you start:
- Wait at least 24 hours after your last fire before beginning any cleaning
- Remove all logs, ash, and fireplace accessories from the firebox
- Open or take out the damper if possible to give the brush clear access
- Cover nearby floors and furniture with tarps or drop cloths
- Seal the fireplace opening completely with plastic sheeting and duct tape
- Leave a small gap in the plastic if you need to run a vacuum hose inside
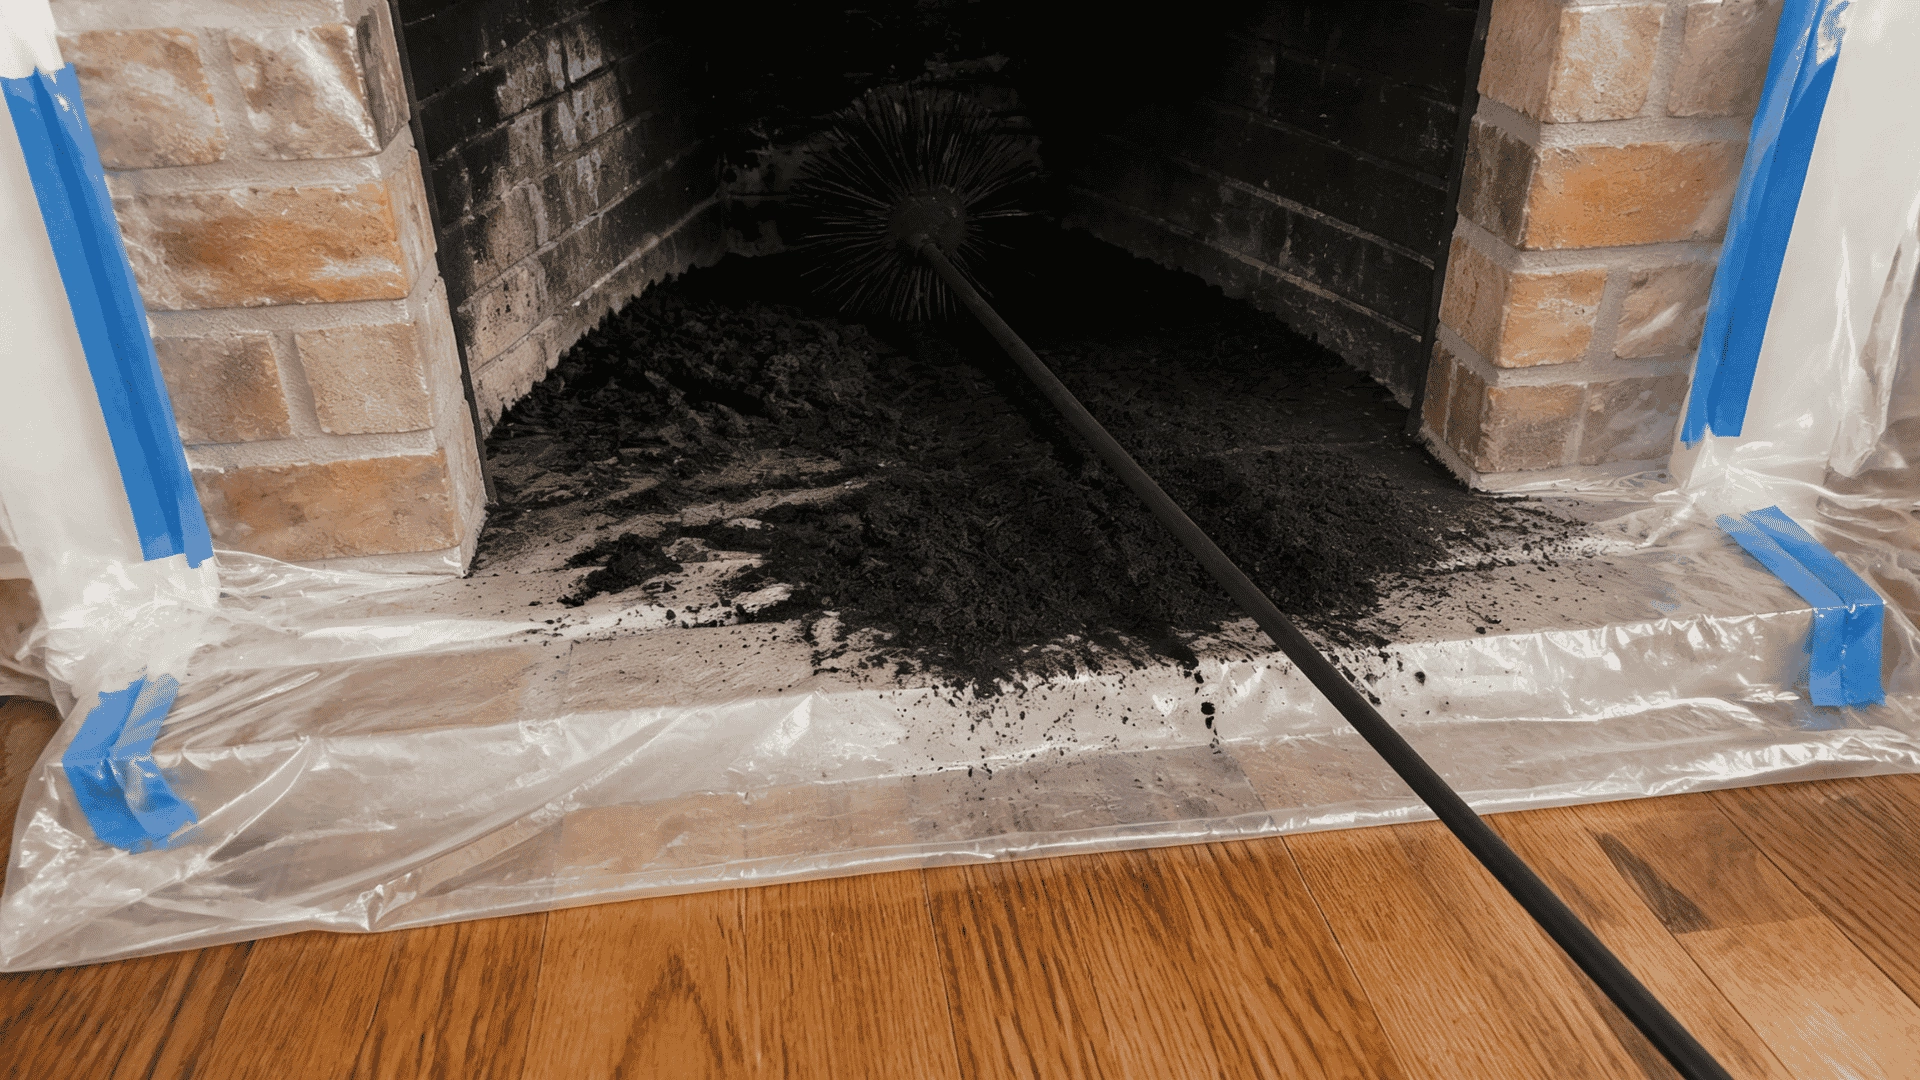
- Sealing the fireplace opening is important because it contains airborne soot inside the firebox while you brush from above. If the seal has gaps or loose edges, fine soot will escape and settle across the entire room.
Step-by-Step Chimney Cleaning Process
Follow these steps in order for a safe and complete chimney cleaning. Each step builds on the previous one, so skipping ahead can lead to extra mess or missed buildup.
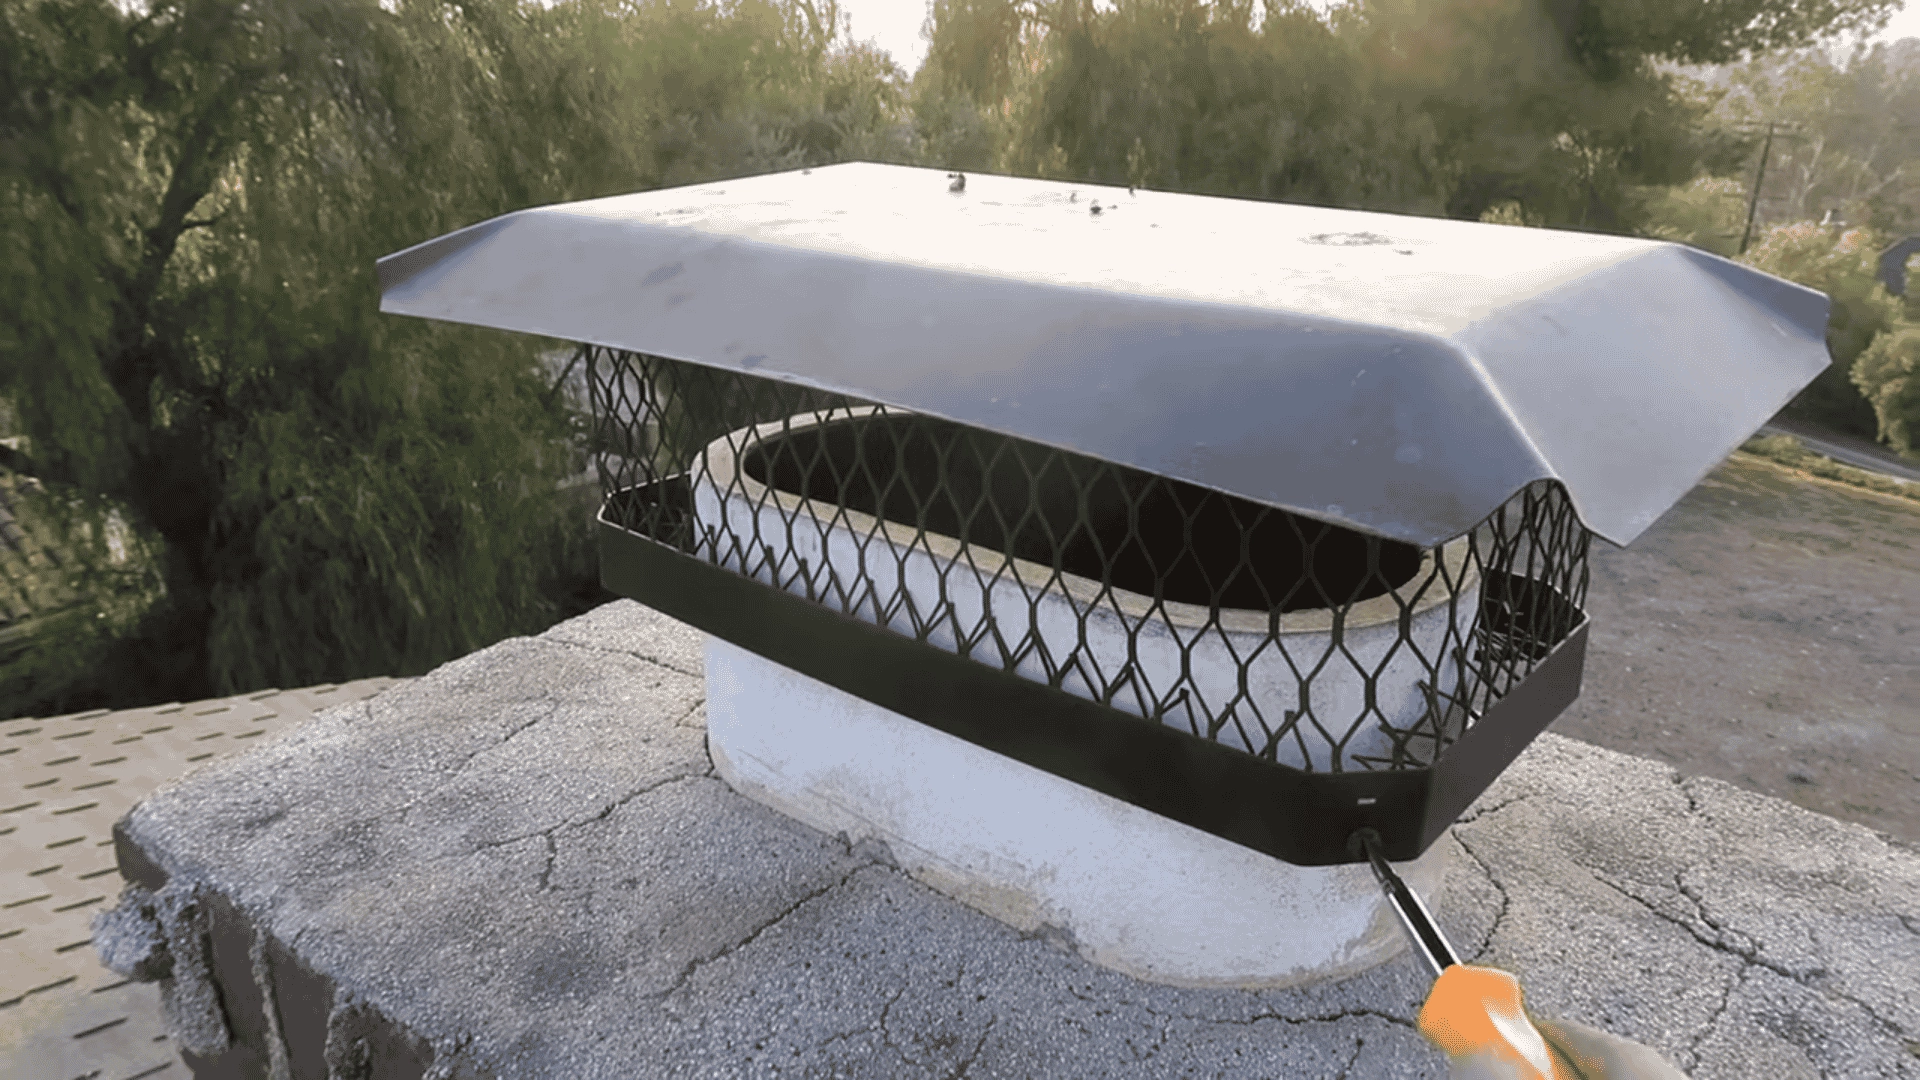
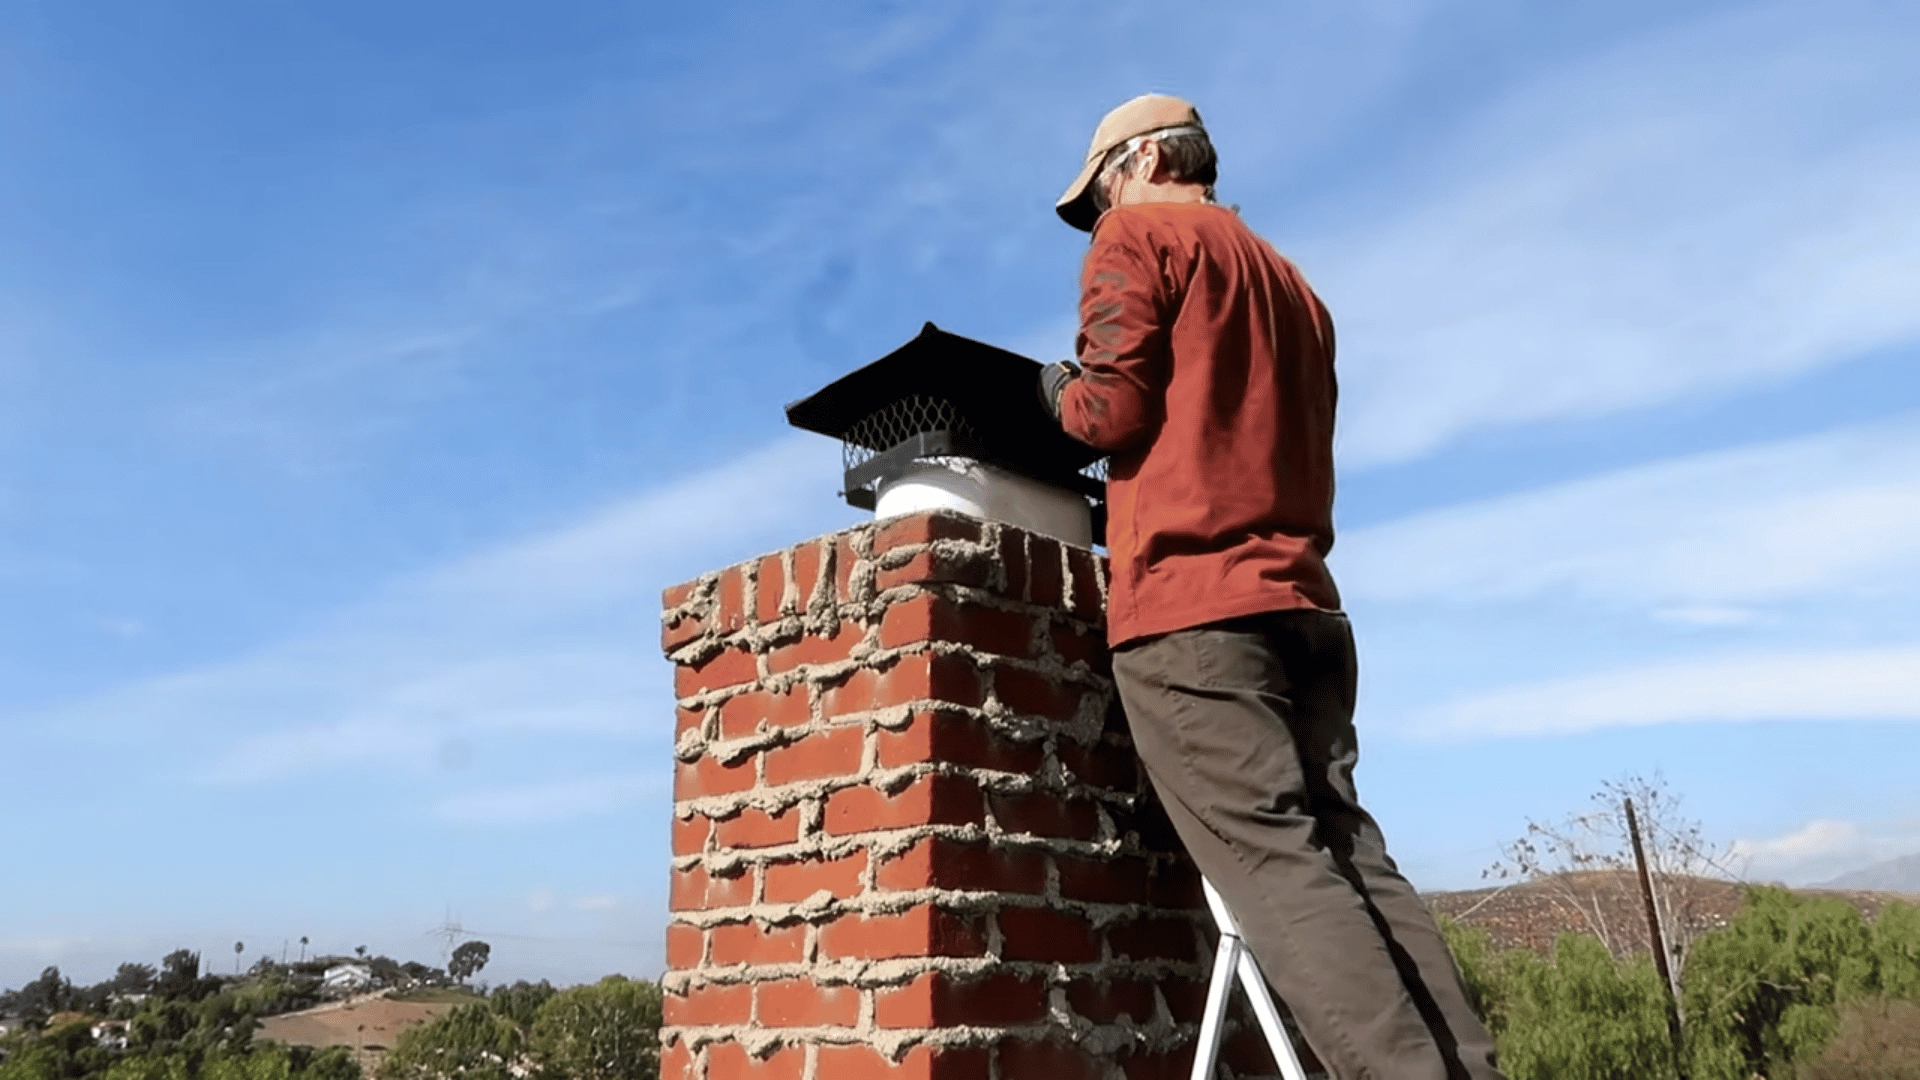
Step 1: Remove the Chimney Cap
Use a sturdy ladder to access the roof safely. Place it on firm, level ground and have someone hold it steady at the base before climbing.
Carefully remove the rain cap or animal guard and store all screws in a container. Then take a quick look inside the flue opening for nests, leaves, or visible blockages.
If you spot a nest or large blockage, do not start brushing yet. Clear the obstruction first or call a professional if it looks too deep or large to remove safely.
Step 2: Brush the Chimney Flue From the Top Down
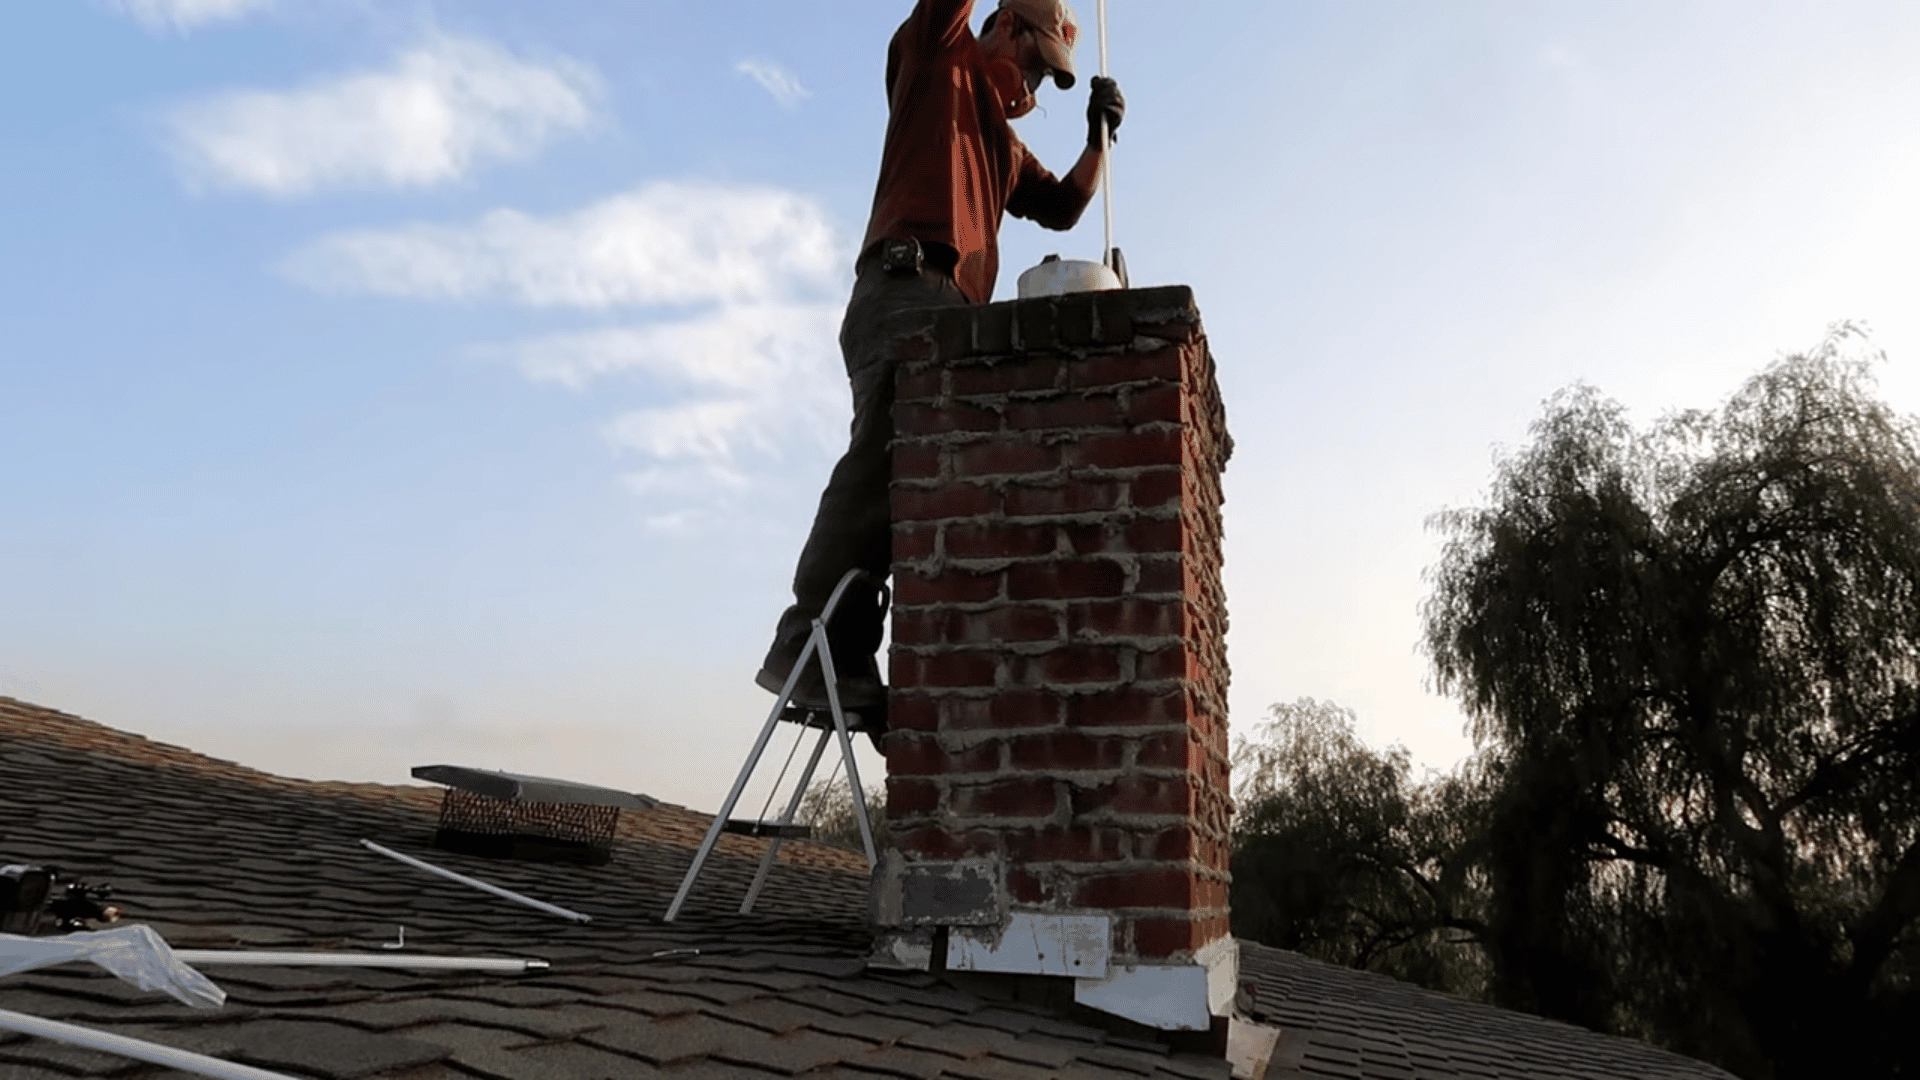
Attach the chimney brush to the first extension rod and insert it into the flue. Use firm up-and-down strokes to loosen soot and creosote buildup from the flue walls.
Add rods one at a time as the brush moves deeper into the chimney. Continue scrubbing until the brush has covered the full length of the flue completely.
Why does top-down cleaning work better?
Since the fireplace stays sealed during top-down cleaning, loosened soot falls into the firebox and stays contained, keeping indoor mess to a minimum.
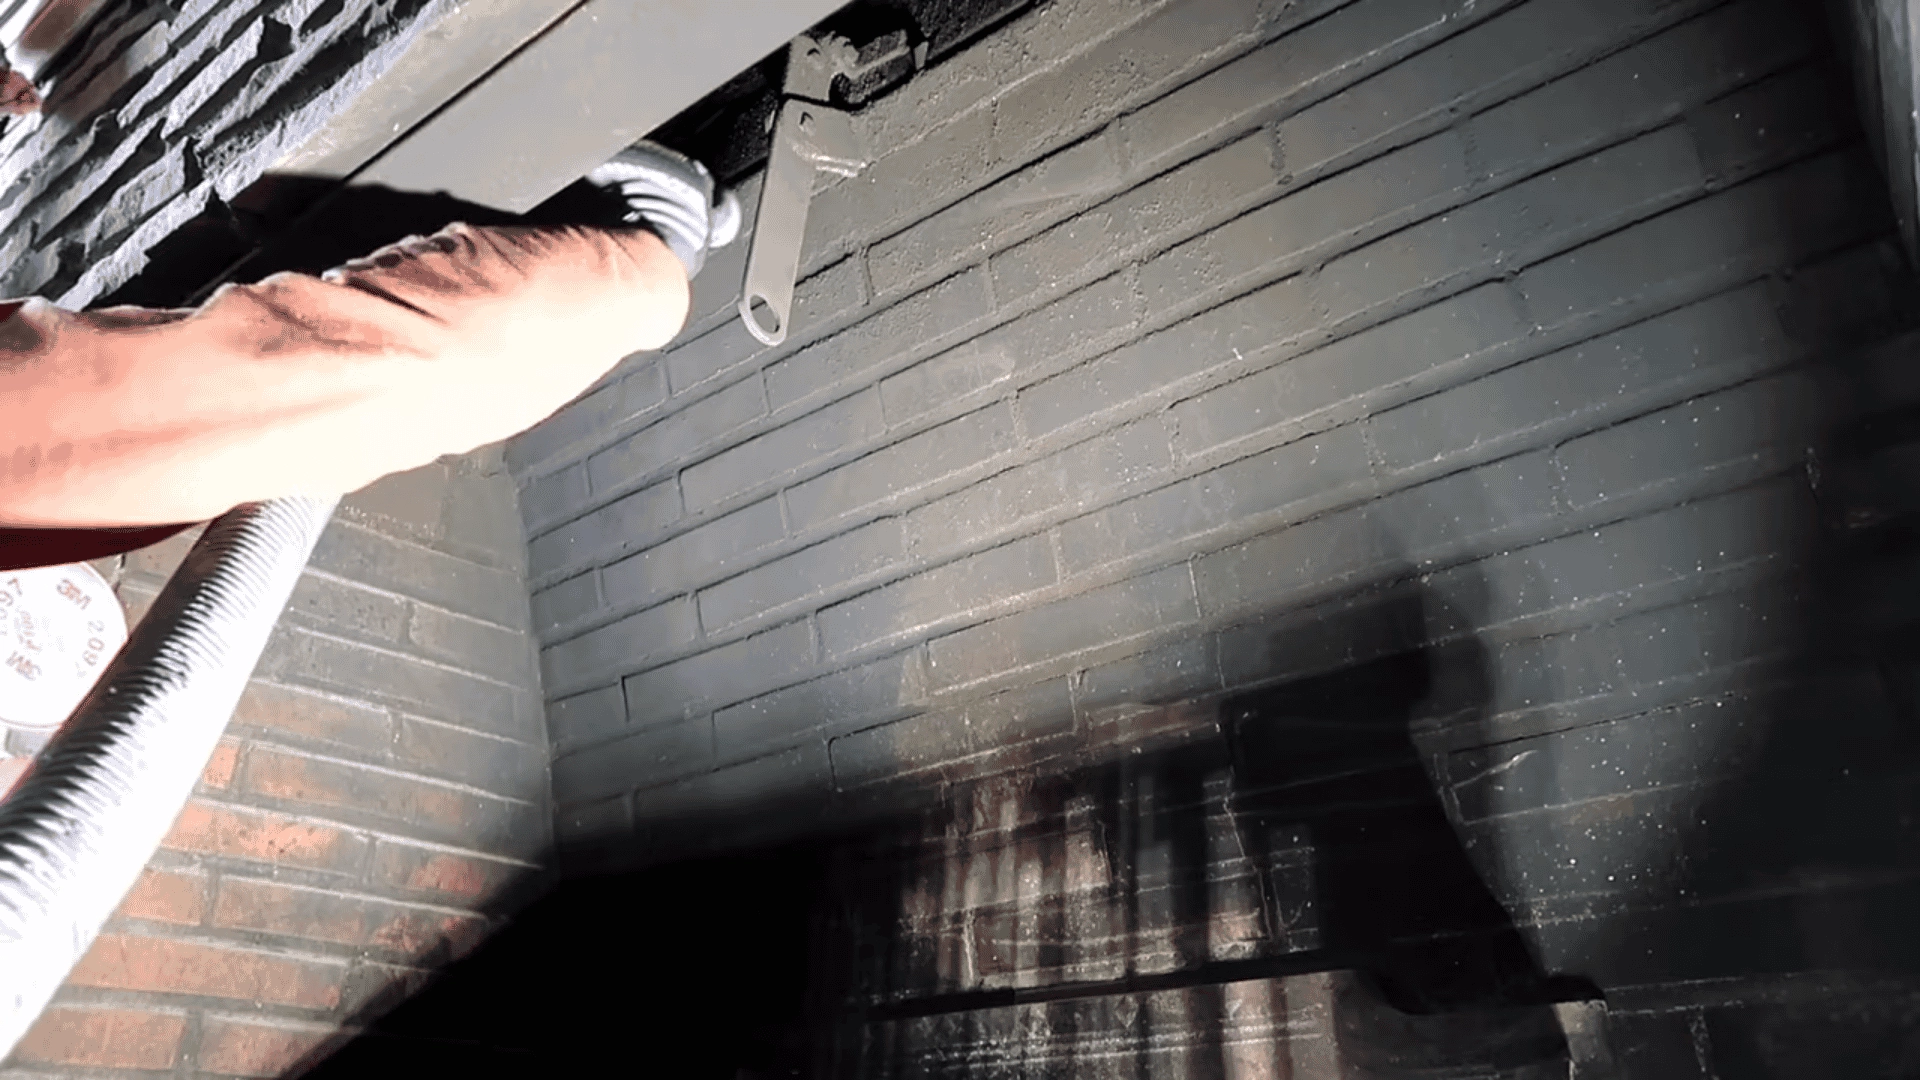
Step 3: Clean the Chimney From the Bottom Up if Roof Access Is Unsafe
If the roof is too steep or difficult to access, bottom-up cleaning is a practical option. Insert the brush through the fireplace opening and push it upward while adding rods gradually.
Keep in mind that this method comes with a few extra challenges:
- More soot may spread indoors since the fireplace cannot be fully sealed
- Lay extra floor protection and wear a respirator throughout the process
- Dampers, smoke shelves, or stove baffles may block the brush path
Bottom-up cleaning gets the job done safely when roof access is not a realistic option.
Step 4: Remove the Brush and Reattach the Chimney Cap
Pull the brush out slowly and carefully to avoid shaking loose debris into the room. Remove extension rods one section at a time as the brush comes back out.
Once the brush is fully out, reattach the chimney cap securely. A loose or missing cap allows rain, debris, and animals into the flue, causing blockages and long-term damage.
Before you climb down, double-check that the chimney cap is firmly in place and that all screws are tightened. A cap that looks attached but is not fully secured can shift or fall off during the next storm.
Step 5: Clean Out the Fallen Soot and Creosote
After brushing, wait 30 to 60 minutes before doing anything else. This gives fine soot particles enough time to settle before you remove the plastic sheeting and begin cleanup.
Work through these areas in order:
- Carefully remove the plastic sheeting without shaking it
- Vacuum soot from the firebox and smoke shelf thoroughly
- Clean the damper area and the lower flue opening
- Empty the cleanout door at the base if your chimney has one
Leftover soot blocks airflow and creates unpleasant odors the next time you use the fireplace. Always use a shop vacuum with a HEPA filter. A regular household vacuum cannot handle fine soot particles safely.
For more information, you can check this video out by MrFixItDIY:
When to Call a Professional Chimney Sweep?
Some chimney issues go beyond what a brush and vacuum can fix. If you notice a shiny, tar-like glazed creosote coating, cracks in the flue liner, or smoke persistently backing up after a thorough cleaning, it is time to call a certified professional.
Strong lingering odors even after cleanup can also signal hidden moisture damage or deeper buildup.
A professional has the right tools and expertise to safely identify and resolve issues that are simply not visible to the untrained eye.
What is the Average Cost of Having Your Chimney Swept?
The cost of a professional chimney sweep varies depending on the type of service, level of buildup, and your location.
Here is a quick breakdown of typical costs:
| Service | Average Cost |
|---|---|
| Basic Chimney Sweeping | $100 – $200 |
| Chimney Sweeping + Inspection | $150 – $300 |
| Creosote Removal (Heavy Buildup) | $300 – $500 |
| Chimney Cap Repair or Replacement | $150 – $400 |
| Flue Liner Repair | $500 – $1,000+ |
Prices can also vary based on chimney height, accessibility, and regional labor rates.
Scheduling a cleaning during the off-season, typically spring or summer, can sometimes help you get a better rate before the winter rush begins.
Final Verdict
Knowing how to clean a chimney properly is one of the simplest ways to protect your home and keep your fireplace working safely through every season.
A clean chimney does more than prevent fires. It keeps air flowing correctly, reduces smoke backup, and protects the structural integrity of the flue over many years of use.
Now you know what the process involves, what tools to gather, and when calling a professional is the smarter and safer choice to make.
Cleaned a chimney before or have a tip that made the process easier? Drop it in the comments below. Personal experience from real homeowners helps others approach the job with more confidence.
Frequently Asked Questions
What Wood Causes the Most Creosote?
Unseasoned or wet wood produces the most creosote because it burns at a lower temperature. Hardwoods like oak and maple that are fully dried burn cleaner and create less buildup.
What Are the Signs of a Dirty Chimney?
Common signs include smoke backing up into the room, strong odors, reduced airflow, and visible black soot or tar-like coating when you shine a flashlight into the flue.
How Long Do Chimney Cleanings Take?
A standard DIY chimney cleaning typically takes one to two hours depending on the level of buildup, chimney height, and how familiar you are with the process.