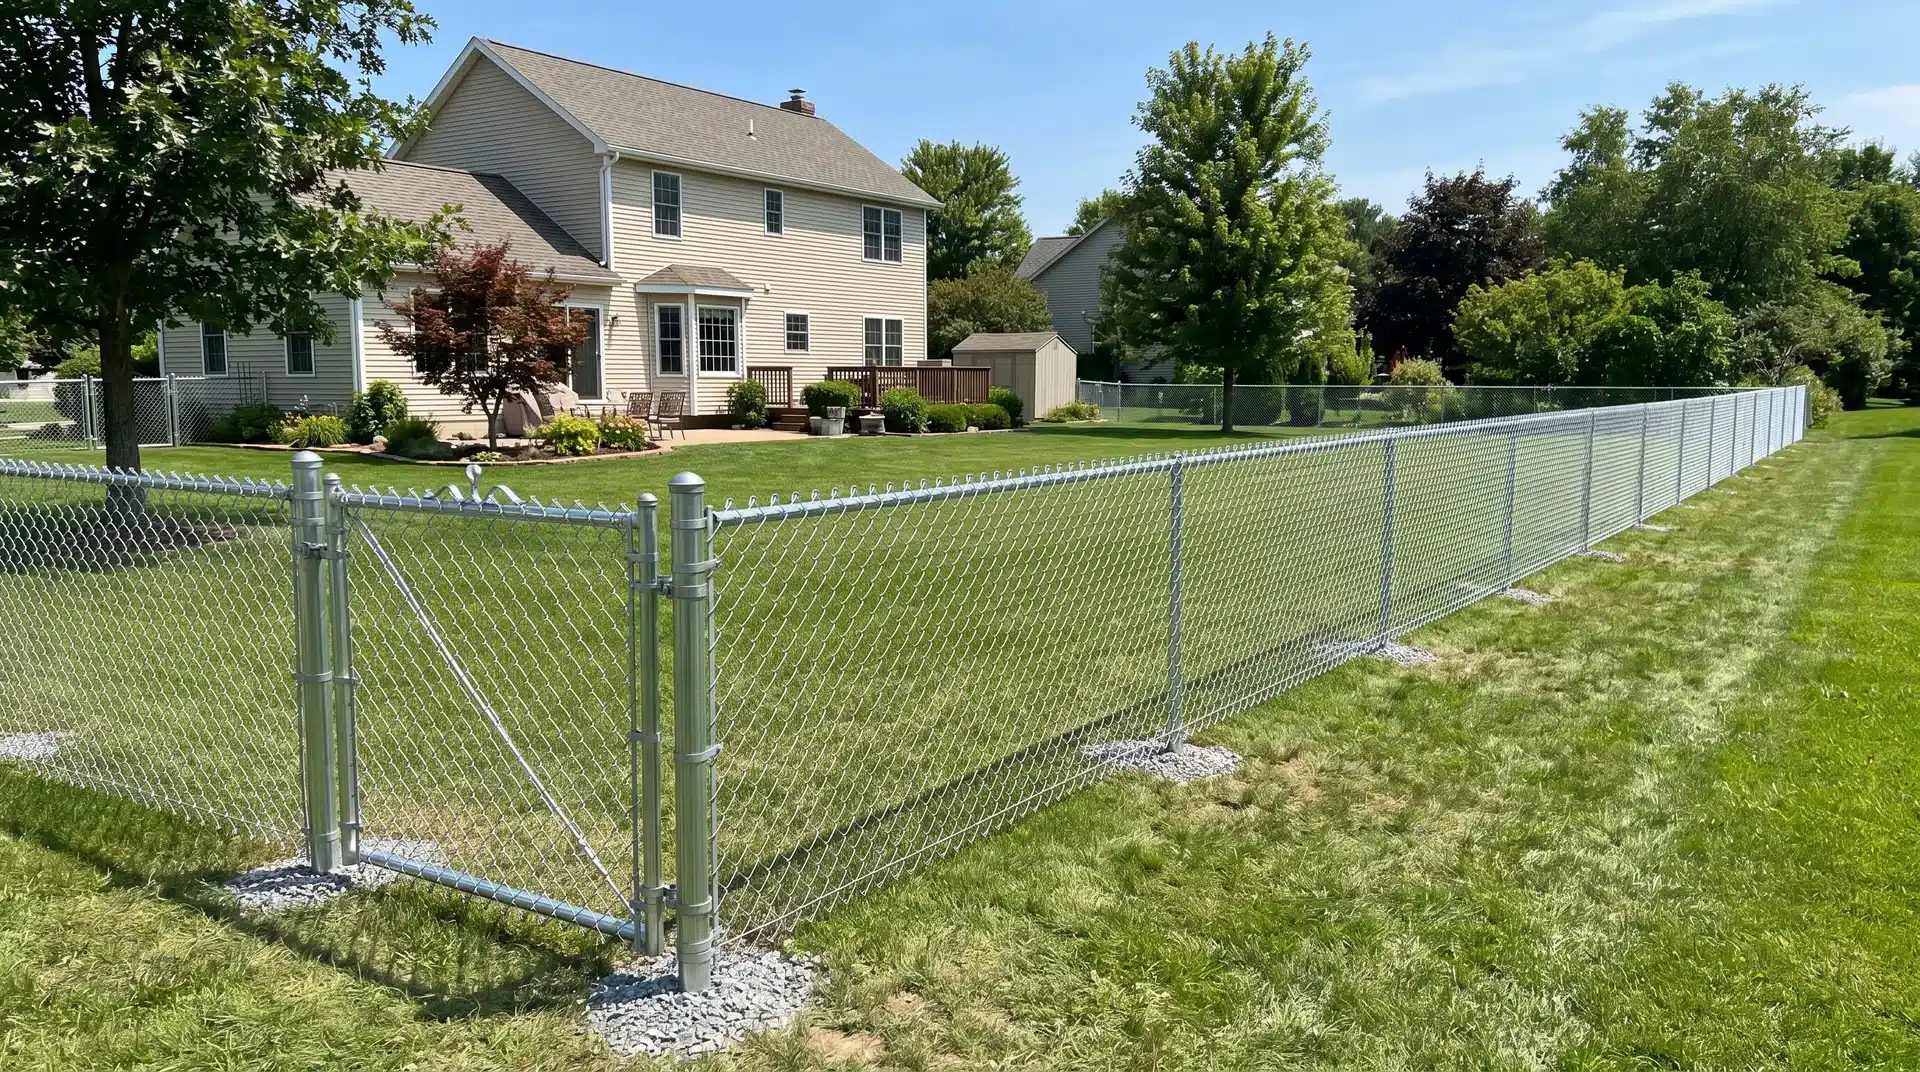
Chain Link Fence Installation: What to Know Before You Dig

A chain link fence is one of the most practical things you can add to a property. It costs less than wood or vinyl, holds up through rough weather, and does exactly what a fence should do: keep things in or out without falling apart after a few seasons.
Chain link fence installation is also one of the more forgiving fencing projects for someone who has never built a fence before. The parts are straightforward, the tools are not specialized, and the process follows a logical order that makes sense once you see it laid out.
This guide covers every step from planning to the final walkthrough. If you can dig a hole and read a level, you can build this fence.
Tools and Materials for Chain Link Fence Installation
Getting everything together before you start saves a lot of back-and-forth trips to the hardware store. Here is what you need, split into tools and materials:
| Tools | Materials |
|---|---|
| Post hole digger | Terminal posts (corners, ends, gates) |
| Shovel | Line posts |
| Level | Chain link fabric (mesh) |
| String line | Top rails |
| Stakes | Brace bands |
| Measuring tape | Tension bars |
| Come-along stretcher | Tension wire |
| Pliers | Concrete mix |
| Wrench set | Post caps |
| Wire ties |
If your soil is rocky or packed clay, renting a power auger will save your back and cut digging time in half.
A quick note on the come-along stretcher: this is the tool that pulls the chain link fabric tight between posts. Without it, you will end up with a saggy fence, no matter how well everything else is installed.
Step-by-Step Chain Link Fence Installation
Breaking the job into stages helps it feel less overwhelming. Each step builds on the one before it, so resist the urge to skip ahead.
Step 1: Plan Your Fence Layout
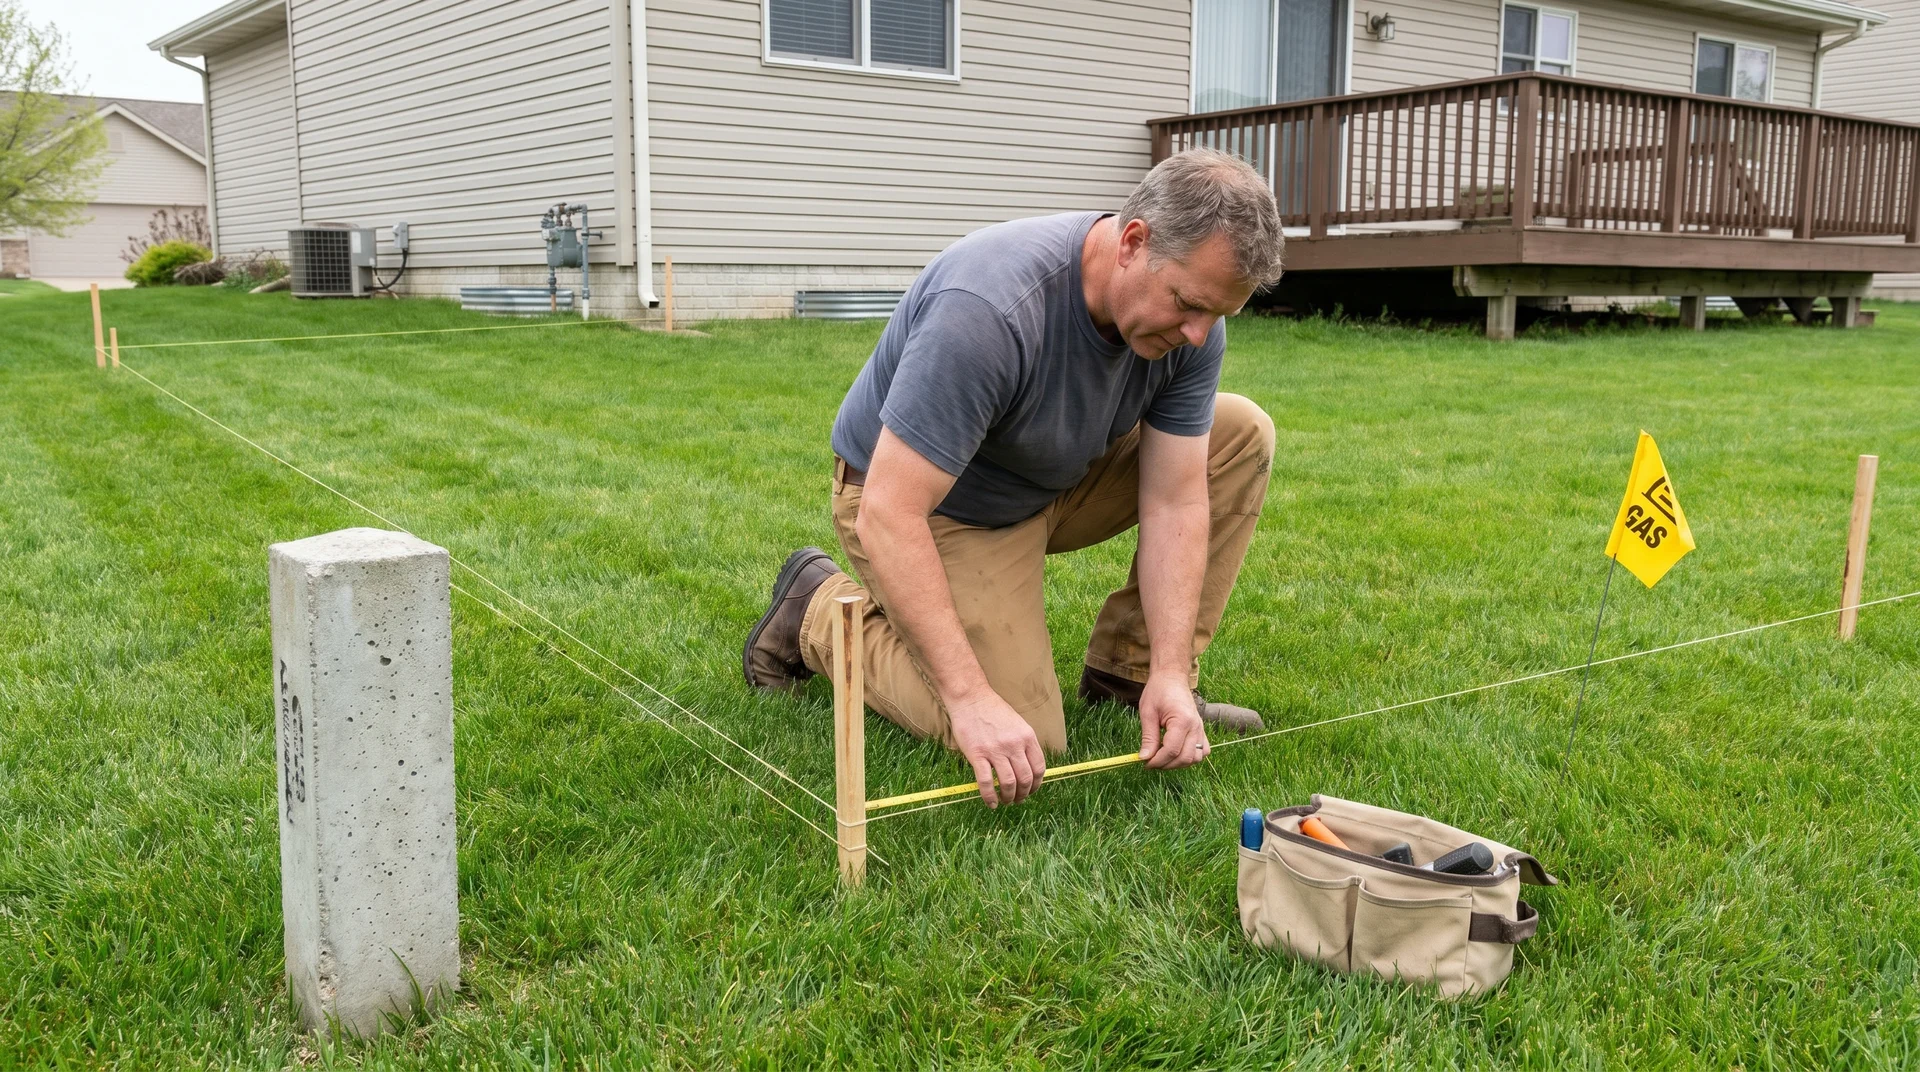
Start by checking your local building codes. Some cities require permits for fences above a certain height, and setback rules may affect how close you can build to the property line.
Confirm your property boundaries before anything else. A fence that sits even a few inches on your neighbor’s lot can turn into a legal problem fast.
Call 811 (in the US) to get underground utilities marked. Gas lines, water pipes, and electrical cables are not always where you expect them to be.
Once the rules are clear, decide on fence height and mark where gates will go. Four feet works for basic yard boundaries. Five or six feet is better if you have dogs or want more security.
Step 2: Lay Out the Fence Line
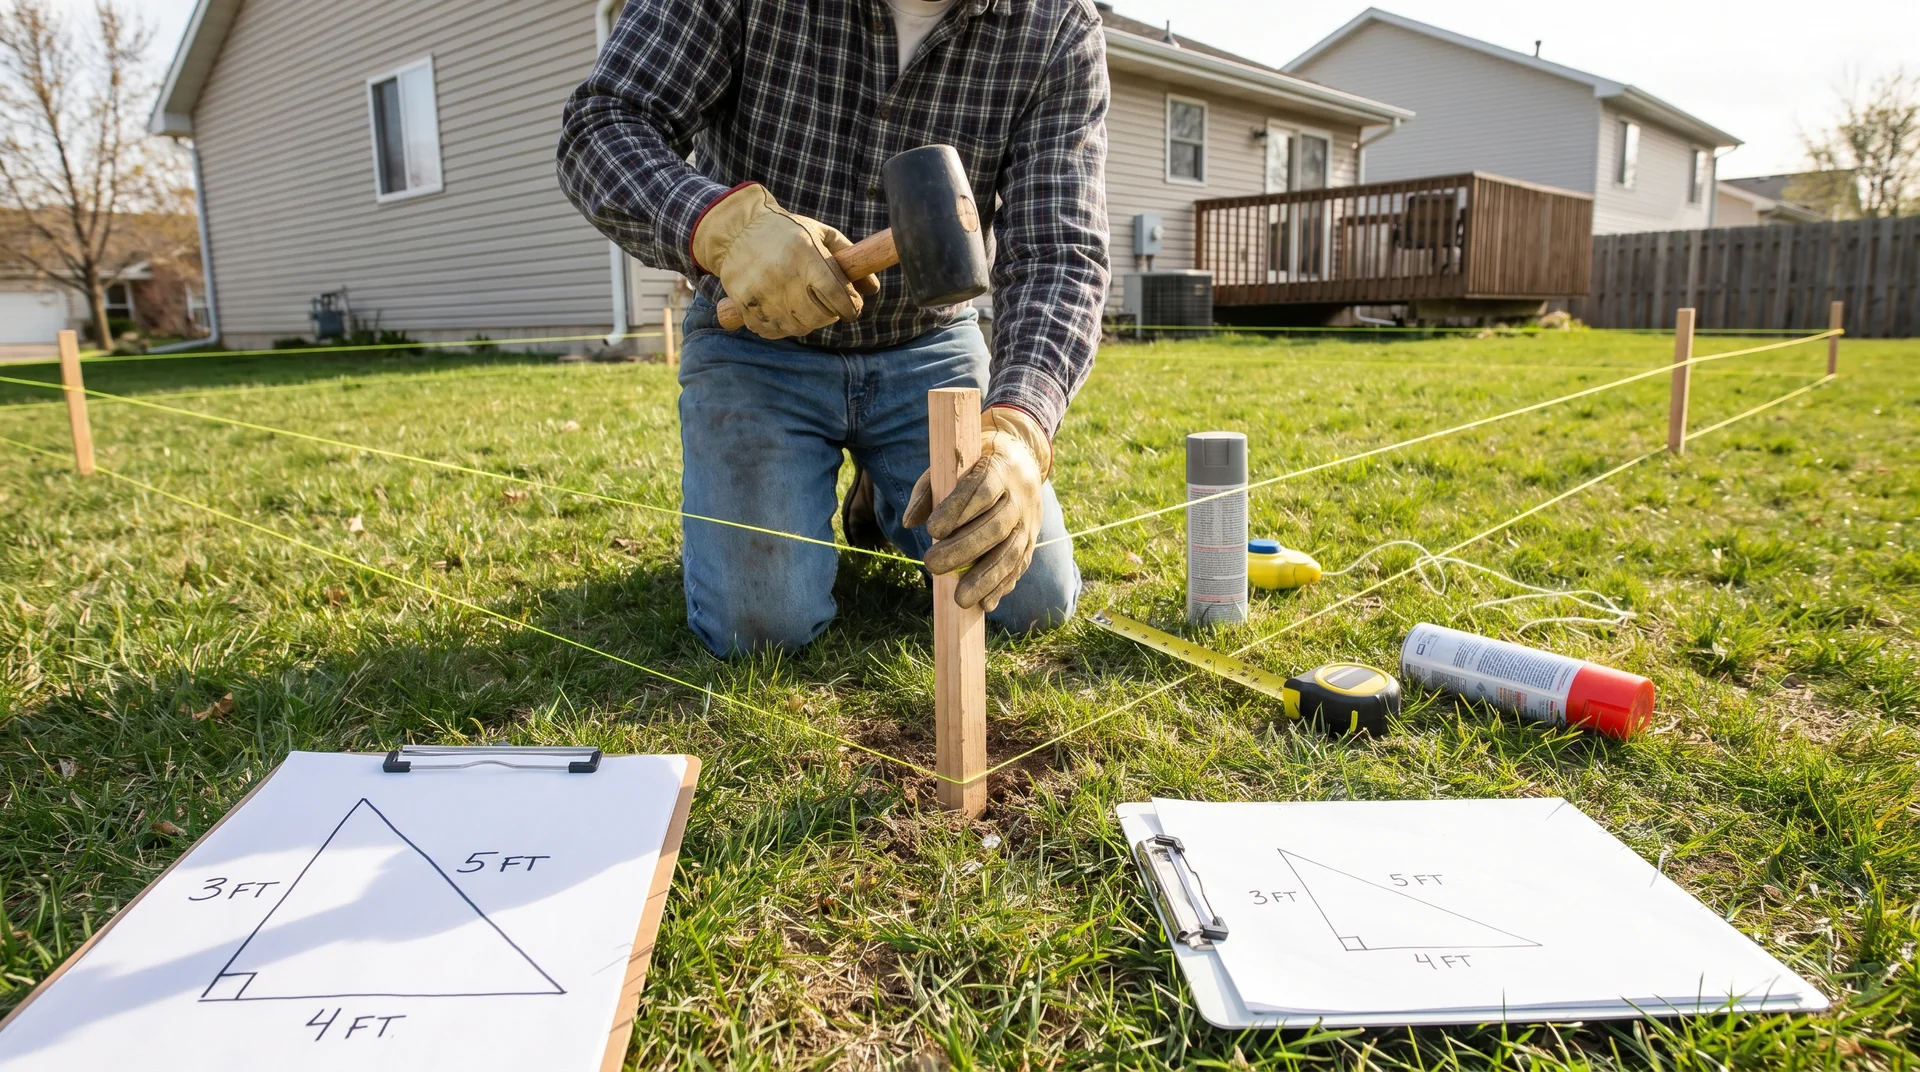
Drive stakes into the ground at every corner, end, and gate location. Stretch the string line between the stakes, pulled tight so it does not sag.
This string is your guide for the entire project, so take the time to get it right.
For square corners, use the 3-4-5 method: measure 3 feet along one string, 4 feet along the other, and check that the diagonal between those two points is exactly 5 feet. If it is, your corner is square. If not, adjust the stakes until it checks out.
Step 3: Dig Post Holes
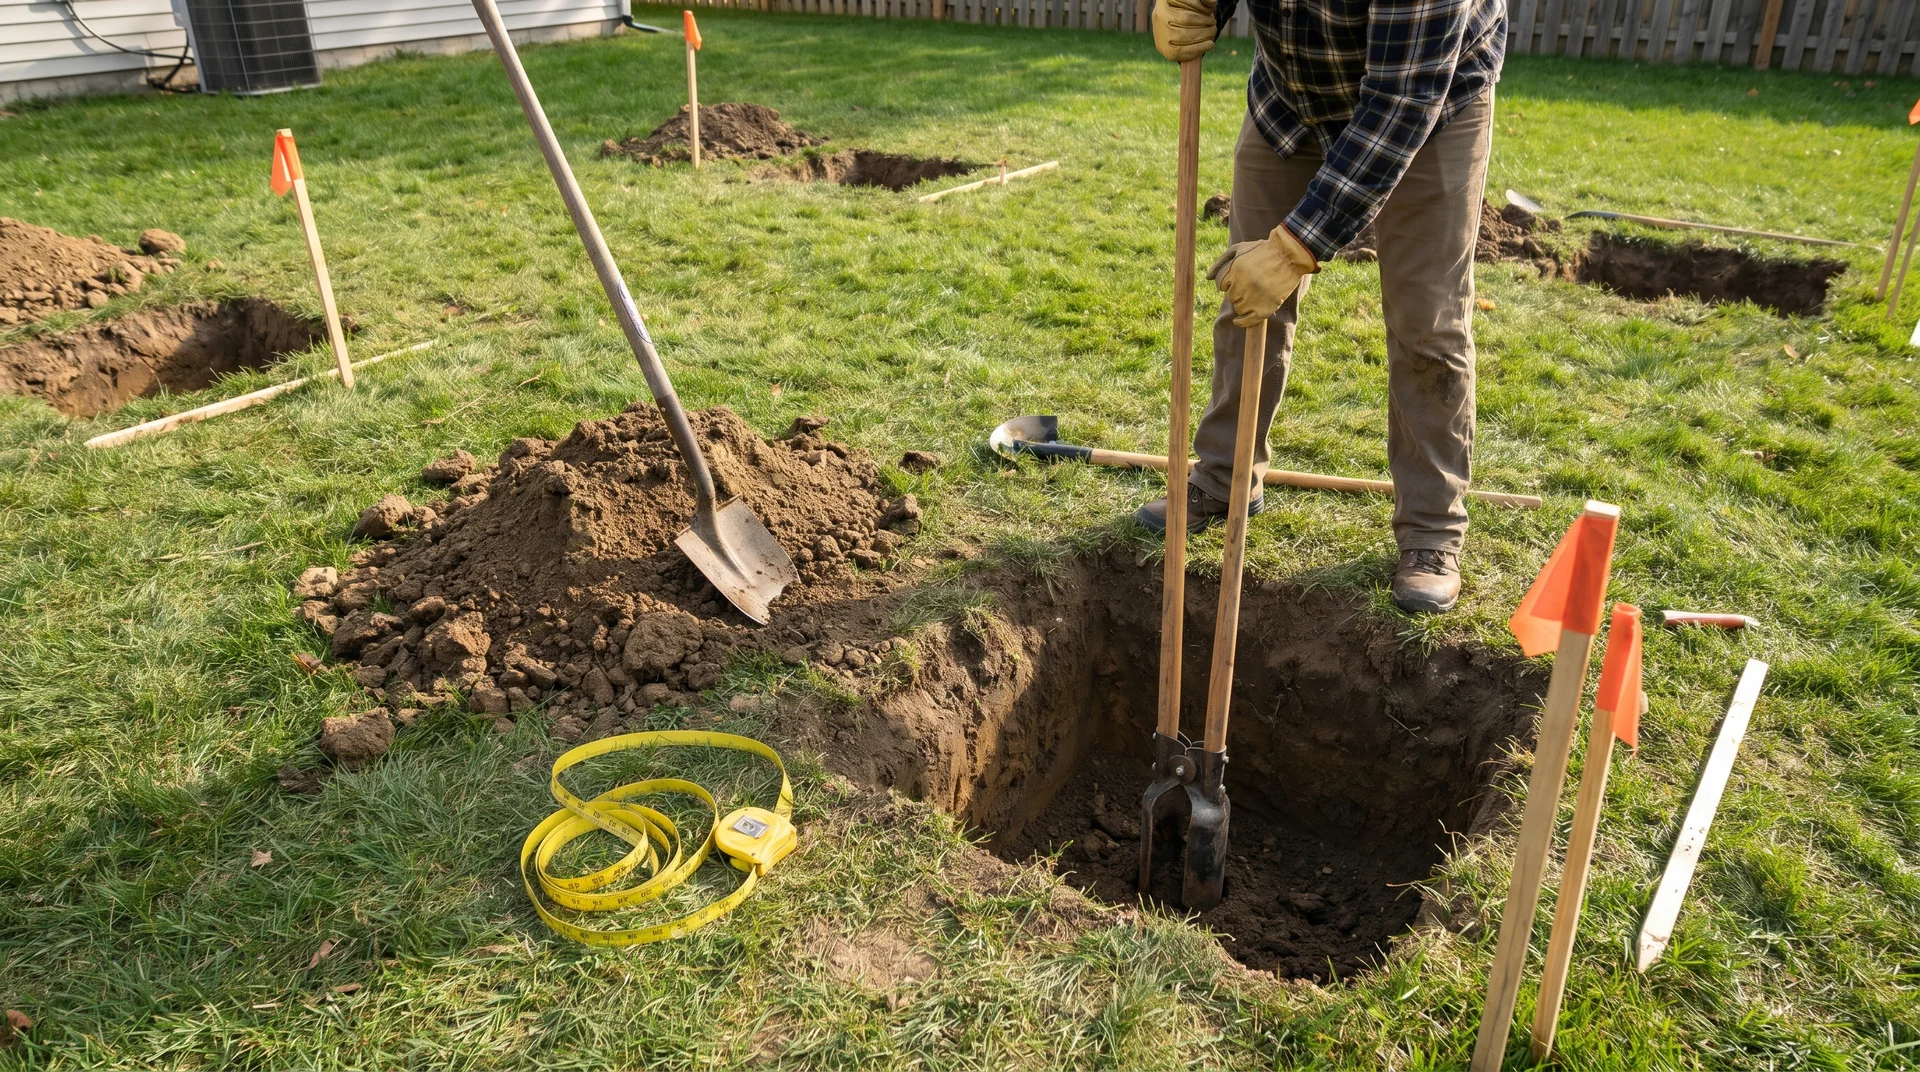
Not all post holes are the same size. Terminal posts (corners, ends, and gate posts) carry more load, so their holes should be wider and deeper than line post holes.
A good rule of thumb for terminal posts: dig the hole three times the width of the post and about a third of the total post length deep. For a 4-foot fence with an 8-foot terminal post, that means roughly 2.5 to 3 feet deep.
Line post holes can be slightly narrower and shallower, but still need to reach below the frost line in colder climates. Space line posts 8 to 10 feet apart, depending on your fence height.
Step 4: Set Fence Posts in Concrete
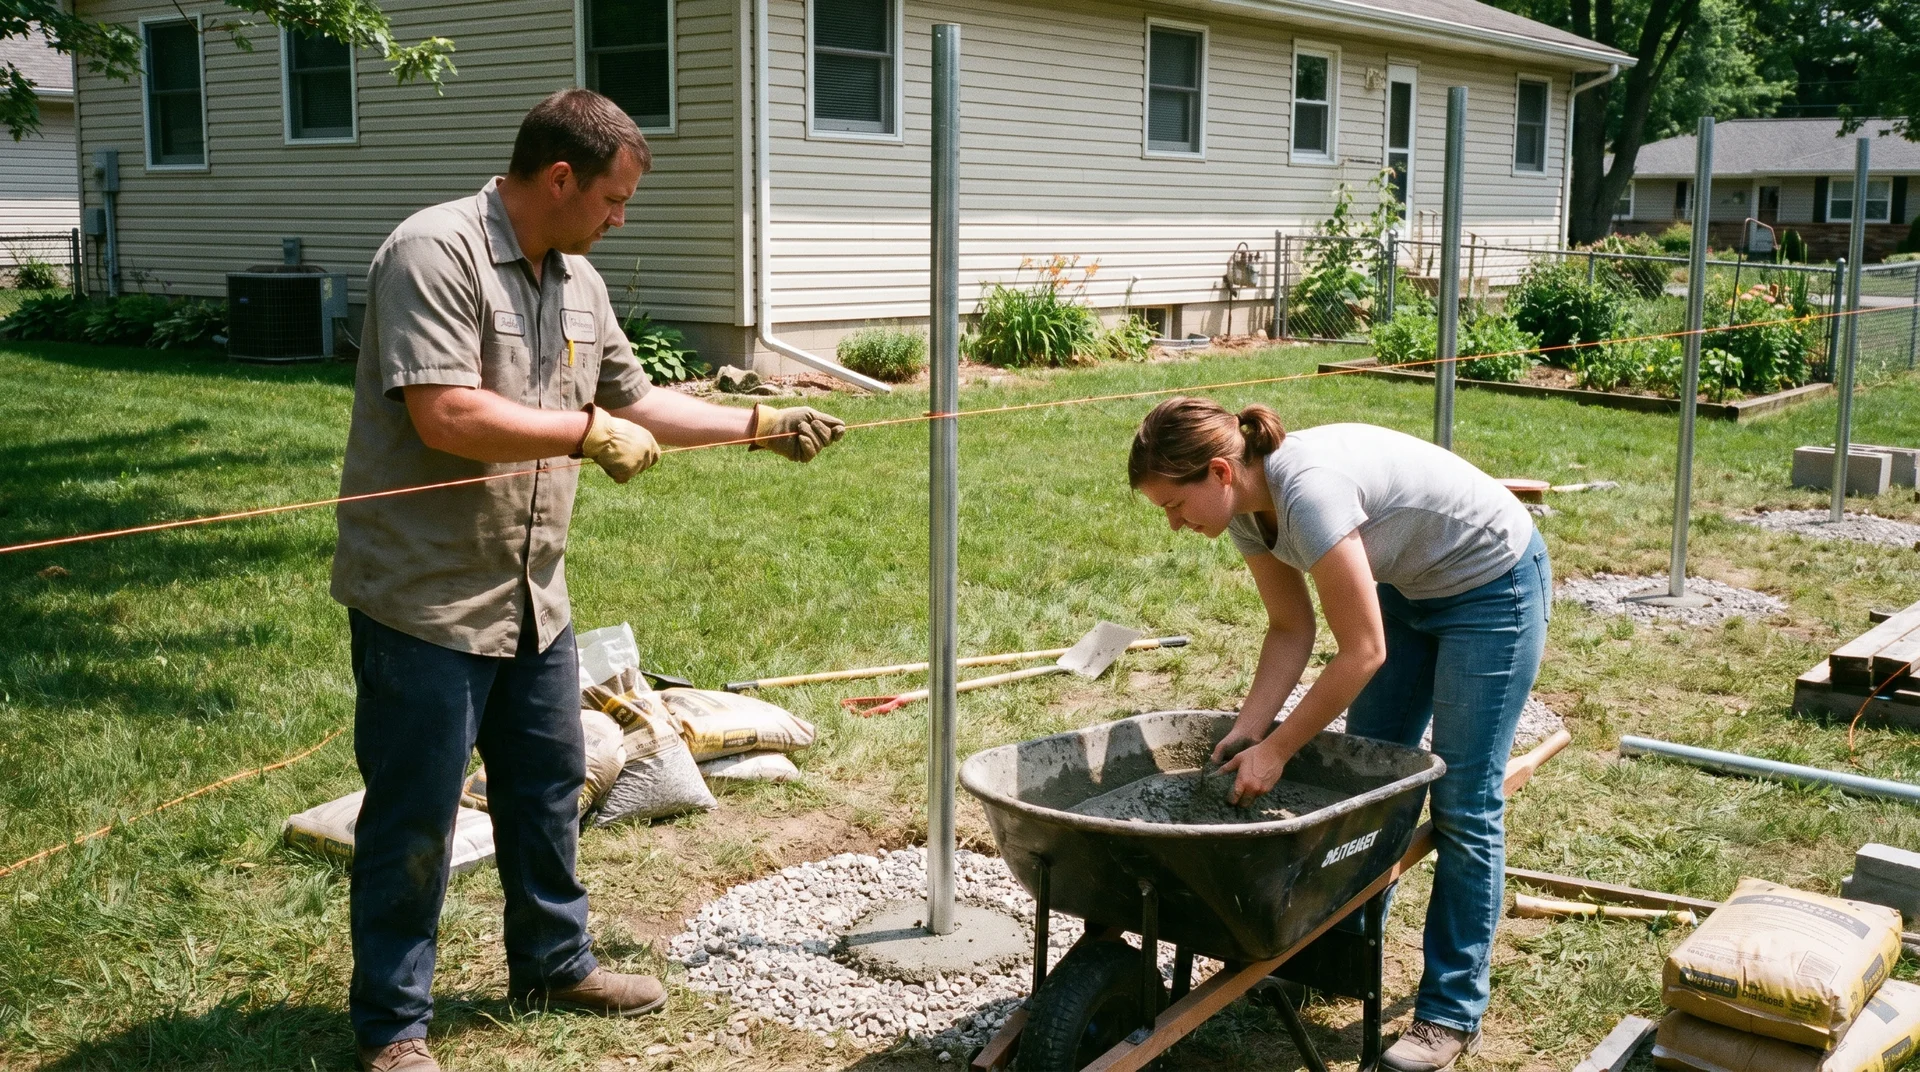
Drop a few inches of gravel into each hole before you pour concrete. This gives water somewhere to drain instead of pooling around the base of the post.
Set the terminal posts first. Place each post in the hole, pour the concrete mix around it, and check plumb with a level on two sides. Hold the post steady or brace it while the concrete sets up.
Line posts go in next using the same process. Use your string line to keep them aligned.
Let the concrete cure for at least 24 to 48 hours before you hang anything on the posts. Jumping ahead, here is one of the most common reasons fences end up crooked.
Step 5: Attach Hardware and Top Rails
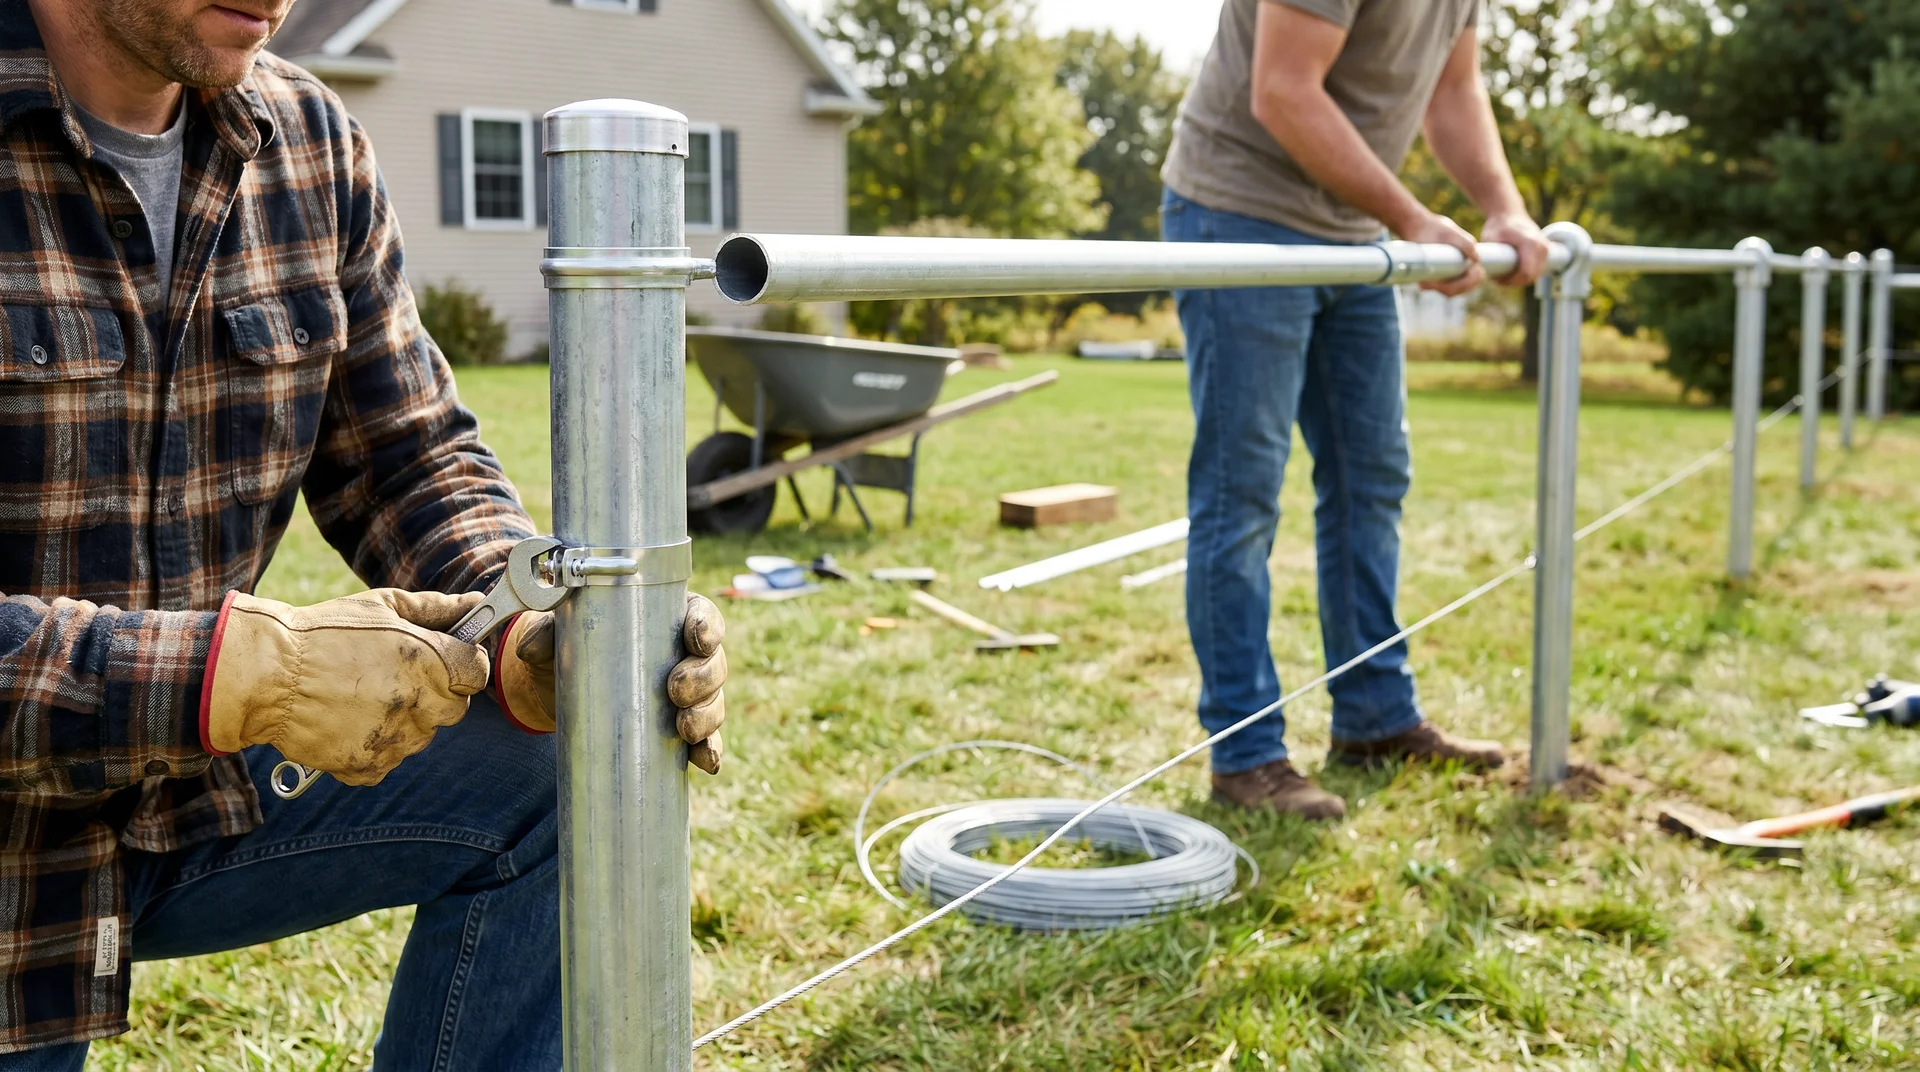
Once the concrete has cured, install the brace bands and rail caps on the terminal posts. These hold the top rails in place and give the fence its horizontal structure.
Slide the top rails through the loop caps on each line post and connect them end to end. Most top rails come with a tapered end that fits into the next section. Make sure each joint is snug.
Run a tension wire along the bottom of the fence line and attach it to each terminal post. This wire keeps the bottom of the chain link fabric from lifting or bowing outward.
Step 6: Install the Chain Link Fabric
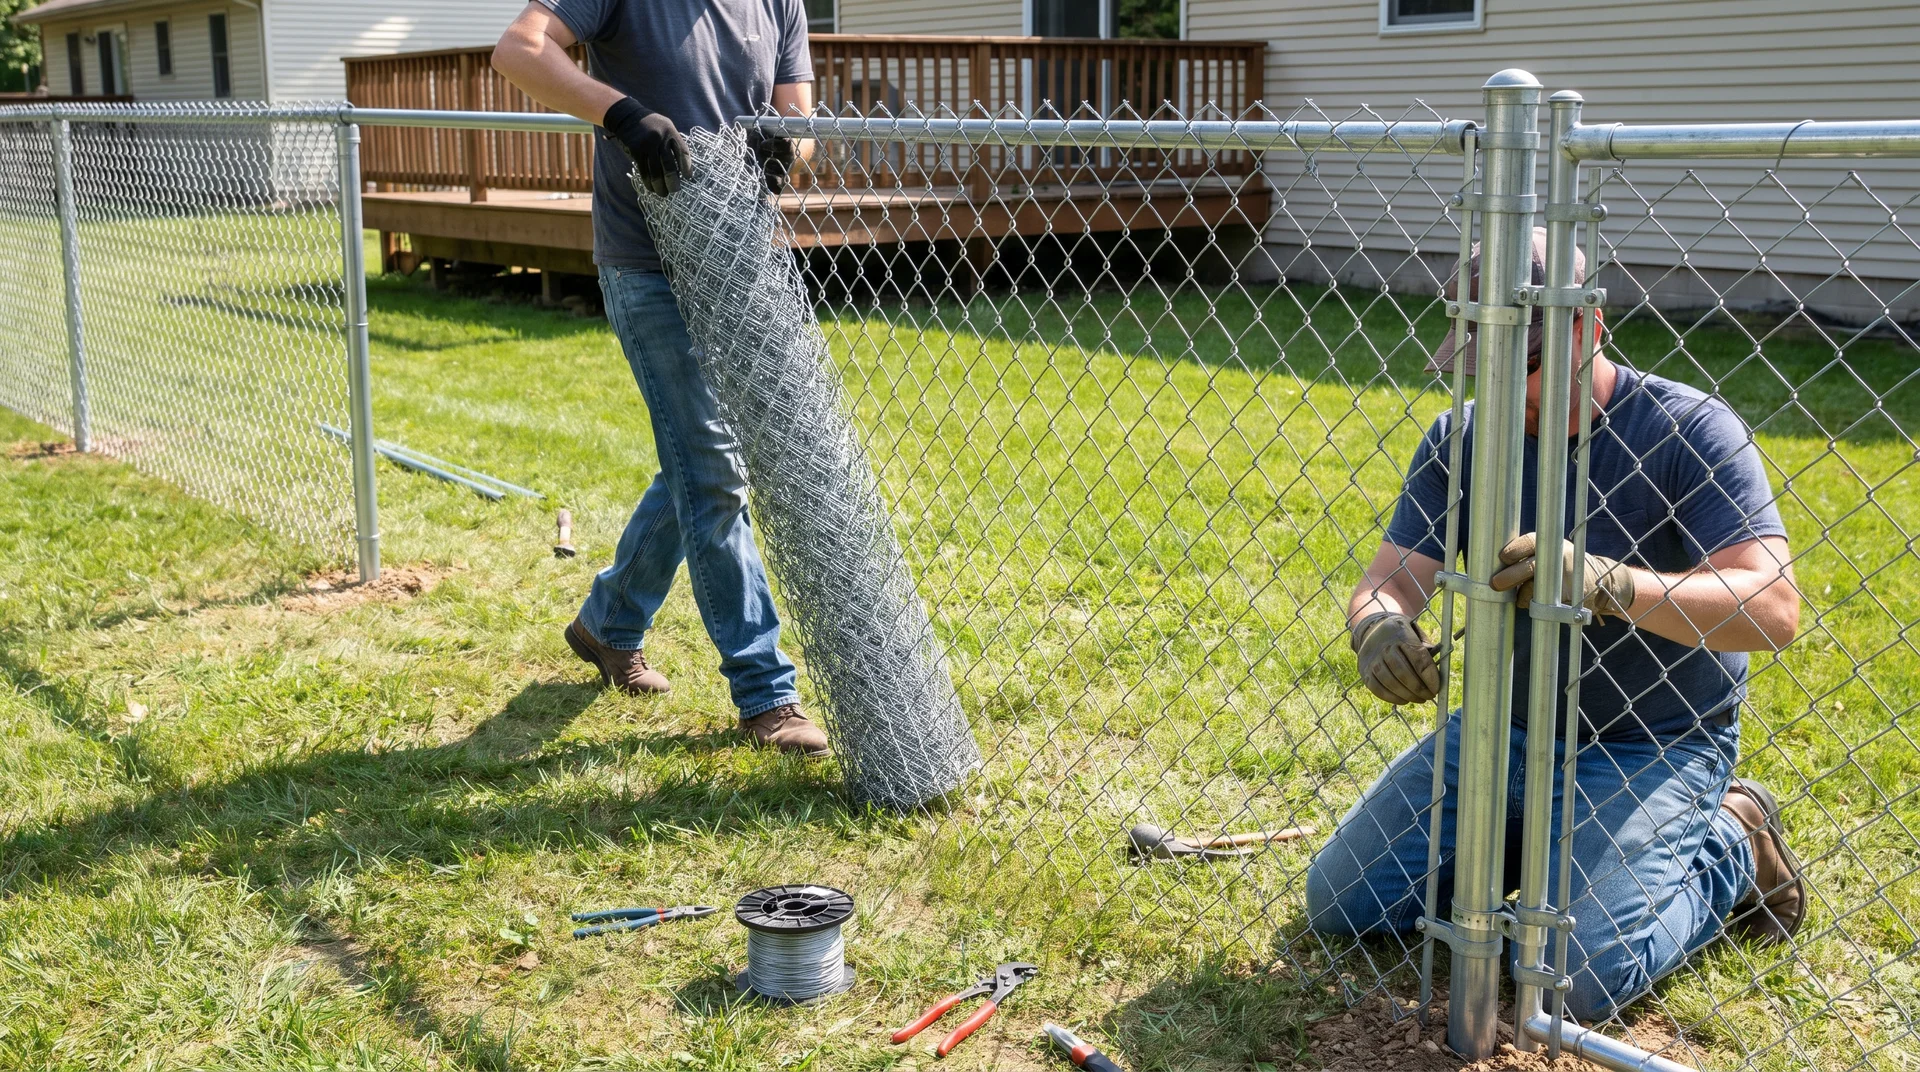
Unroll the chain link fabric on the ground along the outside of the fence line. Stand it up against the posts and slide a tension bar through the end loops of the mesh.
Attach the tension bar to the first terminal post using tension bands. Tighten the bolts enough to hold, but do not crank them all the way down yet.
Now walk the fabric along the fence line to the other end. Attach the come-along stretcher to the far terminal post and hook it to the mesh. Pull the fabric tight. You want it firm with very little give, but not so tight that it warps the posts inward.
Once the tension feels right, slide another tension bar through the mesh at the far end and bolt it to the terminal post. Go back and secure the fabric to each line post and top rail with wire ties.
This step takes patience. Rushing it almost always leads to a wavy fence that looks off and sags within a few months.
Step 7: Install Gates
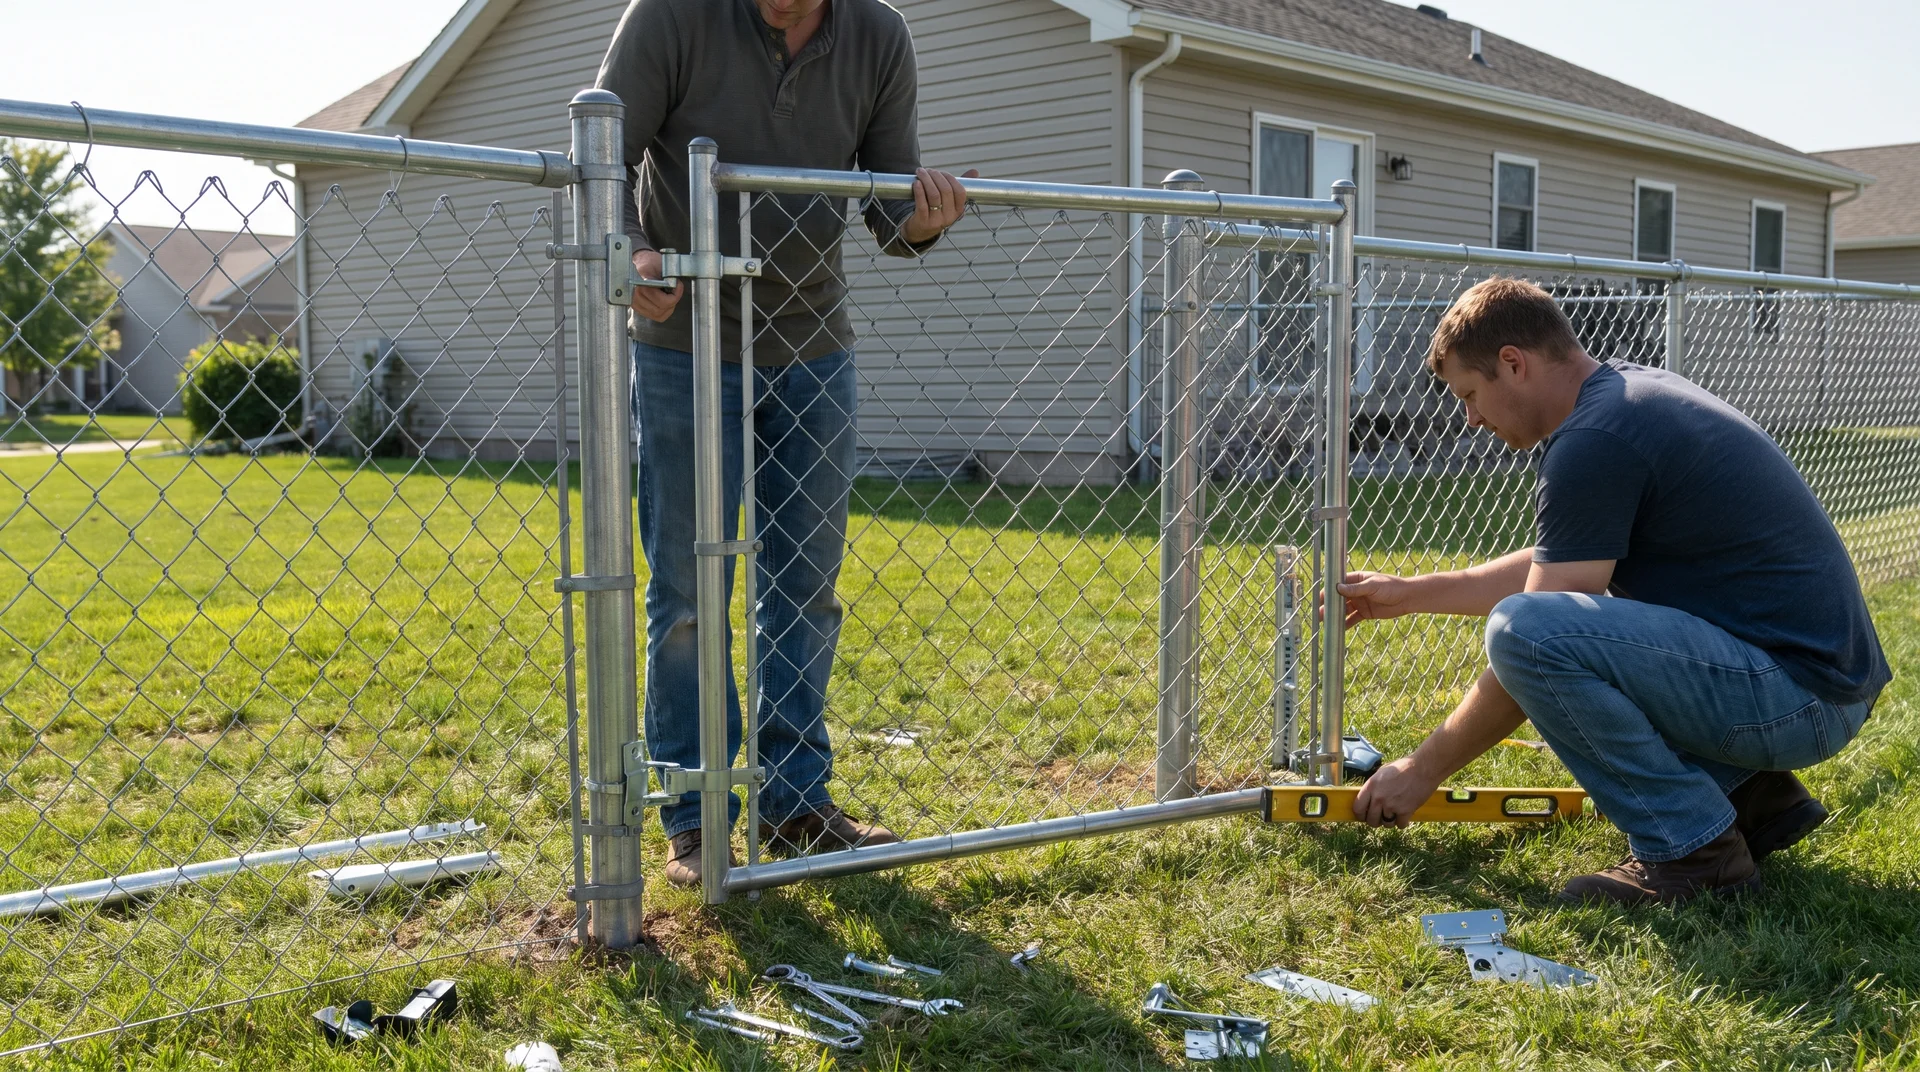
Hang the gate frame on the gate post using the hinges that came with your gate kit. Most residential gates use strap hinges or male/female hinge sets.
Before tightening anything, swing the gate open and closed a few times. Check that it clears the ground, does not drag, and latches properly when closed. Adjust the hinge positions until the swing feels smooth and the latch lines up.
Tighten all bolts and hardware once you are happy with the alignment.
Step 8: Final Walkthrough and Checks
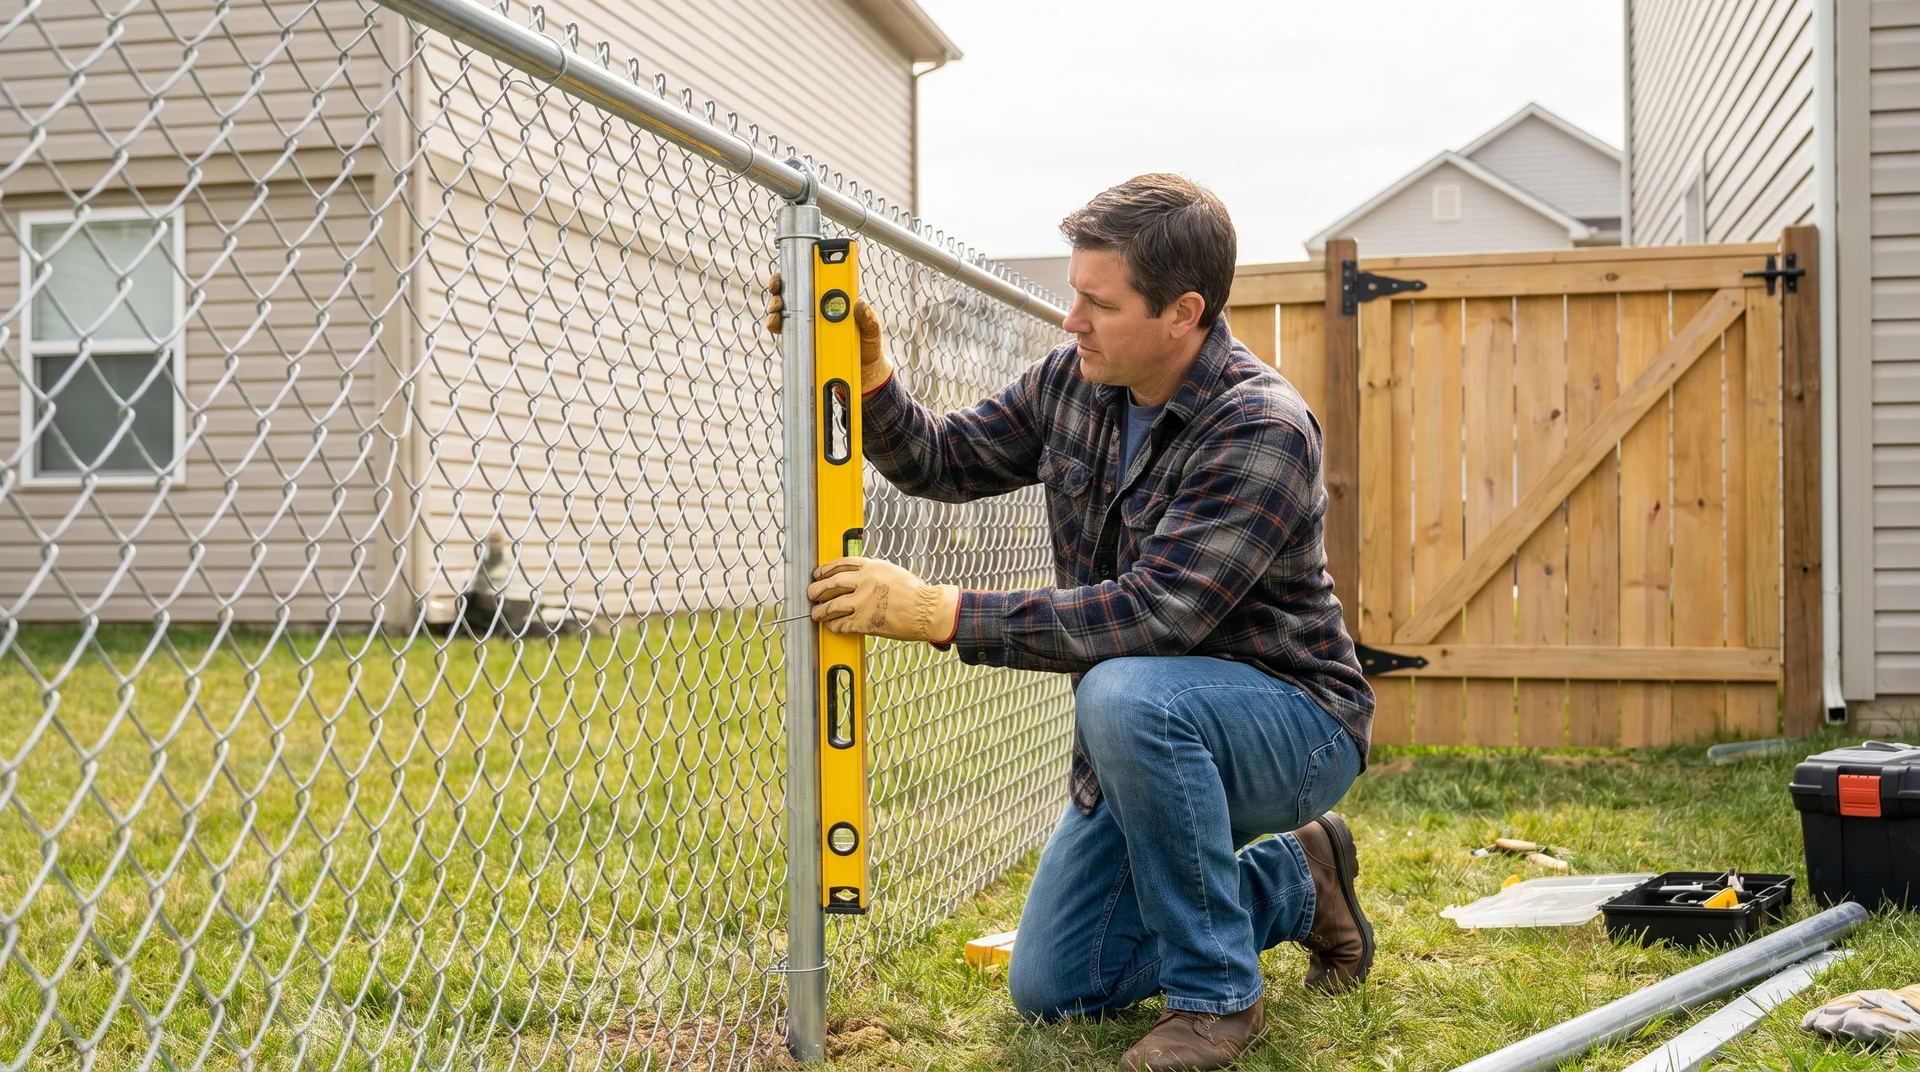
Walk the full fence line and look for anything that needs attention:
- Are all posts plumb? Check with a level.
- Is the fabric taut with no sagging or waves?
- Are all wire ties, bolts, and tension bands tight?
- Do gates swing and latch correctly?
- Are post caps installed on every post to keep water out?
Fix anything that looks off now. Small adjustments take minutes today, but can turn into bigger problems if left alone.
Benefits of Chain Link Fencing
Chain link is sometimes overlooked because it lacks the curb appeal of a wooden privacy fence. But it does many things well that other fence types struggle with.
- It handles weather without much fuss. Rain, snow, wind, and sun do very little damage to galvanized or coated chain link over the years. A vinyl-coated fence can easily last 20 years or more with almost no maintenance.
- It gives you security without blocking your view. If you want to see your kids in the yard, keep an eye on your dog, or just avoid the boxed-in feeling that solid fencing creates, chain link does that naturally.
- It also works on almost any lot shape. Curved property lines, long runs, tight corners, and sloped ground are all workable with chain link in ways that rigid panel fencing cannot match.
Cost and Budget for Chain Link Fence Installation
Knowing what to expect in terms of price helps you plan without surprises halfway through the project.
Typical Material Costs
Material costs depend on fence height, length, and whether you choose galvanized or vinyl-coated mesh. Here is a rough breakdown:
| Fence Height | Material Cost Per Linear Foot | 150 Ft Yard Estimate |
|---|---|---|
| 4 feet | $5 to $10 | $750 to $1,500 |
| 5 feet | $7 to $12 | $1,050 to $1,800 |
| 6 feet | $9 to $15 | $1,350 to $2,250 |
Gates, concrete, and hardware add to the total. Budget an extra $100 to $400 per gate, depending on width and style.
DIY vs Professional Installation Costs
Here is how the numbers break down when you do it yourself versus when you hire a crew.
| Category | DIY | Professional |
|---|---|---|
| Materials | $750 to $2,250 | $750 to $2,250 |
| Labor | $0 | $800 to $3,000+ |
| Total (150 ft) | $750 to $2,250 | $1,550 to $5,250 |
| Timeline | 2 to 3 weekends | 1 to 2 days |
The labor savings from doing it yourself are real. On a 150-foot fence, you could save $1,000 or more, depending on your area.
Staying on Budget
A few ways to keep costs down without cutting corners:
- Rent the power auger and come-along instead of buying them. Most rental shops carry both.
- Buy materials in bulk from a fencing supplier instead of picking up pieces at a retail store. The per-foot price drops fast.
- If you are replacing an old fence, check whether the existing posts are still solid. Reusing good posts saves a lot of digging and concrete.
Tips for a Successful Chain Link Fence Installation
A few things that are easy to overlook but make a noticeable difference in the finished product:
- Keep posts plumb the whole time. Check every post with a level on two sides before the concrete sets. A post that leans even slightly will be obvious once the fabric goes up, and fixing it after the concrete cures means breaking it out and starting over.
- Stretch the fabric evenly. Use the come-along and pull slowly. You want the mesh firm and uniform, not cranked so tight that the posts start bowing toward each other. If the posts are leaning inward, you have gone too far.
- Use plenty of wire ties. Tie the fabric to every line post and to the top rail at 12 to 18-inch intervals. Skimping on ties creates loose spots that flap in the wind and eventually sag.
- Install tension wire at the bottom. This wire runs along the ground line, keeping the fabric from being pushed outward by pets, wind, or lawn equipment. It is easy to skip and hard to add later.
Common Chain Link Fence Installation Mistakes
Most fence problems stem from a handful of avoidable errors.
- Posts that are not plumb or not deep enough. Shallow posts shift after rain or freeze-thaw cycles. Posts that lean throw off the whole fence line. Dig to the right depth, use enough concrete, and check plumb twice before walking away.
- Loose fabric. If the chain link mesh is not stretched properly during installation, it will develop waves and sag within a few months. This is the single most visible mistake on a finished fence and the hardest to fix after the fact.
- Skipping the tension wire. Without a bottom tension wire, the mesh can bow outward at ground level. Dogs figure this out fast.
- Ignoring local codes or utility lines. Building without a permit can mean tearing the fence down. Hitting a gas line while digging is worse. Both are avoidable with a few phone calls before you start.
- Rushing the concrete cure. Hanging rails and fabric on posts that have not fully set is asking for misalignment. Give the concrete at least two full days.
Conclusion
Chain link fence installation takes some planning and a fair amount of digging, but the process is not complicated once you know what each step involves.
The right post depth, proper spacing, and good tension on the fabric are the things that separate a fence that holds up for 20 years from one that starts sagging after the first winter.
Take your time during the layout and post setting stages. Those are the steps where mistakes compound. Everything after that goes faster and smoother when the foundation is solid.
If you are working with a flat yard and a straightforward layout, this is a project most people can handle over a couple of weekends.
The money you save by skipping the contractor is real, and there is something satisfying about looking at a finished fence and knowing you built it yourself.