How to Clean Wood Floors Without Damaging Them

Wood floors can take a beating. Pets, spills, muddy shoes, everyday foot traffic.
And most people handle it the same way they always have: a mop, some water, maybe a splash of vinegar. Then they wonder why the floors look dull six months later.
Cleaning wood floors is not complicated, but the details matter more than people expect. Too much water warps the boards. The wrong cleaner strips the finish. A regular mop holds far more moisture than wood can handle.
This guide covers every method that actually works, from quick daily habits to deep cleaning and stain removal, so your floors stay in good shape for years.
Why Clean Wood Floors the Right Way?
Dirt and grit do not just sit on wood floors. They get dragged across the finish with every step, slowly scratching and wearing it down.
Spills that are not wiped up fast enough seep into the board joints and cause the wood to swell, stain, or warp. Using the wrong cleaner strips the finish and leaves floors looking chalky and dull.
Floors that are cared for properly can last well over a hundred years. The ones that are not often need costly refinishing within a decade.
How Often Should You Clean Wood Floors?
The right cleaning schedule depends on how much traffic your floors see, whether you have pets or kids, and what the weather is like outside. A home with two adults needs less frequent cleaning than one with three kids, two dogs, and a muddy backyard.
Here is a simple schedule that works for most households:
Daily
- Sweep or dry mop high-traffic areas like entryways, kitchens, and hallways.
- Wipe up any spills the moment they happen. Do not let liquid sit.
Weekly
- Vacuum the full floor using the hard floor or bare floor setting. Turn the beater bar off.
- Damp mop high-traffic zones once a week using a well-wrung microfiber mop.
Monthly
- Mop the entire floor with a wood-safe cleaner.
- Check for dull spots, scuffs, or scratches that may need attention.
Seasonally and Annually
- Rearrange rugs at the start of each season to prevent uneven fading.
- Apply a fresh coat of finish every three to five years.
- Sand and refinish every ten years, or sooner if wear is visible.
- Get a professional floor inspection once a year if your floors are older.
Tools You Need for Cleaning Wood Floors
Before you clean anything, make sure you have the right tools. Using the wrong ones causes more damage than skipping a clean altogether.
Here is a quick reference table:
| Use These | Avoid These |
|---|---|
| Microfiber dust mop (flat head) | String mop (holds too much water) |
| Soft-bristle broom with synthetic fibers | Steam mop (heat warps wood) |
| Vacuum with hard floor setting and soft brush attachment | Vacuum with rotating beater bar (scratches finish) |
| Damp microfiber mop | Steel wool or abrasive scrubbers |
| Spray bottle for controlled liquid application | Rough sponge pads |
| Soft dry cloths for spills and drying | Wet wipes not made for wood |
| pH-neutral hardwood floor cleaner | All-purpose or tile cleaners |
Step-by-Step: How to Clean Hardwood Floors
There is a right order to cleaning wood floors. Skip a step and you either push dirt around or leave moisture sitting on the boards. Follow these steps and the whole process takes less time than most people think.
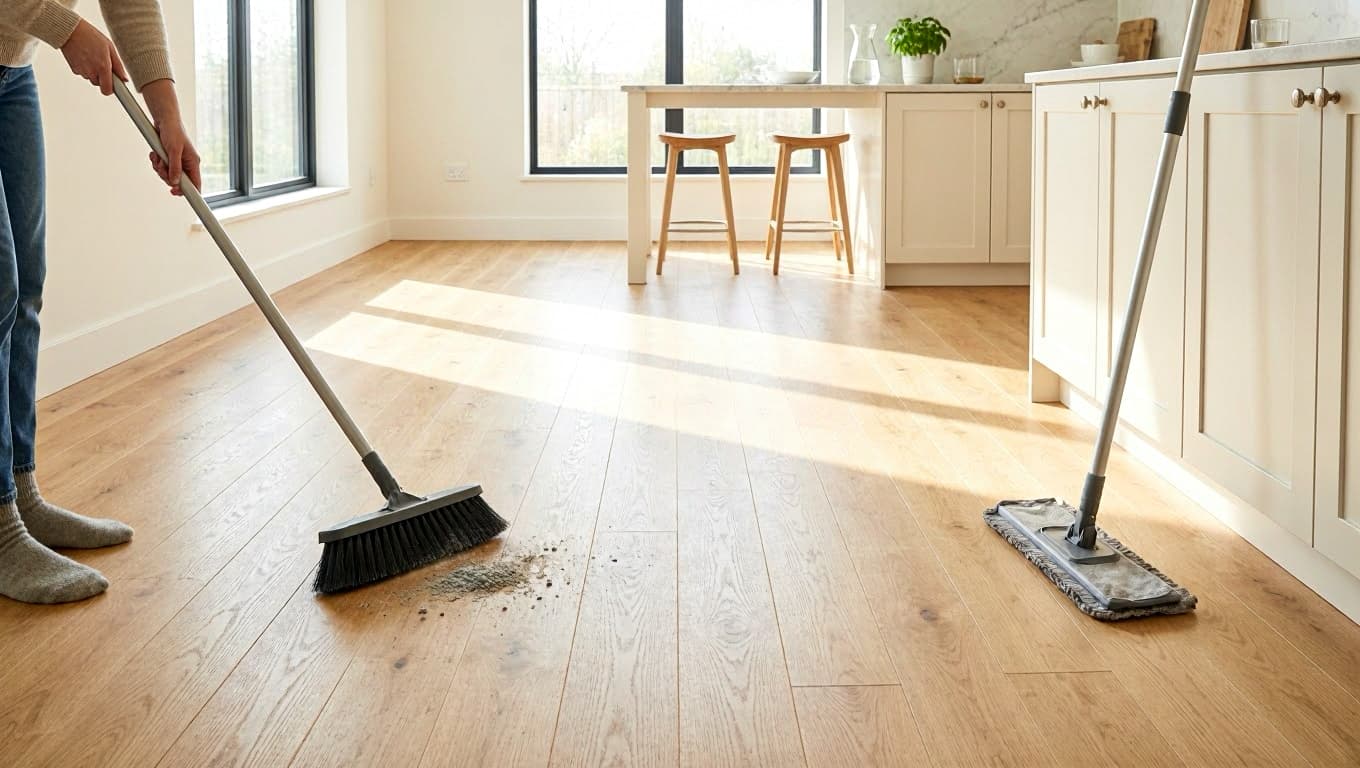
Step 1: Remove Loose Dirt First
Sweep or vacuum before you touch the floor with anything damp. Dirt and grit scratch the finish the moment a wet mop pushes them around. Pay close attention to the edges and the gaps between boards. That is where fine dust collects and hides.
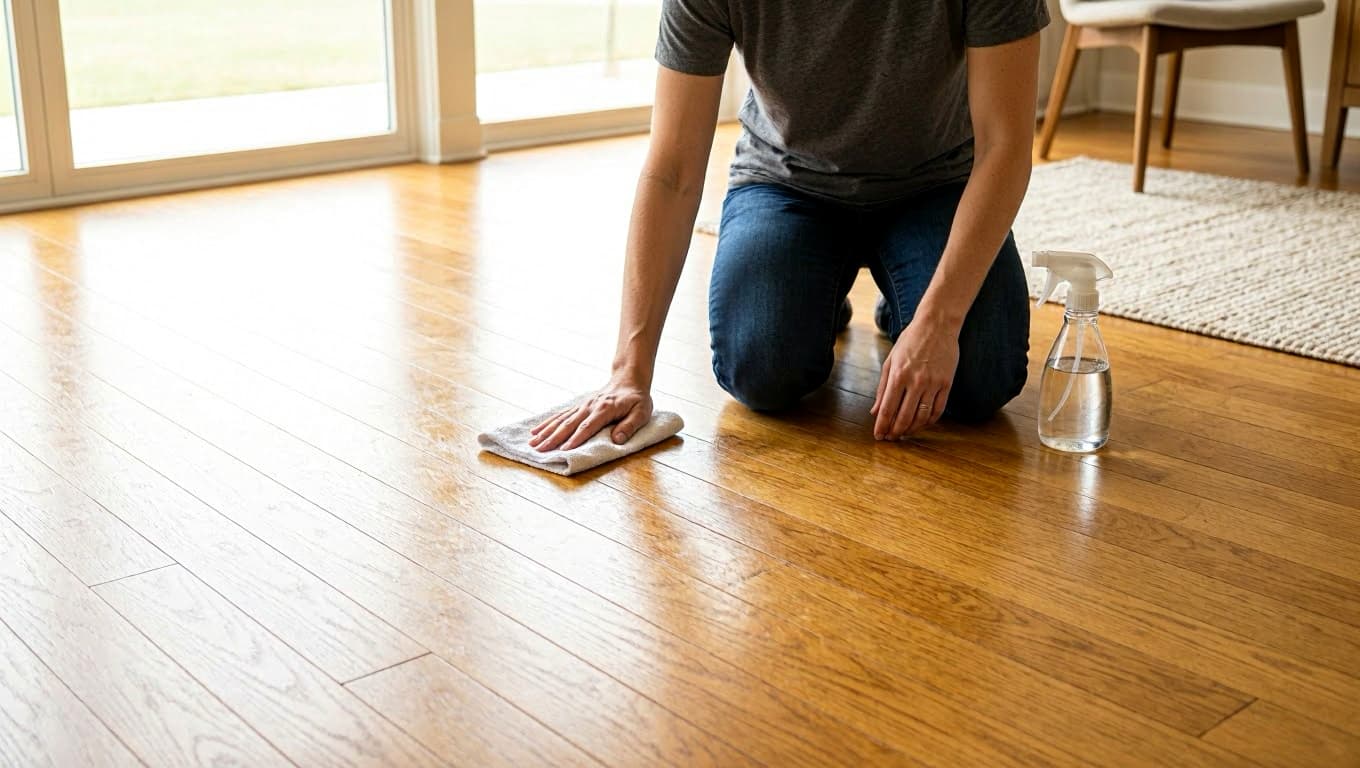
Step 2: Handle Spills Right Away
Blot the spill with a soft dry cloth. Do not rub it outward. Once the liquid is absorbed, wipe the spot with a cloth barely damp with plain water and dry it immediately. The longer a spill sits, the deeper it gets into the wood.
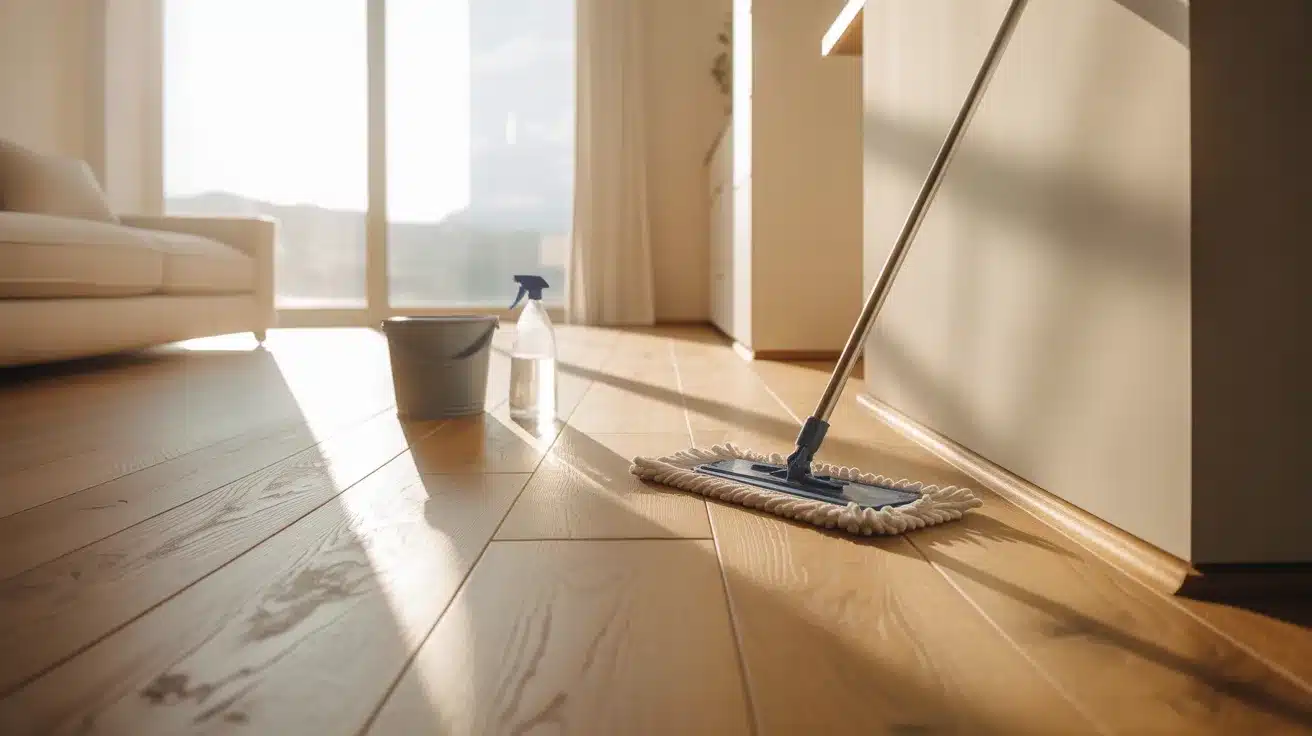
Step 3: Damp Mop the Right Way
Spray a small section of the floor, about three feet by three feet, with a pH-neutral wood floor cleaner. Mop with the grain of the wood using a well-wrung microfiber mop. The mop should feel damp, not wet. Work in sections and replace the water if it gets cloudy.
Step 4: Dry the Floor Immediately
Go over each mopped section with a dry microfiber cloth straight after. Do not wait for it to air dry on its own. Standing moisture seeps into board joints and causes warping. Turn on a ceiling fan to help speed things up.
Step 5: Buff for Shine (Optional)
If the floor looks dull after drying, lightly buff it with a soft cloth. Apply a wood floor polish if needed. Buffing takes two minutes and makes a visible difference.
Best Cleaning Solutions for Wood Floors
Not every cleaner on the shelf is safe for wood. The wrong one can strip the finish in a single use. Here is what actually works and what to skip entirely.
Commercial Cleaners
- Bona: Gentle, dries without leaving residue, safe for all sealed wood floor types. Recommended by professional floor cleaners.
- Murphy Oil Soap: Good for a deeper clean. Follow the label closely and avoid using too much.
- Method Plant-Based Cleaner: No rinse needed, works on sealed wood and laminate, almond-scented.
DIY Cleaning Solutions
- Dish soap and water: A few drops of mild dish soap in a bucket of warm water works well for regular cleaning.
- Diluted white vinegar: Three parts water to one part white vinegar, for sealed floors only. Test a hidden area first since vinegar can dull some finishes over time.
- Baking soda for grease: Sprinkle directly on the oily spot, let it sit for a few minutes, then wipe clean.
- Essential oils: Add a few drops to any water-based solution for a better smell. They do not clean but they do not hurt either.
What to Never Use
- Bleach or ammonia: Strips the finish and can permanently discolor the wood.
- Undiluted vinegar: Too acidic for regular use. Can dull the finish over time.
- Oil soaps: Leave a sticky film that attracts more dirt.
- Steam mops: The heat forces moisture into the boards and causes warping.
- Vinyl or tile floor cleaners: Made for different surfaces, harmful on wood.
- Two-in-one polish and cleaner products with acrylics: Build up a cloudy layer that is hard to remove.
How to Remove Stains from Wood Floors?

Stains on wood floors are stressful, but most of them are fixable if you act quickly and use the right method for each type. The key is matching the solution to the stain.
1. Water Stains
Light water rings can be rubbed out with a cloth barely damp with plain water. Dry the spot completely after.
Dark water stains on floors with a penetrating or wax finish may need light sanding with fine-grit sandpaper, followed by a matching wax stick applied and buffed in.
2. Pet Stains
Blot up the liquid immediately. Do not rub or it spreads. Clean the area with a wood-safe cleaner and dry it well.
For older, darker stains on sealed floors, dab a small amount of hydrogen peroxide onto the stain with a cloth. Let it sit briefly, then wipe and dry.
Clean up pet accidents as fast as possible since urine is acidic and can damage the finish and stain the wood permanently if left.
3. Grease and Oil Stains
Sprinkle baking soda directly onto the stain and let it sit for a few minutes to absorb the grease. Wipe it away with a damp microfiber cloth. Finish with a dry cloth to make sure no moisture is left behind.
4. Wine, Coffee, and Food Stains
Blot the spill immediately. Use a wood-safe cleaner on a soft cloth and work gently from the outside of the stain inward. For stubborn spots on sealed floors, a small amount of hydrogen peroxide on a cloth can lift the color without damaging the finish. Always dry the spot fully after cleaning.
How to Protect Wood Floors After Cleaning?
Cleaning is only part of the picture. What you do between cleans determines how fast the floor wears down. These habits cost almost nothing and make a real difference.
- Place doormats at every entrance: Catches dirt, grit, and moisture before it gets onto the floor. Replace or shake them out regularly.
- Use area rugs in high-traffic zones: Living rooms, hallways, and in front of the kitchen sink take the most wear. A rug gives the finish a break.
- Check what is under your rugs: Avoid rubber or vinyl-backed rugs. They trap humidity and can stain or warp the wood over time. Use fabric rug pads instead.
- Add felt pads to all furniture legs: Chairs, sofas, and tables cause deep scratches when moved. Peel-and-stick felt pads take thirty seconds to apply.
- Use furniture sliders when moving anything: Never drag furniture directly across the floor.
- Make it a no-shoes zone: Shoes bring in grit, small rocks, and moisture that scratch the finish with every step.
- Trim pet nails regularly: Long nails scratch wood the same way grit does. Lay down pet-friendly rugs or beds in spots where animals rest most.
|
When to Call a Professional? If your floors stay dull after deep cleaning, boards are warping, or scratches cover a large area, call a flooring professional. The same goes if it has been more than ten years since the last refinish. A professional clean or refinish costs far less than replacing damaged boards. |
How to Fix Scratches on Wood Floors?
Minor scratches are common and most of them can be handled without calling anyone. A wood stain marker that matches your floor color covers light surface marks well.
Apply it to the scratch and buff it with a soft cloth. For small dents, a wax stick fills the gap and blends in.
Liquid scratch concealers work for slightly deeper marks since they dry to a permanent seal that holds through regular cleaning.
For deeper scratches, use fine-grit sandpaper to buff the area lightly, apply a small amount of matching wood stain, let it dry, and seal with a thin coat of polyurethane.
If a large section of the floor looks worn or bare, it is time to refinish rather than patch.
Conclusion
Cleaning wood floors does not need to be a big production. A dry mop most days, a damp mop every week or two, and the right cleaner for your finish type. That covers most of it.
The bigger mistakes, too much water, the wrong products, skipping the dry wipe after mopping, are easy to avoid once you know what to watch for. Floors that get consistent, simple care hold up for decades. Ones that get ignored or cleaned wrong tend to look tired within a few years.
Start small. Pick one habit from this guide and build from there. Have a tip that works for your floors? Drop it in the comments below.