Are you a book lover looking for an innovative way to showcase your collection? DIY built-in bookshelves might be the perfect solution for you! These custom-made bookshelves not only give a vibe of fashion to your space but also provide storage.
What is Built In Bookshelves? These bookshelves are combined into your home’s structure, offering a smooth and custom look. With just a little patience and a lot of creativity, you can change any dull wall into a book lover’s paradise. Step-by-step, we’ll guide you through the entire process by using these simple instructions.
Whether you’re experienced or a beginner, you can make these bookshelves easily without any problem. So, get ready to start this exciting craft journey.
By the end, you’ll have fantastic custom-made bookshelves that not only change your room’s entire look but also give you the satisfaction of creating something with your own hands.
Let’s begin!
Planning Your DIY Built-in Bookshelves

Before you get into the building process, careful planning is essential to ensure a successful project.
Follow these steps to get started:
Step 1. Measuring the Space
Begin by measuring the area where you want to install the bookshelves. Use measuring tape to get accurate dimensions of the space’s height and width. Taking detailed measurements will help you calculate the exact size your bookshelves should have, ensuring a perfect fit.
Step 2. Choosing Right Material
Selecting suitable materials is essential for both the aesthetics and strength of your built-in bookshelves. Choose high-quality wood that matches your style preferences, such as oak, maple, or cherry. Consider the thickness and finish of the wood to see to it complements the look of the room. If you’re on a budget, you can check alternatives like plywood or MDF boards cut to size for the shelves and trim.
Step 3. Creating a Design and Layout
Take some time to review the design and layout you want for your built-in bookshelves. Think about the purpose of the shelves and what items you’ll be storing on them. Decide the number of shelves you’ll need and how you want to divide the compartments, and give thought to including features like adjustable shelves or hidden storage spaces to maximize space.
Step 4. Building the Frame
To begin constructing the frame of the built-in bookshelves, carefully cut the wood pieces according to the exact measurements outlined in your plan. Taking extra care to check accuracy will lead to a strong and well-fitted frame. Once you have all the pieces ready, apply wood glue to the joining edges and use screws to fasten them together securely. This combination of wood glue and screws will provide stability and durability to your bookshelves, and check if they can handle the weight of your book collection easily.
Step 5. Installing Shelves and Dividers
With the frame organized, it’s time to install the shelves and dividers. Before doing so, use a level to check and double-check that everything is perfectly straight and level. Accurate leveling is needed to avoid any position to be caused by the shelves once they are filled with books. When you’re satisfied with the alignment, secure the shelves and dividers to the frame, and make sure they are well-supported and won’t fall under, consider adding cable management clips to keep cables so the weight of books or other items you plan to store on them.
Step 6. Add Finishing Touches
To give your DIY built-in bookshelves a professional and polished appearance, add trim and frames to the edges. Carefully choose a shape that complements the design of your bookshelves and the room they are in. Before proceeding to the next step, take the time to use sandpaper and sand all the surfaces. Sanding will not only make a smooth finish but also ensure no rough edges that could damage your books. Once the sanding is complete, you can move on to the final steps of your bookshelf project.
Step 7. Installing Bookshelves
Once your built-in bookshelves are fully built and finished, it’s time to install them in their designated space. Proper installation is important for ensuring the safety and stability of your bookshelves and the items you’ll be placing on them.
Step 8. Secure Bookshelves to The Wall
To begin the installation process, carefully position the built-in bookshelves against the wall where you want to set them. Use a level to make sure they are perfectly straight, and adjust their position if necessary. Once aligned, you’ll want to attach the bookshelves to the wall using a well-grounded wall and screws. Using the right hardware is important to guarantee a strong and long-lasting attachment. Before drilling any holes, double-check the position of any electrical wires or plumbing behind the wall to avoid potential damage. If you are unsure about this, consult a professional to locate and mark the spots for drilling safely.
Step 9. Making Adjustments and Ensuring Stability
Once the bookshelves are set, check them for any signs of misalignment. Even a small instability can lead to accidents or damage to the shelves and other things. If you notice any instability, take immediate action to repair it. Check that all screws are tightly secure, and if necessary, small wooden stuff to balance the bookshelves. Review the level and make adjustments as needed to confirm a secure and even installation.
Decorating and Styling Your Bookshelves
Now that your DIY built-in bookshelves are ready, it’s time to bring them to life by decorating and styling them.
1. Organizing Your Books and Other Items
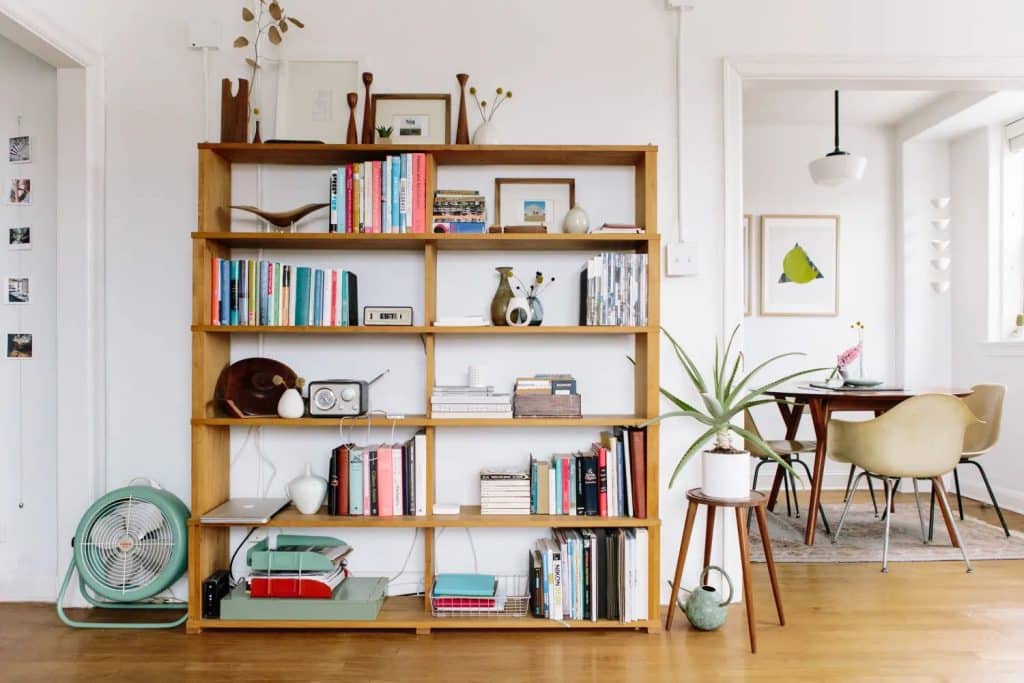
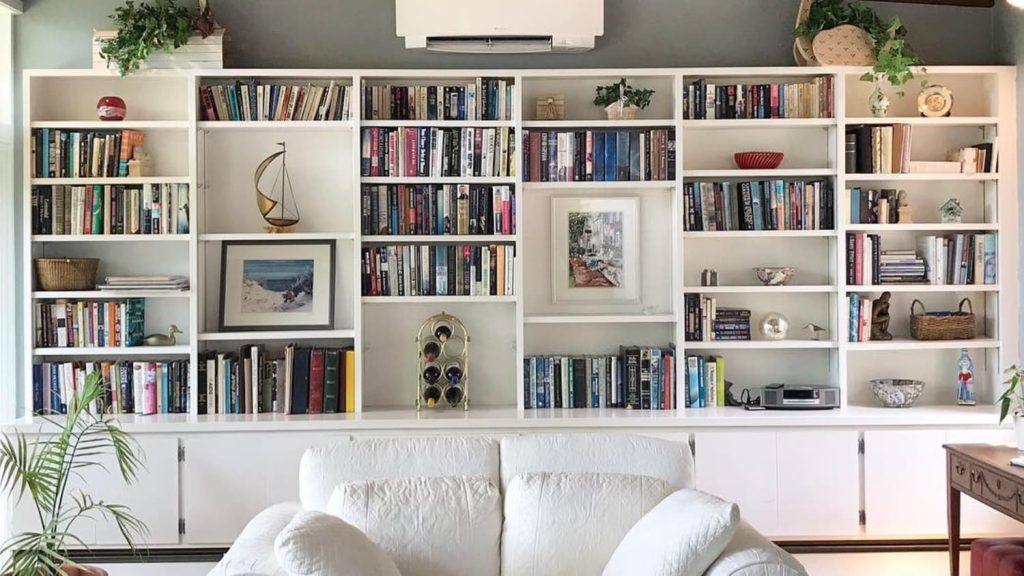
Organize your books and other items on the shelves thoughtfully, considering both flexibility and aesthetics by built-in bookshelves. Arrange your books by size, but don’t be afraid to mix horizontal and vertical positions for a dynamic look. Set decorative items like bookends or small sculptures among the books to break up the pattern and add interest. Consider organizing your books by color, and make a beautiful rainbow effect across the shelves. Group books with similar colors together and set transitions from one color to the next. This arrangement not only looks attractive but also makes finding books based on their covers much easier.
2. Adding Decorative Elements
To personalize your built-in bookshelves, use decorative elements that reflect your style and interests. Place unique vases or decorative boxes on the shelves, giving them quality and grace. Using photo frames to display cherished memories or inspirational quotes creates an inviting environment. Consider showcasing small art prints or postcards that reflect yourself. Plants are an excellent way to bring life to your bookshelves. Choose potted plants that grow indoors and don’t require much maintenance. The greenery will soften the look of the shelves and add a refreshing natural element to the space.
Painting and Staining
The final step in building DIY bookshelves is adding your desired finish. Whether you choose to paint or stain, follow these guidelines.
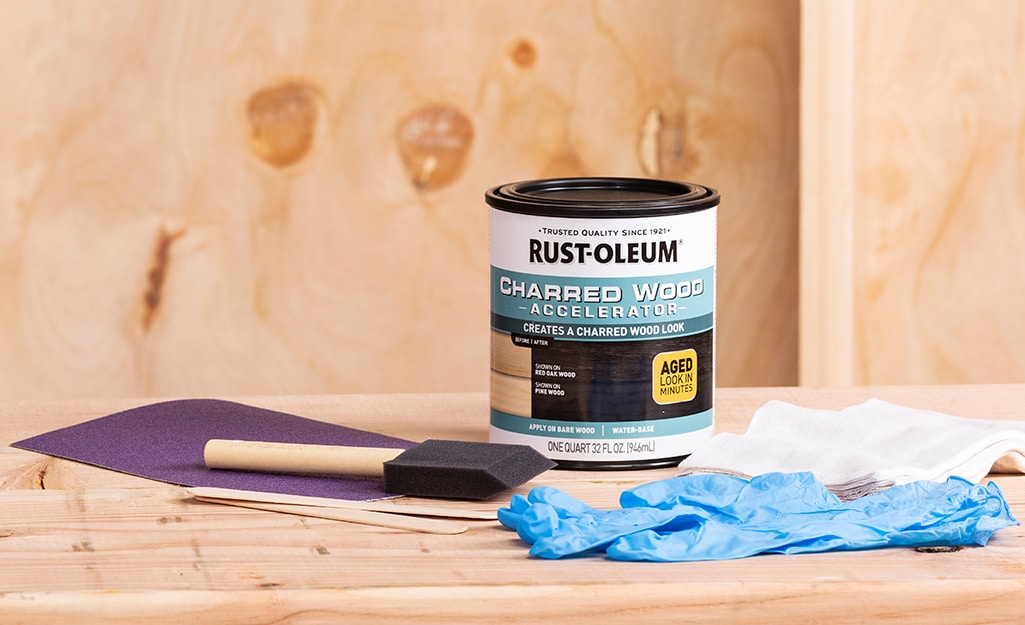
1. Preparing Bookshelves for Painting/Staining
Before applying the finish, take the time to sand the surfaces again. This step makes sure that any imperfections or rough spots are eliminated, leaving you with a smooth and professional-looking surface. After sanding, try to clean the bookshelves carefully. By removing any dust or waste, you can make a clean canvas for your chosen finish to attach to properly.
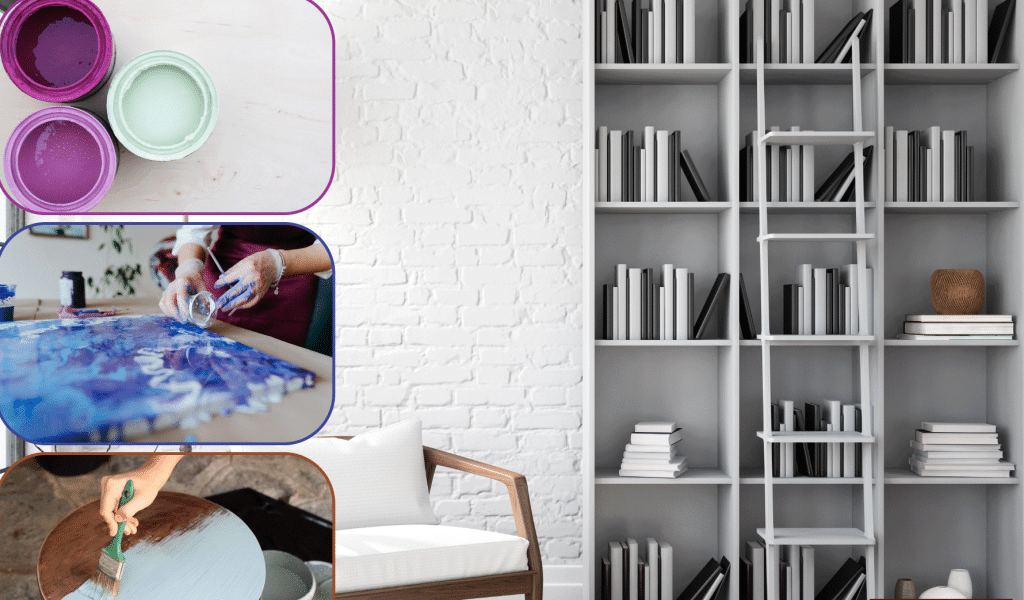
2. Choosing the Right Colors
The color of your bookshelves can remarkably hit the room’s aura. Consider the color scheme of your space and select a paint that complements it peacefully. Whether you go for vibrant shades to add a pop of color or choose soil-like tones for a more pleasant feel, testing a small area first will help you ensure that the chosen color or stain aligns with your vision for the project.
3. Give the Finish Touch
When applying the paint or stain, it’s important to do it evenly cover all surfaces. Following the manufacturer’s instructions is the key to achieving the best results. You can use high-quality paint brushes and rollers, along with paint stirrers, to mix the paint or stain, ensuring consistency of color distribution. Depending on the product, you might need multiple coats to achieve the wanted color richness. Be patient and allow the finish to dry completely before placing any items on the shelves. This confirms that the finish is restored properly, preventing any accidental marks or damage while arranging your books and decorations.
Tools and Materials Needed
Before you begin building, gather all the necessary tools and materials for a smooth construction process:
- Necessary Tools
- Tape measure
- Level
- Power drill and bits
- Screwdriver set
- Saw (circular saw or miter saw)
- Wood glue
- Clamps
Types of Wood
When choosing a suitable wood species for your bookshelves, consider factors such as durability, aesthetics, and budget. Oak, maple, and pine are popular choices, each offering unique characteristics. Oak is known for its strength and attractive grain patterns, while maple provides a smooth surface and is easy to finish. On the other hand, pine wood boards are a cost-effective option with a pleasant attraction. Along with the wood, gather screws, nails, shelf brackets, and paint or stain to customize the appearance of your bookshelves.
Benefits of Building DIY Built-in Bookshelves
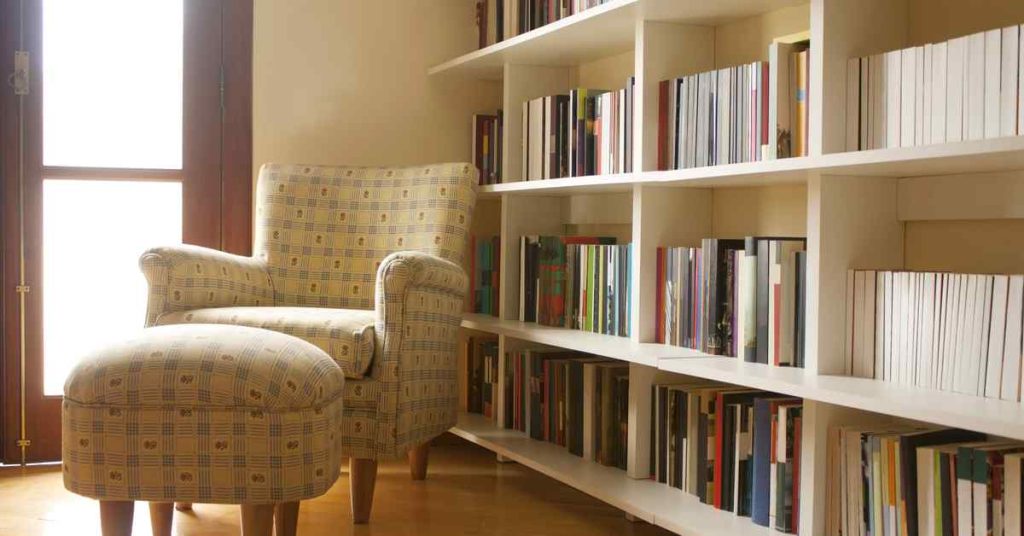
1. Maximizing Space: Built-in floating wall bookshelves make the most of every inch of available space, especially in rooms with awkward corners or small spaces. By using these often overlooked areas, you can make useful storage solutions that not only hold your books but also display cherished decor items and family photos or even provide a cozy reading spot. This smart use of space allows you to have neat and well-ordered areas, creating a feeling of organization and openness around your home.
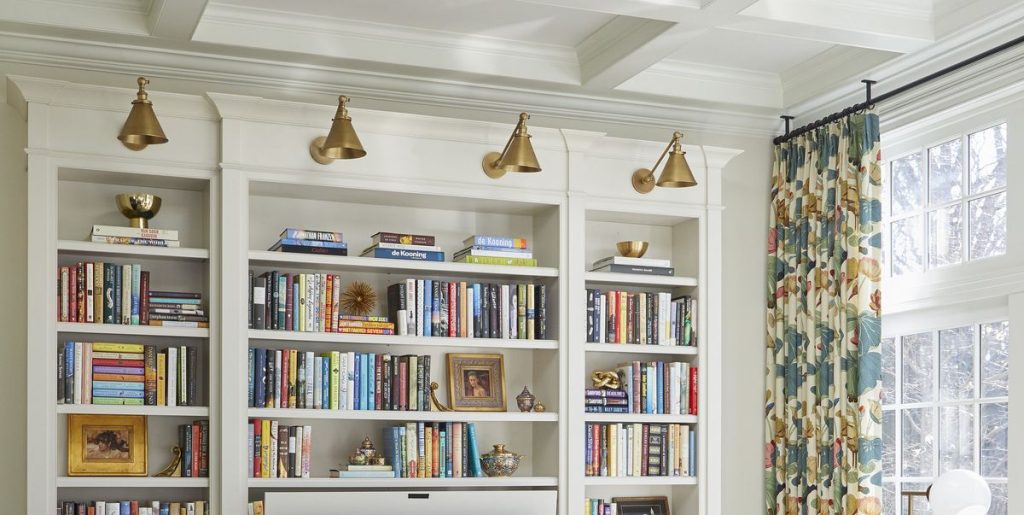
2. Customization: You have full control over the design and layout of the bookshelves, making them fit your style and needs. Different pre-made bookshelves and DIY built-in bookshelves offer a chance for creative expression and a personal feel. You can choose the materials, colors, and finishes that match your existing decor or take this opportunity to introduce a unique piece that reflects your personality; you could add decorative bookends to hold your books in place while also serving as an artistic element that complements the design. This modification lets you adjust the shelves to fit various book sizes and specialty items or even add lighting to make a welcoming environment.
3. Increased Home Value: Well-designed and skillfully made bookshelves can increase the value of your home. Beautifully crafted built-in bookshelves can set your home apart from others on the market, making it a more desirable and memorable option for potential buyers. Additionally, the ability to adopt bookshelves means that they can easily be adapted for other uses, such as displaying art or showcasing collectibles, further adding to their interest.
Maintenance Tips
To keep your DIY built-in bookshelves in excellent condition and ensure their longevity, follow these maintenance tips:
1. Keeping Your Bookshelves in Good Condition
Regularly dust and clean the bookshelves to prevent the increase of dirt. Use a soft microfiber cloth or a gentle duster to wipe away dust from the surface and inside the shelves. Dusting will not only maintain the bookshelves’ appearance but also protect your books and items from gathering waste. Organize and remove unnecessary items from your bookshelves from time to time. Arrange books and decorative items with care, ensuring they are placed evenly on the shelves. Consider using shelf liners or felt pads to protect the frames from scratches. These small protective measures can go a long way in preserving the finish of your built-in bookshelves, especially if you usually move or rearrange items.
2. Handling Repairs and Touch-Ups
Regularly look at the built-in bookshelves for any signs of wear and tear. If you notice any scratches or marks, take immediate action to repair them. Leaving such damages left may lead to further collapse and settlement of the strength of the bookshelves. Do touch-ups with paint to maintain the appearance. Keep a small amount of paint or stain that matches the original finish handy for quick touch-ups. Apply it carefully to damaged areas or areas where the finish has been damaged to restore the bookshelves’ attraction.
Conclusion
Alright, we’ve reached the end of our DIY built-in bookshelves adventure! Building a bookshelves can be a satisfying and enjoyable project. You’ll learn to measure, cut, and put things together carefully, turning basic materials into impressive creations that show off your style and creativity. Step-by-step, we’ll guide you through the entire process by using these simple instructions.
Along the way, you might face some challenges, but the happiness of learning and the feeling of achievement makes it all worthwhile. These bookshelves are not just wooden structures; they have the potential to display your favorite books and treasures, becoming a point of admiration for your loved ones.
Whether you’re new to DIY or experienced, creating something that’s uniquely yours is what makes it special. So, keep exploring, keep building, and, most importantly, have fun!
Happy building, and may your skills continue to grow and shine!