Roof Pitch: How to Measure and Choose the Right Slope

If a contractor mentions a six-twelve roof, you may wonder what that means. Roof pitch sounds technical, but it is easy to understand once you break it down.
Pitch describes how steep your roof is. That steepness affects more than curb appeal. It decides which roofing materials will hold up and how well rain and snow drain away. It also affects your project cost.
Understanding roof pitch helps you plan better for a new build, a full roof replacement, or a solar installation. This post shows you how to measure it, read it, and pick the right pitch for your home.
What is Roof Pitch
Builders once used two separate terms.
- Pitch means the rise divided by the full span of the roof.
- Slope means the rise divided by a 12-inch run.
Today, most roofers, homeowners, and building codes use pitch and slope to mean the same thing. Both are written as a ratio, such as 4 in 12 or 6 in 12.
A flat roof is rarely truly flat, either. Most low-slope roofs still carry a small pitch, often about one-quarter inch per foot. That tiny slope keeps water moving toward the drains instead of pooling on the surface.
How to Calculate Roof Pitch
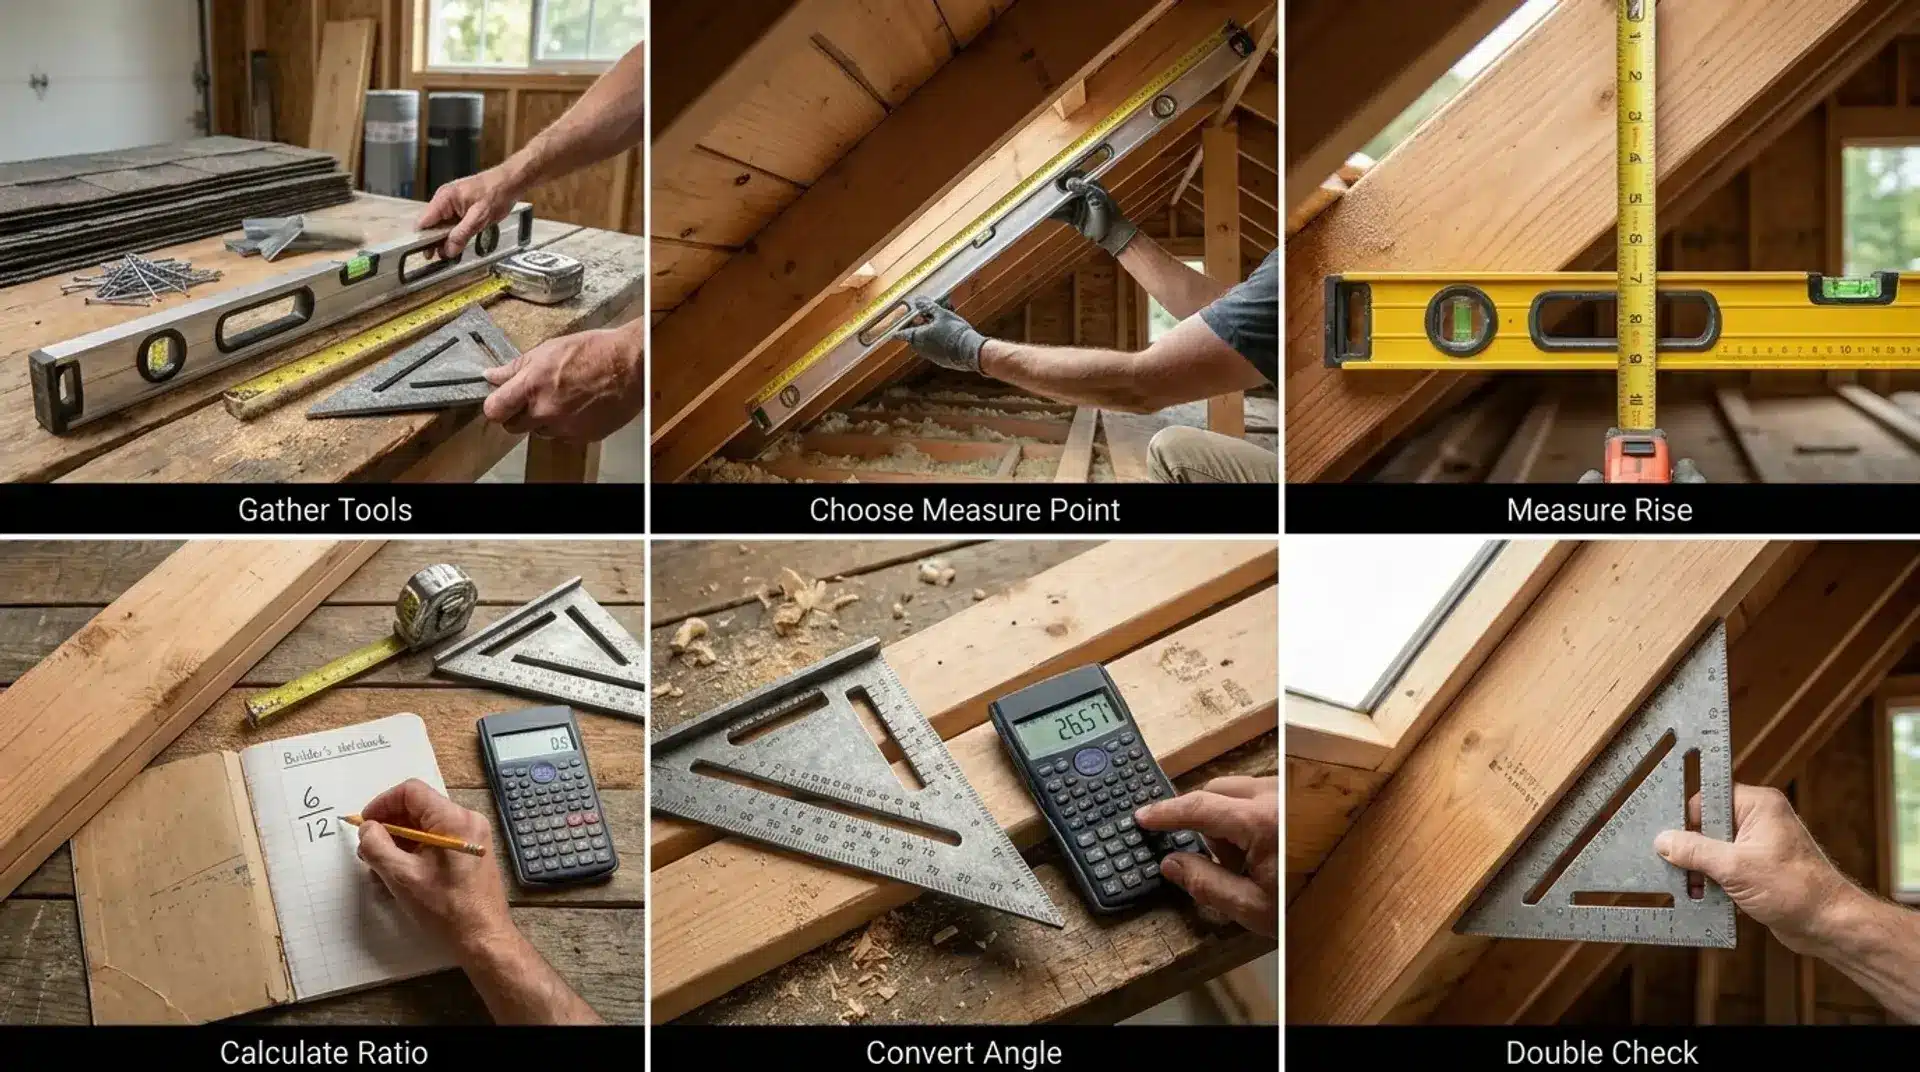
Calculating roof pitch takes no special training or expensive tools. With a level, a tape measure, and a few minutes, almost anyone can get an accurate reading.
Step 1: Gather Your Tools
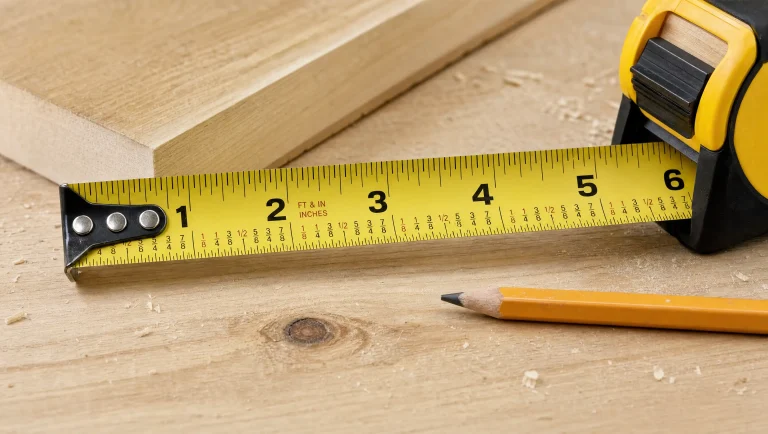
Before you climb anywhere, grab three tools: a tape measure, a 24-inch level, and a speed square. A speed square is optional, but it helps.
Measuring from the attic is often safer and faster. You just need a level and a tape measure, and you never have to leave the house.
Step 2: Choose Where to Measure
You can measure roof pitch three ways. Measure from inside the attic, from the roof surface, or from the ground with a speed square. Attic measurements are the safest choice, since you stay the whole time indoors.
Roof surface measurements give a direct reading, but they require careful footing and a stable ladder. Ground-level checks work in a pinch, though they give the least precise result of the three.
Step 3: Measure the Rise Over a 12-Inch Run
Hold your level flat and level against the roof surface or rafter. Extend it out 12 inches from a fixed point. Then measure straight down from that 12-inch mark to the roof or rafter below it.
That vertical measurement is your rise. A 6-inch rise at the 12-inch mark means your roof has a 6-in-12 pitch. Write this number down for the next step.
Step 4: Divide Rise by Run to Get the Ratio
Take your rise measurement and set it over 12, since roof pitch always uses a 12-inch run. A 4-inch rise becomes a 4-in-12 pitch. A 9-inch rise becomes a 9-in-12 pitch.
Roofers, inspectors, and manufacturers use this exact ratio on every plan, permit, and product spec sheet you will find.
Step 5: Convert to Degrees or Percent Slope
To find the angle in degrees, take the arctangent of your rise divided by 12. A 6-in-12 pitch works out to about 26.57 degrees.
For percent slope, divide the rise by 12 and multiply by 100. A 6-in-12 pitch equals a 50 percent slope. Structural engineers often use degrees, while some codes list requirements as a percentage instead.
Step 6: Double-Check With a Calculator or Speed Square
Once you have a pitch number, check it a second way. Use a free online roof pitch calculator, or read the angle straight off a speed square held against the rafter.
This second check catches mistakes before they affect your material order or cost estimate. If your numbers do not match, measure again at a different spot. Older homes can have slightly different pitches on each roof plane.
Common Roof Pitch Ratios in Degrees and Percentage
Once you know your roof’s rise and run, you can convert that ratio into degrees or a percent slope. This makes it easy to compare your roof against material requirements and climate recommendations.
The table below covers the most common residential pitches, based on standard trigonometric conversions.
|
Roof Pitch (rise in 12) |
Angle in Degrees |
Percent Slope |
Typical Use |
|---|---|---|---|
|
2 in 12 |
9.46 degrees |
16.7% |
Minimum pitch for asphalt shingles |
|
3 in 12 |
14.04 degrees |
25% |
Low slope, still walkable |
|
4 in 12 |
18.43 degrees |
33.3% |
Common on ranch-style homes |
|
5 in 12 |
22.62 degrees |
41.7% |
Common on ranch-style homes |
|
6 in 12 |
26.57 degrees |
50% |
Most common U.S. residential pitch |
|
8 in 12 |
33.69 degrees |
66.7% |
Steep, more visually dramatic |
|
9 in 12 |
36.87 degrees |
75% |
Steep, needs fall protection |
|
10 in 12 |
39.81 degrees |
83.3% |
Recommended for heavy snow areas |
|
12 in 12 |
45.00 degrees |
100% |
Very steep, needs specialized installation |
Notice how fast the percentage climbs as pitch increases. That is why steep roofs need noticeably more roofing material than low-pitch roofs built over the same footprint.
Minimum Roof Pitch Requirements for Every Roofing Material
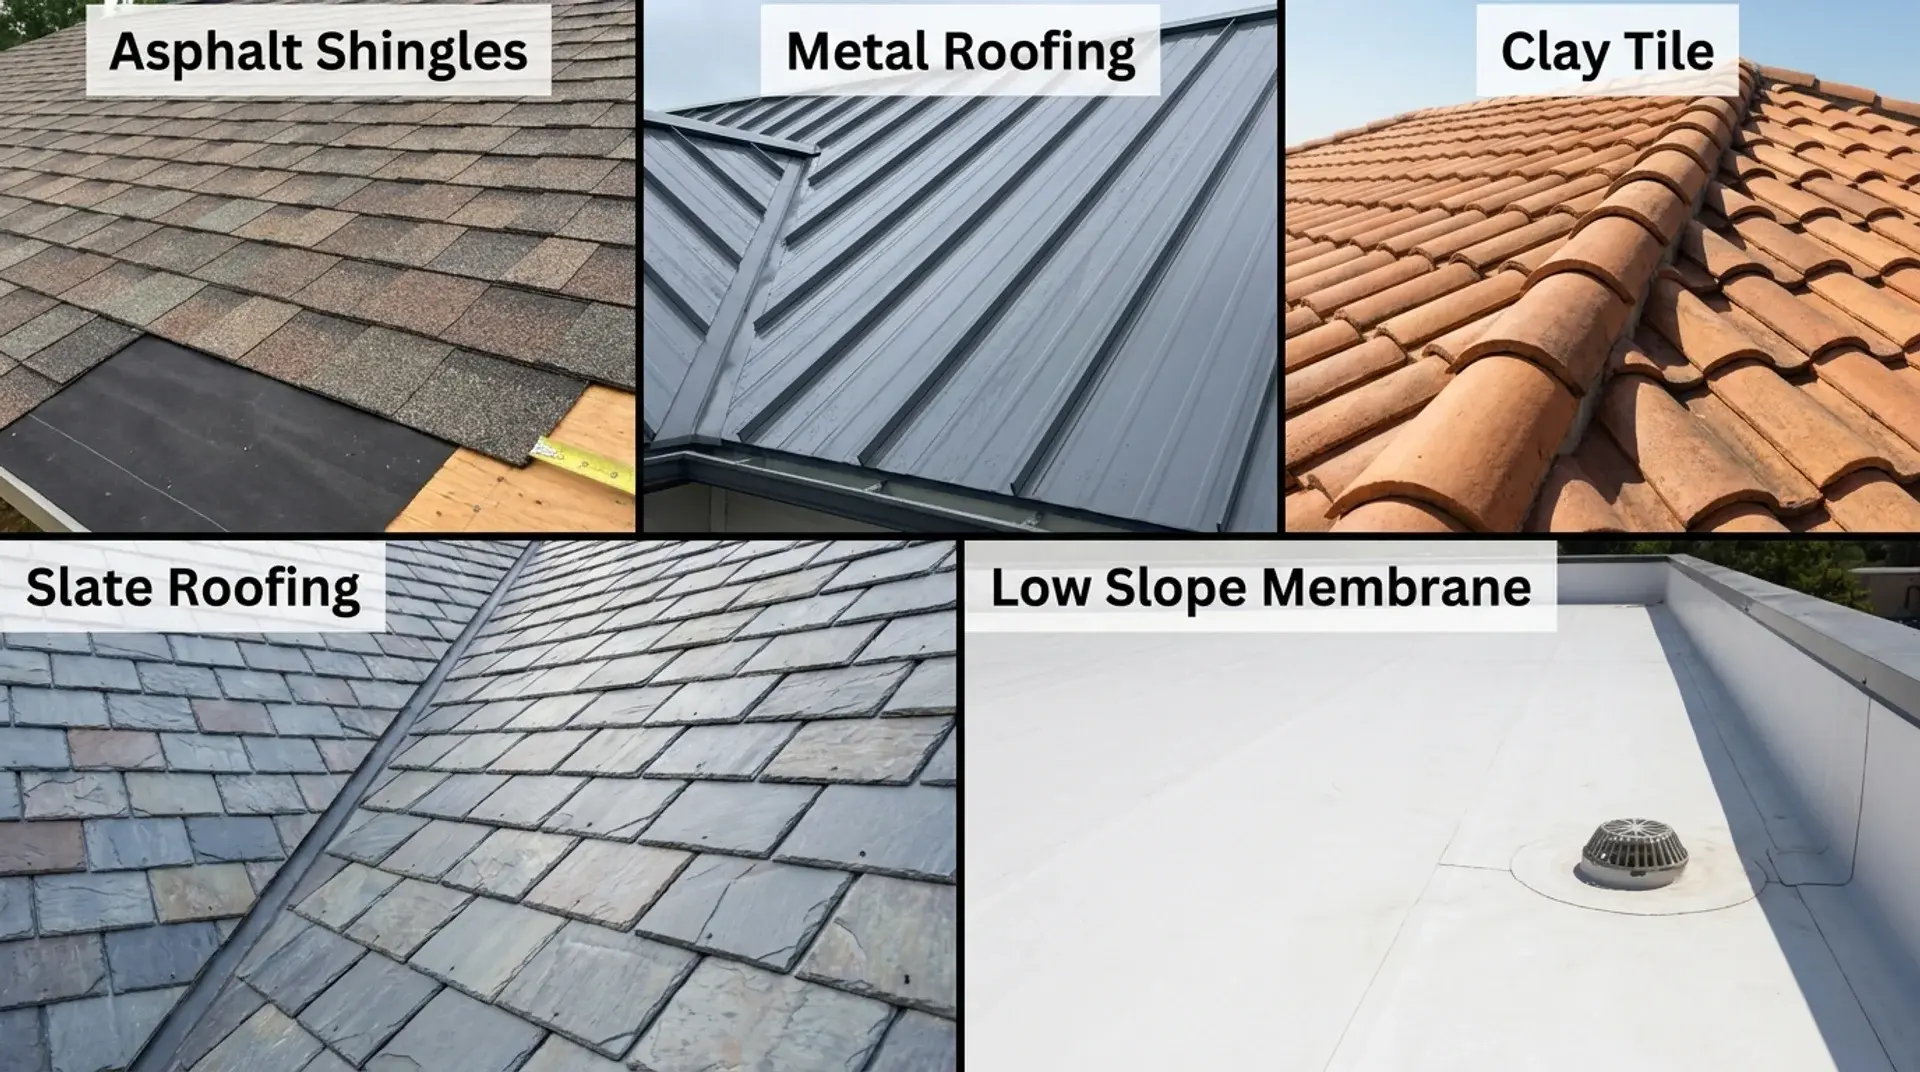
Every roofing material has a slope below which it will leak, void its warranty, or fail to meet building code. Knowing these minimums before you choose a material can save you from a costly mistake later.
1. Asphalt Shingles
Asphalt shingles need a minimum pitch of 2 in 12 under the International Residential Code, section R905.2. Between 2 in 12 and 4 in 12, code requires a double layer of underlayment because water drains more slowly at low pitches.
Once your roof reaches a pitch of 4 in 12 or steeper, a single layer of underlayment is enough. Most manufacturers recommend 4 in 12 as the safer minimum for long-term performance.
2. Metal Roofing
Standard metal roofing panels require a minimum pitch of 3 in 12 under IRC section R905.4. Standing seam metal systems are the exception. Their sealed seams allow installation on pitches as low as 1/4 in 12, with the manufacturer’s approval.
Metal shingles that mimic tile or shake generally follow the same 3-in-12 minimum as standard panels, so check your product’s specification sheet first.
3. Clay and Concrete Tile
Interlocking clay and concrete tiles require a minimum pitch of 2.5 in. per 12 in., per IRC Section R905.3. Flat or plain profile tiles that do not interlock require a minimum slope of 4 in. per 12 because they rely more heavily on gravity for drainage.
Extra underlayment is generally required at the lower end of these ranges, and manufacturer instructions can add stricter requirements on top of the base code minimums.
4. Slate
Natural slate typically needs a minimum pitch of 4 in 12, under IRC section R905.6.2. Slate performs best at steeper pitches, since more slope reduces how long water sits near the overlapping joints between pieces.
Headlap, the overlap between a slate and the slate two courses above it, also depends on pitch. Codes call for at least 4 inches of headlap on pitches from 4 in 12 up to 8 in 12. That drops to 3 inches on pitches from 8 in 12 up to 20 in 12. This extra overlap helps block wind-driven rain on lower slopes.
5. Flat and Low-Slope Membranes
Membrane systems such as TPO, EPDM, modified bitumen, and built-up roofing can go as low as 1/4 in 12. That works out to roughly 1.2 degrees.
Roofers call these low-slope rather than flat, since a truly flat surface would trap water and shorten the roof’s life. Good drainage design, including a slight taper toward drains or scuppers, keeps water moving off the roof.
How to Choose the Best Roof Pitch for Your Home
Picking the right pitch is not just about the look you want. Climate, safety, cost, and your solar plans all shape which pitch works best for your home.
- Climate: Heavy snow areas do better with a pitch of 10 in 12 or steeper, since snow slides off faster. In hurricane-prone or high-wind regions, a lower pitch helps more. A pitch between 4 in 12 and 6 in 12 can reduce wind uplift on the roof surface.
- Walkability and safety: Pitches under 6 in 12 are easy to walk on without special gear. Pitches between 7 in 12 and 10 in 12 are still walkable, but need more care. Pitches steeper than 10 in 12 usually call for harnesses and scaffolding.
- Project cost: Steeper roofs need noticeably more roofing material because the surface area grows as pitch increases. Labor takes longer, too, and steep roofs require safety gear, which raises installation costs.
- Solar panel installation: The U.S. Department of Energy notes that solar panels generally perform best when tilted between 15 and 40 degrees. That range corresponds to roughly a 3-in-12 to 10-in-12 pitch. Roofs outside this range still generate power, but may need adjustable racking to hit the ideal angle.
Consider these four factors together, rather than focusing on just one. Doing so gives you a pitch that fits your climate, budget, and long-term plans.
A Few Points Worth Remembering
Roof pitch is the ratio of rise to run, most often written as a number out of 12. The most common residential pitch is 6 in 12, equal to about 26.57 degrees.
Every roofing material carries its own minimum pitch, and going below it can void your warranty or cause leaks. Climate, walkability, cost, and your solar plans should all factor into your final decision.
Before you order materials, sign a contract, or plan a solar installation, measure your roof’s pitch first. That one number tells you almost everything about how your roof will perform for years to come.
Frequently Asked Questions
Does Homeowner’s Insurance Cost More for a Steep Roof?
Some insurers charge slightly more for very steep roofs. Repairs and inspections take more labor and carry a higher fall risk for contractors. The difference is usually modest and varies by insurer and region.
How Does Roof Pitch Affect Attic Headroom and Storage Space?
A steeper pitch creates more vertical space in the attic. That extra space works well for storage, or even future living space. A low-pitch roof leaves a shallower, more cramped attic.
Can Two Sides of the Same Roof Have Different Pitches?
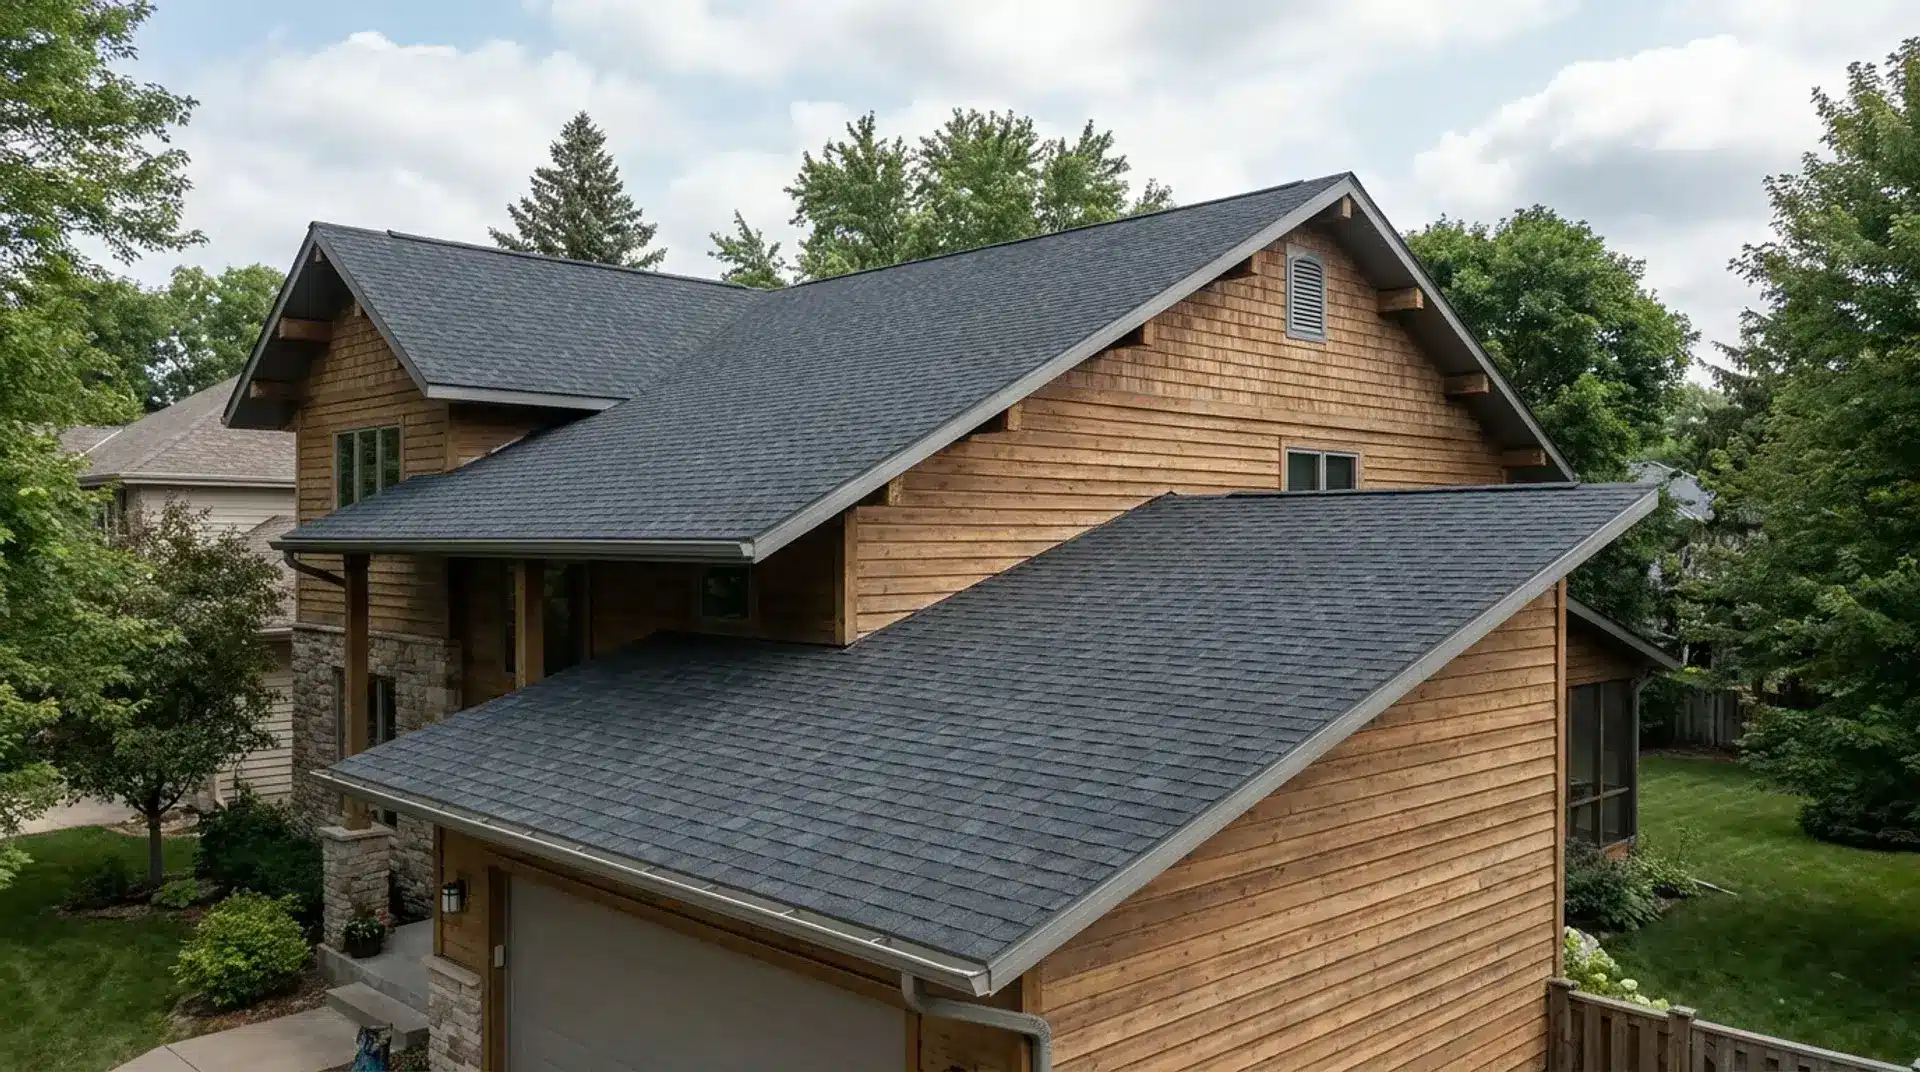
Yes, many homes use different roof pitches on different sections. Additions, porches, and dormers built at a different time than the main structure often carry their own pitch. Builders sometimes do this on purpose, to manage headroom and drainage.
How Accurate Are Smartphone Apps for Measuring Roof Pitch?
Phone-based pitch apps use the device’s internal sensors. They are usually accurate within a degree or two, when used correctly on a flat section of roof. A physical level and tape measure still give the more reliable reading for final material orders.
Do I Need a Permit to Change My Roof’s Pitch?
In most areas, yes. Changing your roof’s pitch usually requires a building permit, since it alters the structure’s load path. It may also affect setback or height rules for neighboring properties.