How to Make DIY Candles That Last and Smell Strong
A $30 candle that burns out in two days and barely smells is a real waste of money. That frustration is exactly what diy candles solve.
When you make candles at home, you control the scent, burn time, wax type, and total cost. A single batch costs a fraction of what you pay in stores.
This post covers every step: supplies, wax types, wick sizing, fragrance tips, common mistakes, and safety rules. You will also find a troubleshooting table to quickly fix burn problems.
Read on and make candles that smell strong, burn evenly, and look good enough to give as gifts.
What Supplies Do You Need to Make DIY Candles?
Getting your supplies right before you start prevents most beginner problems. Skipping items like a thermometer or proper fragrance oil is where most batches fail before they begin.
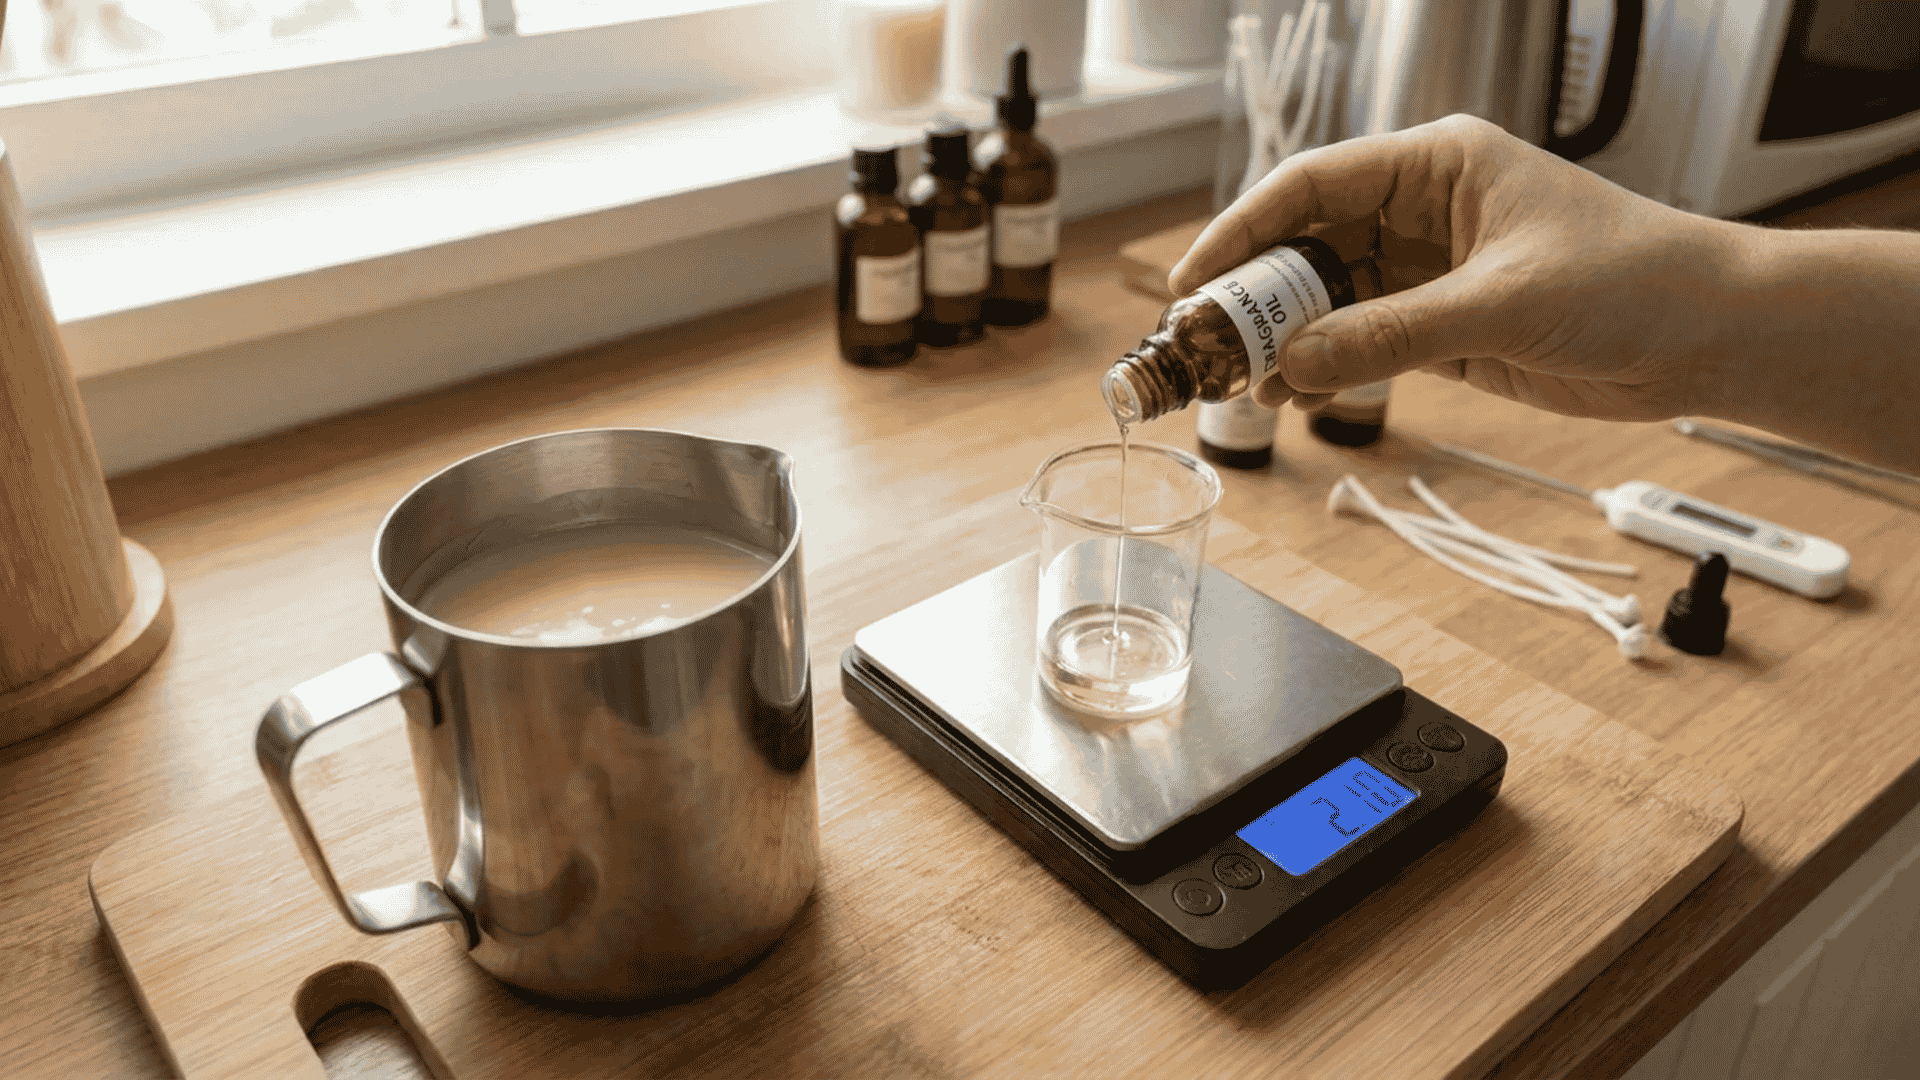
Essential supplies:
- Wax: soy, paraffin, beeswax, or coconut
- Wicks: cotton or wooden, sized to your container diameter
- Containers: heat-safe glass jars, tins, or ceramic mugs
- Fragrance oil: candle-grade only, not regular perfume
- Double boiler: never melt wax directly over a burner
- Kitchen scale: for weight measurements, not volume
- Thermometer: to check the wax temperature at every stage
- Stirring sticks: use disposable ones; wax sticks to everything
- Wick centering tool: two popsicle sticks across the jar opening work fine
Regular perfume is not made for high heat. Adding it to hot wax creates a fire hazard. Only use candle-grade fragrance oil designed for this purpose.
Setting up a dedicated craft workspace makes managing multiple batches much easier, especially once you start testing different wax and wick combinations.
Which Wax Works Best for DIY Candles?
The wax you choose is the foundation of your diy candles. It affects burn time, scent strength, surface finish, and total cost. Here is a direct comparison of the four main types.
| Wax Type | Burn Time | Scent Throw | Difficulty | Cost |
|---|---|---|---|---|
| Soy | Long | Medium | Easy | Mid-range |
| Paraffin | Shorter | Strongest | Easy | Budget-friendly |
| Beeswax | Longest | Subtle | Medium | High |
| Coconut | Long | Very good | Medium | Mid to high |
Soy wax burns up to 50% longer than paraffin because of its lower melting point. It is plant-based, easy to find, and forgiving to work with. It is the best starting point for beginners.
Paraffin wax gives the strongest scent throw and works well for both container and pillar candles. The trade-off is a faster burn time and its petroleum-based origin.
Beeswax has the longest burn time of any wax. It produces little smoke and gives off a natural honey scent. It is the most expensive option and less practical for testing multiple batches when starting out.
Coconut wax holds fragrance well and produces a smooth, creamy finish. It often comes pre-blended with soy for better firmness. A coconut-soy blend delivers strong scent throw, a long burn time, and a clean surface while remaining fully plant-based.
How to Choose the Right Wick?
The wick is the single biggest factor in how well your candle burns. Getting this wrong causes most of the problems beginners run into.
A wick that is too small causes tunneling. The candle burns straight down the center, leaving thick walls of unmelted wax around the edges. A wick that is too large creates a tall, smoky flame, leaves soot on the jar, and burns the candle too fast.
Cotton wicks are the standard choice. They are affordable, easy to find, and work with most wax types.
Wooden wicks produce a soft crackling sound when burning. They work well with soy and coconut wax and tend to create a wider melt pool, which reduces tunneling.
Wick sizing by container diameter:
| Container Diameter | Recommended Wick |
|---|---|
| Under 2 inches | Small single wick |
| 2 to 3 inches | Medium single wick |
| 3 to 4 inches | Large single wick or two medium wicks |
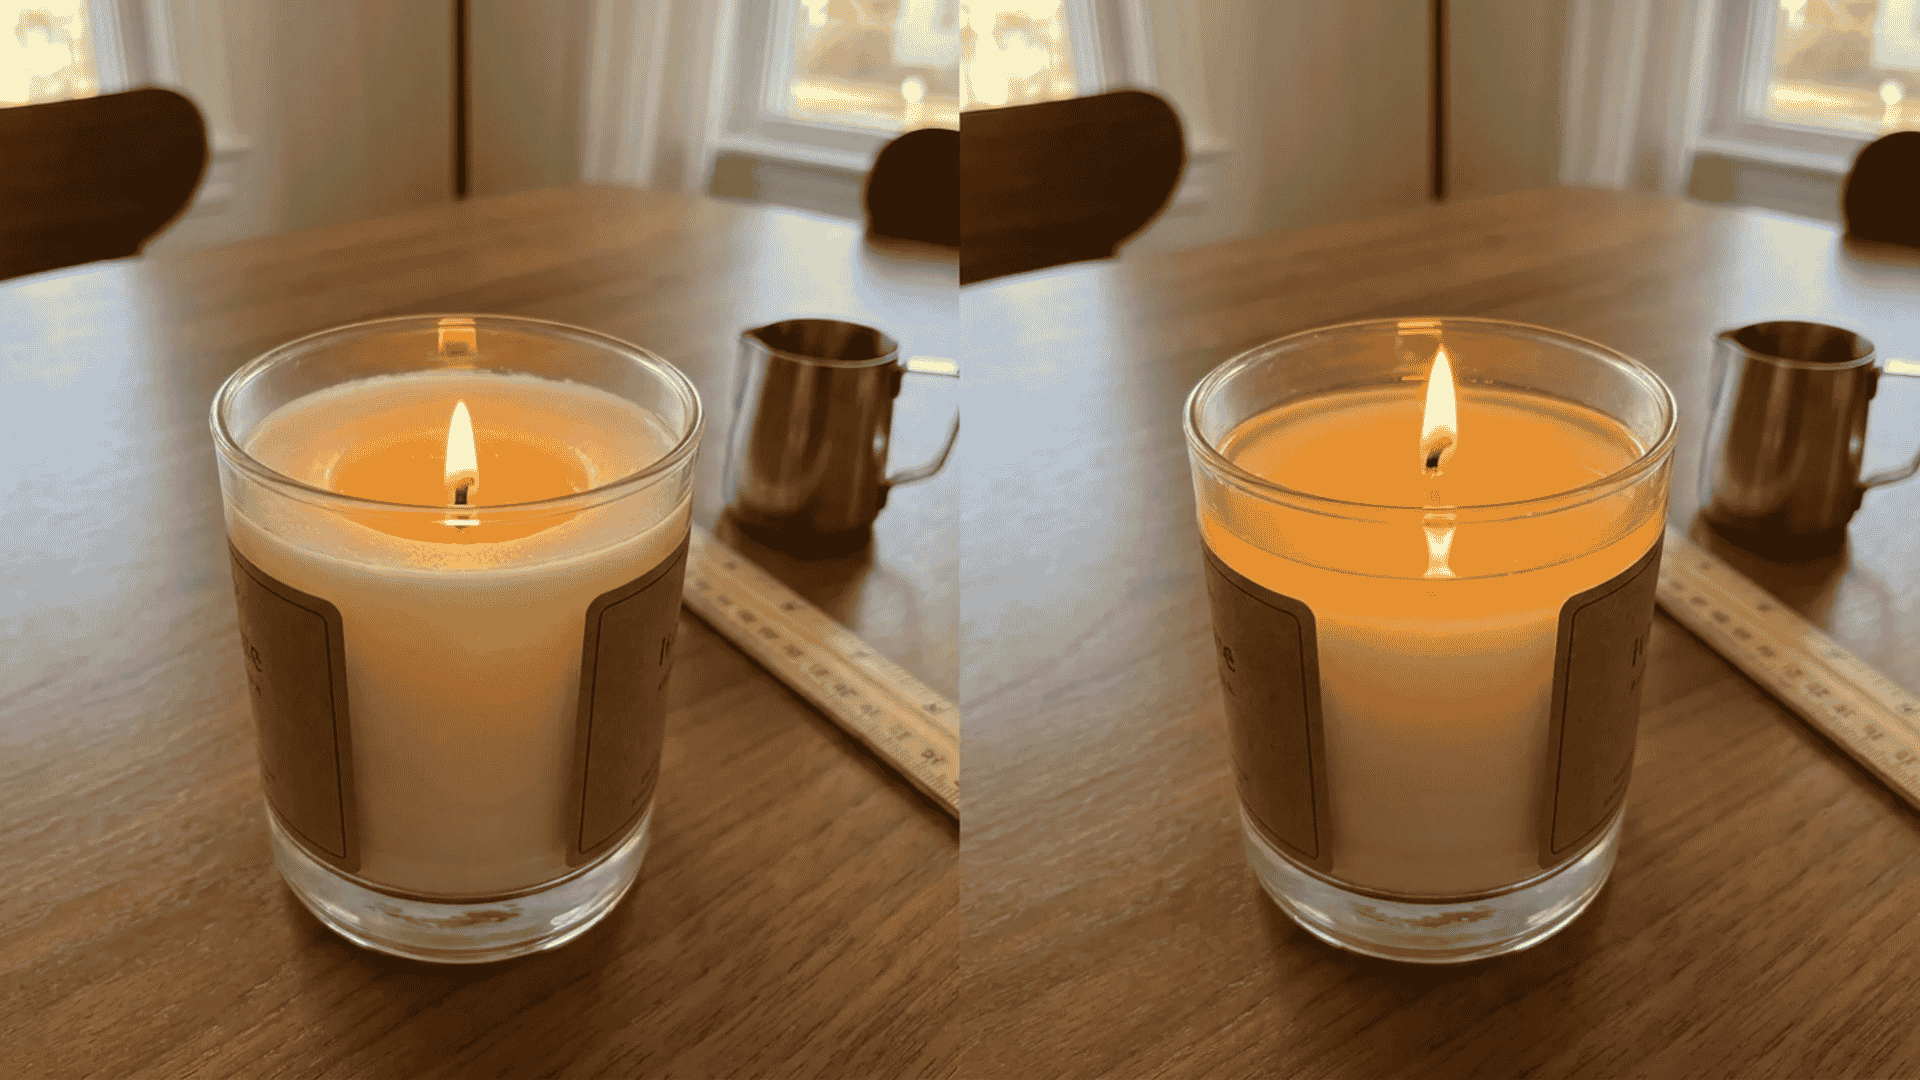
Always do a test burn. Light the candle and let it burn for 2 to 4 hours. A clean melt pool that reaches close to the jar edges means the wick size is right.
Fragrance Oil vs Essential Oil for Candle Making
Both work in candles, but they perform very differently in hot wax. Choosing the wrong one is a common reason for weak scent throw.
- Fragrance oils are made specifically for candle making. They bond well with wax, produce strong hot throw, and stay stable at higher temperatures. For a reliable, strong-smelling candle, fragrance oil is the better choice.
- Essential oils are natural but more volatile. They evaporate more quickly at high temperatures, so the scent can fade quickly during burning. They cost more per ounce and produce a milder result. If you use them, add at a lower pour temperature (around 170°F) for the best outcome.
Never use regular perfume in place of either. It is not designed for high heat and can pose a fire hazard when added to hot wax.
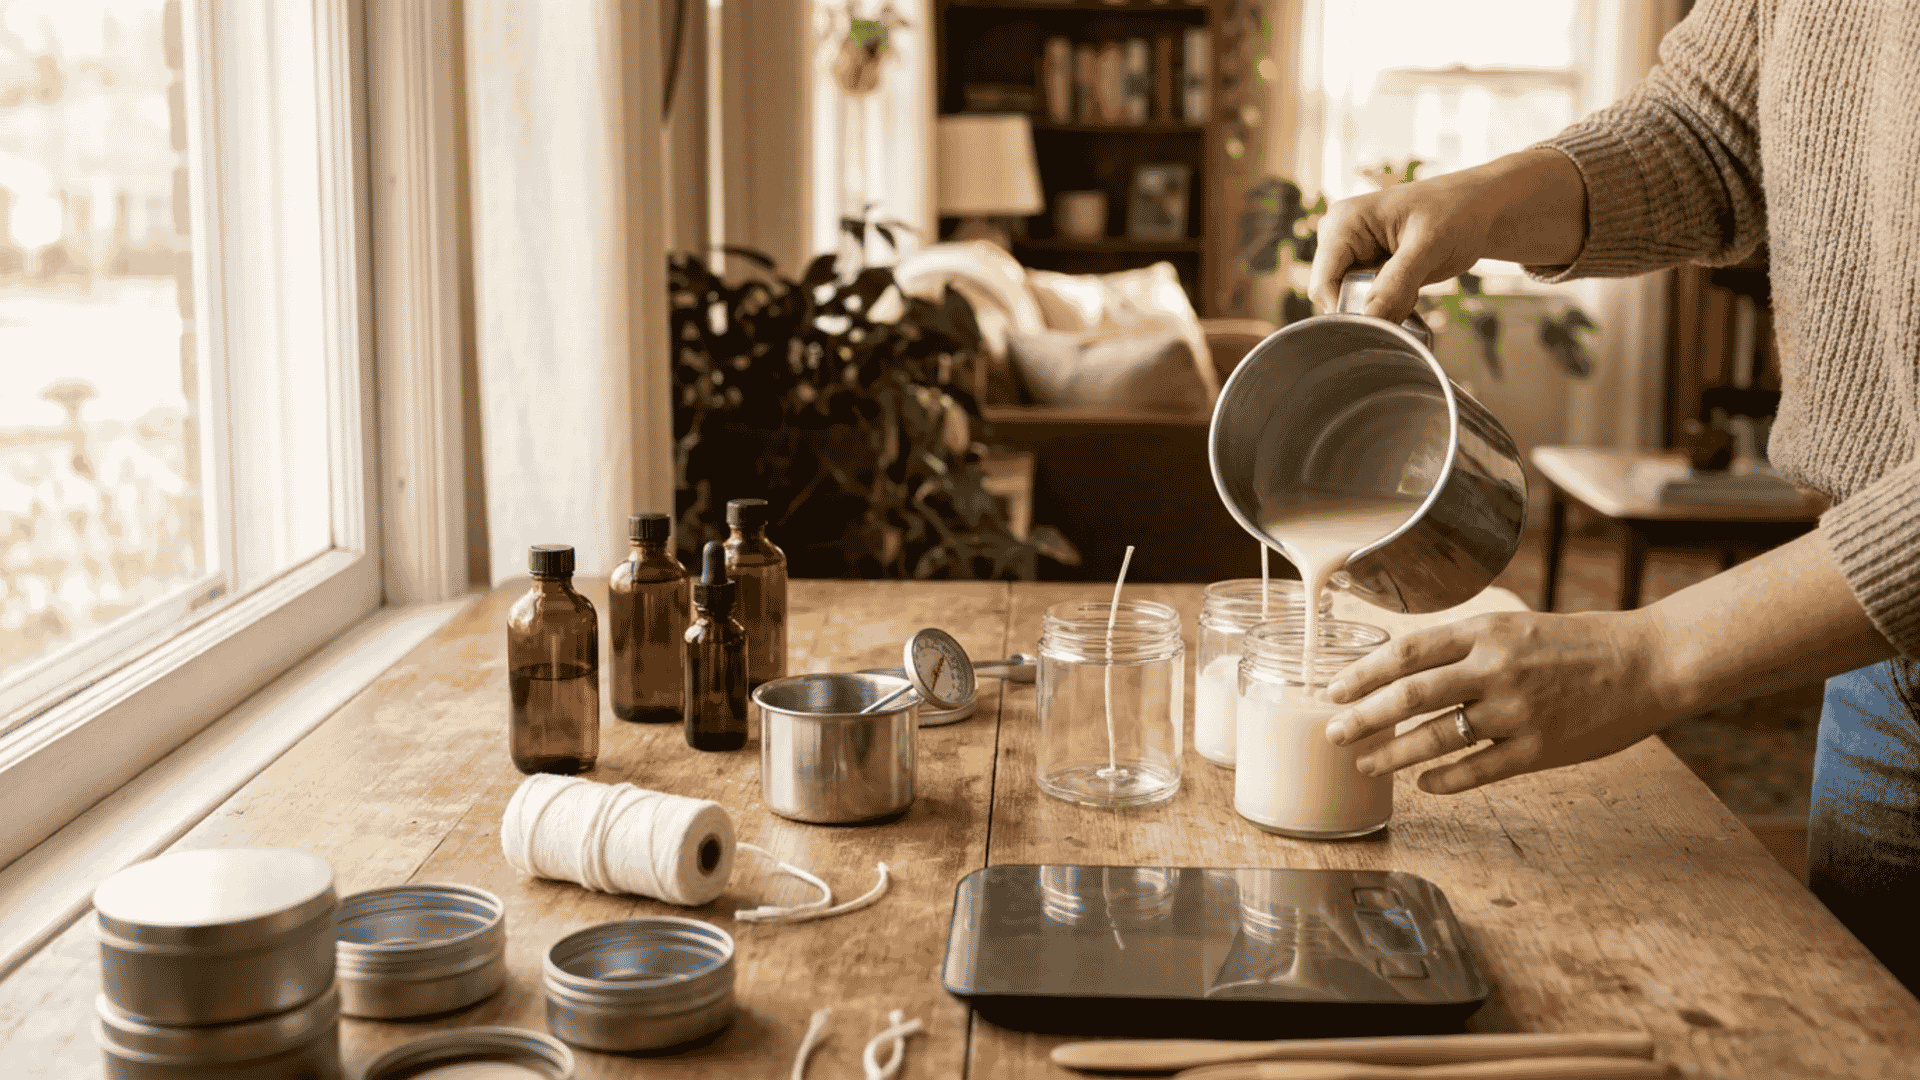
Step-by-Step: How to Make DIY Candles at Home
Follow these steps in order. Rushing any stage, especially temperature control and curing time, is where most first batches go wrong.
- Measure your wax. Use a kitchen scale. One ounce of wax fills roughly one ounce of container volume. Make a small amount of extra for a second pour.
- Melt the wax. Place wax in a heat-safe pouring pot set inside a larger pot of water. This is your double boiler. Heat over medium-low, stir occasionally, and never walk away from it.
- Monitor the temperature. For soy wax, heat to around 180°F to 185°F. This temperature lets fragrance oil bond properly with the wax.
- Add fragrance oil. Remove from heat. Let the wax cool slightly to around 180°F. Add fragrance oil at 6-10% of the wax weight. For a 4-ounce candle, that is roughly 0.24 to 0.40 ounces. Stir slowly for 2 full minutes.
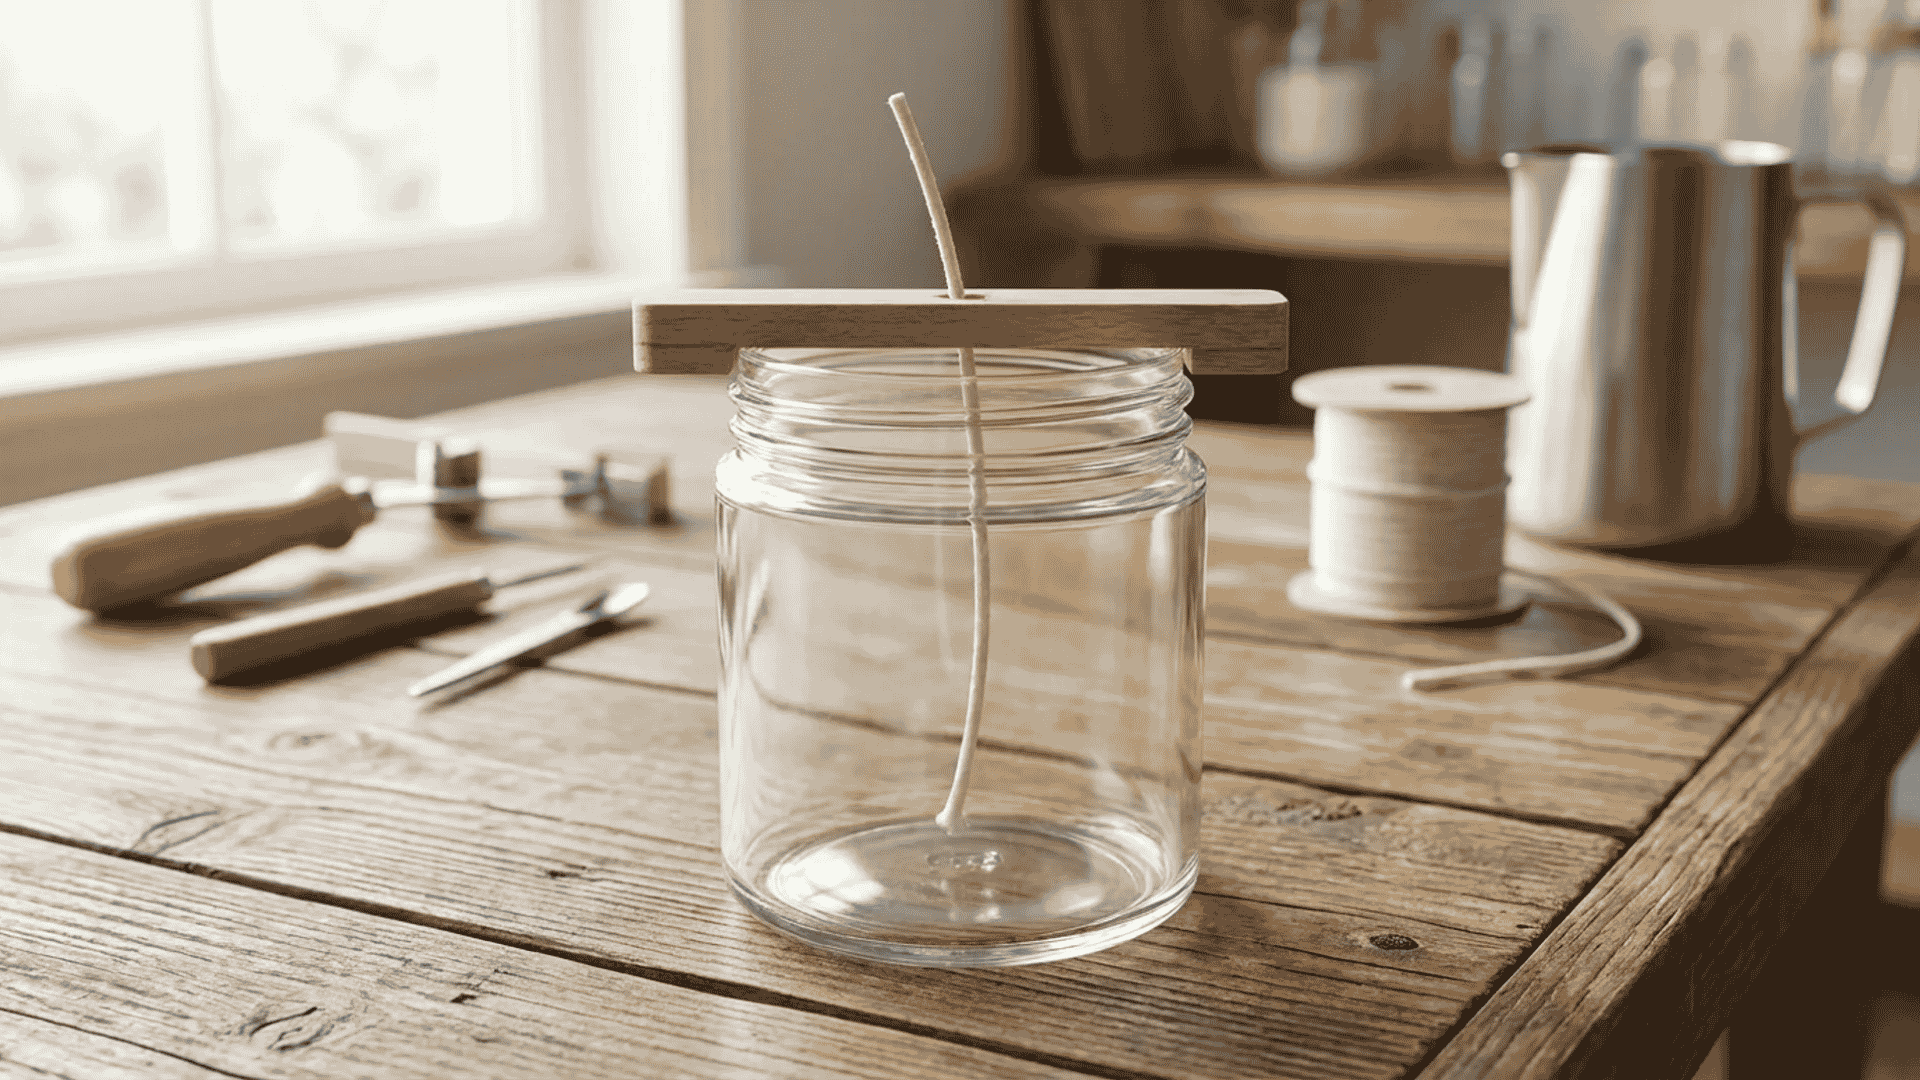
- Prepare your container. Secure the wick at the center of the jar with a small drop of melted wax. Hold it straight using a wick centering tool or popsicle sticks.
- Pour the wax. Pour slowly and steadily. Leave about half an inch of space at the top. Set the jar on a flat, level surface and do not touch it.
- Let it cool. Leave the candle at room temperature for at least 24 hours. Do not speed this up by placing it in the fridge. Fast cooling causes cracks and sinkholes.
- Do a second pour. Soy wax shrinks as it cools. You will likely see a small dip around the wick. Reheat your leftover wax and pour a thin layer to fill any gaps.
- Trim the wick and cure. Trim the wick to ¼ inch (about 6mm). Let the candle cure for at least 3 days before the first burn. Waiting 1 to 2 weeks gives a noticeably stronger scent.
How to Get a Strong Scent in Your Homemade Candles
Scent throw describes how much fragrance a candle gives off. Two types matter:
- Cold throw: how the candle smells when unlit
- Hot throw: how the candle smells while burning
Hot throw is what matters most to the people burning your candles. Here is how to improve it.
Stick to the 6 to 10% fragrance rule. Adding more than 10% fragrance oil does not make the candle smell stronger. Excess oil pools on the surface, creating a fire hazard. It can also cause the candle to go out on its own.
Add fragrance at the right temperature. Around 180°F is the target for most waxes. Too hot and scent molecules burn off before bonding with the wax. Too cool, and the fragrance will not mix in properly.
Let it cure fully. This step produces more weak-smelling candles than anything else when skipped. During curing, fragrance molecules continue to bond with the wax. A candle that burned for two weeks smells noticeably stronger than the same candle burned on day one.
Store properly between burns. Keep candles covered when not in use. Scent fades when exposed to air and dust over time.
Popular scent combinations to try:
- Lavender and rosemary — fresh and calming
- Vanilla and sandalwood — warm and grounding
- Citrus and eucalyptus — bright and clean
- Cedarwood and amber — rich and cozy
Common DIY Candle Mistakes and How to Fix Them
These are the problems that quietly ruin most first batches. Check this table against your results to find the cause fast.
| Problem | Cause | Fix |
|---|---|---|
| Tunneling | Wick too small | Switch to a larger wick size |
| Weak scent | No cure time or fragrance below 6% | Wait 1 to 2 weeks; increase to 10% |
| Soot on the jar | Wick too large | Switch to a smaller wick |
| Sinkholes or cracks | Fast cooling or pour temperature too high | Cool at room temp; aim for 180°F when pouring |
| Frosting (white film on surface) | Natural soy wax reaction to temperature change | Normal occurrence; does not affect burn quality |
| Oily surface | Fragrance load above 10% | Stay at or below 10% by wax weight |
| Air bubbles or uneven top | The candle was moved while cooling | Leave completely undisturbed for the full 24 hours |
Three root causes account for the vast majority of failed candles. Wick mismatch is the most common; the melt pool never reaches the jar edges and most of the wax goes to waste on the walls.
Adding fragrance at the wrong temperature either burns off scent molecules or stops proper blending. And burning a candle before it fully cures yields a weak, almost scentless result. Three days is the minimum. Two weeks is better.
Safety Rules for Making DIY Candles at Home
Candle making involves high heat and open flame. These rules are not optional.
- Use a double boiler at all times. Never place a wax pot directly on a burner. Wax has a flash point between 180°F and 200°F, and direct heat can push it past that range fast.
- Use a thermometer every single time. Never try to guess the temperature by looking at the wax.
- Work in a ventilated space. Fragrance oils release fumes when heated. Extended exposure without ventilation can cause headaches and breathing problems. Open a window or run a vent hood.
- Wear closed shoes and long pants. Hot wax splashes. Bare skin burns.
- Use candle-grade materials only. Wax, fragrance oil, and dye must all be made specifically for candle use. Perfumes are a fire hazard. Generic craft dyes are not the same as candle-specific dye.
- Never leave melting wax unattended. Wax overheats quickly.
- Keep a fire extinguisher nearby. Never pour water on a wax fire. Water causes the wax to splatter, immediately spreading the fire.
The National Candle Association provides detailed fire safety guidelines for both home candle use and production.
Creative DIY Candle Ideas to Try
Once the basics are working, these ideas take your candle making further without adding much complexity.
- Layered candles: Pour one color at a time, letting each layer set fully before adding the next. The result is a striped candle with clean, distinct color bands.
- Dried flower candles: Press dried petals against the inside of the jar before pouring wax. The wax holds the flowers in place for a botanical look. For best results, use properly preserved flowers rather than fresh petals. Fresh petals hold moisture that can cause problems inside the melted wax.
- Coffee mug candles: Thrift store mugs are heat-safe, inexpensive, and make thoughtful personal gifts. Clean them well before pouring.
- Seasonal scents: Pumpkin spice and cinnamon work well for autumn. Fresh pine and cedarwood suit winter. Lemon and basil are a good fit for spring. Rotating your fragrance with the seasons keeps candle making interesting.
- Wax melts: Pour scented wax into silicone molds and let them set. Use them in a wax warmer for strong fragrance with no wick or burning needed.
Once you start experimenting with scents and surfaces, you may want to take your candles further. Painting candles is a creative next step that adds color and texture to the outside of your finished jars.
Can You Turn DIY Candle Making Into a Small Business?

Yes, and the startup cost is low. A candle that costs $4 to make can sell for $20 to $30 at a local market or on Etsy.
A few things to sort out before you start selling:
- Test every batch before selling. Light each candle and let it burn for 2 to 4 hours. Check for tunneling, uneven melt pool, and soot. If one candle fails, retest the full batch before listing anything.
- Keep batch notes. Write down the wax type, wick size, fragrance percentage, pour temperature, and cure time for every batch. This lets you repeat results that worked and fix results that did not.
- Calculate costs correctly. Include wax, wick, fragrance, jar, label, and your time per candle. Packaging and labor are the two costs beginners most often forget when setting a price.
- Label your candles properly. Include the fragrance name, burn time estimate, safety warning (trim wick, keep away from drafts, never leave unattended), and your brand or contact name.
Conclusion
Making DIY candles at home is straightforward when you know what actually matters: choosing the right wax, using the right-sized wick, measuring fragrance accurately, and giving the candle enough time to cure.
Most failed candles come down to a few avoidable mistakes, such as incorrect temperatures, poor wick selection, or rushing the curing process.
Once you understand these fundamentals, you can consistently create candles that look professional, burn evenly, and fill a room with fragrance.
Start with a simple batch, take notes on your results, and refine your process as you go. Which wax type are you planning to start with? Share your first candle in the comments.
Frequently Asked Questions
How Long Does It Take to Make a Diy Candle?
The active process takes about 30 to 45 minutes. Add 24 hours for cooling and a minimum of 3 days for curing before the first burn.
What Is the Best Wax for Beginners?
Soy wax is the most beginner-friendly option. It is forgiving, widely available, burns cleanly, and produces a long burn time.
How Much Fragrance Oil Should I Add to Candle Wax?
Use 6-10% of the total wax weight. For a 4-ounce candle, that is roughly 0.25-0.40 ounces of fragrance oil.