10 Simple Garage Door Maintenance Tips
Your garage door is one of the hardest-working parts of your entire home. It opens and closes an average of 1,500 times a year, handles brutal weather, supports heavy loads, and still has to look presentable while doing it all.
Most homeowners treat it like the dishwasher: completely ignored until something goes wrong.
Here is the problem with that approach. A neglected garage door does not break down quietly. It breaks loudly, expensively, and usually at the worst possible time, like on a freezing Monday morning when you are already running late.
Regular garage door maintenance keeps all of that from happening. It protects everyone who uses the door, secures your home against break-ins, reduces the squeaking and grinding that drive you crazy at 6 a.m., and prevents small worn parts from turning into big repair bills.
A well-maintained door can last 15 to 30 years. One that never gets any attention might not make it to 10.
The good news is that most of this takes far less time than you think. In this guide, we discuss maintenance tips any homeowner can work through, plus a few things you should always leave to a professional.
10 Ways to Maintain Your Garage Door and Keep It Running Like New
Whether you have a brand-new door or one that has been running for a decade, these steps will protect your system, extend its life, and keep small problems from becoming expensive ones.
1. Inspect Your Garage Door for Visible Damage
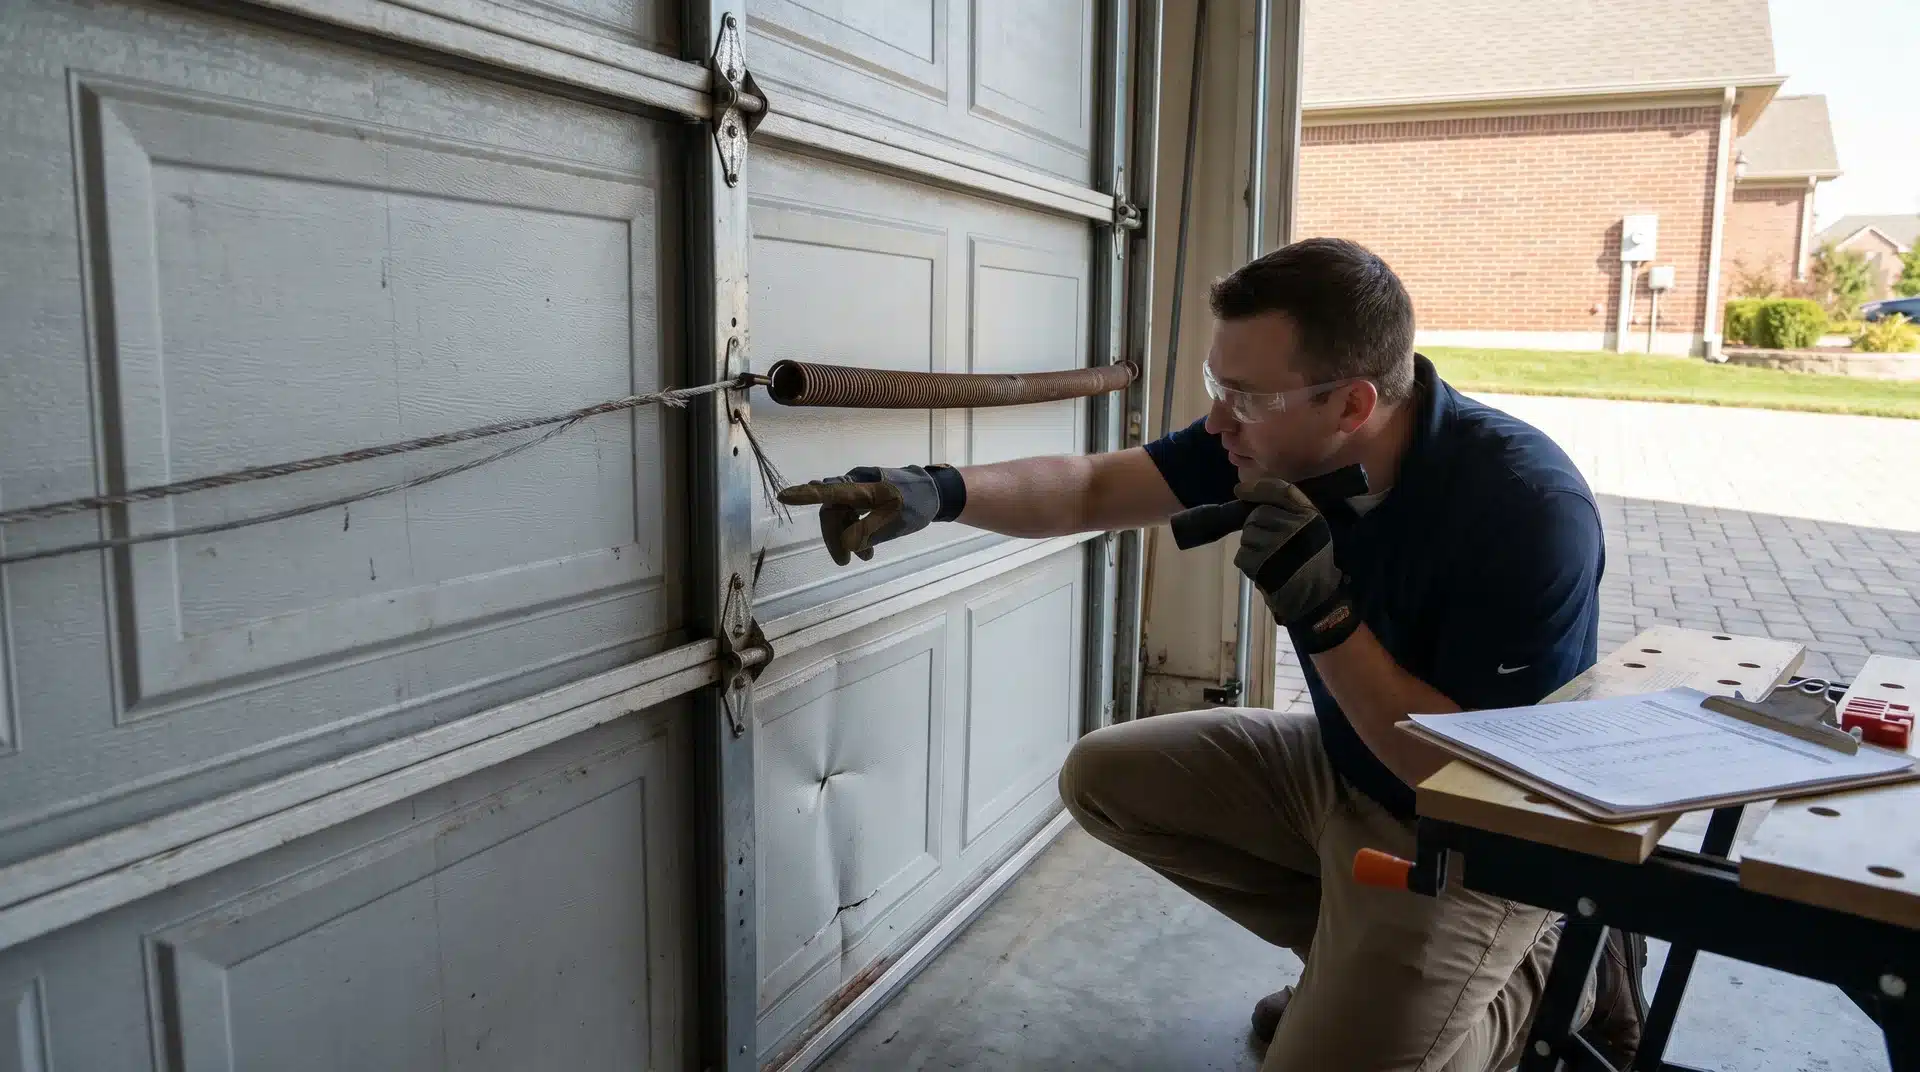
A quick visual check twice a year can catch small problems before they turn into expensive repairs.
Check Panels, Springs, and Cables
Start by looking before you touch anything. Walk around the door and look at the panels, springs, and cables up close. You want to spot dents or cracks in the panels, fraying along the lift cables, and springs that look stretched, corroded, or uneven.
On a steel door, surface dents might seem cosmetic, but they can affect how the door seals and moves over time. Damaged cables or springs are a more urgent issue.
These components carry the full weight of the door, and a snap under tension can cause serious injury or cause the door to crash down.
Watch for Uneven Movement
Open and close the door a couple of times and just watch. Does it shake as it moves? Does one side seem to move faster than the other? Does it hesitate at any point along the track?
Uneven movement is usually a sign that something mechanical is off, whether it is a worn roller, a loose cable, or a balance issue. Spotting it early means a simple adjustment. Ignoring it means more parts wear out as they try to compensate.
2. Lubricate Moving Parts
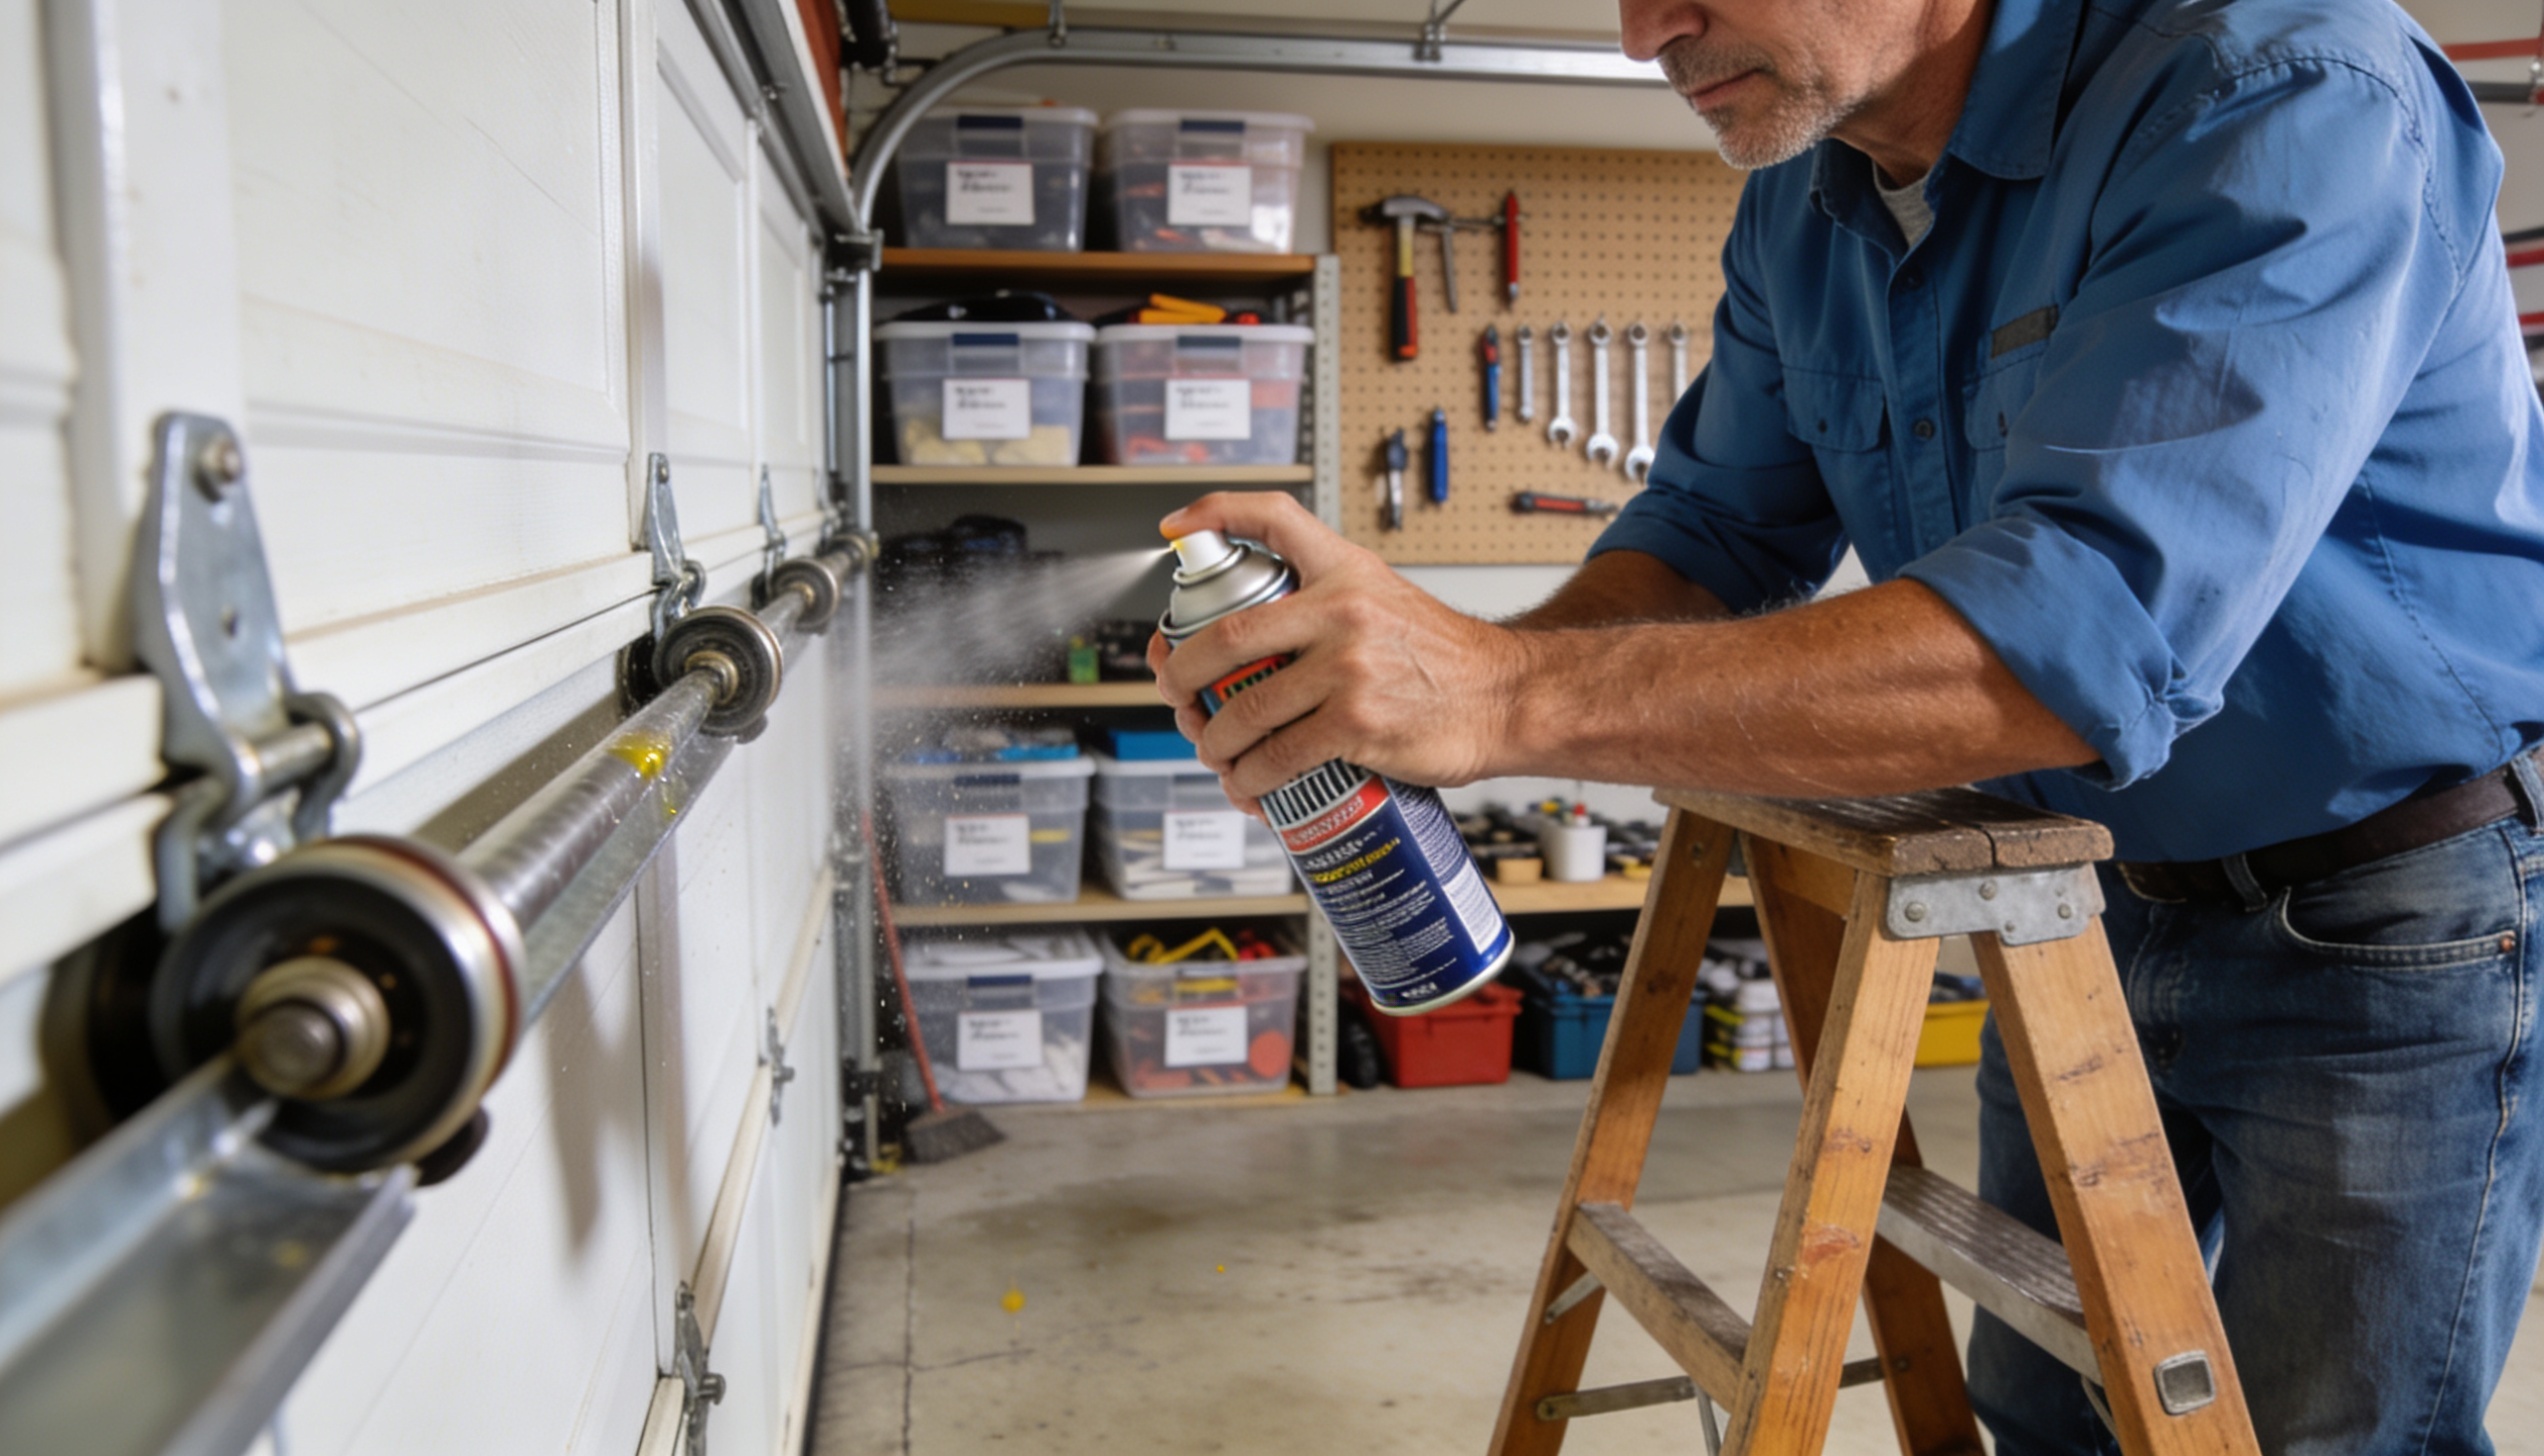
Dry metal parts wear out fast, and a few minutes with the right lubricant can add years to your system.
Parts That Need Lubrication
Lubrication is probably the most impactful garage door maintenance task you can do in under 15 minutes.
Use white lithium grease or a dedicated garage door lubricant spray. Skip WD-40 on mechanical parts. It is a degreaser, not a lubricant, and it will dry out your components faster than leaving them alone.
Apply lubricant to:
| Part | Where to Apply |
|---|---|
| Hinges | Along each panel |
| Rollers | At the stem only, not the wheel, if you have nylon rollers |
| Springs | Light coat along the full length |
| Opener drive chain or screw rod | Full length of the drive mechanism |
| Door tracks | Top of the tracks only, not the inside channel |
How Often to Lubricate?
Twice a year is the standard for most climates. If you live somewhere with extreme cold, heavy humidity, or a lot of dust, bump it up to three or four times a year. After lubrication, run the door through a few cycles to work it in, then wipe up any drips so they do not attract grime.
3. Tighten Loose Hardware
Constant vibration works bolts loose over time, and snugging them down keeps the whole system running smoothly.
Bolts and Brackets to Check
Every time your garage door runs, vibrations rattle through the entire system. Over months and years, that vibration loosens bolts and brackets. Focus on the track-mounting brackets, the hinge bolts that connect each panel, and the hardware that anchors the opener to the ceiling.
A socket wrench is all you need. Go through every bracket and bolt and snug each one down. If you find one that keeps backing out, a small amount of thread-locking compound will hold it in place for good.
Signs of Loose Parts
The clearest sign is rattling or banging when the door moves. You might also notice the track shifting slightly or the door not sitting flush when it closes. Loose hardware may sound minor, but it puts extra strain on the opener motor and accelerates wear on the rollers and cables.
4. Test the Garage Door Balance
When your door is properly balanced, the opener lasts longer, and every moving part carries less strain.
Why Balance Matters
The springs in your garage door system are designed to offset most of the door’s weight, leaving the opener to do very little actual lifting.
When the springs fall out of adjustment, the opener carries a load it was never designed to handle. That shortens the motor’s lifespan and puts stress on the rest of the system.
Easy Balance Testing Steps
Disconnect the opener by pulling the red emergency release cord. Lift the door manually to about waist height and let go.
A properly balanced door will stay where you put it, or drift down just slightly. If it drops fast, the springs have lost tension. If it climbs on its own, they are over-tensioned.
If the balance is off, do not attempt to adjust the springs yourself. Torsion springs store enormous energy, and adjusting them without the right tools and training is dangerous. Call a technician for this one.
5. Clean the Tracks and Rollers
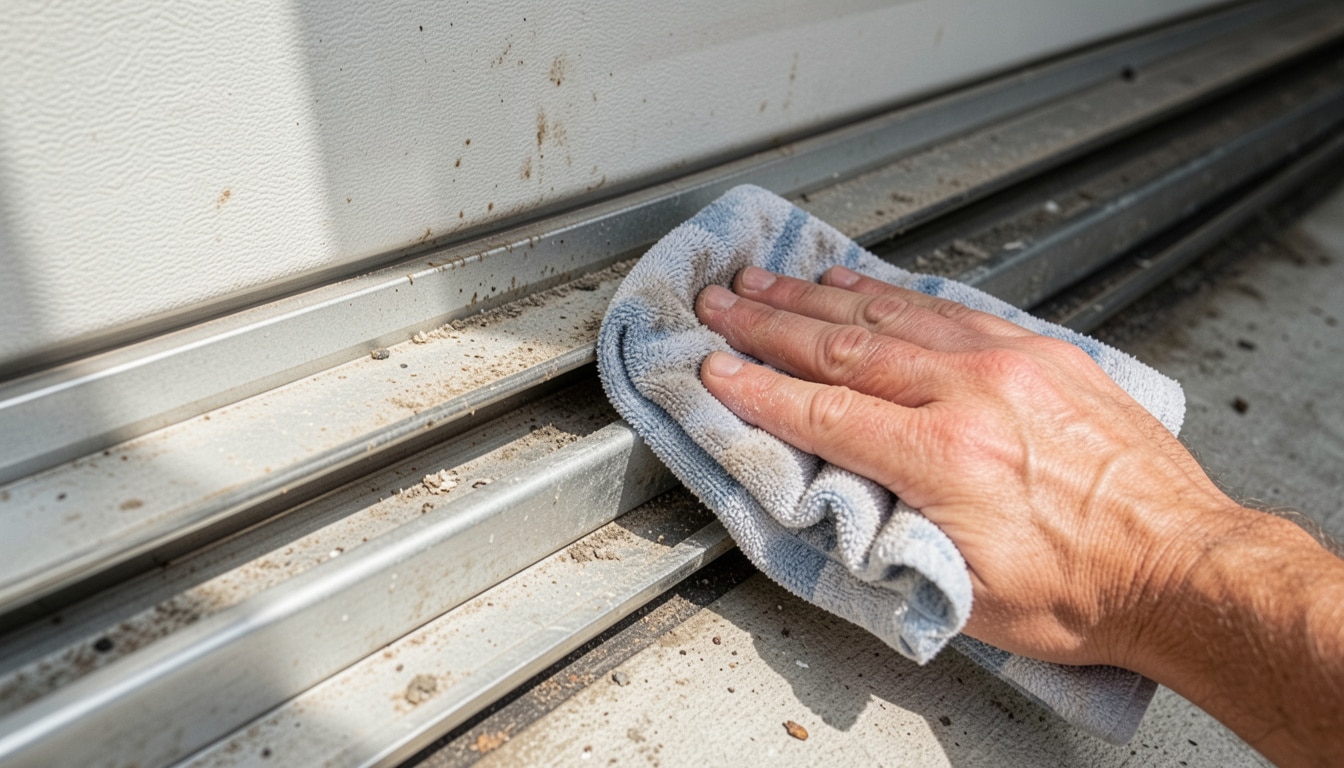
Dirty tracks create friction, forcing every component to work harder than it should.
Removing Dirt and Debris
The tracks your door rides on collect dust, grease buildup, dead insects, and whatever else blows in from outside. That grime creates friction, forces the rollers to work harder, and can eventually throw the door off track entirely.
Wipe down the inside of both tracks with a damp cloth or a mild household cleaner. For stubborn buildup, a stiff brush works well. Make sure the tracks are completely dry before you run the door again.
Preventing Track Problems
After cleaning, check that both tracks are plumb (perfectly vertical on the sides) and level with each other. Even a small misalignment creates uneven wear over time.
You can check this with a standard level. If the tracks need adjustment, loosen the mounting screws, tap them gently into alignment, and retighten.
Do not lubricate the inside of the tracks. They are meant to have some friction so the rollers grip correctly. Oil inside the tracks actually causes the door to slip and skip more than it should.
6. Replace Worn Weather Stripping

A damaged seal lets in cold air, moisture, pests, and dust that quietly damage everything stored in your garage.
Signs Your Seal Needs Replacing
The weather stripping around your garage door takes a beating every season. It compresses every time the door closes, bakes in summer, freezes in winter, and is constantly scraped along the ground. Over time, it cracks, flattens, or pulls away from the frame.
Run your hand along the bottom seal and side strips while the door is closed. Gaps, stiffness, crumbling rubber, or spots where light sneaks through are all signs that it is time for a replacement. Weather stripping is inexpensive and sold by the foot at most hardware stores.
Benefits of Proper Sealing
Fresh weather stripping keeps rain, wind, pests, and cold air out of your garage. If your garage is attached to your home or you use the space as a workshop, that matters more than most people realize. It also reduces the dust that creeps in, protecting anything you store in there, including your car.
7. Test Garage Door Safety Features
Your door’s safety features only protect your family if they are actually working, so testing them regularly is something you should never skip.
Checking the Auto Reverse Function
Modern garage doors must have an auto-reverse feature that stops and reverses the door if it contacts an object while closing. This is a safety feature you should test every month, not just once a year.
Place a two-by-four flat on the ground in the door’s path and close the door. When it contacts the board, it should reverse immediately. If it does not, adjust the sensitivity settings on your opener. The manual that came with the unit will walk you through it.
If the door still fails after adjustment, the opener needs professional attention.
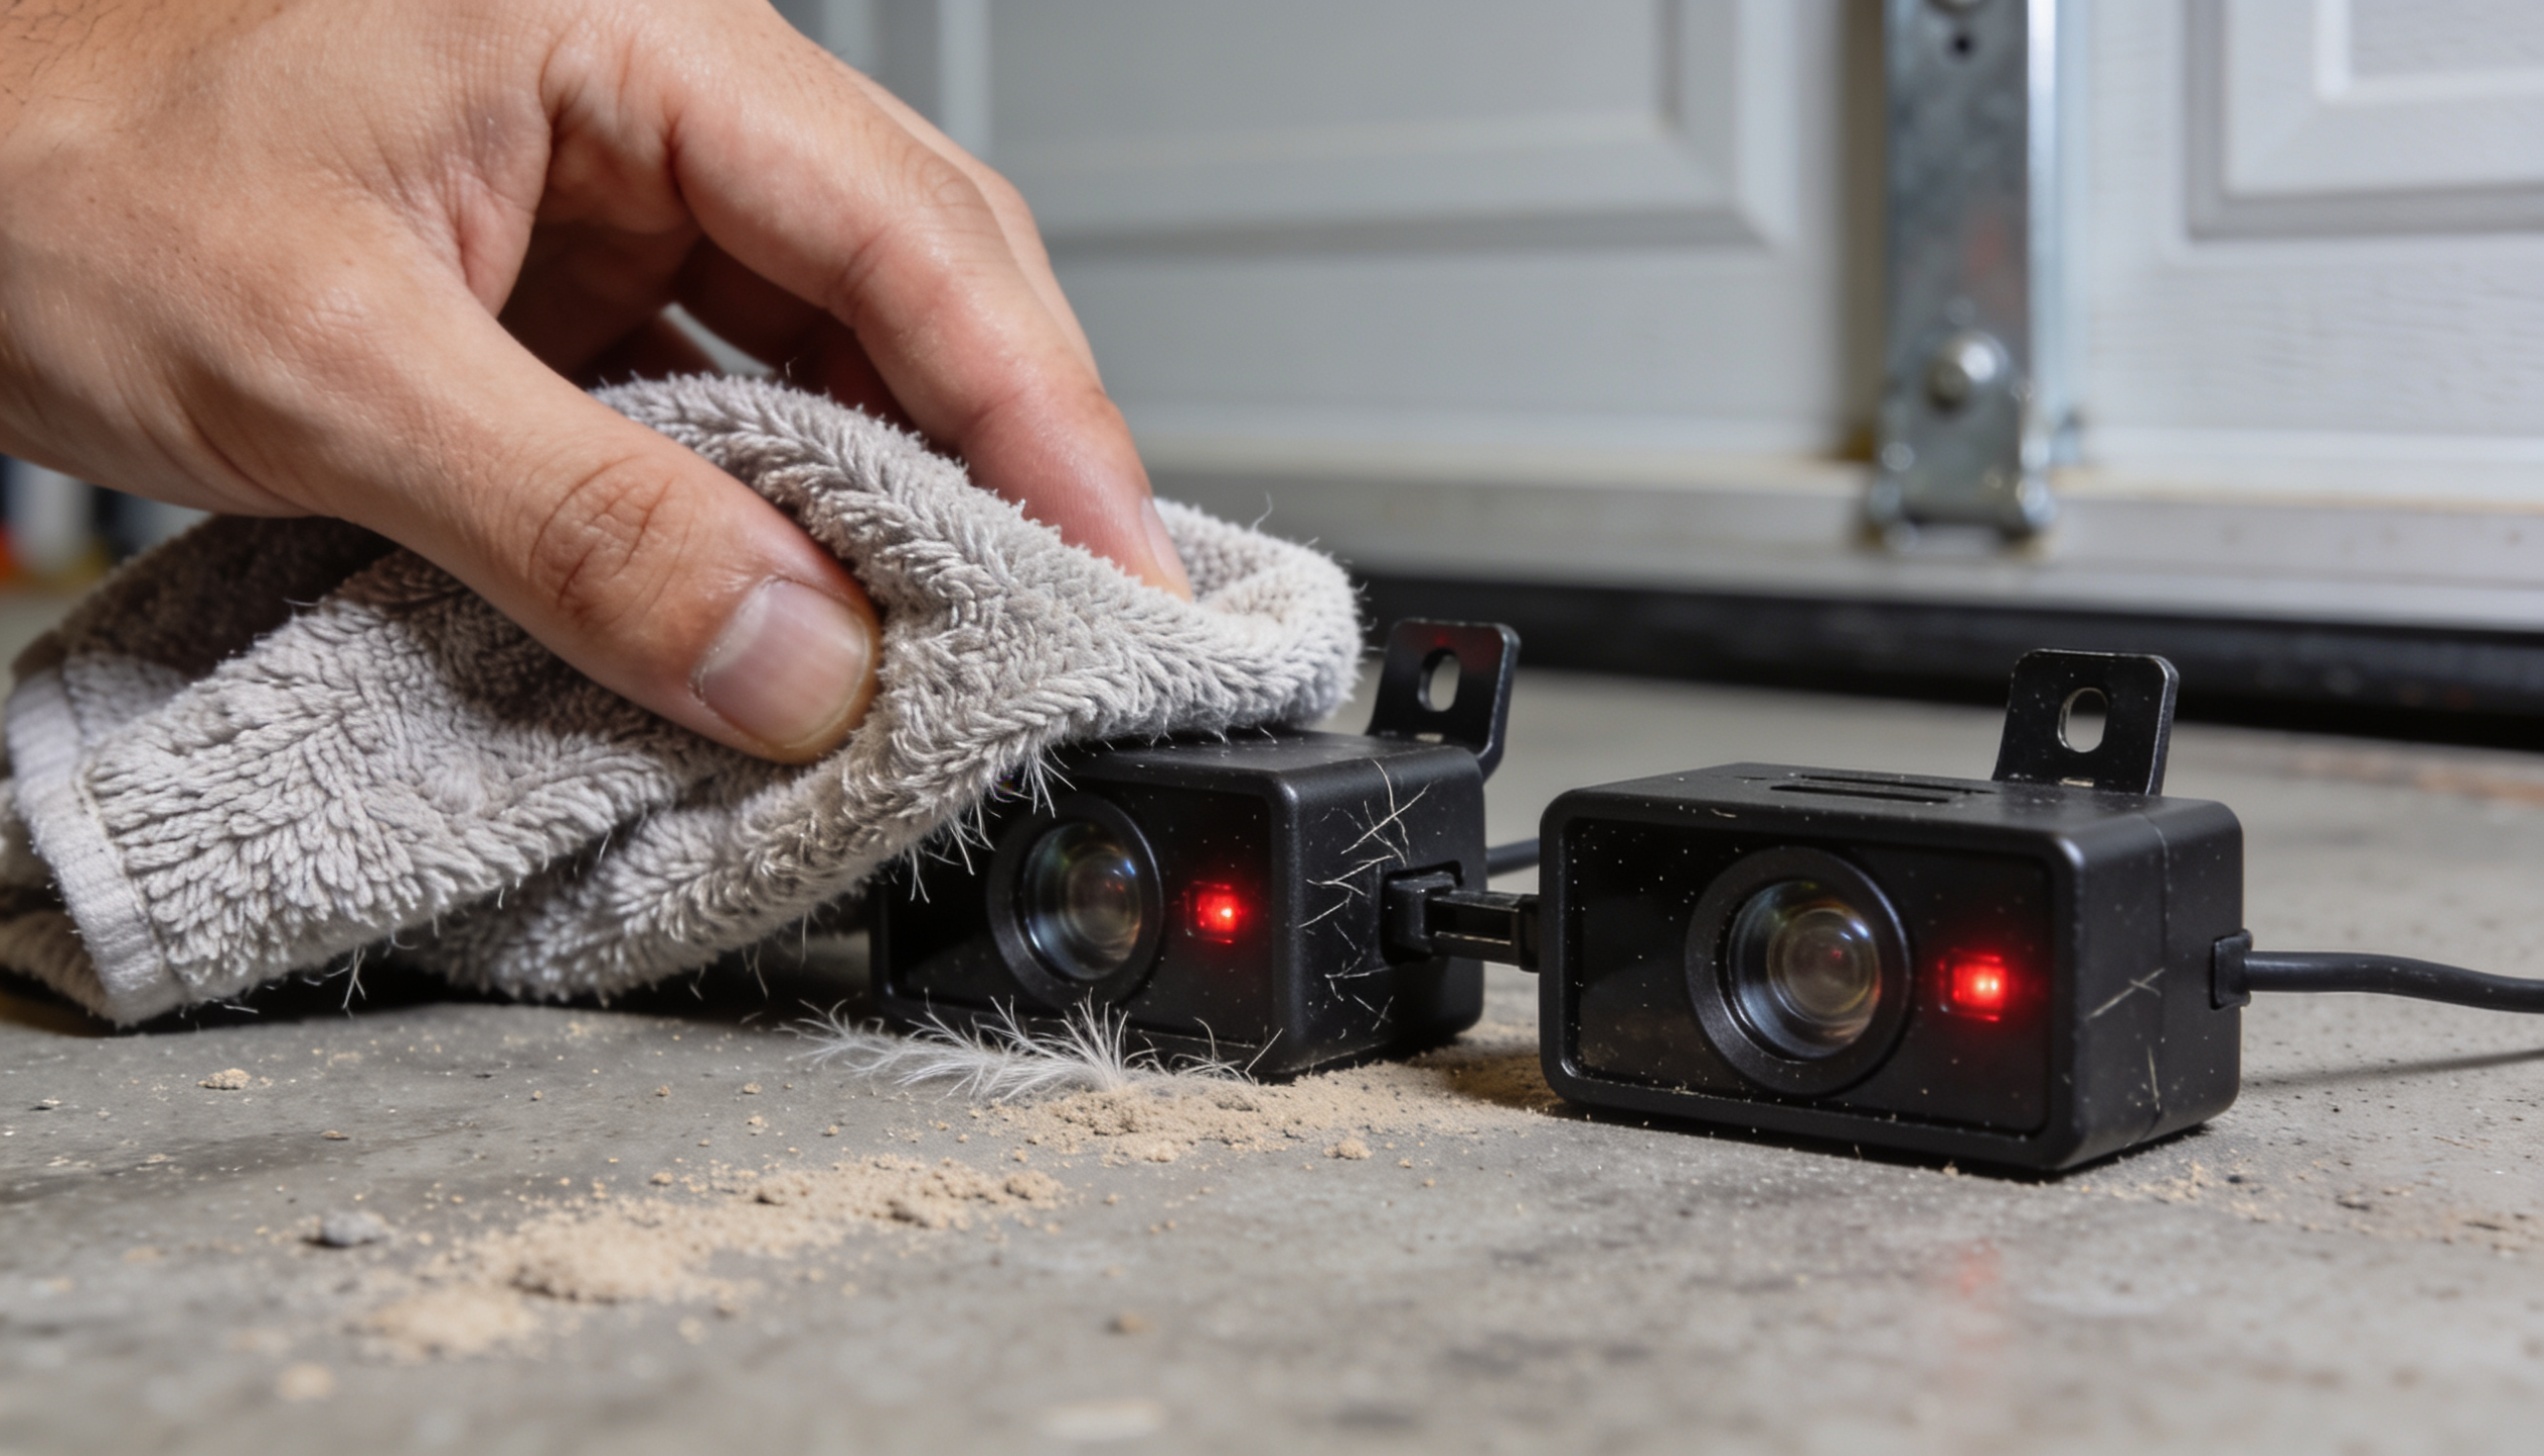
Inspecting Photo Eye Sensors
The two small sensors mounted near the bottom of your garage door tracks send an invisible beam across the opening. If anything breaks that beam while the door is closing, it reverses. Keep them clean, because a dirty lens will cause false triggers or missed ones.
Wipe the lenses with a dry cloth, then confirm that both sensors are aligned. Most units have indicator lights that tell you when they are lined up correctly. If the lights are blinking or off, adjust the sensor brackets until they lock together again.
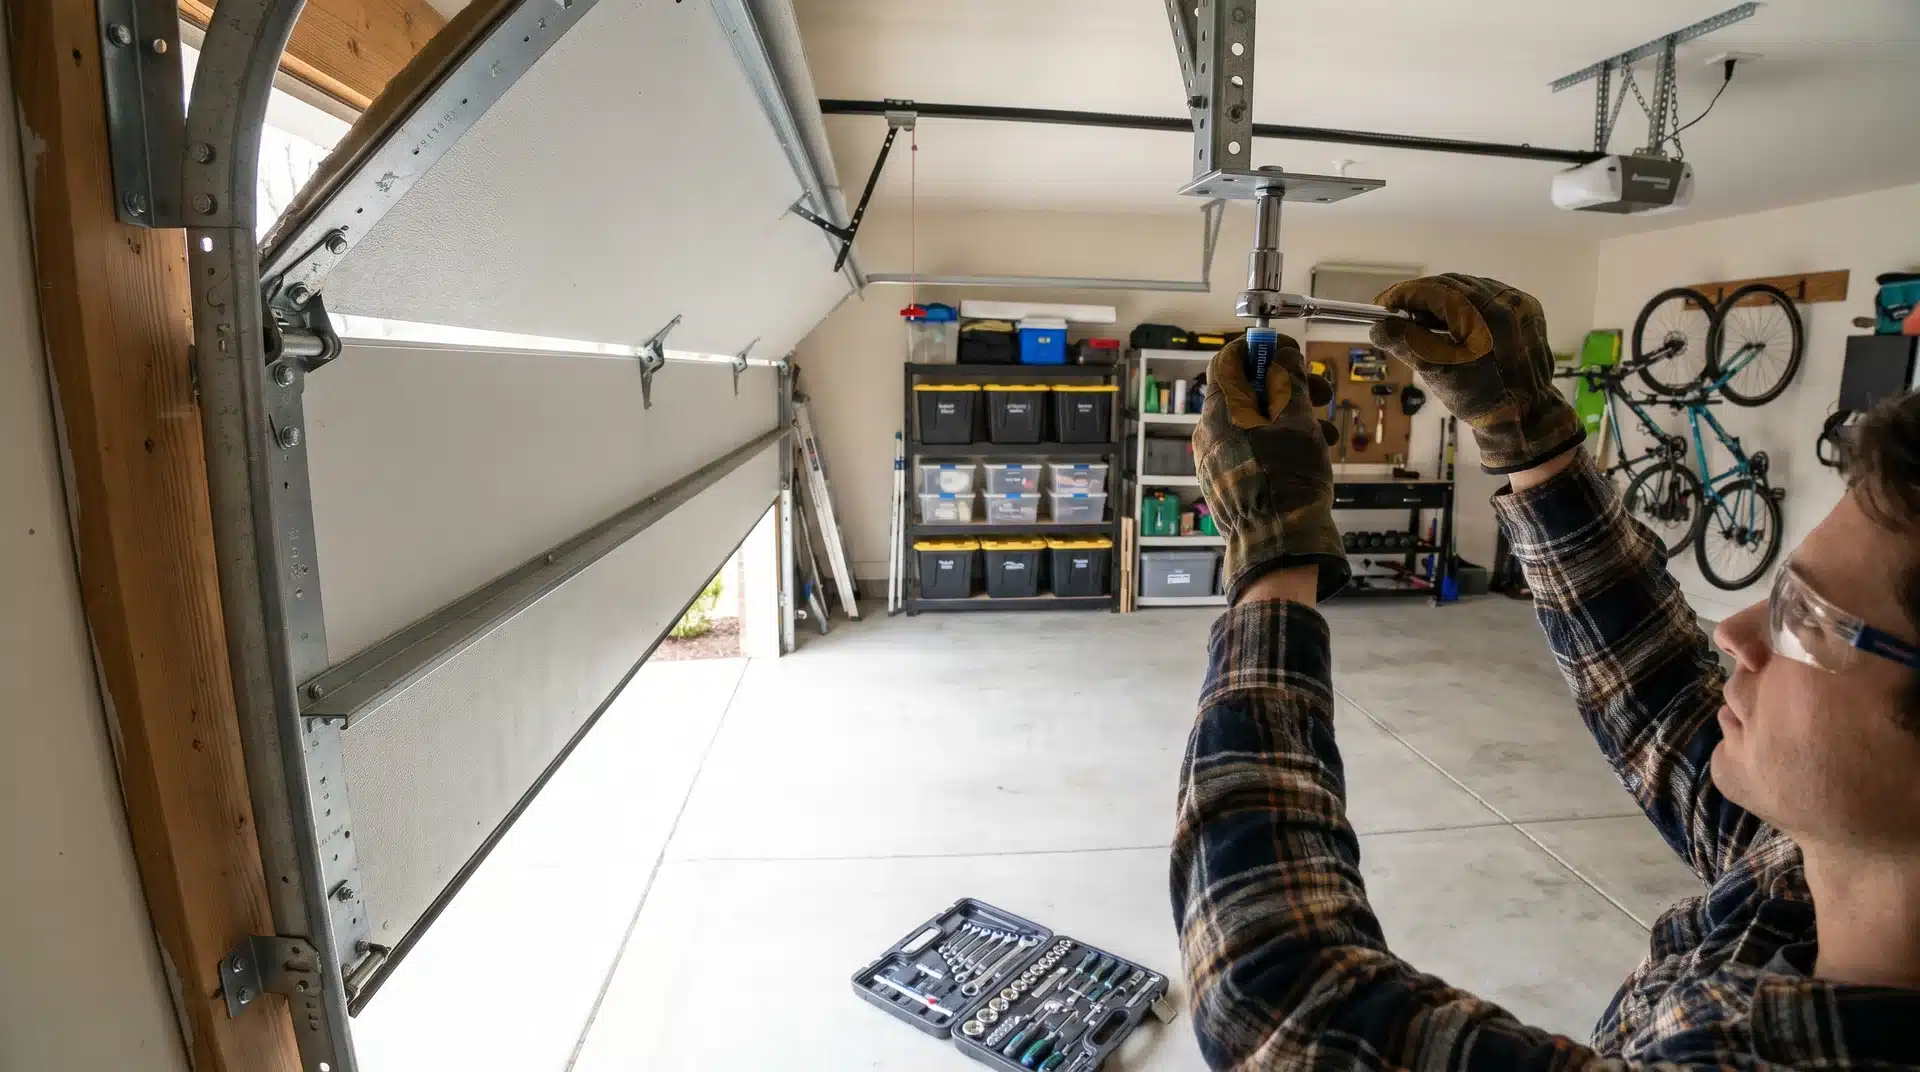
8. Inspect the Garage Door Opener
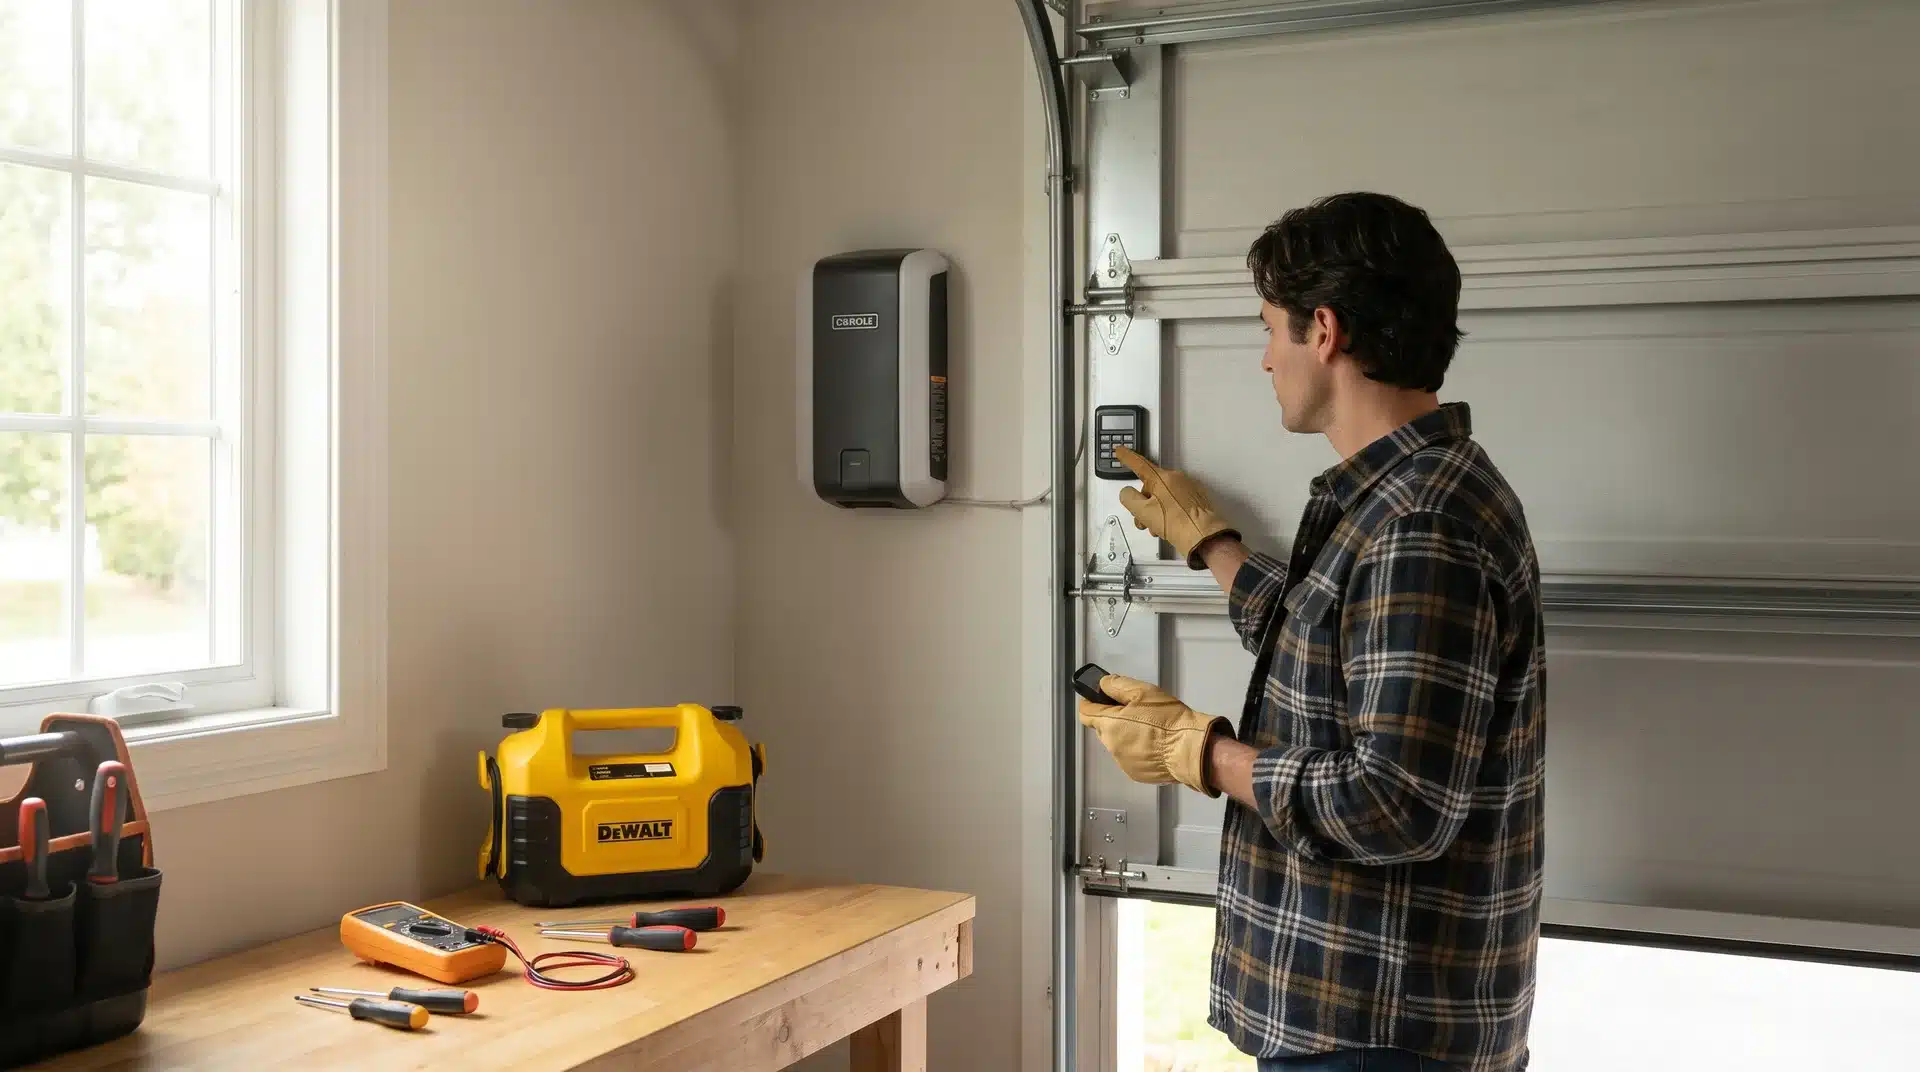
Strange noises and slow responses are your opener’s way of telling you something is wrong before it quits entirely.
Remote and Battery Checks
A sluggish remote is usually a dead or dying battery, which is a two-minute fix. But if a fresh battery does not solve the problem, check whether the remote needs to be reprogrammed to the opener. Consult your owner’s manual for the pairing steps, as they vary by brand.
Also test the wall-mounted button and any keypad entry. If those work, but the remote does not, the remote itself is the issue. If nothing works consistently, the logic board in the opener might need service.
Strange Noises to Watch For
Grinding indicates metal-on-metal contact somewhere, often from dry gears or worn rollers. Clicking often points to something caught in the tracks. A humming sound that does not cause the door to move can mean the motor is running, but the drive gear is stripped.
None of these are sounds to wait on. Unusual noises from an opener almost always mean something is failing, and addressing it early is far cheaper than replacing the whole unit.
9. Clean the Garage Door Exterior
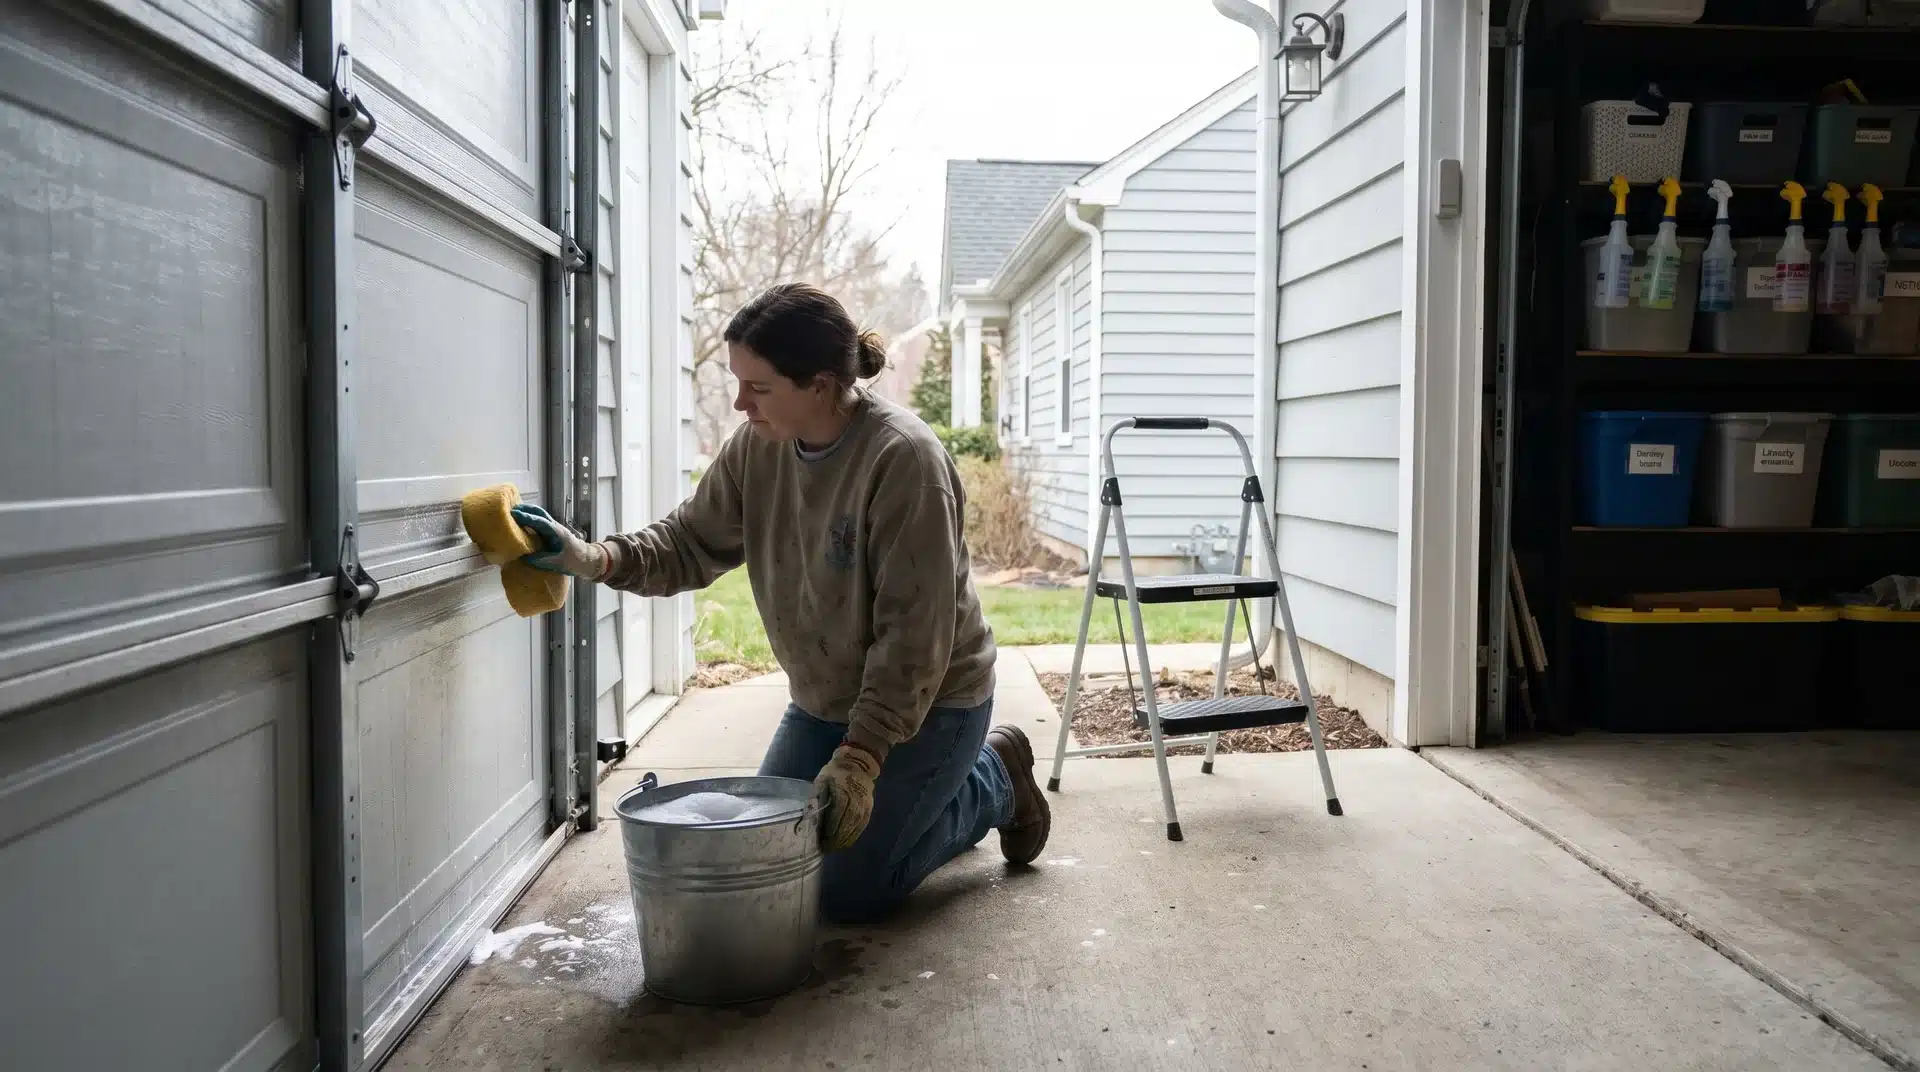
Regular cleaning protects the surface from rust, rot, and weather damage that shortens your door’s lifespan.
Preventing Rust and Surface Damage
Steel doors rust. Wood doors warp and rot. Fiberglass and aluminum doors get pitted and dull. The exterior of your garage door faces the same weather as the rest of your home’s siding, but it rarely gets the same cleaning attention.
For steel doors, wash with mild soap and water at least twice a year. Touch up any paint chips right away, because bare metal rusts fast once the coating is gone. For wood doors, check the finish annually and reseal or repaint as needed to keep moisture out.
Seasonal Cleaning Tips
In spring, clean off road salt and winter grime that corrodes surfaces and hardware. In the fall, clear any debris from the tracks and bottom seal before freezing temperatures lock it in place.
A clean exterior also helps you spot new dents, chips, or cracks while they are still small enough to handle easily.
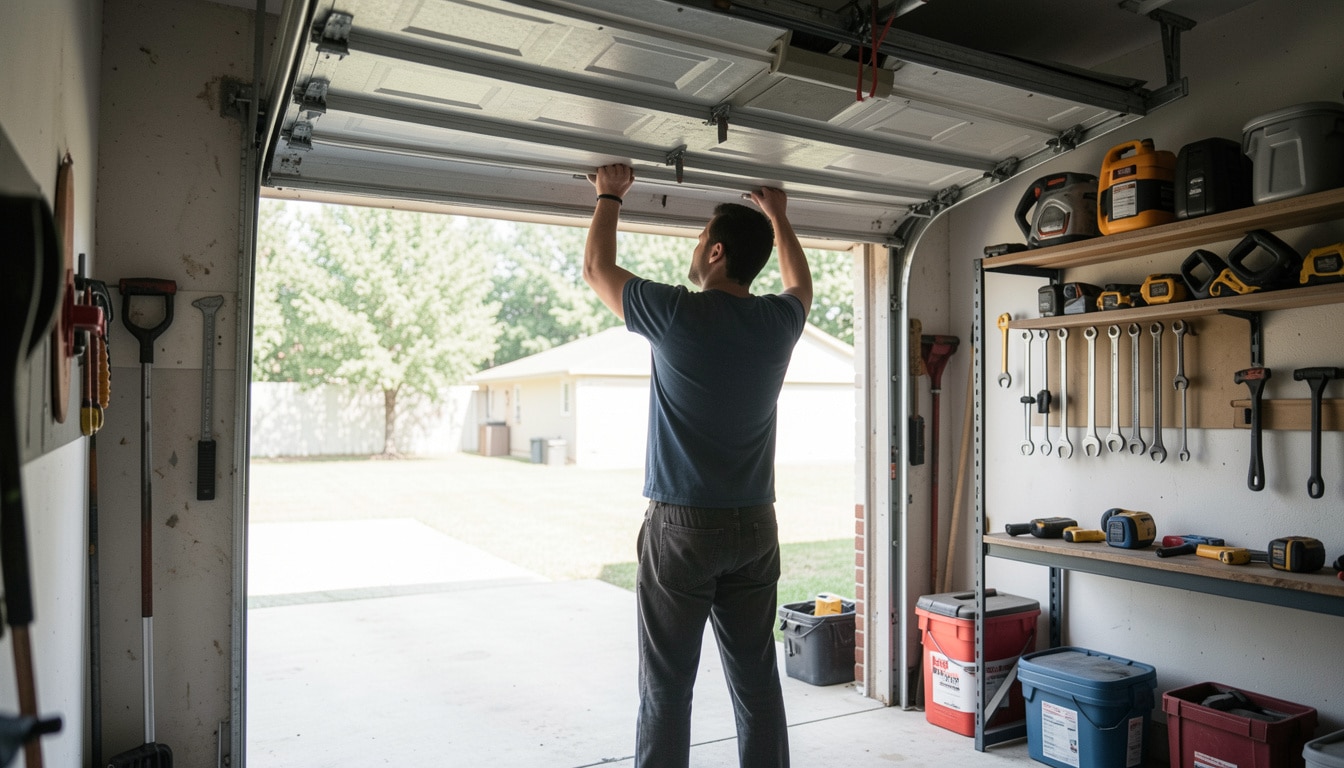
10. Schedule Professional Garage Door Maintenance

Some parts of your garage door system require a trained eye, and a yearly professional visit can catch what a DIY inspection might miss.
What a Professional Inspection Includes
Even if you handle all the basic upkeep yourself, a professional inspection once a year is worth the cost.
A technician will check spring tension and cable wear, test the opener’s force settings, inspect the trolley and carriage, lubricate hard-to-reach parts, and flag anything approaching the end of its lifespan.
They can also spot problems that are easy to miss if you are not looking at garage doors every day: hairline cracks in torsion springs, cable fraying near the drum, or a track that has shifted just enough to cause trouble down the road.
Repairs You Should Not DIY
Torsion springs, extension spring cables, and anything involving the opener’s electrical components are jobs for professionals. These repairs involve stored mechanical energy, wiring, and ceiling-mounted hardware, all of which can cause serious injury without the right training and tools.
There is no shame in calling a technician. A repair handled proactively costs far less than an emergency call after something fails completely, and it is a lot safer.
Common Garage Door Maintenance Mistakes to Avoid
- Skipping lubrication is the most common one. People hear a new noise and learn to live with it rather than spend five minutes with a can of lubricant. The noise does not go away on its own. It just gets worse.
- Using WD-40 as a lubricant is a close second. It feels like a fix in the moment, but it strips away existing grease, leaving parts dry within weeks. Use white lithium grease or a product made specifically for garage doors.
- Attempting to adjust the torsion spring yourself is another one to avoid entirely. Videos online make it look manageable. It is not worth the risk, full stop.
- Ignoring a failed auto-reverse test because the door “seems fine” is a safety problem, not just a maintenance gap. And waiting until something breaks completely is the mistake that costs the most.
Most garage door failures build up through months of small warning signs that routine maintenance would have caught long before the repair bill arrived.
Conclusion
Your garage door does not demand much. A couple of lubrication sessions a year, some hardware checks, a quick exterior clean, and an annual professional inspection are all it takes to keep the system running well for decades.
Routine garage door maintenance is not complicated. It just requires actually doing it. Pick one afternoon this season, work through this list, and your door will reward you every single morning with a smooth, quiet, reliable open.
If something does not look right during your checks, do not wait on it. A small repair handled early is almost always faster, cheaper, and far less disruptive than the alternative.