How to Patch a Hole in Drywall: Small to Large

That hole in your wall looks worse than it is. Whether a doorknob punched through, a wall anchor pulled out, or someone got a little too enthusiastic while moving furniture.
knowing how to patch a hole in drywall is one of those skills that pays off every time you move, repaint, or just want your house to look right again.
Most repairs cost under $20 in materials. The whole job, including dry time, fits in a single day.
The technique varies depending on the severity of the damage. Nail holes need nothing more than a dab of spackle.
A 3-inch impact zone needs a mesh patch and joint compound. Anything wider than 4 inches needs a proper backing and new drywall. Get that sizing right upfront, and the rest is straightforward.
This covers all three, plus two things most repair tutorials skip entirely: how to prime so the patch actually disappears under paint, and how to match your existing wall texture so there’s no visible mark left behind.
What You’ll Need Before You Start
Before patching a hole in drywall, having the right tools and materials ready can make the repair process smoother and help you get a cleaner finish.
Most drywall repairs only require a few basic supplies, and preparing ahead of time helps avoid delays once you begin working on the wall.
For nail holes and small dents (under ½ inch):
- Lightweight spackle (DAP DryDex is good for about $6 for a pint)
- 2-inch putty knife
- 120-grit sandpaper
- PVA drywall primer
For medium holes (½ inch to 4 inches):
- Self-adhesive mesh patch kit ($3–$8 for a multi-pack)
- 6-inch putty knife
- Pre-mixed all-purpose joint compound ($8–$12 per gallon bucket)
- 120-grit sandpaper and a drywall sanding sponge
- PVA drywall primer
For large holes (over 4 inches):
- A piece of drywall the same thickness as your existing wall (usually ½-inch)
- Drywall saw or utility knife
- 1×3 or 1×4 lumber for backer strips
- Drywall screws and a drill
- Mesh or paper drywall tape
- 6-inch and 10-inch drywall knives
- Pre-mixed joint compound
- PVA drywall primer
Estimated total costs: Small repair under $10. Medium repair $15–$20. Full large-hole kit $30–$50, but that kit covers a dozen future repairs.
Check These Things Before You Cut Into Any Wall
This step matters more near kitchens, bathrooms, and anywhere close to outlets or switches.
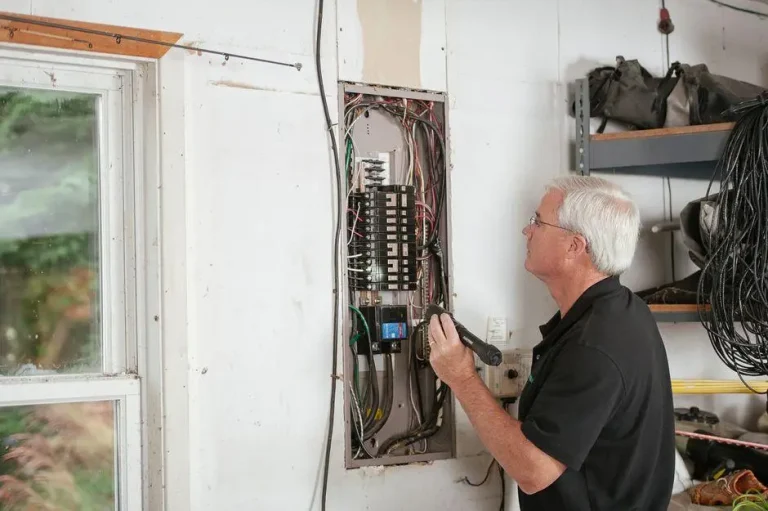
Electrical wires typically run along wall studs, so locating the studs first gives you a rough idea of where the wires are. Use a stud finder; they cost $15–$25 and save a lot of trouble.
Turn off the power to the room at the breaker before cutting into any section of wall you haven’t confirmed is clear.
Check for plumbing too, particularly on shared walls with a bathroom. Push on the drywall around the damaged area. If it feels soft, spongy, or cool to the touch, there may be moisture behind it.
Patching over wet or water-damaged drywall just delays the problem. Fix the source first.
Wear a dust mask and safety glasses when sanding. Gypsum dust is fine enough to get into your lungs without you noticing.
How to Patch Small, Medium, and Large Holes in Drywall
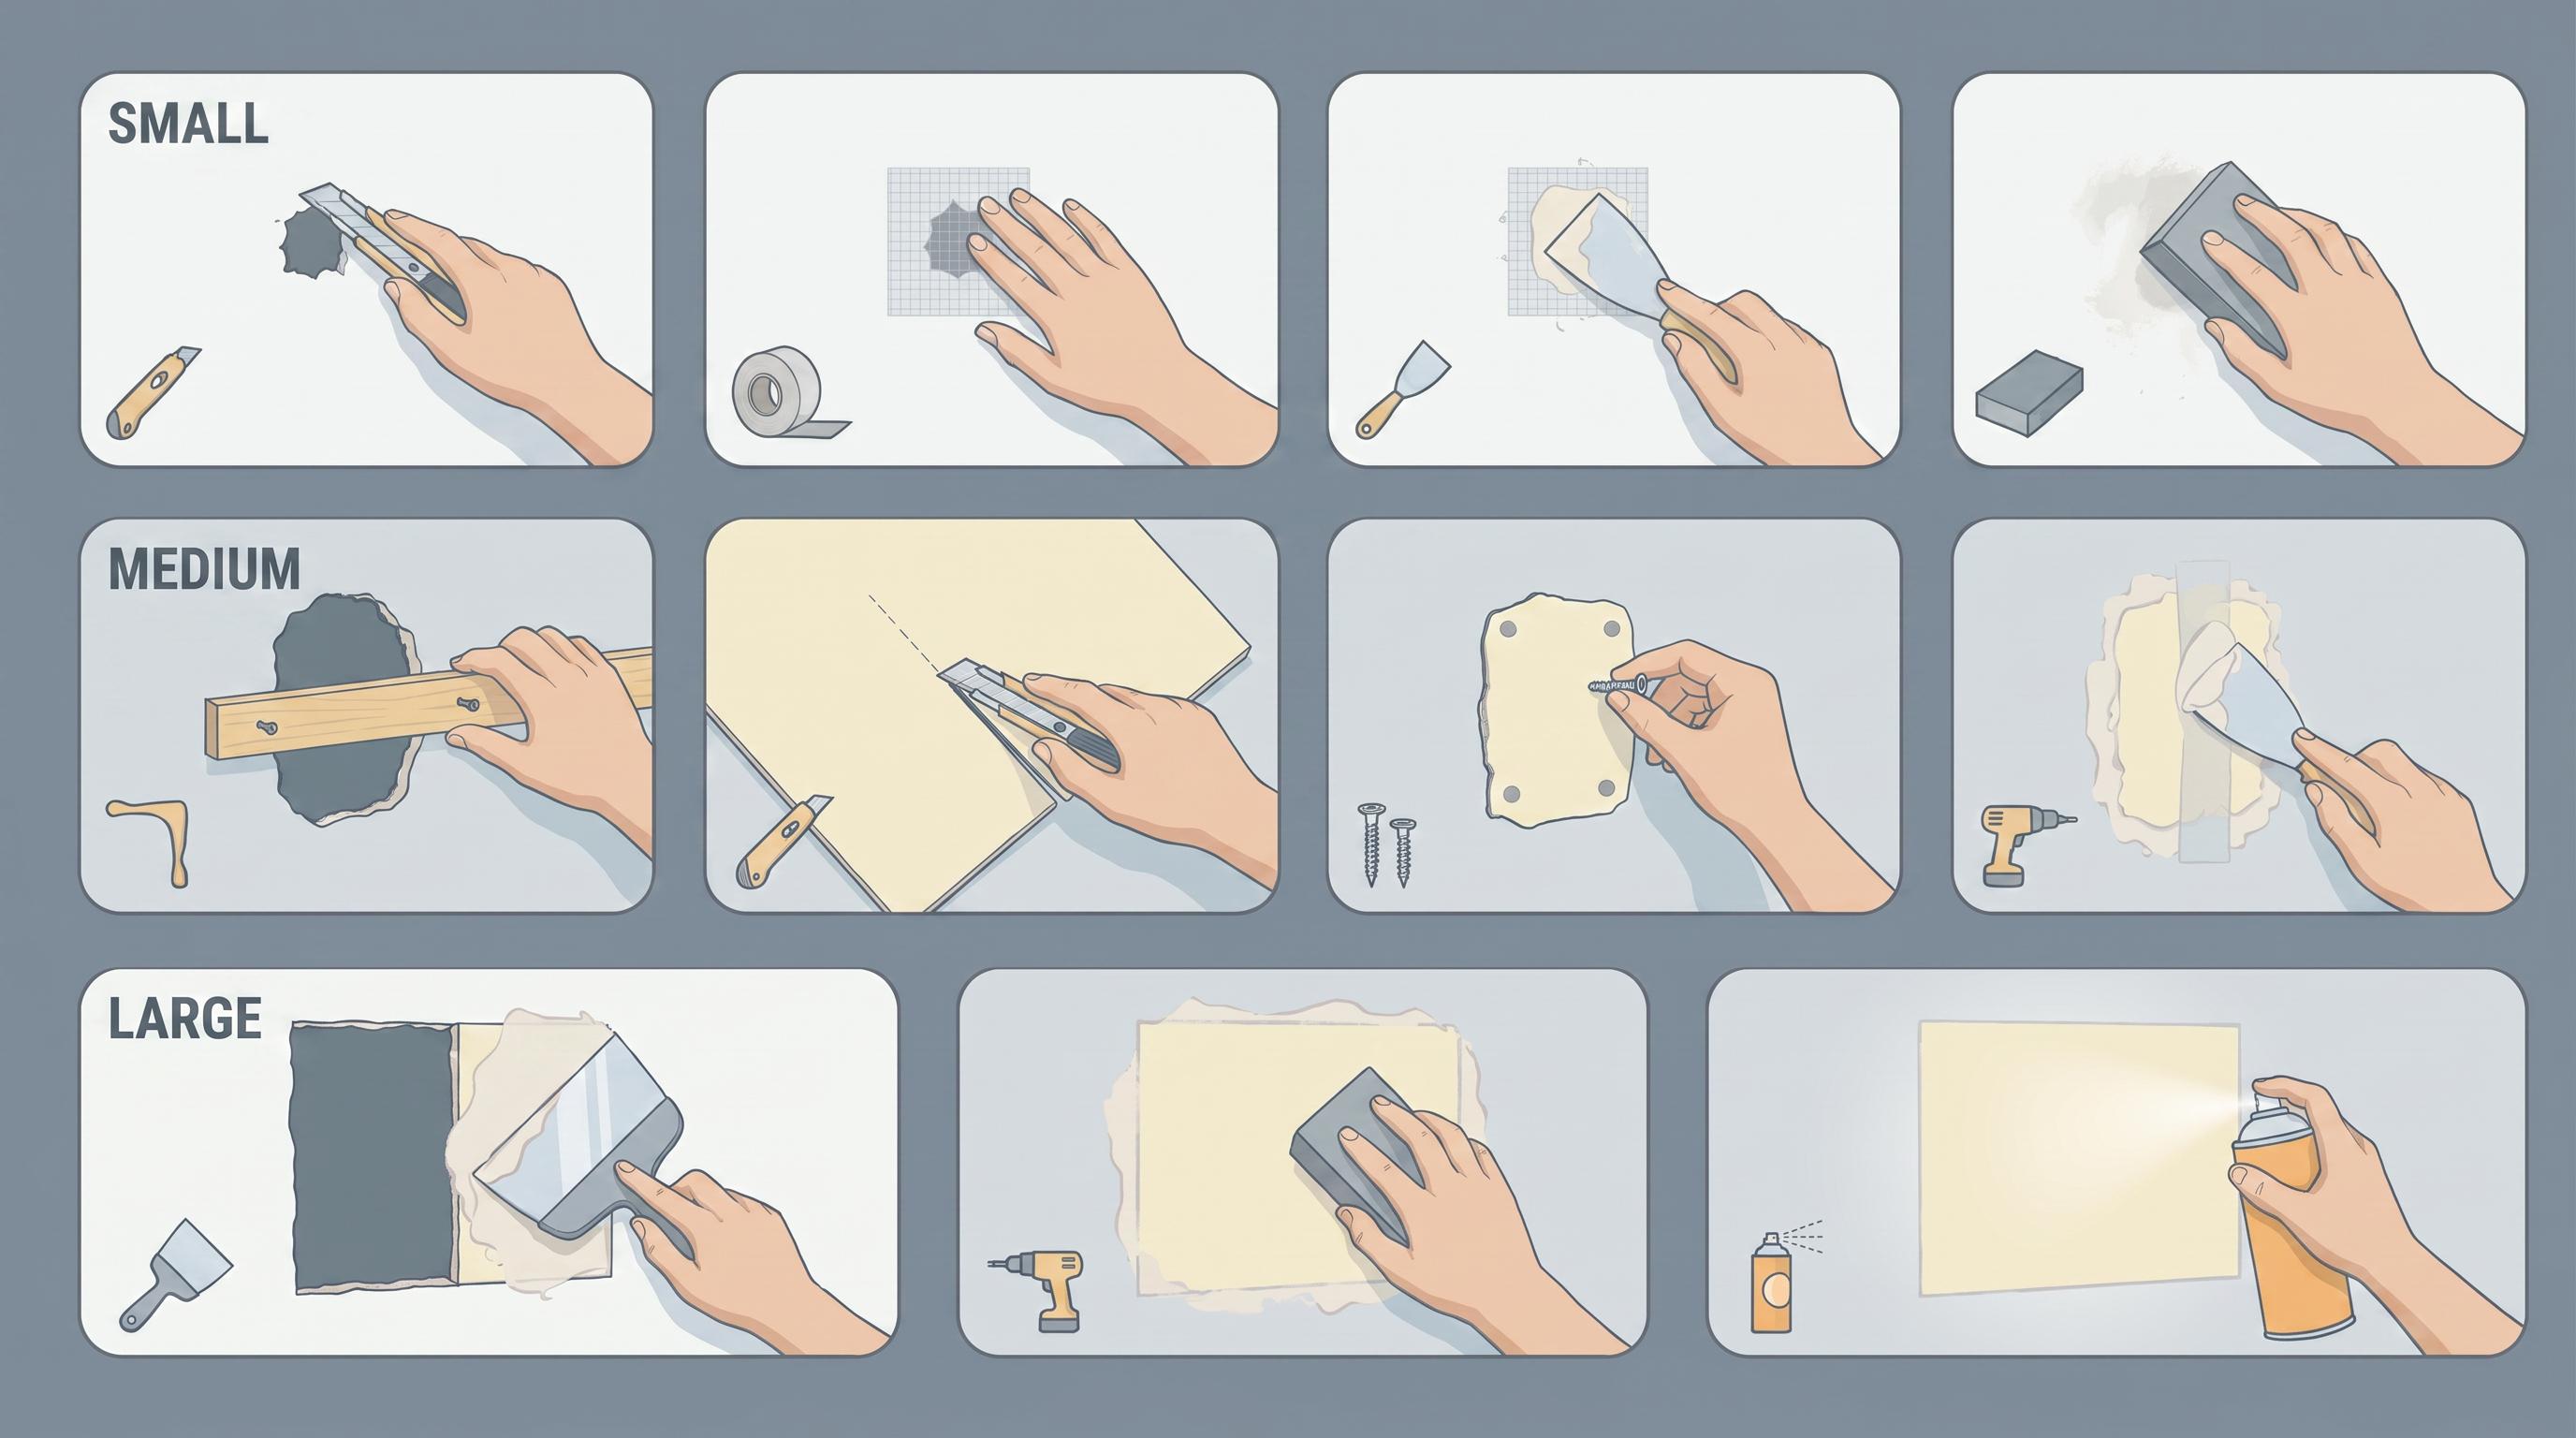
Drywall damage can range from tiny dents to large openings, but the repair process becomes much easier when you use the right method for the hole size.
Small holes usually need a simple mesh patch and spackle, while medium and large holes require replacement drywall pieces, support braces, and multiple coats of joint compound.
With proper sanding and texture matching, the repaired area can blend seamlessly with the rest of the wall and be ready for paint.
Step 1: Gather Your Drywall Repair Supplies
Before starting, collect the tools and materials you need, such as a putty knife, sanding sponge, drywall patch, joint compound, drywall tape, utility knife, and sandpaper.
Having everything ready makes the repair process smoother.
Step 2: Clean and Prep the Damaged Area
Remove loose drywall, peeling paper, and dust from around the hole. Wipe the area clean with a damp cloth so the patch and compound adhere properly.
Step 3: Repair Small Holes With a Mesh Patch
For small holes, place a self-adhesive drywall patch over the damaged area, making sure it overlaps on all sides. The mesh backing helps strengthen the repair and prevent cracking.
Step 4: Apply Spackle Over Small Repairs
Spread spackle over the patch using a putty knife, pressing it firmly into the mesh before feathering the edges outward. This helps the repair blend smoothly into the wall.
Step 5: Sand and Recoat Small Repairs if Needed
Allow the spackle to dry completely, then sand it smooth. Apply a second thin coat if you notice low spots or uneven areas, then sand again after drying.
Step 6: Cut a Drywall Patch for Medium Holes
For medium-sized holes, measure and cut a new piece of drywall to fit the opening. Trace the patch on the wall, cut out the damaged drywall, and leave a slight gap around the patch for joint compound.
Step 7: Install Support Braces Behind Medium Holes
Attach wood braces behind the drywall opening using screws. These braces give the new patch a solid backing and help keep the repair stable over time.
Step 8: Tape and Apply Joint Compound on Medium Repairs
Apply drywall mesh tape over the seams, then spread joint compound across the patch and feather the edges. Sand between coats until the wall feels smooth and level.
Step 9: Secure Large Drywall Patches With Extra Framing
For large holes, use larger wood braces or attach the patch directly to nearby studs. Screw the drywall patch firmly into place before applying tape and compound.
Step 10: Build Up Thin Layers on Large Repairs
Use fast-setting joint compound for larger patches and apply multiple thin coats instead of one thick layer. Sand lightly between coats to keep the repair flat and smooth.
Step 11: Match the Texture and Prepare for Paint
Finish the repair by applying orange peel or knockdown texture if needed. Once the texture dries, sand lightly if necessary, clean away dust, and the wall is ready for primer and paint
Video Tutorial
I’d like to acknowledge Modern Builds for the insightful video, which was a key reference in putting this guide together.
Drywall Hole in a Rental Apartment
This situation comes up constantly, and no one covers it specifically.
- Small nail holes are usually considered normal wear and tear and typically are not charged to tenants.
- Large holes from TV mounts or damage are usually the tenant’s responsibility.
- Professional drywall repair can cost $150–$300, while a DIY fix often costs under $20.
- Take before-and-after photos and save receipts in case of deposit disputes.
- Paint matching can be tricky, and repainting the full wall often looks better than spot touch-ups.
Mistakes That Make Drywall Patches Obvious
These are the ones worth knowing before you start, not after.
- Applying compound in thick coats: Joint compound shrinks and cracks when applied thickly. Always think of coats, always be patient.
- Skipping primer: Don’t skip it. The patch will flash under the paint every time.
- Patching over damaged paper facing: If the drywall paper around the hole is torn or bubbled, the compound won’t bond cleanly to it. Trim back to solid material before patching, even if that makes the hole slightly larger.
- Not feathering wide enough: A short feather leaves a ridge you can see under paint, especially in raking light. Give yourself 8 to 10 inches for medium and large repairs.
- Using spackle for taped repairs: Spackle is for small holes only. It doesn’t bond reliably to mesh or paper tape, and it’s not strong enough for any repair that involves a new piece of drywall. Use joint compound for anything bigger than a nail hole.
- Painting before the compound fully dries: Pre-mixed compound can look dry on the surface while still holding moisture deeper in. Touch the repair and press gently; it should feel hard, not cool or slightly tacky.
- Not sanding between coats: Any ridge that dries in becomes part of the next layer. Sanding between coats takes five minutes and prevents that.
Simple Habits That Prevent Most Drywall Holes
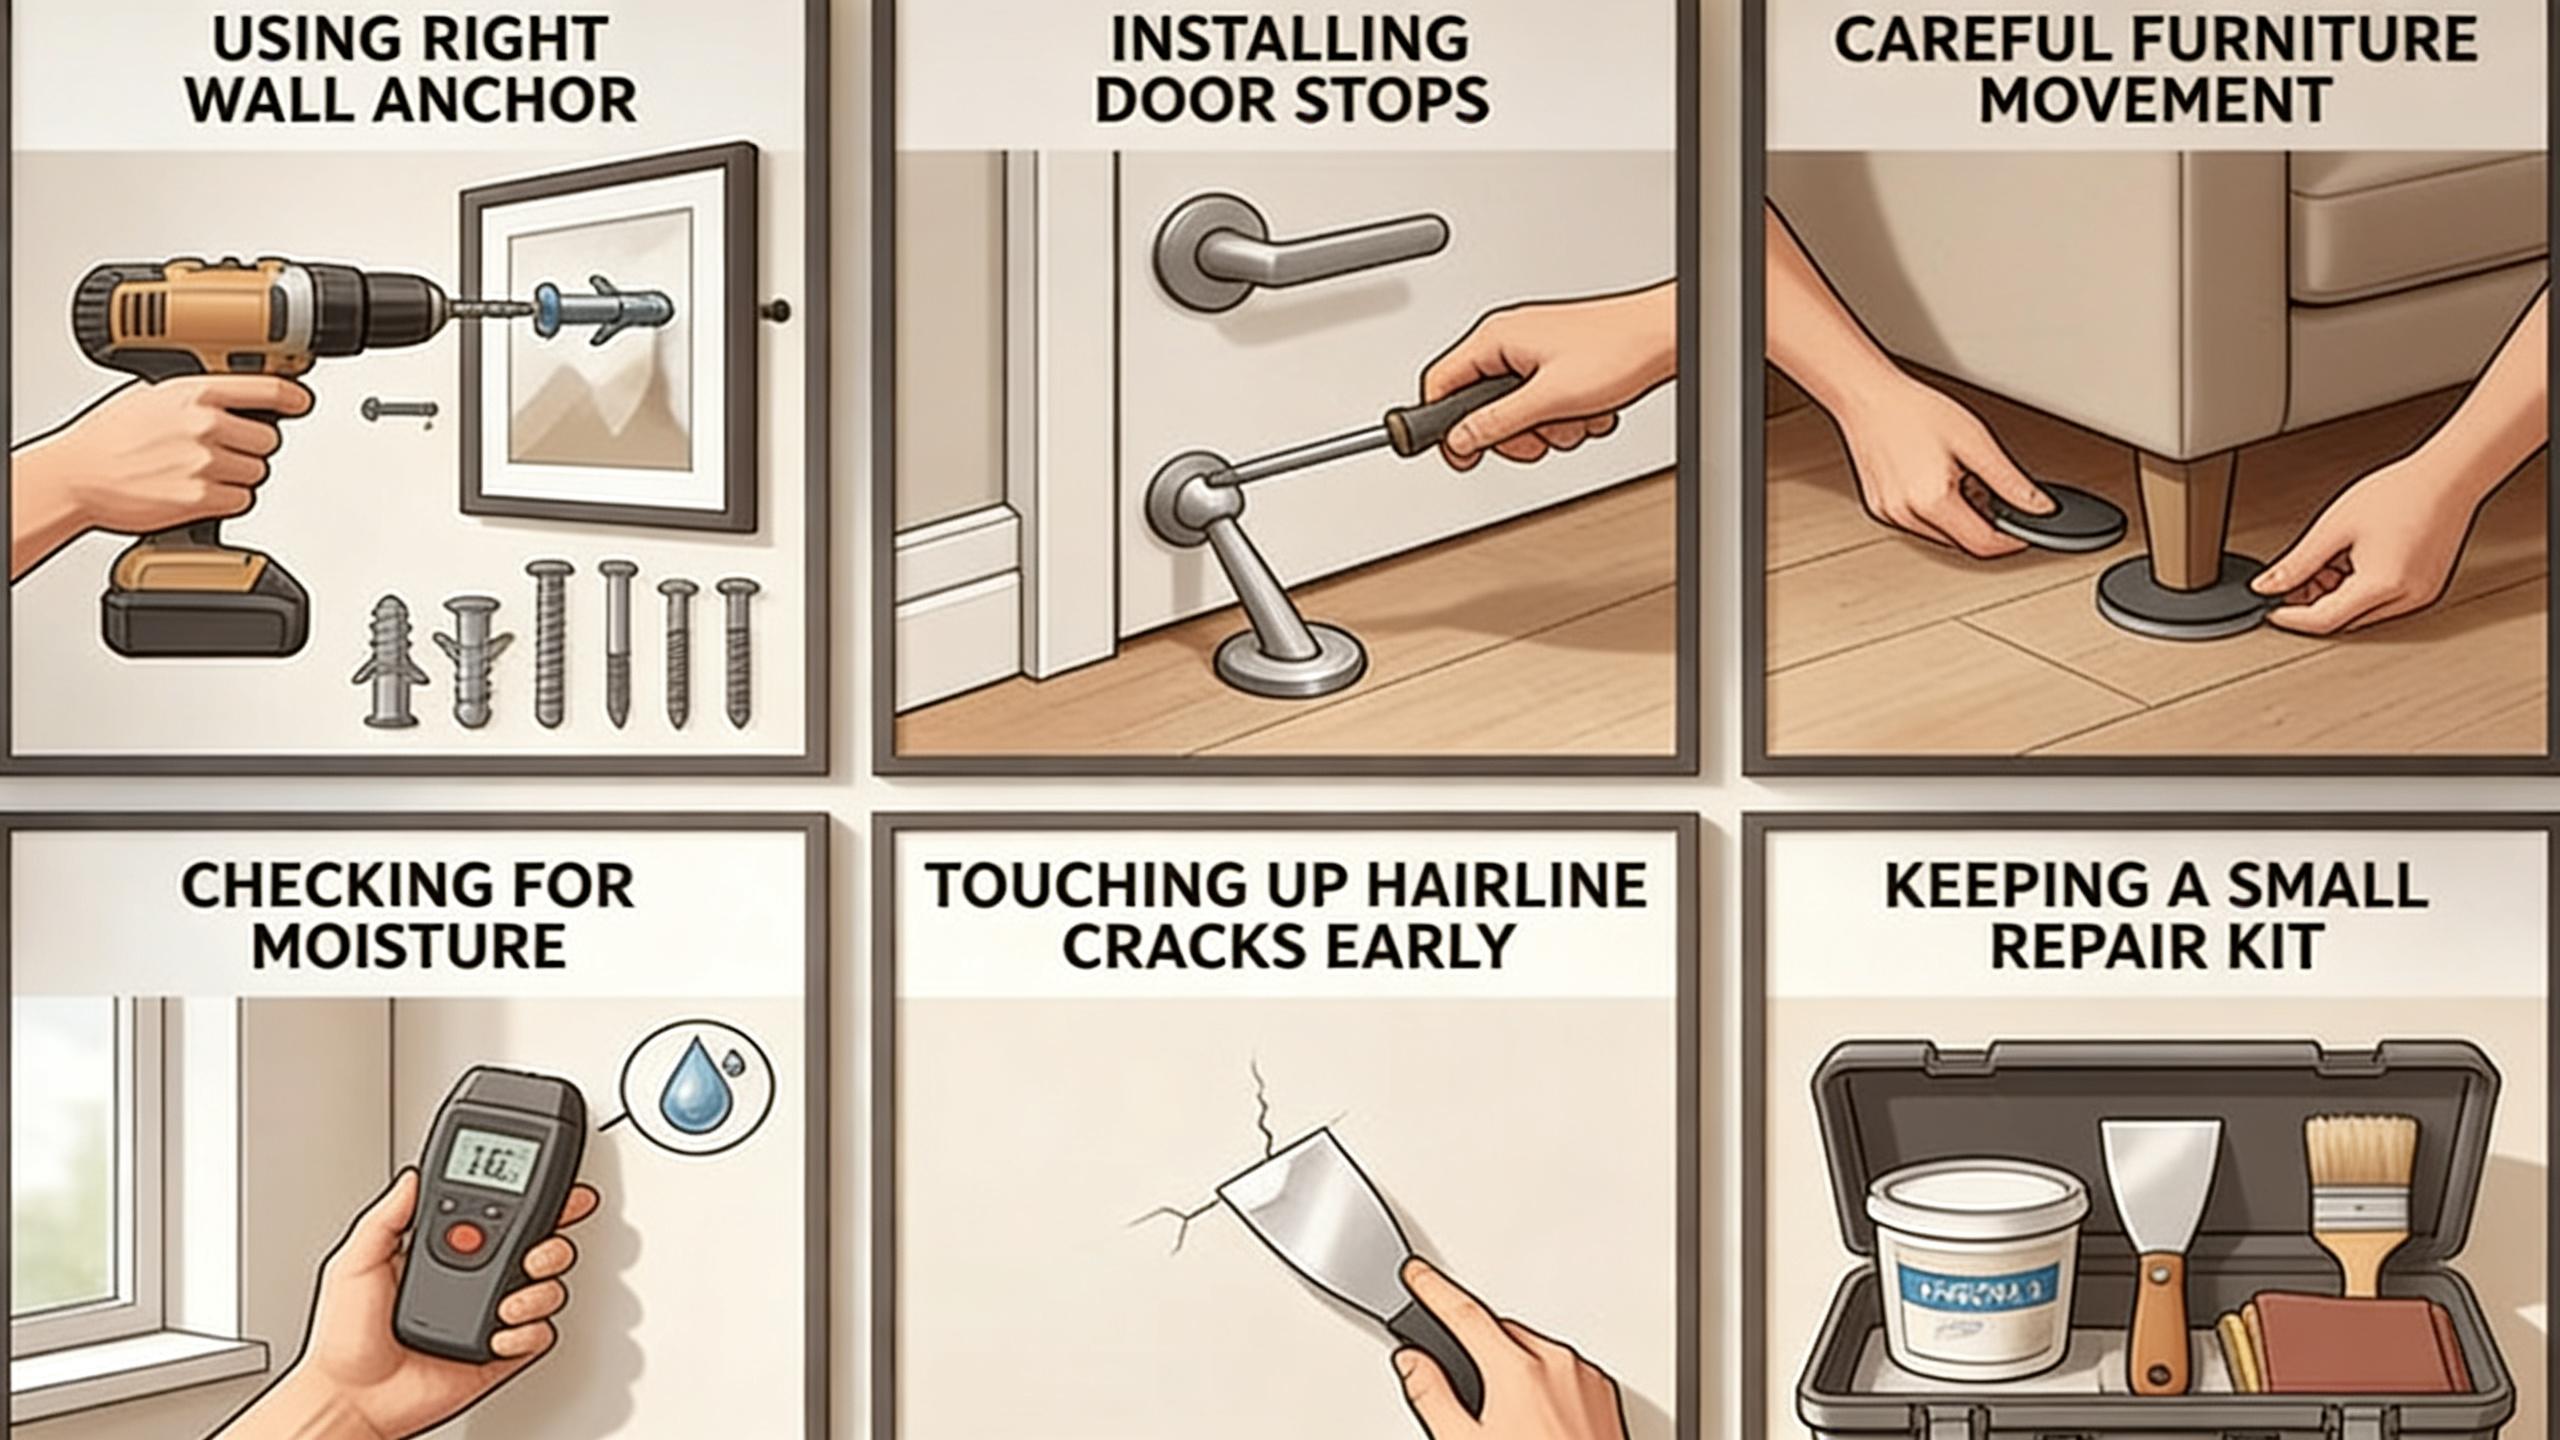
Fixing a hole once is fine. Fixing the same type of hole three years later in a different room gets old fast. Most drywall damage is predictable, which means most of it is avoidable.
- Use the right wall anchor for the weight – Standard plastic anchors hold 10–25 lbs; for anything over 20 lbs, use toggle or molly bolts. For very heavy items like TVs or shelving, anchor into a stud. A stud finder helps prevent holes.
- Put door stops on every door – Prevent doorknob holes with rubber or hinge-pin door stops. Ensure they’re correctly positioned to stop doors from hitting walls.
- Be careful when moving furniture – Avoid wall damage by checking clearance and using furniture sliders when repositioning large pieces.
- Check for moisture regularly – Inspect drywall near plumbing, sinks, toilets, and bathroom walls for soft or damp spots. Use bathroom exhaust fans to reduce humidity.
- Touch up paint before cracks spread – Fill hairline cracks early with a thin bead of spackle and paint to prevent them from widening.
- Keep a small repair kit in the house – Maintain spackle, putty knife, mesh patches, and joint compound for quick fixes. Check spackle yearly to ensure it hasn’t hardened.
When to Skip the DIY and Call Someone
Most holes up to 12 inches are straightforward to repair yourself. Past that, you’re looking at a repair that borders on section replacement, and the margin for error gets smaller.
Call a professional if:
- The drywall around the hole is water-stained, soft, or has visible mold. Fix the moisture problem first, and get the damage assessed by someone who can tell you how far it’s spread.
- The damage is close to electrical panels, outlets that have been sparking, or areas where you suspect plumbing runs.
- The hole exposes structural framing that looks damaged or rotted.
For reference, professional drywall repair typically runs $75–$150 for small patches, $150–$250 for medium repairs, and $300–$600 for larger sections, depending on your area and whether texture matching and painting are included.
Conclusion
Drywall damage is one of those repairs that feels more intimidating than it actually is. A nail hole takes ten minutes. A medium patch takes an afternoon.
Even a large hole, the kind that looks genuinely alarming, comes down to a few pieces of lumber, some joint compound, and a little patience between coats.
The part worth remembering: prime before you paint. That one step is what separates a patch that disappears from one that catches the light every morning.
Work through the right method for your hole size, feather wider than feels necessary, and give each coat time to fully dry.
Do those three things, and most people won’t know the hole was ever there, including you, about a week after you fix it.