How to Fix Paint Chips on Walls Without Repainting

Paint chips on walls. It happens to everyone, whether from a doorknob, a furniture bump, or years of normal use. The wall looks fine from across the room, but up close, that small patch starts to bother you.
The fix is simpler than it looks. Most chips take less than an hour to sort out, and you do not need any special skills to do it right.
This guide walks you through everything, starting with why paint chips in the first place, what type of chip you are dealing with, and a clear step-by-step process to fix paint chips on walls and keep them from coming back.
Why Does Paint Chip in the First Place?
Paint chips when the bond between the paint and the wall breaks down. This can happen for many reasons.
A wall that was not cleaned or primed before painting, moisture pushing up from behind the surface, physical impact from everyday use, using the wrong type of paint for the room, or simply old paint that has lost its grip over time.
In most cases, it is not just wear and tear. Something in the preparation or the environment gave out first.
Types of Paint Chips
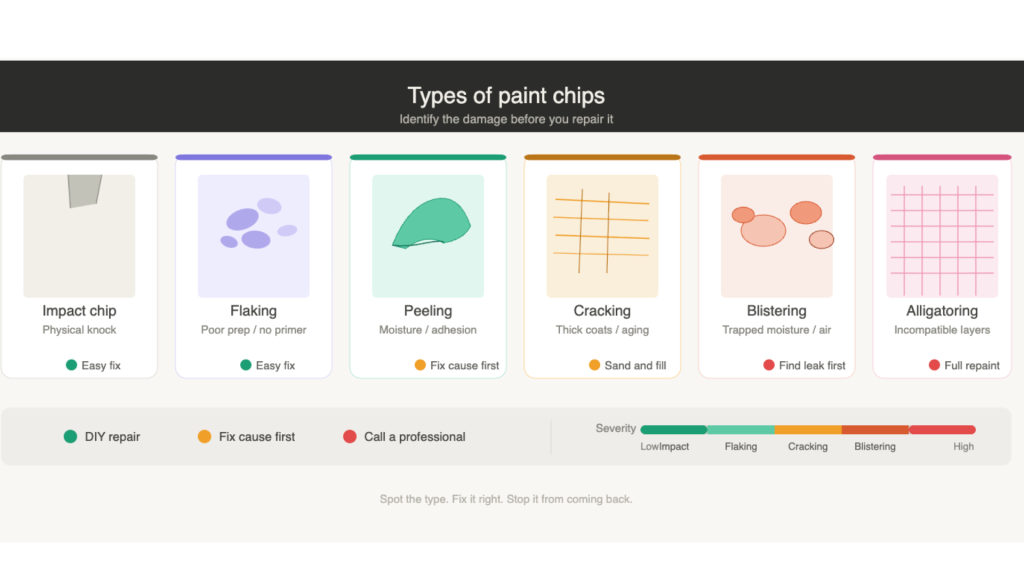
Before you pick up a putty knife, take a closer look at the damage. Not all chips are the same, and knowing what you have tells you exactly how to fix it.
| Type | What It Looks Like | Common Cause |
|---|---|---|
| Impact chip | Small, clean break with sharp edges | Door, furniture, or object hitting the wall |
| Flaking | Thin pieces lifting away in multiple spots | Poor prep, thin coats, no primer |
| Peeling | Strips or curls pulling away from the surface | Moisture or adhesion failure |
| Cracking | Hairline lines across the paint surface | Thick coats, paint drying too fast, aging |
| Blistering | Bubbles that break open and leave rough edges | Trapped moisture or air under the paint |
| Alligatoring | Scaly, grid-like cracks across a section | Incompatible paint layers, old oil-based paint |
What Causes Chipped Paint on Walls?
Knowing the cause keeps the same problem from coming back after your repair. Here are the most common reasons paint chips on interior walls.
- Moisture: Water from leaks, condensation, or high humidity weakens the paint bond from below, especially in bathrooms and kitchens.
- No primer used: Paint applied directly to bare drywall or wood without a primer coat will not hold long.
- Wrong paint for the room: Using flat latex in a bathroom instead of a moisture-resistant formula leads to early peeling.
- Thick coats applied too fast: Applying paint in heavy layers without letting each one dry causes cracking and flaking later.
- Dirty or glossy surface: Paint will not grip a wall that has grease, dust, or an old glossy finish that was not sanded first.
- Physical impact: Repeated bumping from furniture, bags, or doors breaks through the paint film over time.
- Aging: Old paint naturally loses flexibility. As temperatures shift, it expands and contracts until it breaks away.
How to Repair Chipped Paint on Walls
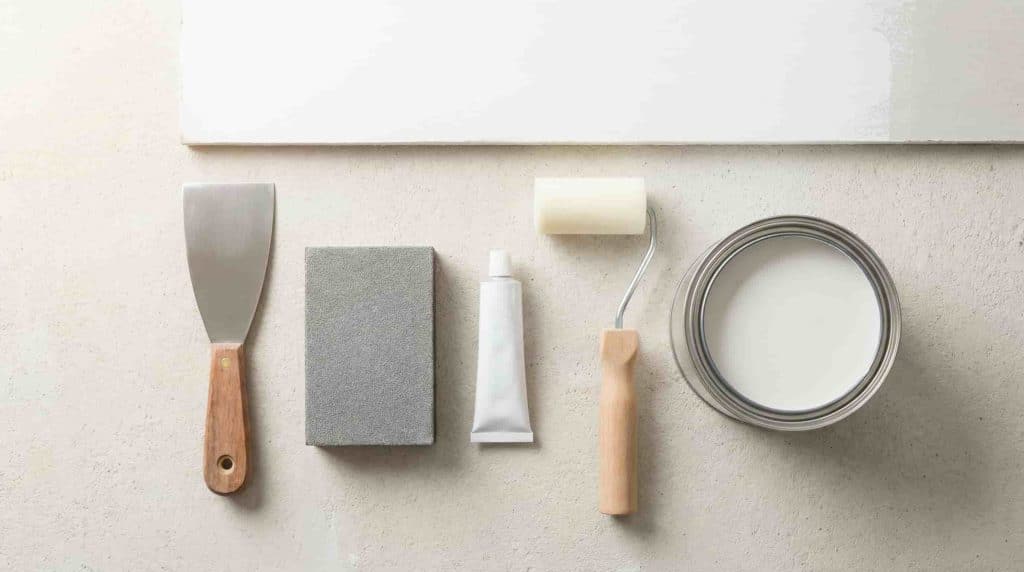
Tools and Materials You Need
Get everything ready before you start. Stopping mid-repair to find a tool makes the job harder and can ruin your spackle before it is spread.
| Item | What It Is Used For |
|---|---|
| Putty knife or paint scraper | Removing loose and flaking paint |
| Wire brush | Clearing smaller fragments around the chip |
| Fine-grit sandpaper or sanding sponge | Smoothing edges before and after filling |
| Small paintbrush or foam roller | Applying primer and touch-up paint |
| Microfiber cloth | Wiping away dust before priming |
| Safety goggles, dust mask, gloves | Protecting yourself during scraping and sanding |
| Drop cloth or plastic sheet | Keeping the floor and furniture clean |
| Painter’s tape | Protecting baseboards and trim |
| Lightweight spackle or joint compound | Filling chips on drywall surfaces |
| Wood putty | Filling chips on wood trim or surfaces |
| Primer (latex, oil-based, or masonry) | Sealing the patched area before paint |
| Matching interior paint | The final coat to blend the repair |
The process is straightforward. Do not rush any step, and the repair will be hard to spot once it is done.
Step 1: Set Up the Work Area
Move furniture away from the wall or cover it with a drop cloth. Lay plastic sheeting on the floor and apply painter’s tape along any baseboards or trim.
Put on your safety goggles and dust mask before touching anything. Good prep here saves a lot of cleanup later.
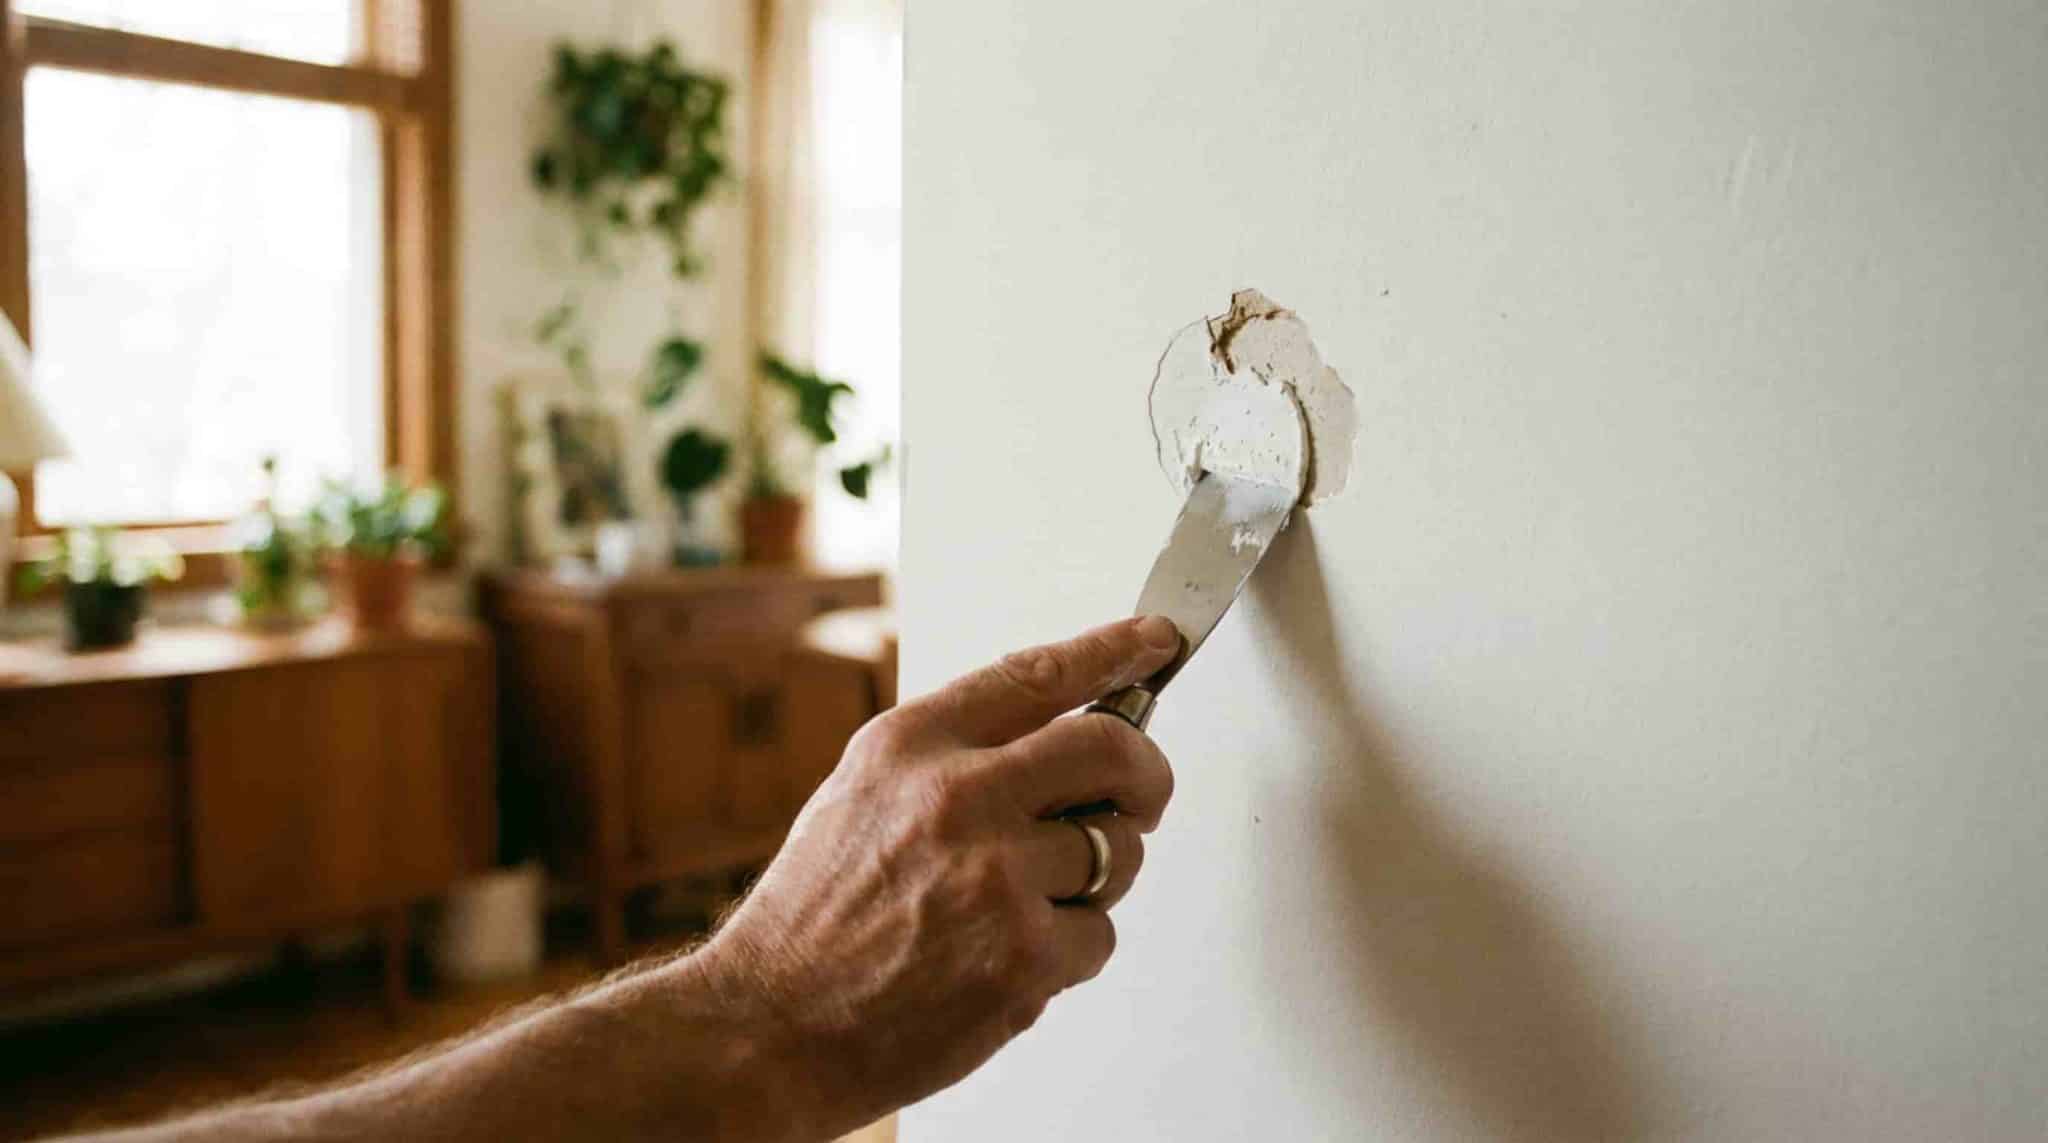
Step 2: Remove All Loose Paint
Hold a putty knife at an angle and slide it under the edges of the chip to lift away any loose paint. Follow with a wire brush to clear smaller fragments. Check the edges around the chip by pressing lightly.
If they give at all, keep scraping until only solid paint remains. Leaving weak edges behind means the chip comes back.
Step 3: Sand the Area Smooth
Use fine-grit sandpaper or a sanding sponge to smooth the edges of the chip. Work slowly and steadily. The goal is to blend the chip edge into the surrounding wall so there is no ridge or lip.
Avoid coarse sandpaper, as it scratches the wall and creates more work. When done, wipe everything clean with a damp microfiber cloth and let it dry fully.
Step 4: Fill the Chip
Scoop a small amount of lightweight spackle onto your putty knife and press it firmly into the chip. Spread it slightly above the wall surface.
Then run a wider 4-inch putty knife over it from different angles to feather the edges flat. For deeper chips, apply two thin layers instead of one thick one. Let the filler dry completely, which takes 30 to 60 minutes for small repairs and longer for deeper ones.
Step 5: Sand and Prime
Once the filler is fully hard, sand it again with fine-grit paper until the surface feels level with the rest of the wall. Run your fingertips across it. You should feel no bump or dip. Wipe away all dust.
Then apply a thin coat of primer to the patched area, extending it about an inch past the edges. Use latex primer for drywall, oil-based primer for non-porous surfaces, and masonry primer for concrete or brick. Let the primer dry for at least one to two hours.
Step 6: Paint and Blend
Apply matching paint in thin, even coats using a small brush or foam roller. Use the same tool that was originally used on the wall for the best finish match. Let each coat dry before applying the next.
Check the repair under natural light. If a faint ring is still visible, extend the touch-up to a natural break like a corner or doorframe rather than adding more paint to the same spot.
Special Tips for Renters Fixing Paint Chips
Renters have a little more to think about before starting any wall repair. Keep these in mind.
- Check your lease before doing anything. Some landlords require written notice before tenants make repairs, even small ones.
- Buy a small touch-up paint pot rather than a full gallon. It costs less, stores easily, and is enough for a few chips.
- If you do not know the wall color, ask your landlord for the paint brand and code. Many apartment buildings use the same shade throughout.
- Keep your spackle, sandpaper, and touch-up paint stored somewhere you can find them easily before moving out.
- If chips happened from Command Strips or wall hooks, fix them the same way: clean, fill, sand, prime, and paint them.
- Take photos of the damage and your repair. This protects you if there is any question about the wall’s condition when you leave.
- For chips caused by normal daily use, like a doorknob or a bag brushing the wall, most landlords consider those standard wear and tear.
Common Mistakes to Avoid When Fixing Paint Chips
Small mistakes in the repair process are what make patches look obvious. Avoid these, and your fix will be much harder to notice.
| Mistake | Why It Causes a Problem |
|---|---|
| Painting directly over the chip | The chip still shows and the new paint will peel again |
| Using coarse sandpaper | Scratches the wall surface and creates extra damage |
| Skipping primer | The patched area absorbs paint differently and leaves a visible mark |
| Applying thick coats of paint | Paint takes longer to dry and may crack or drip |
| Ignoring the moisture source | The paint chips again in the same spot within weeks |
| Mismatching the sheen | A satin patch on a semi-gloss wall is visible even if the color is right |
| Rushing the drying time | Wet spackle under paint causes bubbling and uneven texture |
|
When to Call a Professional Some repairs are past the point of a DIY fix. If chipping covers a large area, if you find mold or soft drywall beneath the paint, if there is visible water damage near a pipe or window, or if your home was built before 1978 and you suspect lead paint, stop and call a professional. A trained painter can assess whether a spot repair will hold or if a full repaint is needed. Trying to patch over a moisture or structural issue will only cost more later. |
How to Stop Paint from Chipping Again?
Good prep is what keeps paint on the wall. Always use a primer on bare or patched surfaces before painting.
Choose a paint that suits the room, such as semi-gloss or enamel for high-moisture areas and interior latex for living spaces. Fix any leaks or ventilation issues before picking up a brush.
In hallways and other high-traffic spots, consider adding corner guards or chair rails to protect the lower sections of the wall. Touch up small scuffs early, before they grow into larger chips that need a full repair.
Final Verdict
A paint chip is never really just a paint chip. Left alone, it spreads, lets moisture in, and turns a 30-minute fix into a full afternoon project.
Now that you know how to repair chipped paint on walls, the whole process is a lot less daunting. Clean it, fill it, sand it, prime it, and paint it. That is the whole job.
The most important part? Do not skip the primer and do not rush the drying time. Those two steps make or break the final result.
Tried this repair yourself? Run into a tricky spot along the way? Drop your experience in the comments below; we would love to hear how it went.