How to Deep Clean Your Bathtub at Home

Most people do not think about their bathtub until it starts looking dull, smelly, or stained.
A survey by Apartment Guide found that only 38% of Americans clean their bathrooms weekly, leaving most tubs exposed to soap scum, mold, and mineral buildup over time.
Neglecting your tub is not just a cosmetic problem. It creates real health risks, including bacterial growth, fungal infections, and respiratory irritants from mold spores.
This guide walks you through exactly how to clean a bathtub, covering every material type, cleaning method, stubborn-stain fix, and prevention habit to keep your tub in great condition for years.
Know Your Tub Material Before You Pick a Cleaner
This is the step most people skip, and it causes the most damage. Different materials react very differently to cleaning products, and using the wrong one can scratch surfaces, void warranties, or permanently dull the finish.
1. Acrylic tubs are lightweight and common in modern bathrooms. They scratch easily, so stick to non-abrasive cleaners, mild dish soap, or a diluted vinegar solution. Never use bleach, acetone, or scouring pads on acrylic.
2. Fiberglass tubs are the most sensitive. Use a soft sponge with only dish soap, and avoid any hard scrubbing.
3. Porcelain and enamel tubs are tougher, but the enamel coating can still chip. Use pH-neutral, non-abrasive cleaners and avoid heavy scrubbing tools.
4. Cast iron tubs are highly durable, but their enamel surface chips if heavy objects are dropped. Non-abrasive cleaners work best here, too.
5. Stone or marble tubs require special care. Never use vinegar, citrus-based cleaners, or any other acidic products on natural stone, as they can permanently etch the surface. Always choose a pH-neutral cleaner specifically labeled safe for stone.
Not sure what material your tub is made of?: Tap the surface lightly. Cast iron sounds solid and heavy. Acrylic and fiberglass feel slightly hollow and flexible. Porcelain feels hard and dense like ceramic.
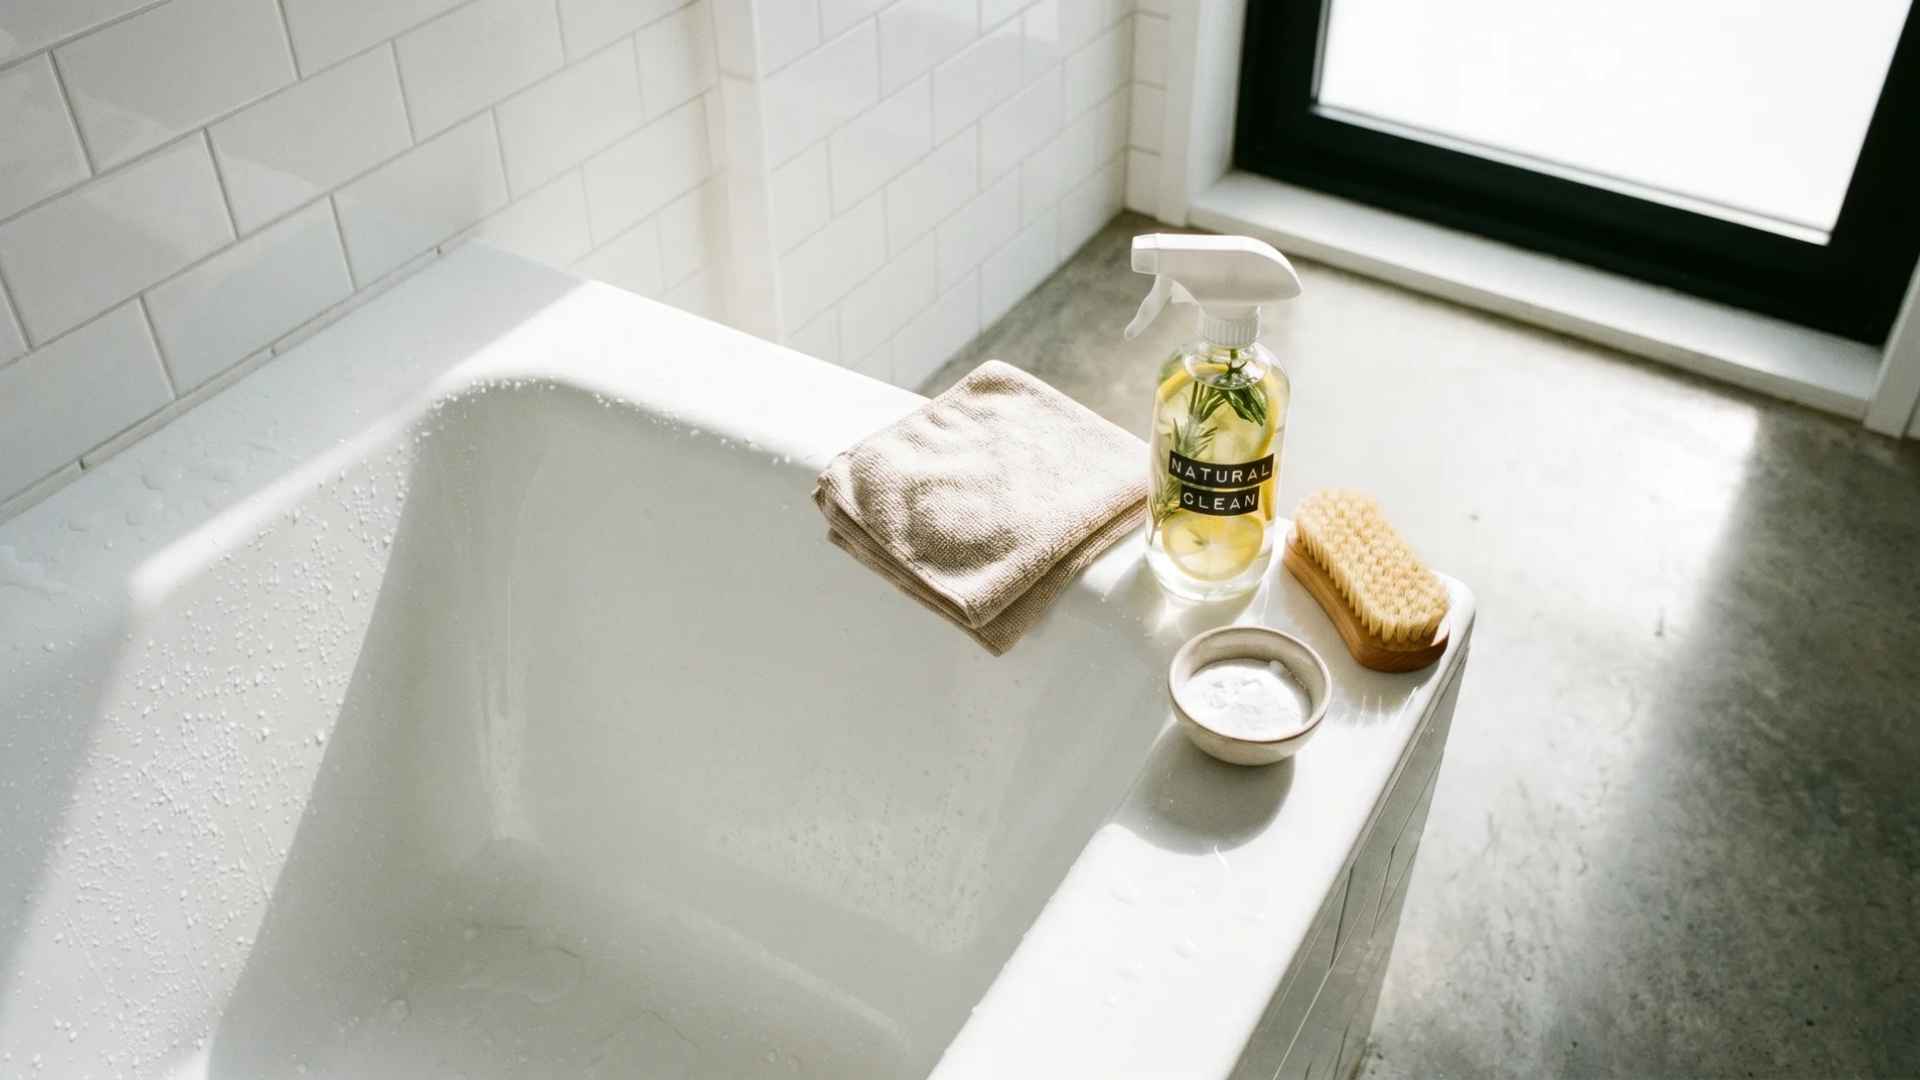
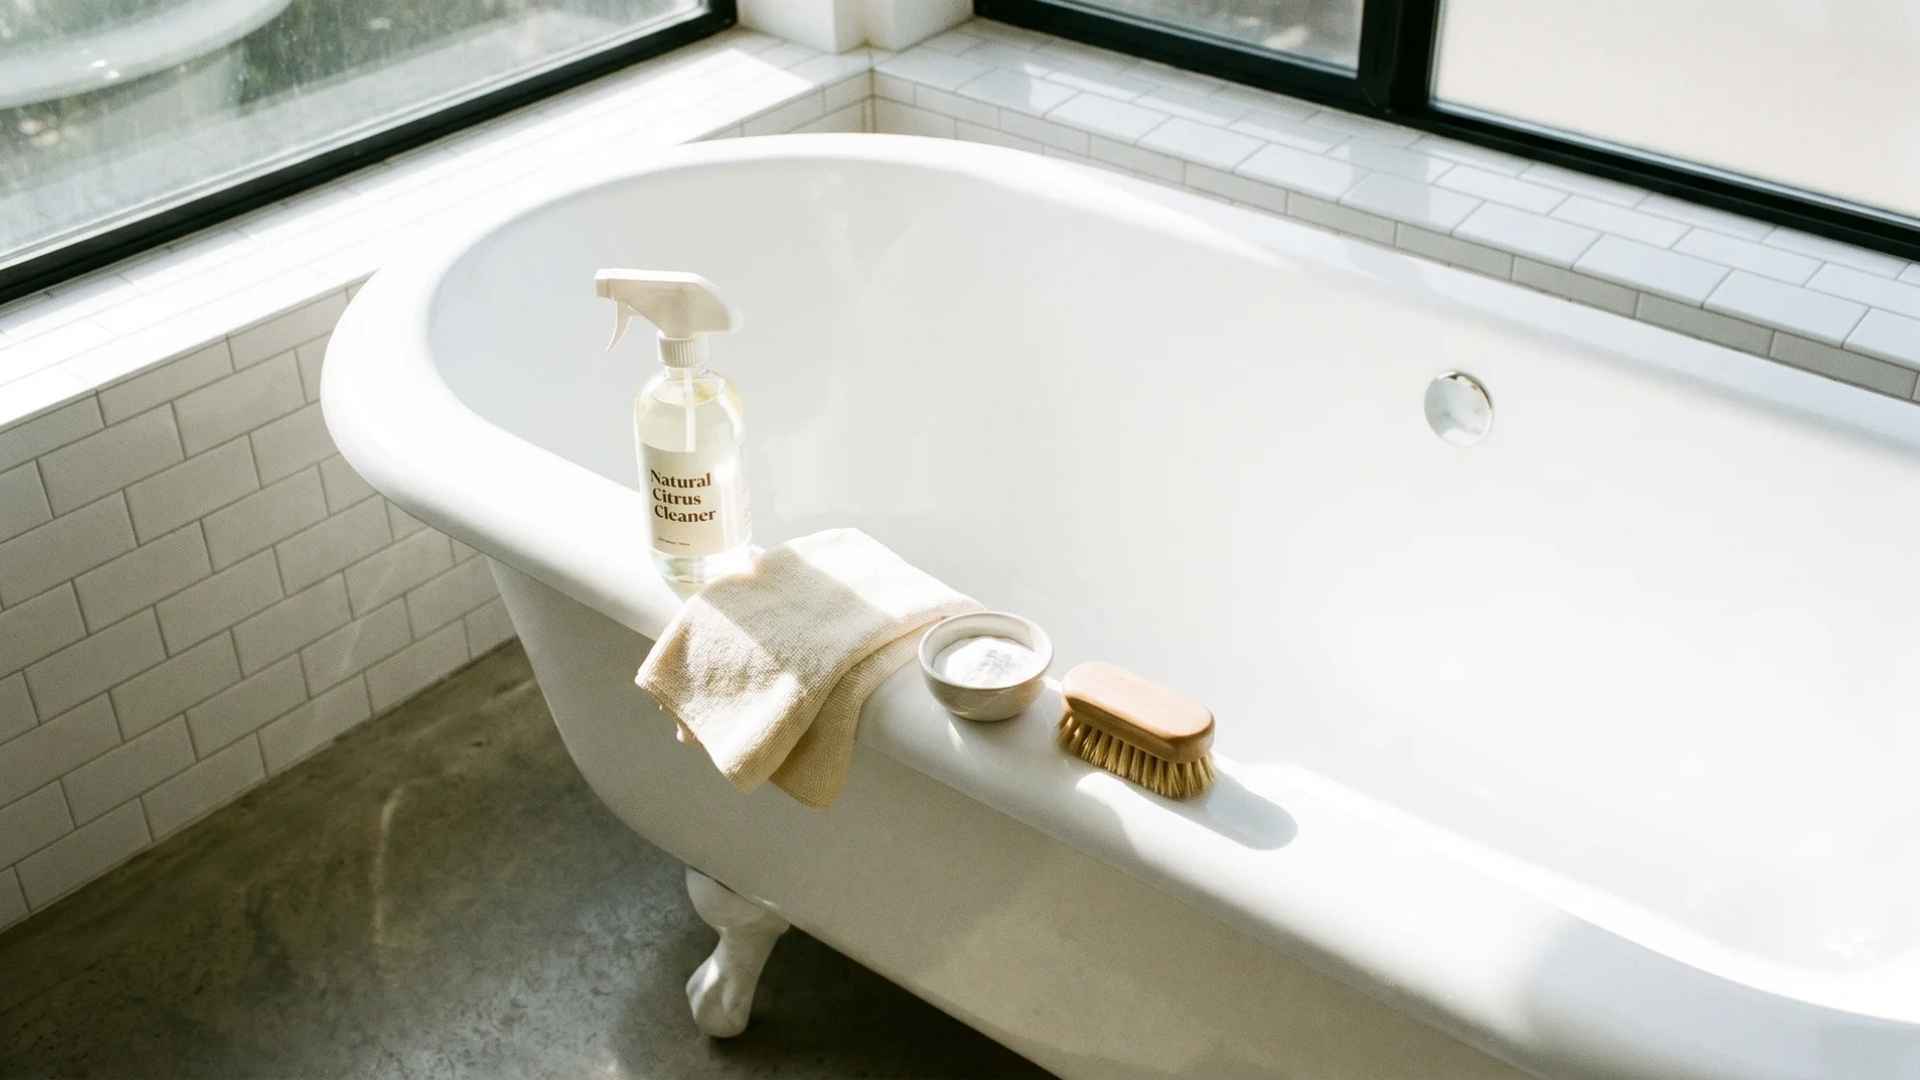
Tools and Supplies You Need
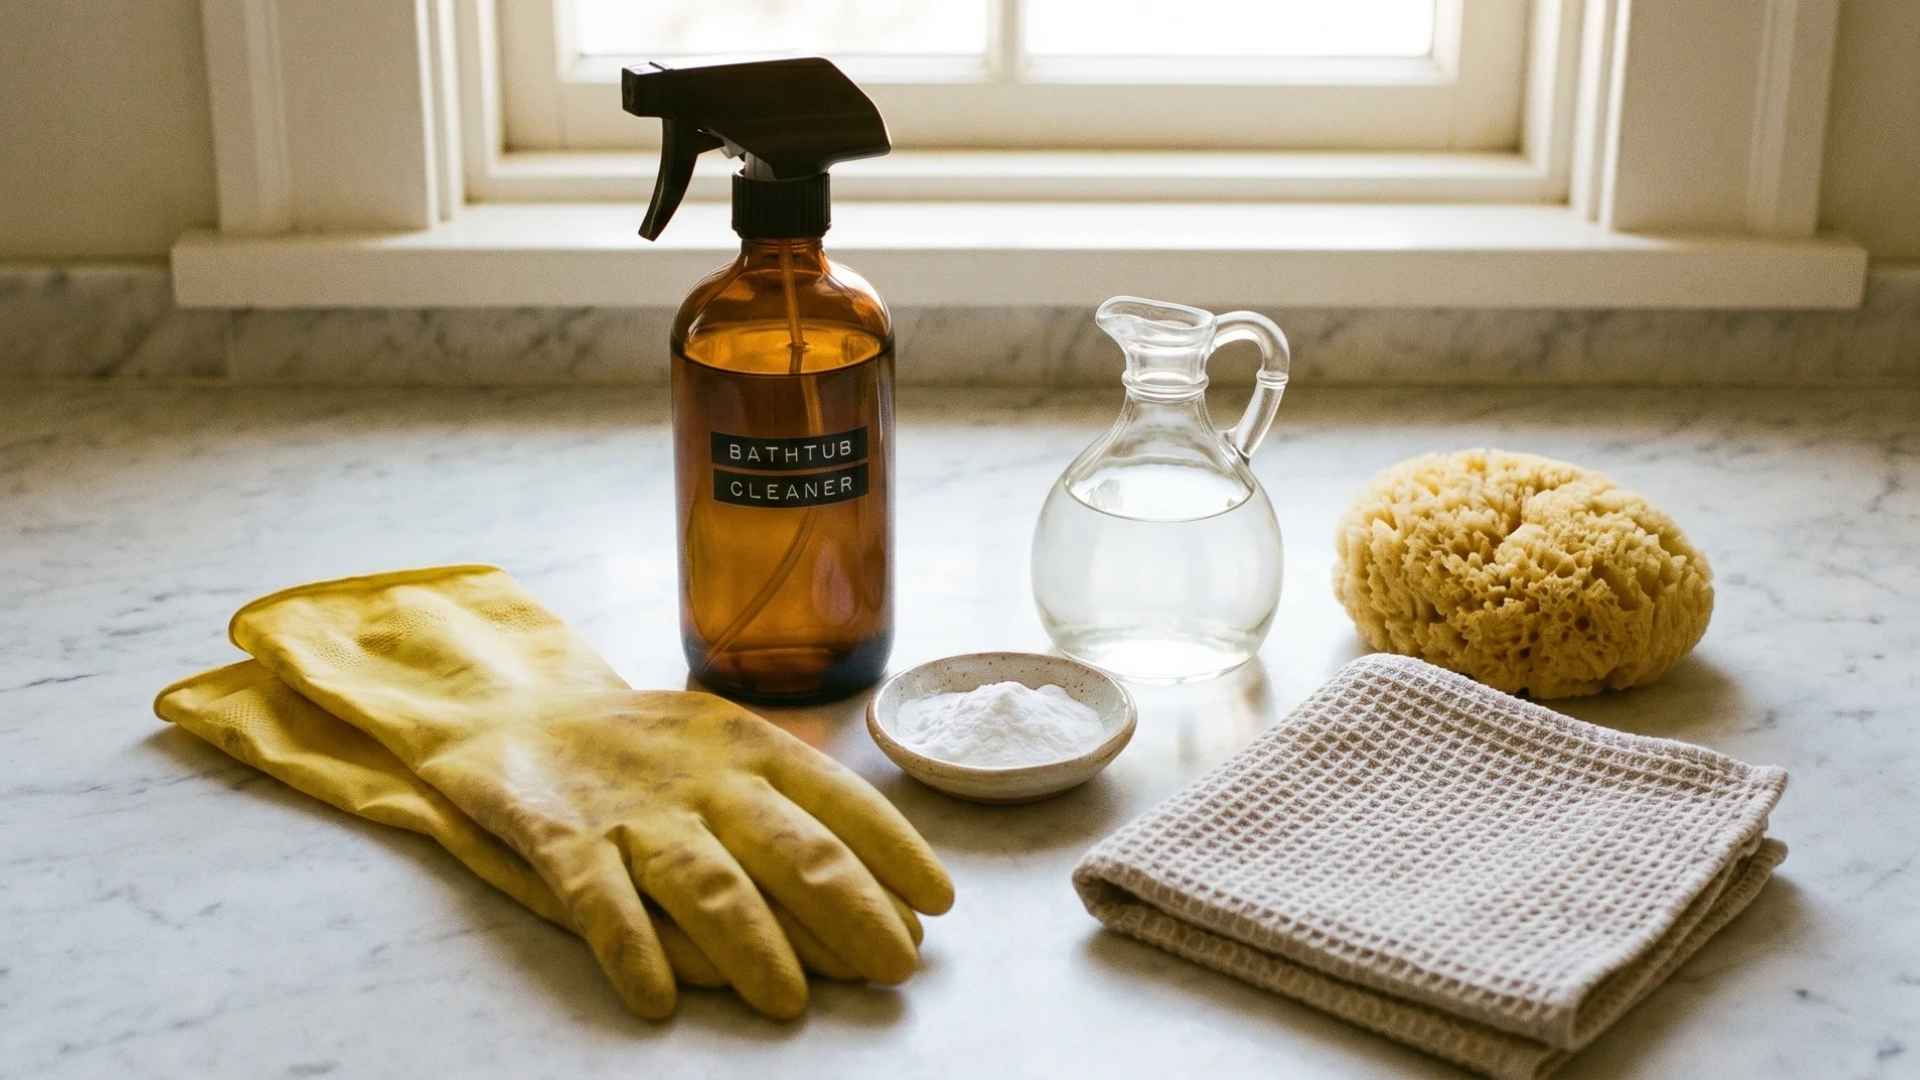
Getting the right tools before you start saves time and prevents damage
Make sure you have these:
- Soft sponge or microfiber cloth (never steel wool)
- Old toothbrush or grout brush for tight corners and crevices
- Spray bottle for homemade solutions
- Rubber gloves, especially when using any chemical product
- Baking soda, white vinegar, and liquid dish soap for DIY cleaning
- Hydrogen peroxide (3%) for disinfection and whitening
- Optional: a plastic hair snag tool for the drain
How to Clean a Bathtub: Step-by-Step (Weekly Routine)
This process works for regular maintenance and takes about 20 to 30 minutes.
Step 1: Clear and prep: Remove all bottles, soap dishes, bath mats, and toys from the tub. Wipe those items down separately so cleaning products do not contaminate them.
Step 2: Pre-rinse: Run warm water over the entire tub surface to loosen hair, dirt, and residue. This makes the cleaner more effective.
Step 3: Start with tiles and grout: Always clean from top to bottom so loosened grime falls rather than landing on areas you have already cleaned.
Spray the surrounding tiles and grout with your cleaner, let it sit for three to five minutes, then scrub with a grout brush and rinse.
Step 4: Apply cleaner to the tub: Spray your chosen solution across all internal surfaces. Let it dwell for 5 to 15 minutes.
This dwell time is critical because it allows the cleaner to break down soap scum and mineral deposits before you scrub, reducing the elbow grease required.
Step 5: Scrub the tub: Work from the sides down to the base. Pay attention to the tub edges, around the faucet base, and the corners where buildup collects fastest.
Step 6: Clean the drain: Remove the drain cap, extract any visible hair, and flush the drain with hot water. For mild clogs, pour 1/2 cup of baking soda down the drain, then 1 cup of white vinegar.
Cover the drain and let it sit for 10 to 15 minutes, then flush with hot water.
Step 7: Rinse thoroughly: Rinse from top to bottom, making sure no cleaner residue remains. Leftover product attracts dirt faster.
Step 8: Dry the surface: Wipe down with a dry microfiber cloth to prevent water spots and slow mineral buildup.
Monthly Deep Clean Routine
A regular weekly clean keeps things tidy, but once a month, your tub deserves a more thorough cleaning.
Fill the tub with a few inches of hot water and add a cup of white vinegar or a small amount of oxygen-based cleaner. Let it soak for 30 minutes before draining. This loosens long-term buildup that surface cleaning misses.
Use a baking soda and hydrogen peroxide paste on grout lines: mix 1/2 cup baking soda with 1/4 cup hydrogen peroxide and 1 teaspoon dish soap. Apply to grout, let sit for 10 minutes, then scrub with a toothbrush and rinse.
During your deep clean, check the caulk line around the base of the tub. If you see dark staining underneath the silicone, that means mold has gotten behind the caulk.
Scrubbing over it will not fix it. The old caulk needs to be fully removed, the area cleaned and dried, and fresh mold-resistant caulk applied.
This is one maintenance task most guides overlook, but it makes a significant difference in long-term hygiene.
How to Remove Specific Stains
Not every stain responds to the same cleaner, and using the wrong one can make things worse. Here is what actually works for the most common bathtub stains.
1. Soap scum forms when soap residue mixes with hard water minerals. Spray undiluted white vinegar on the area, let it sit for 15 minutes, then scrub gently. For heavier buildup, use a baking soda paste applied before the vinegar spray.
2. Hard water and calcium deposits respond well to white vinegar or citric acid soaks. Avoid both marble and natural stone and use a stone-safe descaler instead.
3. Mold and mildew require hydrogen peroxide or a diluted bleach solution (one part bleach to ten parts water). Always wear gloves, open a window, and run the exhaust fan. If mold is widespread or appears to be growing behind tiles or under the tub, call a professional. The EPA notes that large mold areas on porous surfaces should not be handled with DIY methods.
4. Rust stains from metal cans or fixtures left on the tub ledge can be treated with a baking soda paste first. If that does not work, use a plastic-safe rust remover and always spot-test in a hidden area first.
5. Yellow or brown discoloration can often be reversed by applying 3% hydrogen peroxide directly to the stained area, leaving it for a few minutes, then scrubbing and rinsing thoroughly.
How to Keep Your Bathtub Clean Longer
Small daily habits make a bigger difference than any deep clean. Build these into your routine, and you will rarely need to scrub hard again.
Keep these in mind:
- Wipe down the tub after each use with a dry cloth or squeegee to stop water spots and mineral deposits from forming in the first place.
- Keep a small spray bottle of diluted white vinegar near the tub and give surfaces a light spritz after bathing.
- Switch from bar soap to liquid body wash. Bar soap leaves significantly more residue and is one of the biggest contributors to soap scum buildup.
- Store metal shaving cream cans and razors off the tub ledge. Any metal left sitting on the surface will eventually leave stubborn rust rings.
- Run your bathroom exhaust fan during every bath and for at least 15 minutes after. Reducing humidity is the most effective way to stop mold from ever taking hold.
- If hard water is a recurring problem in your home, consider a water softener or a showerhead filter to reduce mineral deposits at the source.
Safety Rules You Should Not Ignore
Cleaning products work best when used correctly, and some combinations can be genuinely dangerous in an enclosed space.
Keep these rules in mind every time:
1. Never mix bleach with vinegar, ammonia, or any other cleaner. The reaction produces toxic chlorine gas that is harmful even in small amounts.
2. Always ventilate the bathroom before and during cleaning. Open a window, run the exhaust fan, or do both.
3. Wear rubber gloves whenever you handle a commercial cleaner, bleach solution, or a concentrated acid, such as undiluted vinegar.
4. Do not use abrasive scrubbers, steel wool, or scouring powders on acrylic or fiberglass tubs. They cause microscratches that collect dirt more quickly and can void surface warranties.
5. Never use vinegar, citrus-based cleaners, or any acidic product on marble or natural stone. These etch the surface permanently.
6. If a cleaner causes skin or eye irritation, stop immediately and flush the affected area with water for several minutes.
Conclusion
Keeping your bathtub clean does not require expensive products or hours of effort.
The secret is consistency: a quick wipe-down after each use, a proper weekly clean, and a monthly deep clean where you tackle grout, drains, and caulk.
Match your cleaner to your tub material, never mix chemicals, and deal with stains before they become permanent.
Your bathroom should feel like a comfortable, sanitary space. With the right habits in place, it always will. Start with one step today and build from there.