I used to be a serial furniture painter. Anything old or ugly in my home? Slap some paint on it.
But then I found bleaching, and my DIY world changed forever. Bleaching furniture isn’t just another Pinterest trend – it’s a game-changer for anyone who appreciates natural wood but wants a lighter, brighter look.
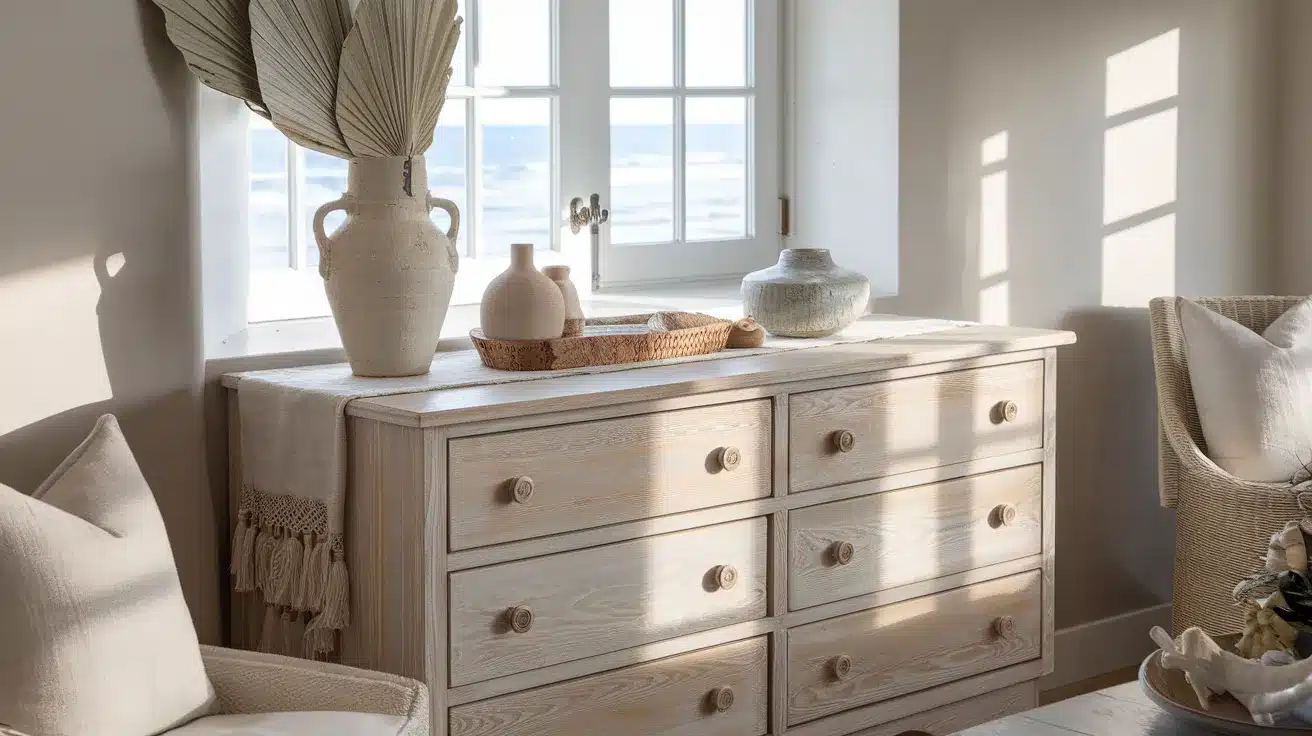
Unlike paint that masks wood’s character, bleaching celebrates every grain and knot while giving you that coveted sun-washed, coastal vibe.
I’ve altered countless pieces from dark and dated to airy and modern, all without covering up what makes wood special in the first place.
Ready to learn how? Let’s swoop into the world of wood bleaching.
Why Bleach Furniture Instead of Just Painting It?
Have you ever looked at your dark, dated furniture and thought about slapping on a coat of paint? Hold up. Before you hit the paint aisle, let me introduce you to the unsung hero of furniture makeovers: bleaching.
- Paint hides wood; bleach shows it off.
- Bleaching gives that raw, sun-kissed, natural finish.
- It’s budget-friendly and totally beginner-approved.
The whole bleaching trend isn’t just about following what’s hot on Pinterest. It’s about celebrating the actual character of the wood underneath. Those grain patterns? That natural texture? Why cover it up when you could highlight it?
What Furniture is “Bleach-Friendly”?
A Quick Guide So You Don’t Waste Time
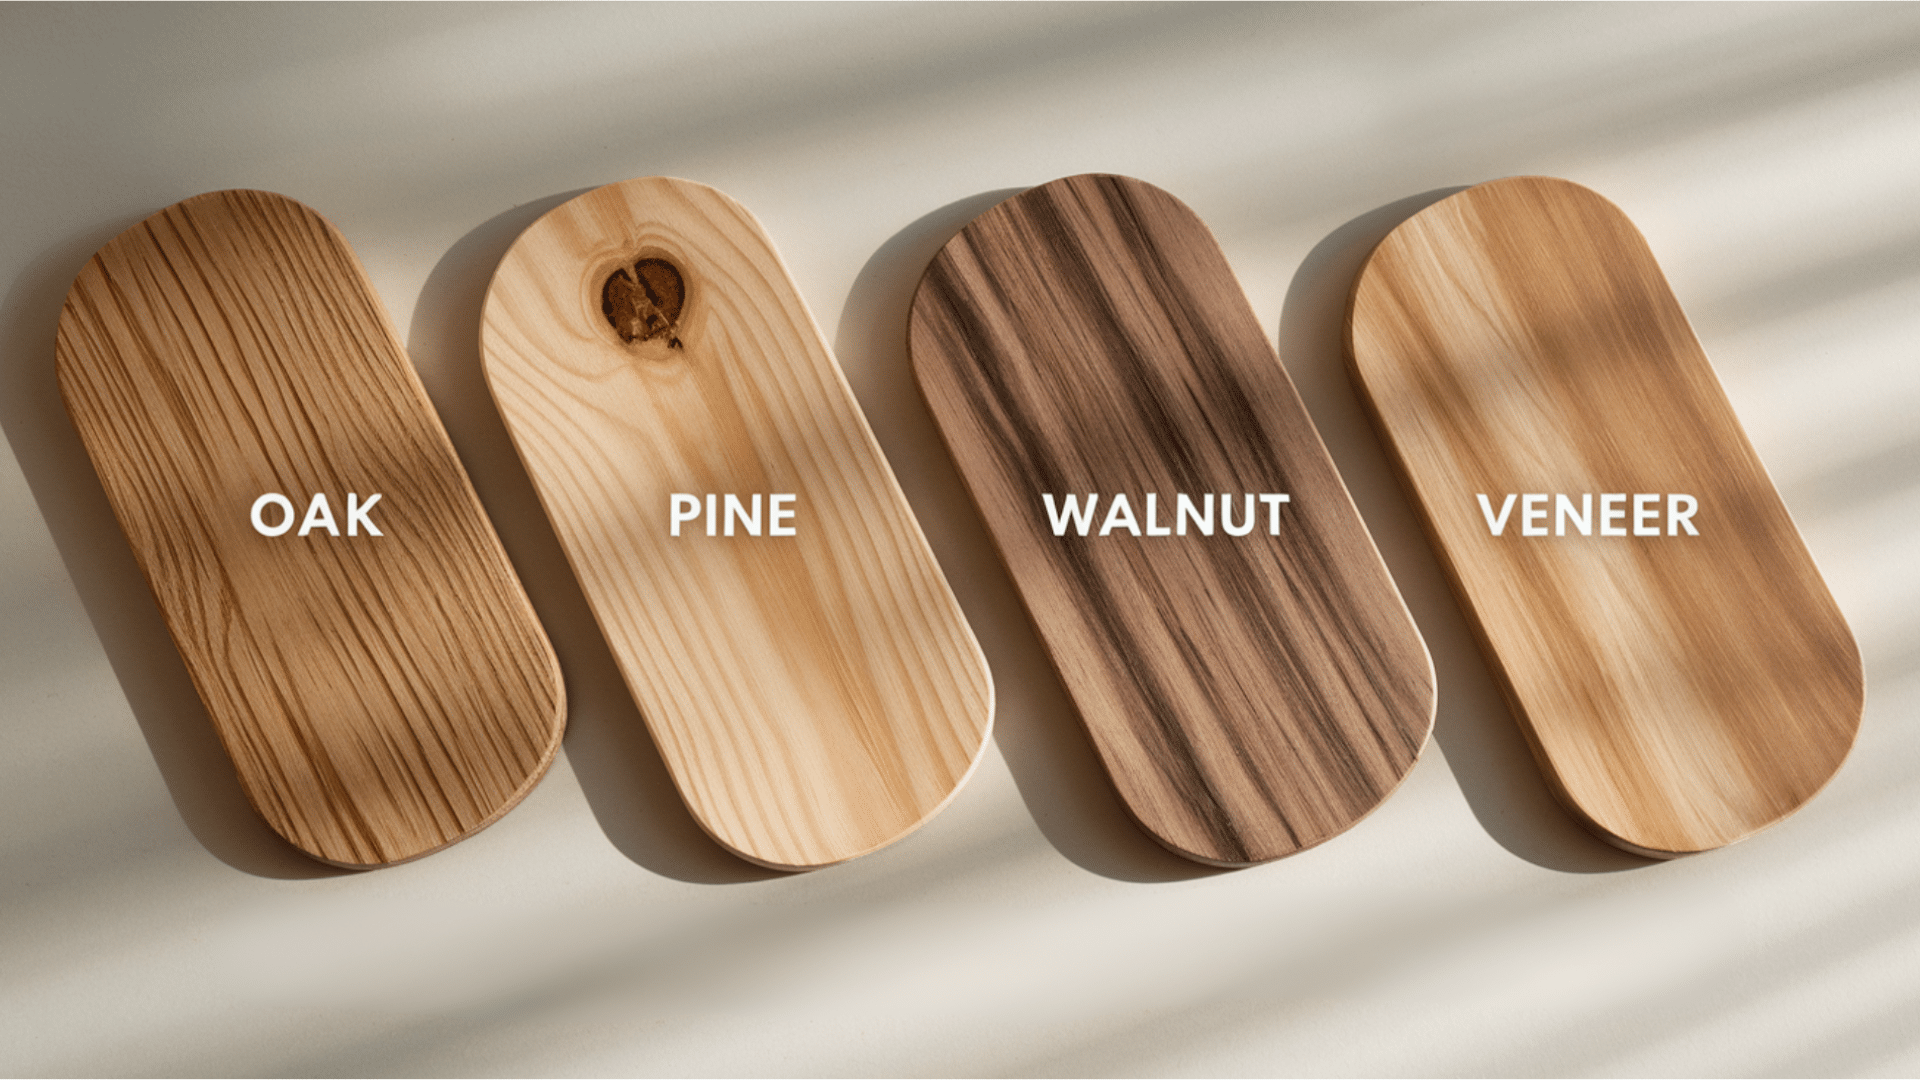
Not all woods are created equal when it comes to the bleaching process. Before you commit, check if your piece is even worth the effort:
| Wood Type | Bleach it? | Notes |
|---|---|---|
| Oak | YES | Gorgeous results, lightens beautifully |
| Pine | MAYBE | Can get blotchy, test first |
| Walnut | NOPE | Too dark, barely changes |
| Veneer | PROCEED WITH CAUTION | Only if real wood veneer |
Red oak is actually the MVP of bleachable woods. Its open-grain structure drinks up the bleach like a thirsty plant, giving you that perfect beachy vibe. If you’ve got oak furniture gathering dust in your garage, consider this your sign to break out the bleach.
What You’ll Need (a.k.a. Your DIY Survival Kit)
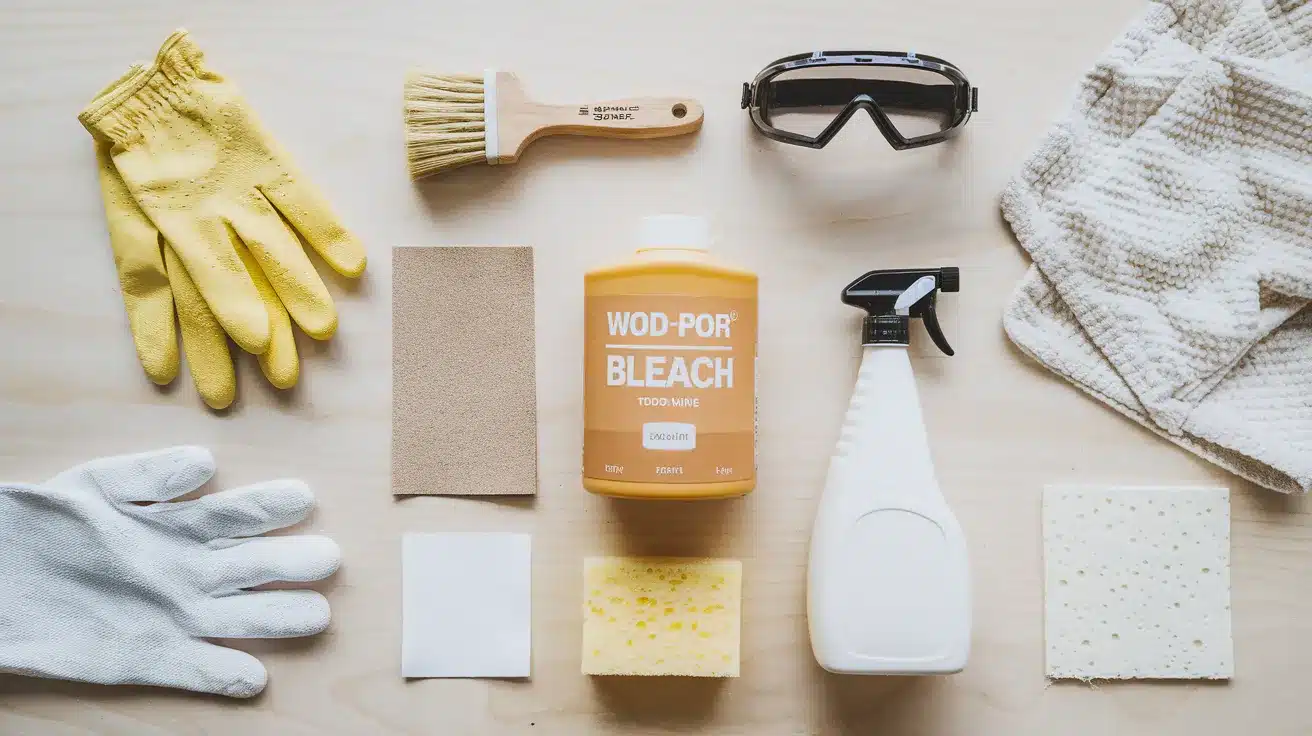
Gather these tools before you begin because mid-project supply runs are nobody’s idea of fun:
- Bleach (Household or Two-Part Wood Bleach)
- Gloves & Goggles (because you like your skin & eyes)
- Sandpaper (because prep is queen)
- A brush or sponge
- Neutralizer (vinegar + water mix)
- Drop cloth
- A playlist — trust me, this takes a while
Quick note on bleach types: regular household bleach works fine for subtle lightening, but if you’re going for that dramatic change, spring for the two-part wood bleach from a hardware store. It’s specifically formulated for wood and gets you more dramatic results.
Step-by-Step: How to Bleach Furniture Without Regret
Step 1: Sand Like Your Ex is Watching
Remove all the old finish. No shortcuts here. Raw wood only.
This is where most people mess up. You can’t just bleach over existing finishes – the wood needs to be completely bare. Use a coarse grit sandpaper first (like 80), then work your way up to something finer (like 120-150). Take your time with this step. Your results depend on it.
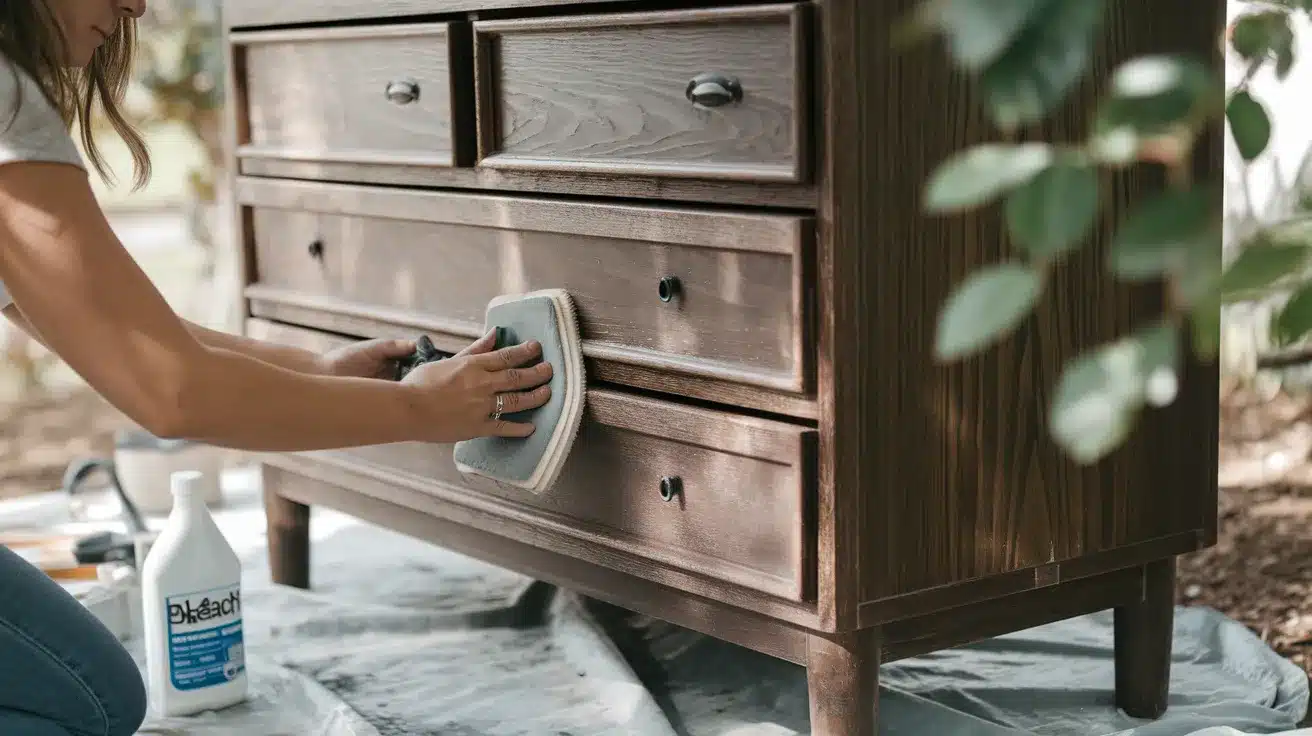
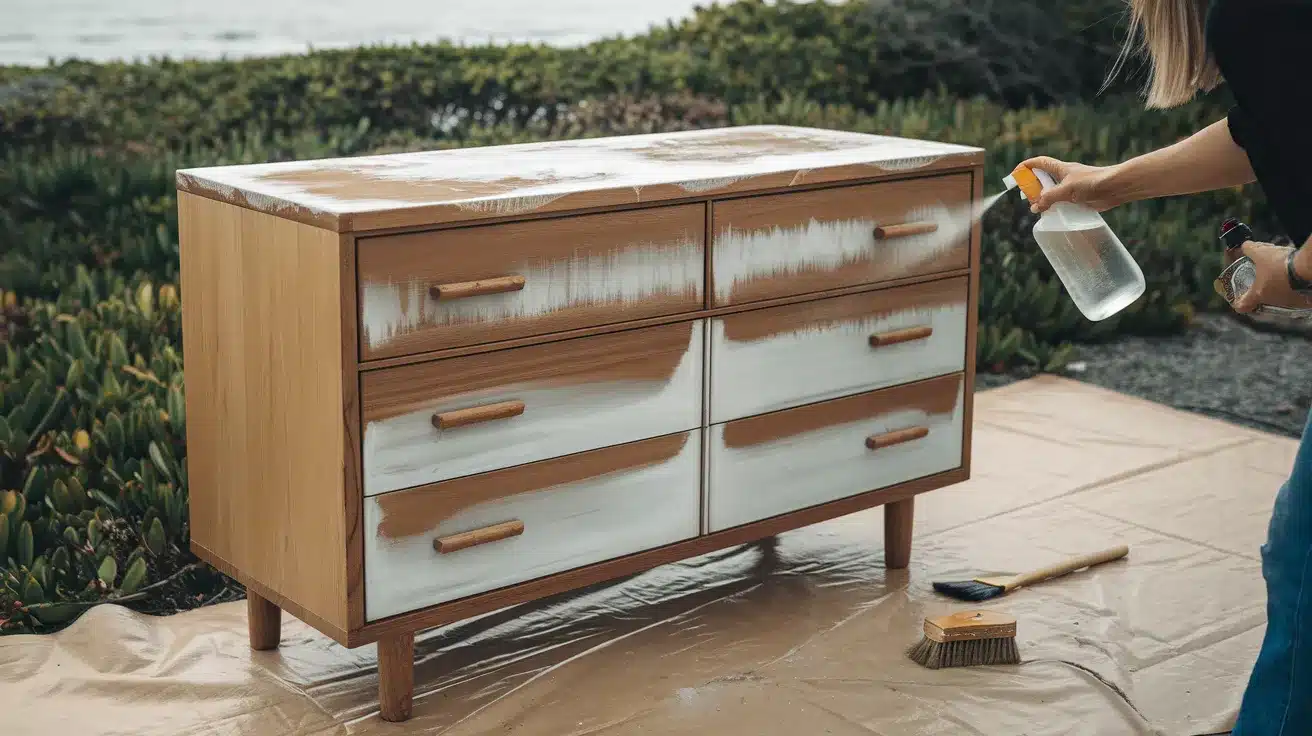
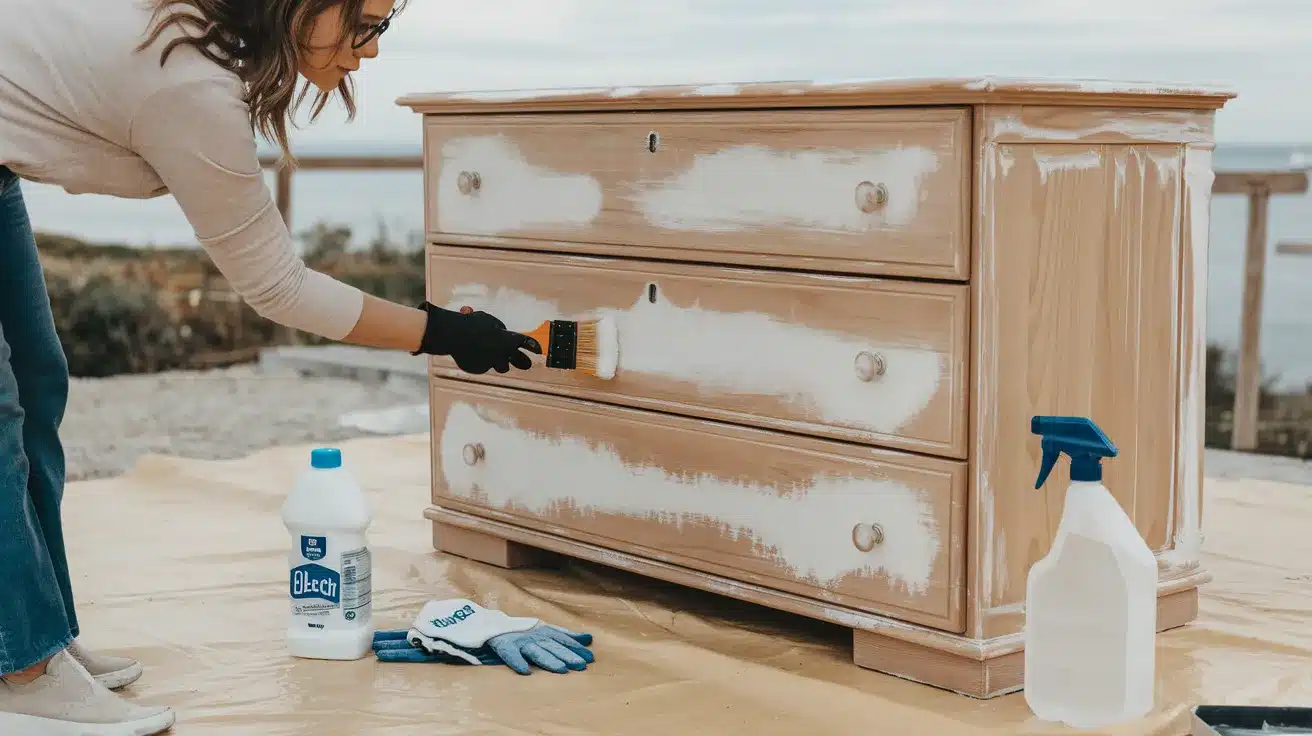
Step 2: Slather on the Bleach
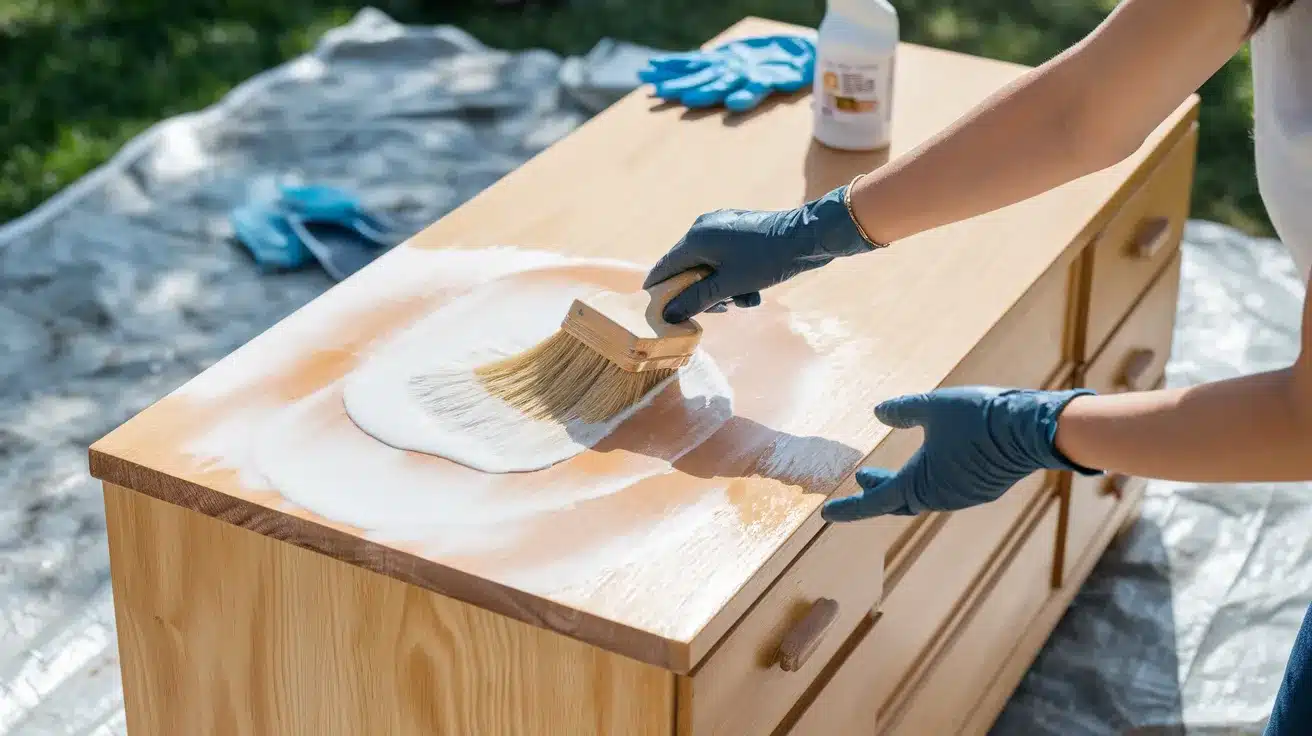
Use a brush, sponge, or even an old rag – just make sure you’re getting an even application. Work in sections if you’re dealing with a larger piece. The wood will start changing almost immediately, so don’t panic if it looks weird at first.
- Apply like sunscreen — even and everywhere.
- Let it chill for 30 min to 1 hour.
Step 3: Neutralize the Drama
Mix equal parts white vinegar and water in a spray bottle. This neutralizing step is non-negotiable – skip it and your furniture might keep bleaching indefinitely or develop yellow spots later on. After neutralizing, your wood might look a bit… concerning. Patchy, weird, maybe even a little gray. This is normal. It needs to dry completely before you judge it.
- Wipe down with vinegar-water mix.
- Let dry overnight (this is when it looks really bad — trust the process).
Step 4: Rinse, Repeat (If Needed)
Still too dark? Go again. Bleach is buildable.
One application might not get you to your dream shade, especially with darker woods. You can repeat the process a few times, just make sure you neutralize between each round. Remember that wood bleach isn’t like hair bleach – it won’t take mahogany to platinum blonde, but it can definitely lift several shades.
Step 5: Sand + Seal
Bleaching raises the grain of the wood, making it feel rough. A light sanding with fine-grit paper (220 or higher) will smooth things out. As for finishing, less is more with bleached wood. A clear matte polyurethane or wax will protect without darkening too much.
- Light sanding to smooth out the raised grain.
- Finish with clear wax, matte poly, or leave it raw for that super organic look.
Pro Tips From Someone Who Learned the Hard Way
My first bleaching project was a disaster. I rushed through the prep, skipped the neutralizing step, and ended up with a blotchy, yellowing mess. Learn from my mistakes:
- Always test a hidden spot first.
- Don’t skip neutralizing — bleach left in wood can yellow over time.
- Work outdoors or ventilated space — bleach fumes aren’t cute.
- Wear old clothes — trust me.
The bleach WILL splash. Your favorite jeans WILL get tiny bleach spots. Your lungs WILL hate you if you try this in a small bathroom. Plan accordingly.
Common Mistakes To Avoid (a.k.a. Don’t Be That DIYer)
- Bleaching varnished wood (a waste of time)
- Not sanding enough (the bleach won’t soak in)
- Letting bleach dry without neutralizing
- Over-bleaching until your furniture looks like driftwood on life support
That last one deserves extra attention. There’s a fine line between “beautifully bleached” and “left it in the sun for 20 years.” You can always bleach more, but you can’t unbleach wood. Take it slow and check your progress frequently.
Alternate Ideas if Bleaching Feels Like Too Much Work
Let’s be real – bleaching furniture is a commitment. If you’re having second thoughts, here are some alternatives that give similar vibes with less effort:
- Whitewash or Limewash — similar vibe, less commitment
- Pickling stain — faster but not as raw-looking
- Chalk paint in a wood-tone shade
- Leave it dark — embrace the moodiness
Whitewashing is particularly beginner-friendly. Mix white paint with water (1:1 ratio), brush it on, then immediately wipe most of it off. It lightens the wood while still letting the grain show through.
Conclusion
After trying every furniture finishing technique under the sun, bleaching remains my favorite for its honest approach to wood.
There’s something magical about stripping away years of darkness to reveal the natural beauty underneath.
Yes, it requires patience and proper preparation, but the results speak for themselves – furniture that feels genuinely yours rather than mass-produced.
The process connects you to craftspeople of the past who understood that wood has its own story to tell. Whether you’re working with a vintage oak dresser or a pine side table, bleaching lets the wood’s character shine through in a way paint never could.
It’s not just a finish, it’s a philosophy: highlight what exists rather than hiding it.