Simple Guide on Flower Arranging: Everything You Need to Know
You buy a beautiful bunch of flowers. You put them in a vase. And somehow, they don’t look right.
Sound familiar? Most people feel this way when they first try flower arranging. The flowers are fresh, the vase is clean, and yet the whole thing looks a bit off. That’s not a talent problem. That’s a technique problem, and it’s completely fixable.
Flower arranging is one of those skills that clicks fast once you understand the basics. You don’t need an art background. You don’t need an expensive setup. You need a few good tools, a clear method, and a bit of practice.
This guide covers everything: the principles of floral design, tools you’ll actually use, step-by-step building techniques, seasonal ideas, and care tips that make your flowers last.
By the end, you’ll have everything you need to create arrangements that look the way you imagined them.
What is Flower Arranging?
Flower arranging is the art of arranging cut flowers, greenery, and other plant materials into a display for decoration, gifting, or personal expression.
People have done it for thousands of years, from Ancient Egypt to Japan’s formal Ikebana practice.
Key benefits:
- Flowers lift mood and reduce stress.
- A good arrangement anchors an entire room’s look.
- Fresh blooms bring seasonal change without redecorating.
|
A Bite of History People have arranged flowers for thousands of years. Ancient Egyptians placed lotus blooms in vessels as far back as 2,500 BCE. In the 15th and 16th centuries, European painters filled canvases with lavish, floral still-lifes that shaped the decorative styles of the time. In Japan, the practice of Ikebana turned flower arrangement into a structured art form rooted in minimalism and meaning, and it continues to influence modern floral design today. |
The Principles of Floral Design:
Four principles guide every well-made arrangement:
- Balance: Symmetrical (matching both sides) or asymmetrical (natural, lived-in feel).
- Proportion: Arrangement height should be 1.5 to 2 times the vase height.
- Contrast: Mix dark blooms with light greenery, round shapes with spiky ones.
- Harmony: All elements — flowers, greenery, fillers, container — should feel like they belong together.
Quick tip: Start with balance and proportion. The rest will come naturally.
Tools and Materials You’ll Need
Having the right tools from the start saves time, cuts frustration, and helps your flowers last longer.
| Item | Purpose | Examples / Notes |
|---|---|---|
| Floral scissors | Clean stem cut, improves water uptake | Never use kitchen scissors |
| Flower food | Feeds blooms, slows bacteria | Use with every fresh arrangement |
| Conditioning bucket | Deep water soak before arranging | Leave stems in for 2+ hours |
| Chicken wire/flower frog | Holds stems in place | Eco-friendly swap for floral foam |
| Vase: tall cylinder | Supports long, upright stems | Roses, tulips |
| Vase: low, wide bowl | Spreads stems outward | Garden-style displays |
| Vase: mason jar or tin can | Casual, low-cost option | Rustic arrangements |
| Focal flowers | Visual centrepiece | Roses, peonies, dahlias |
| Secondary flowers | Fill the space between the focal blooms | Alstroemeria, spray roses |
| Greenery | Structure and depth | Eucalyptus, fern, ruscus |
| Fillers | Soften gaps, add texture | Baby’s breath, waxflower |
Step-by-Step Flower Arranging Techniques
Once your materials are ready, the arranging process moves fast. The key is building in the right order so each layer supports the next.
Preparing Your Flowers
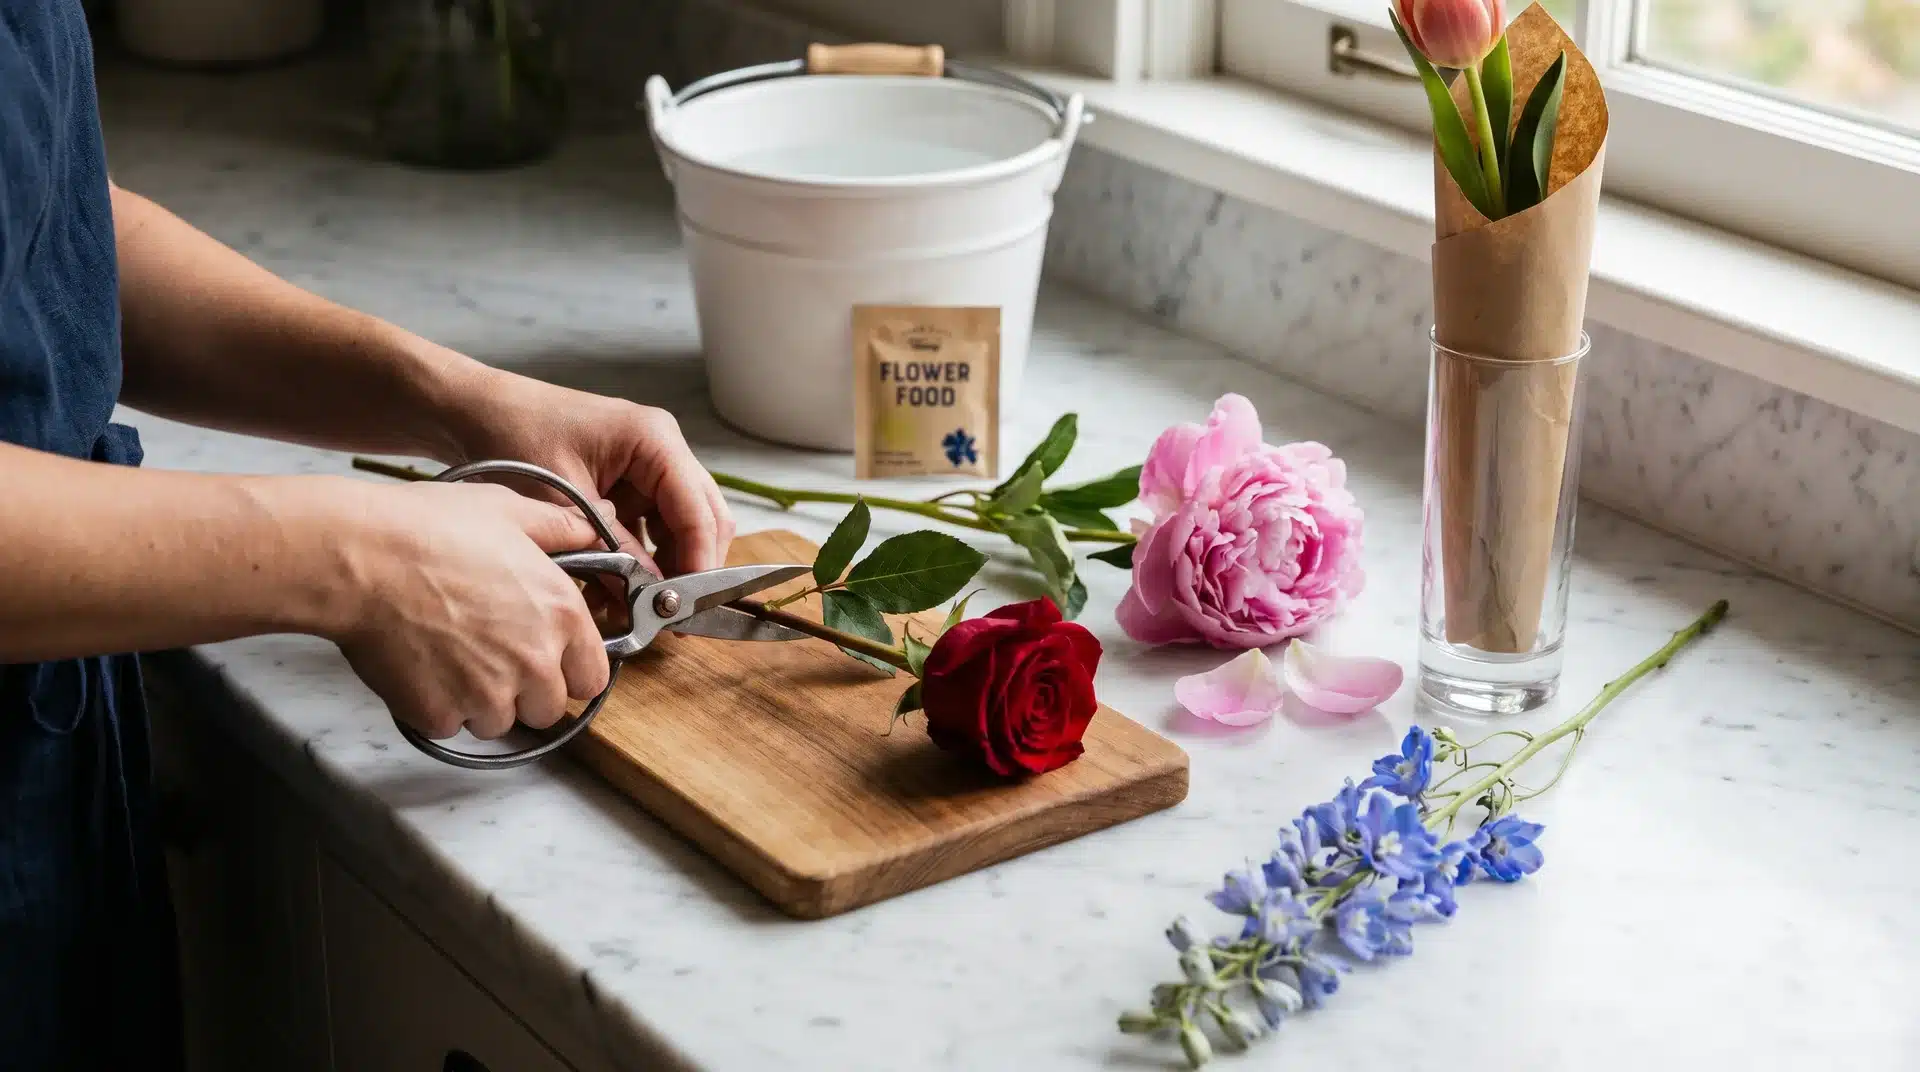
Preparation is the biggest factor in how long your arrangement lasts.
- Fill a clean bucket with cool water and add flower food.
- Remove all leaves from the lower half of each stem. Foliage below the waterline rots, creating bacteria.
- Cut stems at a 45-degree angle. An angled cut creates more surface area for water uptake.
- Let flowers condition for at least 2 hours, ideally overnight, before arranging.
Flower-specific notes:
- Roses: Remove guard petals and strip thorns from the lower stem.
- Tulips: Wrap tightly in paper and condition upright so they don’t curl.
- Woody stems (lilac, viburnum): Split or crush the bottom 3 to 5 cm to help water absorption.
- Hollow stems (delphiniums, amaryllis): Turn upside down, fill with water, and plug with cotton wool before placing in the vase.
Building Your Arrangement

Step 1: Greenery first
Place foliage stems at varying heights and angles. This creates the shape of your arrangement and acts as a natural grid to hold your flowers in place.
Step 2: Add focal blooms
Place your largest flowers next to each other at different heights. Odd numbers (3, 5, 7) look more natural than even numbers.
Step 3: Secondary flowers
These bridge the gaps between focal blooms and add color continuity.
Step 4: Fillers last
Baby’s breath and waxflower go in at the end. They soften the edges and cover any visible mechanics at the base.
The 3-5-8 Rule: Use 3 focal flower types, 5 secondary or foliage types, and 8 filler or accent stems. Working in odd numbers and layers in this ratio tends to produce arrangements that feel full without looking heavy.
Styling Tips
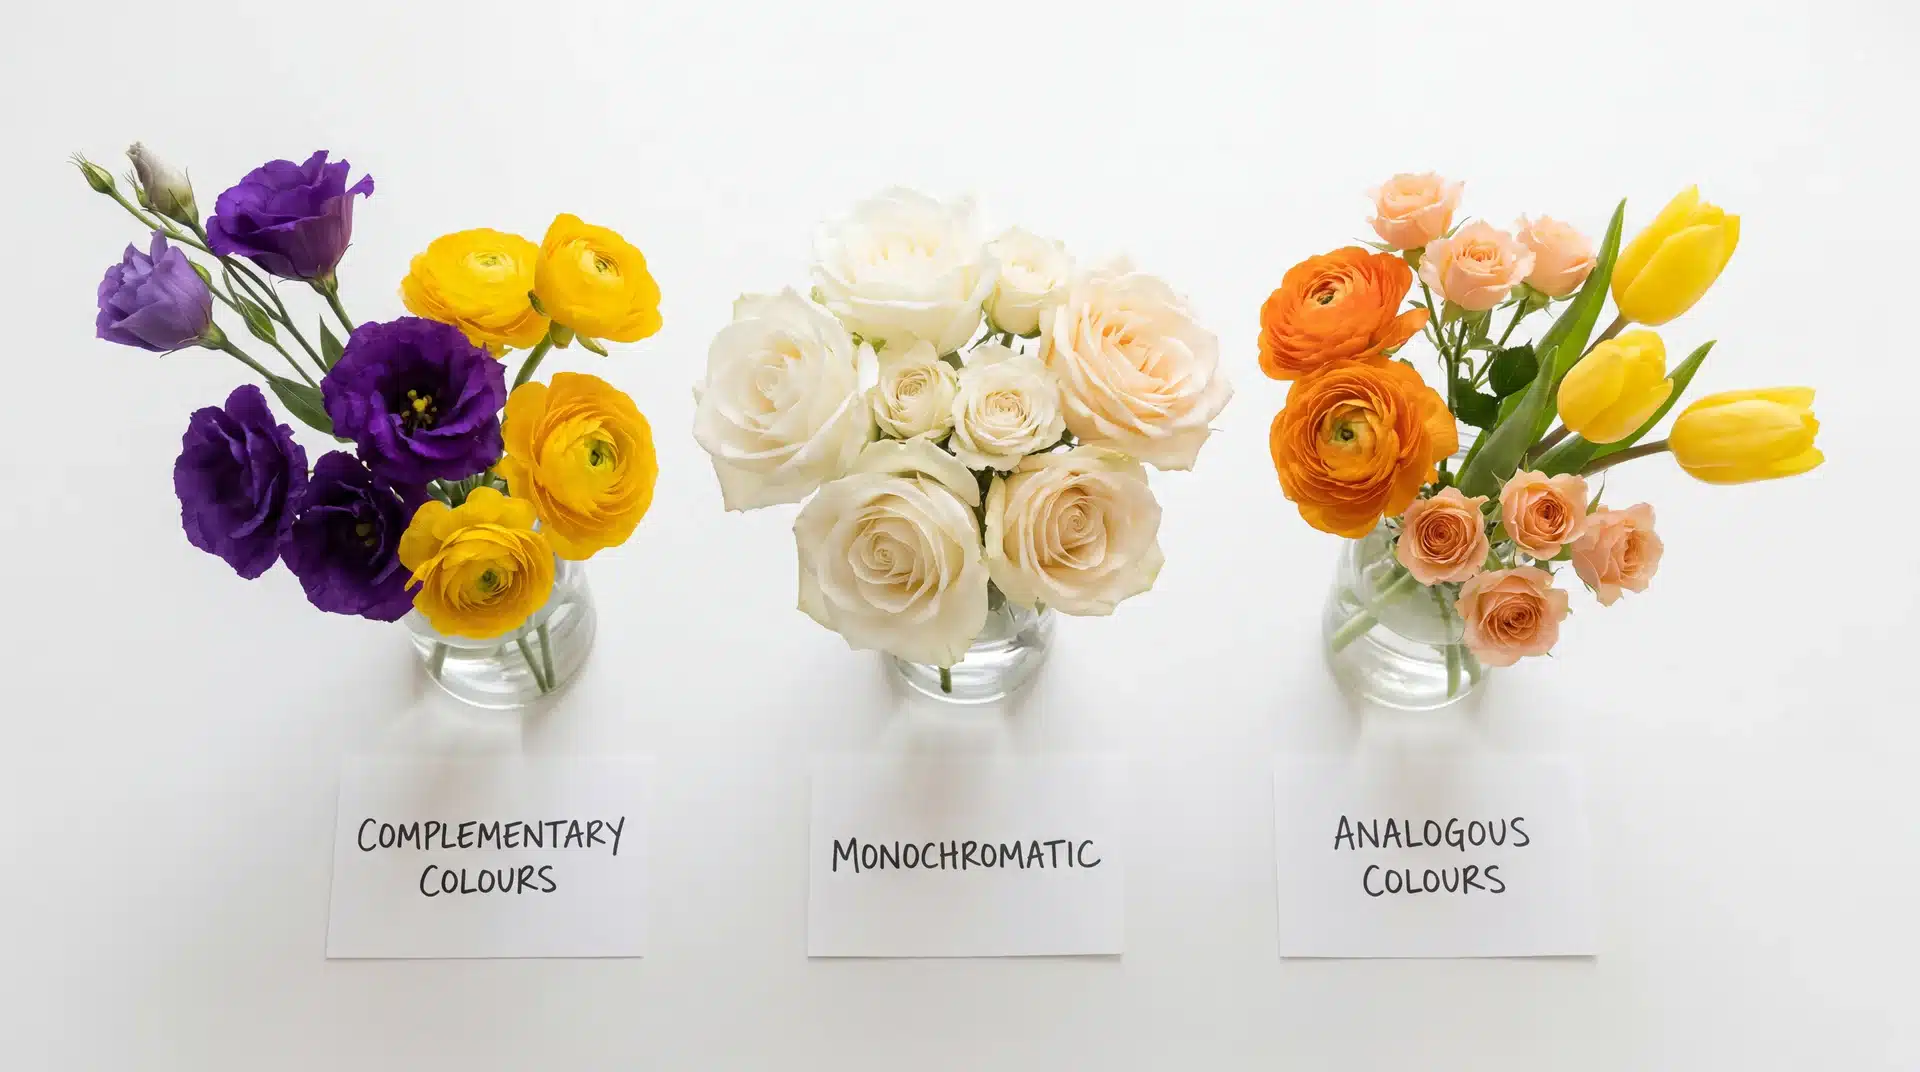
Color sets the mood before anything else. Here are the three combinations that work every time:
- Monochromatic: One color in different shades. White, cream, and ivory roses together look clean, calm, and modern.
- Analogous: Colors sitting next to each other on the color wheel. Orange ranunculus, peach spray roses, and yellow tulips create a warm, cohesive look.
- Complementary: Colors opposite each other on the color wheel. Purple lisianthus with yellow ranunculus creates high contrast and visual impact.
Symmetry vs Asymmetry:
Start with symmetry for a predictable result. Move to asymmetry once you’re comfortable with the basics.
- Formal symmetry, matching both sides of the arrangement, suits weddings, dining tables, and traditional interiors. It reads as polished and intentional.
- Asymmetry, where one side sits higher or fuller than the other, feels more organic. Garden-style and Ikebana arrangements rely on it to look natural rather than constructed.
Height and Perspective:
Where your arrangement lives changes how you should build it.
- Dining table: Viewed from all sides at seated height. Arrange in the round, turning the vase as you work. Keep height under 25 cm, so sight lines stay clear across the table.
- Mantelpiece or shelf: Viewed from across the room at standing height. Concentrate depth and detail at the front. Height can go taller here.
- Side table or windowsill: Viewed up close from one direction. A single strong focal point works better than a complex all-round arrangement.
Flower Arranging Ideas and Inspiration
Knowing the techniques is one thing. Knowing what to make is another. Here are styles and ideas across every skill level.
Easy Arrangements for Beginners

1. Single-variety vase: Choose one flower type: yellow tulips, white roses, pink peonies, and place them in a clean vase. Remove lower leaves. Simple, fast, and always effective.
2. Bud vase cluster: Group three to five small bottles together at different heights. One stem per vase. Grouped, they look intentional without requiring any arranging skill.
Beginner tip: Start with roses, carnations, chrysanthemums, or alstroemeria. They hold their shape well, last a long time in water, and are easy to position.
Seasonal Themes
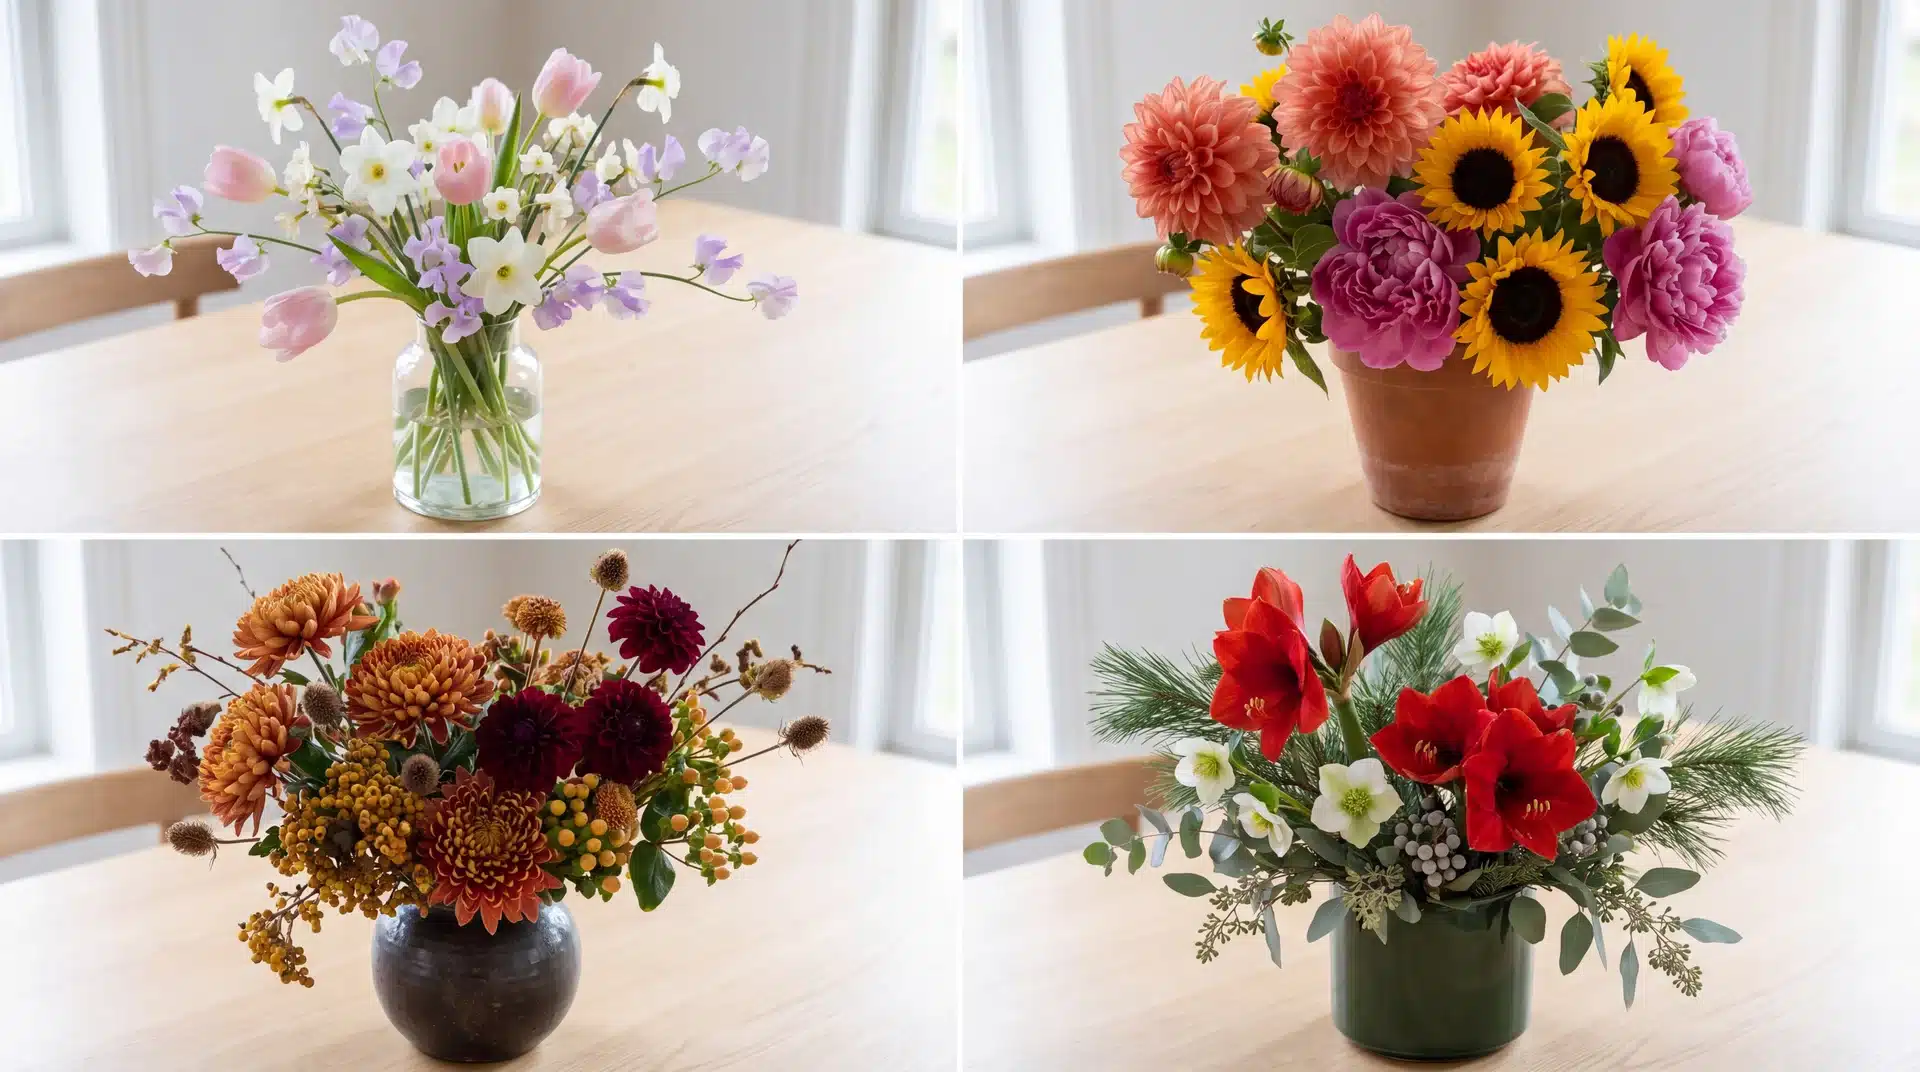
1. Spring: Tulips, daffodils, sweet peas, and ranunculus in blush, yellow, and lilac. Keep arrangements loose and airy.
2. Summer: Dahlias, sunflowers, peonies, and lavender in coral, peach, and bright pink. Go full and abundant.
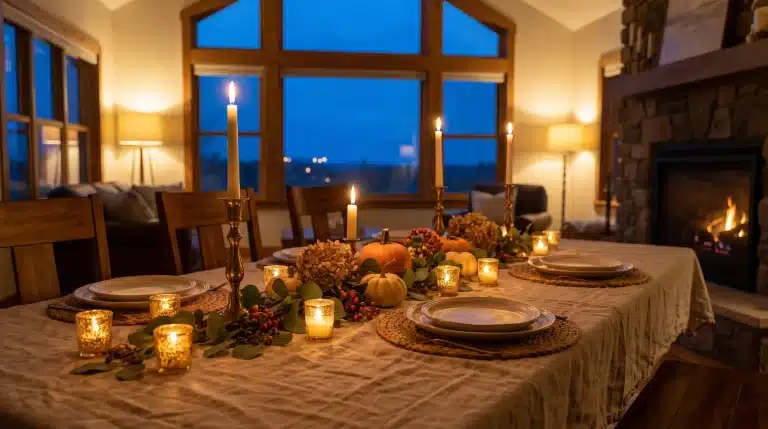
3. Autumn: Chrysanthemums, dahlias, hypericum berries, and foliage branches in rust, burgundy, and mustard. Add dried elements for texture.
4. Winter: Amaryllis, hellebores, pine sprigs, and eucalyptus in deep green, white, and red. Lean into structure and bold focal blooms.
Unique Styles Worth Trying
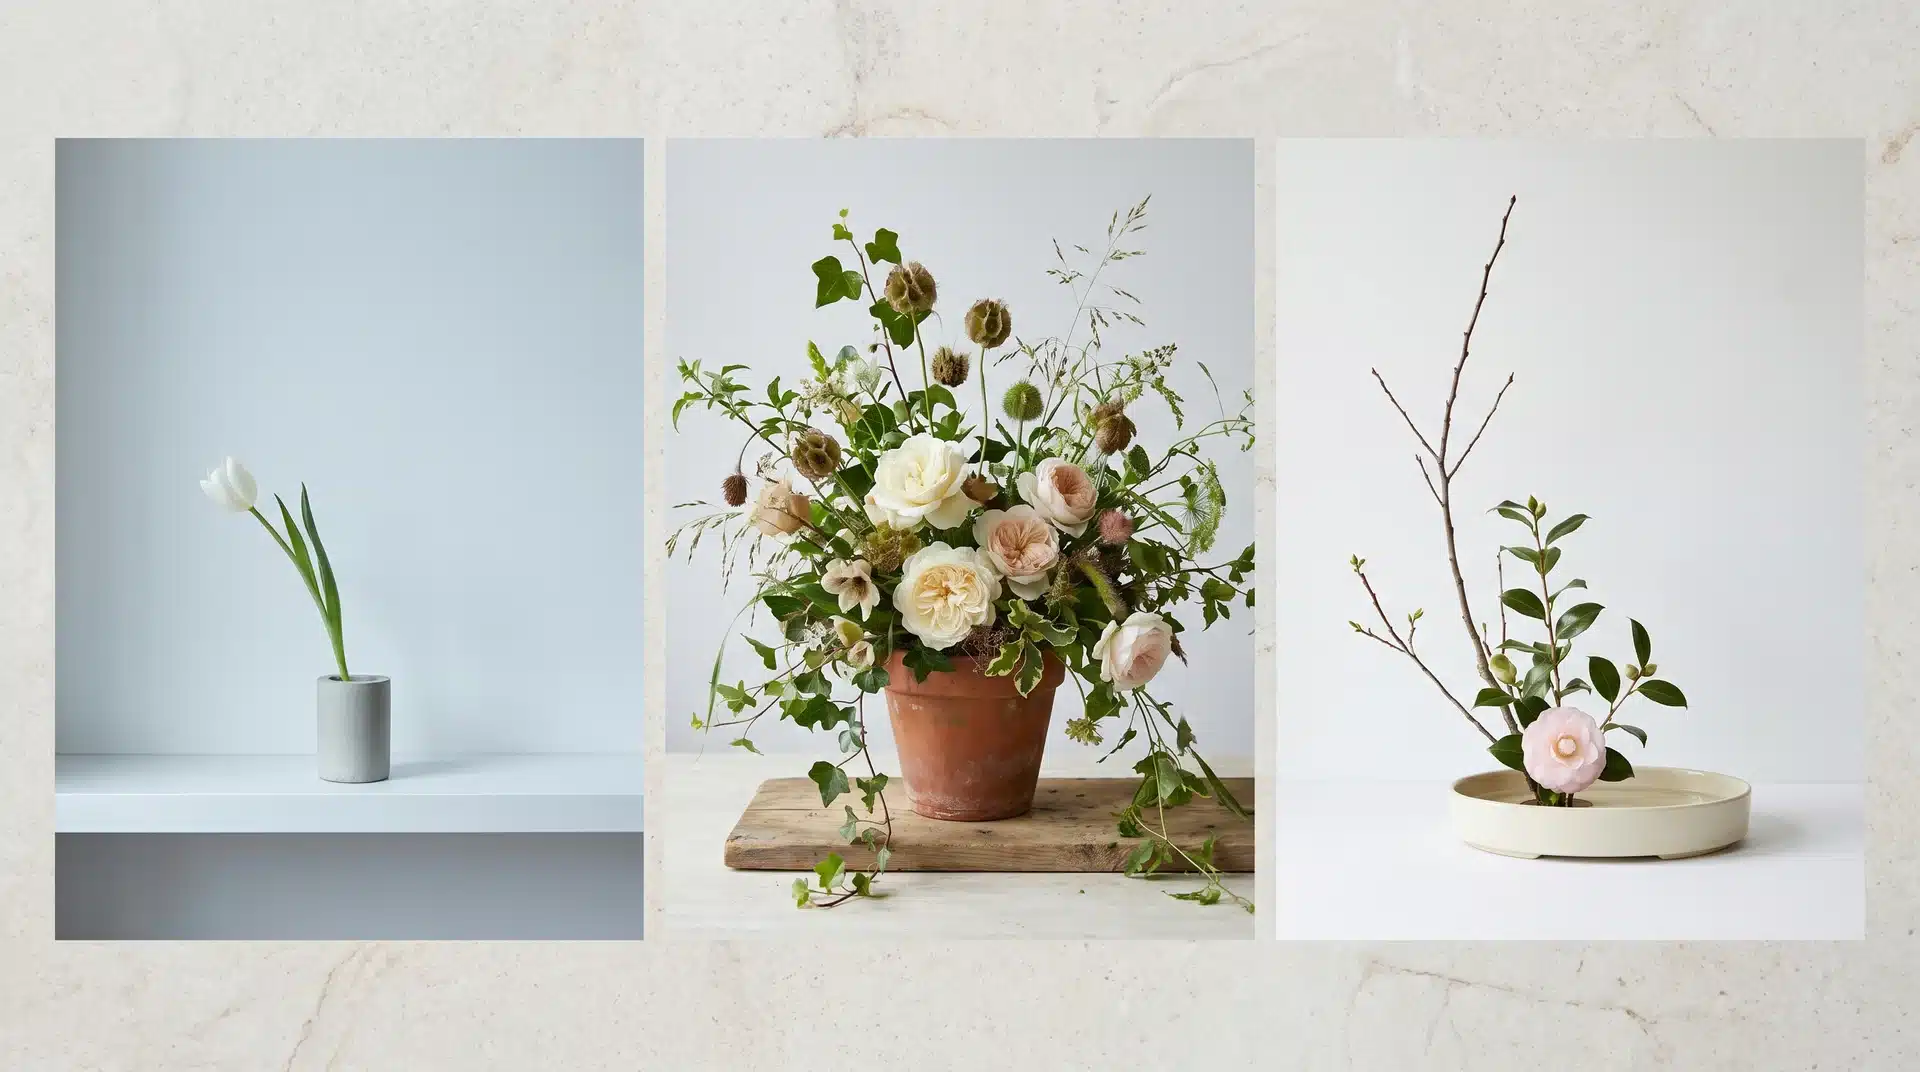
1. Minimalistic and modern: Two or three stems in a concrete or matte ceramic vessel. Let the space around the flowers be part of the design.
2. Rustic and wild garden: Mix textures freely, loose roses, trailing ivy, grasses, and seed heads. The arrangement should look gathered, not built.
3. Ikebana: Japan’s formal floral art uses three key elements: a tall primary stem, a shorter secondary, and a low accent. Each represents heaven, human, and earth. Even a basic understanding of Ikebana’s use of negative space will improve any arrangement you make.
Flower Arranging Tutorials
Three beginner tutorials, three different styles. Pick one and start there.
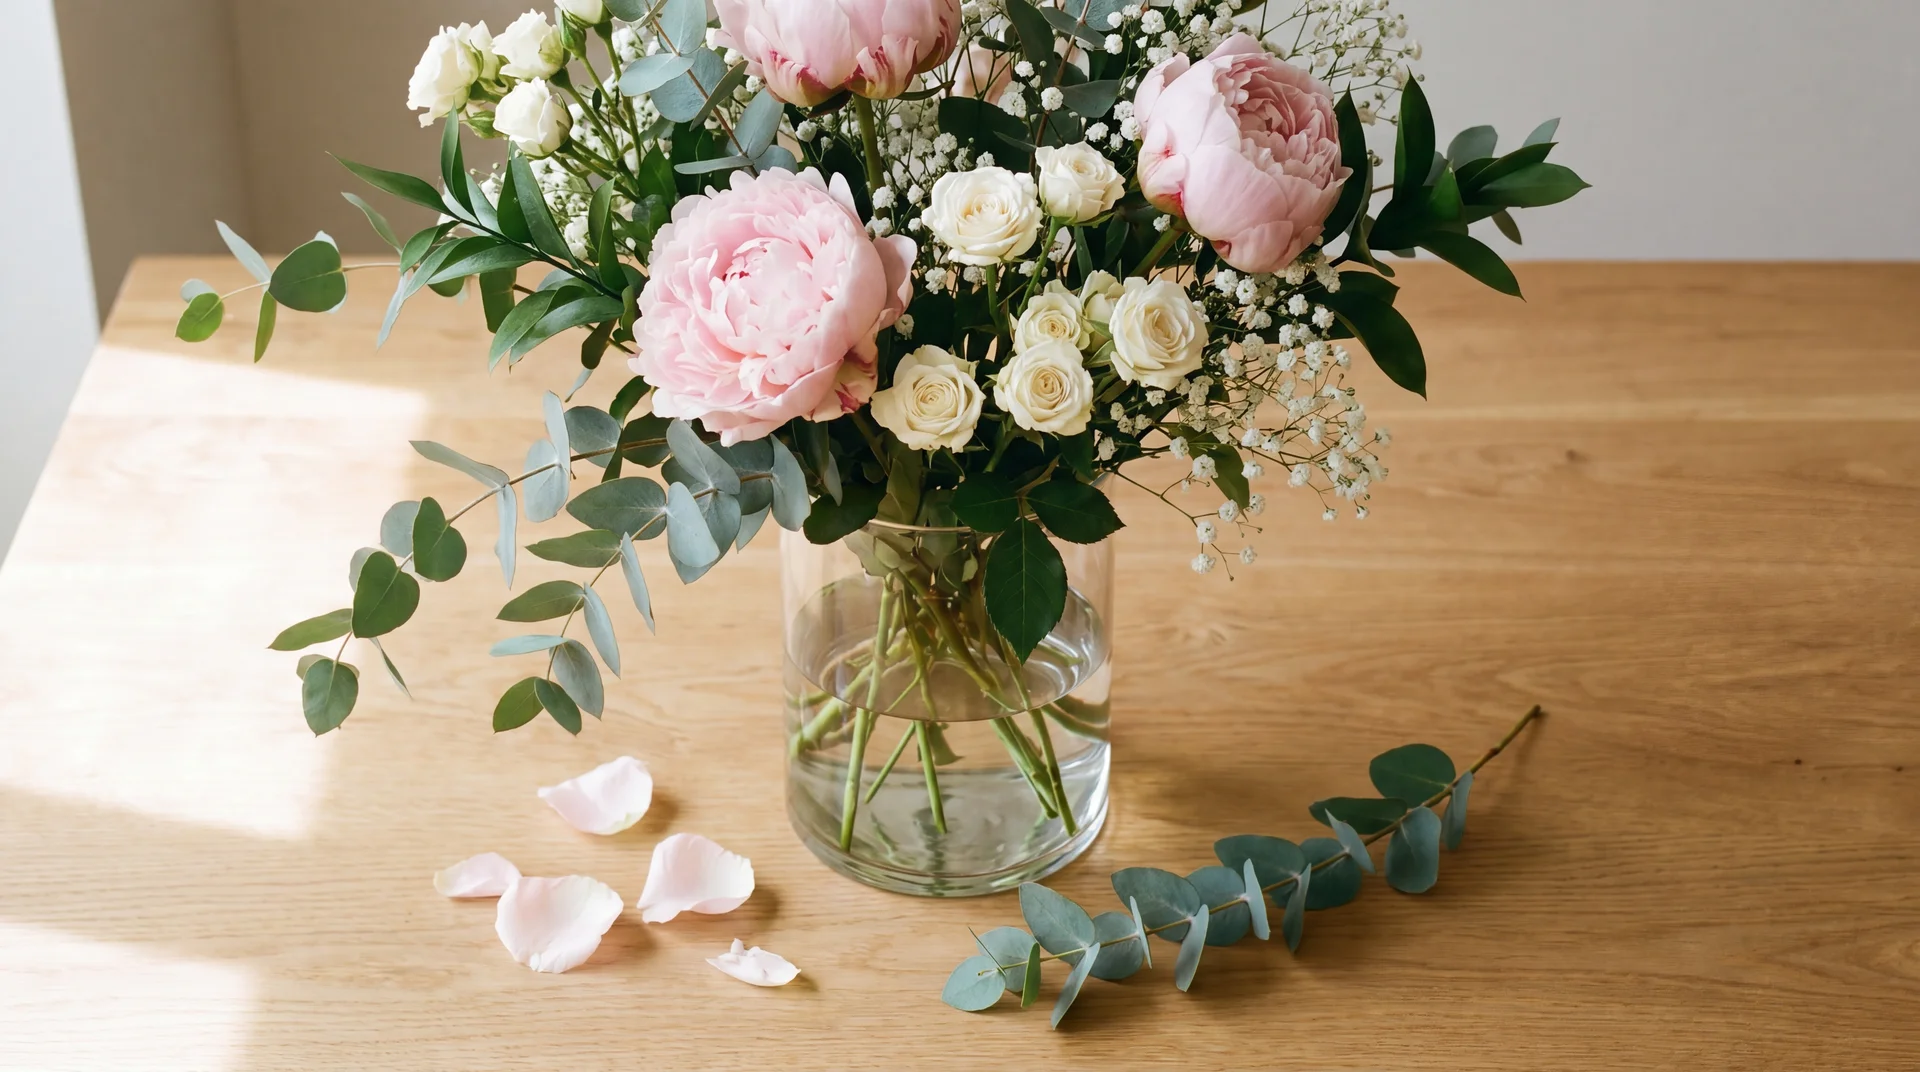
Tutorial 1: The Classic Mixed Vase
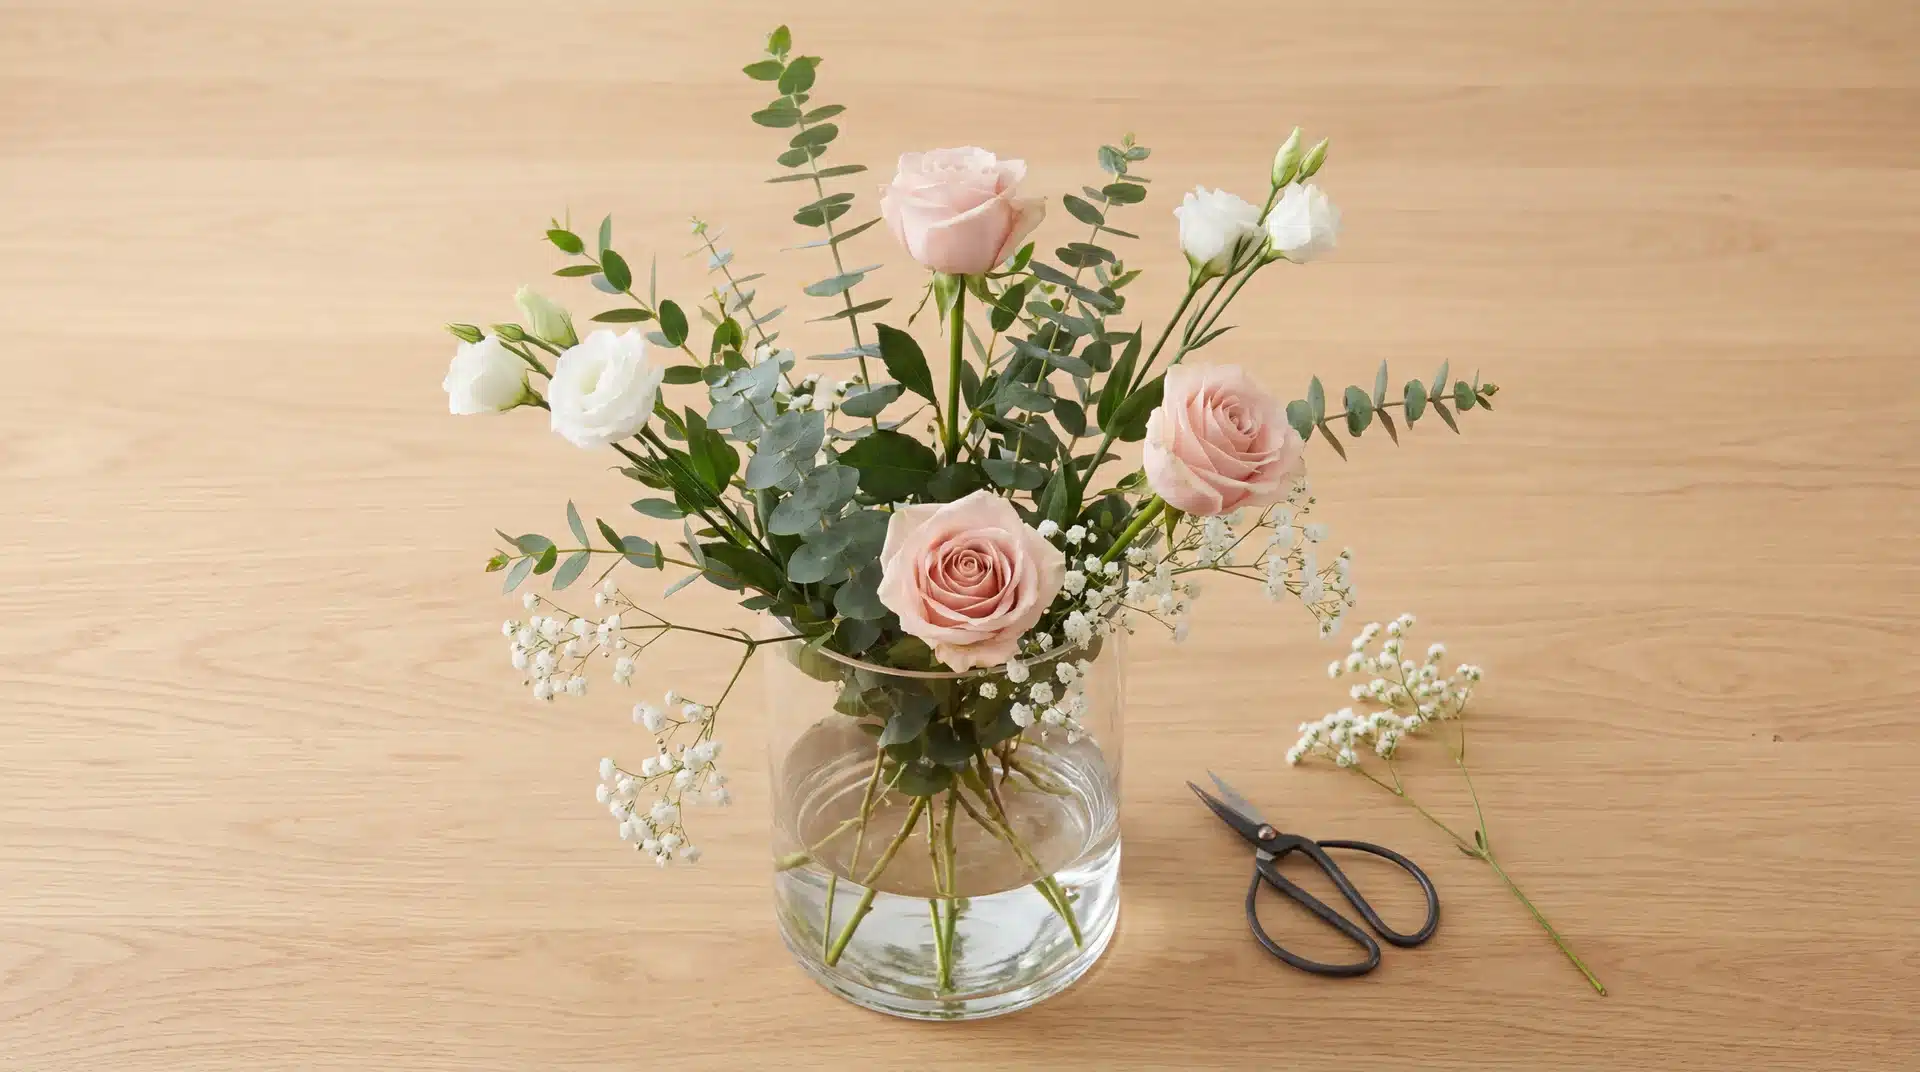
What is needed: Eucalyptus (5 stems), blush roses (3), white lisianthus (3), baby’s breath (5 stems), and a glass cylinder vase.
How Long it Takes: 15 to 20 minutes.
Steps:
- Fill the vase with water and flower food to the two-thirds mark.
- Add eucalyptus at varying heights. This is your structure.
- Place roses at varying heights to form a loose triangle.
- Tuck lisianthus between the roses, alternating heights.
- Fill gaps with baby’s breath. Let a few stems trail over the edge.
- Rotate the vase. Adjust anything that looks uneven.
Tutorial 2: The Bud Vase Cluster
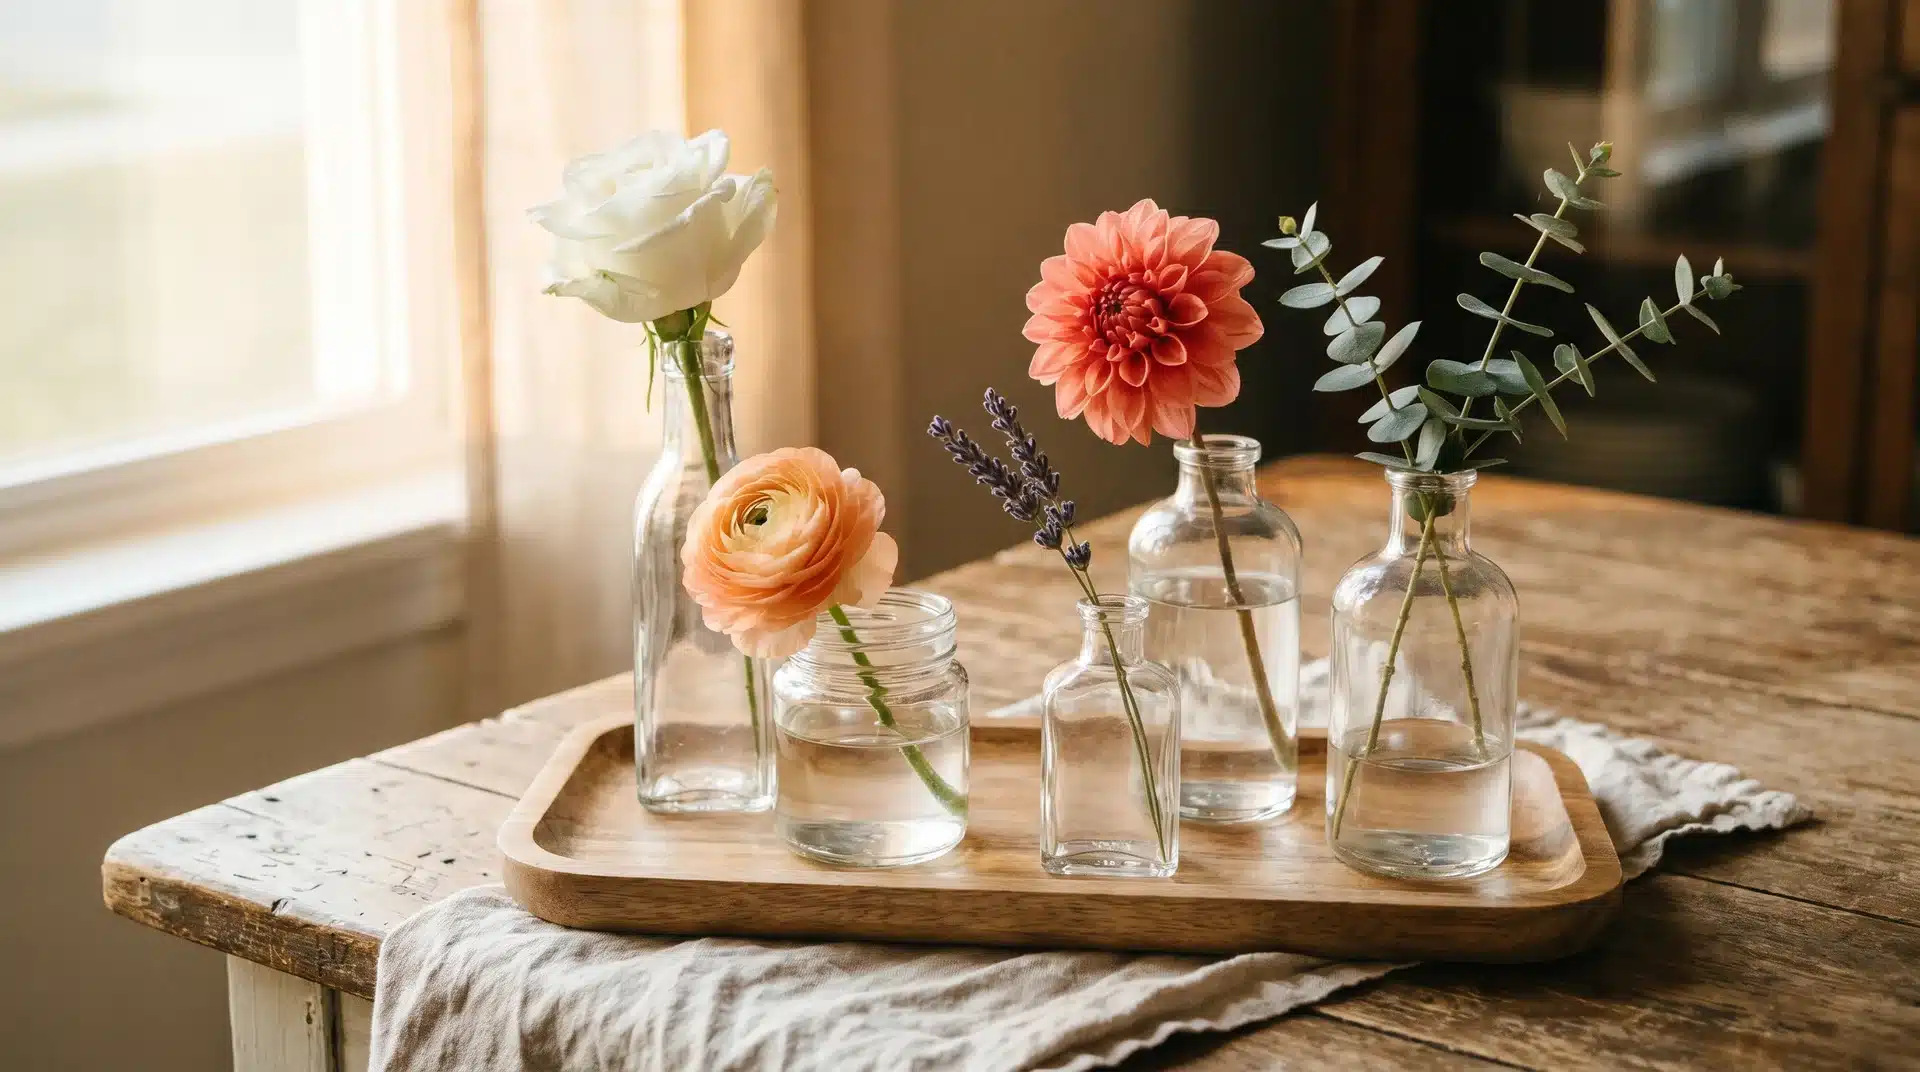
What is needed: 4 to 5 small bottles or bud vases, one stem per vase, and a tray to group them on.
How Long it Takes: 5 minutes.
Steps:
- Fill each vase with fresh water.
- Cut each stem to match the height of its bottle.
- One stem per vase: a rose, a ranunculus, a sprig of lavender, a dahlia.
- Group on a tray at slightly different heights and spacing.
The cluster reads as one arrangement even though each vase is separate.
Tutorial 3: The Hand-Tied Bouquet
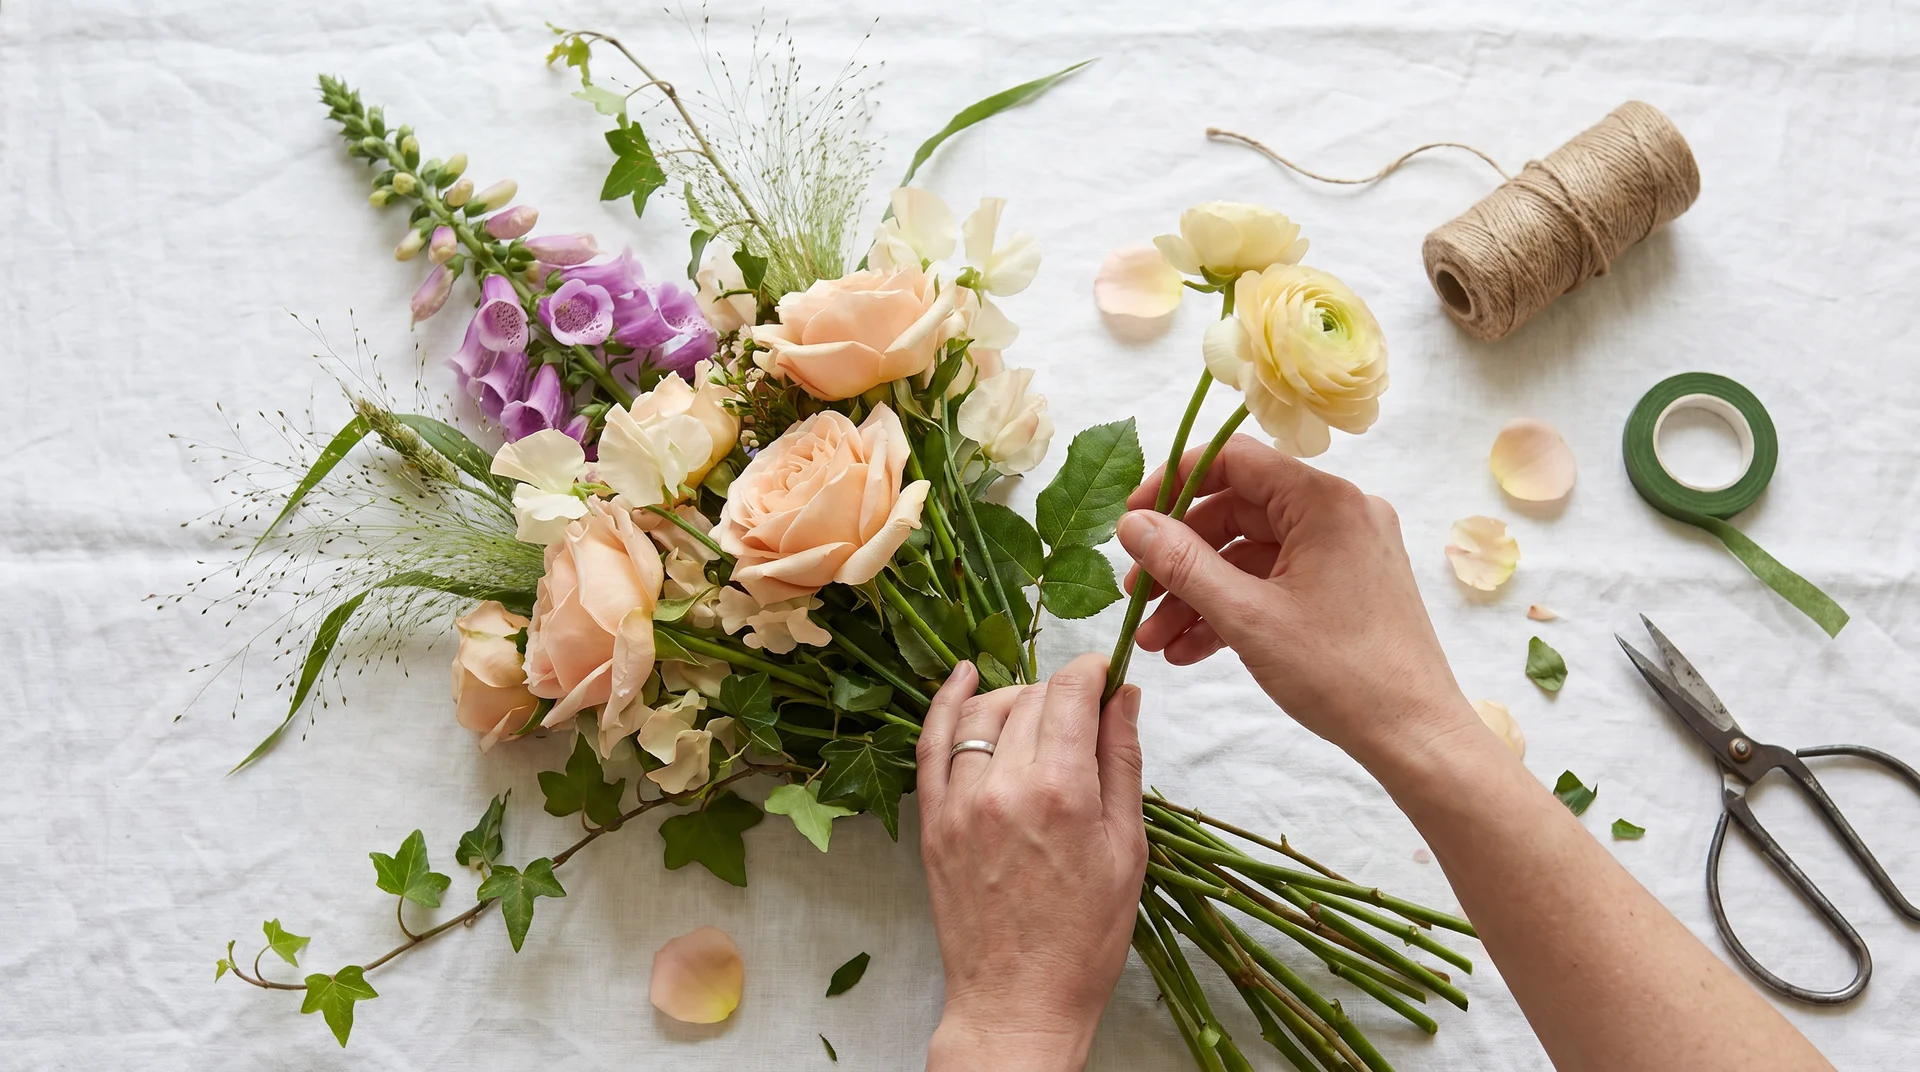
What is needed: Garden roses, sweet peas, greenery, grasses, floral tape, twine, and scissors.
How Long it Takes: 20 to 30 minutes.
Steps:
- Hold two or three greenery stems loosely in one hand.
- Add stems one at a time at the same diagonal angle. This builds a natural spiral.
- Rotate the bouquet slightly with each addition.
- Stop when it looks full from all angles.
- Bind with floral tape at the holding point, then wrap with twine.
- Cut all stems to an even length at the base.
The spiral stem technique is what makes a hand-tied bouquet hold its shape before it is even tied.
Caring for Your Arrangements
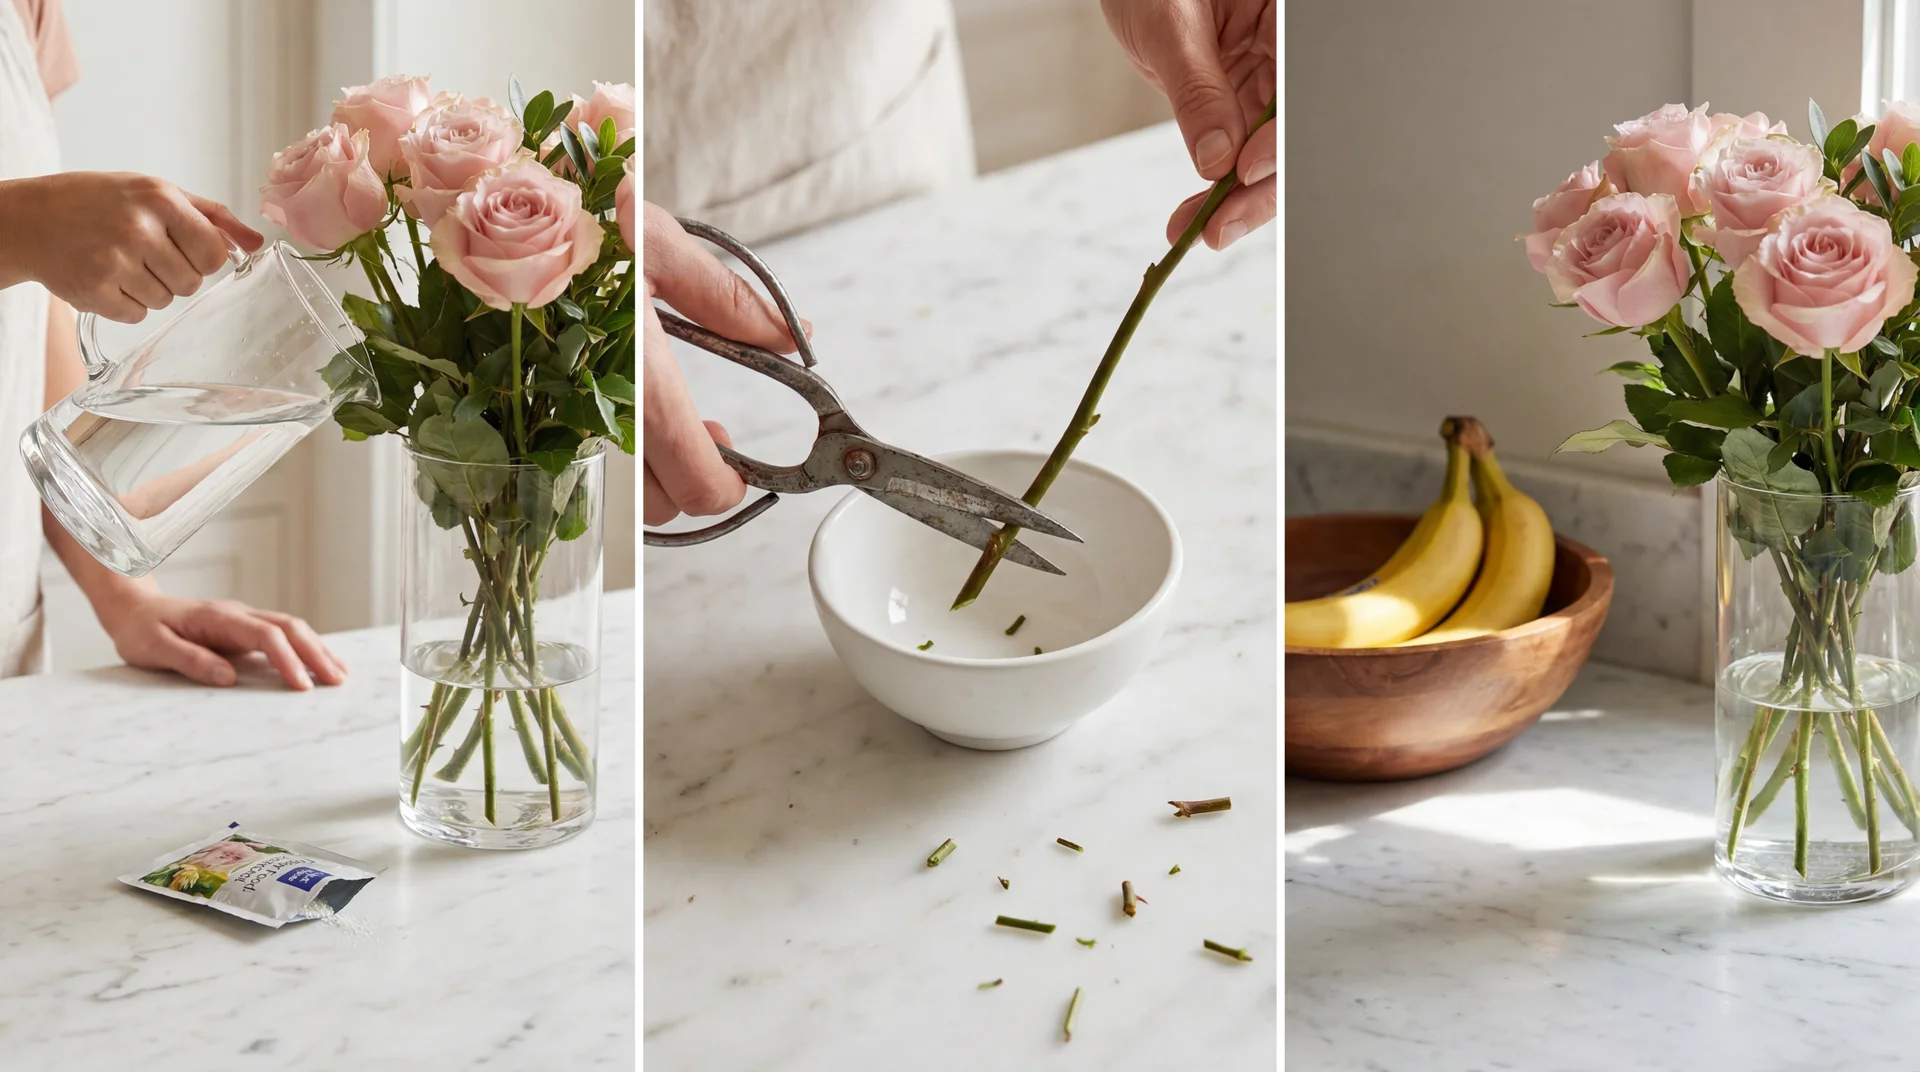
A beautiful arrangement should last 7 to 14 days with the right care.
Daily maintenance:
- Change the water every 2 days. Bacteria are the main cause of early flower death.
- Re-cut stems by 1-2 cm each time. This re-opens the stem for better water uptake.
- Keep arrangements out of direct sunlight, away from heat sources, and out of fruit bowls. Ripening fruit releases ethylene gas, which speeds up petal drop.
Quick Fixes:
- Wilted stems: Re-cut under water at a sharp angle and place in fresh, deep water for 2 hours. Most stems recover.
- Drooping heads: Cut the stem shorter and move to a narrow-necked vase for full support.
- Discoloration: Remove affected outer petals. If the stems smell bad, replace the water, clean the vase, and re-cut all stems.
Conclusion
Flower arranging is one of the most satisfying home skills you can build. You start with a bunch of stems and end up with something that genuinely improves a room.
The core of flower arranging comes down to a few simple steps: condition your flowers, build in layers, work with balance and proportion, and change the water regularly.
Everything else, the color choices, the styles, the seasonal shifts, is practice.
Your first arrangement won’t be perfect. That’s fine.
Start with a single bunch of your favorite flowers and one vase. See what you make. Then do it again next week.
Frequently Asked Questions
What is the Best Vase for Hydrangeas?
A wide-mouthed, short vase works best. It supports the heavy bloom heads and allows stems to drink deeply without bending.
What Flowers Should Not Be Mixed?
Keep daffodils away from other flowers. Their stems release a sap that shortens the life of roses, tulips, and most other blooms.
What Flowers Last Longest in A Bouquet?
Chrysanthemums, carnations, and alstroemeria. All three regularly last 2 weeks or more with clean water and regular stem trimming.