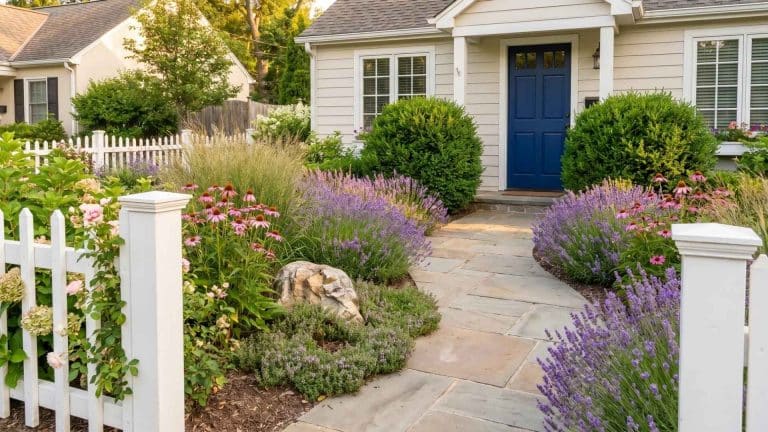
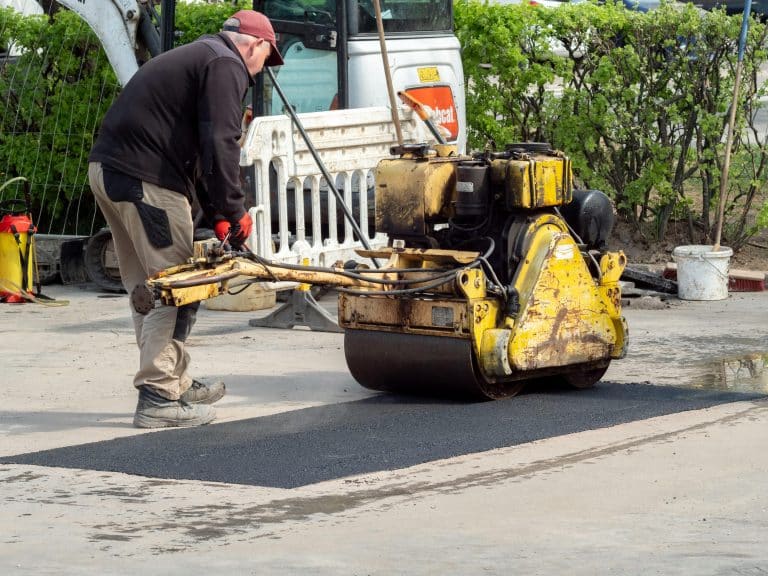
How to Properly Treat Wood for Outdoor Use
Outdoor wood starts changing soon after it is placed outside. Rain, sunlight, and moisture slowly affect its surface and structure. Small cracks can appear, color can fade, and water can begin to settle inside the fibers.
Without treatment, these changes move faster, and the wood loses strength over time.
Different types of wood react differently. Some have natural resistance, while others absorb moisture quickly. The way wood is treated also affects how it holds up in outdoor conditions. Certain products sit on the surface, while others soak deeper into the material.
This section explains how outdoor exposure affects wood and what to consider when choosing a treatment method for long-term use.
Why Treat Wood for Outdoor Use?
Outdoor wood faces constant battles against nature’s elements. Rain, snow, and humidity cause wood to absorb moisture, leading to swelling, warping, and eventual rot.
UV rays from sunlight break down wood fibers, causing fading and surface damage. Without protection, untreated wood becomes a perfect home for insects like termites and carpenter ants.
Key reasons to treat outdoor wood:
- Moisture protection – Prevents water damage and rot
- UV defense – Blocks harmful sun rays that cause fading
- Pest resistance – Deters insects and wood-boring creatures
- Extended lifespan – Treated wood lasts 3-5 times longer
- Cost savings – Prevents expensive repairs and replacements
- Maintains appearance – Keeps wood looking fresh and attractive
Wood treatment acts like sunscreen for your outdoor projects. It creates a protective barrier that helps wood withstand weather changes while maintaining its structural strength and natural beauty for years to come.
While treating wood provides essential protection, understanding your wood type helps you choose the right approach. Some woods naturally fight off moisture and pests better than others, which affects how much treatment they actually need.
Types of Wood Treatment Methods
Wood treatment methods vary depending on how deeply protection is applied and the type of exposure the wood will face outdoors.
| Method | How it Works | Best For | Key Benefit |
|---|---|---|---|
| Pressure Treatment | Chemicals are forced deep into wood fibers under pressure | Structural lumber, fences | Long-term internal protection |
| Oil Treatment | Oils soak into wood pores to slow moisture absorption | Furniture, natural finishes | Flexible, easy maintenance |
| Water-Based Sealers | Forms a surface layer that blocks water entry | Decks, light outdoor use | Easy application and cleanup |
| Wood Stains | Adds pigment while offering moderate protection | Decorative wood surfaces | Color + protection balance |
| Paint Coatings | Creates a solid outer barrier over wood | Fully exposed surfaces | Strong surface protection |
Different methods can also be combined depending on exposure level and wood type.
Natural Resistance of Common Outdoor Woods
Not all woods are created equal when it comes to outdoor survival. Some species come equipped with natural defenses, while others need immediate help to last more than a few seasons.
- Cedar naturally contains oils that repel insects and resist moisture. Requires minimal treatment but benefits from protection in harsh climates for an extended lifespan.
- Redwood: High tannin content provides natural rot resistance. Heartwood lasts decades outdoors without treatment, though sapwood sections need additional protection from the elements.
- Teak: Contains natural oils, making it highly water-resistant. Premium choice for outdoor use, but expensive. Still benefits from occasional treatment in extreme weather.
- Pine (Pressure-Treated): Softwood requiring chemical treatment for outdoor use. Modern pressure-treated pine lacks arsenic, which reduces its longevity compared to pre-2003 treated lumber options.
- Oak: Dense hardwood with moderate natural resistance. White oak performs better outdoors than red oak. Benefits significantly from oil treatment for moisture protection.
- Fir and Spruce: Softwoods with minimal natural resistance to rot and insects. Require immediate treatment before outdoor use. Absorb oil treatments well due to its porous nature.
Choosing the right wood type can save you money upfront, but even naturally resistant woods benefit from treatment to maximize their lifespan and performance in harsh outdoor conditions.
Step-by-Step Process to Treat Outdoor Wood
Spar varnish provides one of the most durable finishes for outdoor wood projects. Follow these detailed steps to apply a professional-grade finish that protects your wood for decades.
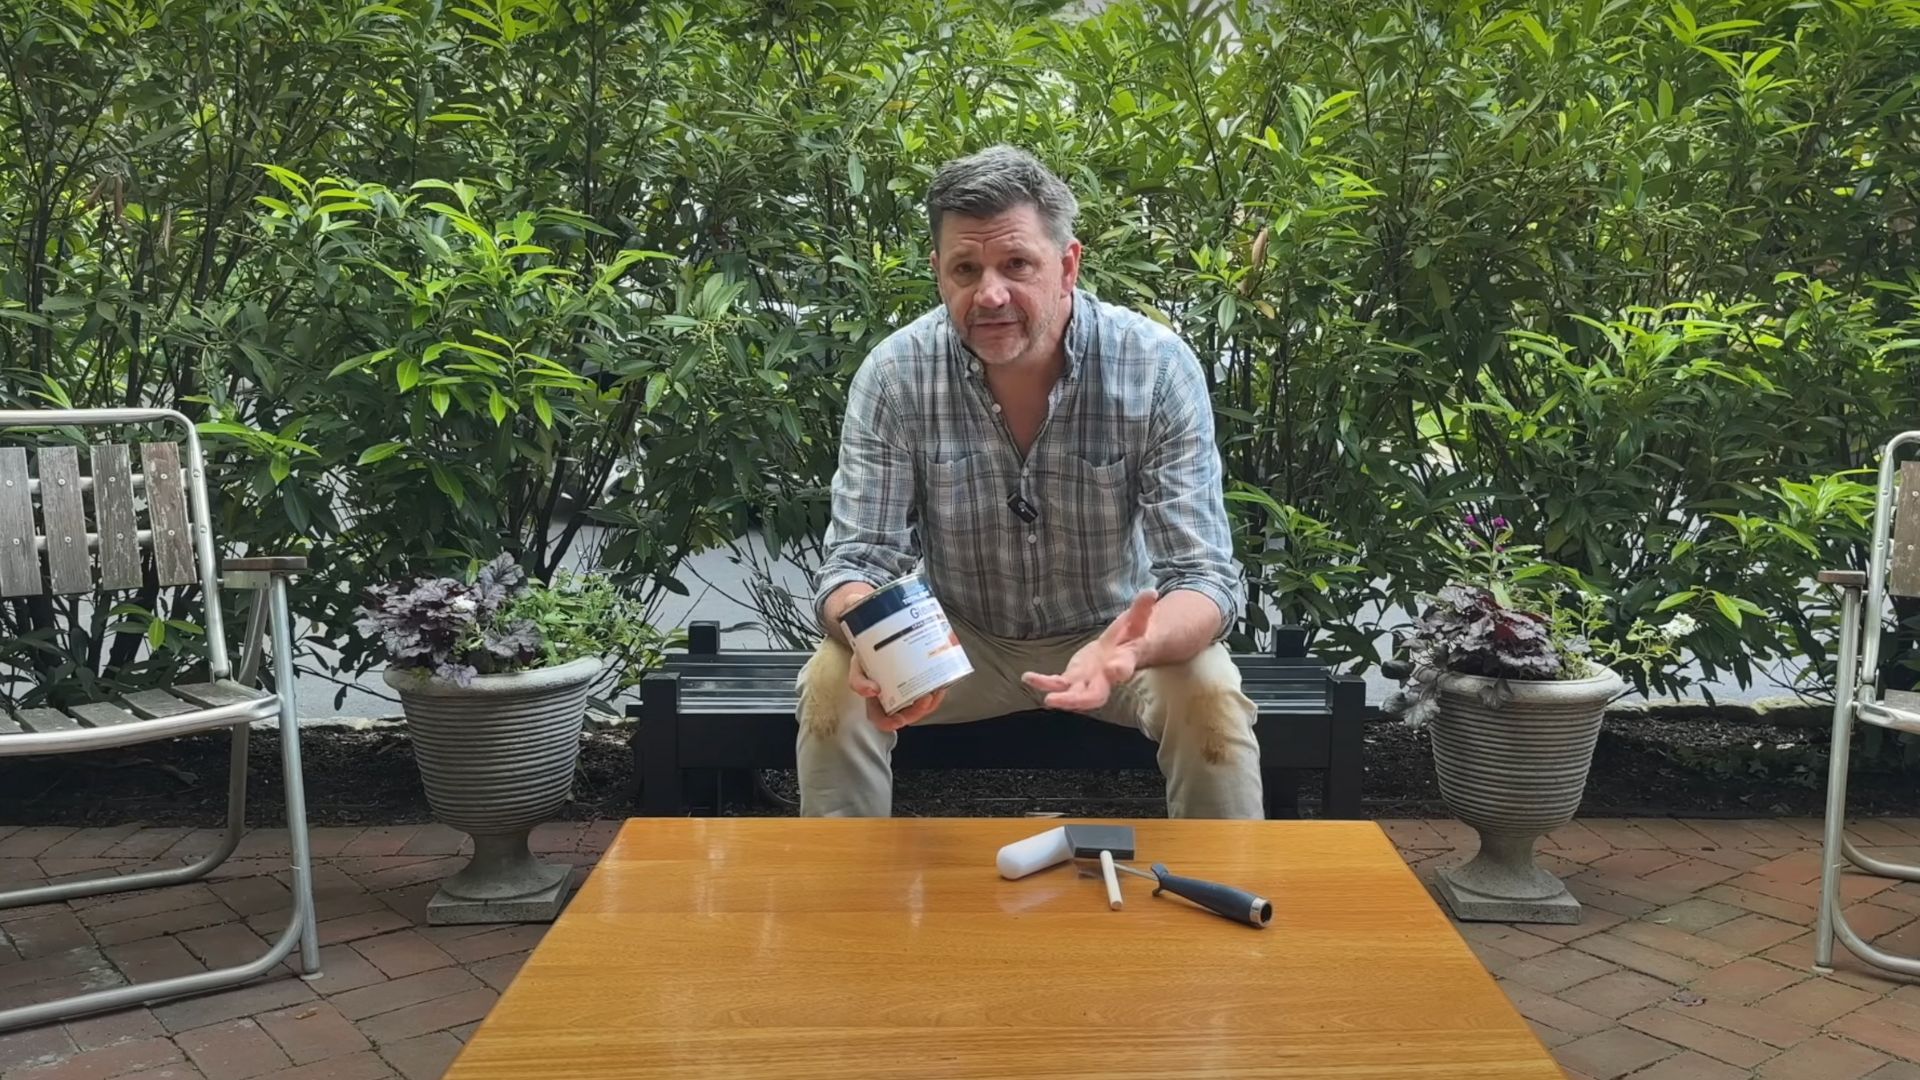
Tools
| Tool | Purpose |
|---|---|
| Foam Roller | Spread finish evenly |
| Foam Brush | Smooth with grain direction |
| Router (optional) | Round over sharp edges |
| Sanding Block | Manual surface preparation |
| Paint Tray | Hold finish during application |
Materials
| Material | Coverage/Use |
|---|---|
| Gleam Spar Varnish (Gloss) | 100-150 sq ft per quart |
| Gleam Spar Varnish (Satin) | Final coats (optional) |
| 220-Grit Sandpaper | Surface prep and maintenance |
| 120-Grit Sandpaper | Edge shaping |
| Clean Rags | Dust removal and cleanup |
| Dish Soap | Surface cleaning |
| Disposable Gloves | Hand protection |
Step 1: Prepare Wood Edges
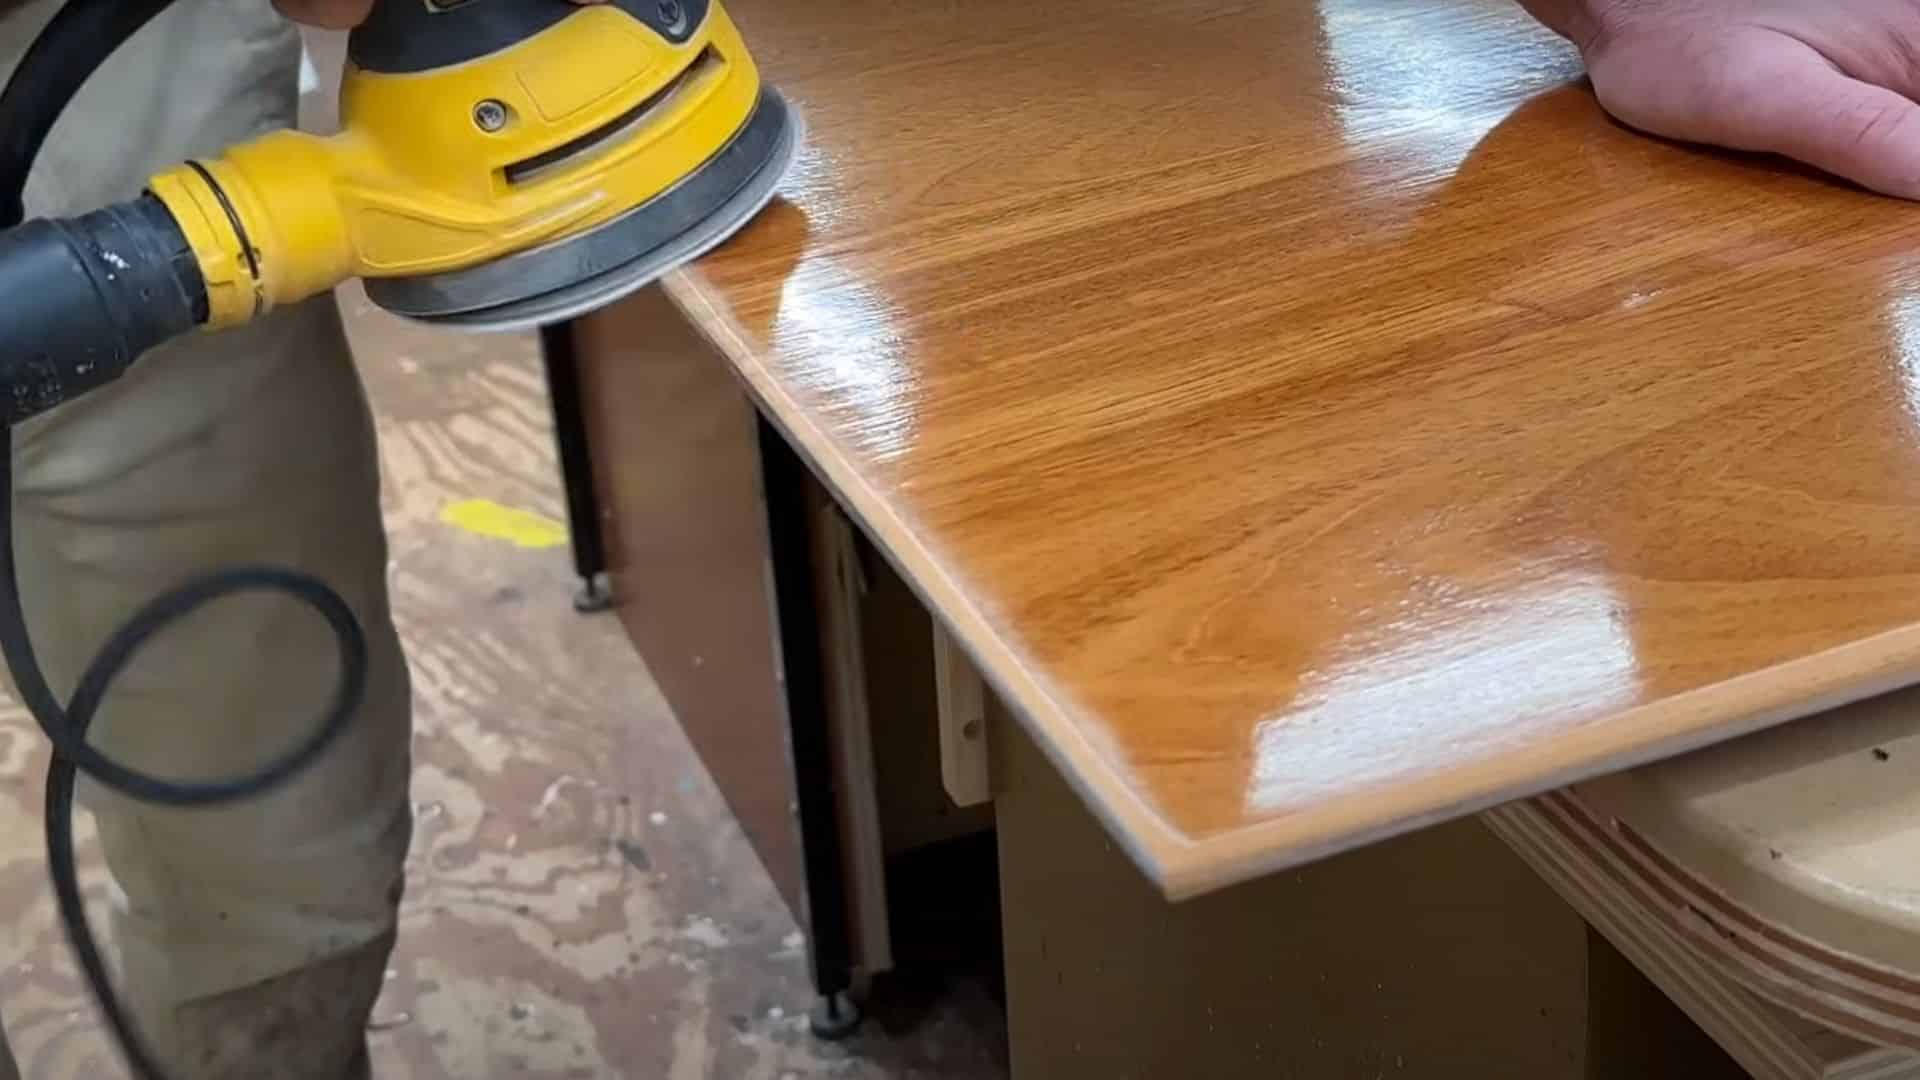
Remove all sharp edges using sandpaper or a router. Round over corners and edges where the finish tends to fail. Sharp angles cannot hold a finish properly, leading to early breakdown.
Use 120-grit sandpaper for initial shaping, then 220-grit for smoothing.
Step 2: Clean and Sand Surface
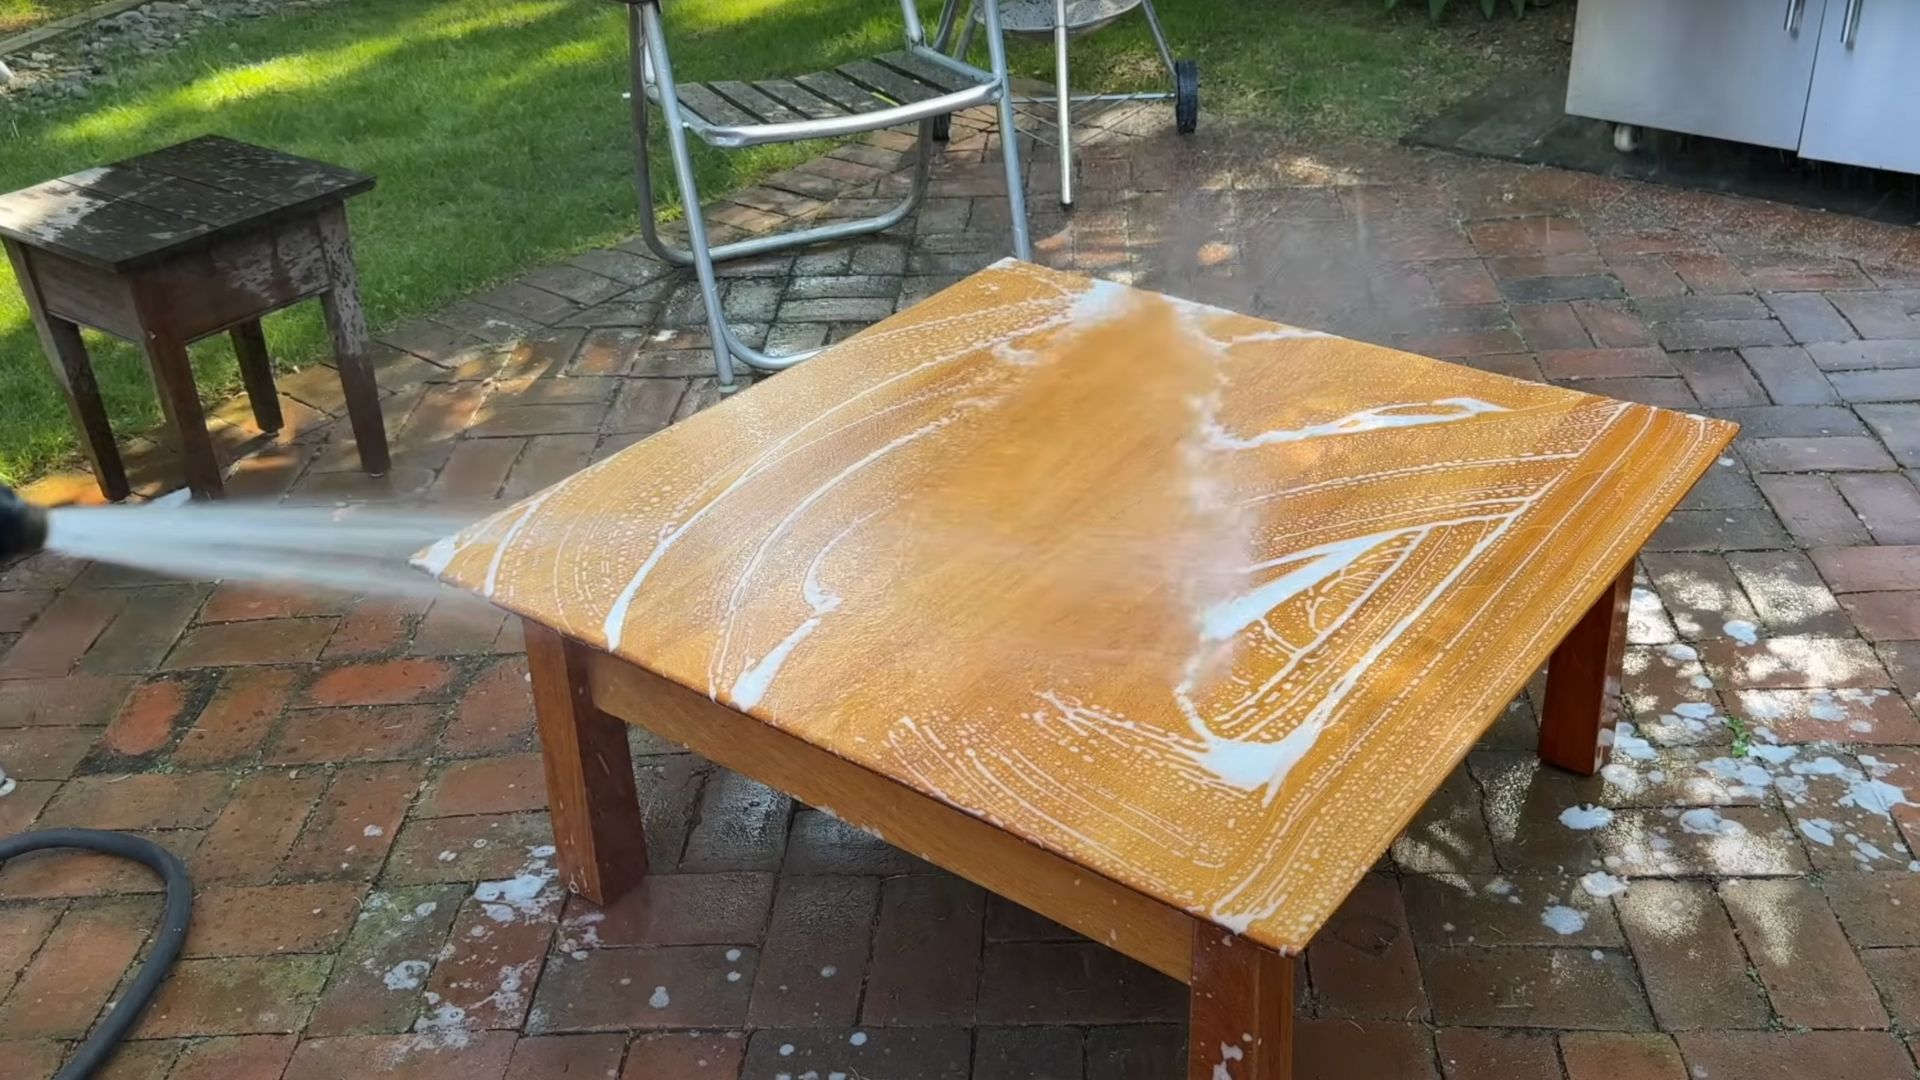
Wash wood with soap and water to remove oils and dirt. Let dry completely. Sand the entire wood surface with 220-grit sandpaper, following the grain of the wood.
Remove all dust with a clean, lint-free cloth before applying the finish.
Step 3: Choose Your Finish System
Use gloss spar varnish for the first coats (for better UV protection). For gloss finish: apply 5 coats total.
For satin finish: apply 4 coats of gloss, then 2 coats of satin. Never start with satin; always build a base with gloss.
Step 4: Apply Base Coats
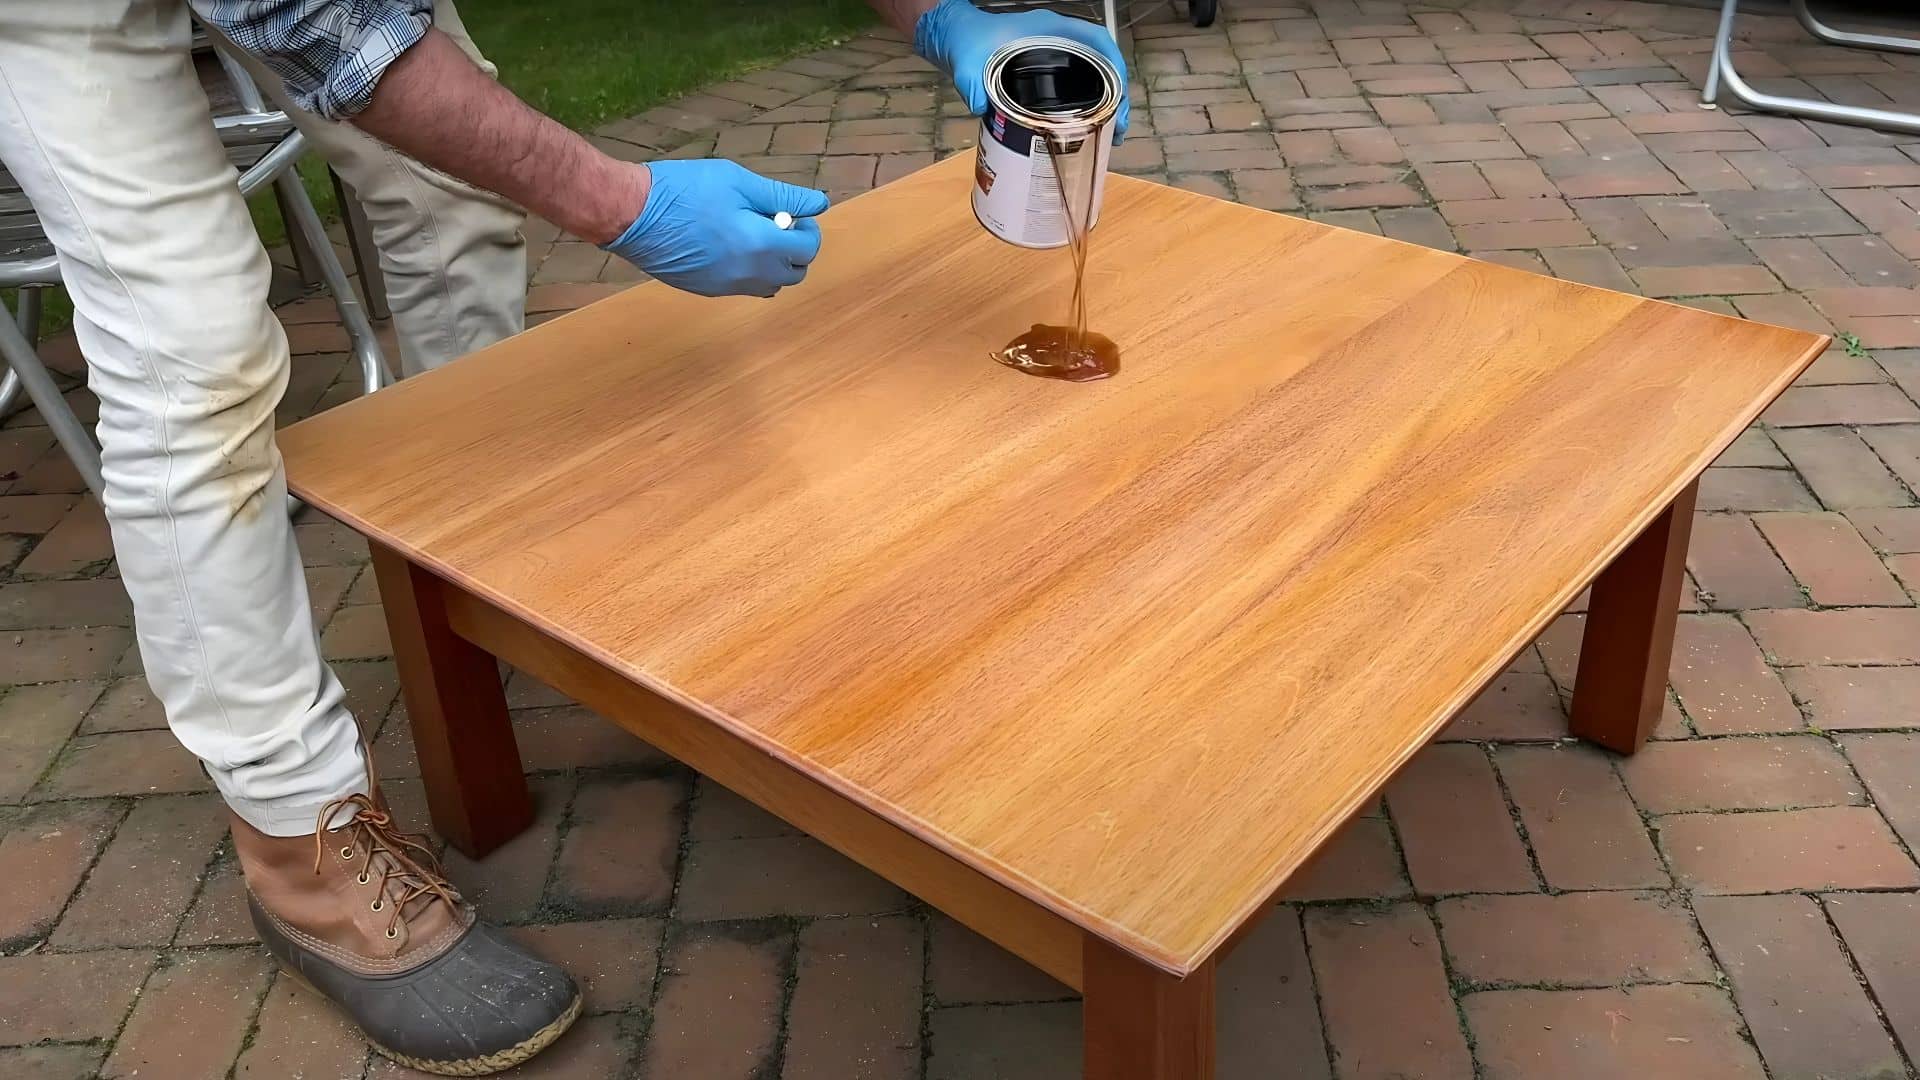
Pour a small amount of gloss finish onto the surface. Use a foam roller to spread evenly, then a foam brush to smooth following the grain direction.
Apply thin, even coats. Work in shade, never in direct sunlight or on hot surfaces.
Step 5: Allow Proper Drying Time

Let each coat dry for 24 hours between applications. Finish sets up in 1 hour but needs a full day to cure properly. Apply early morning before the sun gets strong.
Avoid application during hot, sunny conditions for best results.
Step 6: Apply Final Coats
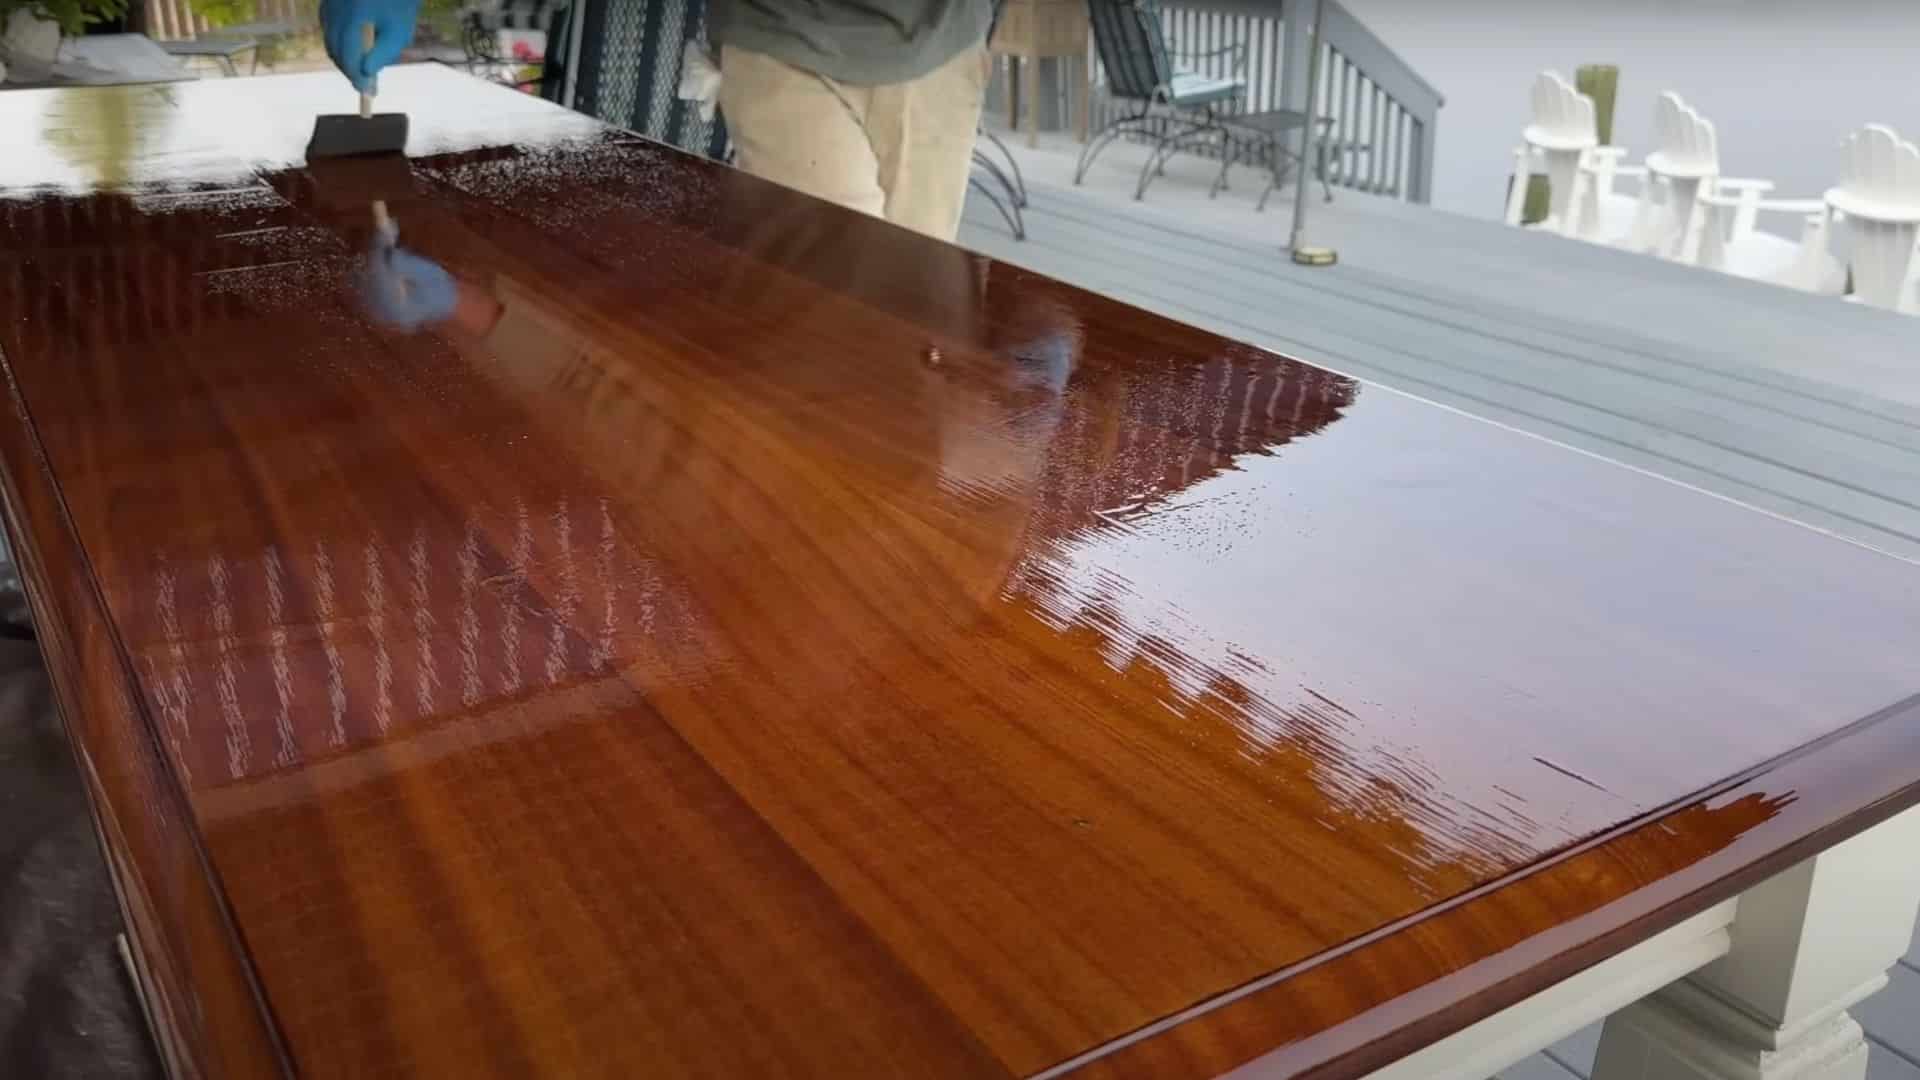
Continue building and finishing layers according to plan. For a satin finish, switch to satin varnish for the final 2 coats after 4 gloss coats are complete. Maintain the same application technique throughout the process for consistent results.
With proper application and patience, this treatment will outlast expensive commercial stains by decades. Your wood will thank you, and so will your wallet when you skip those costly reapplications year after year.
Video Tutorial
Special thanks to Jon Peters – Longview Woodworking for providing valuable insights in their video, which I referenced while creating this guide.
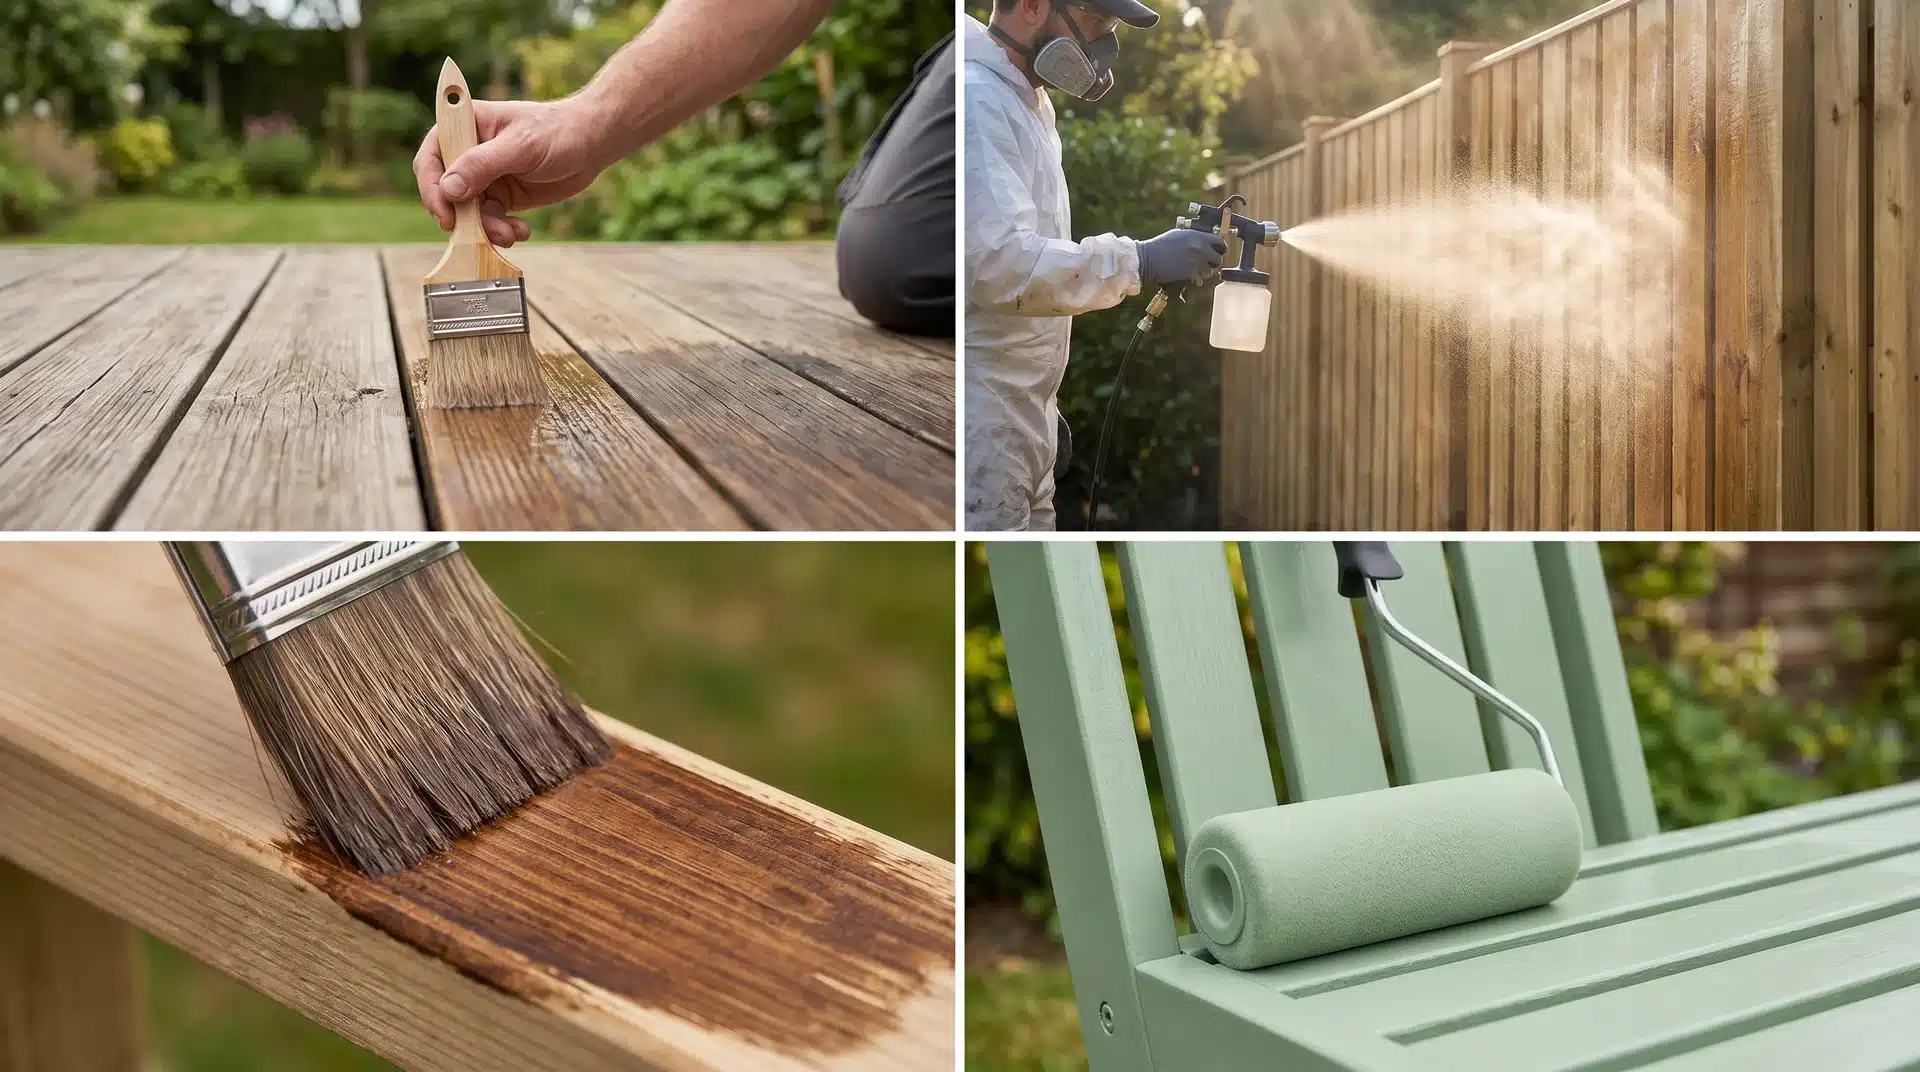
Best Application Methods for Longer Lasting Results
Different application techniques directly affect how well wood treatment holds up over time outdoors. The method controls how deeply the product penetrates and how evenly it protects the surface.
- Brush Application: Brush application allows deep control and helps the treatment soak into the grain. Best for detailed work where full surface coverage and strong penetration are needed.
- Roller Application: Rollers cover large flat surfaces quickly and evenly. Best for decks and fencing where speed and uniform coating matter.
- Spray Application: Spraying delivers a smooth and consistent layer over complex shapes. Best for hard-to-reach areas but requires careful control to avoid uneven buildup.
- Dip Method: Wood is fully submerged to maximize treatment absorption. Best for small components that need full-body protection from moisture.
- Edge Sealing Technique: Edges and cut ends are sealed more heavily since they absorb the most moisture. Best for preventing early rot in exposed joints and corners.
How to Maintain Your Outdoor Wood Finish
The best outdoor finish is only as good as its maintenance. Regular care keeps your wood looking fresh and prevents costly complete refinishing jobs down the road.
1. Annual Inspection Schedule: Check your finish every 12-18 months for signs of wear, fading, or peeling. Look closely at edges and high-wear areas where breakdown typically starts first.
2. Surface Preparation Process: Lightly sand with 220-grit sandpaper to scuff the existing finish. Wash with soap and water to remove oils and dirt. Let dry completely before applying new coats.
3. Recoat Application Method: Apply 1-2 fresh coats using the same technique as the original finish. Always use gloss varnish for maintenance coats to maintain UV protection, even over satin finishes.
4. Timing and Weather Conditions: Reapply during mild weather, avoiding direct sunlight and hot surfaces. Early morning application works best. The finish should cure for 24 hours between coats without rain exposure.
5. Cost-Effective Storage Tips: Store leftover finish in the refrigerator to extend working time during application. Keep maintenance supplies ready – one quart typically handles 2-3 annual touch-ups for average outdoor furniture.
Spending 20 minutes on annual maintenance saves hours of complete refinishing later. Your outdoor wood will reward consistent care with decades of beauty and protection.
When is the Best Time to Treat Wood?
The best time to treat wood is during a dry, stable weather window when moisture levels in the air and wood are both low.
Ideally, you want a stretch of at least 24 to 48 hours with no rain, since fresh treatment needs time to soak in and cure properly without being washed away or diluted.
Mild temperatures, usually between 10°C and 29°C, work best because extreme heat can cause the product to dry too quickly on the surface, while cold conditions slow down absorption.
Low humidity also plays an important role, as it allows the treatment to penetrate more deeply into the wood fibers rather than sit on the surface.
Morning or late-afternoon application is often preferred, as direct midday sunlight can cause uneven drying and reduce effectiveness.
Conclusion
Outdoor wood lasts much longer when it is protected early and maintained consistently. Different wood types respond differently to weather exposure, but all wood eventually breaks down when left untreated.
Choosing the right treatment method based on exposure level, budget, and wood type helps reduce damage from moisture, sunlight, and insects.
Proper application is just as important as the product itself, since surface preparation, timing, and coating method directly affect performance.
Regular inspection and light reapplication over time help preserve strength and appearance without requiring full replacement.
With the right approach, outdoor wood structures can stay durable, stable, and visually appealing for many years.