Frameless Glass Shower Door Layout Guide
Frameless glass bathroom doors turn basic walk-in showers into clean, open spaces that feel larger and brighter. Clear panels highlight tile work, keep light flowing, and remove bulky metal frames. Homeowners often choose frameless layouts to modernize dated bathrooms without changing the entire footprint. The right design depends on how you use the shower, where walls and fixtures sit, and how much room the door needs to swing or slide. From a simple single fixed panel to multi-piece corner layouts, today’s hardware and 10mm toughened safety glass allow many options. Smart planning also handles water control, structure, and cleaning so the shower looks sleek and stays practical for daily use.
What Are the Best Frameless Glass Door Layouts for Walk-In Showers?
Single Panel, Inline, and Corner Layout Options
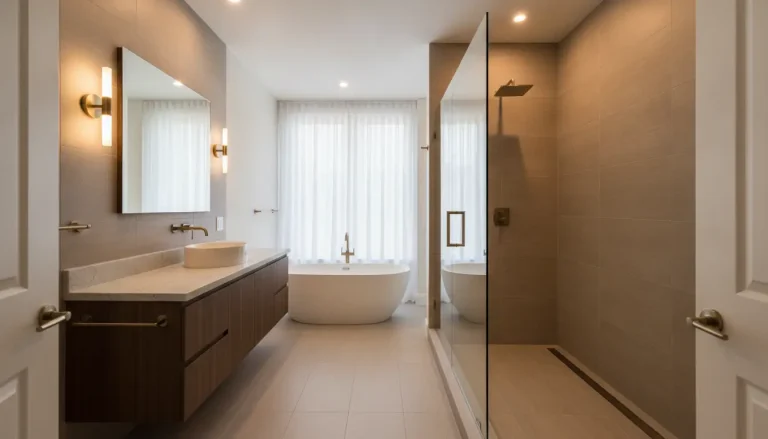
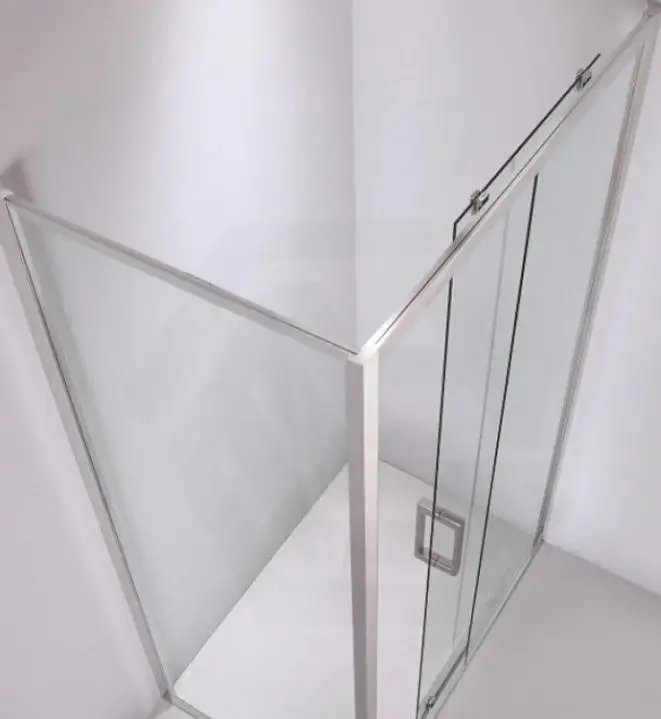
Single fixed panels create the simplest frameless walk-in shower layout. One 10mm toughened safety glass screen blocks spray from the shower head while keeping an open entry. Flexible sizes from 300 to 1200x2000mm help fit tight alcoves or wide, spa-like showers. Inline layouts use a fixed panel plus a door in a straight line, ideal for standard recess showers between three walls. Corner layouts place glass on two sides, forming an L-shape that works well in small bathrooms where one corner becomes a dedicated shower zone. Heavy duty high quality brass fitting hardware with chrome brackets secures each panel. Optional nano coating on the glass surface keeps contamination away, which reduces cleaning time and helps the layout look fresh.
Sliding vs Hinged Door Configurations Explained
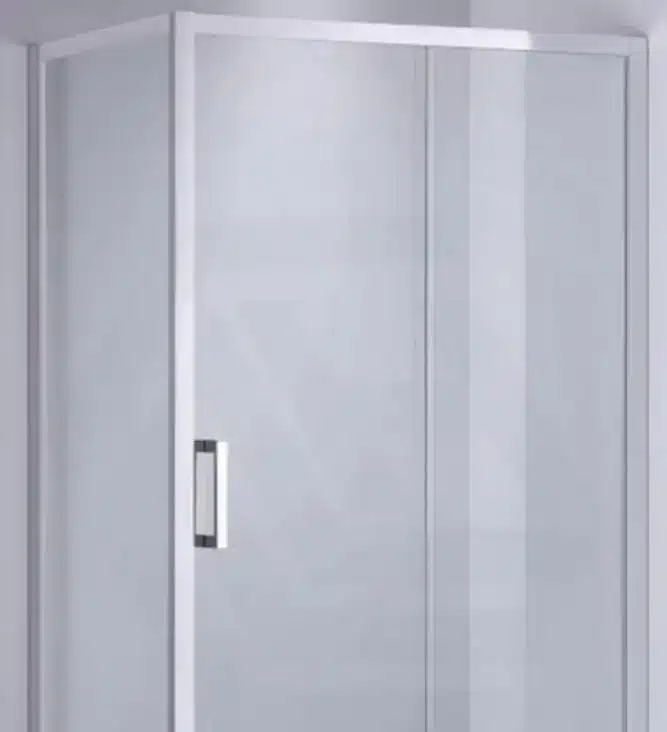
Hinged doors swing on wall or glass-mounted hinges, giving a wide, clear opening for walk-in showers. They work best when you have enough floor space for the door to open without hitting toilets, vanities, or radiators. Sliding frameless doors move along a track or bar, so they save space in tight bathrooms and avoid door conflicts with nearby fixtures. Both options use 10mm toughened safety glass for strength and heavy duty brass hardware for smooth, reliable movement. Chrome finish brackets and handles blend well with most modern fittings. When choosing, check door weight, handle height, and track placement. Sliding layouts suit long, narrow showers, while hinged doors feel more open and are easier for accessibility in many homes.
Open Entry Walk-In Shower Layouts Without Doors
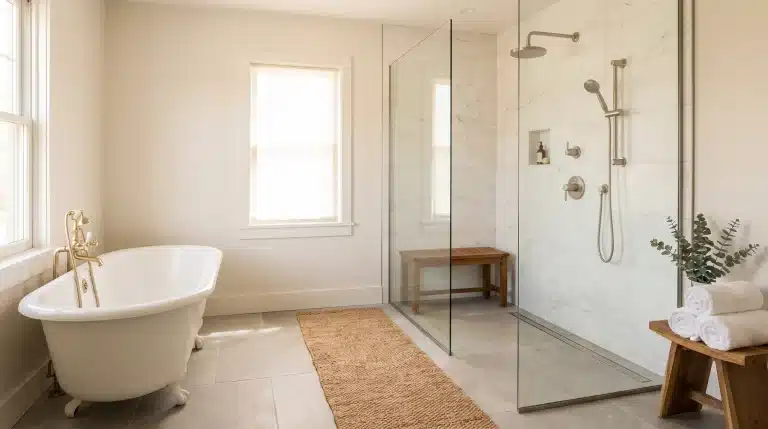
Open entry walk-in shower layouts remove the door entirely and rely on a single fixed screen or multiple panels. A 300 to 1200x2000mm frameless walk-in shower screen can shield the main spray area while allowing a free, barrierless entry on one side. This approach works well in larger bathrooms where you can keep the shower head angled away from the opening. Using 10mm toughened safety glass and heavy duty chrome brackets ensures stability even with wide panels. Floor slopes and linear drains become crucial to guide water away from the entry. Optional nano coating keeps water and soap from sticking, which helps maintain a clear, minimal look. Open entry designs feel luxurious and hotel-like, but they require careful planning to control splashes.
How to Choose the Right Layout for Your Bathroom Space?
Small Bathroom Layouts and Space-Saving Designs
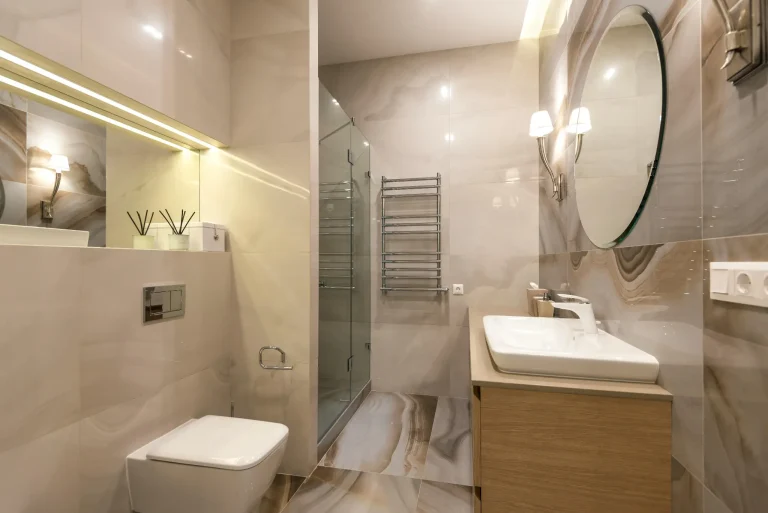
Small bathrooms need frameless layouts that maximize every inch. A single fixed panel at 800 to 1000mm wide can create a compact walk-in shower that still feels open and bright. Corner showers with one glass side and one tiled wall free up valuable floor space for storage and movement. Sliding doors remove the need for swing clearance, making them ideal for narrow rooms where a hinged door would clash with a toilet or vanity. Using 10mm toughened safety glass keeps panels slim yet strong, while chrome brackets and minimal hardware avoid visual clutter. Optional nano-coated glass supports easy cleaning in tight spaces, which is helpful when you cannot move around freely. Focus on clear entry, safe circulation, and simple lines that visually enlarge the room.
Measuring Shower Area and Door Clearance Requirements
Accurate measurements determine which frameless glass layout will work. Start by measuring the width and depth of the shower area at the top, middle, and bottom because walls may not be perfectly square. Note the maximum panel size you can use from ranges like 300 to 1200x2000mm. For hinged doors, mark the swing path on the floor and confirm it clears toilets, vanities, and towel warmers. Leave enough room for comfortable entry, usually at least 600mm. For sliding doors, measure track length, overlap, and opening width. Check ceiling height to ensure 10mm toughened safety glass panels fit with any required gaps. Finally, measure any step or curb and the slope of the floor to confirm proper drainage and a safe, non-tripping threshold.
Matching Layouts With Bathroom Style and Fixtures
The best frameless layout supports your bathroom’s style and existing fixtures. Modern designs often favor large single panels or minimal inline layouts with clean chrome brackets and handles. These highlight large-format tile, stone, or microcement. Traditional spaces may suit hinged doors with more defined hardware but still benefit from the openness of frameless 10mm glass. Consider where the shower head, controls, and niches sit so the glass panel shields spray yet keeps controls easy to reach from outside. Match the chrome finish of brackets to taps, towel bars, and lighting for a cohesive look. Optional nano coating keeps the glass crystal-clear, which allows feature tiles or accent walls to remain visible. Aim for a layout that frames the design, not one that competes with it.
Practical Considerations for Layout Planning and Installation
Water Containment and Splash Control Strategies
Frameless layouts look light, but they must still control water effectively. Start with the shower head position: aim it away from the door opening and toward a fixed wall or panel. A single 300 to 1200x2000mm glass screen can block most spray if you size it correctly and leave a modest entry gap. Use a low curb or a slightly sloped, curbless floor to direct water to a linear drain near the wall. Clear seals or thresholds at the base and vertical edges of 10mm toughened glass doors help reduce splashes without spoiling the clean look. For open entry showers, extend the screen length and increase floor fall. Pair these features with nano-coated glass to minimize water marks and keep the enclosure clear.
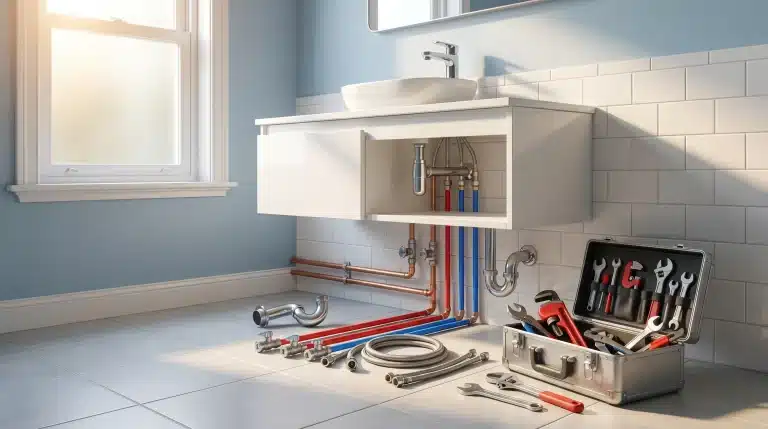
Structural Support and Glass Placement Guidelines
10mm toughened safety glass needs solid support at each fixing point. Always locate studs or suitable structural blocking before you set wall brackets or hinges. Heavy duty high quality brass fittings and chrome brackets carry the panel weight and resist daily use, but only if the substrate is strong. Keep glass edges clear of contact with tiles or metal frames to avoid stress points. Use proper gaps and silicone joints around fixed panels to allow slight movement. Place larger panels so they rest on secure channels or clips along the base. In corner layouts, consider a stabilizing bar or return panel for extra rigidity. Never hang oversized panels from weak plasterboard alone, and always follow the manufacturer’s maximum size and weight guidelines for safe installation.
Installation Tips and Common Layout Mistakes to Avoid
Successful frameless shower installation begins with accurate layout planning. Dry-fit hinges, brackets, and panels before final fastening to confirm alignment and door swing. Many DIYers set the base channel out of level, which causes doors to drift open or closed. Use a spirit level and check twice. Avoid undersizing panels; a too-short screen can cause ongoing splash problems. Do not ignore manufacturer limits for 300 to 1200x2000mm 10mm glass panels or cut corners on heavy duty brass hardware. Seal only the outside of horizontal joints so water can drain from within the channel. Finally, do not rush silicone curing time before using the shower. Proper curing protects the bond and keeps the frameless layout watertight and stable for the long term.
Conclusion
The frameless glass door walk-in shower layouts combine clean lines with strong materials to create bright, modern bathrooms. From simple single fixed panels to more complex corner or sliding door configurations, you can match panel size, door type, and hardware to almost any room. Using 10mm toughened safety glass with heavy duty brass fittings and chrome brackets delivers durability and a high-end look. Optional nano coating protects the glass surface from contamination and reduces cleaning. When planning, measure carefully, think about water paths, and anchor hardware to solid structure. Avoid common mistakes like poor slope, undersized panels, or cramped door swings. A well-designed layout will keep splashes controlled, show off your finishes, and stay comfortable and practical for years.