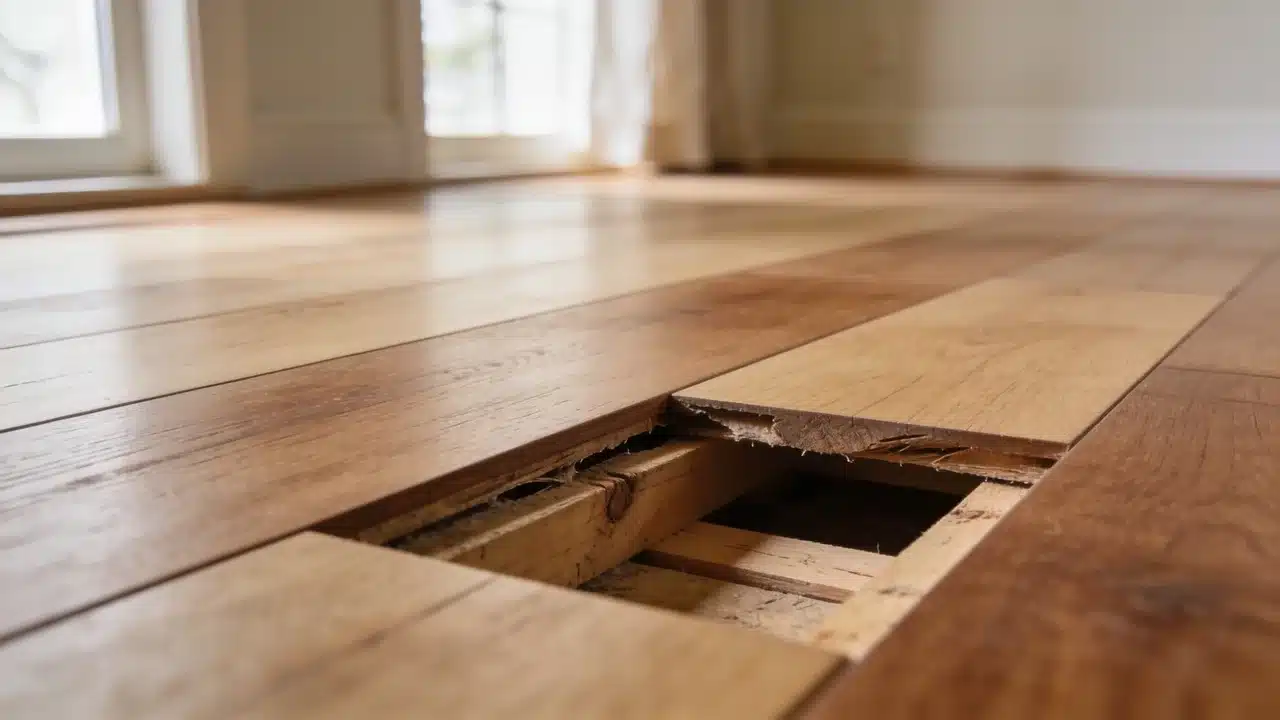
How to Fix Creaky Floorboards (By Cause and Floor Type)

That squeak underfoot at 2 AM can wake the whole house, and it rarely stops once it starts. Floorboards creak when wood shifts, rubs, or loses its grip on the structure below.
Loose boards, worn nails, joist gaps, and shifts in humidity all cause that noise, but each needs a different fix. Getting the right diagnosis the first time means less work and a quieter floor.
This article covers how to fix creaky floorboards step by step, matched to the cause and your floor type.
What Are Creaking Floorboards?
Creaking floorboards are sections of flooring that squeak or crack whenever you step on them. The noise comes from movement inside the floor system: the boards, the fasteners, the subfloor, or the frame beneath it.
A creaky floor can sound like:
- A sharp squeak with each step across a room
- A cracking noise near one or two boards
- Repeated sounds in high-traffic spots, like hallways
- A slight dip or flex underfoot
Creaking shows up in hardwood, carpeted, laminate, and older flooring, no matter the age of the house. It can come from a single loose board, or from movement spreading across a wider section of the floor.
What Causes Creaking Floorboards?
Creaking floorboards happen when parts of the floor system rub against each other instead of staying locked in place. A handful of common causes drive most of these squeaks:
- Loose floorboards: Boards that aren’t fully secured to the subfloor shift slightly whenever weight lands on them.
- Loose nails or fasteners: Older nails and screws lose their grip over time, which lets the boards move.
- Gaps between layers: Small spaces between the floorboard, subfloor, and joists let the whole structure flex underfoot.
- Wood movement: Humidity swings make wood expand or shrink, which changes how tightly the boards fit together.
- Support movement: A shifted or damaged joist creates movement below the surface that travels up through the boards.
How to Find the Source of a Squeaky Floor
Finding the exact source of a squeaky floor takes five simple checks, and skipping ahead to repairs usually wastes time. Repairing the wrong spot leaves the actual squeak untouched.
- Walk the room slowly. Take short steps and pause after each one, then listen for the squeak and feel for movement under your foot.
- Mark the noisy spots. Use tape or chalk on every noisy spot, so you have a clear map before repairs begin.
- Press down on each mark. Check whether the board dips, shifts sideways, or springs back, because that tells you how loose it really is.
- Check below the floor. Head to the basement or crawl space below, and have someone walk above while you watch the joists move.
- Narrow down the source. A shifting board means failed fasteners. A flexing subfloor means a gap underneath. A shifting joist means a structural issue.
Tools and Materials Needed to Fix Creaky Floorboards
Having the right tools on hand before you start keeps the whole repair moving without unplanned stops.
| Tool / Material | Purpose |
|---|---|
| Drill | Drives screws into boards and joists |
| Flooring screws | Secures loose boards to the subfloor |
| Wood shims | Fills gaps between joists and subfloor |
| Construction adhesive | Reduces movement at contact points |
| Wood block (2×4 offcut) | Reinforces a shifted or gapped joist |
| Hammer | Sets fasteners and taps shims into place |
| Stud finder | Locates joists beneath the floor surface |
Wear eye protection when drilling overhead from a basement or crawl space, since dust and debris fall as you work. Gather this full list before you start the repair.
How to Fix Creaky Floorboards Step by Step
Match the method below to your specific cause and floor type. A fix for hardwood rarely works the same way under carpet.
1. Tighten Loose Boards With Screws
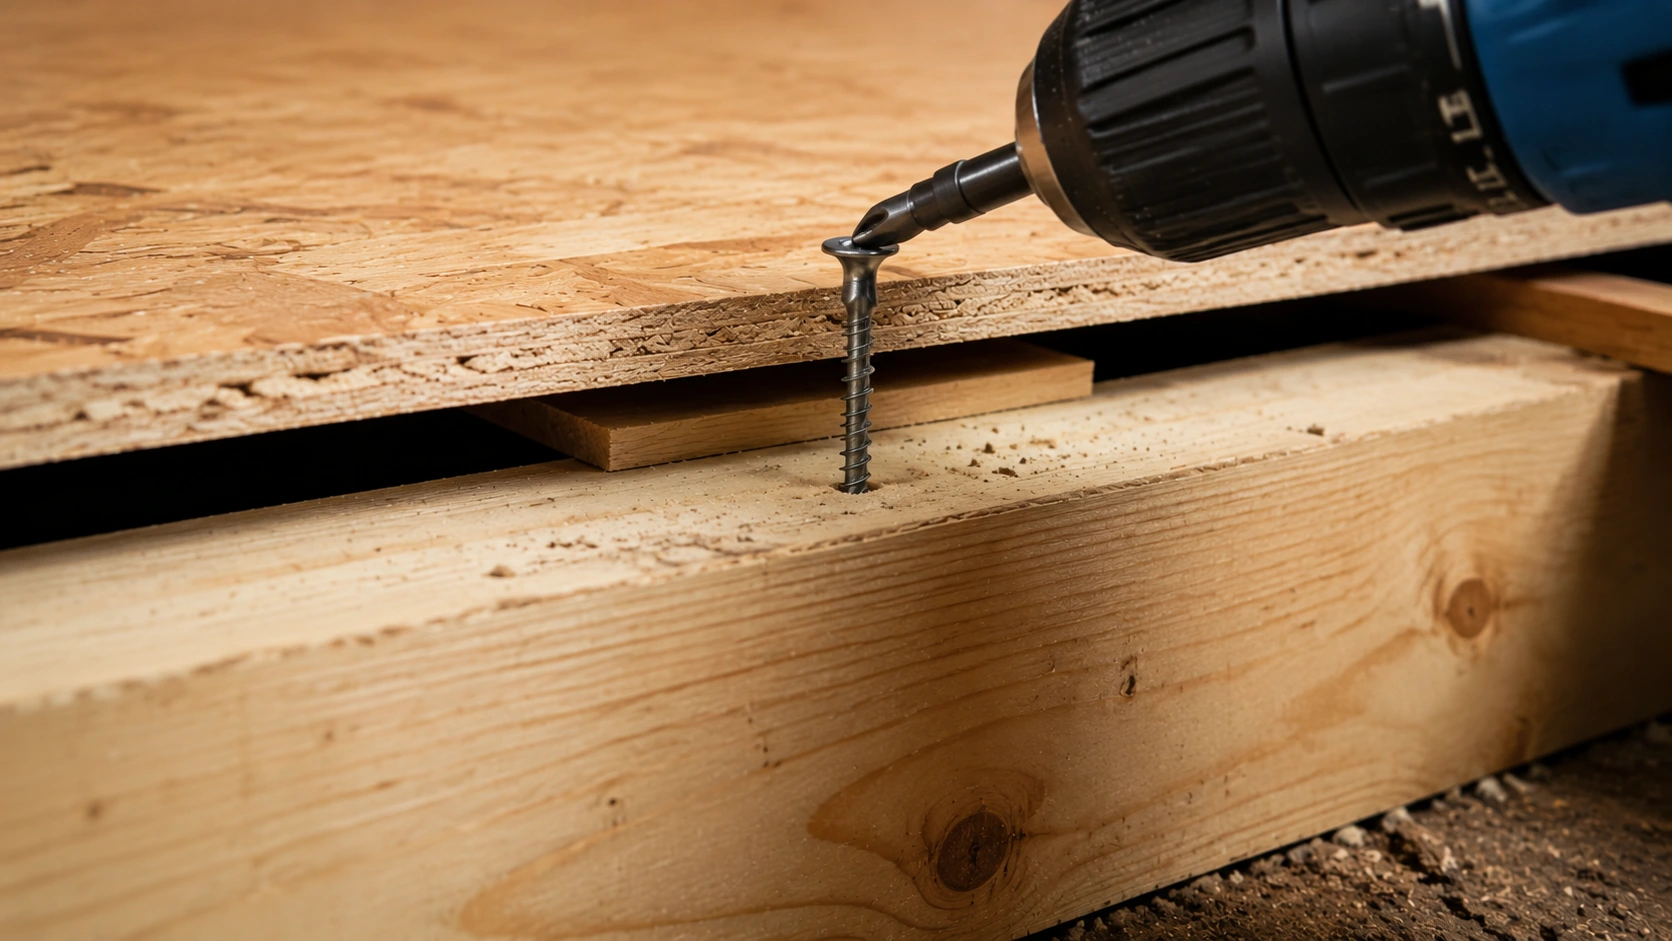
Screws grip wood better than nails and hold a board firmly against the joist below. Find the joist with a stud finder before you drill.
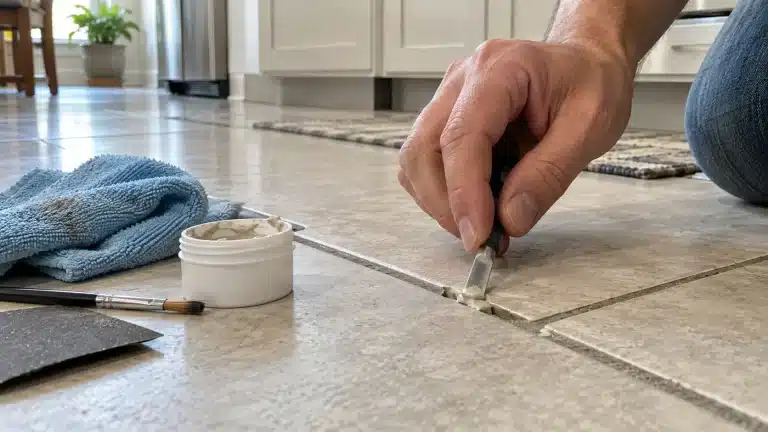
Drive flooring screws every 6 inches along the loose section. Countersink each head below the surface, then fill the hole with matching wood filler.
2. Use Shims to Fill Gaps Between Joists and Subfloor

Work from below the floor and look along each joist for gaps between the joist and the subfloor above it.
Add a small amount of construction adhesive, then slide a thin wood shim into the gap until it meets resistance. Stop before the shim lifts the floorboard above it, since a shim pushed too far can create a new squeak.
3. Add Adhesive Between Moving Areas
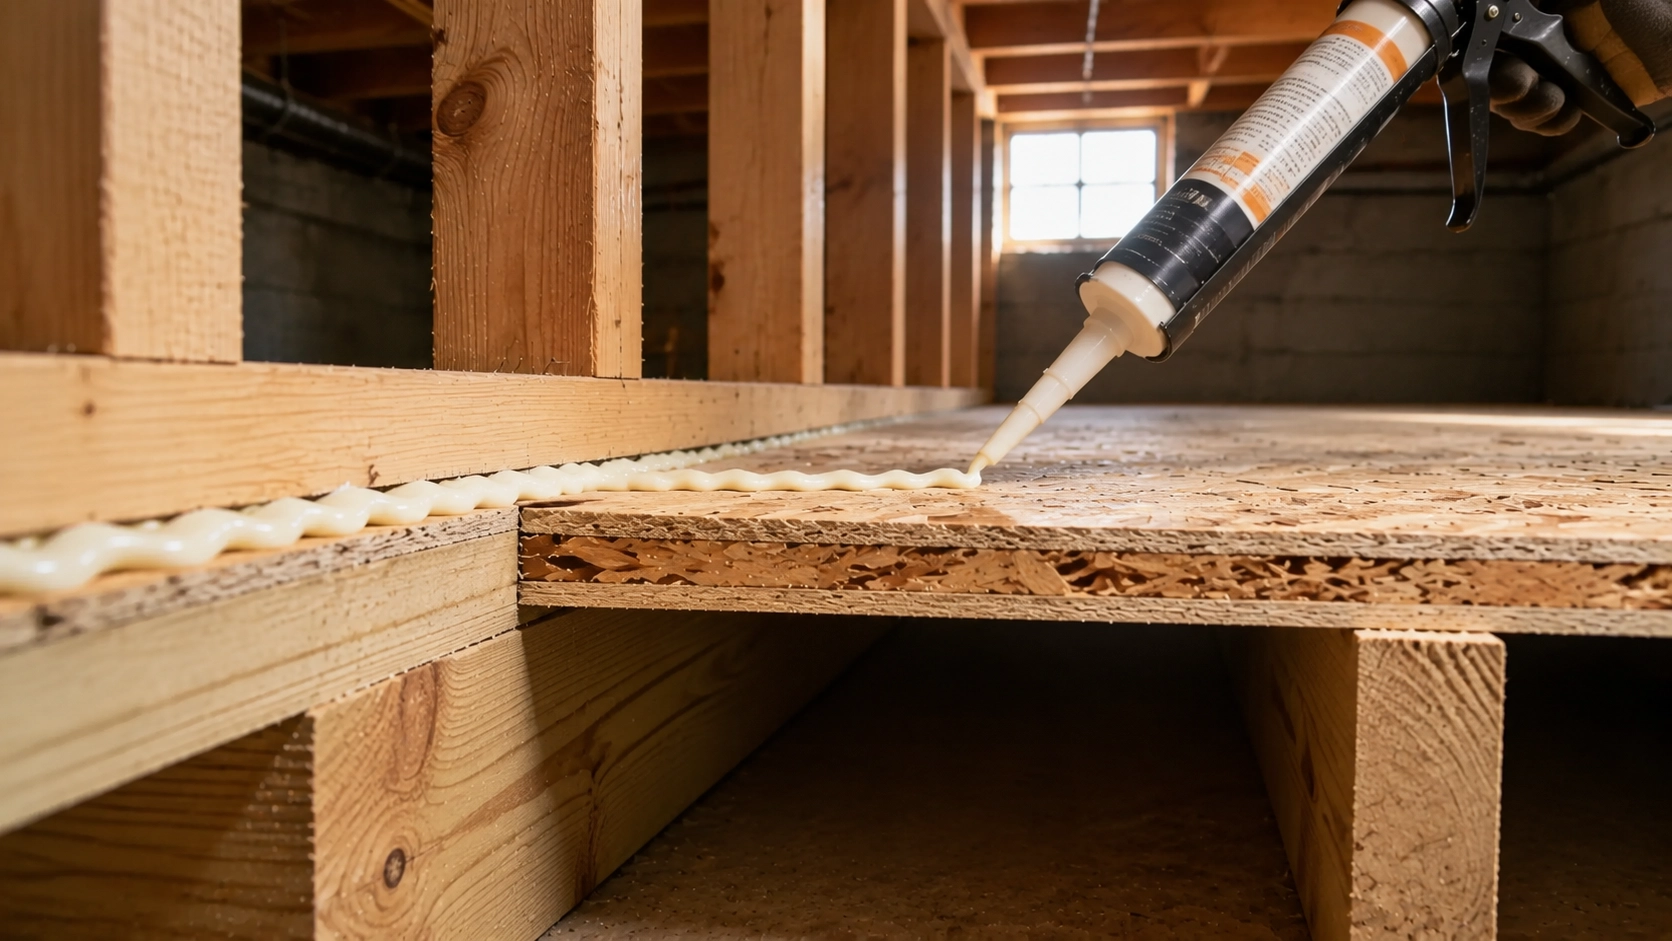
Apply construction adhesive along the top edge of the joist, where it meets the subfloor. This cuts the friction between the two surfaces.
Let the adhesive cure fully before anyone walks on the floor above it. Pair this step with shims whenever a gap runs slightly too wide for adhesive alone.
4. Fix Floor Squeaks Through Carpet
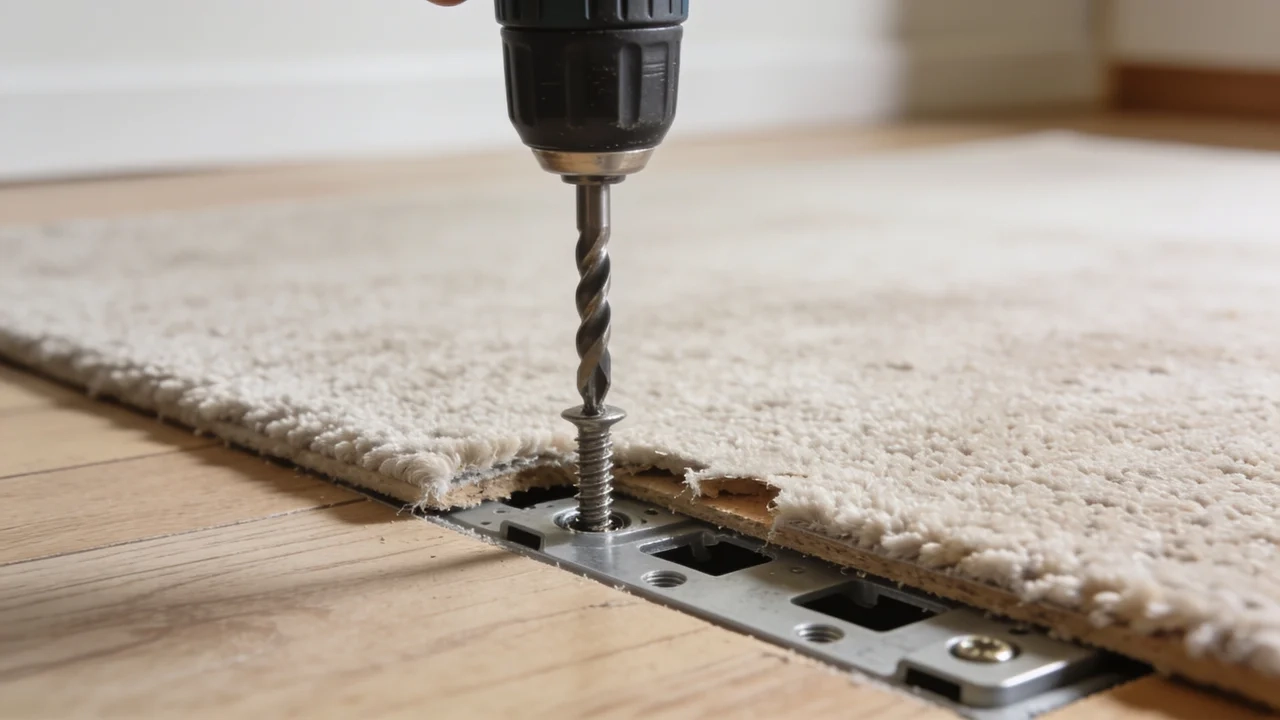
A breakaway screw system drives a screw through the carpet and subfloor into the joist below. The head snaps off beneath the carpet, leaving no visible damage on top.
Only pull back the carpet if the squeaking covers a large area, or the subfloor underneath has broken down.
5. Secure Loose Hardwood Floorboards From Above
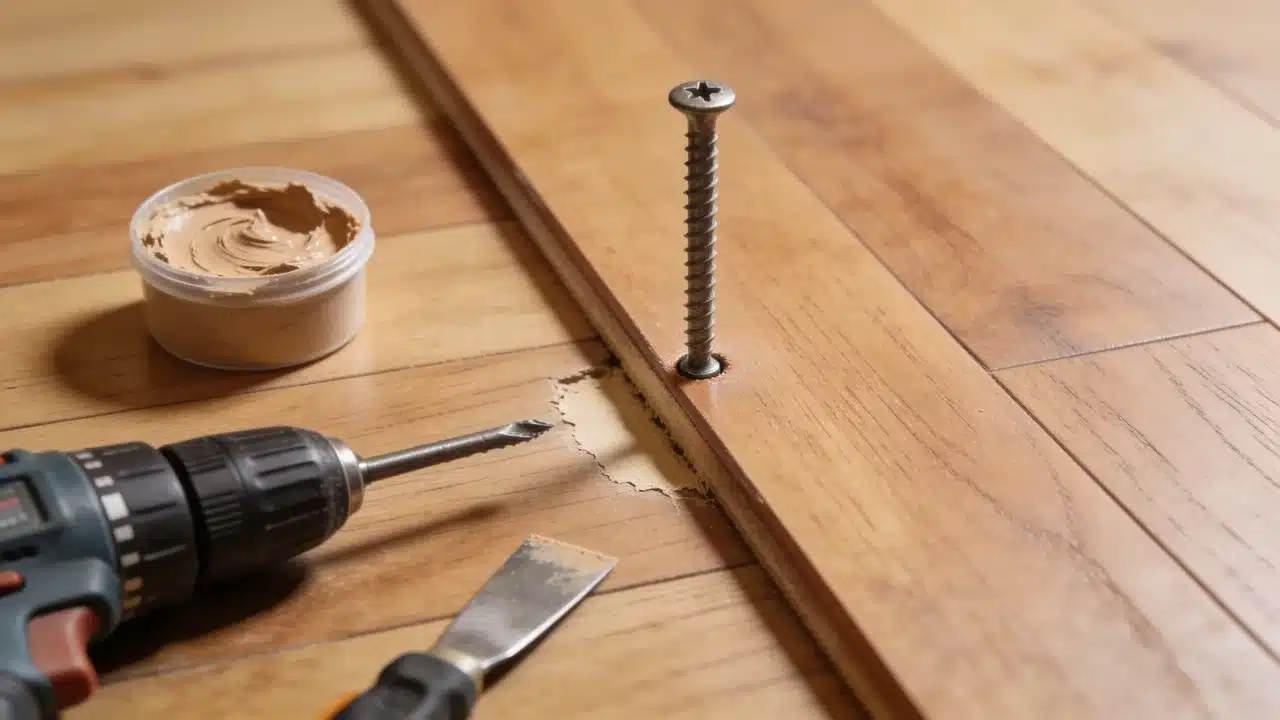
Angle a nail through the board’s tongue at the groove joint to avoid a visible hole on the surface. A trim-head screw driven along the board edge works just as well.
Match any exposed spot with wood filler or a stain marker, so the repair blends into the surrounding floor.
6. Reinforce a Shifting Joist With Blocking

A joist that has drifted slightly, without cracking or splitting, can often be reinforced from below with a wood block.
Cut a short 2×4 to fit snugly against the joist and subfloor. Apply construction adhesive, then screw the block into the joist to lock the movement in place. This method suits minor joist drift only. A cracked, split, or sagging joist needs a professional repair, not a block.
Temporary Fixes for Creaky Floorboards
These options cut the noise fast while you plan a full repair, though none of them last on their own.
- Powder lubricant: Sprinkle talcum or graphite powder into the gap between boards. It cuts friction right away and takes under a minute to apply.
- Wax: Rub a candle or wax stick along the joint between boards. The wax buffers the two surfaces and quiets the sound almost instantly.
- Tighten visible screws: Check any screws already on the floor surface with a screwdriver. A single loose screw adds to the whole board’s instability.
None of these fix the actual cause, so they buy time, but the noise always returns. A structural repair is the only way to fix creaky floorboards for good.
How Much Does It Cost to Fix Creaky Floorboards?
Fixing creaky floorboards costs under $20 for a basic DIY repair, but a structural fix can run into the thousands. The total depends on what’s causing the noise and whether you do the work yourself.
| Repair Type | Estimated Cost |
|---|---|
| DIY fix (screws, shims, adhesive, lubricant) | Under $20 |
| Professional board or joist repair | $100 – $350 per area |
| Structural repair (joist or subfloor replacement) | $500 – $2,000+ |
| Carpet or laminate removal add-on | +$50 – $150 |
Basement or crawl space access keeps costs lower, since the flooring above stays untouched during the repair. Prices vary by region and contractor, so treat this table as a starting point rather than a firm quote.
How to Stop Creaky Floorboards From Coming Back
Fixing the squeak is only half the job, since keeping a floor quiet long-term takes a little regular upkeep.
- Control indoor humidity. The U.S. Environmental Protection Agency recommends keeping indoor relative humidity between 30% and 50% to limit moisture problems in a home. A humidifier in winter and a dehumidifier in summer help wood hold its shape.
- Fix loose boards early. A little movement gets worse with every step, so handle new noise right away before it spreads to nearby boards.
- Watch for moisture damage. Use entry mats, fix leaks fast, and dry wet floors without delay, since standing water weakens wood and fasteners quickly.
- Check older flooring regularly. Walk each room once or twice a year and listen for new sounds, because catching movement early keeps repairs small.
The Right Fix for Every Floor Type
The right repair for creaky floorboards depends on your floor type, since hardwood, carpet, and laminate all move differently. Use this table to match your floor to the correct method.
| Floor Type | Best Repair Method |
|---|---|
| Hardwood | Screws driven into joists, hidden fasteners through the tongue |
| Carpeted floors | Breakaway screws through carpet into the joist below |
| Laminate | Correct the expansion gap along the room’s edges |
| Basement-accessible floors | Wood shims and construction adhesive applied from below |
Laminate floors often squeak for a different reason than hardwood does. Check the expansion gap around the room’s perimeter first. Laminate with no room to expand presses against the wall and creates noise at the surface. Clearing that gap often stops the creak without any other repair.
When Does a Creaky Floor Need Professional Repair?
A creaky floor needs professional repair when the damage runs deeper than a single loose board. Call a professional if you notice any of the following:
- Damaged joists: A cracked or split joist can’t hold the subfloor steady, so no surface repair fixes movement that starts this deep in the structure.
- Rotting wood: Soft or crumbling wood can’t grip a screw or hold a shim. The damaged section needs full removal and replacement.
- Water damage: Moisture that soaks into the subfloor warps and weakens the wood over time. Fix the water source first, before any floor repair.
- Large unstable areas: A wide section that feels soft, spongy, or bouncy underfoot points to a problem bigger than one loose board.
- Structural movement: Any sign of movement in the floor frame itself needs a professional inspection before you touch the surface above it.
Leaving these issues alone makes them harder, and considerably more expensive, to fix later.
When to Replace Instead of Fixing
Not every squeak is worth chasing with screws and shims. Full replacement usually makes more sense than repeated patch repairs.
Consider it when the subfloor has rotted or delaminated across a large area, not just one spot. Also consider it when several joists are cracked, split, or sagging.
The same problem applies when a section has already been repaired more than once and keeps creaking anyway. Flooring that is decades old and shows wear beyond noise, like cupping or soft spots, often needs replacing too.
The same goes for a floor with water damage spread across a large portion. If repair costs start to approach the cost of a new section, replacement is usually the better long-term call.
Frequently Asked Questions
Can WD-40 stop floorboards from squeaking?
WD-40 may quiet a squeak for a short time, but it isn’t a flooring product. It attracts dirt and does nothing to stop the movement underneath.
How long does a DIY floorboard repair take?
Most single-board repairs take 30 minutes to two hours, depending on access. Repairs done from below, through a basement or crawl space, tend to go faster.
Do new floors creak too?
Yes, new floors can squeak too. Loose boards during installation or a subfloor that wasn’t prepped properly both cause early noise.
Is it safe to walk on a creaky floor every day?
A squeaky board caused by a loose nail or a small gap is generally safe to live with. Soft, spongy, or bouncy flooring signals structural damage that needs attention first.
Does the type of wood affect how much a floor creaks?
Yes, wood type plays a real role. Softer woods like pine move more with humidity swings than harder woods like oak, so softer floors develop noise faster.
Do squeaky stairs need the same repair as squeaky floorboards?
Yes, in most cases. Stair squeaks come from the same loose joints and gaps as floor squeaks. Stair framing is often tighter and harder to reach.
Fixing Creaky Floorboards for Good
A creaky floor has a clear cause, and every cause has a matching fix. Find the source first, then match it to screws, shims, adhesive, or a simple lubricant.
Keep humidity steady and catch loose boards early, and the repair holds for years. For more on protecting your subfloor from moisture damage, see our guide on [INTERNAL LINK: anchor text should reference your existing post on subfloor moisture or water damage prevention].
Which repair worked for your floor? Drop a comment and let us know.