
How to Install Recessed Lights: Step by Step
Bad ceiling lighting can make even a well-decorated room feel flat and uninviting.
That is why recessed lighting installation has become one of the most popular home upgrades across the US.
It sits flush with the ceiling, clears up visual clutter, and works in any room. Best of all, it is something you can do yourself with the right steps.
Here you will find the tools you need, step-by-step instructions for installing canless recessed lights, common mistakes to avoid, and guidance on fixing issues after installation.
What is Recessed Lighting and How Does it Work?
Recessed lighting sits flush with the ceiling, keeping the fixture hidden. It works for general room lighting, task lighting, or highlighting specific areas without taking up visual space.
There are two main types to know:
Canless Lights: These install directly into the ceiling without a traditional can. They are slim and ideal for remodels or spaces with minimal overhead room.
Retrofit Lights: These fit into existing recessed cans, letting you upgrade older fixtures to LED without major changes to the ceiling.
Not all recessed lights require existing cans. Canless options make it easy to add lighting to rooms with standard ceilings.
Tools and Materials Needed for Installation
Each recessed lighting project may have unique requirements, but here’s a list of common tools and materials to prepare:
| Tool / Material | Purpose | Tip / Note |
|---|---|---|
| Canless / Retrofit Fixtures | Main lighting fixture | Use IC-rated if near insulation |
| Tape Measure | Layout & spacing | Mark evenly for uniform lighting |
| Hole Saw (4″ or 6″) | Ceiling cut | Match fixture diameter |
| Drill & Bits | Pilot holes | Use the correct size for the hole saw |
| Drywall / Jab Saw | Ceiling openings | Cut carefully to avoid damage |
| Safety Gear | Protection | Glasses, mask, gloves |
| Electrical Cable (14/2 Romex) | Wiring | Leave extra slack for connections |
| Wire Stripper & Wire Nuts | Connect wires | Ensure secure, tight connections |
| Recessed Housing & Trim | Fixture installation | Housing inside ceiling, trim flush |
| Voltage Tester | Safety check | Confirm power is off before wiring |
Having all these tools and materials ready makes the installation process smoother and safer, helping you complete your recessed lighting project efficiently.
How to Install Recessed Lights: Step by Step
Canless recessed lights install directly into the ceiling without a traditional can, making them a slim and simple option for remodels.
Here is how to install them step by step:
1. Turn Off Power and ensure safety
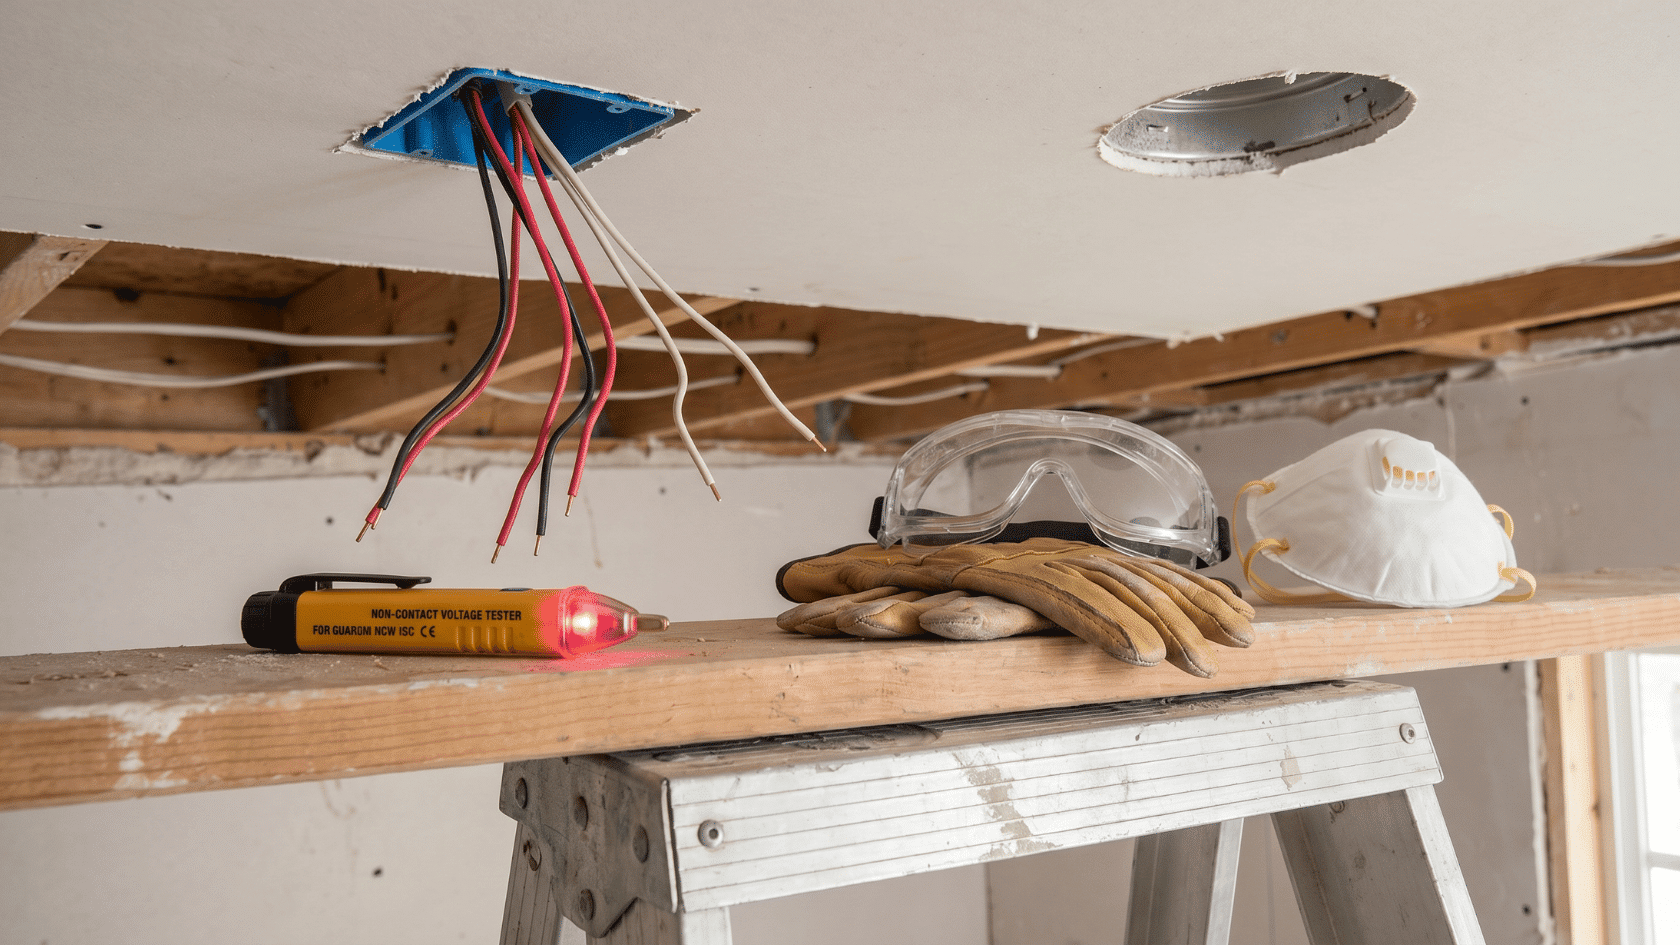
Start by switching off the breaker that controls the room where you’ll install lights. Use a voltage tester to confirm the wires are not live before touching anything.
Wear protective gear such as gloves, goggles, and a dust mask to stay safe while working with electrical wiring and cutting ceilings. Plan your workspace to avoid falls and accidental contact with wires.
2. Plan Light Placement
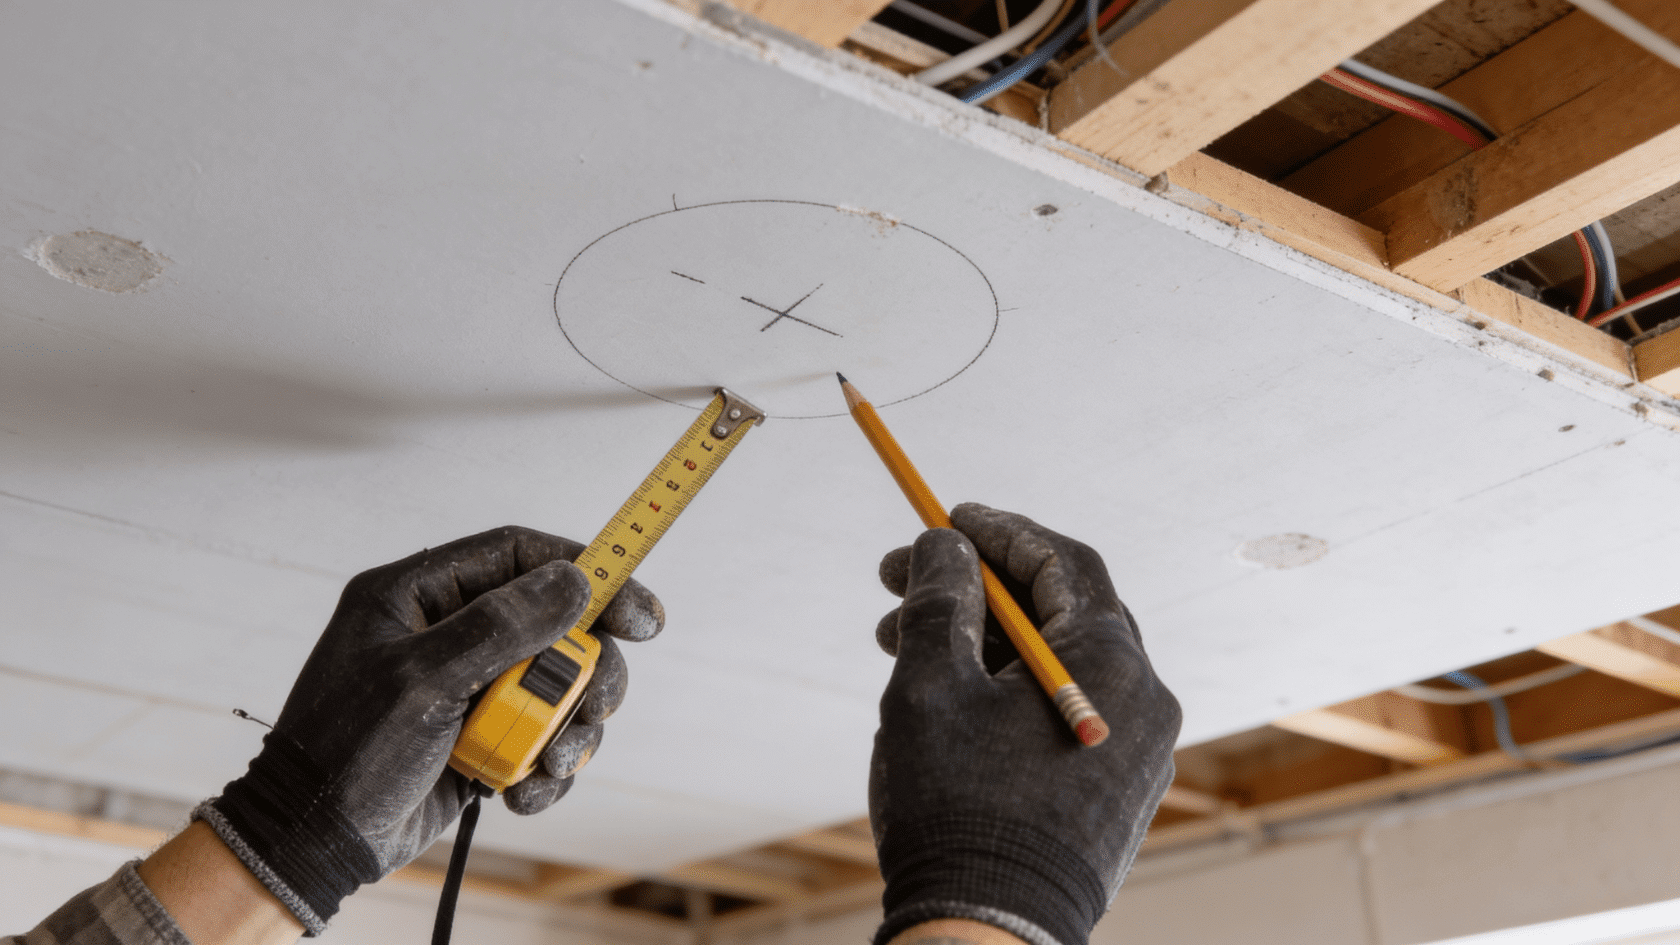
Measure your room and mark the locations where each recessed light will go. Check for ceiling joists, ducts, or plumbing that may interfere with fixture placement.
Decide on spacing for even illumination and plan wiring routes for efficiency. Consider how many lights are needed to cover the area and calculate the total wattage for the circuit.
3. Cut Ceiling Holes and Run Wiring
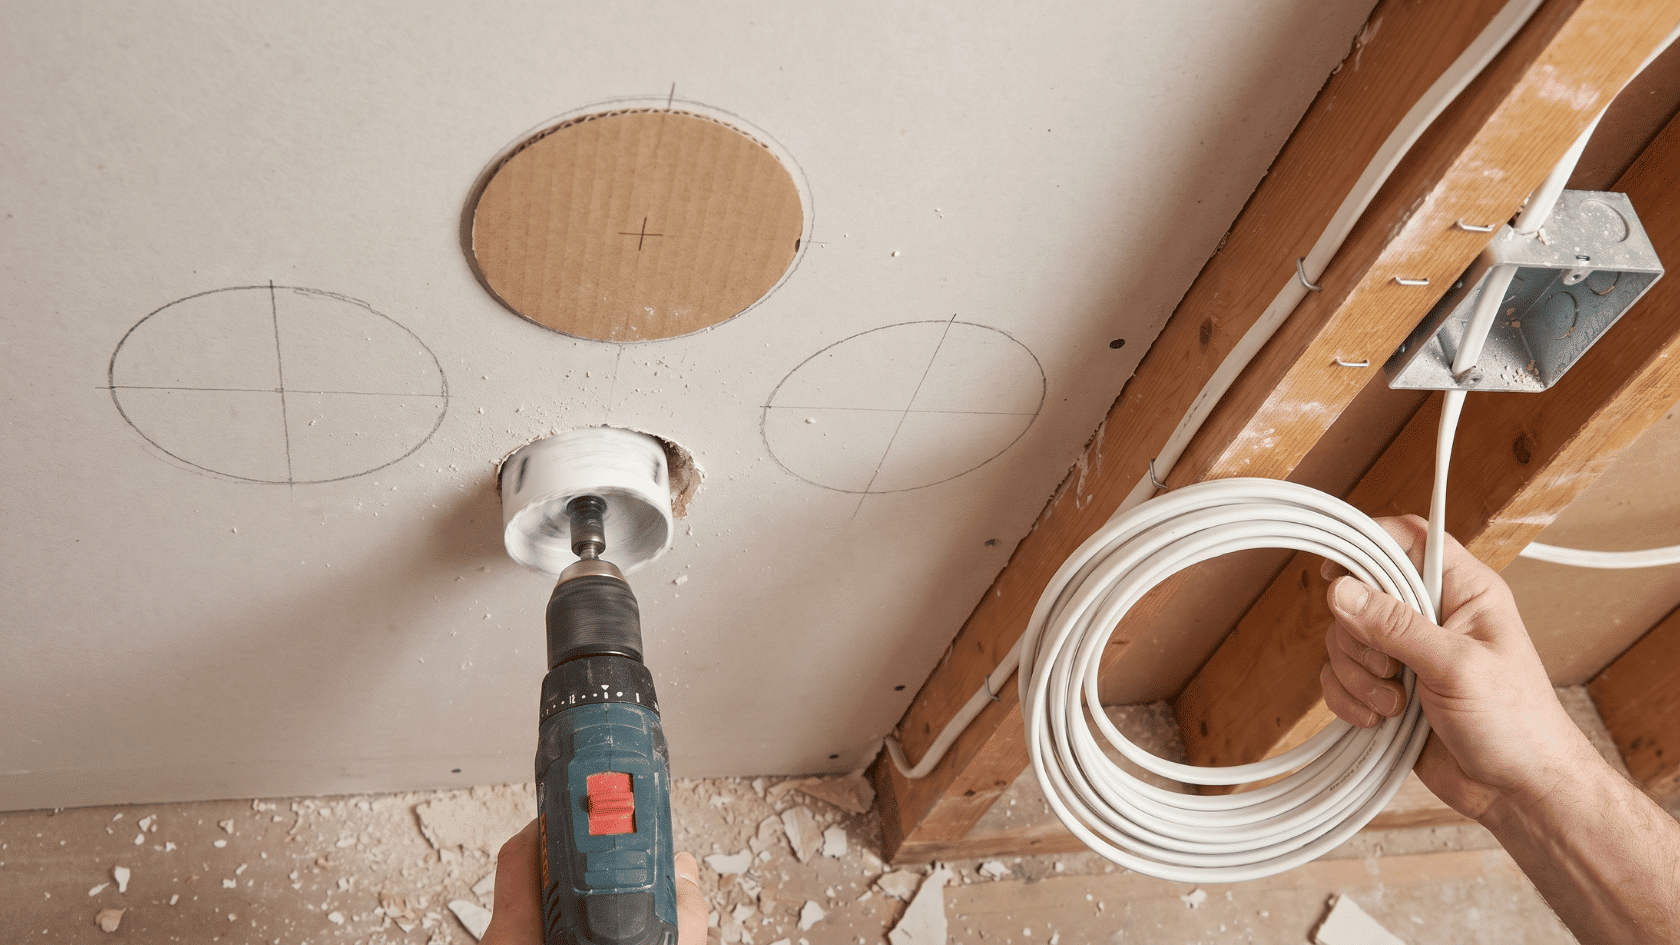
Use the fixture template to mark ceiling openings, drill pilot holes to check for obstacles, then cut the full holes with a hole saw or drywall saw.
Run the electrical cable from the power source to each location, leave some extra slack, and secure it with staples or clips along the way.
4. Connect Wires and Set CCT
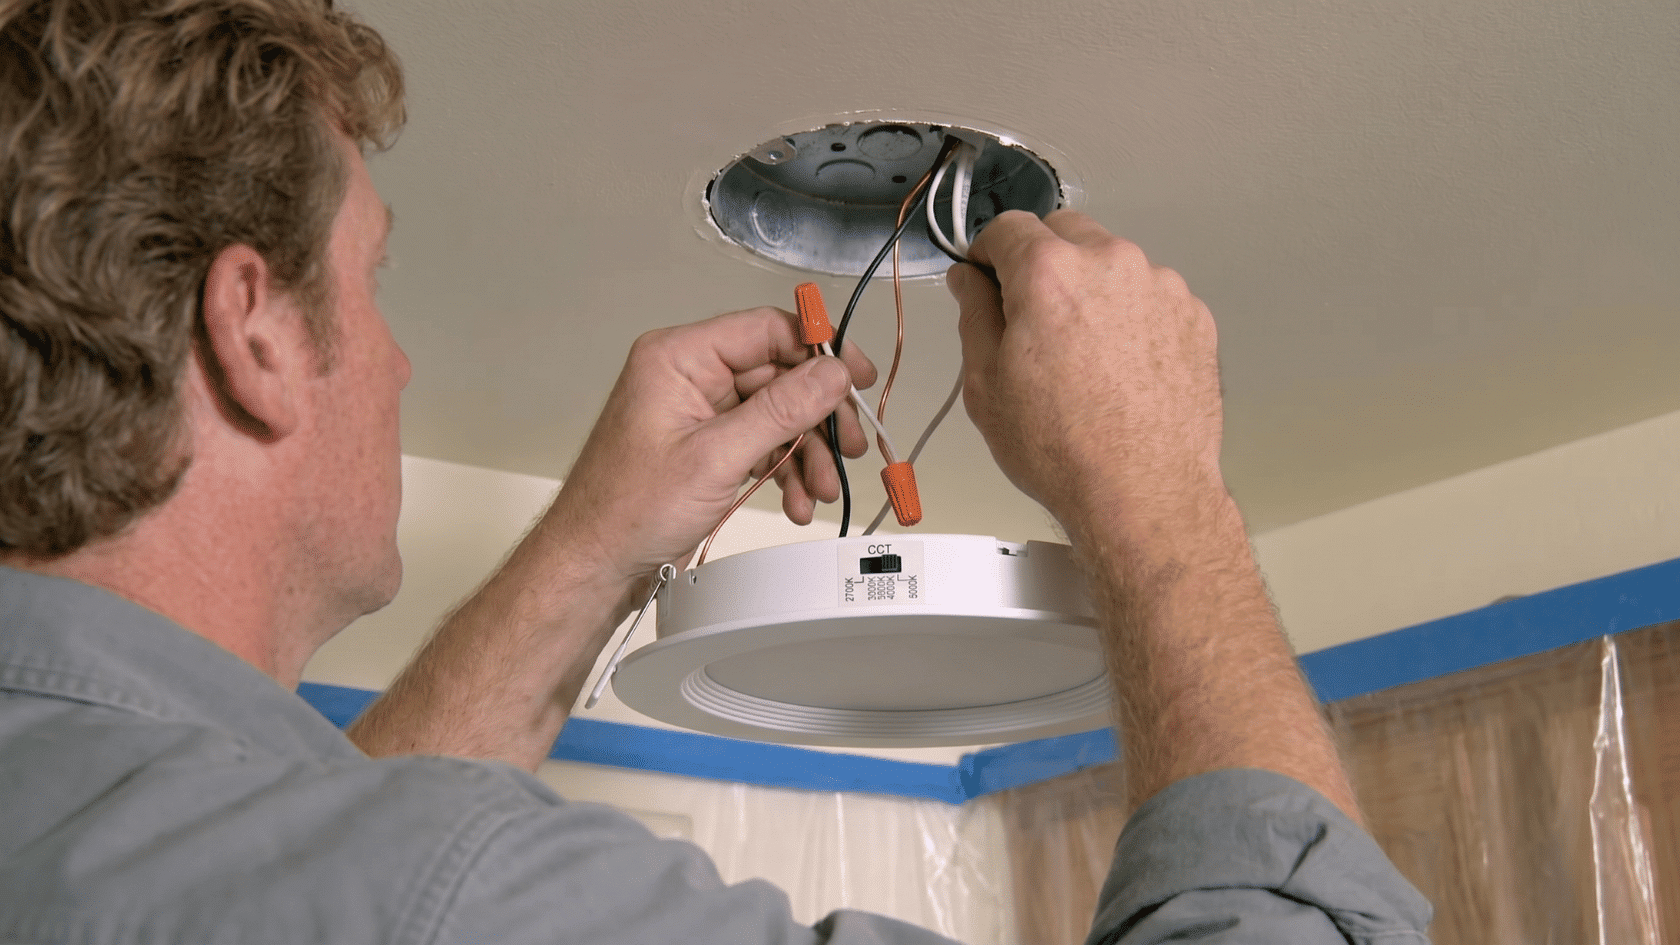
Open the junction box, strip about ½ inch of insulation from each wire, and connect black to black, white to white, and ground to green or bare copper. Use UL-approved wire nuts and make sure all connections are tight.
If your fixture has a CCT setting, set your preferred color temperature now. Tuck the wires into the junction box and replace the cover.
5. Install Fixture and Test
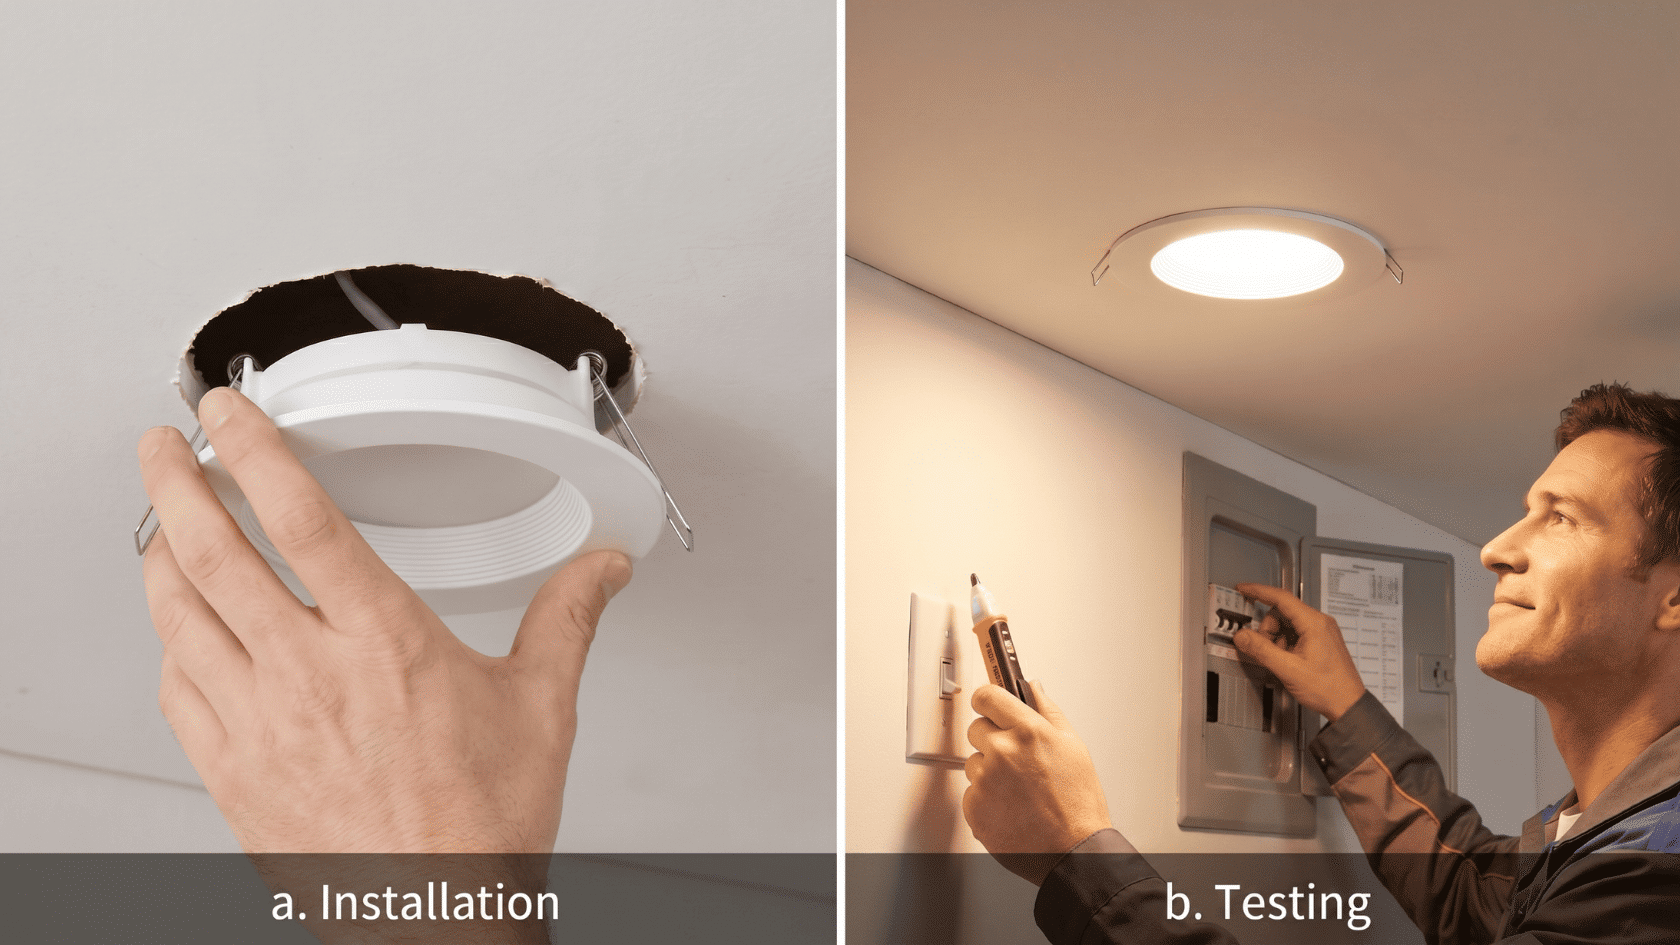
Insert the fixture into the ceiling hole and engage the spring clips or brackets. Make sure the trim sits flush and even with the ceiling.
Turn the breaker back on and test each light. Check for flickering, loose trim, or uneven lighting and adjust clips or reposition fixtures if needed.
Checking and Resolving Installation Problems
After installing your fixture, it’s important to confirm it works correctly and fix any issues. This step ensures safety and proper performance.
Key Checks and Fixes:
- Test the Light: Turn the breaker and switch on to confirm the fixture powers up.
- Verify Wiring: Make sure all connections are tight and wire colors match correctly.
- Check Fixture Fit: Confirm the housing sits flush and all clips or springs are fully engaged.
- Address Common Issues: Flickering, buzzing, or dim lights usually point to loose wires, grounding issues, or an incompatible dimmer.
- Final Inspection: Check the junction box for exposed wires; if problems persist, call a licensed electrician.
Completing these checks helps ensure your installation is safe and fully functional before finishing the project.
Common Recessed Lighting Mistakes That Make Your Room Look Wrong
Recessed lighting looks great, but most mistakes happen before installation even begins.
Here is where things go wrong:
- Lining up all lights down the center: Walls go dark, and the room feels like a hallway. Use a grid pattern.
- Wrong spacing: Divide ceiling height by 2 for the right distance between fixtures.
- Wrong color temperature: Above 4000K feels harsh and clinical. Stick to 2700K to 3000K.
- Fixtures too close to the walls: cause light scalloping. Stay at least 2 feet away.
- No dimmer switch: Full brightness every evening feels harsh. Get an LED-rated dimmer.
- Too many fixtures: Plan your layout first, then decide how many you need.
- Ignoring IC ratings near insulation: Non-IC fixtures near insulation can overheat. Always check before installing.
Get these right before cutting a single hole, and your room will look exactly the way you planned it. A little planning upfront saves a lot of fixing later.
Conslusion
Recessed lighting installation is straightforward when you plan it right.
Get your layout, spacing, and color temperature sorted before cutting a single hole, and the hard part is already done.
Double-check your wiring, use the right fixtures for your ceiling type, and test everything before calling it finished.
Ready to get started? Map out your layout today and get it done this weekend.
Have a question or ran into an issue? Drop it in the comments below.
Frequently Asked Questions
Can I Install Recessed Lighting in A Sloped Ceiling?
Yes, use adjustable fixtures or gimbal trims to direct light properly on angled ceilings for even coverage and optimal illumination.
How Do I Pick the Right Wattage for Recessed Lights?
Match wattage to room size and purpose; LED equivalents save energy, last longer, and provide consistent brightness throughout.
Any Maintenance Tips for Recessed Lighting?
Clean trims and bulbs regularly and check wiring yearly to prevent flickering, overheating, or other potential electrical issues that could affect performance and safety.