27 Best Narrow Small Bathroom Layout Ideas
A narrow bathroom can make even the most patient person feel stressed.
You walk in, turn around, and the towel rack catches your elbow. The toilet sits three inches from the wall. The door barely clears the sink. Sound familiar?
The size is not the real problem. The layout is. A well-planned, narrow bathroom layout can turn that same tight, frustrating space into something comfortable and easy to use every single morning.
This guide covers layout types, fixture placement rules, smart storage, design tips, and real remodel costs. Everything you need to get it right, all in one place.
What Is a Narrow Small Bathroom?
A narrow bathroom is one under 5 feet wide. Common sizes include 3 ft x 13 ft and 4 ft x 10 ft for long, corridor-style rooms, and the classic 5 ft x 8 ft for a full bathroom with a toilet, vanity, and shower.
A powder room (toilet and sink only) can be as small as 18-20 sq ft. The width is what creates the real challenge.
Once a bathroom drops below 5 feet wide, every fixture choice and door placement directly affects how the room feels to use day to day.
Best Narrow Small Bathroom Layout Types
Before picking any fixtures or finishes, settle on a layout first. The shape of your room determines which option will actually work and which will leave you frustrated every morning.
| Layout Type | Best For | Key Feature |
|---|---|---|
| One-Wall Layout | Very narrow rooms under 5 ft wide | All fixtures on one wall, full walkway stays open |
| Galley Layout | Long, hallway-style rooms | Fixtures on both walls, clear center path |
| Corner Layout | Slightly wider or square rooms | The corner shower frees up the center floor |
| L-Shaped Layout | Rooms with uneven dimensions | A partial wall separates the wet and dry zones |
| Wet Room Layout | Rooms under 40 sq ft | No shower enclosure, full floor waterproofed |
27 Narrow Small Bathroom Layout Ideas
Once you know your layout type, the real decisions start. The ideas below cover specific choices for fixtures, doors, storage, lighting, and visual design that make a narrow small bathroom layout work better in day-to-day use.
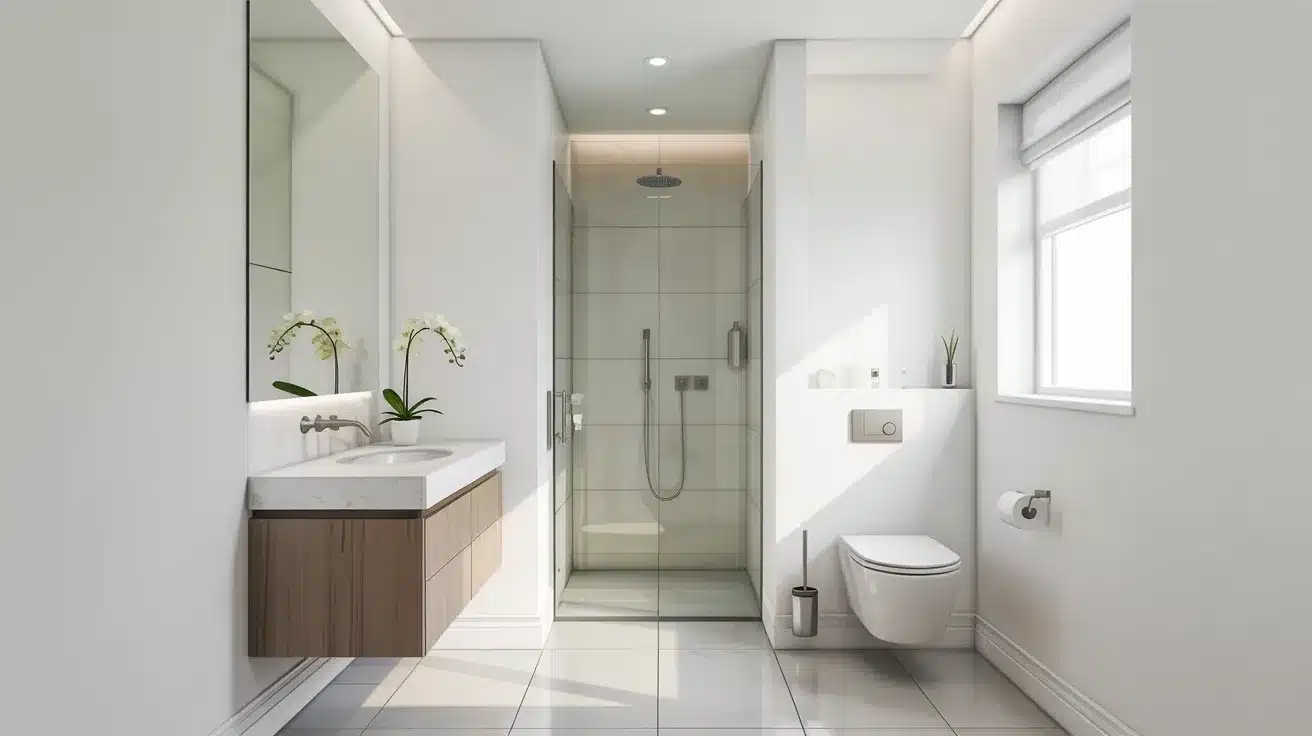
1. Line All Fixtures Along One Wall
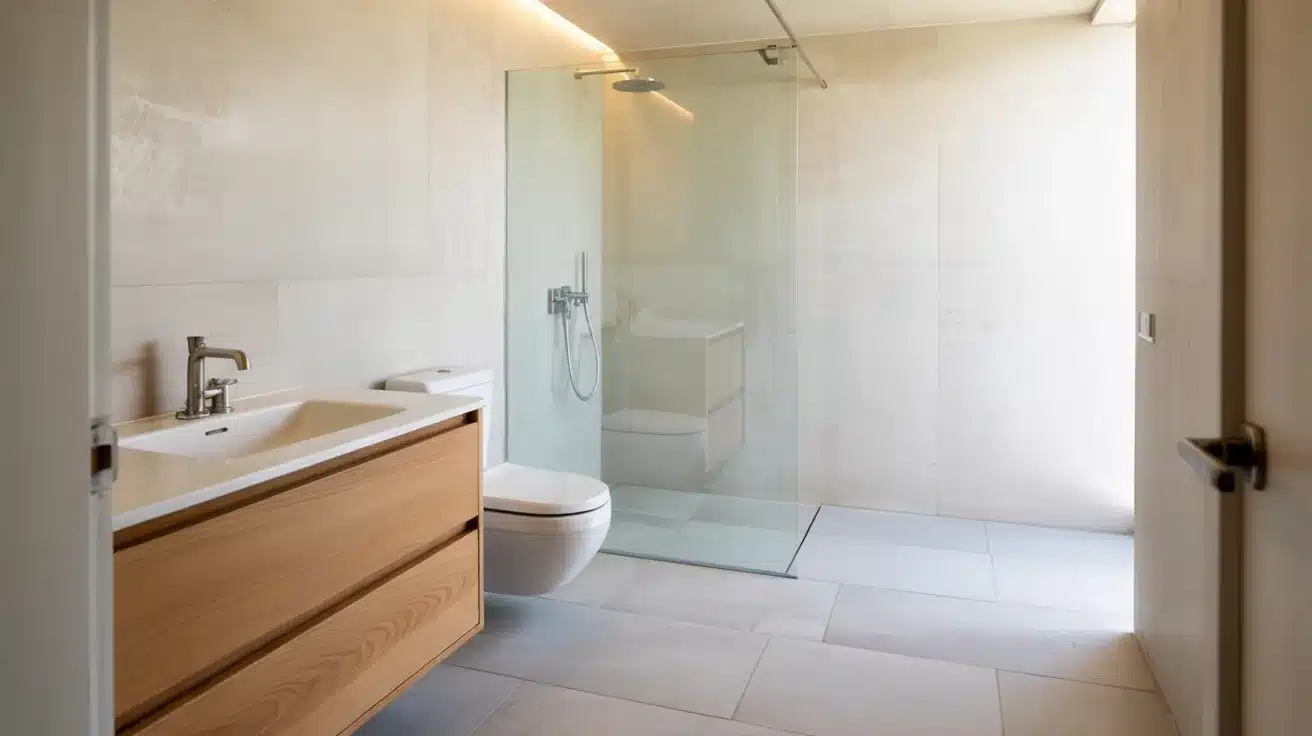
alt text: Minimal bathroom with all fixtures along one wall, including a vanity, toilet, and glass walk-in shower with open floor space opposite.
Put the vanity, toilet, and shower on a single wall. The opposite side stays fully open as a walkway. This is the most practical setup for any bathroom under 5 feet wide and the one most designers recommend first.
Pro Tip: Place the shower at the far end. It serves as a natural visual endpoint, making the room feel longer than it is.
2. Install a Pocket Door
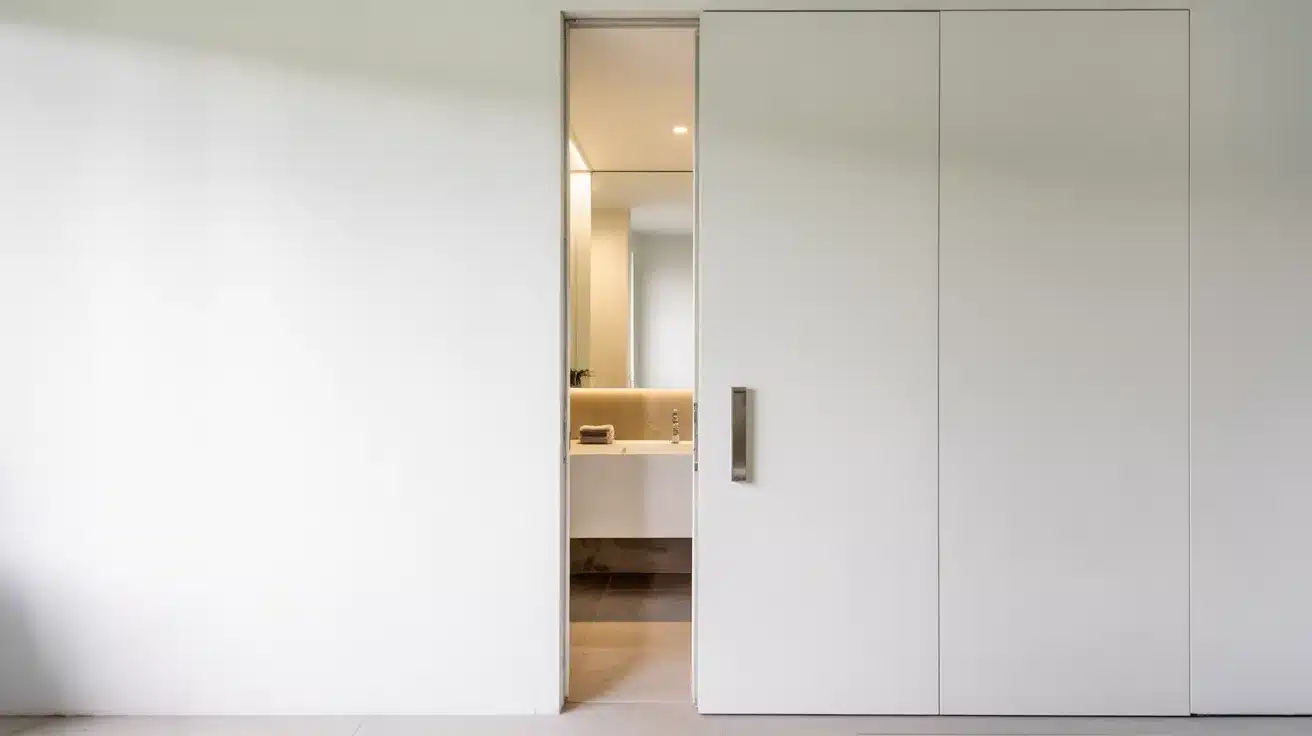
alt text: Modern interior with a partially open sliding pocket door revealing a bathroom vanity behind it.
A standard swinging door takes up nearly 10 square feet of floor space before you even step inside. A pocket door slides into the wall, giving that space back to the room entirely.
Pro Tip: Pocket doors cost more upfront than standard doors, but in a bathroom under 40 sq ft, that recovered floor space makes a daily difference.
3. Use a Floating Vanity
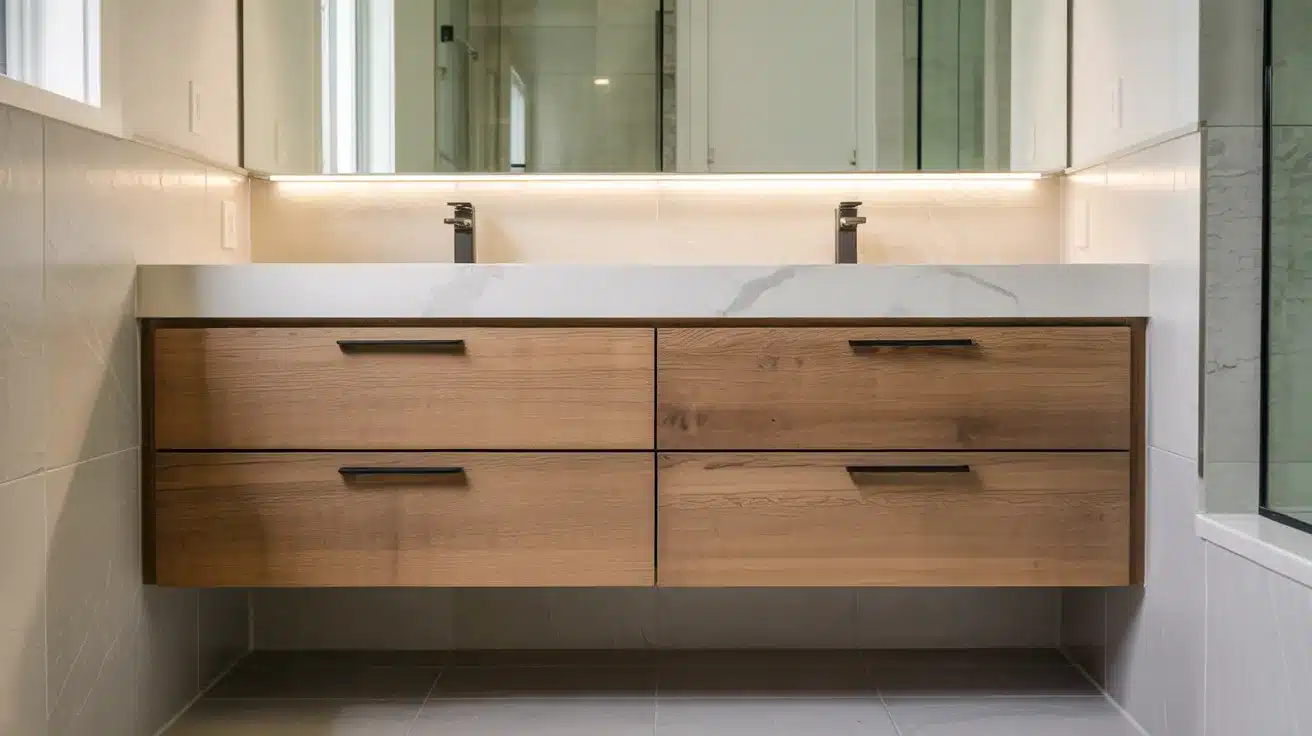
alt text: Modern bathroom with a floating double vanity featuring wood drawers, a white countertop, and wall-mounted faucets.
A wall-mounted vanity shows the floor beneath it. That visible floor space makes the room feel taller and more open. Choose a version with drawers rather than cabinet doors.
Pro Tip: Drawers pull out fully and hold more than cabinet doors in the same footprint. Go for drawers whenever storage is a concern.
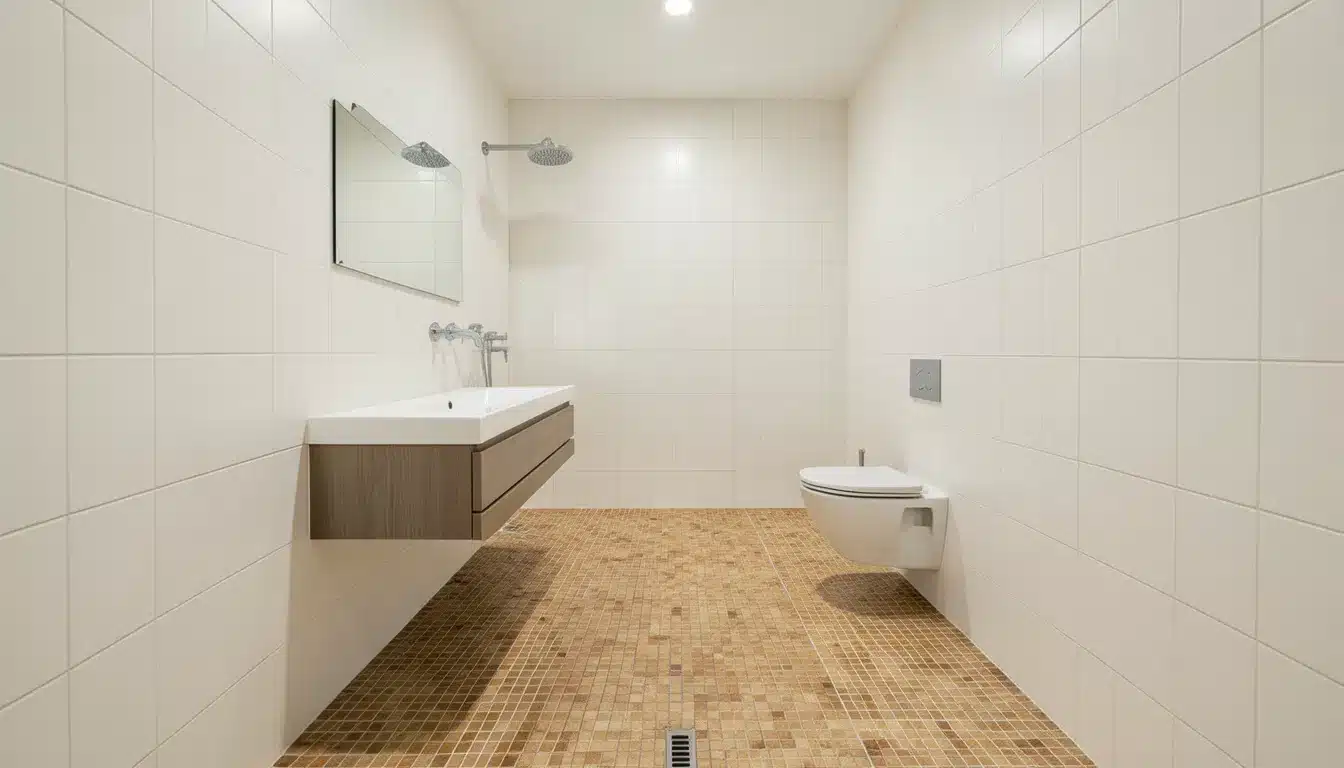
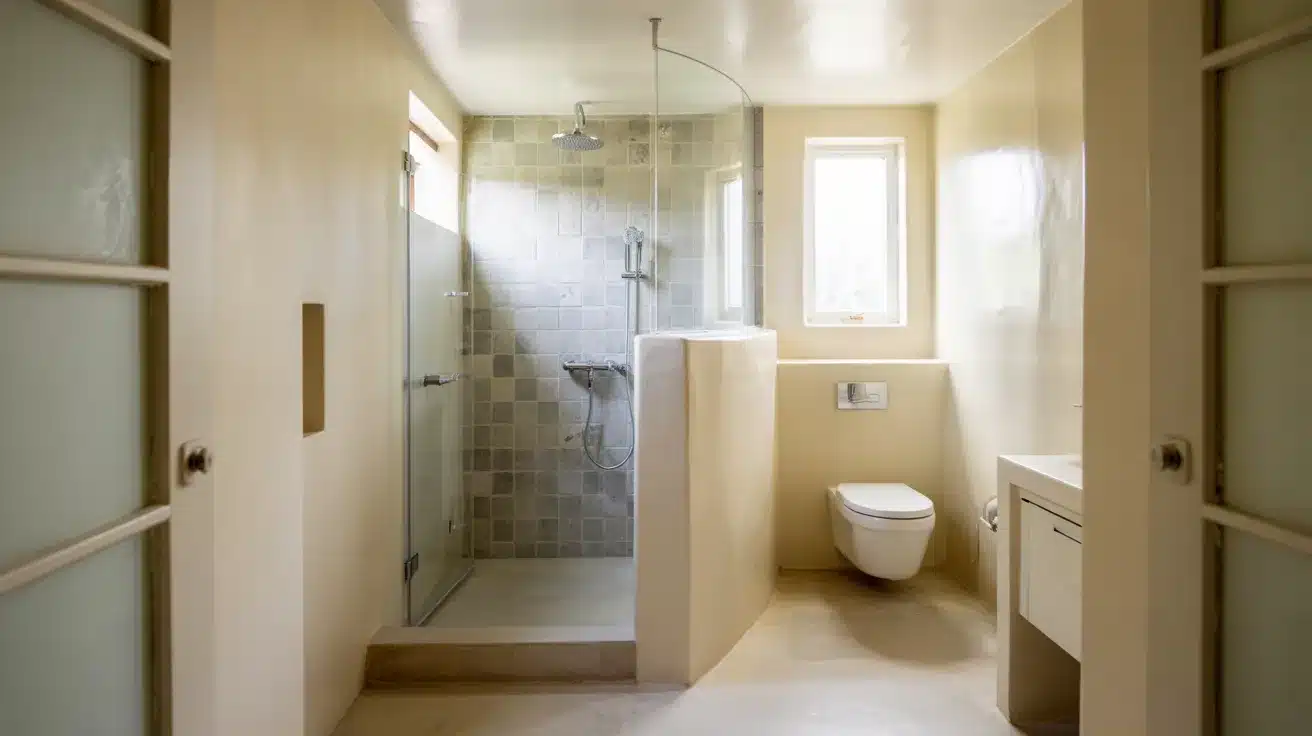
4. Place the Shower at the Far End
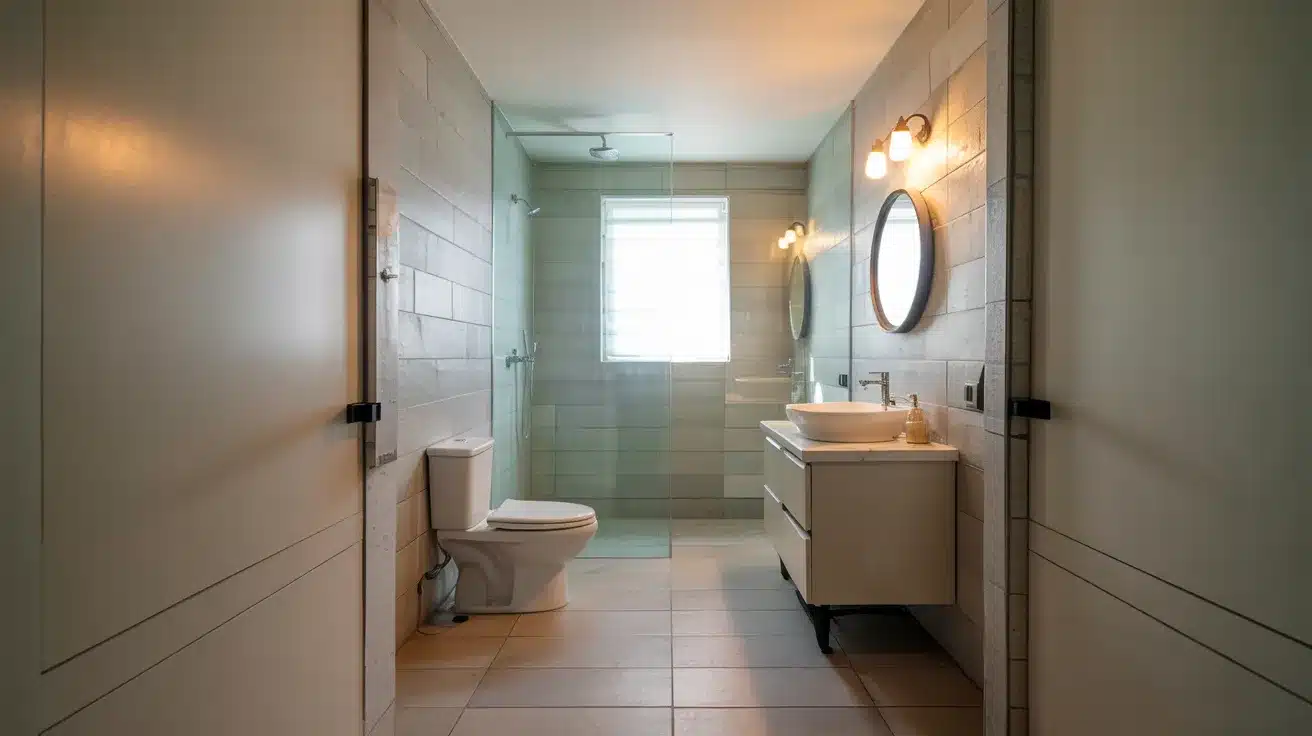
alt text: Long, narrow bathroom with a vanity and toilet along one side and a glass shower placed at the far end.
In a narrow, small bathroom layout, the shower works best at the far wall. Your eye travels down the length of the room and lands there. The bathroom feels deeper than its actual size.
Pro Tip: Use a clear glass shower panel rather than an opaque wall or curtain. Keeping the far wall visible adds significant perceived depth.
5. Add Recessed Shelves Inside the Shower
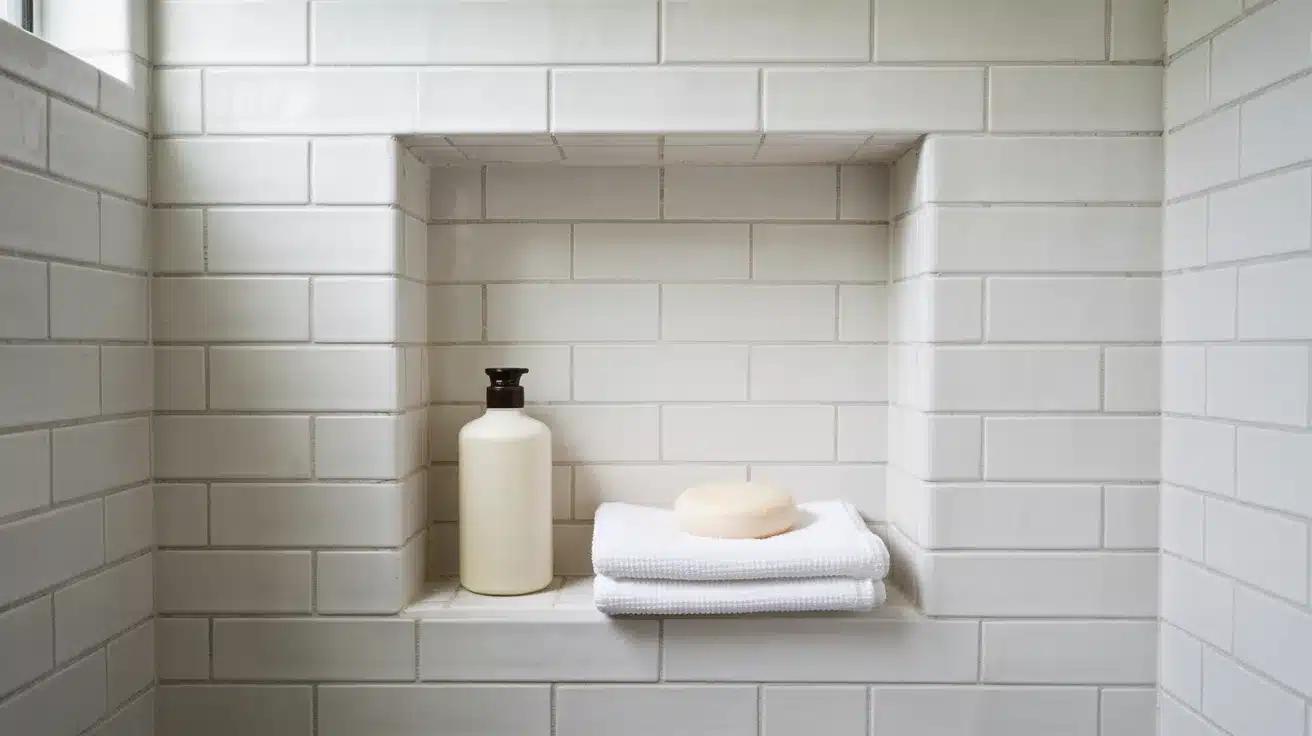
alt text: Recessed shower shelf built into tiled wall holding a bottle, folded towel, and bar of soap.
A recessed niche sits flush inside the shower wall. It stores shampoo, soap, and other items without anything sticking out into the room.
Pro Tip: Plan the niche location before tiling starts. Adding one after the fact means cutting into already-finished walls, which adds cost and repair work.
6. Try a Galley Layout
alt text: Galley-style bathroom with a floating vanity on one side, wall-mounted toilet on the other, and a glass shower at the end.
A galley layout places the toilet on one side, the vanity on the other, and the shower at the far end. A clear center path runs from the door all the way to the back wall.
Pro Tip: Use a full-length mirror along one wall. It visually doubles the width of the room with no structural work required.
7. Use a Sliding Barn-Style Door
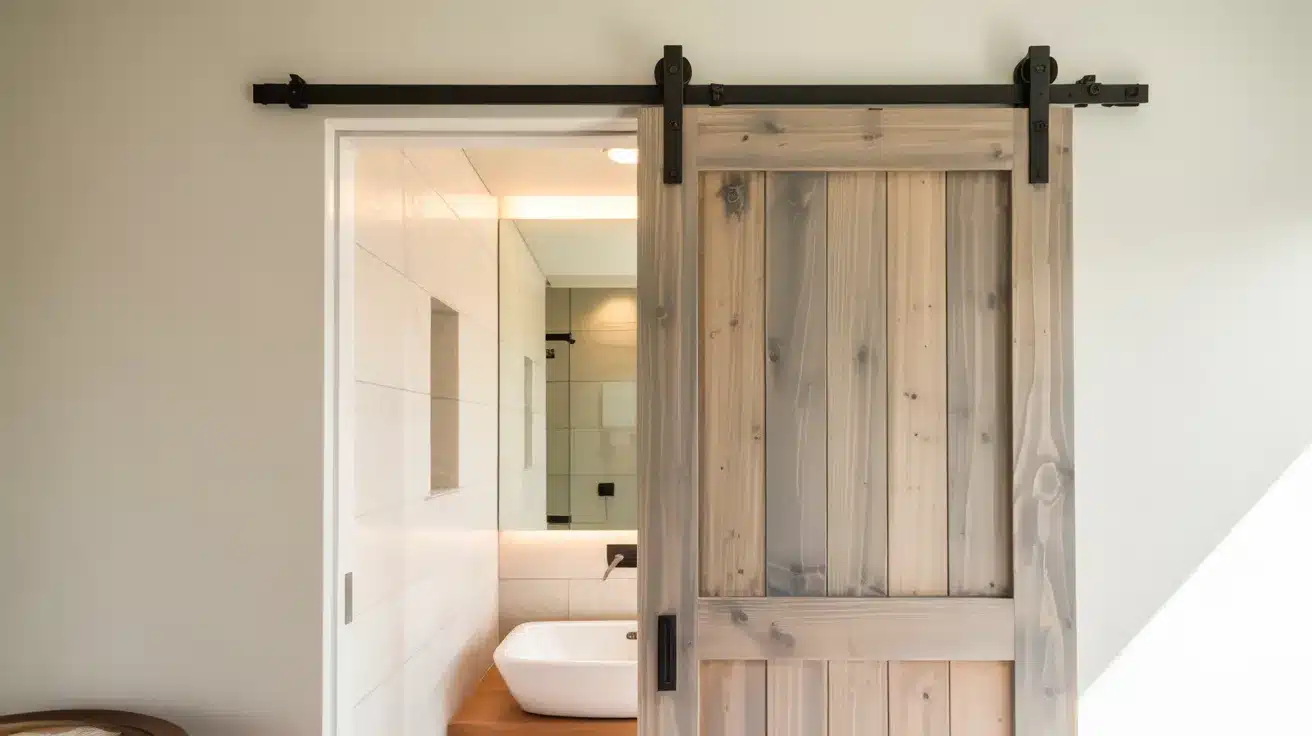
alt text: Bathroom entrance with a wooden sliding barn door partially open, revealing a modern sink and tiled wall inside.
A barn door slides along an exterior track rather than swinging into the room. It saves the floor space that a swinging door takes up and adds a strong design element to the entrance.
Pro Tip: Make sure there is enough clear wall space beside the door frame before buying one. The door needs room to slide completely open.
8. Install a Corner Shower
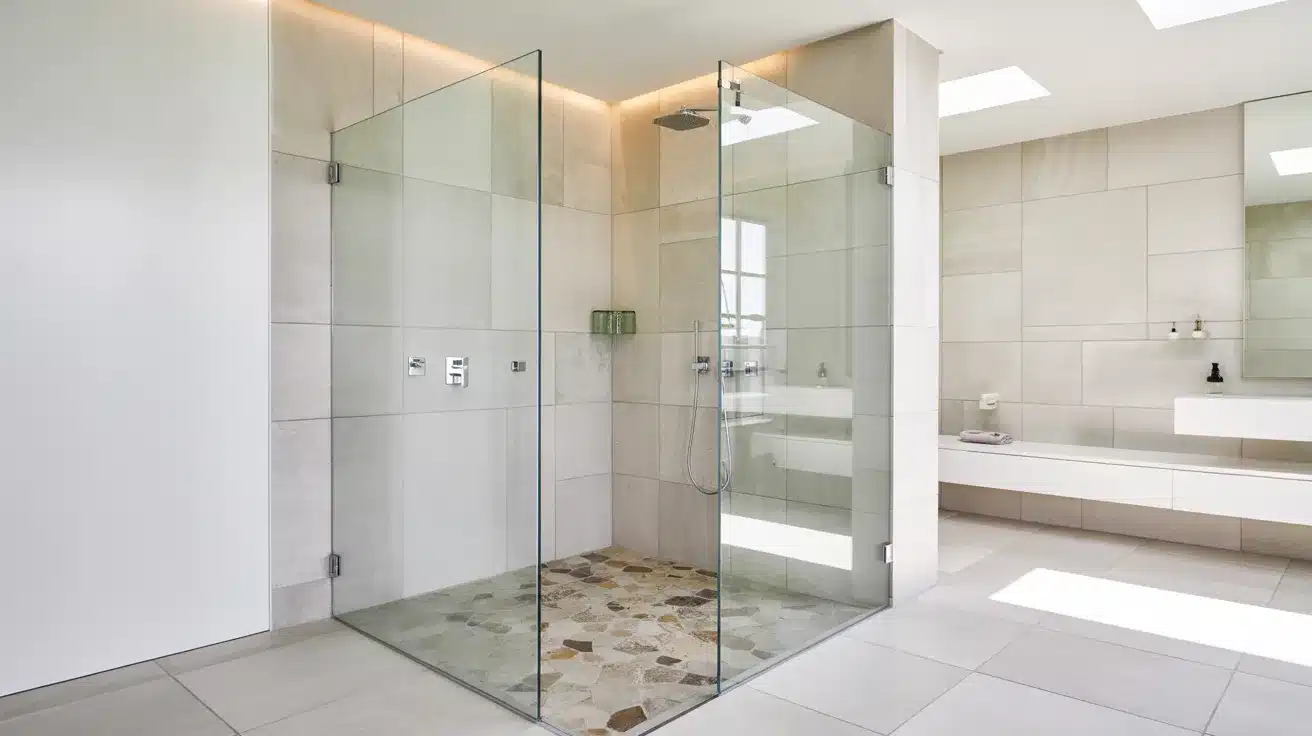
alt text: Modern bathroom with a glass-enclosed corner shower featuring stone flooring, beige tiled walls, and a floating vanity area in the background.
A corner shower fits into one corner, freeing up the center of the room. That open center floor space makes the bathroom feel much more comfortable to move around in.
Pro Tip: Choose a clear glass door or panel for the corner shower. A frosted or solid door divides the room into sections, making it feel smaller.
9. Use Large-Format Floor Tiles
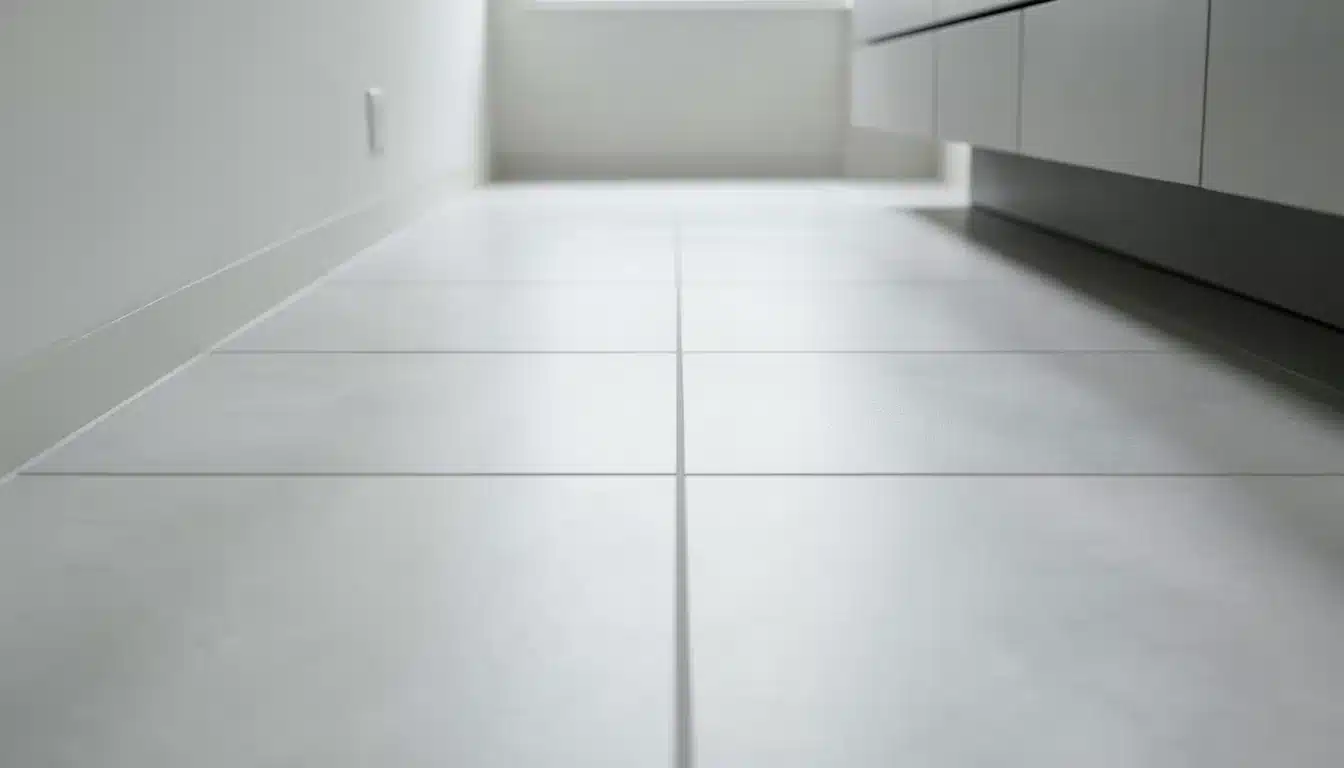
alt text: Close-up view of large-format gray floor tiles in a modern bathroom, showing minimal grout lines and a smooth, seamless finish.
Larger tiles mean fewer grout lines across the floor. Fewer grout lines mean fewer visual breaks. The floor looks wider and far less busy.
Pro Tip: Use tiles that are at least 12 x 24 inches. Anything smaller adds more visible lines, making a tight floor look even more crowded.
10. Run Tiles Horizontally on the Long Walls
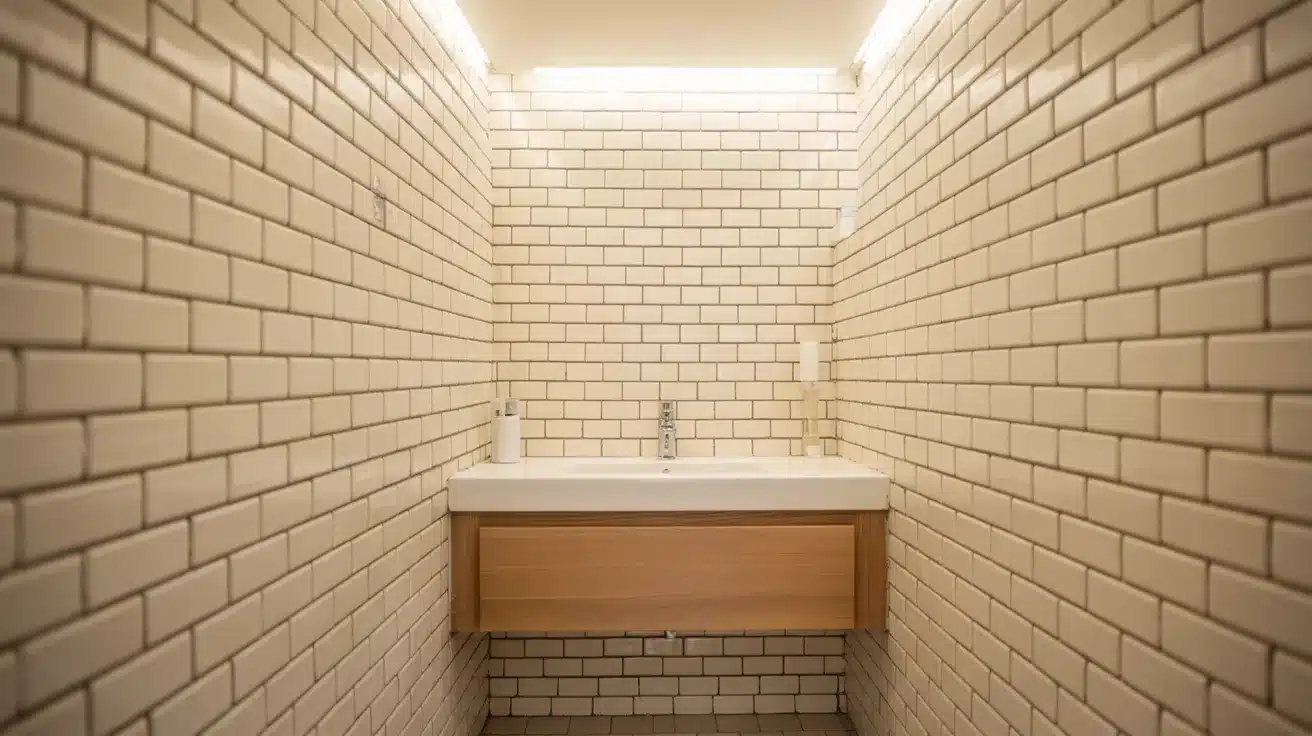
alt text: Narrow bathroom with white subway tiles installed horizontally on all walls, featuring a floating wood vanity and a centered sink under soft lighting.
Horizontal tile patterns follow the length of the room and draw the eye sideways, making the walls feel wider. Subway tiles in a horizontal brick pattern are a practical and popular choice.
Pro Tip: Use light-colored grout to keep the horizontal lines visible without making the wall look too busy.
11. Match Floor and Wall Tile Colors
alt text: Minimalist bathroom with matching beige floor and wall tiles, featuring a wall-mounted toilet and a floating wood vanity with integrated sink and soft under-cabinet lighting.
When the floor and walls use the same color range, there are fewer visual edges in the room. The space reads as one continuous surface rather than a small, boxed-in area.
Pro Tip: You do not need the exact same tile everywhere. Just keep the tones close enough that they read as one palette when you look in from the door.
12. Install a Full-Width Mirror Above the Vanity
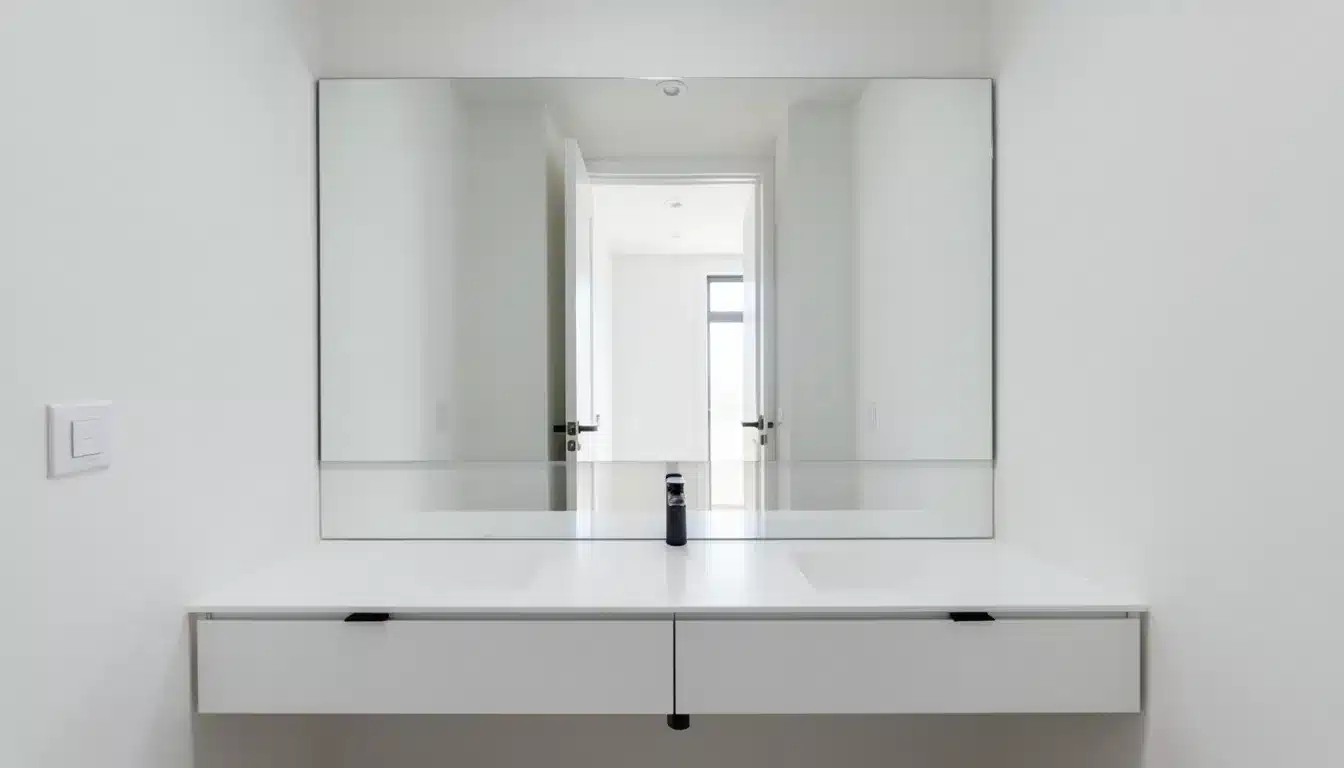
alt text: Minimalist bathroom with a full-width mirror above a double vanity, featuring a sleek white countertop, integrated sinks, and clean, modern lines.
A mirror that stretches the full width of the vanity wall reflects both light and depth back into the room. It is one of the most cost-effective changes you can make in a narrow bathroom.
Pro Tip: Go frameless or use a very thin frame. A thick decorative frame can reduce the reflective effect, but it can look heavy in a small space.
13. Use a Backlit Mirror

alt text: Modern bathroom vanity with a rectangular backlit mirror, soft ambient lighting, and a sleek white countertop with a single integrated sink.
A backlit mirror spreads soft, even light across the wall. It removes harsh shadows on the face and adds visual depth behind the mirror surface itself.
Pro Tip: Backlit mirrors are available at most home improvement stores and are easy to install if there is an existing outlet near the vanity.
14. Add a Tall, Slim Storage Column
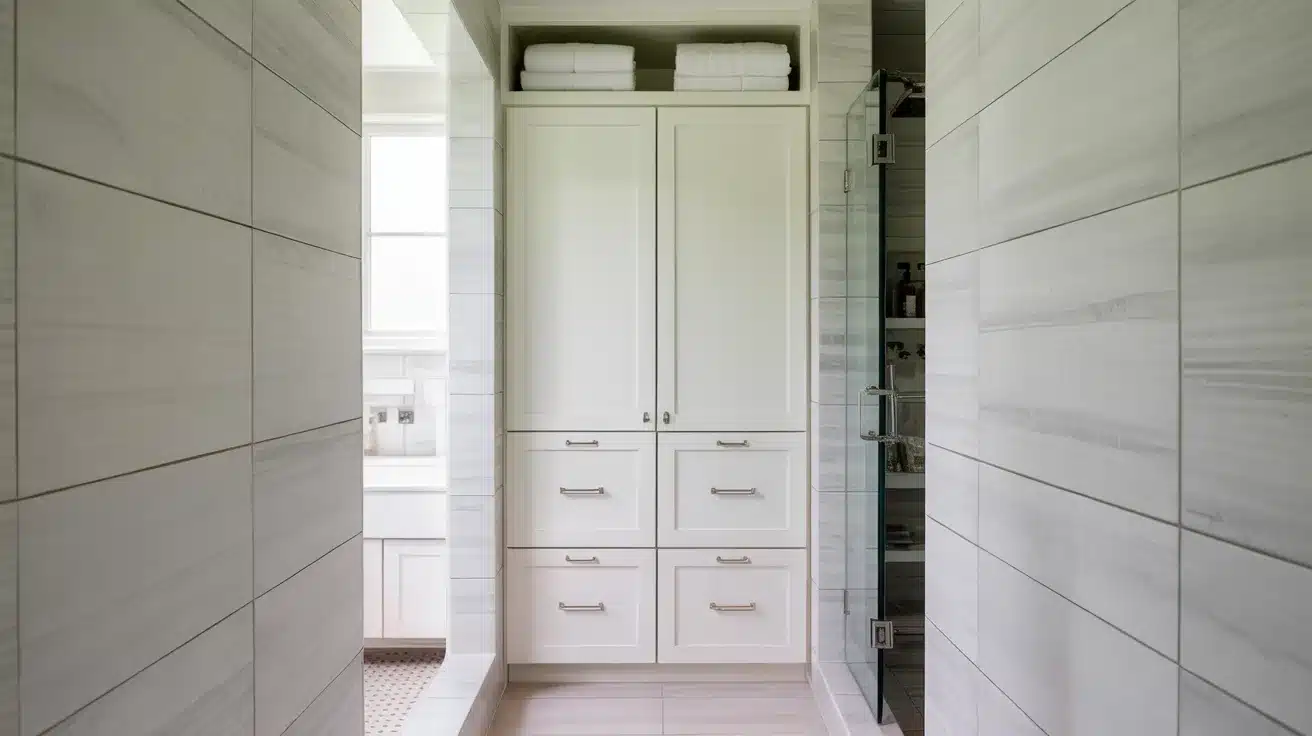
alt text: Narrow bathroom with a tall built-in storage cabinet featuring drawers and shelves, topped with folded towels, set between tiled walls and a glass shower enclosure.
A floor-to-ceiling column cabinet next to the shower gives useful vertical storage without taking much floor space. A cabinet about 8 to 12 inches deep fits well without blocking the walkway.
Pro Tip: Paint the column the same color as the wall behind it. It blends in rather than standing out as a bulky added object.
15. Build a Niche Above the Toilet
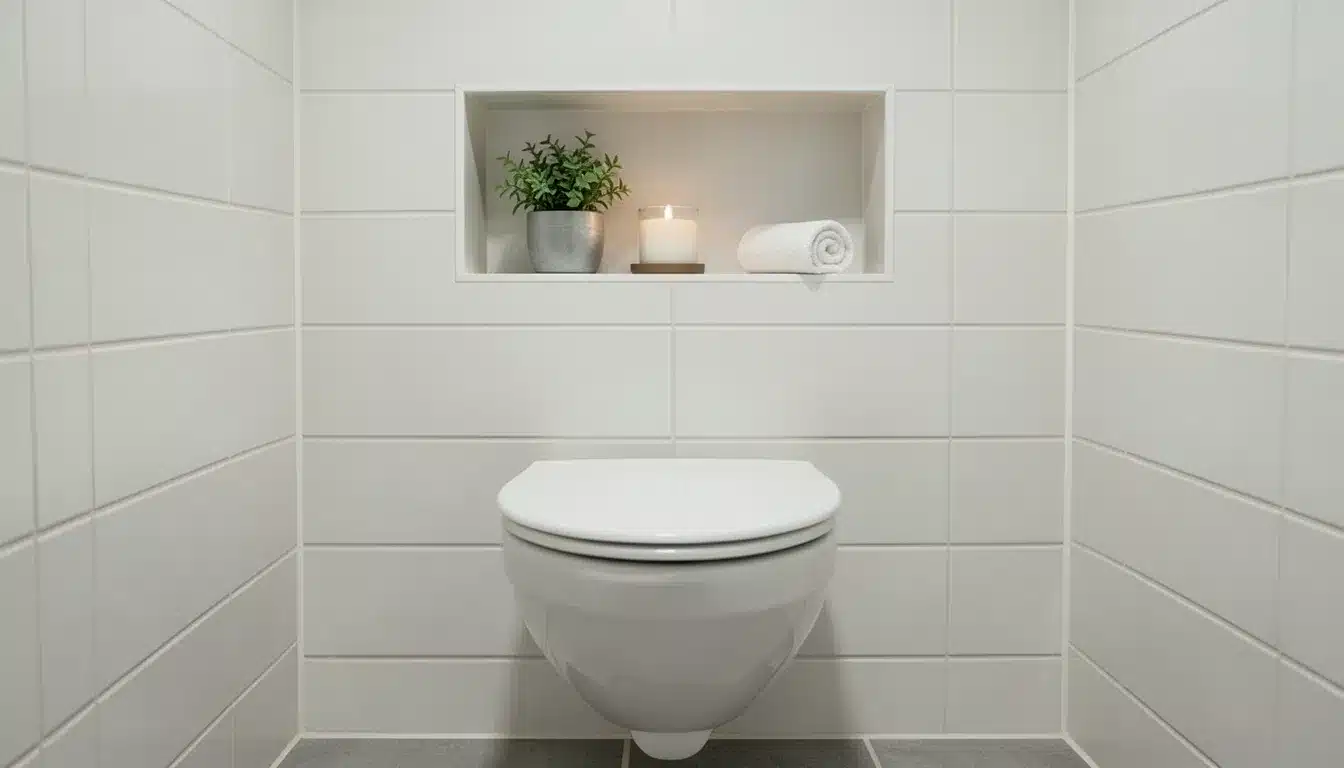
alt text: Compact bathroom with a wall-mounted toilet and a recessed shelf above it holding a small plant, candle, and rolled towel against white tiled walls.
The wall space above the toilet is often left completely empty. A recessed niche or a set of open shelves in that spot provides useful storage without affecting the floor area.
Pro Tip: Keep items stored there small and contained. A cluttered niche above the toilet makes the room feel messy the moment you walk in.
16. Hang the Shower Curtain Near the Ceiling

alt text: Small bathroom with a white shower curtain hanging from a rod, soft natural light filtering through, and a compact wall-mounted vanity to the side.
Mount the curtain rod close to the ceiling rather than at the standard height. The curtain falls from ceiling to floor and draws the eye upward, making the room feel taller.
Pro Tip: A light-colored or sheer curtain works best for this. A heavy, dark curtain at ceiling height can feel overwhelming in a tight space.
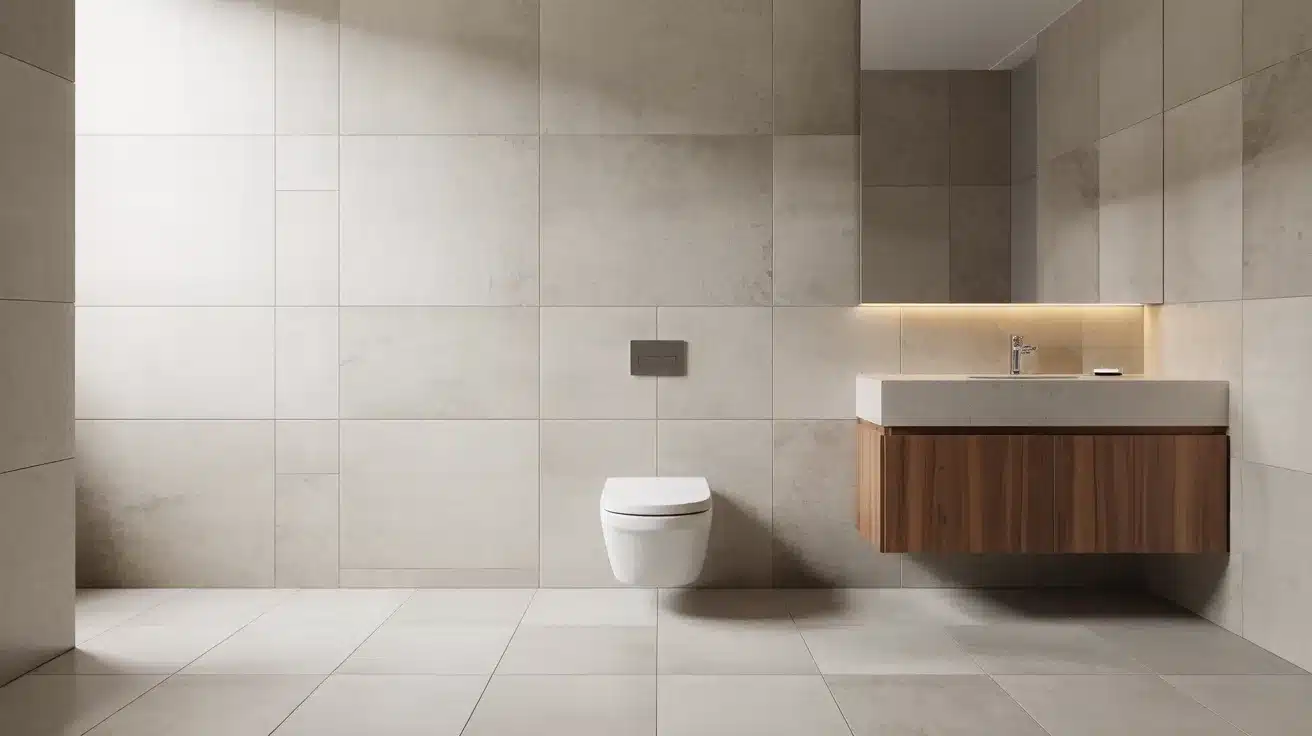
17. Choose a Wall-Hung Toilet
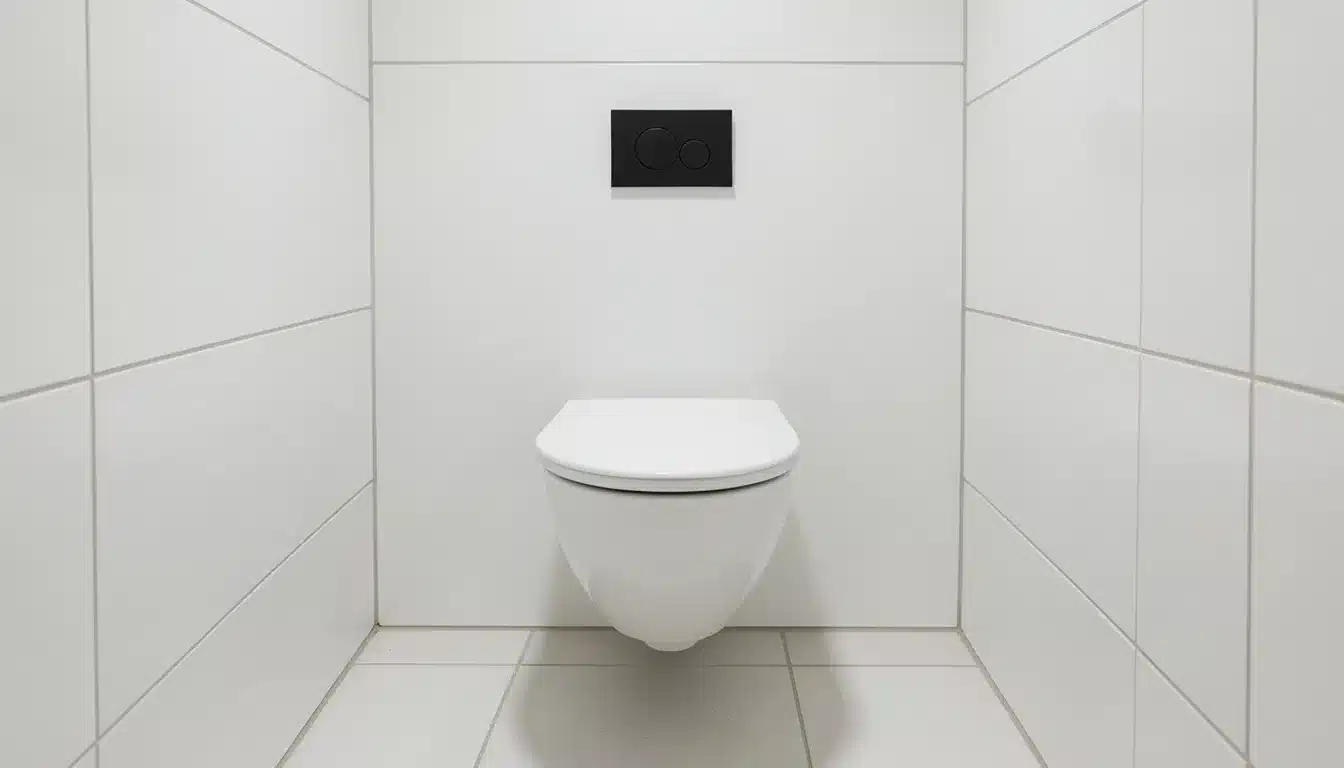
alt text: Minimalist bathroom with a wall-mounted toilet, large white tiles, and a concealed flush plate on a clean, modern wall.
A wall-hung toilet has the tank concealed inside the wall. The bowl projects only 48 to 50 cm from the wall instead of the standard 54 to 56 cm. In a narrow bathroom, those extra centimeters matter.
Pro Tip: Wall-hung toilets also leave the floor beneath them open, making the room feel more open and significantly easier to clean.
18. Use a Slimline Sink
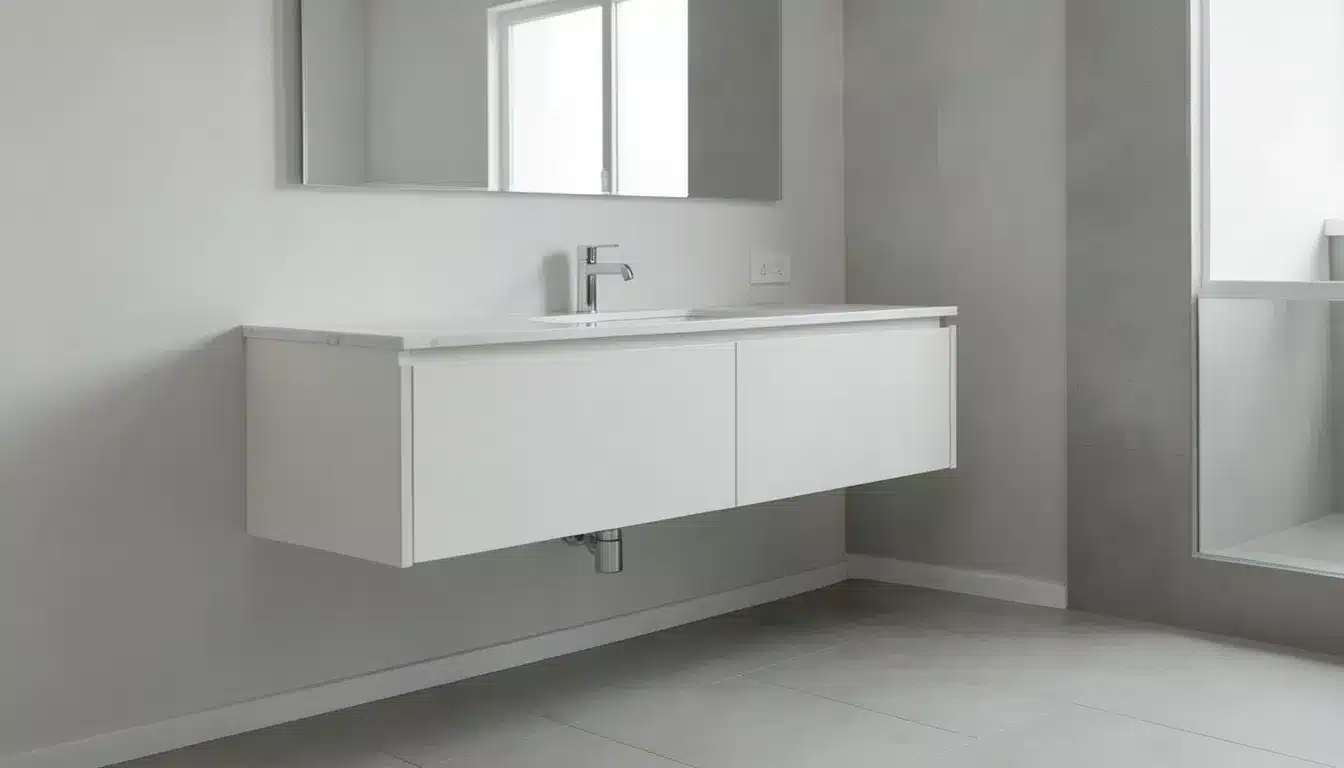
alt text: Modern bathroom with a slim floating white vanity, integrated sink, and a wide mirror above, set against light gray walls and a clean tiled floor.
Standard vanity cabinets run about 21 inches deep. A slimline model runs 16 to 18 inches. That depth difference creates real floor space in front of the vanity without compromising the sink’s function.
Pro Tip: Pair a slimline vanity with a wall-mounted faucet to keep the counter fully clear and avoid adding any extra visual depth to the fixture.
19. Create a Wet Room
alt text: Modern bathroom with a slim floating white vanity, integrated sink, and a wide mirror above, set against light gray walls and a clean tiled floor.
A wet room removes the shower enclosure entirely. The whole floor is waterproofed and slopes to a drain. There is no curb to step over and no glass panel dividing the space.
Important Note: Full-room waterproofing requires professional installation. The correct floor slope ratio is 1:60. This is not a project to cut corners on or attempt without proper expertise.
20. Add a Skylight
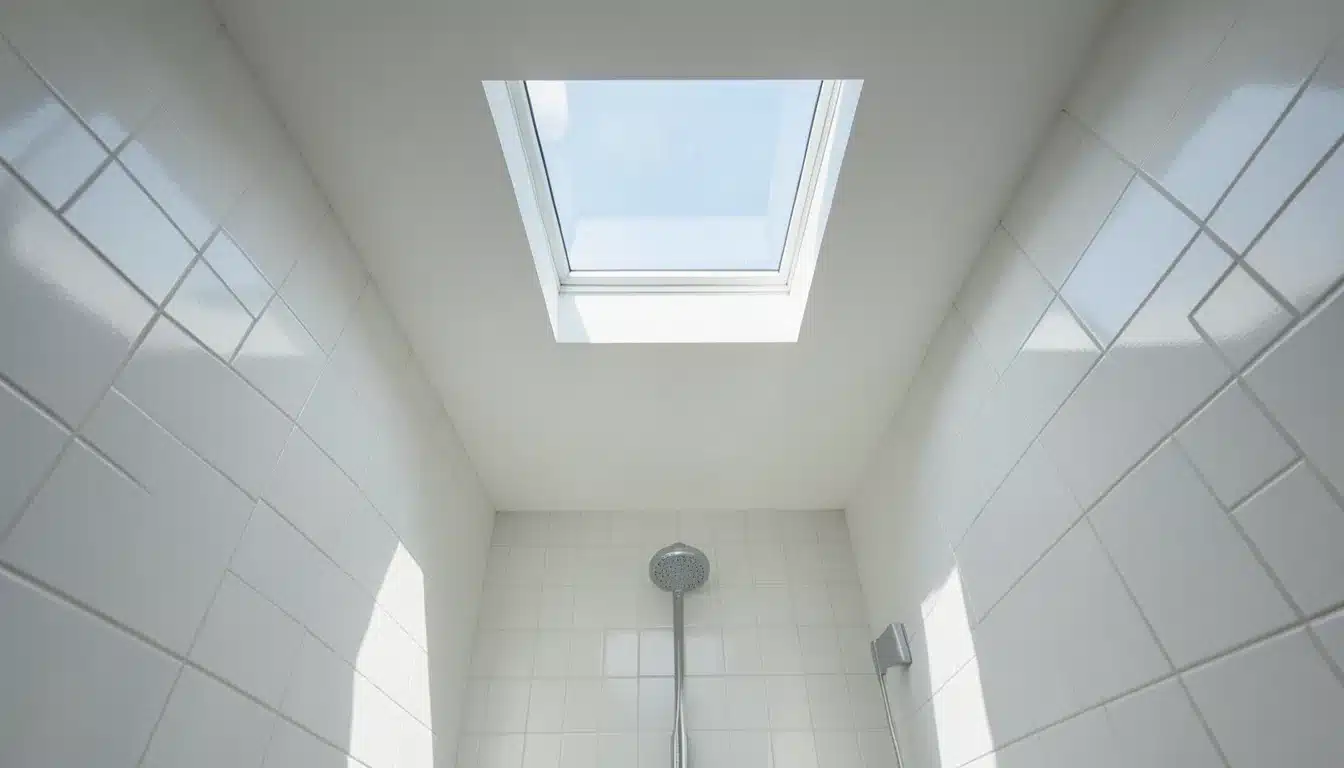
alt text: Small tiled shower with a skylight above, allowing natural light to brighten the space, with a wall-mounted showerhead below.
A skylight brings natural daylight in from above without using any wall space. Natural light changes how a narrow bathroom feels immediately and makes tile and mirror surfaces reflect far more effectively.
Pro Tip: A skylight works best when paired with light-colored tiles. Together, they bounce light around the room rather than absorbing it.
21. Add LED Strip Lighting Along the Ceiling
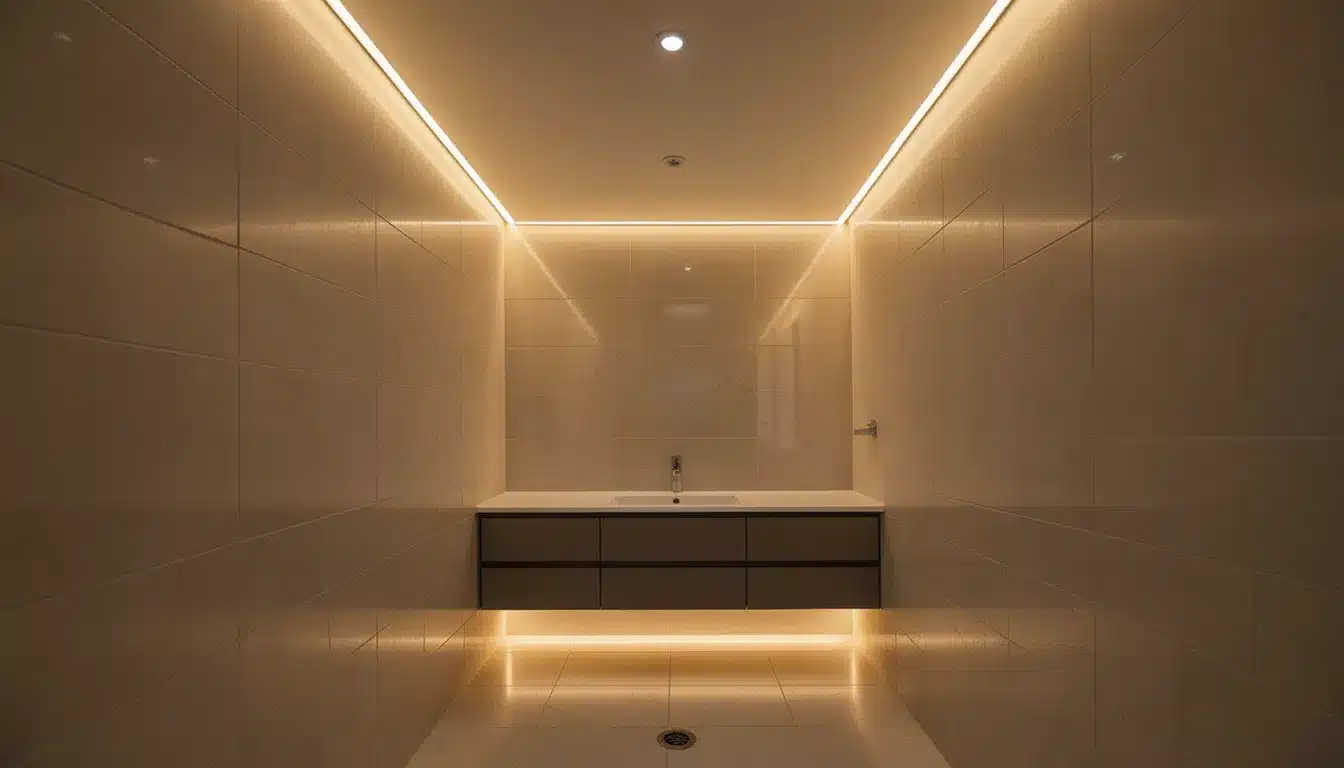
alt text: Contemporary bathroom with recessed LED strip lighting along the ceiling and beneath a floating vanity, creating a warm ambient glow against tiled walls.
A row of LED strips along the ceiling line washes the room in even, consistent light. It removes the dark corners that make narrow rooms feel like closed-off tunnels.
Pro Tip: Warm white LEDs (around 2700K to 3000K) give the room a comfortable, natural feel. Cool white can feel too clinical and harsh in a small, enclosed space.
22. Use Clear Glass Shower Doors
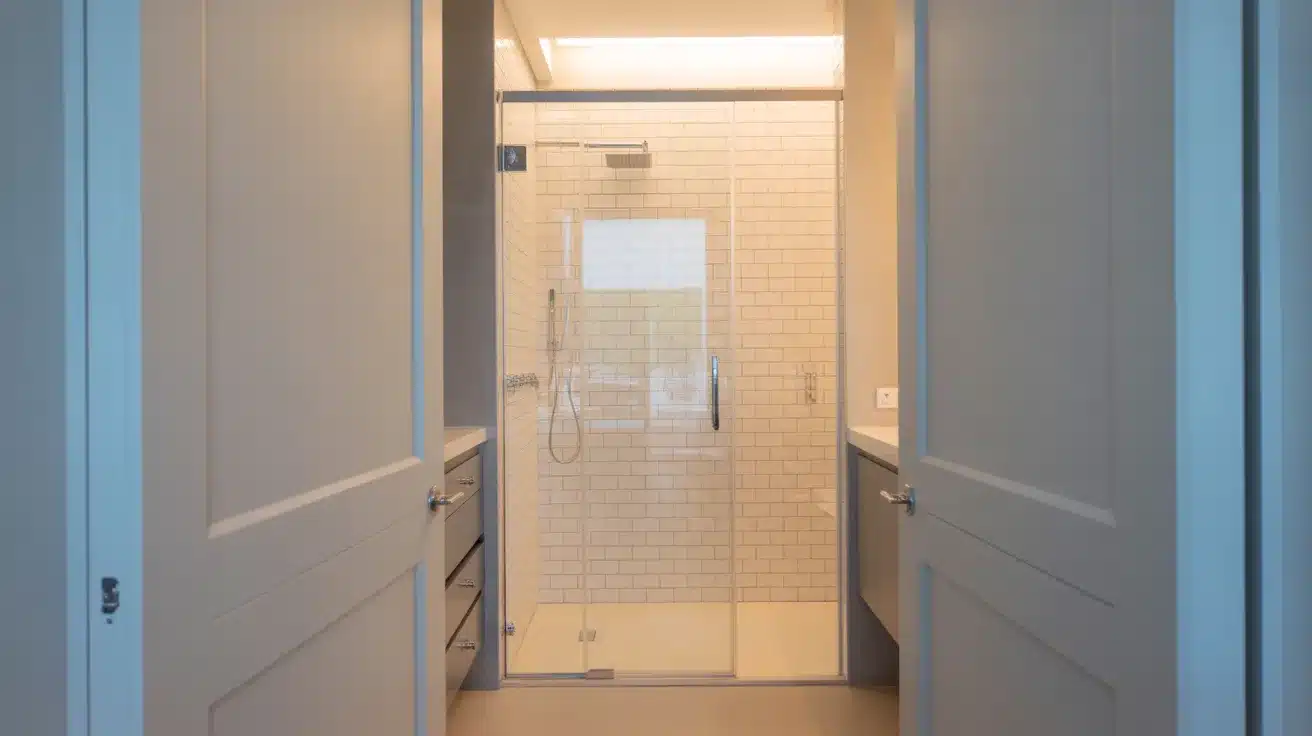
alt text: View through open double doors into a bathroom with a clear glass shower enclosure, white subway tile walls, and a skylight above.
A clear glass door keeps the full length of the bathroom visible from the entrance. Your eye travels all the way to the back wall without stopping at the shower zone.
Pro Tip: A frameless glass door gives the cleanest result. A metal-framed door adds visible lines that make the shower zone feel more closed off and separate.
23. Keep the Center of the Room Clear
alt text: Modern white bathroom with a floating vanity on the left, a toilet on the right, and a glass-enclosed shower centered at the back wall.
Do not place freestanding bins, racks, or laundry hampers in the center of a narrow bathroom. A clear center path is the simplest thing you can do to make the room feel usable every day.
Pro Tip: If you need a hamper, build it into the vanity cabinet or use a slim unit that sits flat against the wall rather than standing in open floor space.
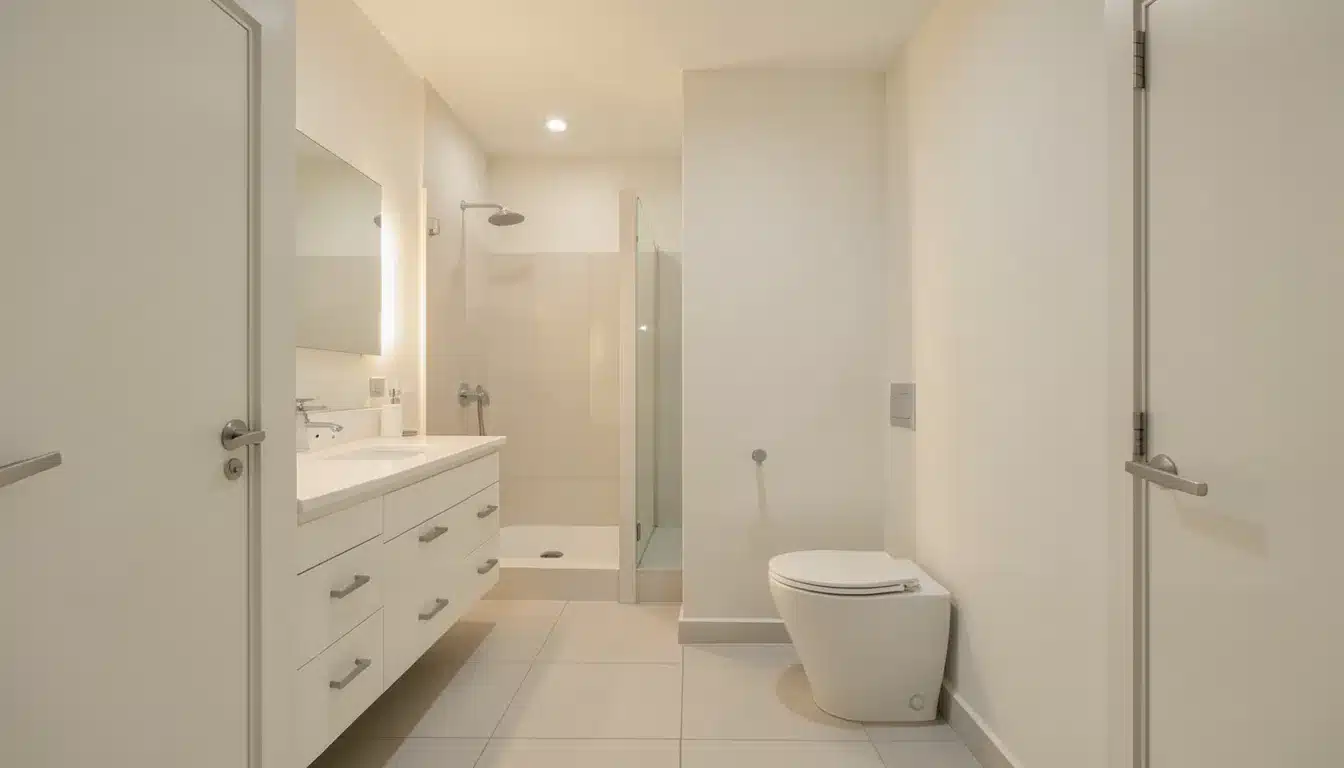
24. Use an L-Shaped Layout for Zone Separation
alt text: Bathroom with an L-shaped layout featuring a walk-in shower behind a partial wall, a wall-mounted toilet, and a vanity, viewed through open double doors.
An L-shaped layout places a partial wall between the wet zone and the dry zone. The shower or tub tucks behind the wall. The vanity and toilet sit in the open section near the entrance.
Pro Tip: The partial wall does not need to reach the ceiling. A half-wall creates a clear separation while keeping the room feeling connected rather than divided.
25. Install a Medicine Cabinet
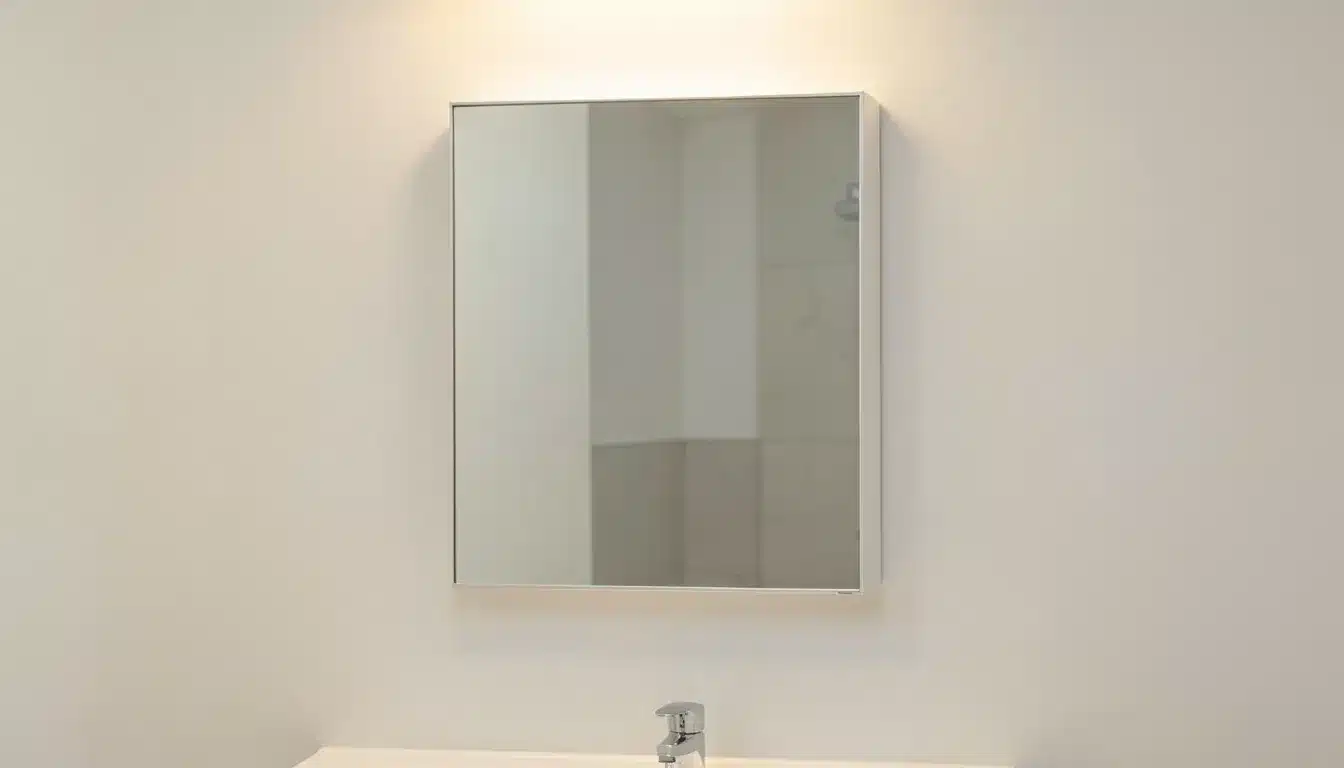
alt text: Wall-mounted mirrored medicine cabinet above a bathroom sink with soft lighting reflecting off a plain light-colored wall.
A medicine cabinet works as both a mirror and a storage unit. It sits inside the wall rather than sticking out from it. A standard medicine cabinet stores toiletries and products completely out of sight.
Pro Tip: Choose a model with built-in lighting on the sides. It adds task lighting at mirror height, keeping the wall clean and uncluttered.
26. Choose a Light-Colored Ceiling
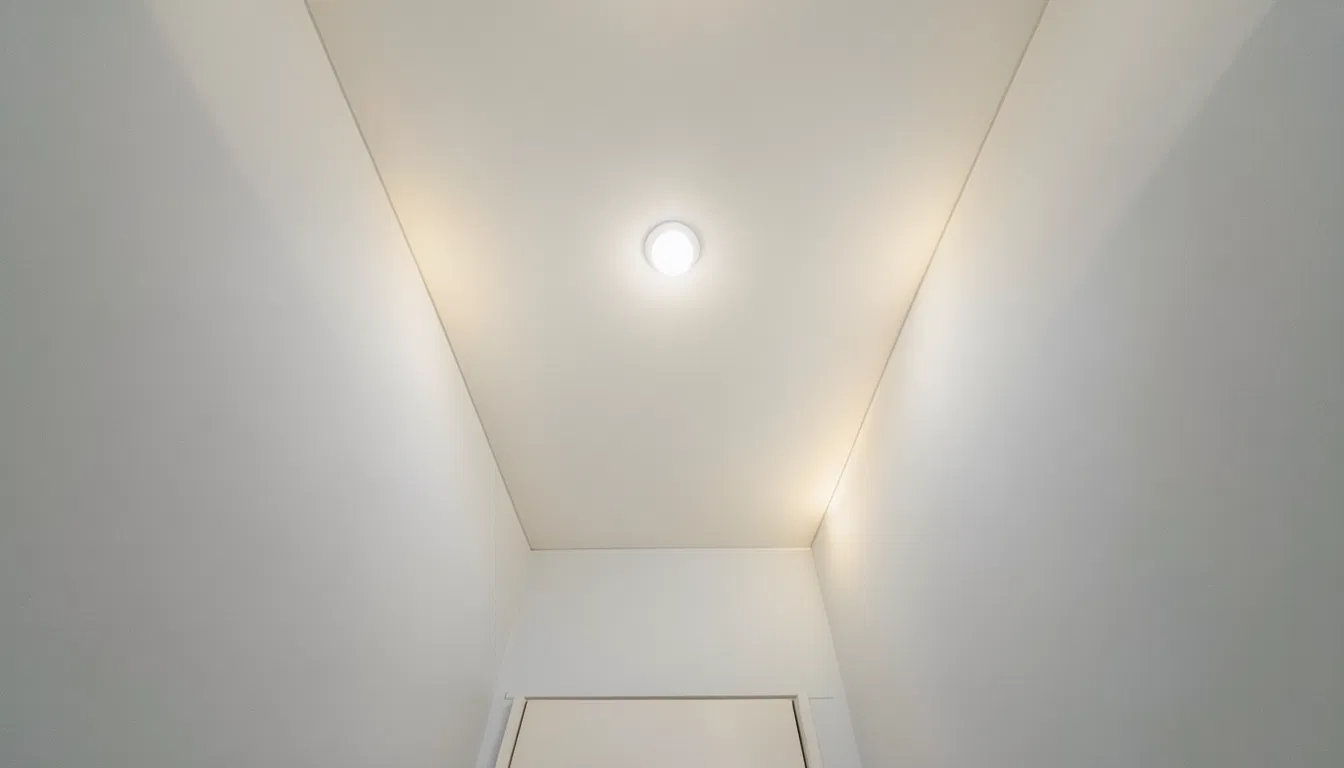
alt text: Light-colored bathroom ceiling with a central flush-mounted light fixture in a narrow enclosed space.
White or very pale ceiling paint reflects light downward into the room. A dark ceiling absorbs light, making the space feel lower and tighter than it really is.
Pro Tip: Match the ceiling color to the upper portion of the walls. It removes the visible line where the wall meets the ceiling, which makes the room feel taller overall.
27. Install an Exhaust Fan Close to the Shower

alt text: Bathroom ceiling exhaust fan running above a glass shower, pulling visible steam upward from white subway tile walls.
A narrow bathroom with poor ventilation can quickly accumulate moisture. That moisture damages grout, warps cabinets, and creates mold. Place the exhaust fan directly above the shower or as close to it as possible.
Pro Tip: Run the fan during every shower and for at least 15 minutes after. In a small, enclosed space, there is enough time to completely clear the moisture.
Remodel Cost and ROI for Narrow Small Bathrooms
Knowing the real numbers before starting a remodel saves a lot of stress later on. Here is a straightforward breakdown by bathroom type, with average costs and expected return on investment based on U.S. market data.
| Bathroom Type | Average Size | Average Remodel Cost | Cost per Sq Ft | Expected ROI |
|---|---|---|---|---|
| Narrow bathroom (hallway style) | 3×13 ft or 4×10 ft | $10,000 to $16,000 | $250 to $400 | 80 to 90% |
| Standard small bathroom | 5×8 ft | $11,000 to $17,000 | $260 to $405 | 82 to 92% |
| Powder room (toilet and sink) | 18 to 20 sq ft | $4,500 to $8,000 | Varies | 100 to 110% |
| Three-quarter bath (no tub) | 30 to 40 sq ft | $8,000 to $14,000 | $200 to $350 | 85 to 95% |
Note: Costs cover labor, materials, fixtures, and permits for mid-range finishes. Always get at least three quotes from licensed contractors before starting any remodel work.
Design Tips to Make a Narrow Bathroom Feel Bigger
Layout and fixtures handle the structure. But a few visual choices can make the same space feel noticeably more open, without moving a single pipe or wall.
- Use light wall colors: Light tones reflect more light, making the walls feel farther away than dark or saturated colors do.
- Install a wide mirror: A mirror that spans the full vanity wall adds instant visual depth to the room.
- Choose large-format tiles: Fewer grout lines mean the floor reads as one wide, unbroken surface.
- Layer the lighting: Ceiling lights, mirror task lighting, and accent strips together work far better than a single overhead bulb.
- Use clear glass in the shower: It keeps the full length of the bathroom visible from the entrance and prevents the room from feeling cut in half.
- Match floor and wall tones: Keeping the same color range across surfaces removes the visual breaks that make small rooms feel boxed in.
- Hang curtain rods near the ceiling: The extra height draws the eye upward, making the room feel taller than it is.
- Add recessed fixtures and built-in niches: Flush-mounted lights and in-wall storage remove visual clutter from walls and keep the room feeling clean.
How to Plan a Narrow Small Bathroom Layout?
Mark the location of the existing plumbing before making any layout decisions. Moving pipes is costly, so try to build the layout around their current positions wherever possible.
Measure every clearance in the room: 21 inches in front of the toilet, 30 inches in front of the vanity, and at least 24 inches of walkway width.
Sketch the floor plan on paper at a 1-square-to-1-foot scale before committing to any fixtures.
Think about daily use, too. A shower-only setup works well for most people and saves much more floor space than a bathtub ever will in a narrow room.
Key Takeaways
A tight bathroom does not have to stay tight forever. The right layout, the right fixtures, and a few smart choices can genuinely change how the space feels every single day.
Start simple. Know your clearances, pick a layout that matches your room shape, and choose fixtures that actually fit the space.
A well-planned, narrow bathroom layout adds real comfort to your daily routine and holds strong resale value over time.
Got a layout idea that worked well for your bathroom? Or a question you cannot find the answer to? Drop it in the comments below. It might be exactly what someone else needed to read.