How to Sharpen Lawn Mower Blades at Home?

Sharpening your lawn mower blades at home saves money, improves cut quality, and helps your grass stay healthy. Dull blades tear grass instead of slicing it cleanly, which causes brown tips, disease, and an uneven lawn. With basic tools and a careful approach, most homeowners can handle this job themselves. You only need to focus on safety, follow a clear process, and avoid removing too much metal. This guide walks through every step for a typical cordless lawn mower: from tools and preparation, to sharpening, balancing, reinstalling, and routine maintenance. Follow these steps and your mower will cut faster, smoother, and with less strain on the motor and battery.
What Tools and Safety Steps Do You Need First?
Essential Tools for Blade Sharpening at Home
Gather all tools before you flip the mower over. You’ll need a socket wrench or spanner that matches your blade bolt, plus a sturdy work glove for your non-dominant hand. Use a permanent marker or chalk to mark blade orientation before removal. For sharpening, choose either a flat mill file or an angle grinder with a grinding wheel or flap disc. A bench grinder works too, but many homeowners prefer a hand file for control. You also need a blade balancer or a thick nail fixed horizontally in a wall or vise. Keep a wire brush or putty knife handy to scrape off caked grass and debris before you sharpen.
Safety Precautions Before Removing the Blade
Always disconnect power before you touch the blade. Remove the battery pack from your cordless mower and place it away from the work area. Pull the safety key if your model includes one. Wear cut‑resistant gloves and safety glasses to protect your hands and eyes from sharp edges and flying grit. Place the mower on a flat, stable surface and chock the wheels if needed. Tip the mower with the handle on the ground so the air filter and motor stay on top, as your manual recommends. Never rely only on your arm strength to hold the mower; support it with a block or stand so it cannot shift while you loosen the blade bolt.
Preparing Your Cordless Lawn Mower Properly
Before removing the blade, clear loose debris from the deck. Use a brush or plastic scraper to remove packed grass, mud, and leaves. Check the underside for twine or wire wrapped around the blade shaft. Inspect the motor housing and wiring for visible damage. Confirm the safety lever and controls move freely. Mark the blade’s bottom side with paint or marker so you reinstall it correctly. Note the direction of rotation shown by an arrow on the deck or blade. If your cordless mower has multiple batteries, remove them all. Finally, place an old towel or piece of cardboard on your work surface to protect the deck finish while you work under the mower.
How Do You Sharpen Lawn Mower Blades Step by Step?
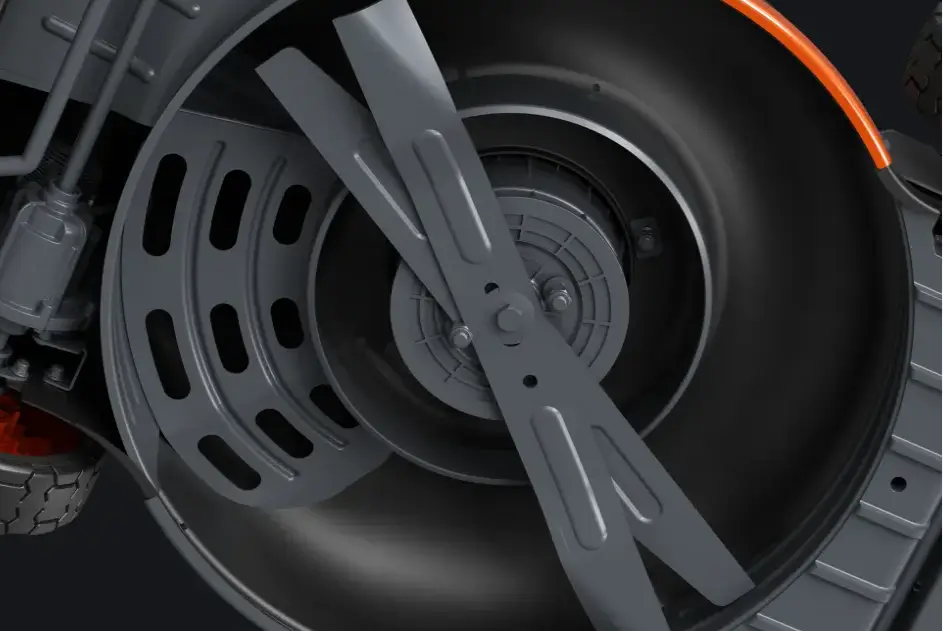
Removing the Blade and Inspecting for Damage
Wear gloves and hold the blade firmly with a block of wood jammed against the deck to stop rotation. Use the correct socket wrench to loosen the blade bolt by turning it in the indicated direction, usually counterclockwise. Remove the bolt, washer, and blade carefully and keep the order of parts. Lay the blade on a bench and clean both sides with a wire brush. Inspect the cutting edges for nicks, chips, and rounded corners. Look closely for bends, cracks, or severe pitting along the length. If you see deep cracks, large chunks missing, or a noticeable warp, replace the blade instead of sharpening. A damaged blade can vibrate, cut poorly, and even break during use.
Sharpening Techniques Using File or Grinder
Clamp the blade securely in a vise with the cutting edge facing up. Maintain the factory bevel angle, usually around 30 degrees. If using a hand file, push the file along the edge in one direction, from the inside of the blade toward the tip. Use long, even strokes and keep the file flat on the bevel. Avoid sawing back and forth. If using an angle grinder, wear hearing protection and eye protection. Move the grinder steadily along the edge with light pressure to prevent overheating. Sharpen until you form a clean, uniform edge, but stop short of a razor‑thin point. Repeat the same number of passes on the opposite end to keep both sides consistent.
Balancing the Blade for Smooth Performance
An unbalanced blade causes vibration, noise, and extra wear on the mower’s bearings and motor. After sharpening both ends, slide the blade’s center hole onto a cone‑style balancer or rest it on a horizontal nail driven into a board or mounted in a vise. Let the blade hang freely. If one side dips down, that side is heavier. Remove the blade and file or grind a little more metal from the back of the heavy end, not the cutting edge itself. Recheck on the balancer after each adjustment. Continue until the blade stays level or moves only slightly. A properly balanced blade spins smoothly, cuts evenly, and reduces stress on cordless mower components.
How Do You Reinstall and Maintain the Blade?
Proper Reinstallation and Tightening Tips
Confirm the mower is still powered off and the battery removed. Clean the mounting area on the blade adapter and remove rust or debris from the bolt threads. Check your owner’s manual for the correct torque specification and tightening direction. Place the blade with the cutting edges facing the right way, usually with the stamped or “grass side” facing down toward the lawn. Reinstall any washers or spacers in the original order. Thread the bolt by hand first to avoid cross‑threading. Block the blade with wood again, then tighten the bolt firmly with a torque wrench if available. Do not overtighten, which can strip threads, or leave it loose, which risks the blade coming off.
Testing the Mower After Sharpening
Reinsert the battery and safety key, then place the mower on level ground away from people and pets. Stand behind the handle, engage the safety lever, and start the mower. Listen for unusual noises such as rattling, grinding, or heavy vibration. If it vibrates more than before, shut it down and recheck blade balance and bolt tightness. Once it sounds normal, test the mower on a small patch of grass. Inspect the cut tips. They should look clean and even, not shredded or frayed. Check the discharge or collection performance as well. A sharp, balanced blade throws clippings consistently and reduces strain on the cordless motor, helping your batteries last longer per charge.
Maintenance Schedule for Long-Term Performance
Plan a regular sharpening schedule based on use and lawn conditions. For typical home lawns, sharpening every 20–25 mowing hours works well, often once or twice per season. Sandy soil, sticks, and hidden rocks dull blades faster, so inspect more often if your yard is rough. After each mow, scrape off built‑up grass under the deck to prevent corrosion and preserve airflow. At least once per season, check blade bolts, balance, and the overall condition of the blade. Replace blades every few years or sooner if they become too thin or damaged. Consistent maintenance keeps cut quality high, reduces battery drain, and extends the life of your cordless mower’s motor and drive components.
Conclusion
Sharpening lawn mower blades at home becomes a simple routine when you follow a clear process and respect basic safety rules. You gather the right tools, power down your cordless mower, remove and inspect the blade, then sharpen and balance it with steady, controlled strokes. Proper reinstallation and testing confirm that everything runs smoothly and safely. Over time, sticking to a sharpening and cleaning schedule protects your mower and your lawn. Clean cuts help grass recover faster, resist disease, and look thicker and greener. A well‑maintained, sharp blade also reduces strain on the motor and batteries, giving you more runtime and a healthier lawn with less effort each week.