Have you ever spent money on a wooden deck only to watch it fade and crack just months later? It often happens to many homeowners who skip a crucial step.
Your pressure-treated wood may resist bugs and rot, but it’s still vulnerable. The sun beats down on it. Rain soaks in. Dirt builds up over time. Without the right stain, your wood won’t last.
Oil-based stains often work best for pressure-treated surfaces. They penetrate deeply into the wood fibers, providing solid protection.
However, your choice should align with the specific type of wood and the desired look.
What makes a good stain? How do you pick the perfect one? When should you apply it? The answers might not be what you expect.
Let’s find the perfect stain for your wooden surfaces.
Many homeowners struggle to pick the right product-if you’re one of them, this guide on how to choose the best exterior wood stains and sealers for durability can help you avoid costly mistakes and find a finish that truly lasts.
What is Pressure-Treated Wood?
Pressure-treated wood is lumber that has been soaked in preservatives and forced deep into its fibers in a sealed tank. This special process helps wood resist insects, rot, and fungus that would normally cause decay. You’ll find different types at stores, from standard options with a greenish tint to premium grades with added water protection.
Even with treatment, your wood still needs help against nature’s forces:
- Sun rays fade and crack untreated surfaces over time
- Rain and snow can soak in and cause warping or twisting
- Dirt traps moisture against the wood, leading to mildew
- Temperature changes make wood expand and contract
- Foot traffic wears down protective chemicals over time
Adding stain creates an extra shield for your treated wood. It blocks harmful UV rays, repels water, and makes the surface easier to clean. Plus, stain adds color that makes your deck or fence look fresh and new. With proper staining, your outdoor wood projects can last significantly longer before needing replacement.
Top Picks for Staining Pressure-Treated Wood
Disclaimer: The products mentioned in this blog are based solely on personal experience and are not sponsored or affiliated with any brands.
1. Behr Premium Solid Color Waterproofing Wood Stain
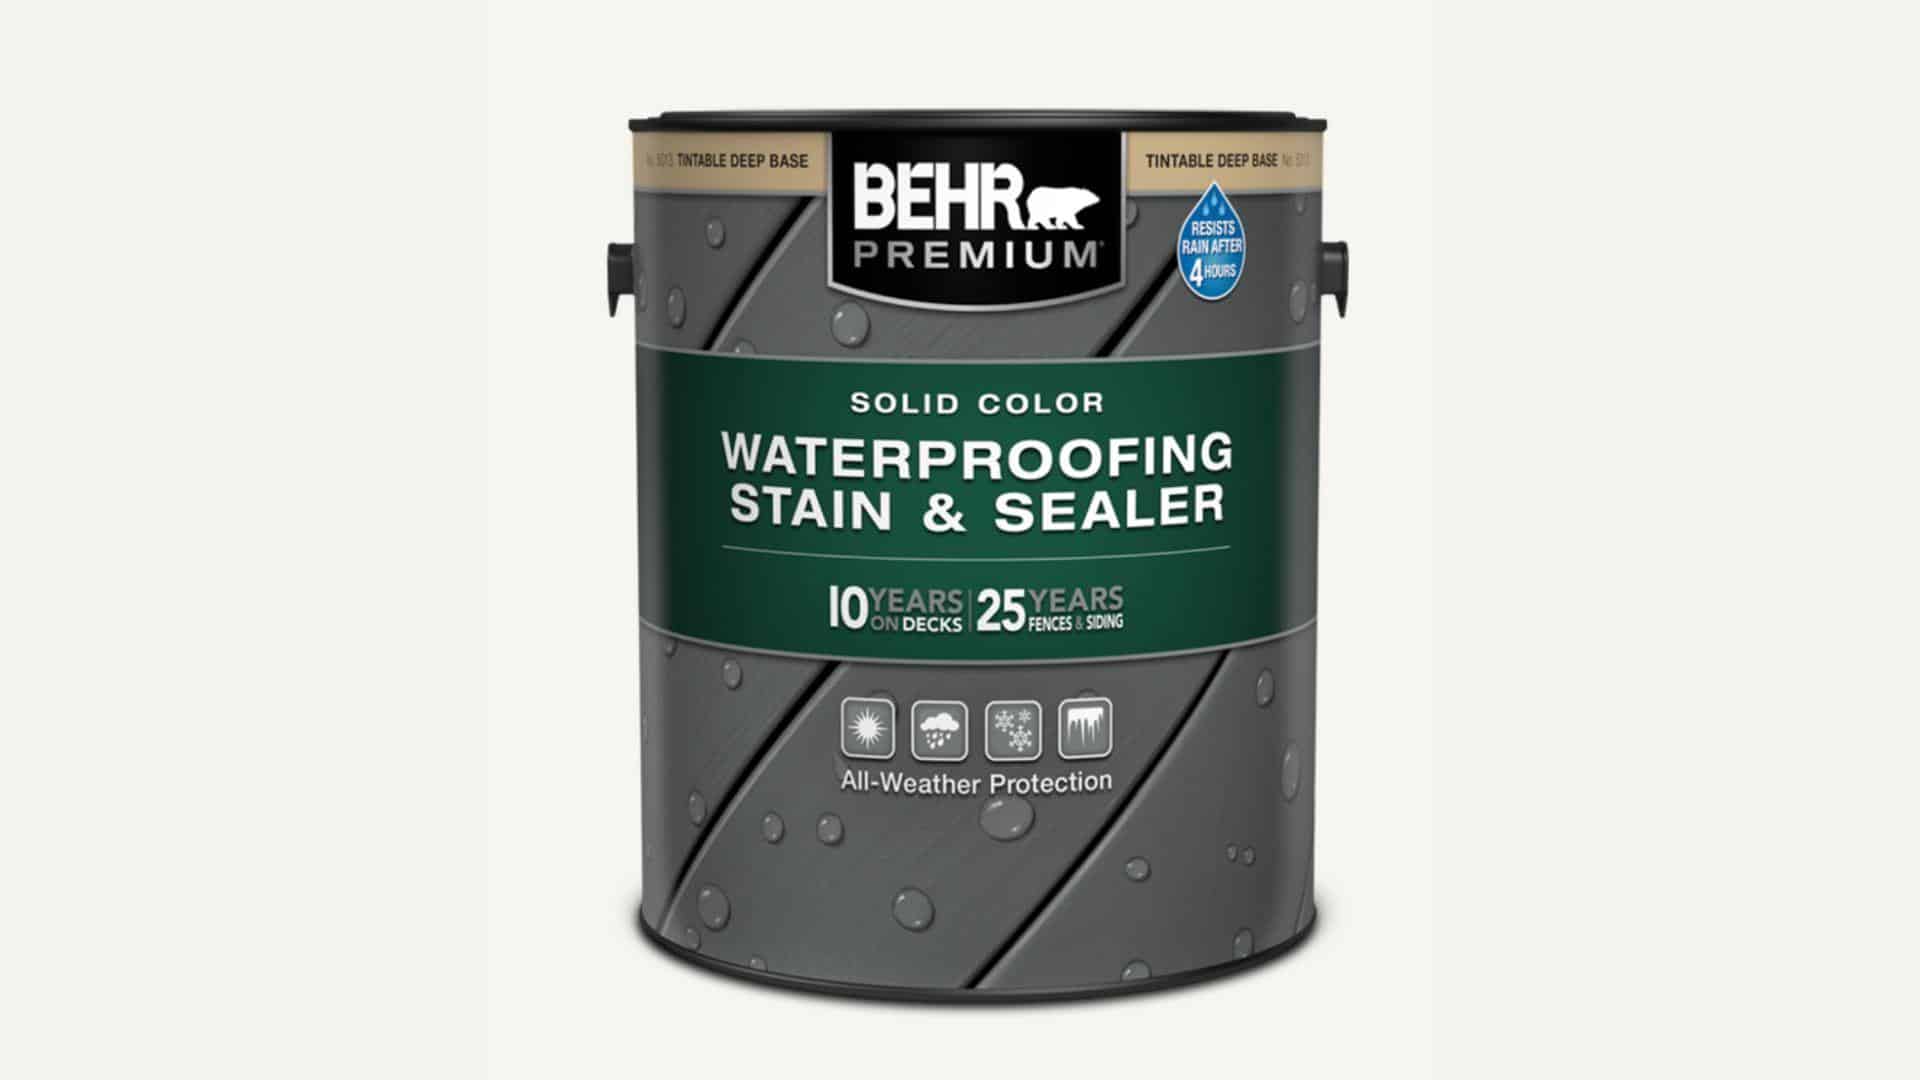
Behr Premium offers strong weather defense for your outdoor wooden items. This stain blocks UV rays and prevents water damage while giving your wood a rich, even color.
Users appreciate how this product covers old stains and conceals minor flaws in older wood. It works well on decks, fences, and outdoor furniture that need a fresh look and improved protection from the weather.
Pro Tip: Apply this stain when temperatures are between 50°F and 90°F for the best results. Too hot or too cold can affect how well it sticks to your wood.
2. Minwax Wood Finish Penetrating Stain

Minwax sinks deep into wood fibers to highlight the natural pattern and beauty. It brings out the wood’s character while adding soft, warm tones that last.
This stain dries fast and doesn’t leave a sticky finish. You can easily touch up spots without seeing obvious marks or lines where the old and new stains meet.
Pro Tip: Test Minwax on a hidden spot first – the color on the can often looks different when applied to your specific pressure-treated wood.
3. Olympic Maximum Waterproofing Sealant Stain

Olympic Maximum fights against tough weather conditions all year round. It keeps water out while allowing the wood to breathe, which prevents bubbling and peeling over time.
This stain holds up well against snow, rain, and hot summer sun. It needs fewer touch-ups than many other brands, saving you time and money on upkeep.
Pro Tip: Clean your wood very well before using Olympic Maximum – any dirt left behind will prevent the stain from bonding correctly.
How to Choose the Right Stain for Your Project?
Picking the right stain involves more than just grabbing the first can you see. Your stain needs to match your wood and your goals. Here’s what to think about before you buy.
1. Color and Finish
The finish you pick changes both the look and protection level of your wood. Transparent stains show most of the wood grain with minimal color. Semi-transparent stains offer a middle ground, providing some color while still showcasing grain. Solid stains act more like paint, hiding grain while providing maximum protection and a wide range of color options.
2. Wood Condition
The age and state of your pressure-treated wood affect which stain will work best. New wood needs time to dry out before staining. Old wood might need cleaning or sanding first. Very damaged wood may require a thicker, solid stain to conceal flaws and fill small cracks.
3. Weather Resistance
Different stains offer varying levels of protection against sun, rain, and temperature changes. Some include UV blockers to prevent fading, while others focus on water resistance. Your local climate should guide which protection matters most for your project.
4. Drying Time
Some stains dry in a matter of hours, while others take days. Fast-drying products work well when you need to finish quickly or when rain threatens. Slower-drying options often penetrate deeper but require longer periods of good weather during application.
5. Environmental Concerns
Many modern stains offer lower chemical emissions and safer ingredients. Water-based stains tend to be less toxic and easier to clean up. Oil-based options often last longer but may contain more chemicals. Your indoor/outdoor location and concern for fumes should factor into this choice.
How to Apply the Best Stain for Pressure-Treated Wood?

The way you put on your stain matters as much as the stain itself. Follow this guide to get the most from your time and money.
Step 1: Surface Preparation
Good prep work is the key to a stain job that lasts. Clean your wood with a deck cleaner. Let it dry fully before staining – this might take 2-3 days. For new pressure-treated wood, wait 3-6 months after installation before applying a stain.
Step 2: Application Method
Brushes give you the most control and help push stain into cracks. Rollers speed up work on large, flat surfaces. Sprayers offer the fastest application but use the most product. Choose based on your project size and details.
Step 3: Drying Time
Most stains need at least 24-48 hours before light use. Apply when the forecast indicates 2-3 days of dry weather with temperatures between 50°F and 90°F. Don’t rush a second coat if needed; follow the manufacturer’s instructions for wait times.
How to Make the Most of Your Stained Pressure-Treated Wood
Your stained wood can look good for years with the right care. These simple steps will help you keep your deck or fence in top shape without spending a lot of time or money.
- Clean your stained wood surfaces twice a year with mild soap and water to remove dirt and prevent buildup.
- Check for water beading – when water stops forming beads on the surface, it’s time to think about reapplying stain.
- Most pressure-treated wood needs restaining every 2-4 years, depending on sun exposure and foot traffic.
- Remove leaves and debris regularly, as they trap moisture against the wood and accelerate wear.
- Apply a clear water repellent yearly between full staining jobs to extend the life of your original stain job.
Conclusion
Selecting the right stain for your pressure-treated wood can make a significant difference. The best stain gives your wood both beauty and protection from sun, rain, and daily wear.
Remember to match your stain to the condition of your wood. New wood needs time to dry, while older surfaces need proper cleaning. Consider finish types—transparent shows natural grain, while solid offers more protection.
Take time to prepare your surface well. The effort you put in before staining pays off with years of good looks and weather protection.
With regular cleaning and timely touch-ups, your stained wood can stay looking fresh for years. Watch for water beading to know when it’s time for a fresh coat.
What project are you planning to start? Share your results or questions in the comments below!