Step-by-Step Guide to Basement Vapor Barrier Installation
I know how frustrating it can be when your basement feels damp and musty.
You’ve probably noticed that strange smell, maybe even spotted some mold growing in corners, and wondered if your basement will ever feel truly dry and healthy.
The culprit?
Missing or improper vapor barriers that let moisture seep through your foundation walls.
I promise to show you exactly how to choose, install, and maintain the proper vapor barrier system for your basement. No confusing technical jargon or expensive contractor quotes needed.
In this guide, I’ll walk you through the best vapor barrier materials available, provide step-by-step installation tips that work, and share maintenance secrets to keep your basement dry for years to come.
Let’s turn that damp space into the healthy, usable area you deserve.
What is a Basement Vapor Barrier?
A basement vapor barrier is a protective material that prevents moisture from passing through basement walls, floors, and ceilings.
It acts as a waterproof shield blocking humidity and water vapor from entering below-ground spaces.
This barrier creates an impermeable layer that stops moisture movement, which is crucial for basements since they’re naturally prone to moisture issues due to their below-ground location and surrounding soil conditions.
The vapor barrier serves as protection against water vapor that would otherwise penetrate through concrete foundations and basement materials.
Without this protection, moisture accumulates inside the basement, leading to structural damage and compromised air quality.
Vapor barriers are essential for maintaining a dry basement environment in areas prone to moisture infiltration.
Types of Basement Vapor Barriers
Choosing the right vapor barrier material can make or break your basement moisture control system. Each type works better in different situations, so understanding your options helps you pick what’s best for your space.
1. Polyethylene Sheeting
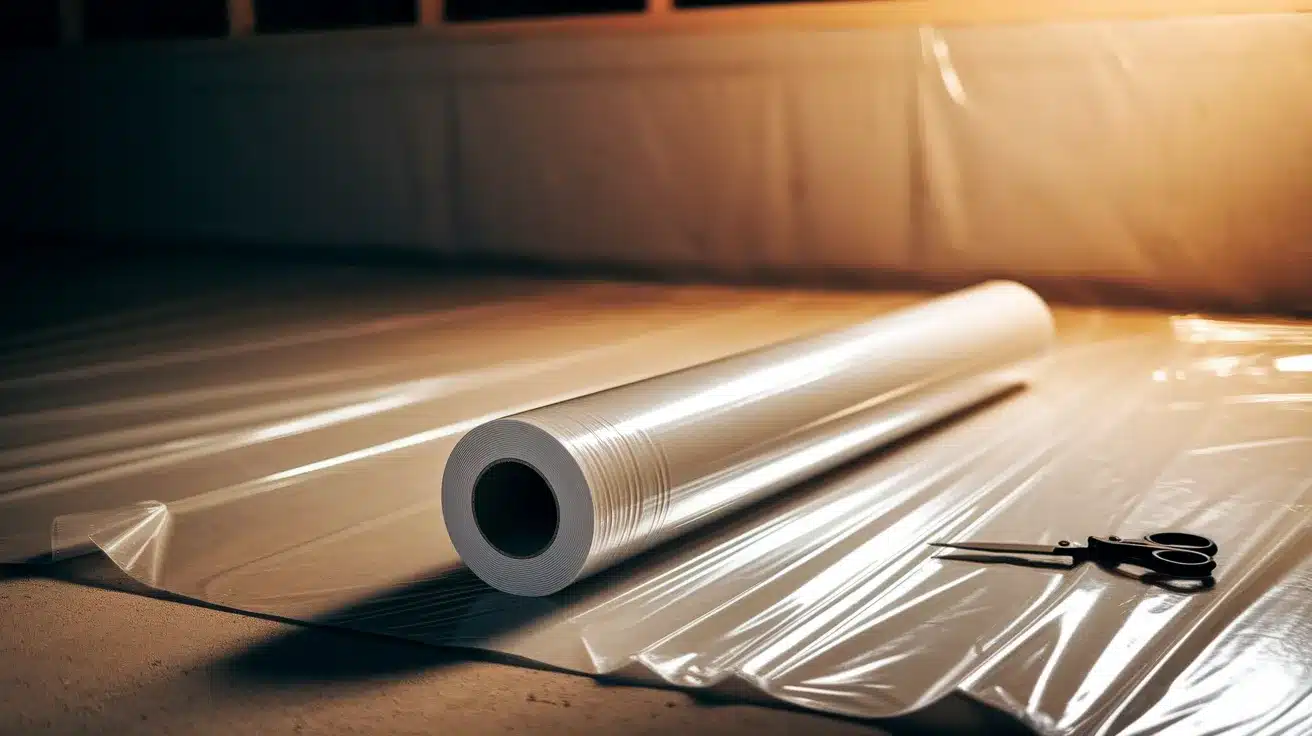
This plastic sheeting is the most popular choice for basement projects. It costs much less than other options and you can find it at any home improvement store.
The material is easy to cut and handle during installation, comes in different thicknesses from 4-mil to 6-mil, and is simple to repair if you accidentally damage it.
This option works perfectly for standard basement walls and homeowners working with tight budgets.
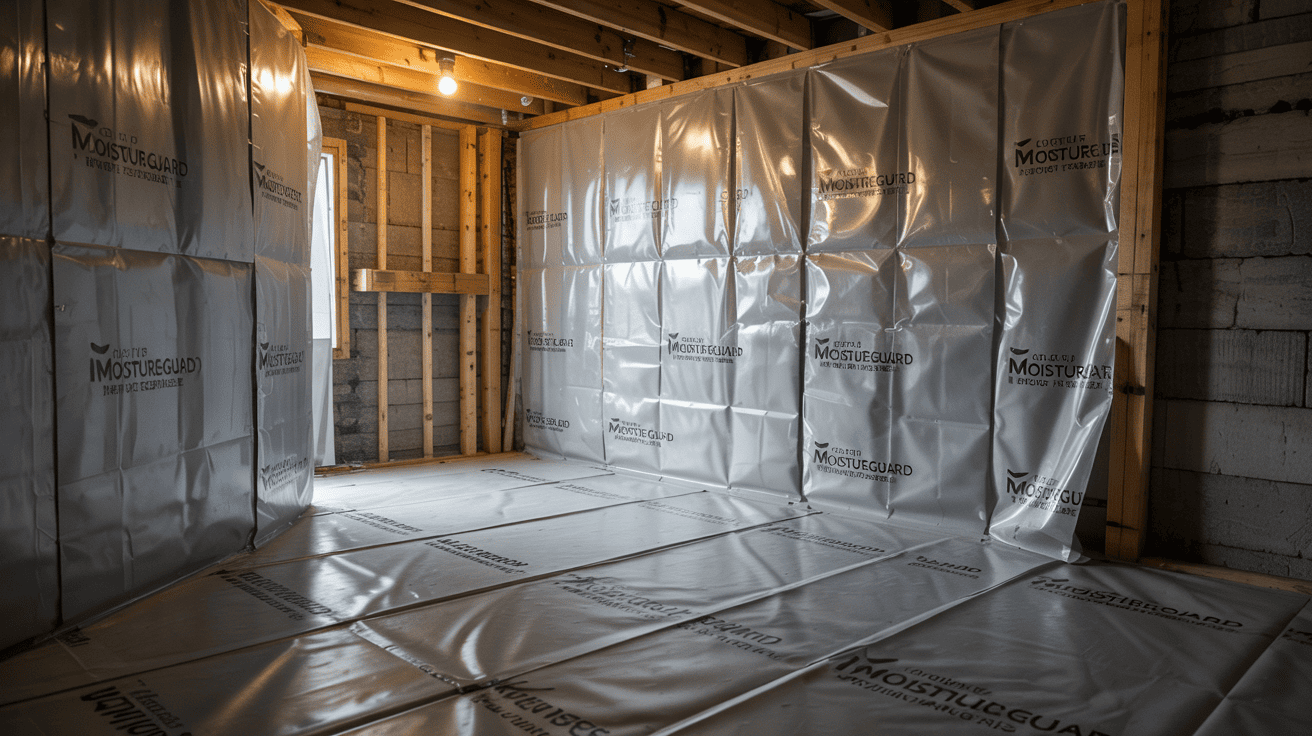
2. Foil-Faced Insulation
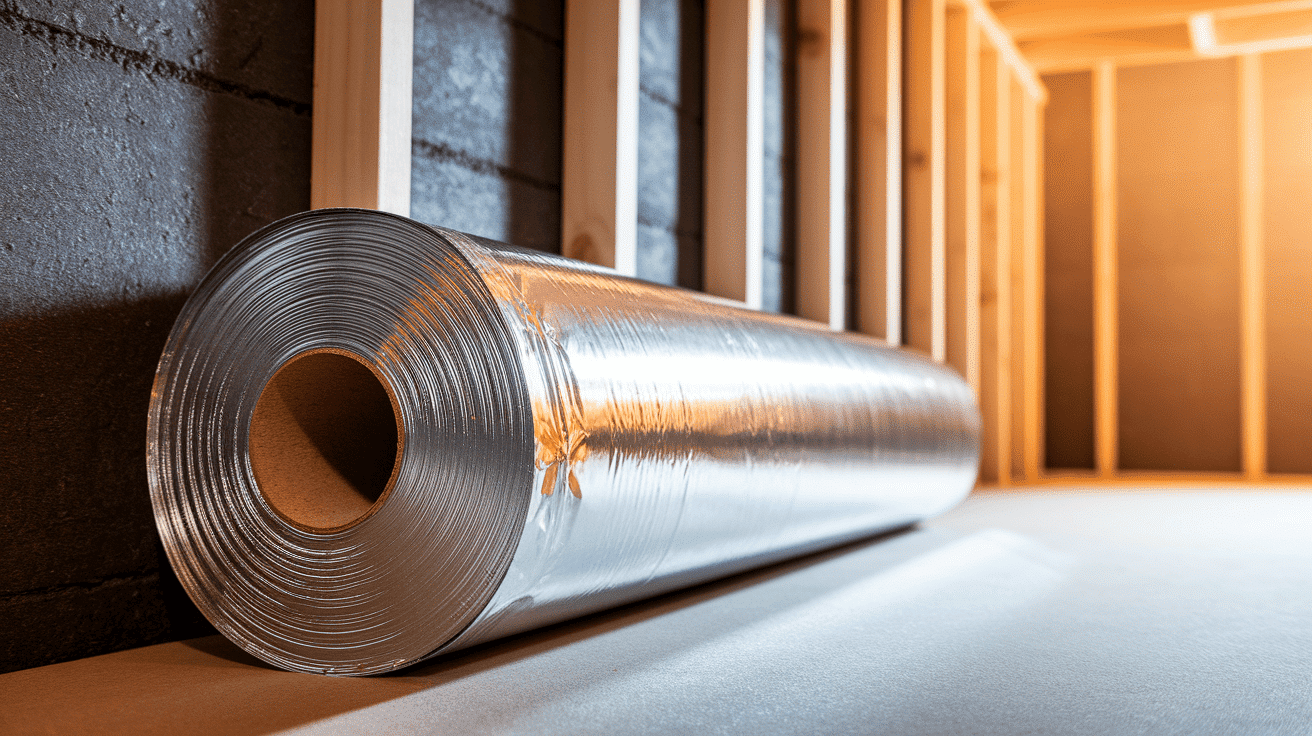
This material combines insulation and vapor protection in one product, making it a smart two-in-one solution. The shiny surface reflects heat back into your basement while blocking moisture from getting through.
It provides both insulation value and moisture protection, helps reduce your heating costs, and comes pre-cut to fit standard wall spacing. This type works best in cold climates where you want energy savings plus effective moisture control.
3. Spray-On Barriers
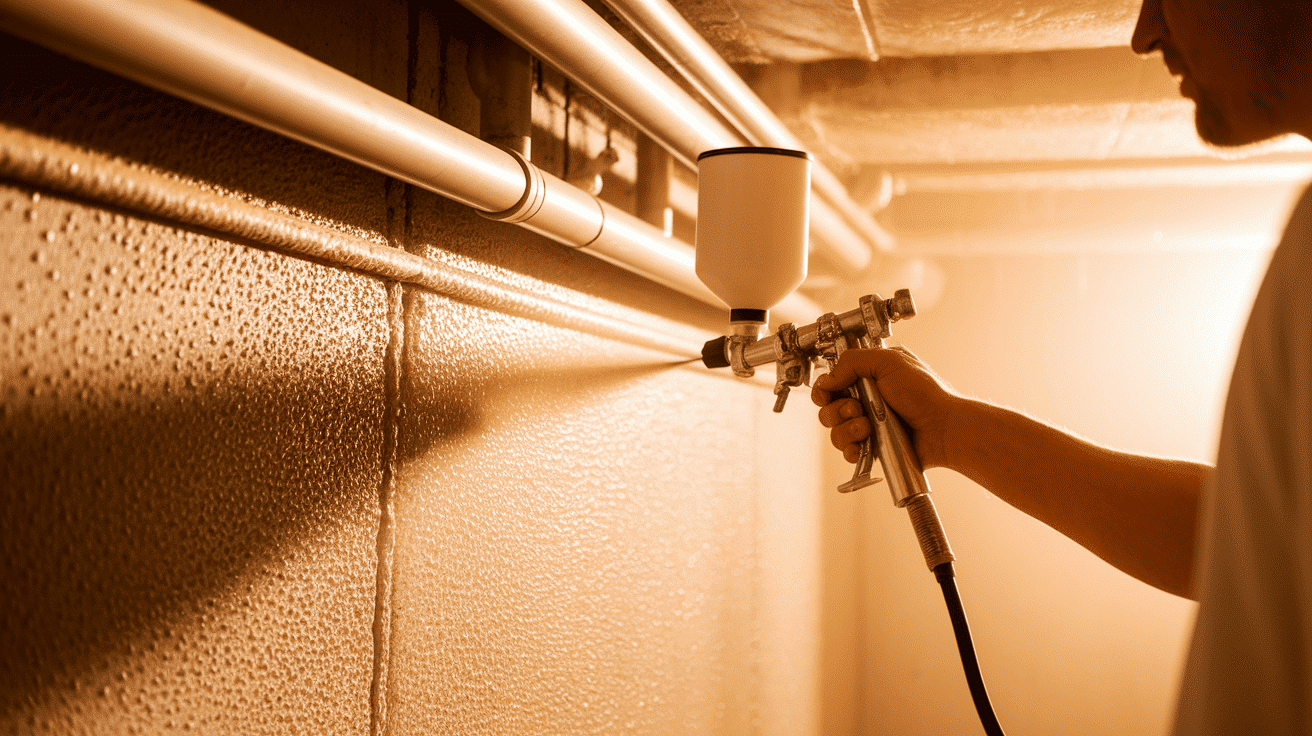
These liquid barriers cure into a continuous seal that completely covers every surface. They cost more than sheet materials but work great in tricky spots where other options struggle.
The application creates no seams or gaps that can leak, seals automatically around pipes and obstacles, and won’t tear or puncture like sheet materials can.
This option is ideal for basements with numerous pipes, irregular surfaces, or areas where traditional sheeting is not suitable.
How to Choose the Right Type?
- Tight budget? Go with polyethylene sheeting.
- Cold climate? Consider foil-faced insulation for extra warmth.
- Lots of pipes and obstacles? Spray-on barriers handle complex areas better.
- Smooth walls? Any type works fine.
- Rough or curved surfaces? Spray-on application gives better coverage.
Installing Basement Vapor Barrier: Step-by-Step Process
Getting your vapor barrier installed correctly is easier than you might think. I’ll walk you through each step so you can tackle this project with confidence and get professional results.
Tools Required:
| Tool | Description |
|---|---|
| Measuring Tape | For measuring wall length and cuts |
| Helper | To assist in holding and positioning material |
| Staple Hammer | To secure the vapor barrier tightly |
| Safety Gear | Gloves and respirators for protection |
Materials Required:
| Material | Description |
|---|---|
| Exterior Barrier (Type R) | Water-diverting barrier behind insulation |
| Insulation | Thermal insulation for heat retention |
| Super Six Poly (Vapor Barrier) | Plastic sheeting for moisture control |
| Staples & Staple Gun | To attach the vapor barrier to the wall |
| Utility Knife/Scissors | For cutting the vapor barrier and insulation |
Step 1: Wall Assessment and Preparation
Before starting any installation work, ensure your basement walls are prepared. This foundational step determines how well your vapor barrier will perform in the long term.
- Inspect walls for cracks, holes, or signs of water damage.
- Test for moisture using the plastic sheet method for 24 hours.
- Clean all surfaces with a stiff brush.
- Fill cracks with hydraulic cement.
- Let repairs cure completely.
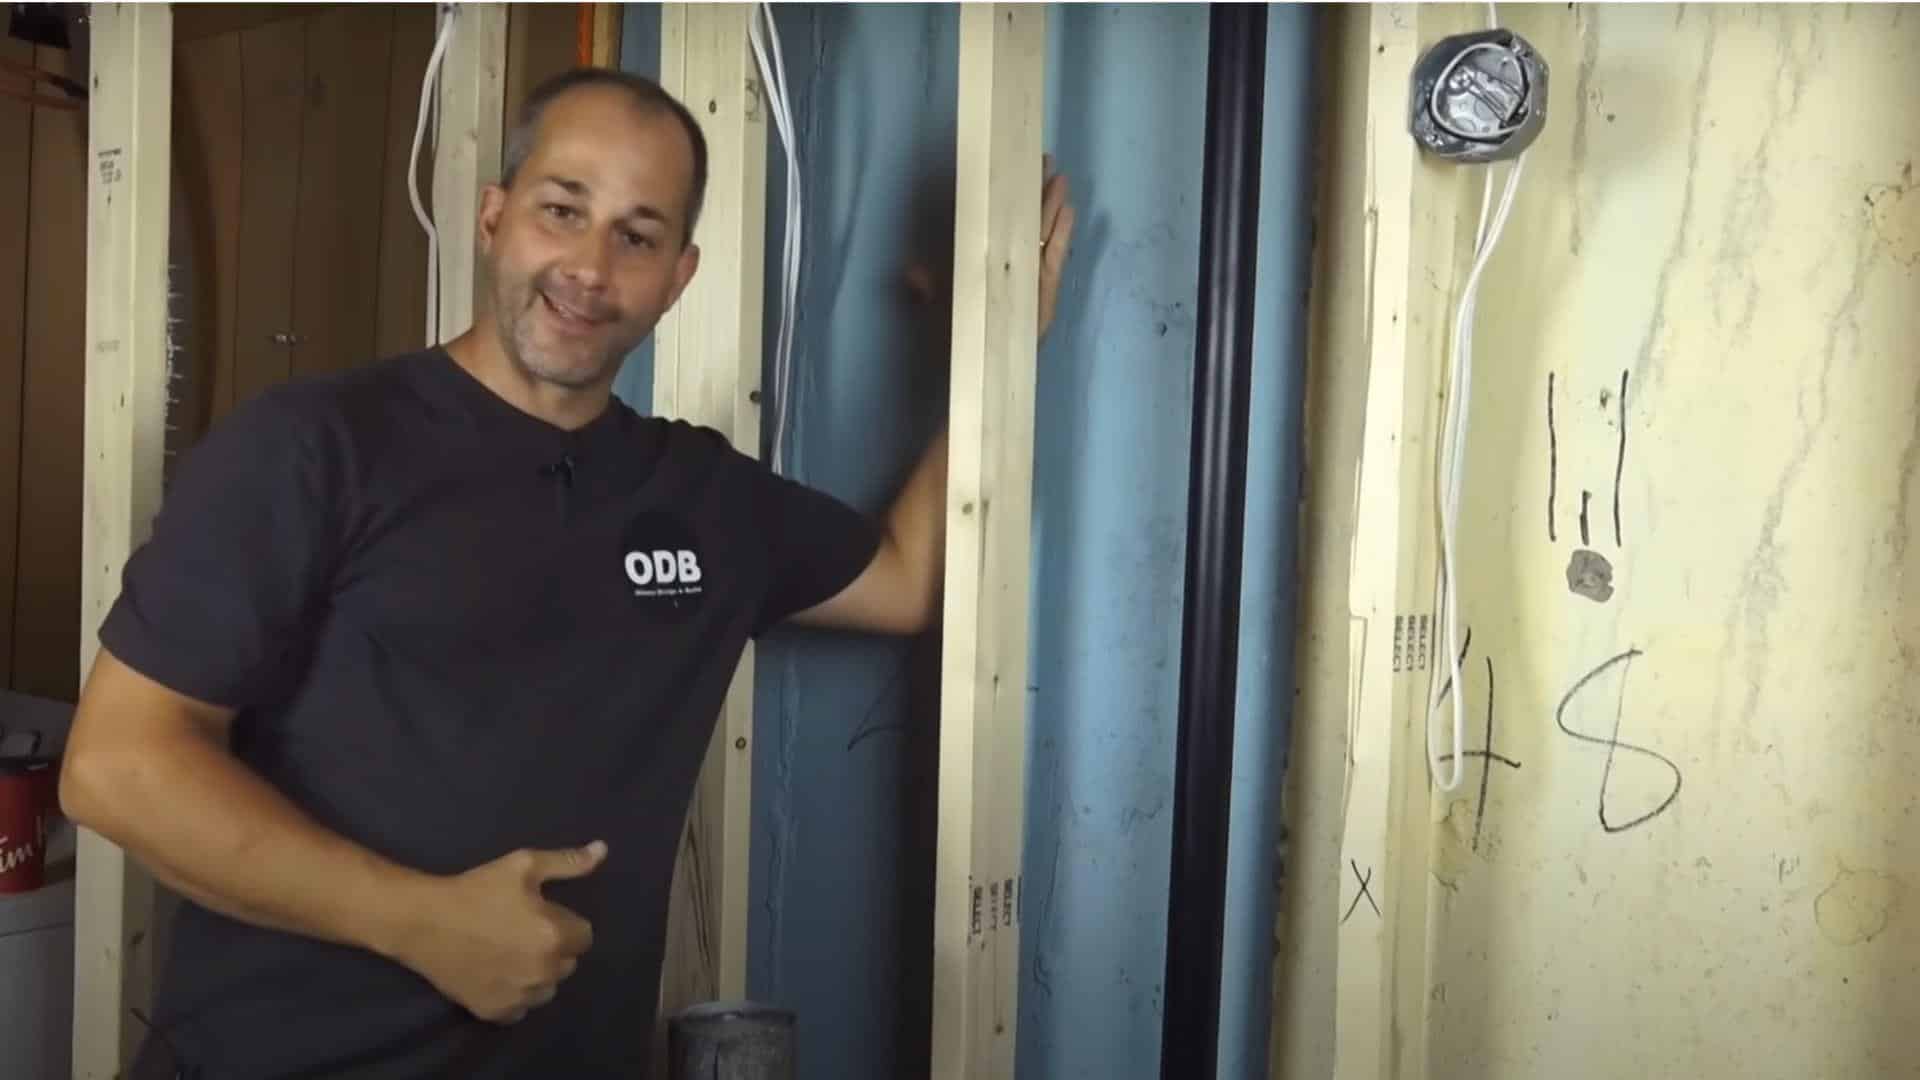
Step 2: Water-Resistant Barrier Installation

This protective layer goes between your wall and insulation to create a moisture management system. Think of it as your first line of defense against water intrusion through foundation walls.
- Cut Type R barrier to wall height.
- Roll the barrier across the wall starting from the corner.
- Staple every 8-12 inches along the edges.
- Leave a small air gap behind the barrier.
Step 3: Measuring and Cutting Vapor Barrier Material
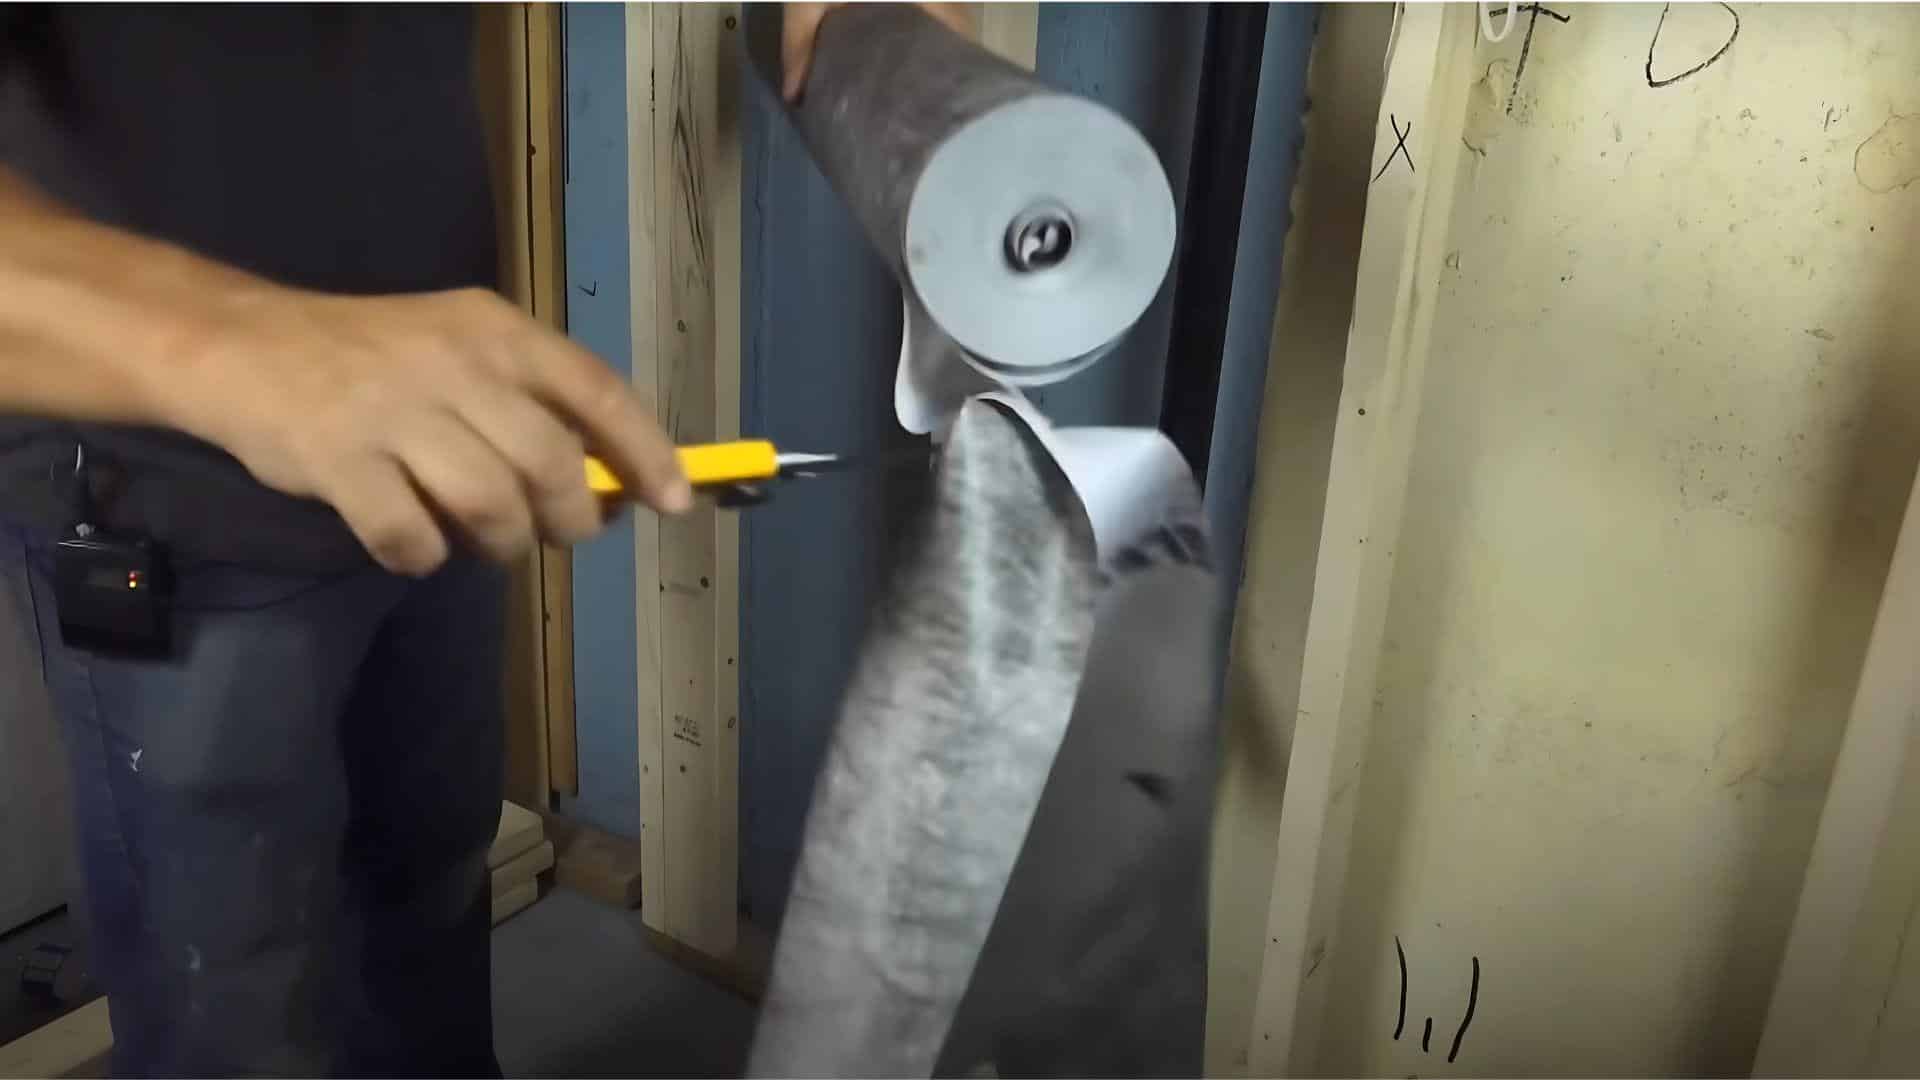
Accurate measurements save time and materials while ensuring complete coverage. Take your time here, as proper sizing prevents gaps that allow moisture to pass through your protective system.
- Measure wall sections from floor to ceiling.
- Add 4-6 inches for adjustments.
- Cut Super Six Poly with a sharp utility knife.
- Keep pieces clean and tear-free.
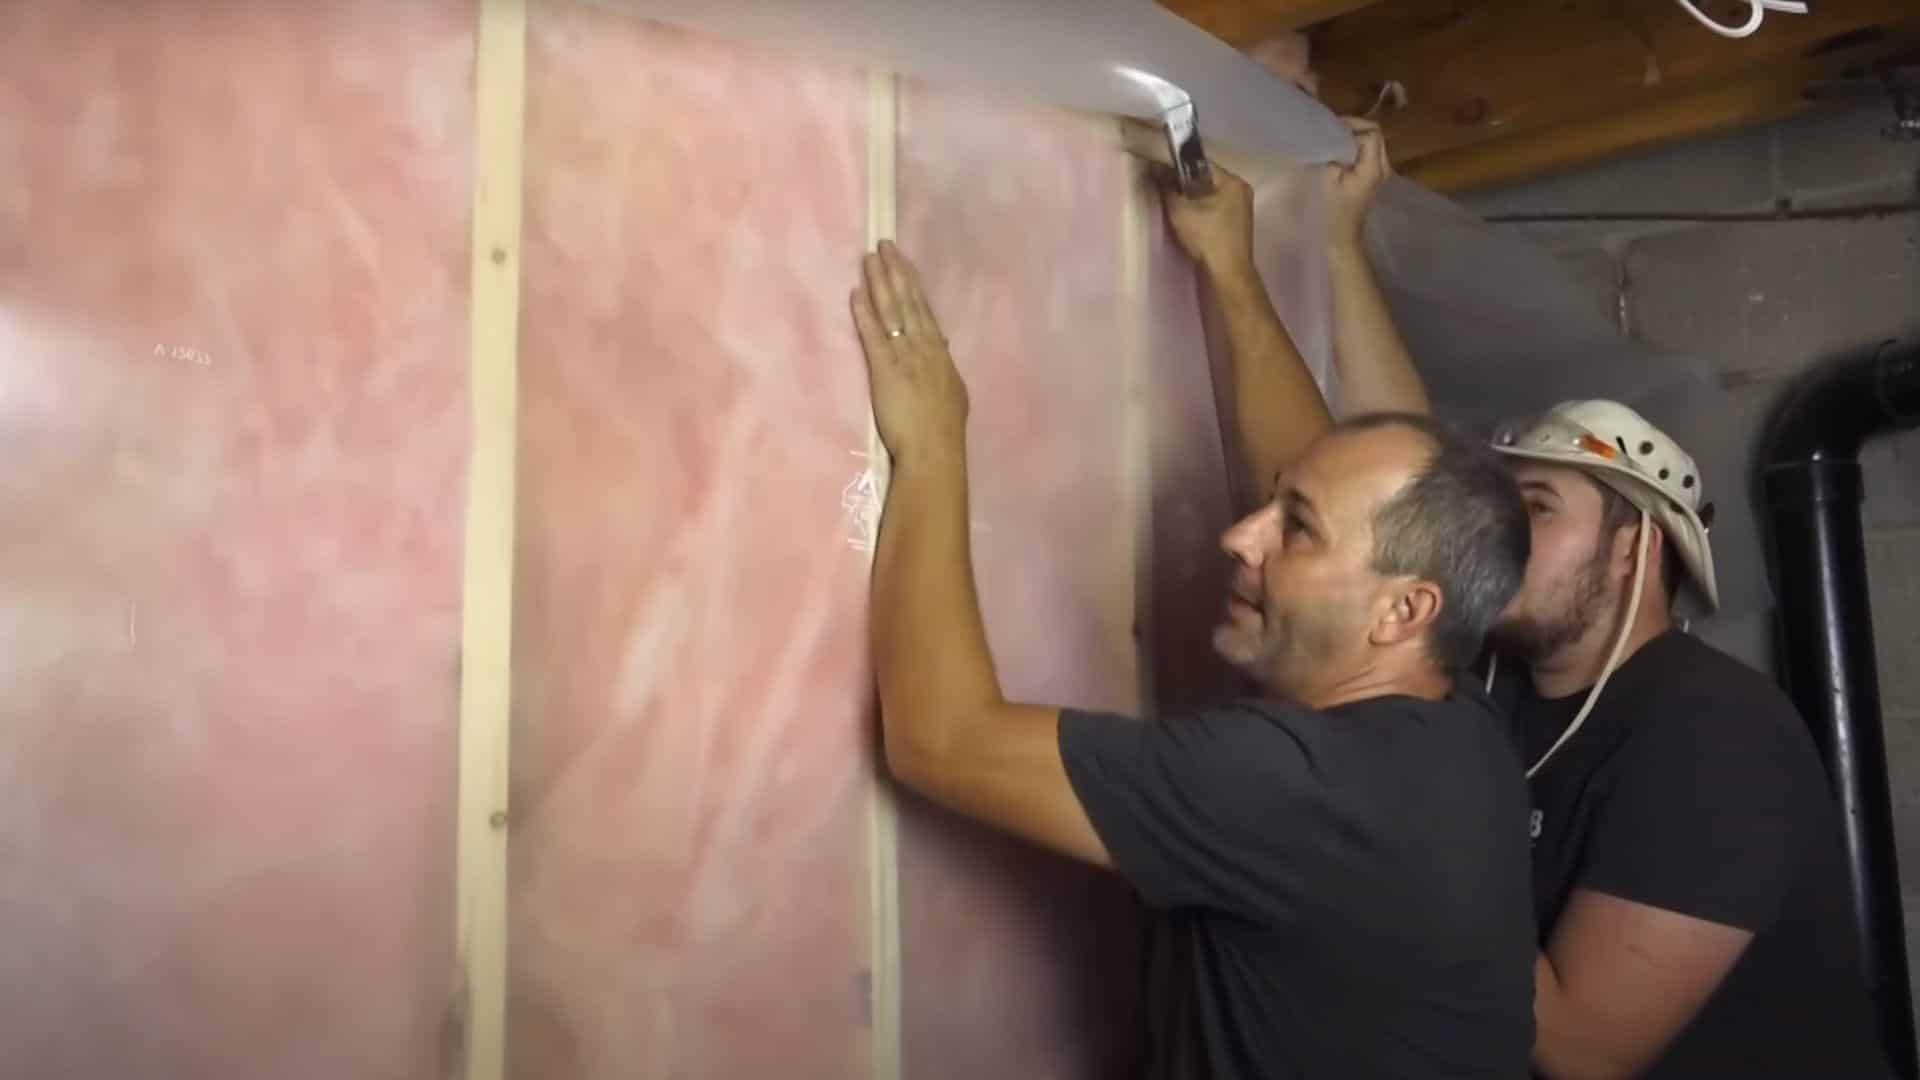
Step 4: Vapor Barrier Attachment and Sealing
This is where your moisture protection comes into its own. Proper installation here means the difference between a dry basement and ongoing humidity problems in your space.
- Position the barrier behind the studs, smooth side facing the room.
- Pull taut without over-stretching.
- Staple every 6-8 inches along studs.
- Seal around pipes and electrical boxes.
- Tape all seams firmly.
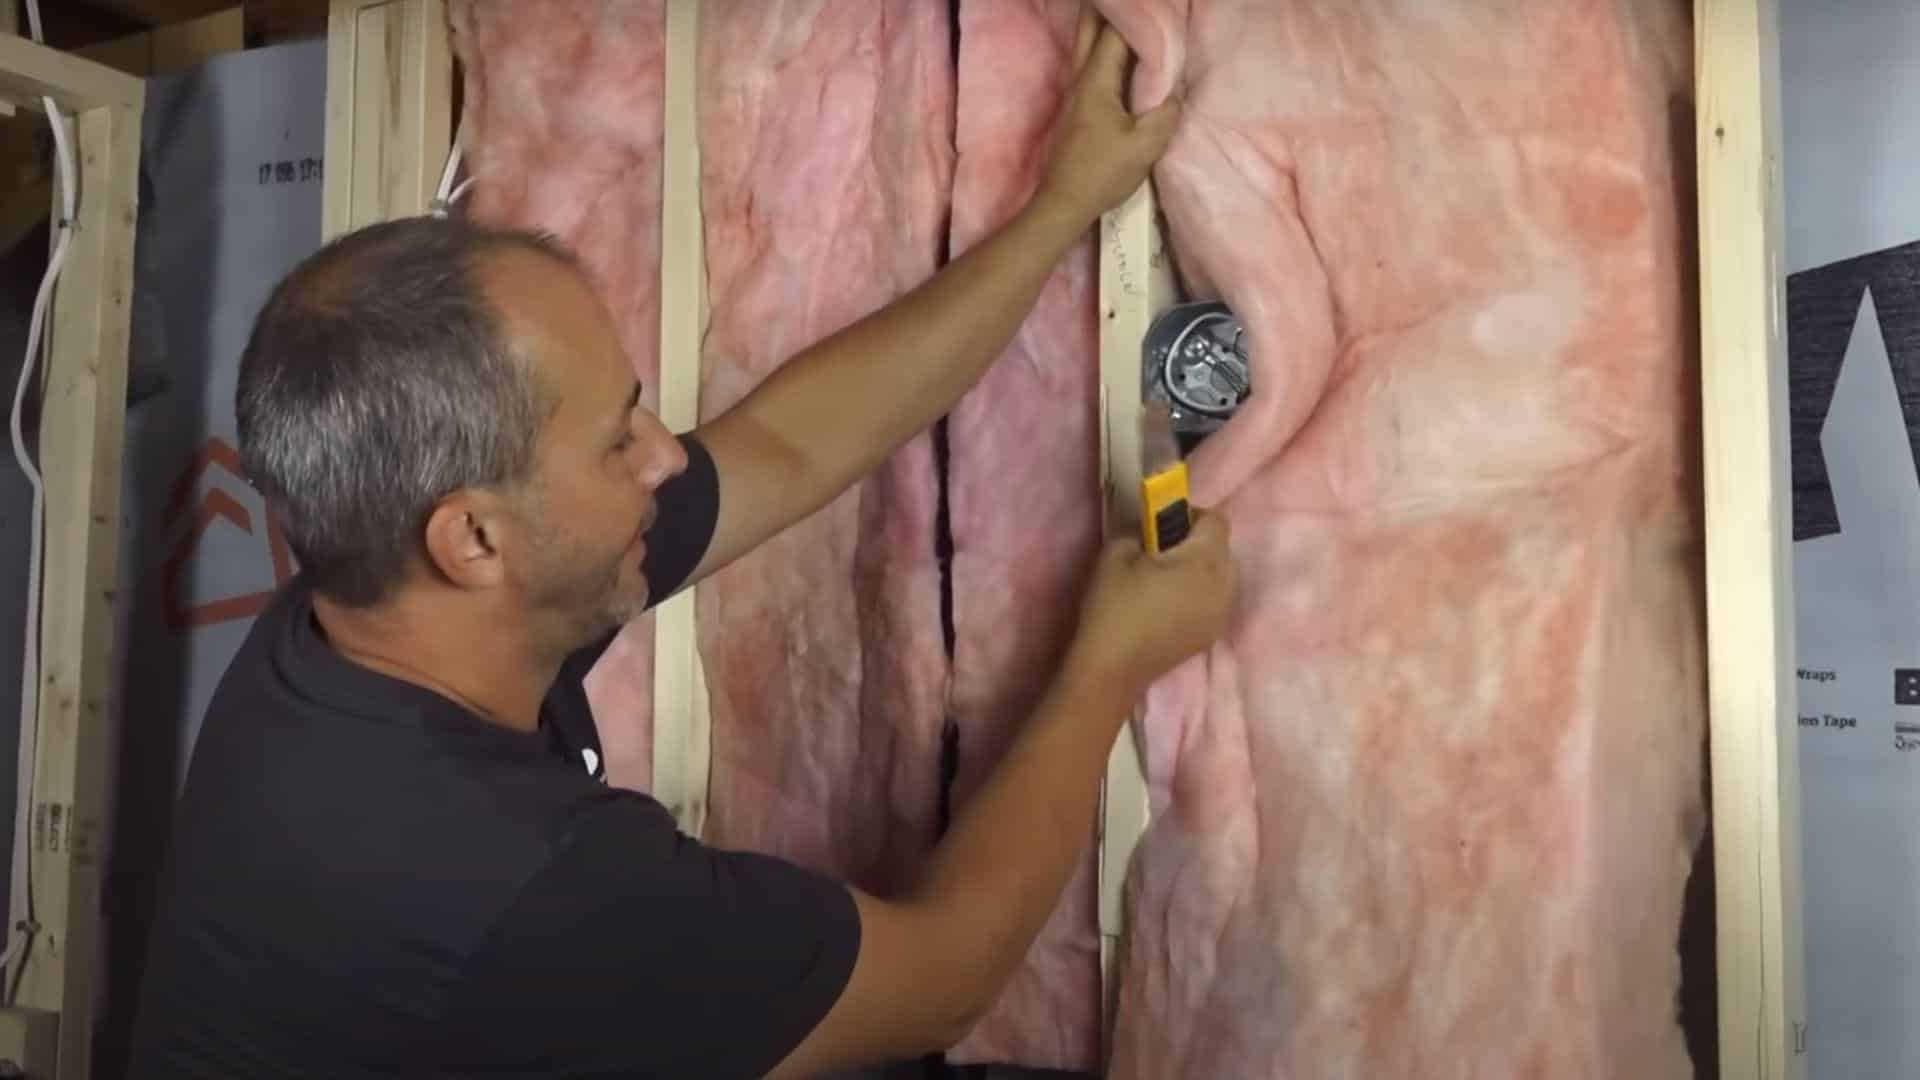
Step 5: Insulation Installation and Fitting
Now, you’ll add insulation that works in conjunction with your vapor barrier to control temperature and moisture. Proper fitting ensures maximum energy efficiency and comfort in your basement space.
- Cut batts to fit snugly between studs
- Trim around fixtures and wiring
- Fill gaps with small insulation pieces
- Keep insulation flush with stud faces
Step 6: Rim Joist Treatment and Final Steps
The rim joist area is often overlooked, but it is critical for complete moisture control. Finishing this area properly prevents air leaks and moisture problems that can undermine your entire system.
- Cut insulation for rim joist cavities.
- Install a vapor barrier over the rim joist area.
- Seal remaining gaps with foam or caulk.
- Trim excess material for drywall prep.
Video Tutorial
Special thanks to Home RenoVision DIY for providing valuable insights in their video, which I referenced while creating this guide on How to Properly Insulate a Basement Wall: NO MOISTURE!
Common Mistakes to Avoid When Installing
Even experienced DIYers can make costly errors when installing vapor barriers. I’ve seen these three mistakes destroy otherwise good installations, leading to moisture problems and wasted money in the long run.
1. Poor Sealing of Seams and Edges
This is why most vapor barriers fail. Tiny gaps let moisture sneak through and get trapped inside your walls, creating the exact problems you’re trying to prevent.
The fix: Clean surfaces before taping, use high-quality vapor barrier tape (not duct tape), press firmly from center outward, overlap seams by 6 inches, and double-check every joint.
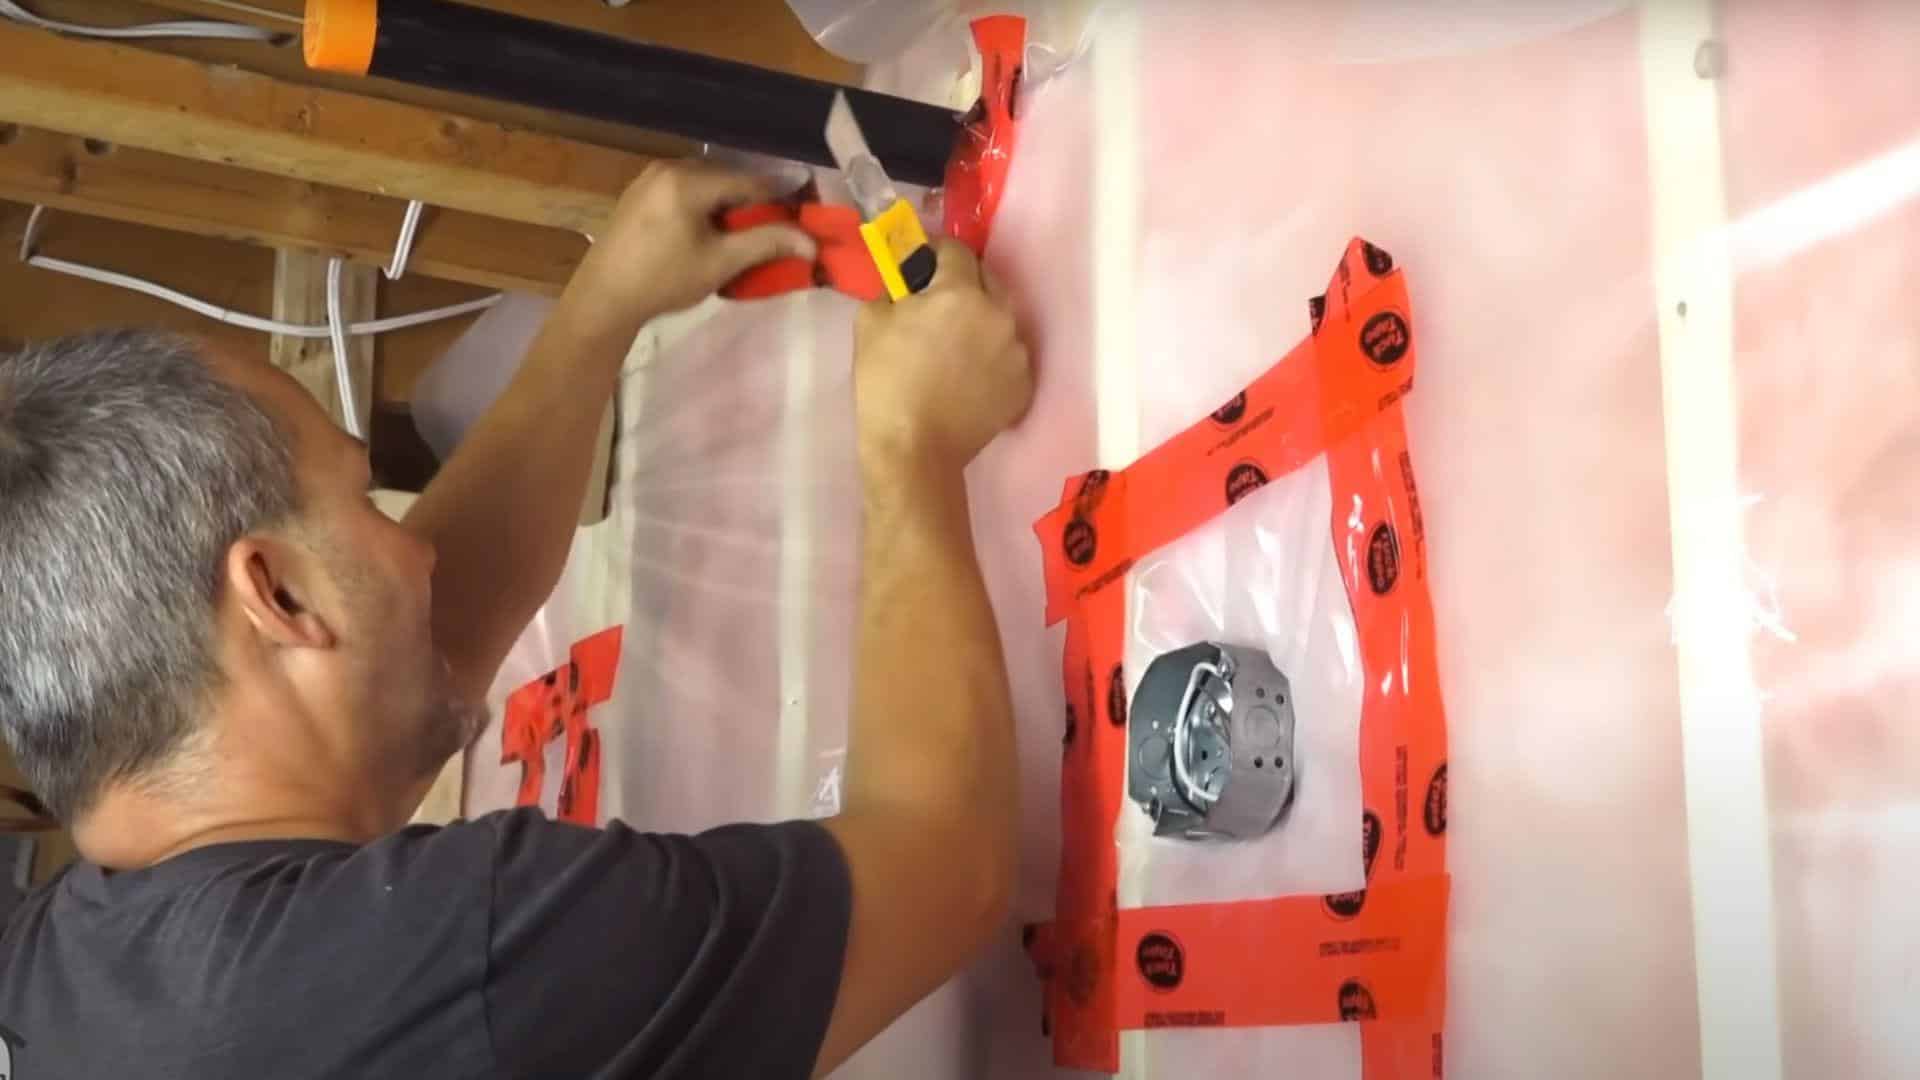
2. Improper Electrical Box Installation
Small gaps around outlets and switches act like open doors for moisture. Warm, humid air reaches cold surfaces and condenses inside your walls.
The fix: Turn off power first, cut the vapor barrier in an X-pattern over boxes, use acoustic sealant around the perimeter, and press the material tightly against the walls with no gaps.
3. Neglecting the Bottom Plate Area
Stopping your vapor barrier work above the floor creates a path for cold air to flow under your entire system. This keeps floors cold and drives up energy bills.
The fix: Extend the vapor barrier to the concrete floor, seal the bottom edge with construction adhesive, install insulation between the bottom plate and foundation, and fill gaps with foam.
Conclusion
You now have everything you need to transform that damp, musty basement into a dry, comfortable space.
Installing the proper vapor barrier system isn’t just about stopping moisture – it’s about protecting your home’s value and creating a healthier living environment for your family.
The key is choosing the right materials for your specific situation and taking time with proper installation.
Remember, most failures occur due to poor sealing, not because the system itself doesn’t work.
When you follow these steps carefully, especially around electrical boxes and the bottom plate area, your vapor barrier will keep moisture out for years to come.
Ready to start your project? Begin with that wall assessment we covered, and take your time with each step. Your future self will thank you for doing it right the first time.