
The first time I picked up a spray can, I ended up with paint on my shoes, the wall, and somehow, in my hair. Not the look I was going for! But that’s the thing about spray paint—it’s simple to start but takes skill to master.
Spray painting allows you to apply quick, smooth color with the press of a button. That’s why so many people love it for furniture, walls, and art projects.
What’s the secret to good spray painting? It’s not just pointing and spraying. It’s about how you move, how far you stand, and the tricks that turn messy spots into a smooth finish.
Want to know how? In the next few minutes, you’ll learn basic spray paint methods that’ll help you start or seriously upgrade your skills.
What is Spray Paint?
Spray paint is a color in a can that comes out when you press the top button. Inside each can, paint mixes with gas that pushes it out in a fine mist. This makes it spread evenly on surfaces like wood, metal, plastic, and more.
Unlike brush paint, spray paint dries much faster. Most spray paints are either water-based (acrylic) or oil-based (enamel), and each type works better on certain materials. The tiny paint droplets stick to surfaces and form a smooth coat when they dry. Benefits of Spray Paint:
- Speed – Covers large areas much faster than brushes or rollers
- Smooth finish – No brush marks or roller texture
- Even coating – Consistent thickness across the whole surface
- Reaches tight spots – Gets into corners and small areas, brushes can’t
- No cleanup tools – No brushes to wash or rollers to store
- Many surfaces – Works on wood, metal, plastic, glass, and more
- Quick drying – Most surfaces are dry to touch in 15-30 minutes
- Cost-effective – Often cheaper than buying paint, primer, and tools separately
Spray paint comes in countless colors and finishes, from flat to high gloss. There are even special types that create texture or glow in the dark.
Top 5 Spray Paint Techniques
Get right to the methods that will make your spray paint projects look professional from day one.
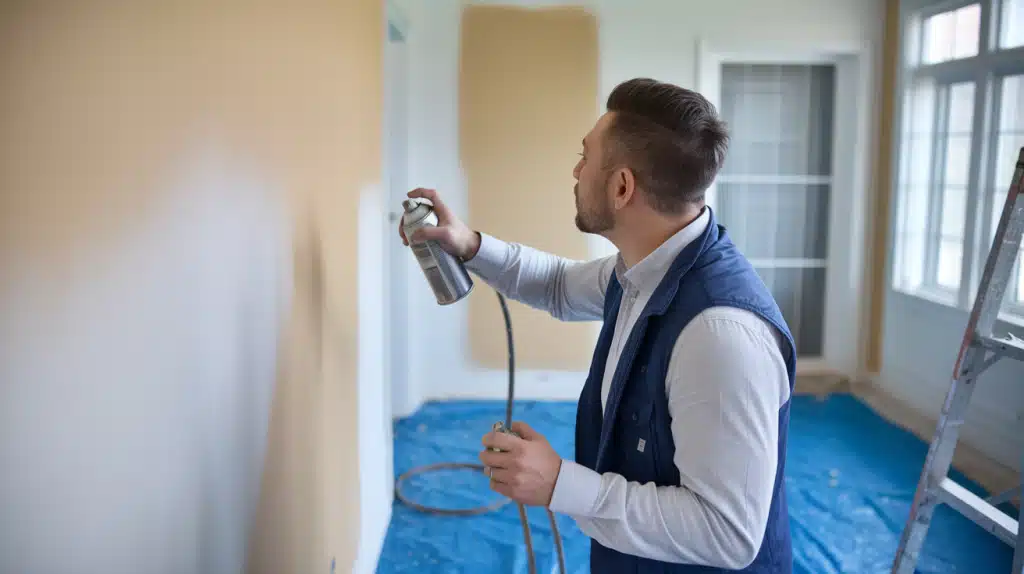
1. The Smooth Sweep
The smooth sweep is all about arm motion. You start from one side and move across in one fluid motion. Keep your arm steady and your speed even as you press the nozzle.
This method works best for flat surfaces like walls or furniture pieces. The key is to keep moving before, during, and after you spray. This stops paint buildup and those ugly drip marks.
Pro Tips:
- Try the motion first without pressing the nozzle
- Hold the can 6-8 inches away from your surface
- Move in straight lines, slightly overlapping each pass
- Start and end your spray off the edge of your project when possible
2. The Dusting Method
Dusting means spraying from farther away than normal. Stand about 12-15 inches back and use short bursts. The paint will fall gently, like dust or mist, on your surface.
This creates a softer look with less coverage. It’s perfect for adding texture or a light coat of color over an existing finish. You can build up the color slowly to get just the right look.
Pro Tip:
- Move your arm faster than with regular spraying
- Use quick, short bursts rather than holding down the nozzle
- Great for vintage or worn-out looks on furniture
- Try different distances to change the effect
3. Stencil Work
Stencil work uses pre-cut shapes to make clean designs. Place your stencil flat against the surface and spray lightly over the cutout areas. The paint only hits the exposed parts.
This method gives you exact shapes without needing freehand skill. You can make your own stencils from cardboard or plastic sheets, or you can buy store-bought stencils in many designs.
Pro Tip:
- Tape down edges to prevent paint from seeping underneath
- Use very light coats to avoid bleed-through
- Clean stencils right after use to keep them crisp
- Try layering different stencils for complex designs
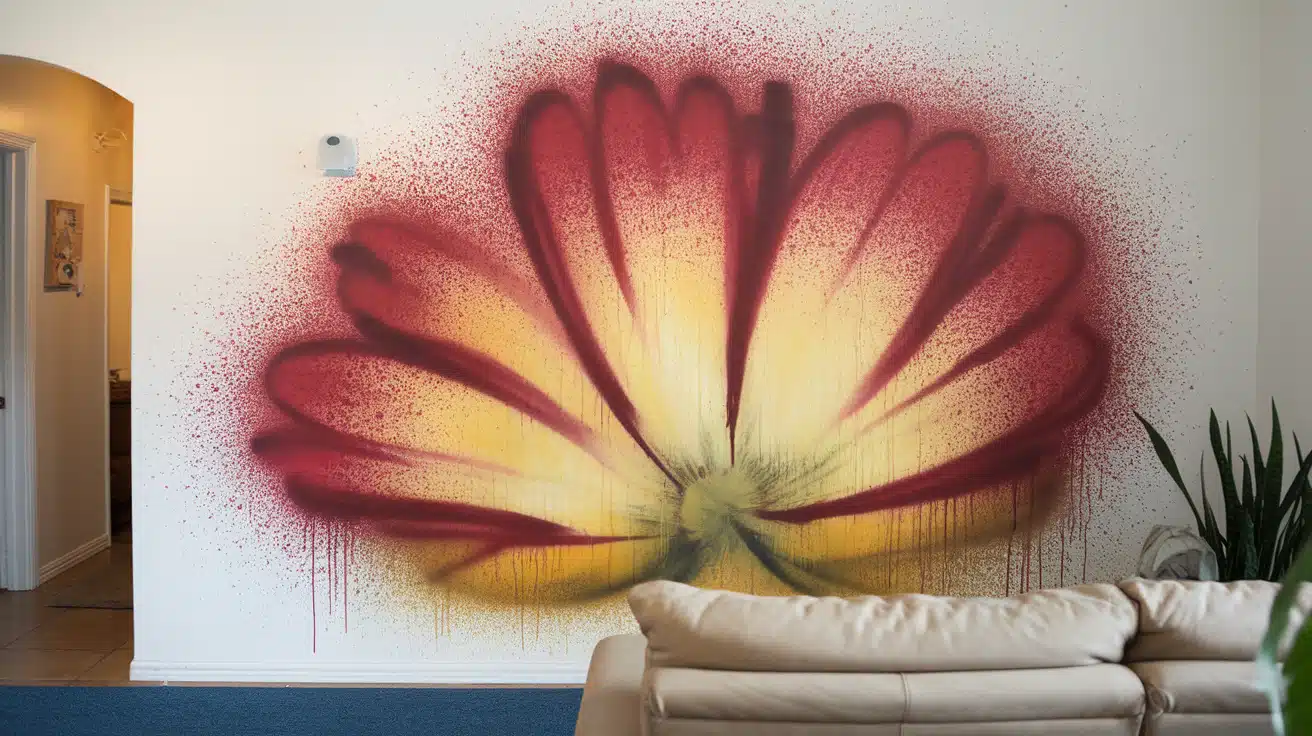
4. The Fade or Gradient
The fade creates a smooth change from one color to another. You start with one color at the bottom and slowly move to the next color as you go up. The middle section gets both colors.
The trick is how you overlap the colors. Spray the second color where the first one starts to thin out. You can use this for backgrounds, art pieces, or to add depth to projects.
Pro Tip:
- Always start with the lighter color first
- Practice on scrap material to get the blend right
- Use three or more colors for rainbow effects
- Spray in a well-lit area to see the blend forming
5. The Splatter Technique
Splatter makes tiny dots and marks that look random but cool. Press the nozzle only partway down or use a can that’s running low on pressure. The paint comes out in bursts instead of a stream.
This works great for galaxy effects, abstract art, or adding texture. Each splatter looks one-of-a-kind, giving your work a hand-done feel that flat paint can’t match.
Pro Tip:
- Use a nearly empty can for natural splatters
- Adjust finger pressure on the nozzle for different splatter sizes
- Try on small areas first—splatters can be hard to control
- Use contrasting colors over a base coat for best results
Choosing the Right Spray Paint for Your Project
Picking the correct paint makes all the difference between a project that lasts for years and one that peels off after a week.
Spray paint comes in many forms. Each type works best for specific materials and places. The right choice depends on what you’re painting, where it will go, and the look you want.
Let’s look at the main types of spray paint, where to use them, and some good brands for beginners.
| Paint Type | Best For | Indoor/Outdoor | Drying Time | Top Beginner Brands |
|---|---|---|---|---|
| Acrylic | Wood, craft projects, and quick jobs | Both (better for indoor) | 15-30 minutes | Krylon ColorMaster, Rust-Oleum Painter’s Touch |
| Enamel | Metal, plastic, high-touch items | Both (great for outdoor) | 30-60 minutes | Rust-Oleum Stops Rust, Krylon Fusion |
| Chalk | Furniture, vintage looks | Indoor | 30 minutes | Rust-Oleum Chalked, Krylon Chalky Finish |
| Lacquer | Cars, a smooth finish needs | Outdoor only | 5-10 minutes | Duplicolor, Spraymax 2K |
| Plastic-specific | Plastic chairs, toys | Both | 20-30 minutes | Krylon Fusion, Rust-Oleum Plastic |
For your first spray paint project, pick a paint made for your surface. Read the can label – it will tell you which materials the paint sticks to best.
For outdoor items that face sun and rain, choose paints marked “outdoor” or “all-weather.” These have extra stuff in them to stop fading and peeling.
Indoor projects need low-odor paints. Many brands now make paints with less smell, which helps when you can’t work outside.
If you’re new to spray painting, start with brands like Rust-Oleum or Krylon. They cost less than fancy brands but still give good results. Most come with tips that are easy to press and control.
For projects involving glass surfaces, selecting the right paint is crucial. Our article on Flawless Glass Painting: 11 Best Spray Paints provides insights into the top choices for achieving a smooth, durable finish.
7 Must-Follow Tips When Spray Painting
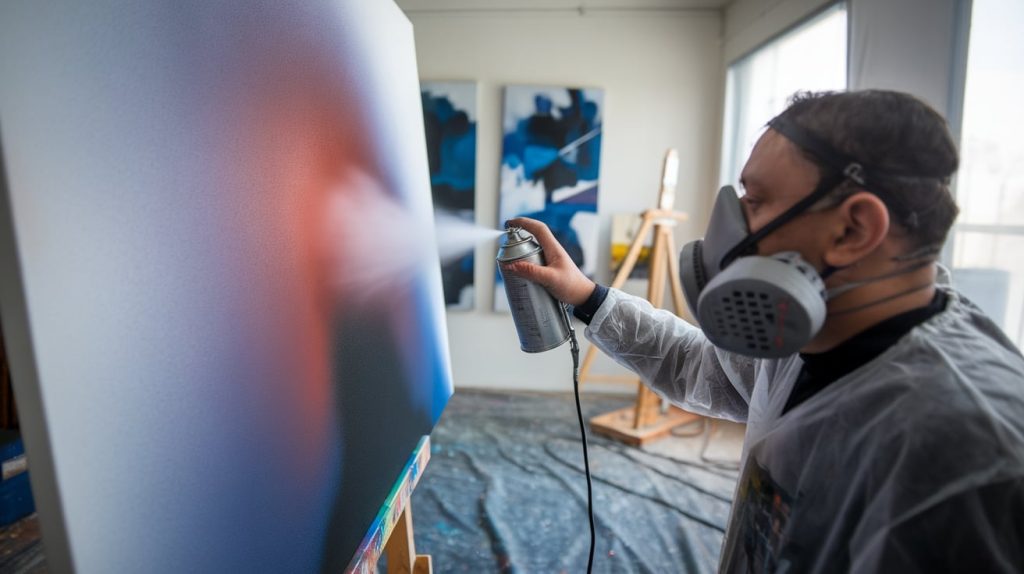
1. Always wear a proper respirator mask, not just a dust mask. Paint fumes contain harmful chemicals that can damage your lungs over time. An adequate respirator with paint-rated filters blocks these tiny particles.
2. Cover your skin with long sleeves and gloves to prevent chemical contact. Paint can be absorbed through the skin and cause irritation or worse. Nitrile gloves work better than latex gloves for chemical protection.
3. Work in a well-ventilated space or outdoors: away from open flames or heat sources. Spray paint is highly flammable. Good airflow prevents fume buildup and reduces fire risk.
4. Use drop cloths to catch overspray and protect surfaces. Paint particles travel farther than you think. Plastic sheeting or old bedsheets can also save hours of cleanup time later.
5. Keep spray paint away from kids and pets during and after use – The bright colors attract curious children and animals. Store cans out of reach and never leave projects unattended while drying.
6. Empty cans should be disposed of at hazardous waste centers, not in regular trash. Even empty cans contain residual chemicals that can harm the environment if sent to landfills.
7. Wash hands well after painting, even if you wore gloves – Tiny paint particles can still get on your skin and transfer to food or your face later.
How to Fix Spray Paint Mistakes Without Starting Over?
Don’t panic when things go wrong—these simple fixes can save your project without starting from scratch.
1. Problem: Paint Runs or Drips
Fix: Wait until completely dry, then sand the drip gently with fine sandpaper (220 grit). Apply thin touch-up coats over the sanded area, feathering outward for an even blend.
2. Problem: Uneven Coverage
Fix: Lightly sand the whole surface with 400-grit sandpaper, wipe clean, then apply fresh, thin coats. Focus on building up thinner areas gradually rather than trying to fix in one heavy coat.
3. Problem: Overspray on Other Surfaces
Fix: To clean fresh overspray on glass or metal, use rubbing alcohol on a soft cloth. To clean dried overspray on hard surfaces, try a plastic scraper or a credit card edge.
4. Problem: Orange Peel Texture
Fix: Sand affected areas with 320-grit paper after they are fully dry, clean with tack cloth, and then reapply paint in thinner, more distant coats. Temperature control helps prevent this issue.
5. Problem: Wrong Color Choice
Fix: If you’re going lighter, add a thin coat of white primer over your mistake, or apply a darker color directly over the error. There’s no need to remove all the old paint first.
Final Thoughts
Spray painting opens up a world of color with just the press of a button. Now you know the basic methods, safety steps, and how to pick the right paint for your project.
Remember, the smooth sweep gives even coverage, while dusting creates soft effects. Stencils make clean shapes, and fades blend colors nicely. When things go wrong, you have fixes ready.
Start with small projects. A picture frame or a flower pot makes a good practice. As you get better, try bigger items like furniture.
What matters most is having fun with it. Spray painting should bring joy, not stress. Your first tries might not be perfect—mine sure weren’t! But each project teaches you something new.
So grab that can, shake it well, and make something colorful today!