27 Popular Backsplash Ideas with Oak Cabinets and Dark Countertop to Choose
Are you stuck picking the right backsplash for your oak cabinets and dark countertops? I get it – it’s not easy to find the perfect match that brings your kitchen together.
I’ve spent years helping homeowners choose backsplashes, and I know what works. Today, I’m sharing 27 great backsplash ideas with oak cabinets and dark countertops.
Some are simple, others make a statement, but each one can turn your kitchen into a space you’ll love.
In this guide, I’ll show you options from classic subway tiles to natural stone, plus tips on what makes each choice work well.
Let’s find the backsplash that’s right for your kitchen.
Different Backsplash Materials with Prices I Prefer
| Tile Type | Price | What I Like |
|---|---|---|
| Ceramic Tiles | $2 – $10 per square foot | Wide variety of styles and colors. Budget-friendly, easy to clean, spill-resistant. |
| Glass Tiles | $7 – $30 per square foot | It is affordable, stylish, and a good option for tight budgets. |
| Natural Stone | $15 – $40 per square foot | It creates unique light effects, great for modern kitchens, and is easy to clean. |
| Porcelain Tiles | $3 – $15 per square foot | Durable, water and stain-resistant, ideal for busy kitchens. |
| Metal Tiles | $20 – $45 per square foot | There is a unique character in each piece. Complements oak cabinets beautifully. |
| Vinyl | $1 – $5 per square foot | Affordable, stylish, and a good option for tight budgets. |
Backsplash with Oak Cabinets and Dark Countertop Ideas
1. Classic White Subway Tiles (Approximate Budget – $250-350)
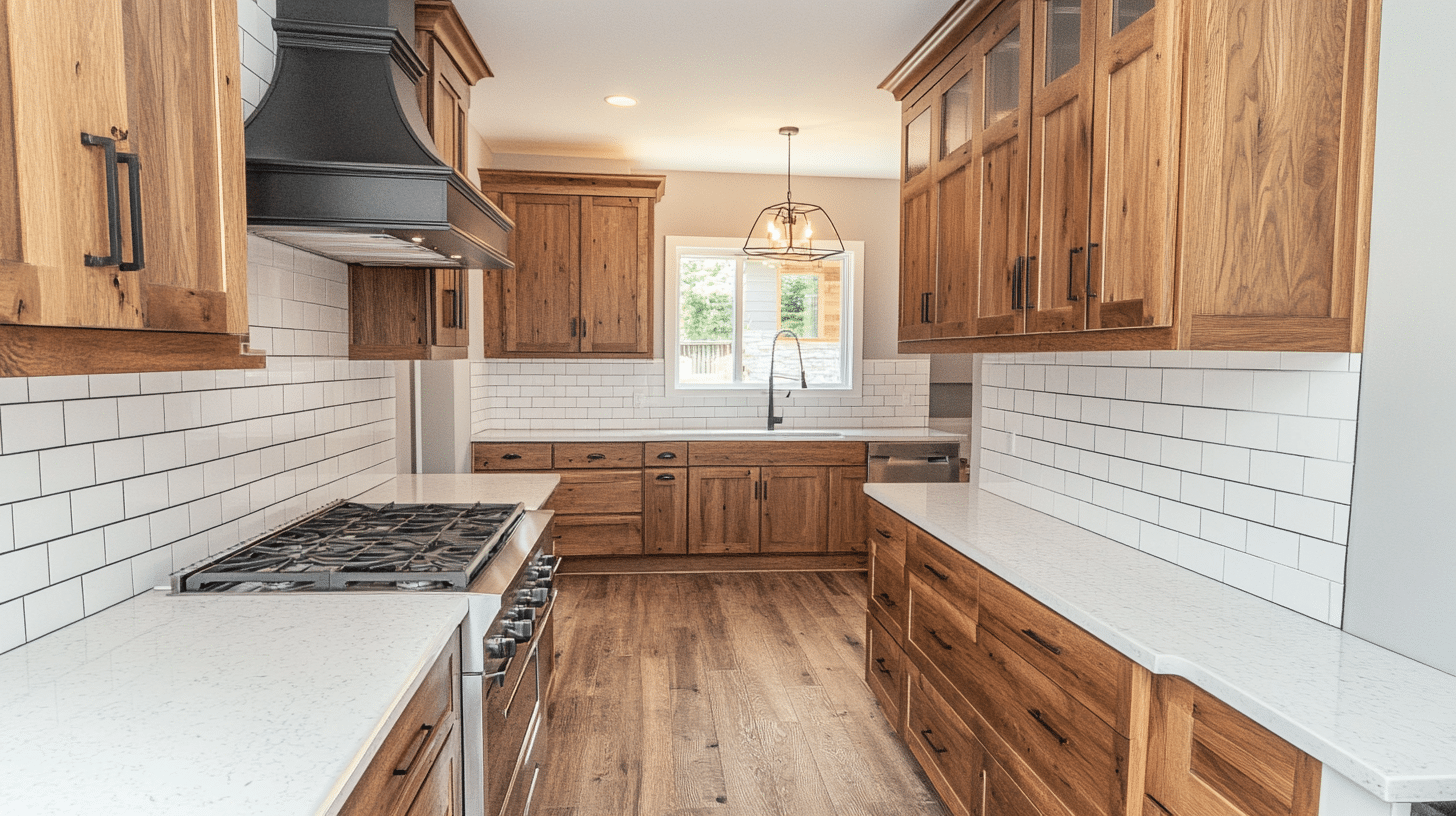
I’ve seen many kitchens with oak cabinets and white subway tiles remain a top choice. The clean white background makes oak cabinets look fresh and well-cared-for.
I find that the straight lines of subway tiles create a nice balance with wood grain patterns. Plus, they’re easy to clean and never go out of style.
2. Beige Travertine (Approximate Budget – $600-850)
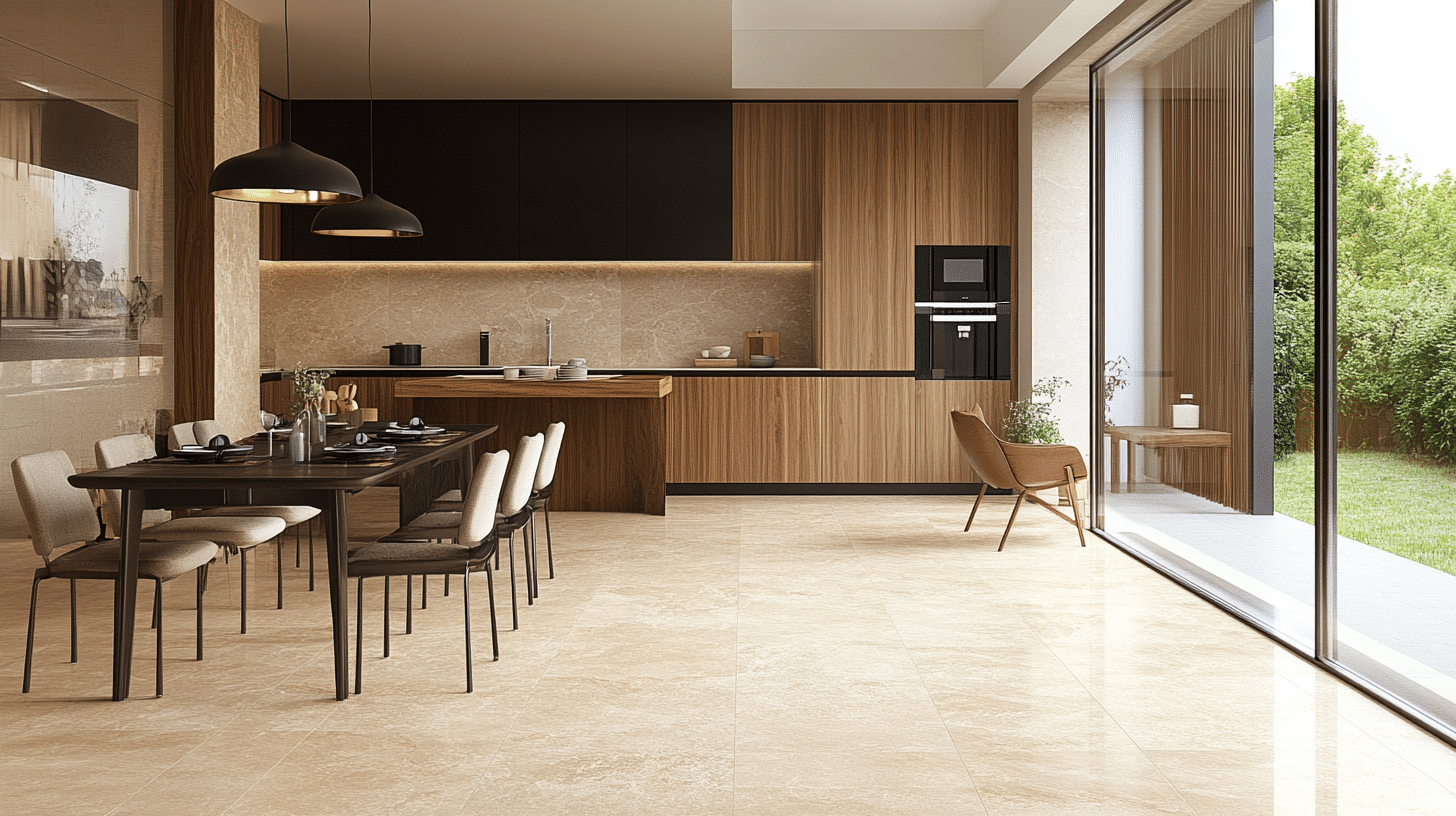
When I work with oak cabinets, I often suggest travertine for its natural warmth. Each piece has unique patterns that blend perfectly with wood grain.
The beige tones create a gentle transition between cabinets and dark counters. I’ve noticed that natural stone brings out the best in oak’s character.
3. Glass Mosaic in Earth Tones (Approximate Budget – $750-1200)
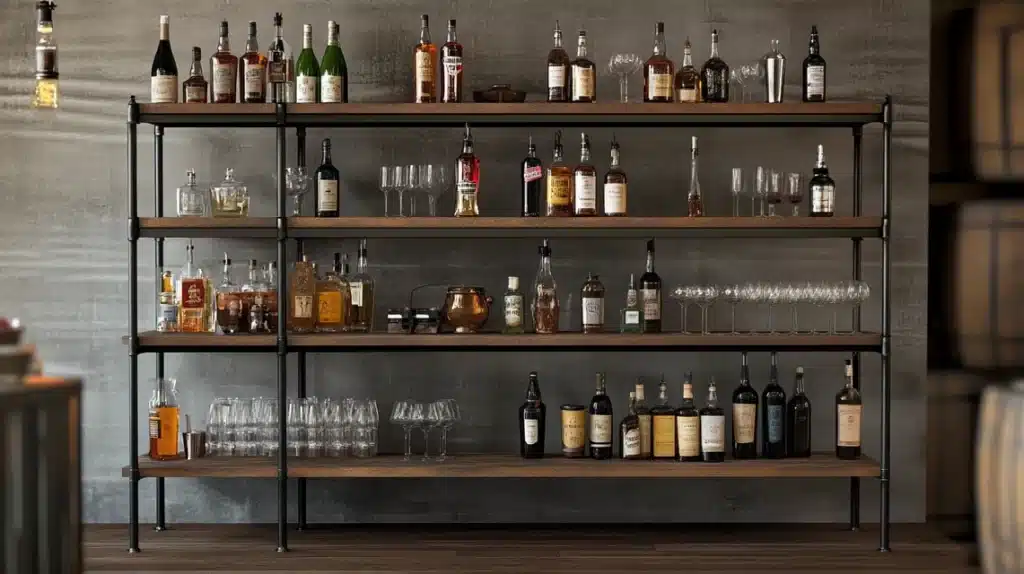
I love using glass mosaics in kitchens with oak cabinets. The small pieces in browns and tans catch light beautifully while matching the wood’s color.
From my experience, this combination works best when you pick mosaic pieces with lighter and darker shades. This creates a natural link between your cabinets and countertops.
4. Cream Ceramic Squares (Approximate Budget – $300-400)
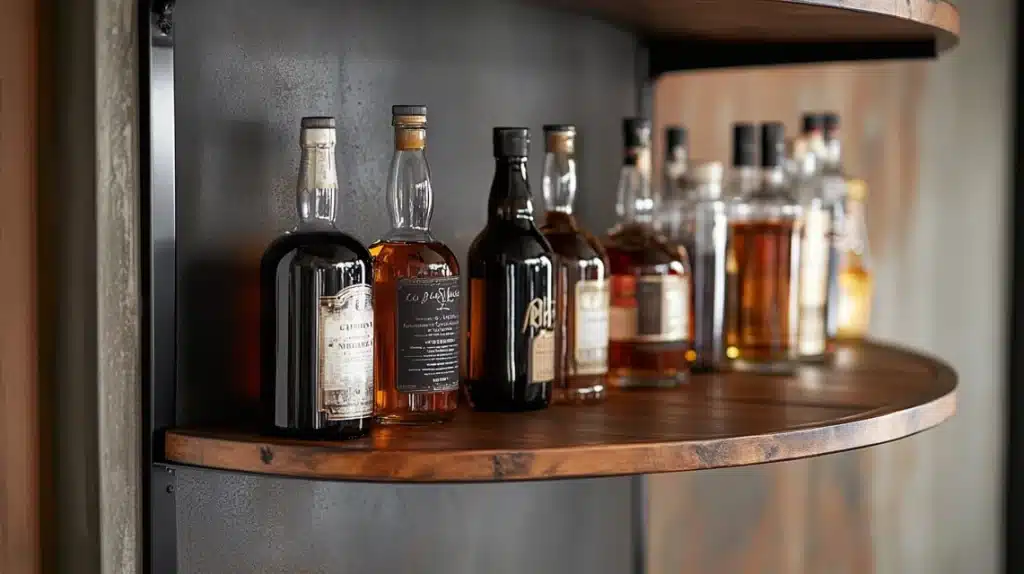
I recommend cream ceramic squares when you want something simple but effective. These tiles create a clean backdrop that lets your oak cabinets be the star.
The light cream color brightens your kitchen space without fighting against the wood tones. I’ve found that square tiles work great for both small and large kitchen spaces.
5. Gray Stone Stack (Approximate Budget – $700-1000)
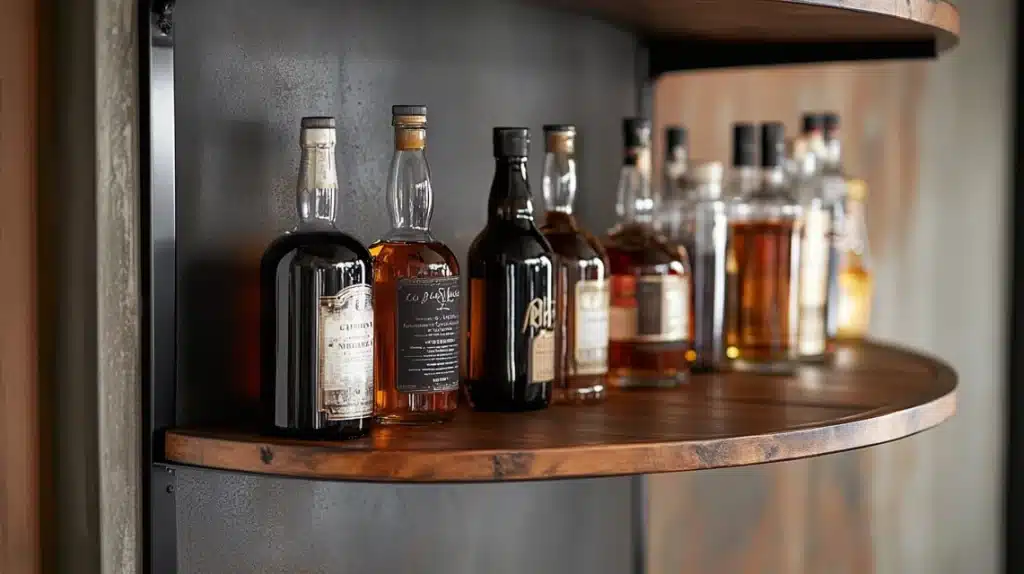
From my kitchen design experience, gray stacked stone creates a wonderful texture. The gray tones connect naturally with dark countertops while letting oak cabinets pop.
I often suggest this to homeowners who want something different from flat tiles. The layers of stone add depth without making the space feel busy.
6. Bronze Metal Tiles (Approximate Budget – $800-1200)
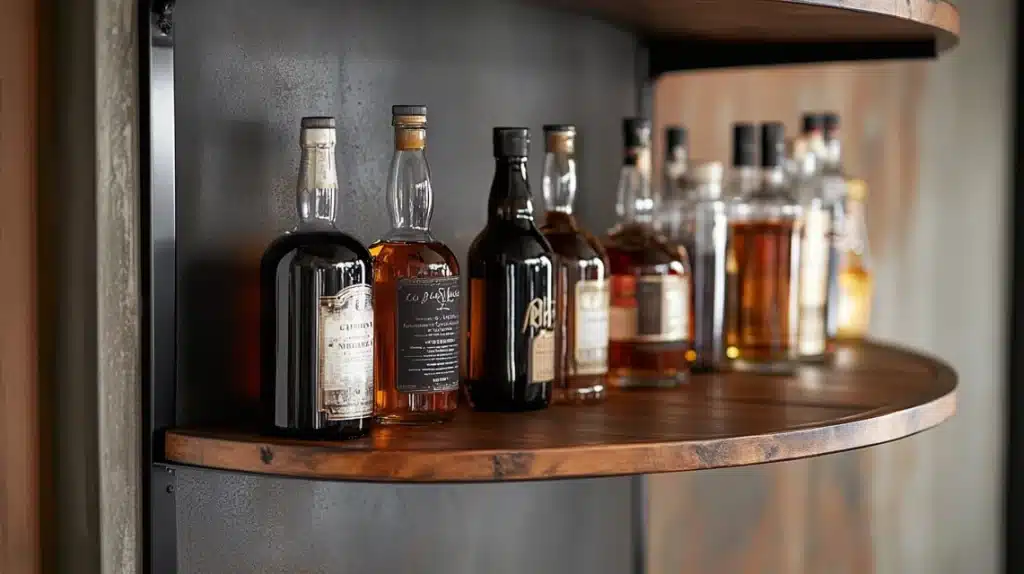
When I help people choose metal tiles, bronze is perfect with oak cabinets. The warm metallic tones pick up the golden hints in the wood.
I’ve seen how these tiles change through the day – they look stunning when sunlight hits them in the morning and create a warm glow under cabinet lights at night.
7. White and Gray Marble (Approximate Budget – $900-1400)
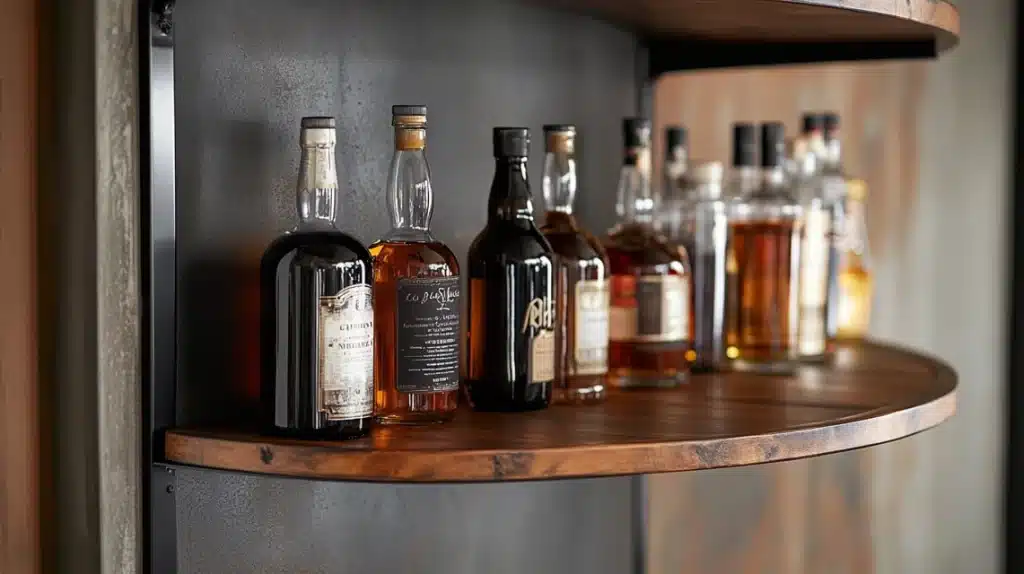
I love using marble with oak cabinets because it adds natural movement to the space. The swirling patterns in white and gray marble make a beautiful transition between cabinets and counters.
I tell my clients that marble needs some care, but its natural beauty is worth the extra attention.
8. Honey Onyx Mosaic (Approximate Budget – $1000-1500)
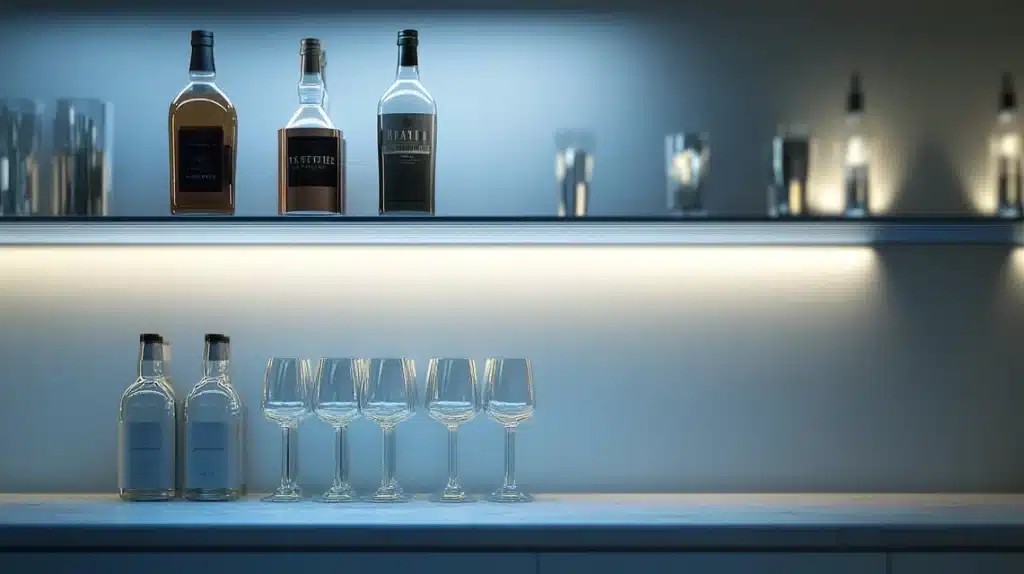
Having worked with many materials, I find honey onyx to be one of my favorites with oak. The honey color matches the oak’s warmth perfectly.
The natural variations in the stone make each backsplash unique. I’ve noticed how these tiles seem to glow when light hits them, adding warmth to the entire kitchen.
9. Neutral Penny Tiles (Approximate Budget – $400-600)
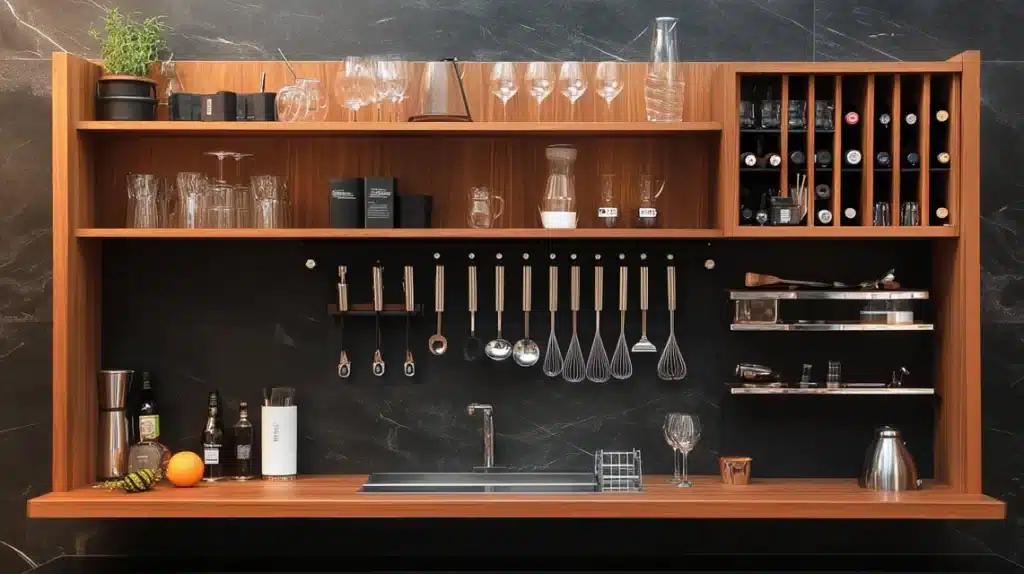
I often suggest penny tiles when someone wants something fun but not overwhelming. The small round shapes add interest without competing with wood grain.
These tiles create a subtle pattern that works well in any size kitchen. They’re especially good at making small kitchens feel larger.
10. Ivory Stone Hexagons (Approximate Budget – $1000-1500)
Here’s what I love about hexagon tiles – they bring modern style while respecting traditional oak cabinets.
The six-sided shape adds visual interest without being too bold. I’ve used these in many kitchens, and they always look fresh and current while working well with classic wood tones.
11. Mixed Brown Glass Tiles (Approximate Budget – $500-800)
I’ve found that mixed brown glass tiles create a perfect blend with oak cabinets. The various brown shades pick up different tones in the wood, making everything look connected.
When light hits these tiles, they create beautiful reflections that make your kitchen feel more open and bright.
12. White Arabesque Pattern (Approximate Budget – $450-700)
In my design work, I’ve noticed how arabesque patterns add a soft touch to oak kitchens. The flowing curves balance out the straight lines of cabinets and counters.
I particularly like how these white tiles keep the kitchen bright, adding visual interest through their shape rather than color.
13. Natural Slate Strips (Approximate Budget – $500-800)
From my experience, slate strips create a strong statement that works wonderfully with oak. The natural variations in slate complement both the wood grain and dark counters.
I tell homeowners that slate needs sealing, but its rich texture makes it worth the extra step.
14. Cream and Brown Basketweave (Approximate Budget – $450-750)
I love using basketweave patterns because they bring warmth through their woven design. The mix of cream and brown colors naturally connects your cabinets and counters.
I’ve seen this pattern work in small and large kitchens – adding interest without overwhelming the space.
15. Copper Accent Strips (Approximate Budget – $600-900)
When I want to add subtle metal touches, copper strips work beautifully. They pick up the warm tones in oak while adding thin shine lines.
I often suggest these to homeowners who want something unique but not too bold.
16. Ivory Textured Ceramic (Approximate Budget – $350-550)
These tiles are my go-to when clients want subtle texture. The ivory color works with oak without competing, while the texture adds depth.
I find that textured surfaces hide water spots better than flat ones, making them practical for busy kitchens.
17. Mixed Stone and Glass (Approximate Budget – $700-1,100)
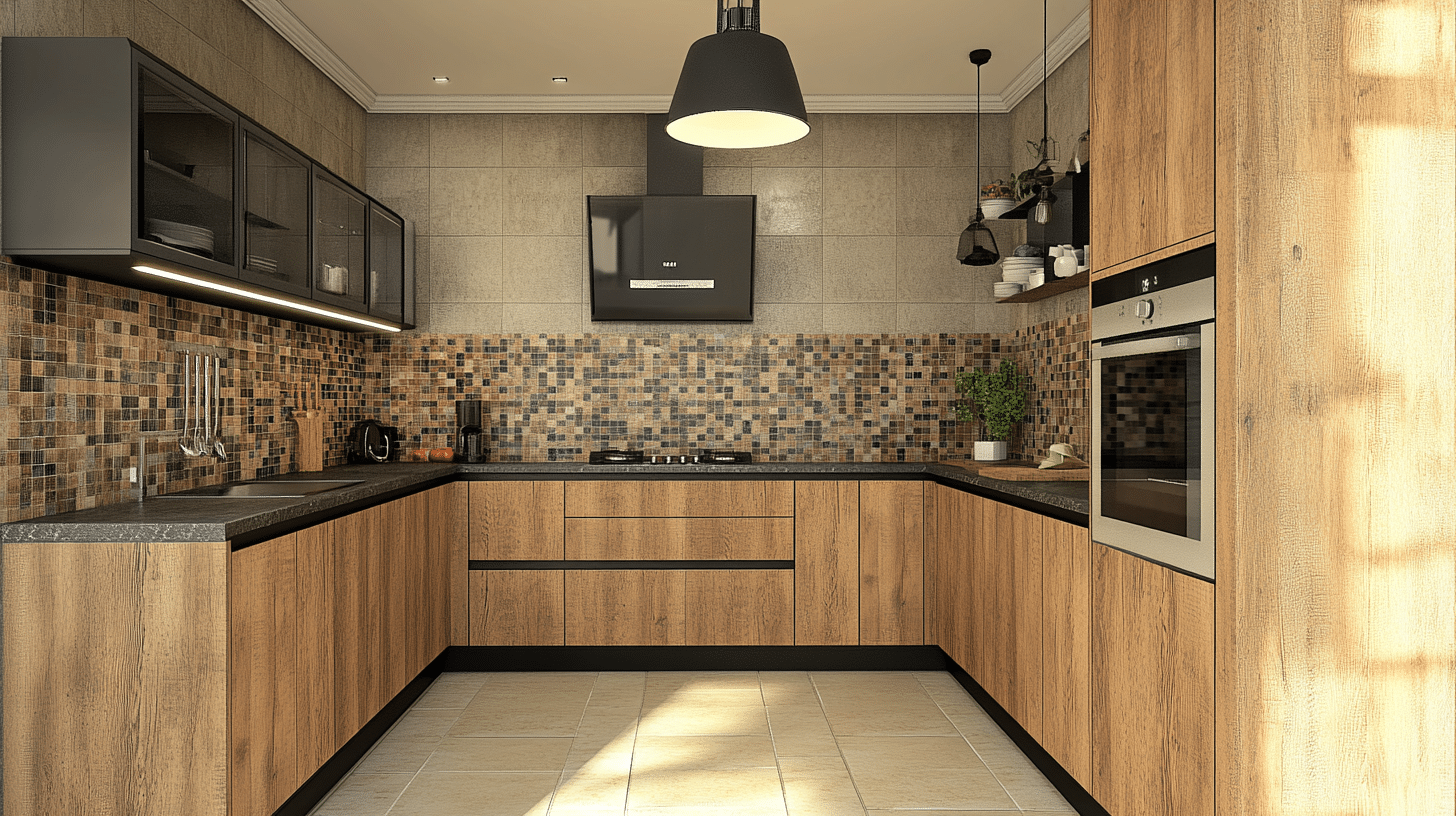
I recommend this combination when you want the best of both worlds. The natural stone pieces ground the look, while glass adds shine.
From my installations, I’ve seen how this mix creates interest at different times of day as light changes.
18. White Beveled Subway (Approximate Budget – $300-500)

I love using beveled subway tiles in kitchens with oak cabinets. The angled edges create shadows and light play that flat tiles don’t have.
Based on my installations, these tiles make kitchens feel brighter while adding subtle depth through their raised edges.
19. Tan Stacked Stone (Approximate Budget – $600-900)
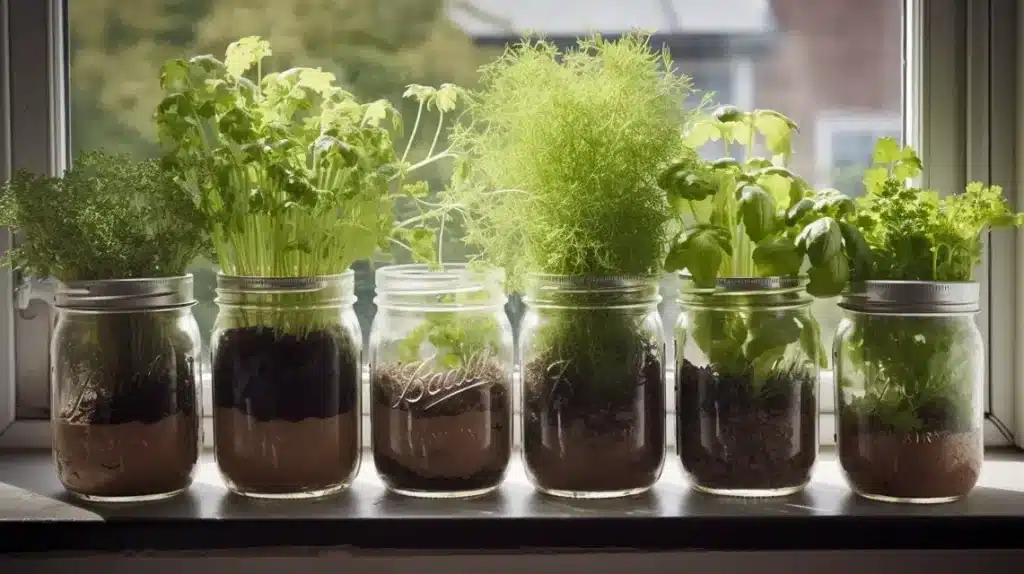
Tan stacked stone creates a natural connection when I work with oak cabinets. The varied stone pieces bring texture that complements wood grain patterns.
I often tell clients that while the installation takes longer, the end result is worth the extra time.
20. Gray Glass Subway (Approximate Budget – $400-700)
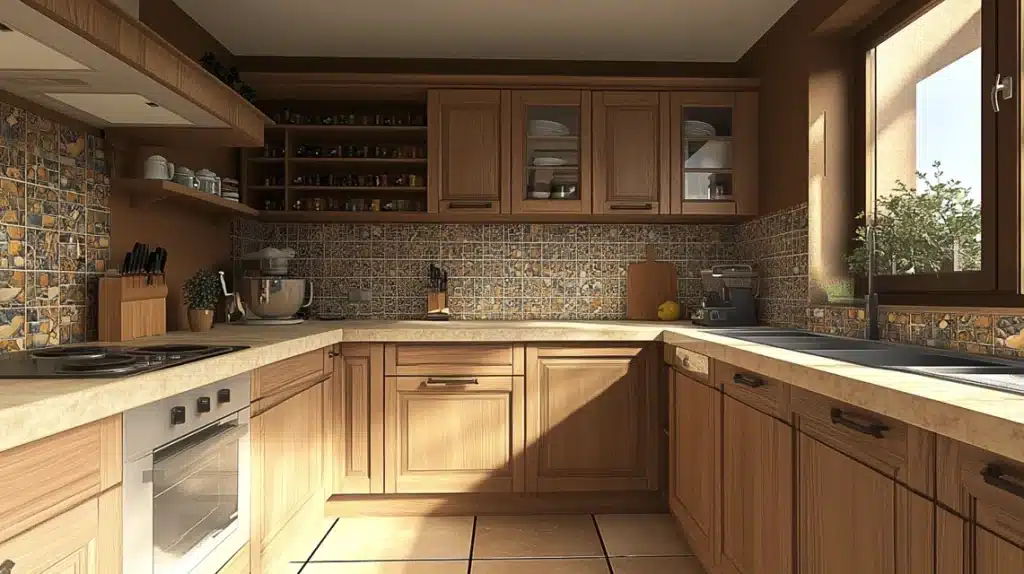
I’ve found that gray glass subway tiles offer a fresh take on traditional styles. They reflect light differently than ceramic tiles, creating subtle shine.
These work especially well when you want to tie in dark countertops while keeping the backsplash from looking too heavy.
21. Sandstone Mosaic (Approximate Budget – $500-800)
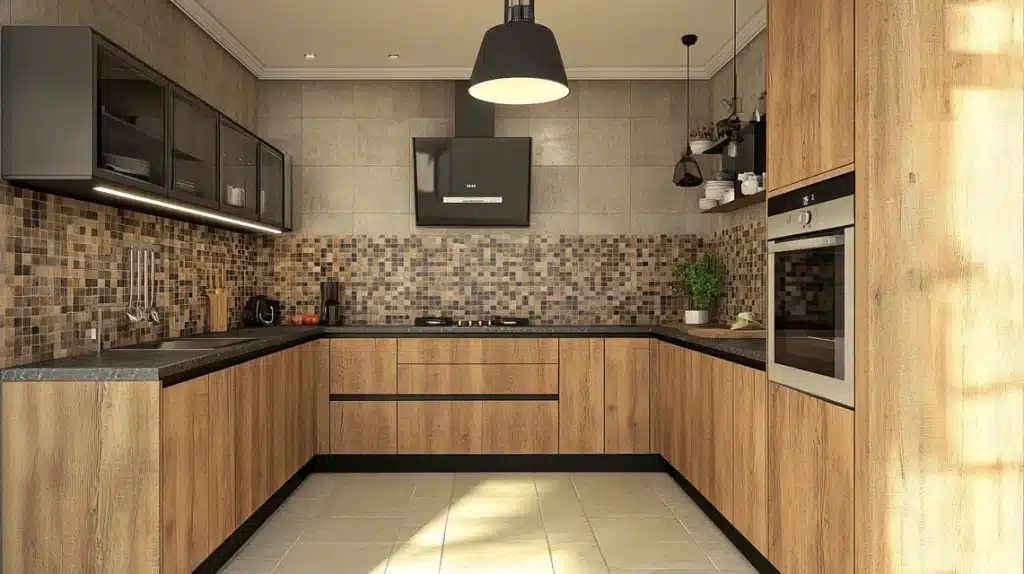
From my experience, sandstone mosaics bring warmth and natural variation to oak kitchens. Each piece has unique patterns that work with wood grain.
I recommend these to homeowners who want a natural look that’s different from typical tile options.
22. White Brick Pattern (Approximate Budget – $300-500)
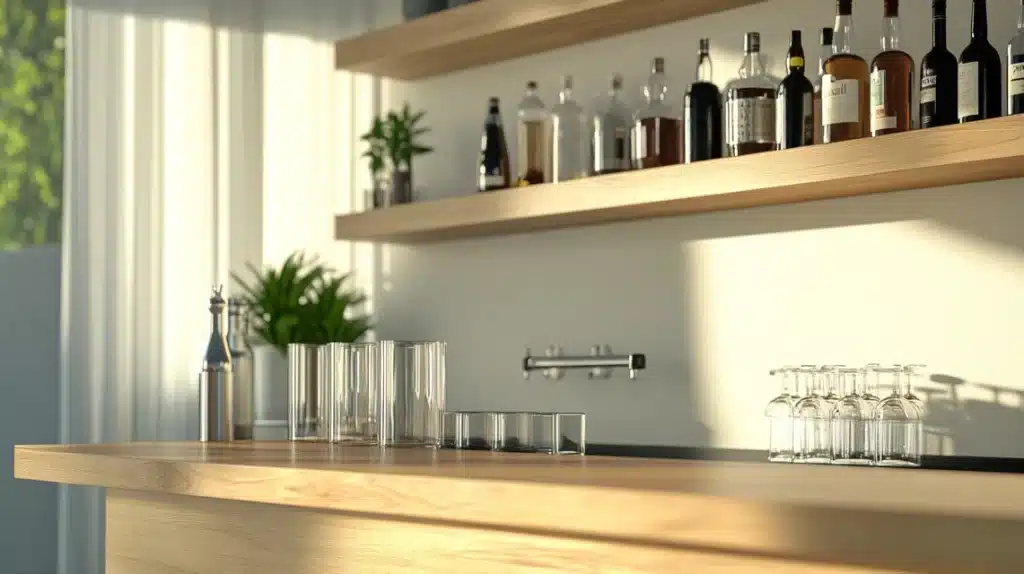
When I install white brick-pattern tiles, they always freshen up oak cabinets. The running bond layout creates clean lines that contrast nicely with wood grain.
I’ve seen how this pattern makes kitchens feel bigger and brighter.
23. Mixed Metal Tiles (Approximate Budget – $800-1,200)
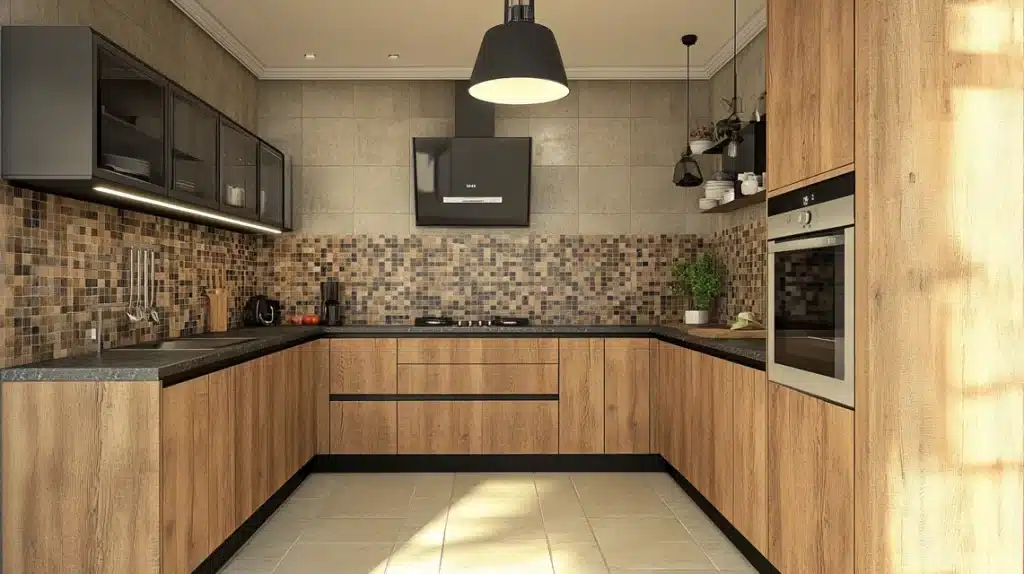
These tiles are perfect for adding subtle shine to oak kitchens. The mix of metal finishes creates interest without overpowering the space.
I often suggest these when clients want something modern that still works with traditional cabinets.
24. Beige Geometric Pattern (Approximate Budget – $400-600)
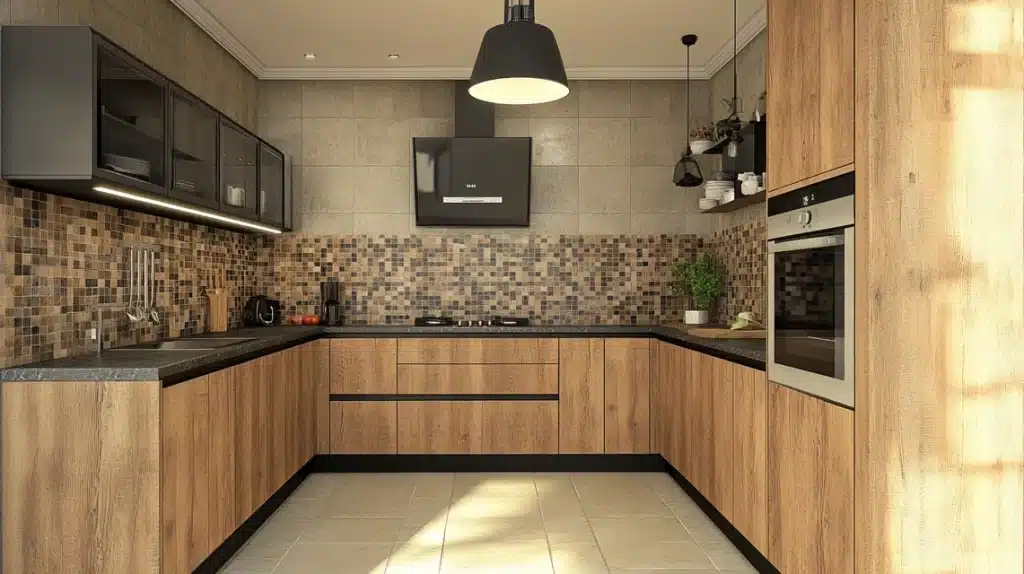
I recommend geometric patterns in beige when you want visual interest that’s not too bold. The neutral color works with oak, while the pattern adds personality.
From my installations, these patterns look good from every angle in the kitchen.
25. Light Gray Stone (Approximate Budget – $500-800)
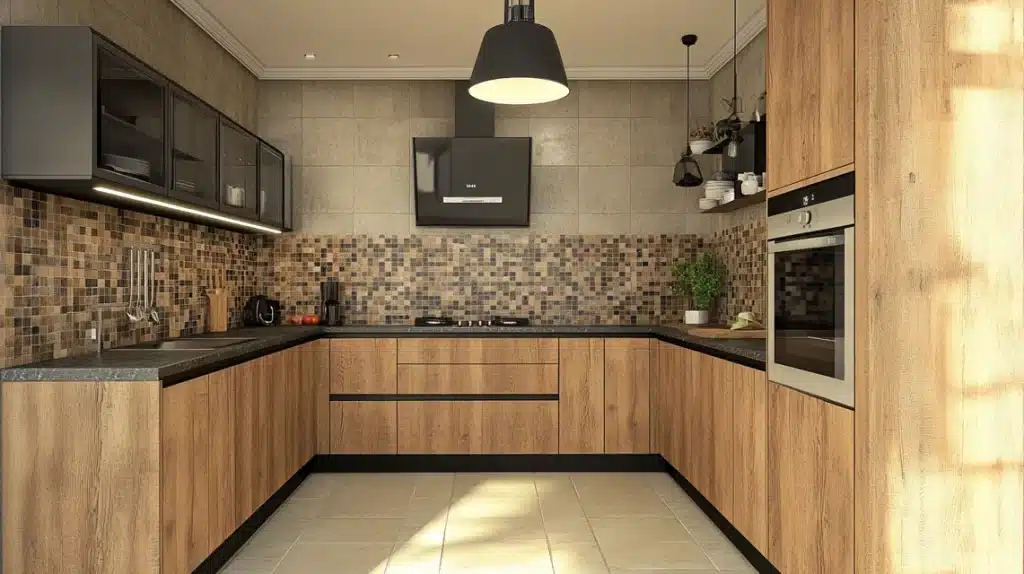
Light gray stone offers a perfect middle ground between cabinets and counters. The natural stone variations hide spots and marks well.
I’ve found this option works in both modern and traditional kitchens.
26. Diamond Pattern Ceramic (Approximate Budget – $350-600)
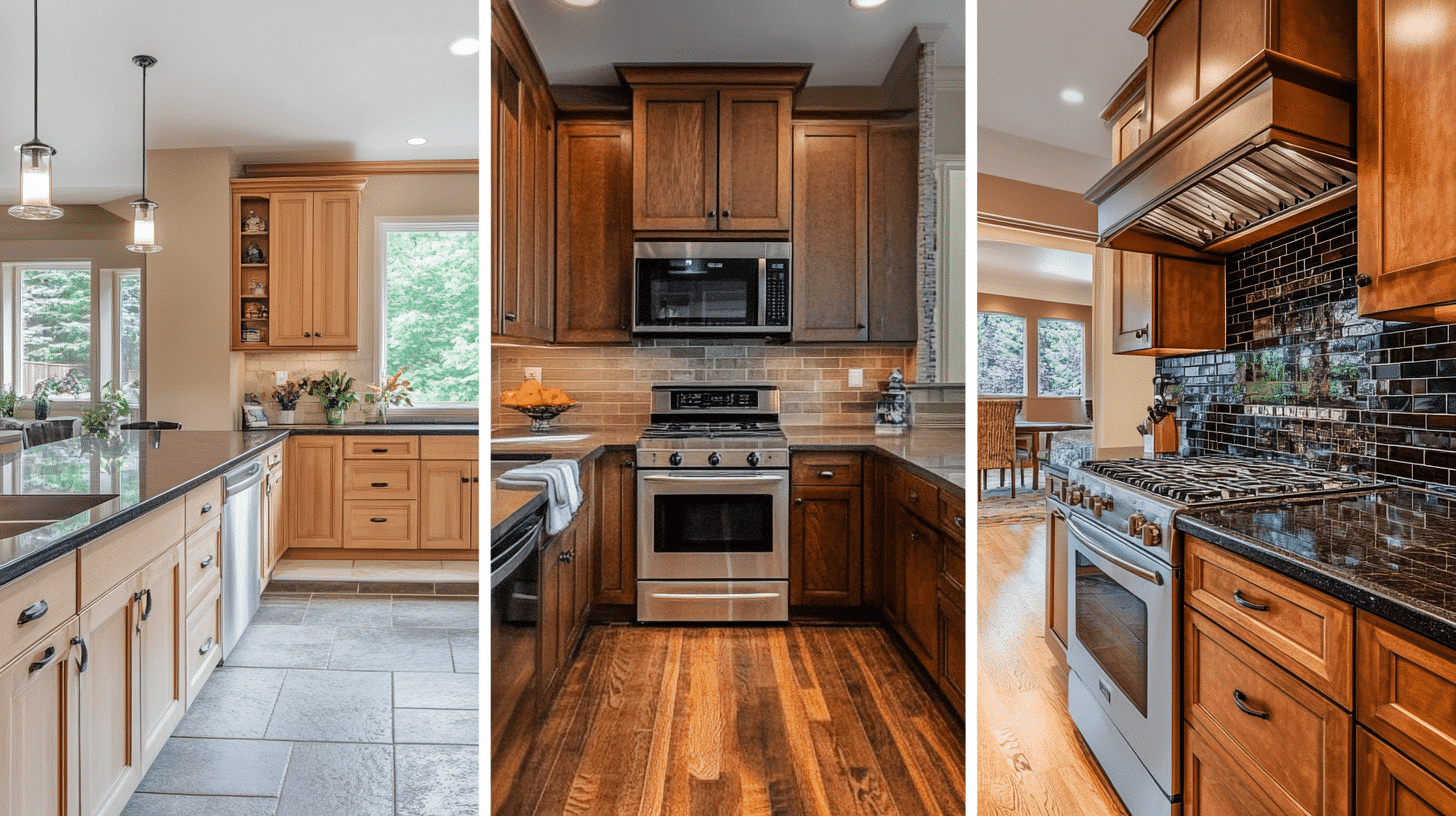
Diamond patterns add subtle movement to your kitchen. The angled layout makes the walls look wider.
When I install these, I make sure to center the pattern for the best visual impact.
27. Natural Pebble Mosaic (Approximate Budget – $600-900)

I love using pebble mosaics for a unique, natural look. Each stone is different, creating a rich texture.
Based on my experience, these mosaics need good sealing, but they create a one-of-a-kind backsplash that guests always notice.
How to Choose the Perfect Backsplash Color
Consider Your Cabinet Color
First, I always tell my clients to start with their cabinets – they’re the biggest color element in your kitchen. For oak cabinets, I recommend:
- Light colors to create contrast
- Warm neutrals blend naturally
- Earth tones to complement wood grain
- White or cream to brighten the space
Match Your Countertop Colors
Next, look at your countertops. Here’s what I’ve learned works best:
- Pick colors that appear in your countertop’s pattern
- Use darker shades to connect with dark counters
- Choose lighter tones to create balance
- Select neutral colors that work with both elements
Think About Light
Your kitchen’s lighting changes how colors look. I suggest:
- Testing samples during different times of day
- Checking colors under your actual kitchen lights
- Using lighter colors in dim kitchens
- Considering how colors look with natural light
Consider Room Size
From my experience:
- Small kitchens do well with light colors
- Large kitchens can handle darker shades
- Neutral colors make spaces feel bigger
- Bright colors work in well-lit spaces
Test Your Color Choices
Here’s my testing method:
- Get several sample tiles
- Place them against your cabinets
- View them with your countertops
- Look at them during different times of day
- Check how they look with your lighting
Factor in Your Style
Your personal taste matters. I suggest:
- Classic colors for timeless appeal
- Modern tones for updated looks
- Neutral shades for future flexibility
- Colors that make you feel good in your space
Think About Maintenance
Different colors show dirt differently:
- Mid-tones hide marks better than very light or dark
- Natural variations help hide spots
- Consider how often you want to clean
- Think about water spots and fingerprints
Plan for the Future
Think long-term with your color choice:
-
- Neutral colors stay in style longer
- Simple color schemes are easier to update
- Classic combinations hold their value
- Trendy colors might need updating sooner
Step-By-Step Guide for DIY Backsplash Installation
Tools & Materials Required
| Tools | Materials |
|---|
| Measuring tape | SimpleMAT adhesive sheets |
| Scissors or utility knife | Tiles of your choice |
| Tile cutter or saw | Grout (Fusion Pro or Simple Grout recommended) |
| Grout float | Clean cloths |
| Sponge for cleanup | Water for cleanup |
Stepwise Installation Process to Follow
Step 1: Surface Preparation
- Clean the wall surface thoroughly
- Ensure the surface is dry
- Make sure the wall is smooth
- Remove any dust or debris
Step 2: Planning and Measuring
- Measure your wall space
- Pre-cut SimpleMAT sheets to size
- Pre-cut tiles as needed
- Plan your tile layout pattern
Step 3: Installing SimpleMAT
- Remove backing from the wall side
- Apply SimpleMAT to the wall
- Press firmly to ensure good contact
- Work in small, manageable sections
Step 4: Setting the Tiles
- Peel off the plastic barrier from SimpleMAT
- Place tiles onto the exposed adhesive
- Press firmly against the ridged surface
- Ensure proper alignment
Step 5: Grouting
- Apply grout immediately after setting the tiles
- Use Fusion Pro or Simple Grout
- Must be completed within 24 hours of tile placement
- Clean excess grout with a damp sponge
Important Tips:
- Work in small sections
- Don’t leave adhesive exposed
- Grout right after setting tiles
- Keep the work area clean
- Follow package instructions carefully
An Approximate Budget Required for Installation
| Category | Description | Cost Range |
|---|---|---|
| Basic Materials | SimpleMAT Adhesive | $55 – $70 per roll |
| Coverage: 10 sq ft per roll | ||
| Average kitchen needs (2-3 rolls) | $165 – $210 | |
| Tiles (per 10 sq ft) | Ceramic | $20 – $100 |
| Glass | $70 – $300 | |
| Natural Stone | $150 – $400 | |
| Porcelain | $30 – $150 | |
| Additional Materials | Simple Grout | $15 – $25 per container |
| Fusion Pro | $25 – $40 per container | |
| Tools | Measuring Tape | $5 – $10 |
| Tile Cutter | $30 – $100 | |
| Utility Knife | $5 – $15 | |
| Grout Float | $10 – $20 | |
| Sponges and Cloths | $10 – $15 | |
| Total Budget Range | Basic Setup (Ceramic Tiles) | $360 – $660 |
| 30 sq ft kitchen, Materials + Tools | ||
| Mid-Range Setup (Glass Tiles) | $560 – $960 | |
| 30 sq ft kitchen, Materials + Tools | ||
| High-End Setup (Natural Stone) | $860 – $1,360 | |
| 30 sq ft kitchen, Materials + Tools |
Money-Saving Tips
- Borrow tools when possible
- Buy tiles during sales
- Start with a smaller area
- Choose basic tile patterns
- Use leftover materials from other projects
Certain Common Mistakes to Avoid
- Don’t skip cleaning and prepping your walls first – dirt and grease will prevent proper adhesion.
- Never start tiling without measuring and planning your layout on paper.
- Don’t leave any air bubbles when applying SimpleMAT to your wall surface.
- Never mix different batches of tiles without checking their color matches exactly.
- Don’t wait too long to wipe off extra grout – it becomes harder to clean once it dries.
- Never rush through the installation – speed leads to crooked tiles and messy results.
- Don’t forget to seal natural stone tiles before and after grouting if required.
Tips for Getting a High-End Look on a Budget
Use Simple Tiles in Creative Patterns
- Buy basic white ceramic tiles – they’re often $2-5 per square foot
- Set them in herringbone or basketweave patterns
- I find this adds visual interest without extra cost
- The unique layout makes people notice the pattern, not the material
Mix Affordable Materials Wisely
- Use standard tiles for most of the wall
- Add a few glass or metallic tiles as accents
- Place special tiles in focal points only
- I suggest spending on tiles that catch the eye at eye level
Focus on Perfect Installation
- Clean lines make cheap tiles look expensive
- Use consistent grout lines
- Keep tiles level and even
- Good installation matters more than tile cost
Pick the Right Grout Color
- Dark grout with light tiles creates sharp lines
- Match grout to tile color for a seamless look
- Light grout with dark tiles adds definition
- I’ve seen how grout choice can change the whole look
Add Smart Lighting
- Install under-cabinet lights to create shine
- Light makes basic tiles sparkle
- Highlight your backsplash’s best features
- Good lighting improves any tile’s appearance
Common Maintenance Tips to Follow
- Wipe your backsplash daily with a soft cloth to prevent grease and food buildup from settling into the surface.
- Use a mix of warm water and mild dish soap for regular cleaning rather than harsh chemicals that can damage grout and tile surfaces.
- Clean spills right away to stop stains from setting into grout lines or porous tiles.
- Check grout lines every six months for any cracks or wear and fix small issues before they become big problems.
- Reseal natural stone tiles and grout lines once a year to keep water from seeping behind the backsplash.
- Skip abrasive cleaning tools like steel wool or rough sponges that can scratch your tiles’ surface.
Conclusion
Picking the right backsplash for your oak cabinets and dark countertops doesn’t have to be complicated.
I’ve shared these ideas and tips because I know how a good backsplash can change your entire kitchen’s look.
Remember, whether you choose simple white subway tiles or fancy glass mosaics, what matters is picking something you’ll love seeing every day.
With the right tools and some patience, you can install it yourself and save money too.
Want more kitchen design ideas?
Check out my other guides on:
- Matching Cabinet Hardware with Oak
- Updating Oak Cabinets Without Painting.
Leave a comment below to share which backsplash idea you liked best – I’d love to hear your thoughts!



pin up: pin up az – pin up
Hey. Need some advice. I’ve got white galaxy granite with hickory cabinets. Need suggestions on a back splash