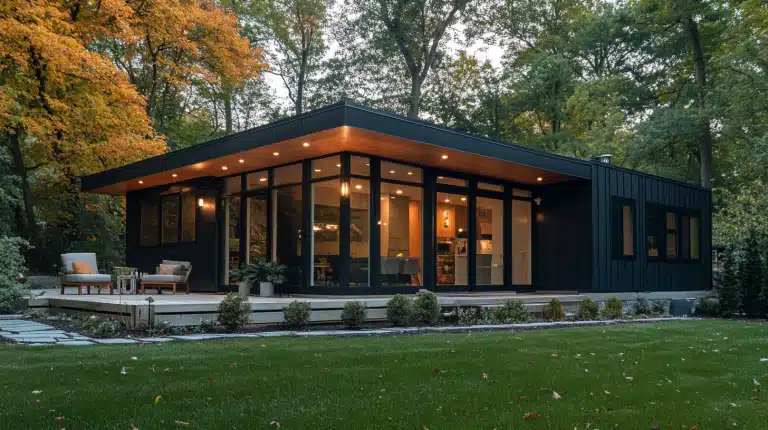
How to Create a Stylish Wall-Mounted Awning from Scratch
Ever sit on your patio wishing for some shade? The sun beats down, and your cold drink warms up too quickly; your skin starts to feel the burn.
What if you could fix this problem with your own hands? Building a wood awning frame isn’t as hard as you might think. In fact, many homeowners just like you have managed to do it in a weekend.
But there’s a secret to getting it right the first time. The magic is in the planning and setup, not in fancy tools or skills you don’t have.
This guide breaks down the steps in a way that is so simple, you’ll wonder why you didn’t try it sooner. Ready to make your outdoor space more useful all year round? Let’s build something that will last for years to come.
Overview of the Awning Design
Planning your wood awning starts with a clear picture of what you want to build. Most home awnings are designed to work well with standard sizes that match common door and window openings.
A good basic design includes:
- Width of 48 inches – This fits nicely over most windows and small doors
- 20° roof slope – This angle helps rain and snow slide off easily
- Basic materials – Simple 2x4s for the frame and corrugated sheet steel for the roof
The design balances function and looks. The 20° slope isn’t just for show – it stops water from pooling on top. The 48-inch width is suitable for most homes, neither too big nor too small.
You want a frame that stays put in windy weather but doesn’t look too bulky. The 2×4 lumber hits this sweet spot. It’s strong enough to hold the roof but not so heavy that it puts too much stress on your house walls.
The steel roof sheets keep weight down while lasting for many years. They are also less expensive than many other options.
Step-by-Step Construction Process
Before you pick up any tools, good planning sets you up for success. Let’s review what you’ll need and how to prepare.
| Project Elements | Recommended Options | Why It Matters |
|---|---|---|
| Framing Lumber | Pressure-treated 2x4s | Resists rot and insects |
| Roofing Material | Corrugated sheet steel | Lightweight, durable, sheds water |
| Fasteners | Galvanized screws | Won’t rust or stain wood |
| Basic Tools | Miter saw, drill, level, tape measure | For accurate cuts and assembly |
| Optional Tools | Pocket hole jig, clamps | Makes joints stronger and easier |
| Location Factors | Wall strength, sun angle, and drainage | Affects performance and safety |
Step 1: Cutting the Bracket Components

The brackets form the backbone of your awning structure. Measure twice, cut once, to minimize material waste.
Start by marking your 2x4s for parts A, B, and C according to your design measurements. The angle cuts on part B create the slope of your awning. Use a speed square to mark these angles clearly before cutting.
Step 2: Assembling the Awning Brackets

Good brackets mean a strong awning. Assembly accuracy is crucial for overall stability.
Lay out the cut pieces on a flat surface to check their fit before attaching. Apply a thin layer of waterproof wood glue to the joining surfaces, then secure with screws. Build at least three brackets – two for the ends and one for the middle of your awning.
Step 3: Preparing the Wall for Installation
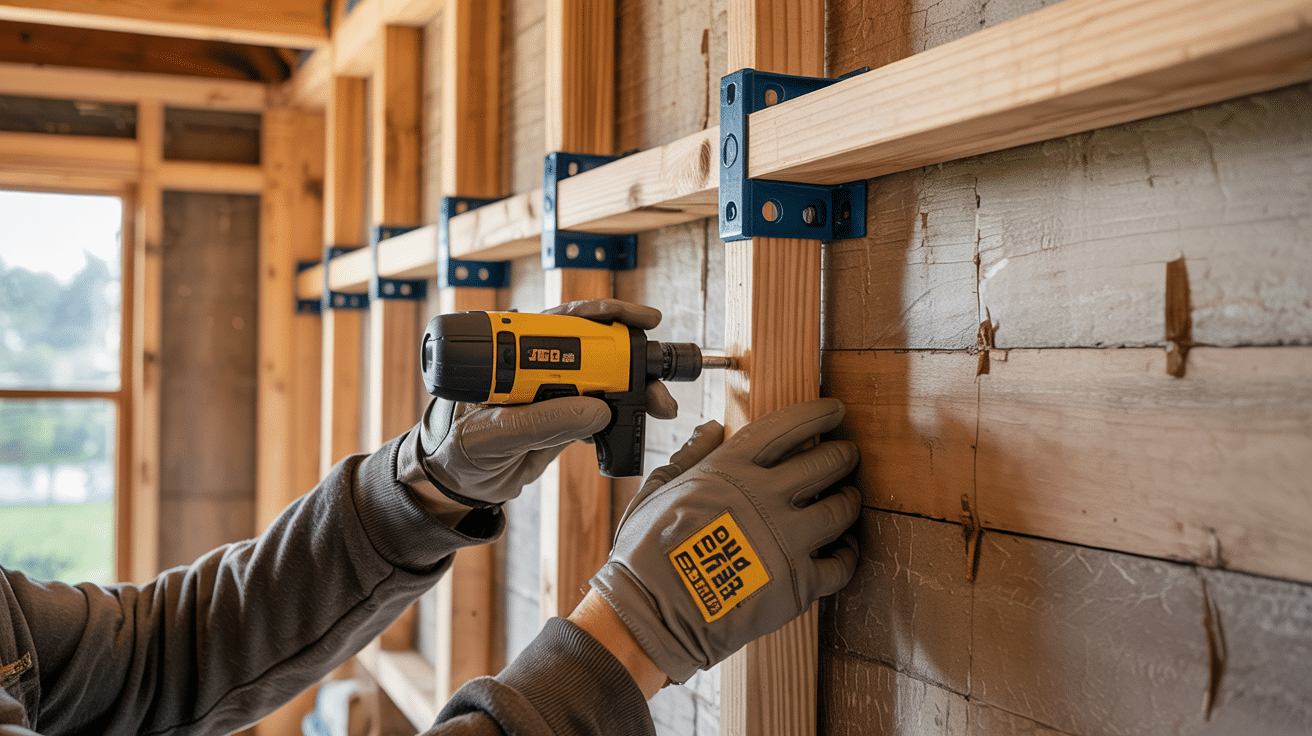
The wall connection must be solid. Locating wall studs is crucial for ensuring proper support.
Use a stud finder to locate and mark the wall studs where your brackets will attach. Pre-drill holes through your brackets and into the studs to prevent the wood from splitting. Check that the brackets are level both horizontally and vertically before final tightening.
Step 4: Installing Roof Strapping

Strapping creates the base for your roofing material. Even spacing helps distribute weight across the structure.
Place 1×4 slats across the top of your brackets, running perpendicular to them. Space them about 16 inches apart for proper support. Secure each slat with two screws at every bracket crossing point.
Step 5: Attaching the Corrugated Roofing Panels
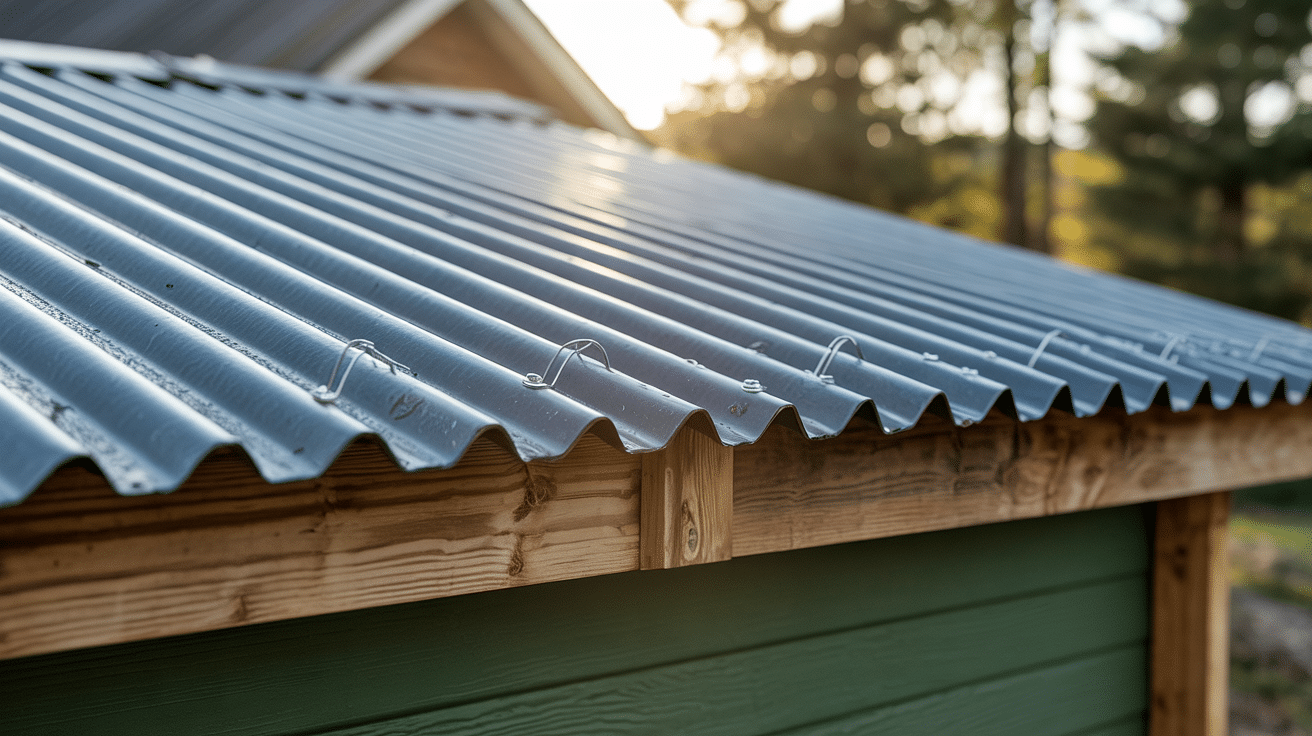
The roof keeps everything dry underneath—overlap panels by at least one ridge for better water protection.
Position the first panel so it overhangs the frame slightly at the edges. This creates a drip edge for rainwater. Attach the panels with special roofing screws that have rubber washers to prevent leaks.
Step 6: Sealing and Waterproofing

Proper sealing extends the life of your awning. Pay special attention to the wall junction where water could seep in.
Install metal flashing where the awning meets the wall. This directs water away from the connection point. Apply caulk to any small gaps around screws or between materials to keep water out.
Video Tutorial
Special thanks to MAN about TOOLS for providing valuable insights in their video, which I referenced while creating this guide.
Troubleshooting Common Problems
Even carefully planned projects can face challenges. Here’s how to handle the most common issues when building your wood awning frame.
| Problem | How It Affects | How to Fix It |
|---|---|---|
| Uneven Brackets | Creates a sloped awning, poor water drainage | Remove and reinstall using a level; use shims if the wall is uneven |
| Wood Splitting | Weakens the structure, shortens lifespan | Pre-drill holes before screwing; replace split pieces |
| Wall Attachment Feels Loose | Safety hazard, could fall in high winds | Find and secure to studs; use longer lag screws; add more brackets |
| Roof Panels Don’t Align | Leaks, poor looks, reduced protection | Loosen screws, realign panels with proper overlap, then retighten |
| Gaps Between Materials | Water seepage, rot, reduced durability | Apply waterproof caulking; add flashing at the wall junction |
Conclusion
Building your wood awning frame isn’t just about saving money; it’s also about taking pride in your work. It’s about making something useful with your own hands.
After following these steps, you now have a sturdy shelter that keeps the sun and rain away from your outdoor space. The best part? You made it yourself.
Your new awning adds value to your home while making your patio or deck more usable in all kinds of weather. The next time it rains, you’ll smile knowing you can still enjoy the outdoors. And when friends ask about your nice awning, you can proudly tell them you built it.
So grab those tools, pick up some wood, and start building. Your more comfortable outdoor space is waiting for you!
Frequently Asked Questions
How to Build a Wood Frame Awnings?
To build a wood frame awning, cut and assemble brackets from 2x4s, attach them to wall studs, add cross supports, and top with roofing material. Follow proper measurements and use waterproof fasteners throughout.
How Much Does it Cost to Build a Wood Awning?
A DIY wood awning typically costs between $100 and $300, depending on its size and the type of materials used. Pressure-treated lumber costs approximately $30 to $50, while roofing materials add $50 to $150 to the total.
Can an Awning be Made of Wood?
Yes, awnings can be made of wood. Wood frames offer good strength and a natural look. For best results, use pressure-treated lumber and protect the structure with proper roofing and sealants.