Family photos are like time capsules filled with laughter, love, and unforgettable moments. They capture milestones and everyday life, creating a beautiful tapestry of our personal history.
But over the years, these precious images can fade, get scratched, or suffer from tears and creases.
If you’re a DIY lover, restoring these old photos can be a delightful project that not only brings your memories back to life but also opens up a world of creative possibilities for décor and gifts.
In this article, we’re going to talk about how to restore old photos and how to use them in creative ways. We’ll show you the process step by step using PhotoWorks — or other handy tools like Renew Photo APP, which make restoration even easier for beginners. So, let’s jump right in!
Bring Photos Back to Life with AI-Powered Software
Restoring old photos is quite easy. If you have automatic restoration software like PhotoWorks at your disposal, it only takes you a few clicks to breathe new life into your pictures. These are some simple steps you can follow to give old photos a better look:
Step 1. Remove Defects
You can get rid of scratches, stains, and tears using a range of tools. For example, you can use the Healing Brush tool to erase small defects. To fix bigger areas, you can use Clone Stamp and Patch.
Step 2. Enhance the Quality
Does your image lack clarity? No problem – you can easily improve its quality. Adjust the Clarity or Contrast settings by dragging the corresponding sliders. Another way to try is to go to the Sharpness tab and move sliders to make your photo sharper.
You can also restore the original quality of your image by using the Dehaze tool. What’s more, this software offers a Noise Reduction feature that provides you with crisp and clear pictures.
Step 3. Correct Colors in the Photo
If you want to use colorful pictures for your decor ideas or DIY projects, you should also make sure the colors are correct and eye-pleasing. Tools like HSL sliders and RGB curves allow you to color correct images with professional precision.
If you’re running out of time, you can use some ready-to-use filters. PhotoWorks comes with 200+ one-click effects, 3D LUTs, and Lab Colors.
Step 4. Resize It & Add Borders
To prepare the restored photos for your projects, you might need to resize them. To do so, open Resize and Save and enter the needed resolution. In some cases, pictures might lose quality when you upscale them. You can avoid it by adding borders – select Frames in the Text & Frames tab. Choose the option you like the most, adjust its size, and pick a color.
Creative Ideas to Showcase Restored Photos
With your gorgeous restored photos ready, it’s time to get creative! There are endless ways to incorporate these images into your home décor and gifts.
One lovely idea is to create a family album. You can compile your restored photos into a scrapbook, adding notes, dates, and little stories about each picture. This keepsake will not only be a wonderful trip down memory lane but also a beautiful way to share your family’s story with future generations.
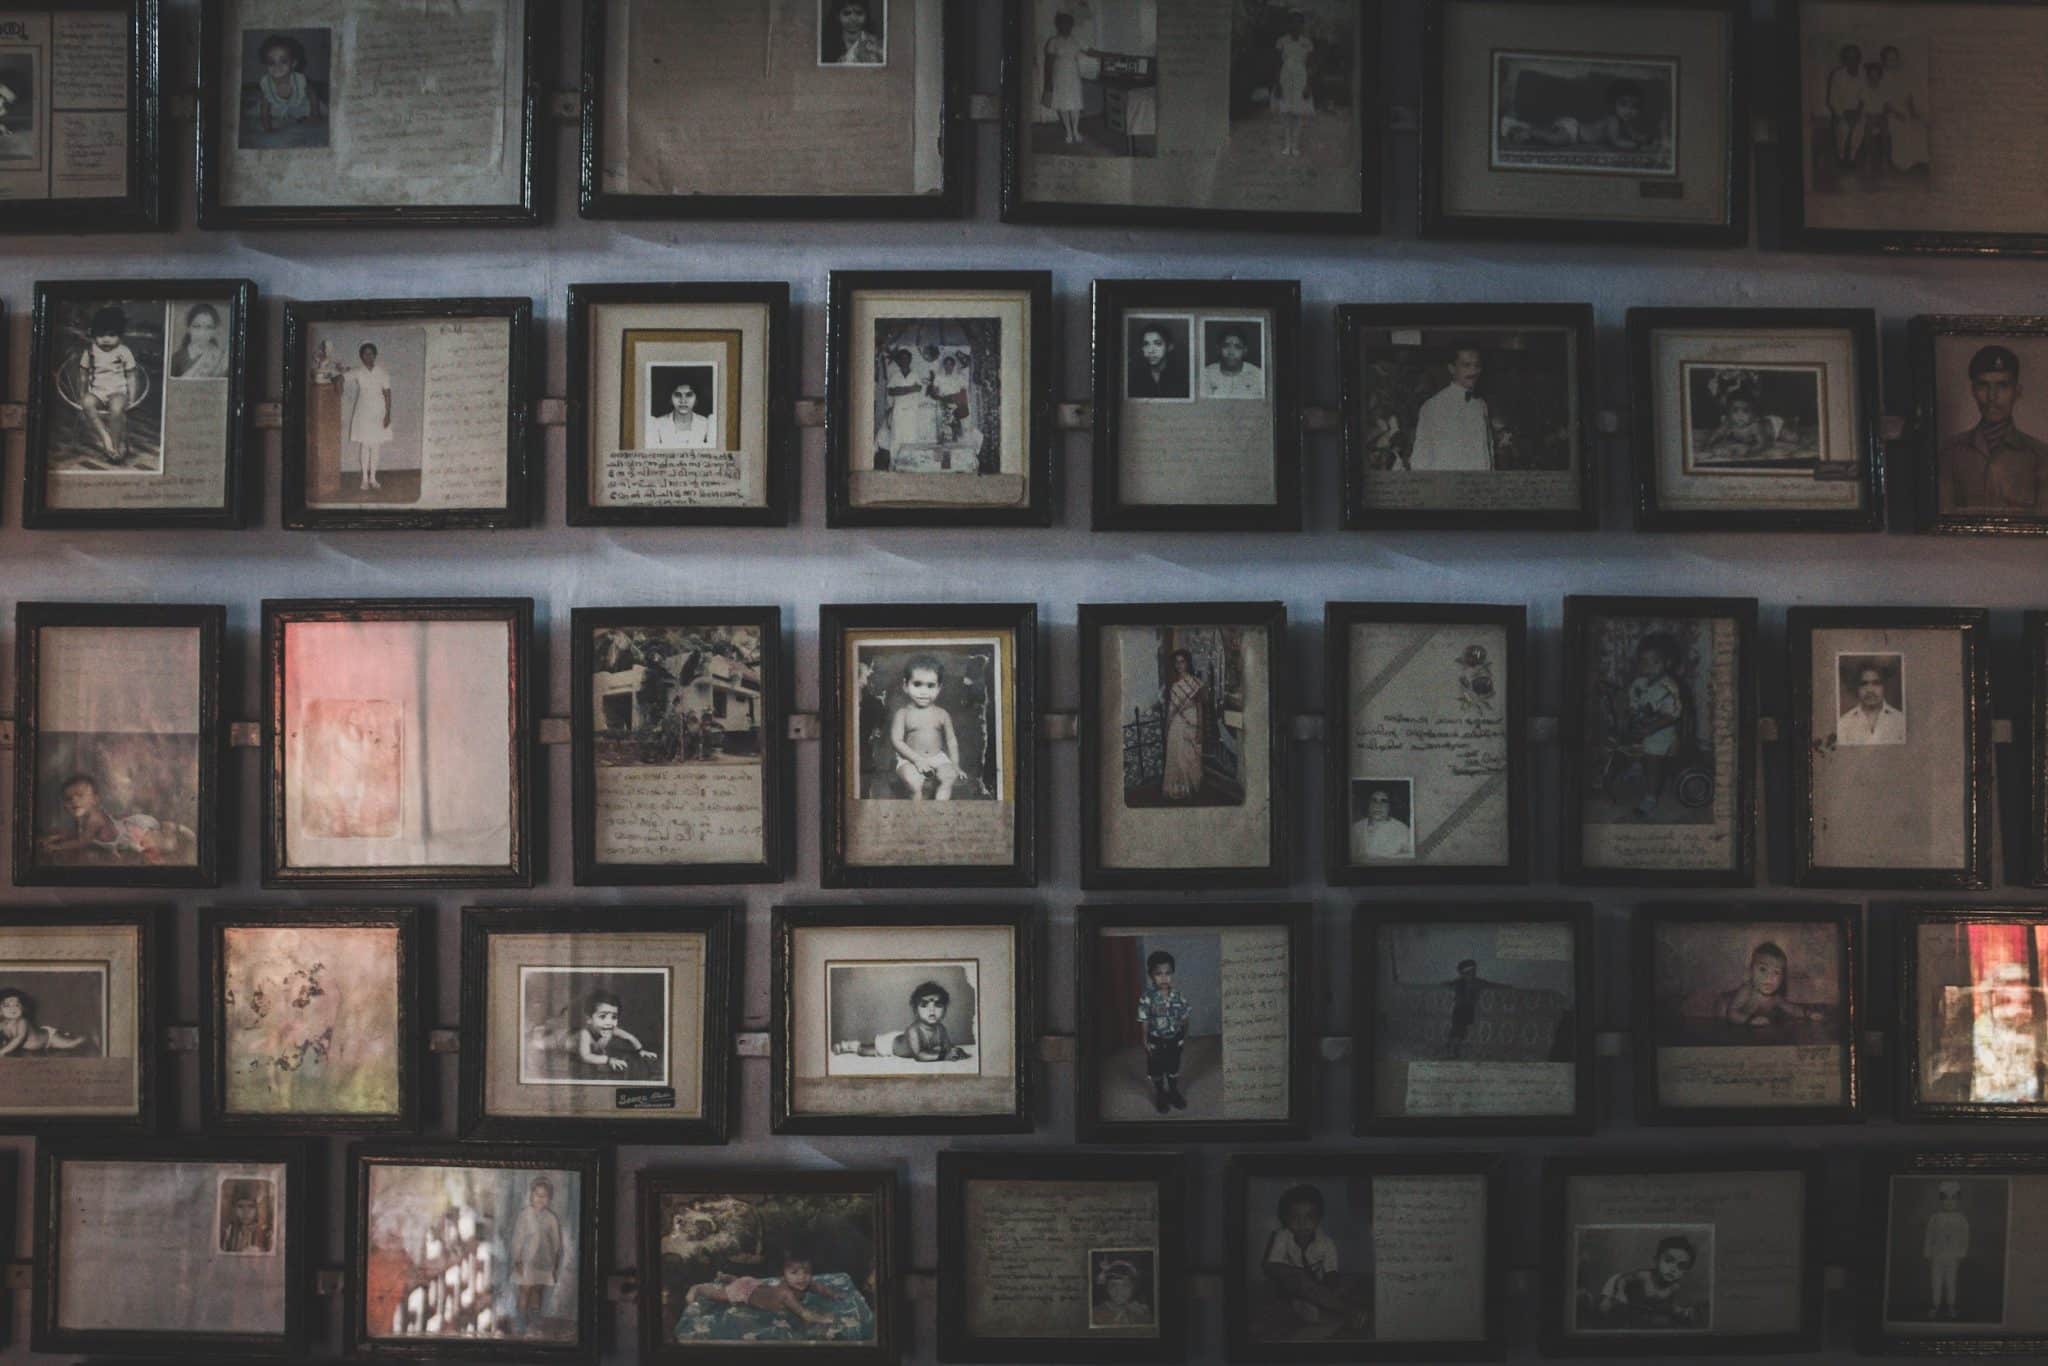
Another fantastic way to showcase your restored photos is by creating wall art. Print your images in various sizes and frame them to create a stunning gallery wall. Mixing different frame styles can add a delightful touch that reflects your family’s personality.
Restored photos also make for thoughtful, personalized gifts. Consider creating photo calendars, where each month features a different restored image. It’s a practical gift that’s sure to warm the hearts of family members. You can also design custom greeting cards using your restored photos, adding heartfelt messages inside.
The holiday season is another perfect opportunity to showcase your restored photos. For instance, you can use them as table centerpieces during family gatherings. Framing these images can spark conversations and allow everyone to share their favorite memories.
If you’re more into digital projects, think about making a slideshow of your restored photos. This can be a delightful way to share your family’s history during gatherings or as a heartfelt gift for loved ones.
Tips to Keep Restored Photos
Keep in mind that printing your restored photos on quality paper will make all the difference. It ensures that the colors and details shine just as they did in real life.
Involve your family in the restoration process, too! Get your kids or partner involved in picking photos and brainstorming DIY projects together. It’s a wonderful way to bond and create lasting memories as a family.
Lastly, remember to store your restored photos carefully. Using acid-free albums or frames can protect them from fading or damage in the future. This way, you can enjoy your memories for many years to come.
Summary
Now you know more about restoring old photos to use them in your own projects. Gather your favorite pictures and enhance their quality today.