How to Clean Walls Without Damaging the Paint

Your furniture is spotless, the floors are gleaming, but have you looked up at your walls lately?
Walls quietly collect dust, grease, scuff marks, and stains over time, and most people don’t notice until it’s hard to ignore. The good news?
You don’t need expensive products or professional help to fix that. Learning how to clean walls is simpler than you think, and the difference it makes to a room is genuinely surprising.
Whether you’re doing a quick refresh or tackling stubborn stains that have been there for months, this guide walks you through everything, the right tools, the right technique, and the mistakes you’ll want to skip.
Let’s get your walls looking fresh again.
What You Need Before Cleaning Walls?
Before you start scrubbing, having the right supplies on hand makes the entire process faster and more effective. Here’s a quick look at everything you’ll need:
| Supply | Purpose |
|---|---|
| Microfiber cloth or flat mop | Gentle wiping without scratching |
| Mild dish soap + warm water | Safe, effective everyday cleaning solution |
| Bucket and sponge | For mixing and applying the solution |
| Spray bottle | Controlled, even application |
| Magic eraser | Targets stubborn scuffs and marks |
| Baking soda paste | Natural solution for tough stains |
| Commercial wall cleaner | For heavy-duty or textured surfaces |
How to Prepare Walls Before Cleaning
Jumping straight into scrubbing can do more harm than good. A little prep goes a long way in protecting your walls and making the cleaning more effective.
Dusting and Removing Surface Dirt
- Remove cobwebs and loose dust using a dry microfiber cloth or duster, working from top to bottom.
- This prevents dirt from spreading across the surface while you clean, avoiding streaks and scratches.
Testing a Small Area First
- Apply your cleaning solution to a small, hidden patch before cleaning the full wall.
- Different paint finishes react differently to moisture, so a patch test helps you avoid discoloration or paint damage.
Step-by-Step Process to Clean Walls
Achieving a streak-free finish can be easier than you think! To ensure your surfaces shine without any unsightly marks, follow these straightforward steps.
Step 1: Mix a Gentle Cleaning Solution
Add a few drops of mild dish soap to a bucket of warm water and stir gently. This simple solution is safe to use on most painted surfaces without causing damage.
For tougher spots, a baking soda paste or a commercial wall cleaner can be used as a targeted alternative.
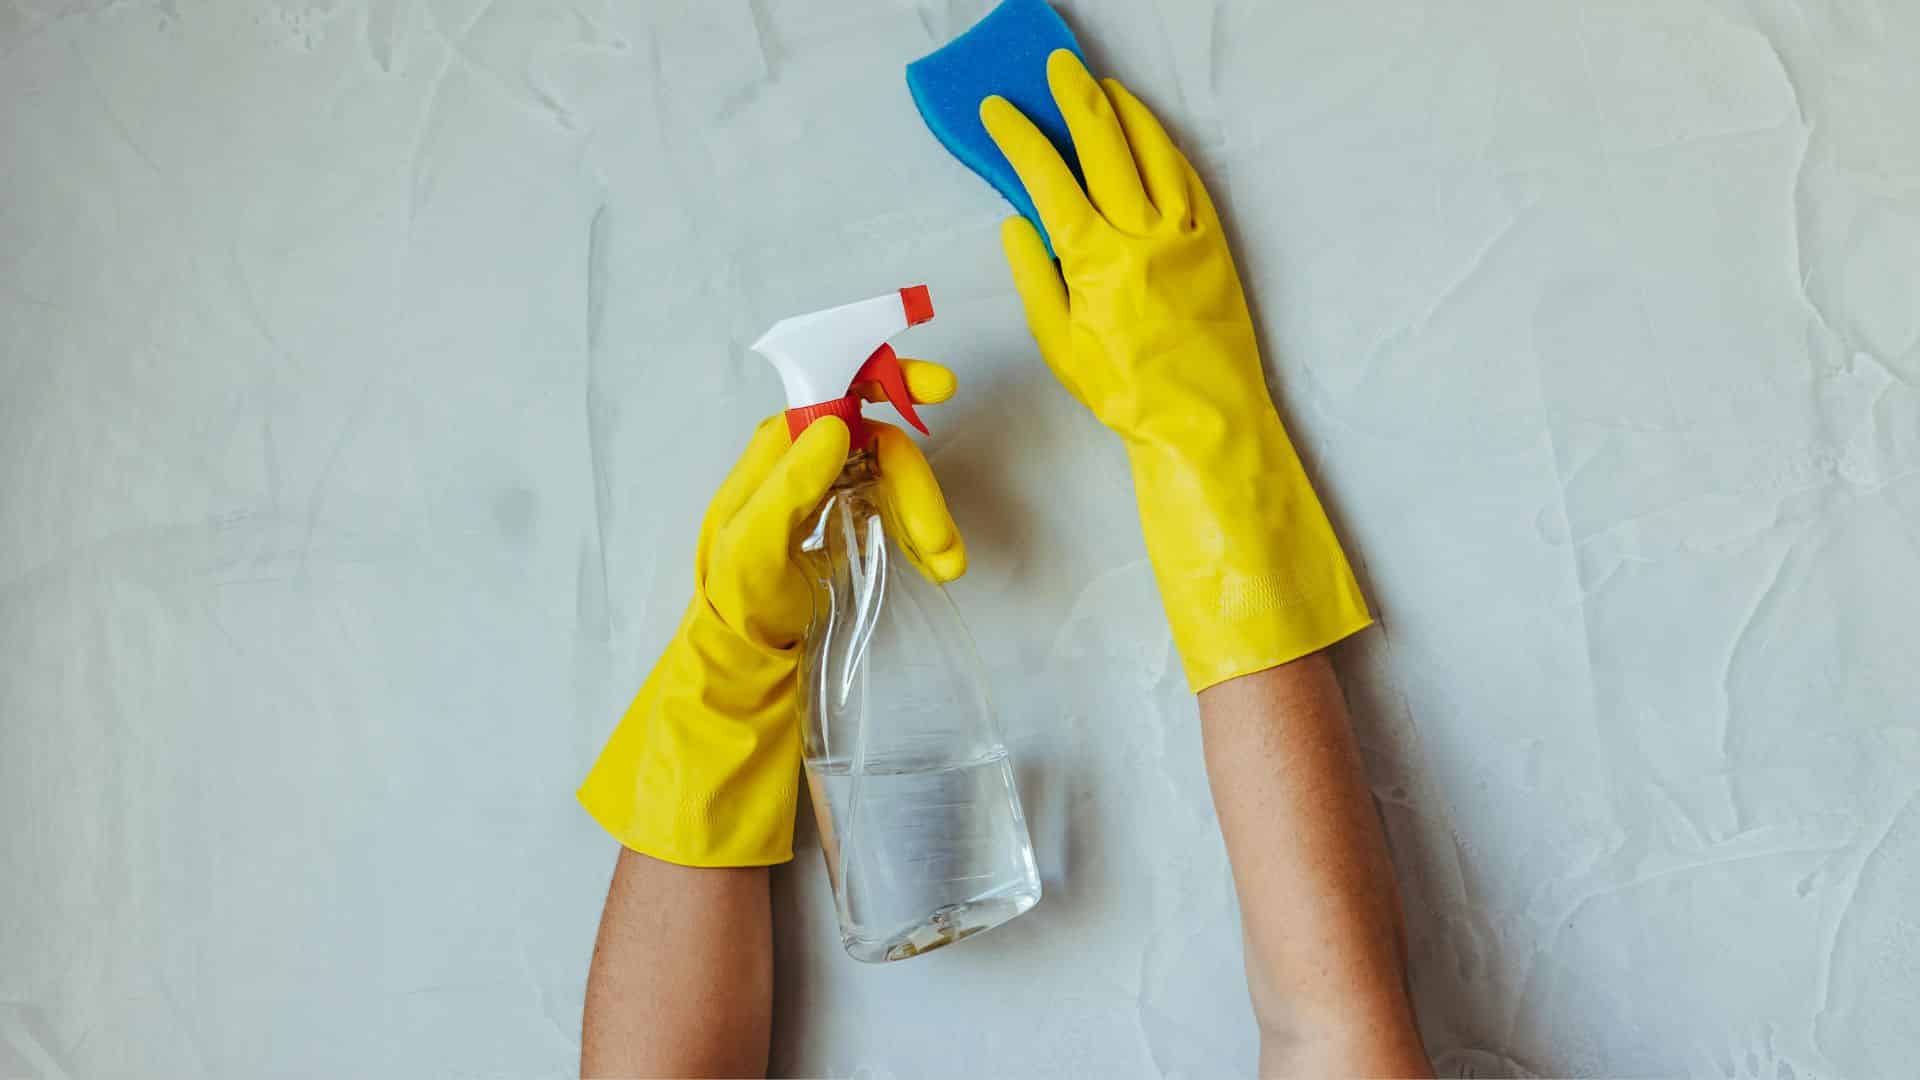
Step 2: Apply Cleaner the Right Way
Avoid spraying the solution directly onto the wall, as excess moisture can seep into the paint or drywall.
Instead, dampen your sponge or cloth in the solution, wring it out well, and apply it lightly for even, controlled coverage across the surface.
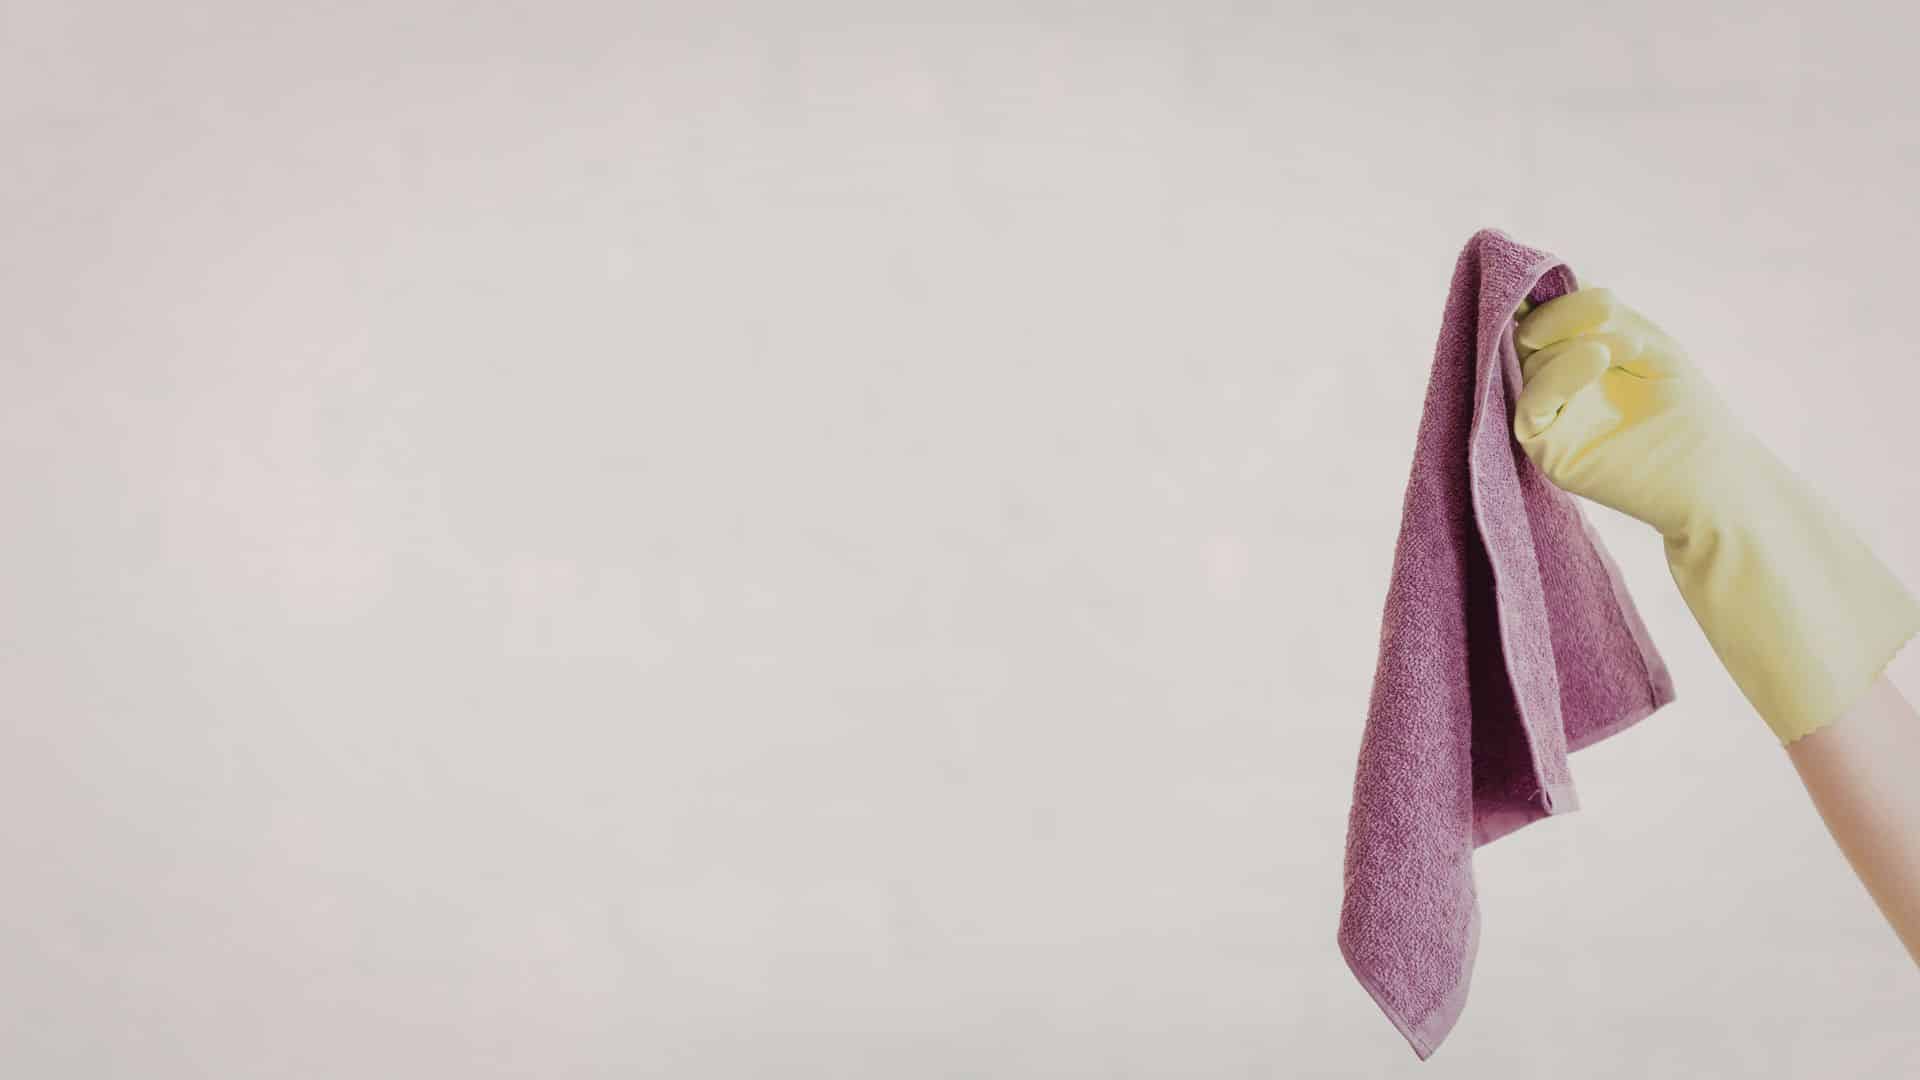
Step 3: Wipe Using Vertical Motions
Work in small sections, wiping in straight vertical strokes from top to bottom. Using a damp microfiber cloth or flat mop helps maintain consistent pressure.
Cleaning in sections ensures you don’t miss any spots and prevents the solution from drying unevenly.
Step 4: Rinse and Dry Properly
Once cleaned, go over the wall with a clean, lightly dampened cloth to remove any soap residue. Then immediately dry the surface with a microfiber cloth.
Skipping this step can lead to streaks, water marks, or a dull finish on the wall.
Video Tutorial
I’d like to acknowledge Clean That Up for the insightful video, which was a key reference in putting this guide together.
How to Remove Common Wall Stains?
Not all stains are the same. The right approach depends on what caused them. Here’s how to tackle the most common ones:
1. Grease and Kitchen Stains
🧪 Dish Soap + Warm Water → Apply on damp cloth → Dab and wipe gently
- Use a small amount of dish soap on a damp cloth and gently dab the stain.
- Avoid rubbing, as it can spread the grease further across the surface.
2. Crayon, Marker, and Pencil Marks
🧪 Magic Eraser or Foam Cleaner → Rub with minimal pressure → Wipe clean 🧪 For marker: Rubbing Alcohol + Cotton Ball → Dab on stain → Lift pigment
- Use a Magic Eraser or foam cleaner with light pressure to remove crayon and pencil marks.
- For marker stains, dab a little rubbing alcohol on a cotton ball to lift the pigment.
3. Scuff Marks and Shoe Marks
🧪 Dry Microfiber Cloth → Buff in small circular motions → No cleaner needed
- Gently buff the area with a dry microfiber cloth using light circular motions.
- In most cases, no cleaner is needed as light friction is enough to lift surface scuffs.
4. Mold and Mildew Spots
🧪 White Vinegar + Water (1:1) → Apply on spot → Let sit 2 to 3 mins → Wipe clean
- Mix equal parts white vinegar and water and apply directly to the affected area.
- Let it sit for a few minutes, then wipe clean. Keep the area well-ventilated while cleaning.
Mistakes to Avoid When Cleaning Walls
Even with the best intentions, a few common mistakes can leave your walls looking worse than before. Watch out for these:
- Using too much water: Over-wetting the wall can cause paint to bubble, peel, or leave water stains. Always wring out your cloth thoroughly before applying.
- Scrubbing too hard: Aggressive scrubbing, especially on matte or flat finishes, can strip paint or leave visible marks. Always start with gentle pressure.
- Skipping the dusting step: Cleaning a dusty wall without dusting first turns dry dirt into stubborn, hard-to-remove streaks.
- Using harsh chemical cleaners: Strong chemicals can react badly with certain paint types, causing fading or discoloration. Always opt for mild, pH-neutral solutions first.
- Cleaning in circular motions: This can leave swirl marks, especially on lighter-colored walls. Stick to vertical or horizontal strokes for a cleaner finish.
Conclusion
Cleaning your walls doesn’t have to feel like a big project. With the right supplies, a gentle solution, and a little patience, you can tackle everything from everyday dust to stubborn grease stains without damaging the paint or spending a fortune.
The key is to work smart: dust first, test before you commit, and always be gentle with the surface. Once you get into the habit, it becomes just another easy part of keeping your home looking its best.
Ready to give your walls the refresh they deserve?
Start with one room today. You’ll be surprised how much of a difference it makes. And if this guide helped, share it with someone whose walls could use a little love, too.