How to Clean Grout Lines Without Ruining Them

Grout lines collect dust, grease, and soap faster than any other surface in your home. The reason is simple: grout sits lower than tile and has tiny pores that trap dirt on contact.
Knowing how to clean grout lines properly depends on what type you have. Sanded, unsanded, epoxy, and stone tile grouts all react differently to the same cleaner. Use the wrong one, and you risk fading color or roughening the surface.
This article covers each grout type and shows a simple homemade solution that actually works.
What Are Grout Lines and Why Do They Get Dirty So Fast?
Grout is the material that fills the gaps between tiles. It holds tiles in place and stops water and dirt from getting underneath. Without it, tiles can shift and crack over time.
The problem is its position and texture. Grout sits slightly lower than the tile surface. That makes it a natural trap for dust, hair, soap, and grease. Tile has a smooth, sealed surface, so dirt wipes away fast. Grout has tiny open pores, so dirt sinks in instead.
Water speeds up the problem. Grout absorbs moisture like a sponge. When it dries, the particles it carried stay behind. That is what creates dark lines between your tiles over time.
If your grout gets dirty faster than your tiles, that is normal. Grout just holds onto dirt more than smooth tile does.
Grout type is set during tile floor installation, so the gap size and tile location determine which kind you have.
Types of Grout Lines You Will Find in Most Homes
Not all grout is the same. Knowing which type you have helps you pick the right cleaning method. Using the wrong cleaner can cause more damage than the original stain.
1. Sanded Grout
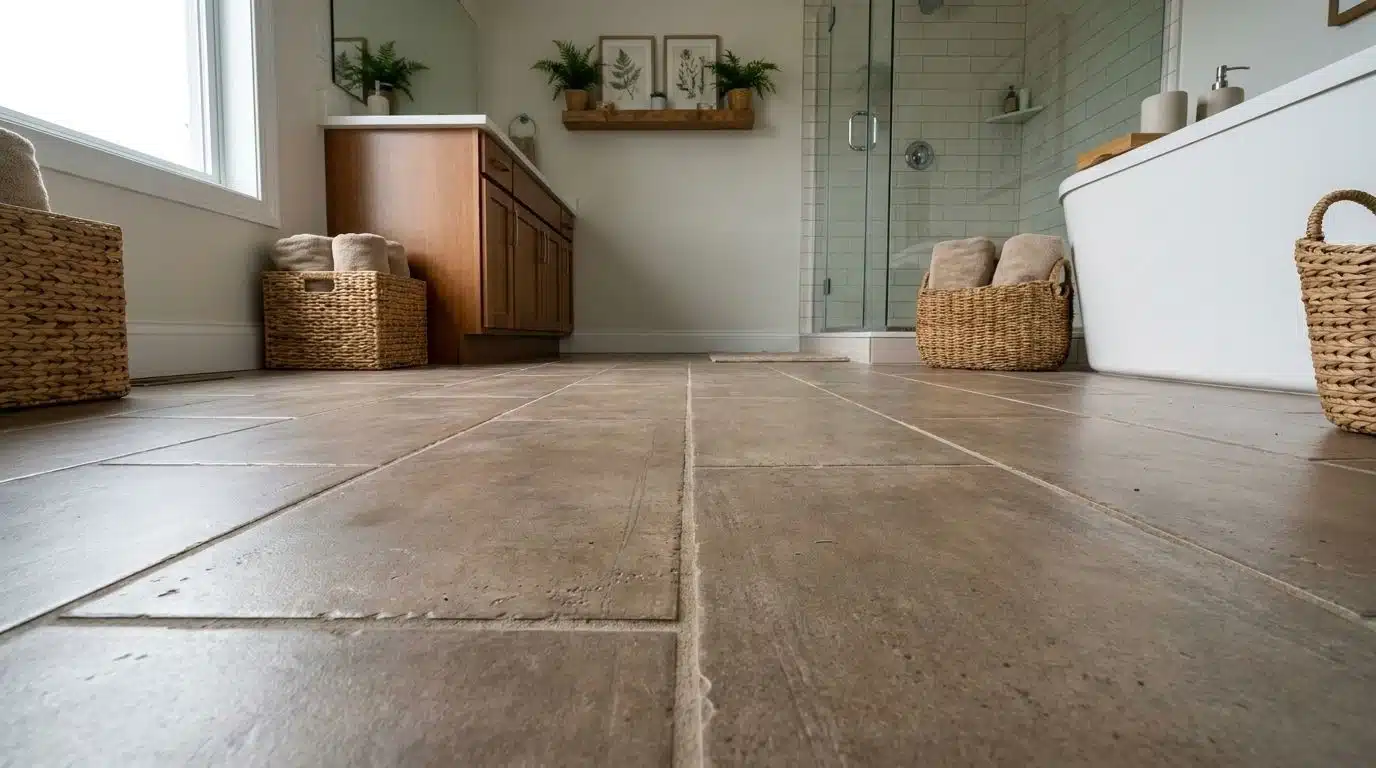
Sanded grout contains fine sand that makes it strong and stable. It works best in tile gaps wider than 1/8 inch. You will find it on floors, patios, and outdoor tiled areas.
The sand helps it hold up under scrubbing and daily foot traffic. Its rough texture traps dirt more easily, so it may need more frequent cleaning than other types.
2. Unsanded Grout
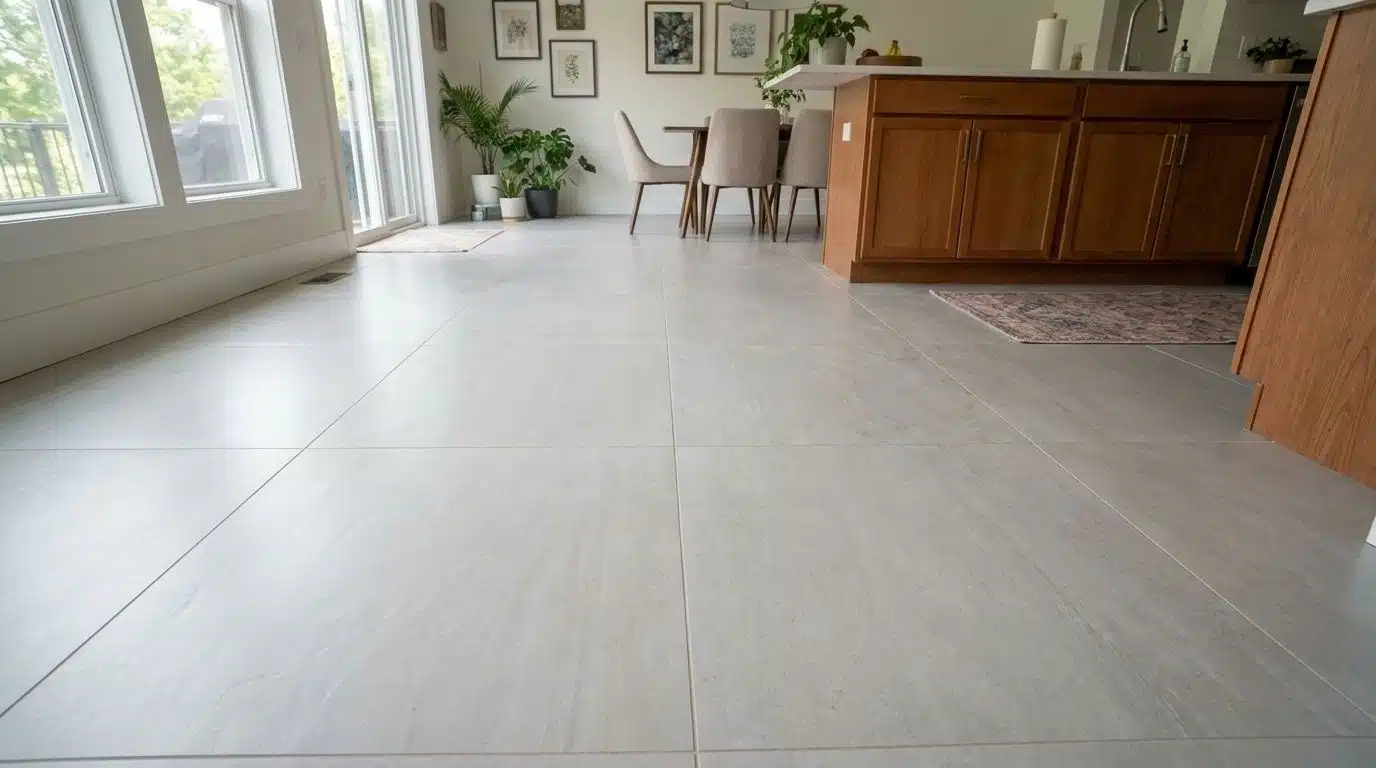
Unsanded grout has no sand, which makes it smoother and easier to spread. It is used for narrow grout lines around bathtubs, kitchen backsplashes, and wall tiles.
Because it is softer, it scratches more easily. Use a soft brush or old toothbrush when cleaning. Avoid stiff bristles and heavy pressure.
3. Epoxy Grout
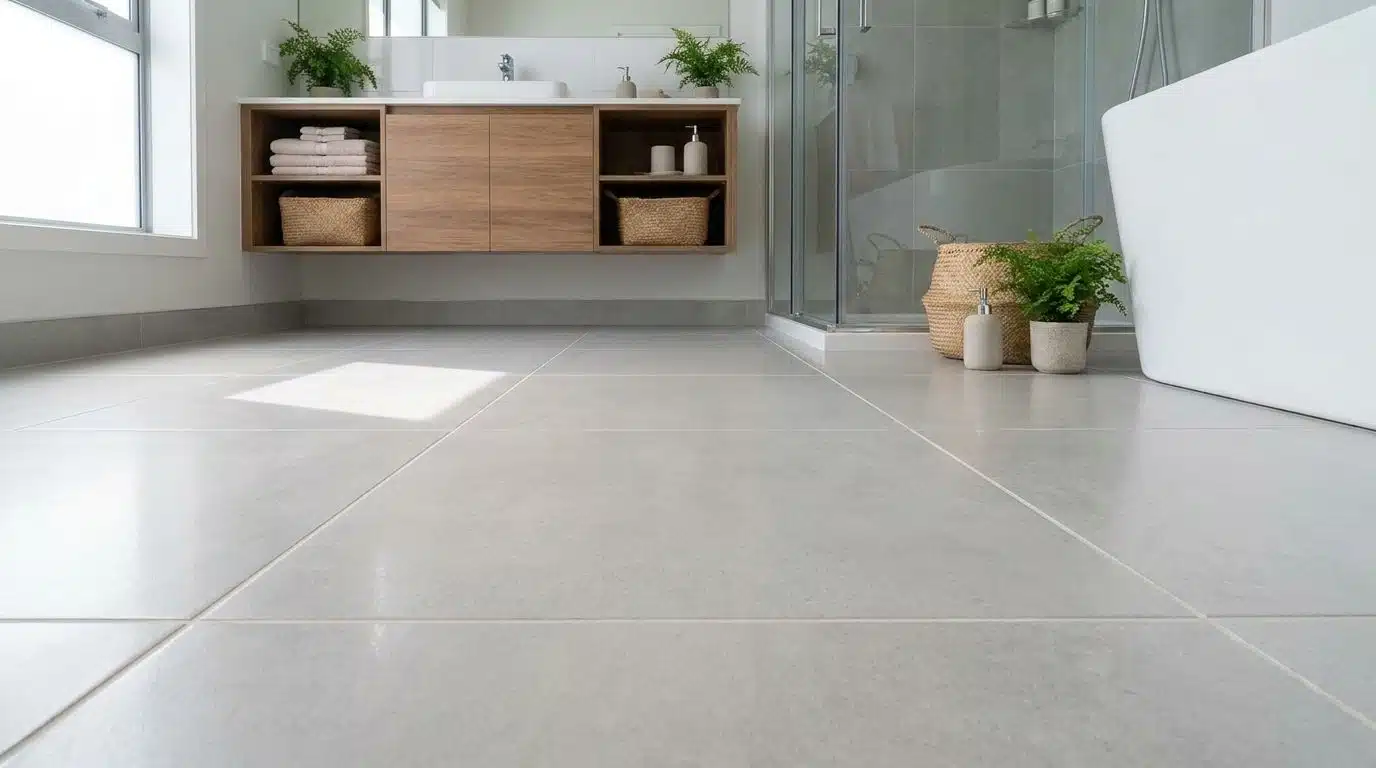
Epoxy grout is made with strong resins instead of cement. It resists stains, water, and chemicals, making it a good fit for showers and kitchens.
It does not absorb dirt easily, so it needs less cleaning than cement-based grout. It costs more and is harder to install, so it is less common in older homes.
4. Colored or Natural Stone Grout
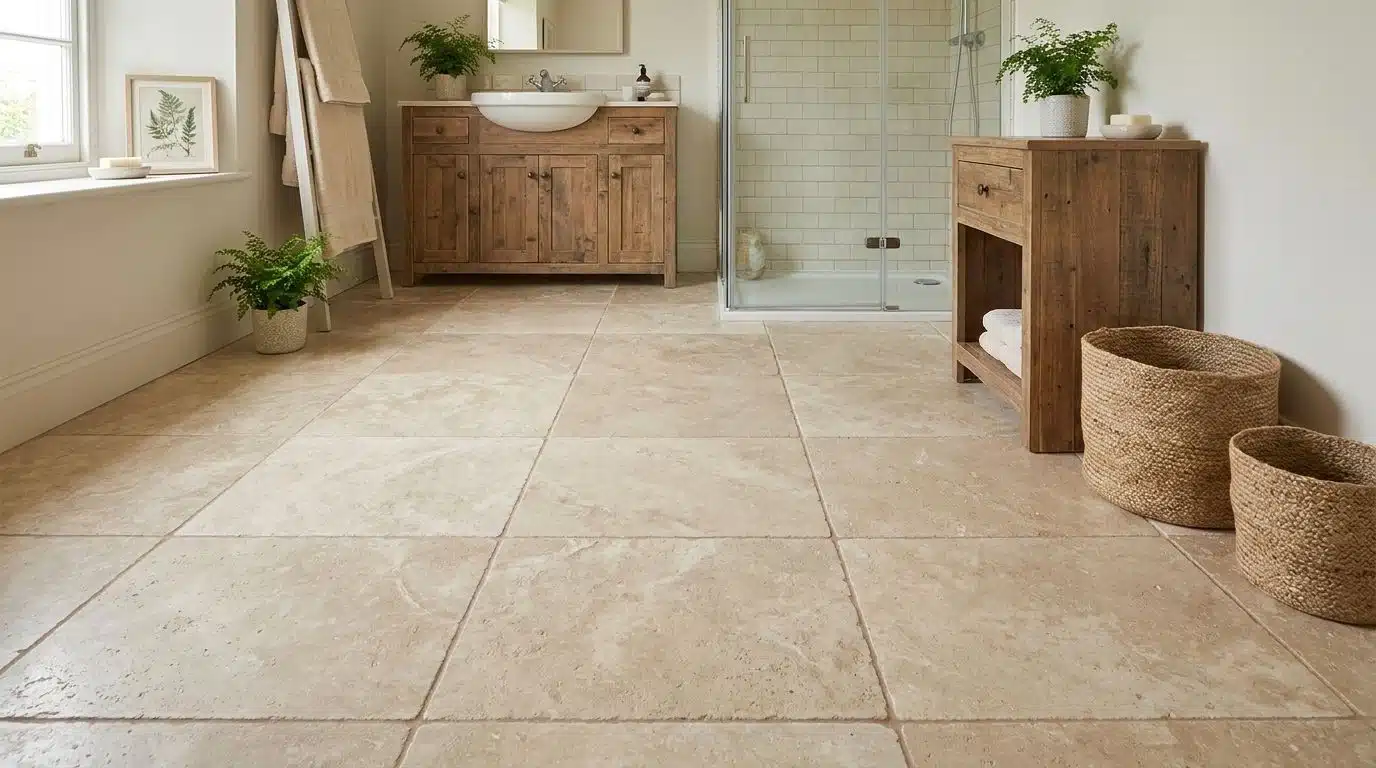
Colored grout and natural stone tiles both need extra care. Strong cleaners like vinegar and bleach can fade grout color and leave uneven patches that are difficult to fix.
Natural stone tiles, such as marble, travertine, and limestone, can be permanently damaged by acidic cleaners. These products wear away the surface and leave marks that do not wash out.
For colored grout or stone tiles, avoid vinegar and bleach entirely. Mild dish soap mixed with warm water is the safest option every time.
How to Clean Grout Lines: Step-by-Step
Dirty grout can make a clean tile floor look worn out. You do not need expensive store-bought cleaners. A simple homemade mix of isopropyl alcohol, dish soap, and warm water works well on most ceramic tile floors.
Before you start, gather these supplies:
| Materials | Tools |
|---|---|
| Isopropyl alcohol (rubbing alcohol) | Small mixing container |
| Dawn dish detergent | Spoon or stir stick |
| Warm water | Old toothbrush |
| Damp microfiber cloth | |
| Mop |
How to Make the Cleaning Solution
This homemade grout cleaner takes just a few minutes to mix. Use this ratio:
- 1 part isopropyl alcohol
- 1 part Dawn dish detergent
- 2 parts warm water
Add all three into a small container and stir gently until combined. Start with a small amount. You can mix more as you go.
Step-by-Step Cleaning Instructions
Once your solution is ready, follow these steps to clean your tile grout.
Step 1: Test on a small area first.
Apply a small amount to a hidden section of grout. This confirms the mix works safely with your tile type before you clean the full floor.
Step 2: Apply the cleaner to the grout.
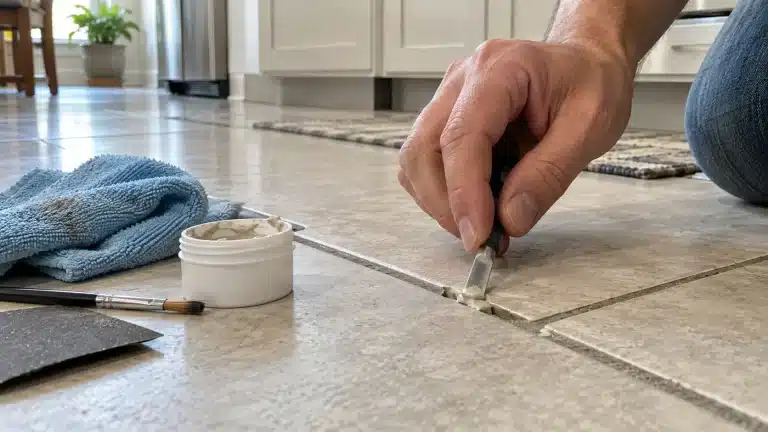
Dip an old toothbrush into the solution. A toothbrush fits narrow grout lines well and gives you better control. Press the brush directly onto the grout and scrub back and forth.
Step 3: Scrub gently.
Let the solution do most of the work. You do not need to press hard. For badly stained areas, repeat the process a few times rather than scrubbing harder.
Step 4: Let it sit briefly.
Allow the cleaner to sit for 10 to 15 seconds as you scrub. This gives it time to break down built-up grime.
Step 5: Wipe away the residue.
Take a damp cloth and wipe along the grout lines. You should see the grout look cleaner right away.
Step 6: Mop the full floor.
Once you finish the grout, mop the tile floor as normal. This removes any leftover residue and leaves the surface clean.
Why This Homemade Cleaner Works on Grout
Each ingredient plays a specific role in breaking down grime:
- Isopropyl alcohol breaks down buildup and dries fast without leaving a residue behind.
- Dish soap cuts through grease, soap scum, and stuck-on dirt inside the pores.
- Warm water loosens debris and carries it away from the grout surface.
Together, these three ingredients create an affordable cleaner that works on most ceramic tile floors without needing any special products.
Credit to seejanedrill, whose video served as the reference for this cleaning method.
How to Keep Grout Lines From Getting Dirty Again
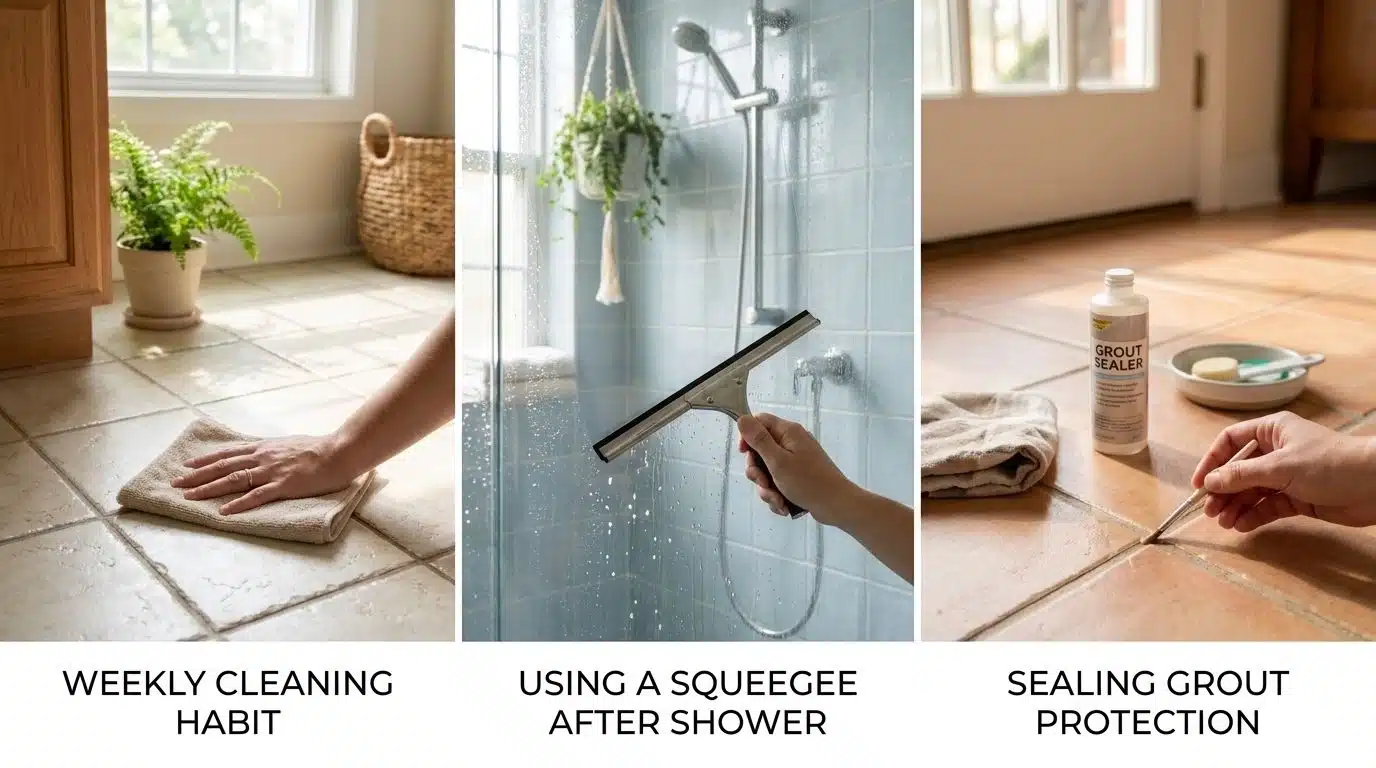
Cleaning grout once is the hard part. Keeping it clean takes very little effort once a few habits are in place.
Wipe down tiled areas once a week. A dry cloth or quick sweep stops dust from settling into grout before it has a chance to build up. Pairing this with routine floor care keeps tile looking its best between deeper cleans.
Run a squeegee over shower walls after every use. Water sitting in grout lines causes most of the staining you see later. Thirty seconds with a squeegee prevents a full scrub session down the road.
Seal your grout after cleaning. A sealer blocks water and dirt from soaking into the pores. Most sealers last one to two years. Mark the date somewhere and repeat when it is time.
Grout Cleaning Mistakes That Make Stains Worse
A few common habits turn a simple cleaning job into a much bigger problem.
1. Wetting the grout before sweeping. Dry dust turns into sticky paste when it gets wet. That paste pushes deeper into grout pores. Always sweep first, then apply the cleaner.
2. Using vinegar or bleach on stone tile. Both can eat into natural stone and leave permanent patches. Use mild dish soap and warm water on stone tile every time.
3. Skipping the sealer. Clean grout without a seal gets dirty again within weeks. Sealing after cleaning is the one habit that saves the most time going forward.
4. Scrubbing with a stiff wire brush. Wire brushes wear grout away over time. A soft brush or old toothbrush gets the job done without damaging the surface.
5. Mixing cleaners. Mixing bleach and vinegar together, or bleach and ammonia, produces fumes that can hurt your lungs. Pick one cleaning method and stick with it.
Frequently Asked Questions
How often should you clean tile grout?
Deep cleaning every few months works for most homes. Regular sweeping and mopping between sessions helps prevent heavy buildup.
Can I use this cleaner on all tile types?
This method works well on ceramic tile floors. Always test a small area first, especially with natural stone or colored grout, to avoid damage.
Can I use a regular scrub brush instead of a toothbrush?
Yes, but a toothbrush fits narrow grout lines better and gives more control while scrubbing. A wider soft brush works for larger sections.
How long does it take to clean grout lines?
Small areas take just a few minutes. The solution only needs 10 to 15 seconds to loosen dirt before you wipe it away.
What if my grout is still dirty after one pass?
Repeat the process or let the solution sit a little longer before scrubbing. Deeply stained grout may need two or three passes to fully lift.
Is it safe to use rubbing alcohol on grout?
Yes, for ceramic and cement-based grout. Skip it for natural stone tiles. Alcohol can damage stone surfaces and cause permanent marks.
Clean Grout Lines Start With Knowing Your Grout Type
Knowing how to clean grout lines properly starts with identifying what you are working with. The wrong cleaner does more harm than good. The right one lifts grime in just a few minutes.
Use the homemade alcohol-and-soap solution for ceramic and sanded grout. Stick to mild dish soap for stone tiles and colored grout. Seal everything once it is dry, and stains take much longer to come back.
Start with one small section today. See how it looks. Then take on the rest of the floor when you are ready.