Can You Tile Over Tile? What You Must Know
Old tiles staring back at you, and you’re wondering if you really need to rip them all out? Good news.
You don’t always have to. Tiling over tile is a real option, and when done right, it holds up well. But it is not for every surface or situation.
In this blog, we cover when it works, what to check before you start, how to prepare the surface, the pros and cons, and some solid alternatives if tiling over is not the right call.
Can You Tile Over Tile?
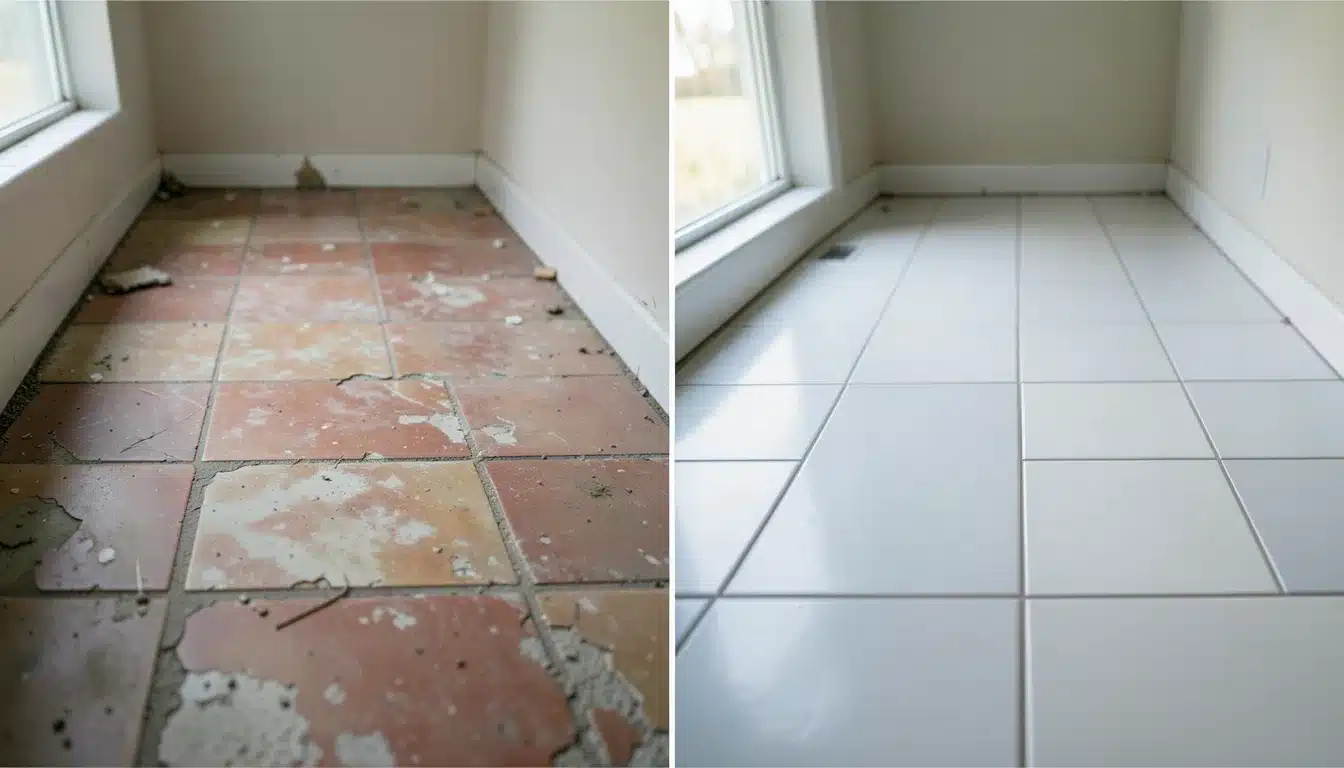
Yes, you can tile over tile, but only when the existing surface is in good shape.
If the old tiles are cracked, loose, or uneven, you need to remove them first. A solid, well-bonded base is what makes this method work.
The existing surface must be flat, firm, and free of loose or broken tiles. Good adhesion between the old tile and the subfloor is essential. If the substrate underneath is weak or shifting, the new tiles will not hold for long.
When Tile Over Tile Is a Good Idea
Sometimes, tiling over existing tiles is the smarter choice. It saves time, cuts costs, and gets the job done without a messy demo.
| Situation | Why It Works |
|---|---|
| The existing tiles are fully bonded | No hollow spots, no loose pieces, everything sits tight and secure |
| The surface is level and flat | No lippage or uneven edges that could affect the new tile layout |
| The floor can handle extra weight | The subfloor is strong enough to support two layers of tile |
| You want to avoid demolition costs | Skipping tile removal saves both money and labor time |
| The room has enough floor-to-ceiling height | Adding a tile layer will not cause issues with doors or fixtures |
Key Considerations Before Tiling Over Tile
Before you start, there are a few things you need to check. Skipping these steps can lead to cracked tiles, poor adhesion, and costly repairs down the line.
1. Tile Condition Assessment
Check for Loose or Cracked Tiles
Not every existing tile surface is ready for a new layer. Knowing what to look for saves you from bigger problems later.
- Walk across the floor slowly: Feel for any tiles that shift or move under your feet.
- Look for visible cracks: Even small cracks can spread under the weight of new tiles.
- Check grout lines closely: Crumbling or missing grout is a sign that the surface is not stable.
- Press down on each tile: Any tile that flexes or feels soft needs to be fixed or removed.
Percussion Testing and Visual Inspection
A simple tap test can tell you a lot about what is going on beneath the surface.
- Tap each tile with a coin or knuckle: A hollow sound means the tile has lost its bond.
- Mark hollow tiles with tape: This helps you track which ones need attention before you proceed.
- Inspect grout for gaps or lifting edges: These are early signs of adhesion failure.
- Re-bond or remove any hollow tiles: Never tile over a surface with loose sections underneath.
2. Surface Flatness
An uneven surface leads to uneven tile placement. This causes lippage, cracking, and tiles that do not sit properly.
- Use a long straightedge or level: Place it across the floor in multiple directions to spot high and low points.
- The standard tolerance is 3mm over 3 meters: Anything beyond that needs to be addressed first.
- Fill low spots with a floor leveling compound to create a smooth, even base for the new tiles.
- Grind down any high spots: Even small bumps can throw off the entire tile layout.
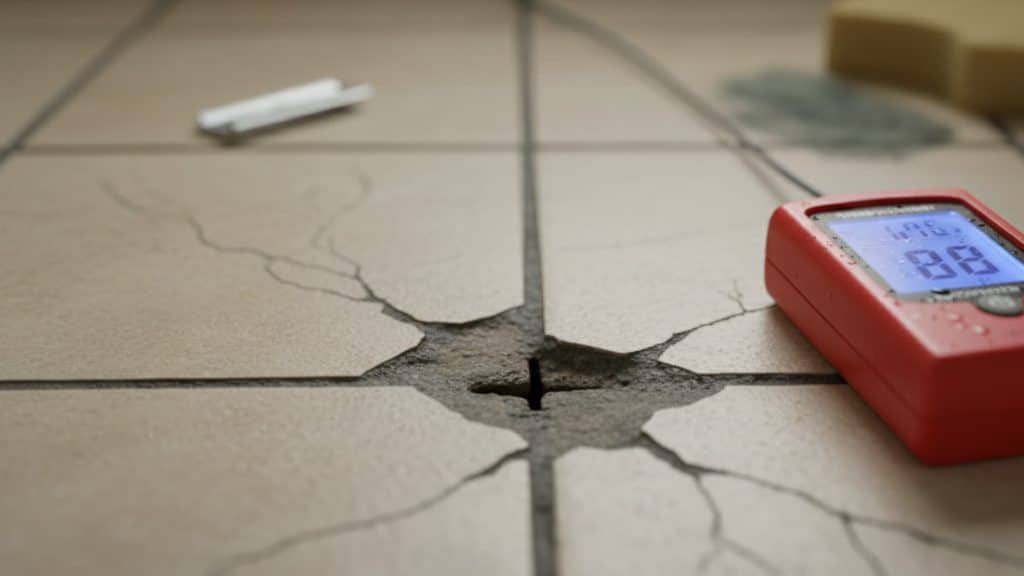
3. Moisture Concerns
Moisture is one of the biggest reasons tile jobs fail. It weakens the bond between layers and can lead to mold growth over time.
- Look for staining or discoloration on existing tiles; dark patches often indicate trapped moisture beneath.
- Check areas near water sources, such as bathrooms, kitchens, and laundry rooms, as these are the most common trouble spots.
- Use a moisture meter to test the subfloor: This gives you a clear reading before you proceed.
- Apply a waterproofing membrane if needed to protect the new tile layer from moisture damage.
4. Weight Considerations
Adding a second layer of tile means adding more weight. Your subfloor needs to be able to handle it.
- Each tile layer adds significant dead load: Most ceramic tiles add around 4 to 5 kg per square meter.
- Check your subfloor type: Concrete subfloors generally handle extra weight better than timber ones.
- Consult a structural assessment for older homes: aging joists may not be able to support the added load.
- Consider lightweight tiles for the new layer: Thinner or lighter tiles reduce the overall load on the subfloor.
5 Steps for Tiling Over Tile: Prep & Install
Getting the preparation right is what separates a lasting tile job from one that fails in a few months. Here is everything you need and exactly what to do before the first new tile goes down.
Tools and Materials for Tiling Over Tile
| Material/Tool | Purpose |
|---|---|
| Polymer-Modified Thinset/Epoxy | Strong bonding adhesive for tile-on-tile installation |
| Tile Primer | Enhances adhesion, especially for non-porous tiles |
| Sandpaper or Grinder | Roughens the surface of existing tiles for better bonding |
| Trowel | Applies adhesive evenly to the surface |
| Tile Spacers | Ensures consistent gaps between tiles during installation |
| Leveling System | Keeps tiles level and prevents lippage |
Step 1: Clean the Surface
Start by giving the existing tiles a thorough clean. Use a tile cleaner or degreaser to remove grease, soap scum, and grime. Any leftover residue on the surface will stop the adhesive from bonding properly.
Step 2: Roughen the Surface
Use sandpaper or a grinder to lightly abrade the tops of the existing tiles. This creates a rough texture that gives the adhesive something to grip onto. Skipping this step, especially on smooth or glossy tiles, is one of the most common reasons tile-on-tile jobs fail.
Step 3: Apply Primer (If Necessary)
If your existing tiles are non-porous, like glazed ceramic, a tile primer is a must. Apply it evenly across the surface and let it dry fully before moving on. It creates a stronger bond and reduces the risk of tiles lifting later.
Step 4: Fix Cracks and Grout Lines
Go over the surface carefully and look for any cracks or gaps in the grout lines. Fill cracks with a tile repair filler and re-grout any open joints. A smooth, even surface at this stage makes the whole installation much cleaner and more stable.
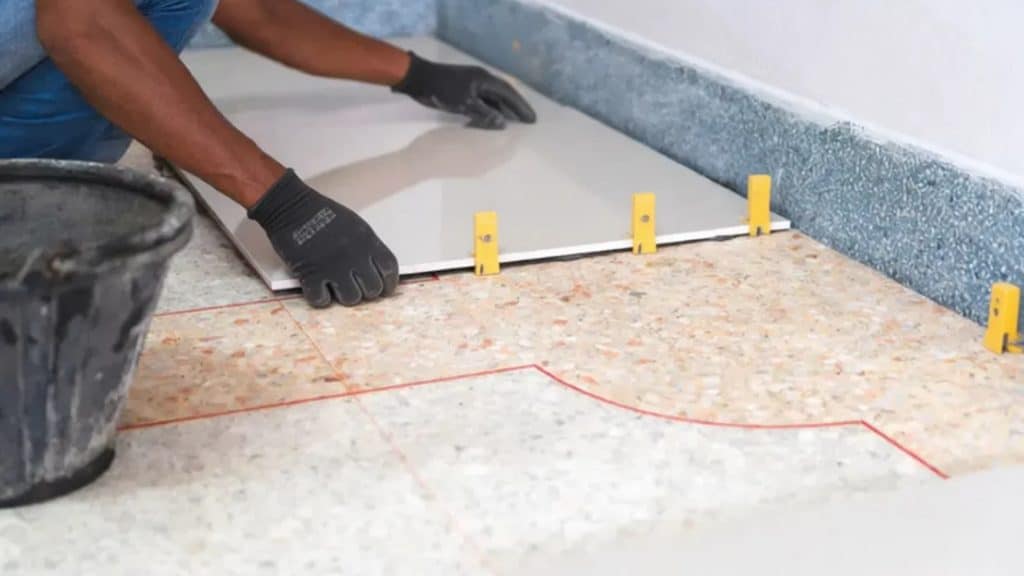
Step 5: Apply Adhesive and Install New Tiles
Use a notched trowel to spread your polymer-modified thinset or epoxy adhesive evenly across the surface. Place each new tile firmly into the adhesive, use tile spacers to keep the gaps consistent, and check alignment with your leveling system as you go. Work in small sections so the adhesive does not dry out before the tiles are placed.
Pros and Cons of Tiling Over Tile
Tiling over existing tiles has its advantages, but it also comes with real trade-offs. Here is a clear look at both sides to help you make the right call for your project.
| Pros | Cons |
|---|---|
| Saves time by skipping the tile removal process entirely | Adds extra height to the floor, which can affect doors and fixtures |
| Reduces labor costs since demolition work is not needed | The new layer is only as strong as the existing tile beneath it |
| Less mess on site with no broken tile debris to clean up | Not suitable for surfaces with hollow, cracked, or loose tiles |
| Puts less stress on the surrounding walls and subfloor during the process | Can reduce ceiling height in rooms where space is already limited |
| Works well for tight timelines where speed is a priority | May void warranties on certain flooring products or adhesives |
Alternatives to Tiling Over Tile
Tiling over existing tiles is not always the right option. If the surface is not in good shape, these alternatives are worth considering.
- Full Tile Removal: Strip out the old tiles completely and start fresh with a clean, solid base.
- Self-Leveling Compound: Pour a leveling compound over the existing surface to create a flat, smooth base for new flooring.
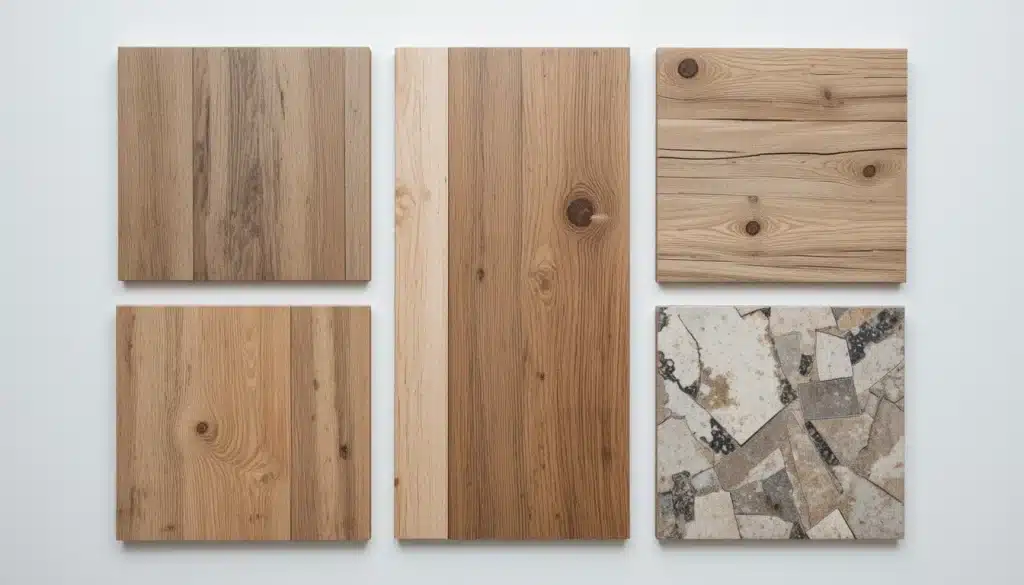
- Vinyl Plank Flooring: Lay vinyl planks directly over the old tiles for a quick, cost-effective flooring update.
- Laminate Flooring: Install laminate over the existing tile surface without the need for any adhesive or major prep work.
- Engineered Hardwood: Place engineered wood boards over old tiles for a warmer look without full demolition.
- Floating Floor Systems: Use a click-lock floating floor that sits on top of the existing surface without being glued down.
- Tile Overlayment Panels: Apply thin overlay panels over old tiles to serve as a base for new flooring materials.
Maintenance Tips for Tile Over Tile
Once your new tiles are set, keeping them in good shape requires little effort. Clean the surface regularly with a pH-neutral cleaner and avoid harsh chemicals that can break down the grout.
Check the grout lines every few months for cracks or gaps and re-grout when needed. If you spot a tile that sounds hollow or feels loose, fix it early before it gets worse.
Wipe up spills quickly, especially in bathrooms and kitchens, to stop moisture from seeping into the grout.
Use felt pads under heavy furniture to prevent surface scratches and avoid putting too much pressure on single points. A little regular care goes a long way in keeping your tiled surface looking good for years.
Final Thoughts
Tiling over tile can be a smart move if the surface is solid, flat, and well-bonded.
It saves time and reduces costs. But it only works when the base is in good condition. A quick check of the existing tiles, grout lines, moisture levels, and subfloor load can tell you a lot before you commit.
If the surface is not up to the mark, the alternatives we covered are worth a look. Got questions about your specific floor or wall situation?
Drop them in the comments; we would love to help you figure out the best path forward.