DIY Epoxy Garage Floor: Step-by-Step Guide for Beginners

Cracked, stained concrete with grease spots that refuse to scrub away, that is what years of heavy use leave behind on a garage floor.
A DIY epoxy garage floor fixes this permanently. The coating bonds directly to concrete, blocks oil and stains, and creates a surface that wipes clean in seconds. Applied correctly, it lasts 5 to 10 years with minimal upkeep.
This guide covers every stage, from choosing the right epoxy type to applying the final clear coat, so you get a durable, professional-quality finish without paying contractor rates.
What Is a DIY Epoxy Garage Floor?
A DIY epoxy garage floor is a protective coating applied over prepared concrete. It is made by mixing epoxy resin with a hardener. That mixture triggers a chemical reaction that forms a hard, durable layer once fully cured.
Unlike regular garage floor paint that sits loosely on top of concrete, epoxy bonds with the surface itself. The result is a much stronger finish that resists stains, scratches, and daily wear.
A properly applied coating protects against:
- Oil and chemical stains
- Water damage and surface moisture
- Tire marks and road salt
- Scratches from dropped tools and equipment
Benefits of an Epoxy Garage Floor Coating
A properly installed epoxy coating does more than clean up the look of the space. Here is what actually changes day to day:
- Durable surface: Epoxy handles vehicle traffic, dropped tools, oil spills, and household chemicals without breaking down.
- Easier cleaning: Bare concrete absorbs liquids. Epoxy seals the surface. Spills wipe off quickly. A mop handles the rest.
- Less concrete dust: Unsealed concrete sheds fine particles as it wears. An epoxy coating stops this, useful if the garage doubles as a workshop, gym, or hobby area.
- Better appearance: Available in solid colors, decorative flakes, and metallic finishes. One coat changes how the entire space looks.
- Added home value: A finished garage floor improves the overall appeal of the property to potential buyers.
Types of Epoxy Coatings: Which One Should You Choose?
Not all epoxy products perform the same way. The type you choose affects durability, application difficulty, and how long the finish holds up.
| Type | Best For | DIY Difficulty |
|---|---|---|
| Water-based epoxy | First-time DIYers on a budget | Easy |
| Solvent-based epoxy | Stronger finish, better penetration | Moderate |
| 100% solids epoxy | Heavy-use garages, pro-level results | Harder |
If you are deciding between epoxy and other coating options, such as polyurea or polyaspartic systems, the key differences come down to curing speed, UV resistance, and upfront cost.
Step-by-Step Garage Floor Refinishing Process
Now that your garage is empty and prepared, it’s time to start the actual coating process. This section breaks down each step so you can follow along easily and get professional results.
Tools and Materials Including Safety Gear You Will Need
Getting the right tools and materials is crucial for successful garage floor refinishing. You don’t need expensive equipment, but having quality basics will make the job much easier and give you better results.
These tools and materials will save you time and frustration during the project.
| Tools and Materials | Use |
|---|---|
| Leaf blower | Clear dust and debris |
| Power washer | Clean and rinse the surface |
| Paint roller & brush | Apply epoxy and reach corners |
| Epoxy kit | Main garage floor epoxy system |
| Degreaser & etcher | Prep surface for coating |
| Crack filler | Repair damage |
| Clear coat | Final protective layer |
| Plastic & tape | Moisture testing |
Pro tip: Don’t skip the moisture test materials. Many garage floor refinishing projects fail because people ignore moisture problems in their concrete.
Once you’ve gathered everything you need, the next step is making sure your surface is ready for coating.
Safety Gear Required Before Starting
Epoxy resin and acid etching solutions contain chemicals that irritate skin, eyes, and lungs. Always wear:
- Chemical-resistant gloves
- Safety goggles
- A respirator rated for organic vapors
Keep the garage well-ventilated throughout prep and application. Open all doors and windows before you begin.
If you have asthma or any respiratory condition, consult a professional before working with epoxy or etching chemicals. Always follow the safety instructions printed on the product label.
Step 1: Clear the Space and Inspect the Concrete
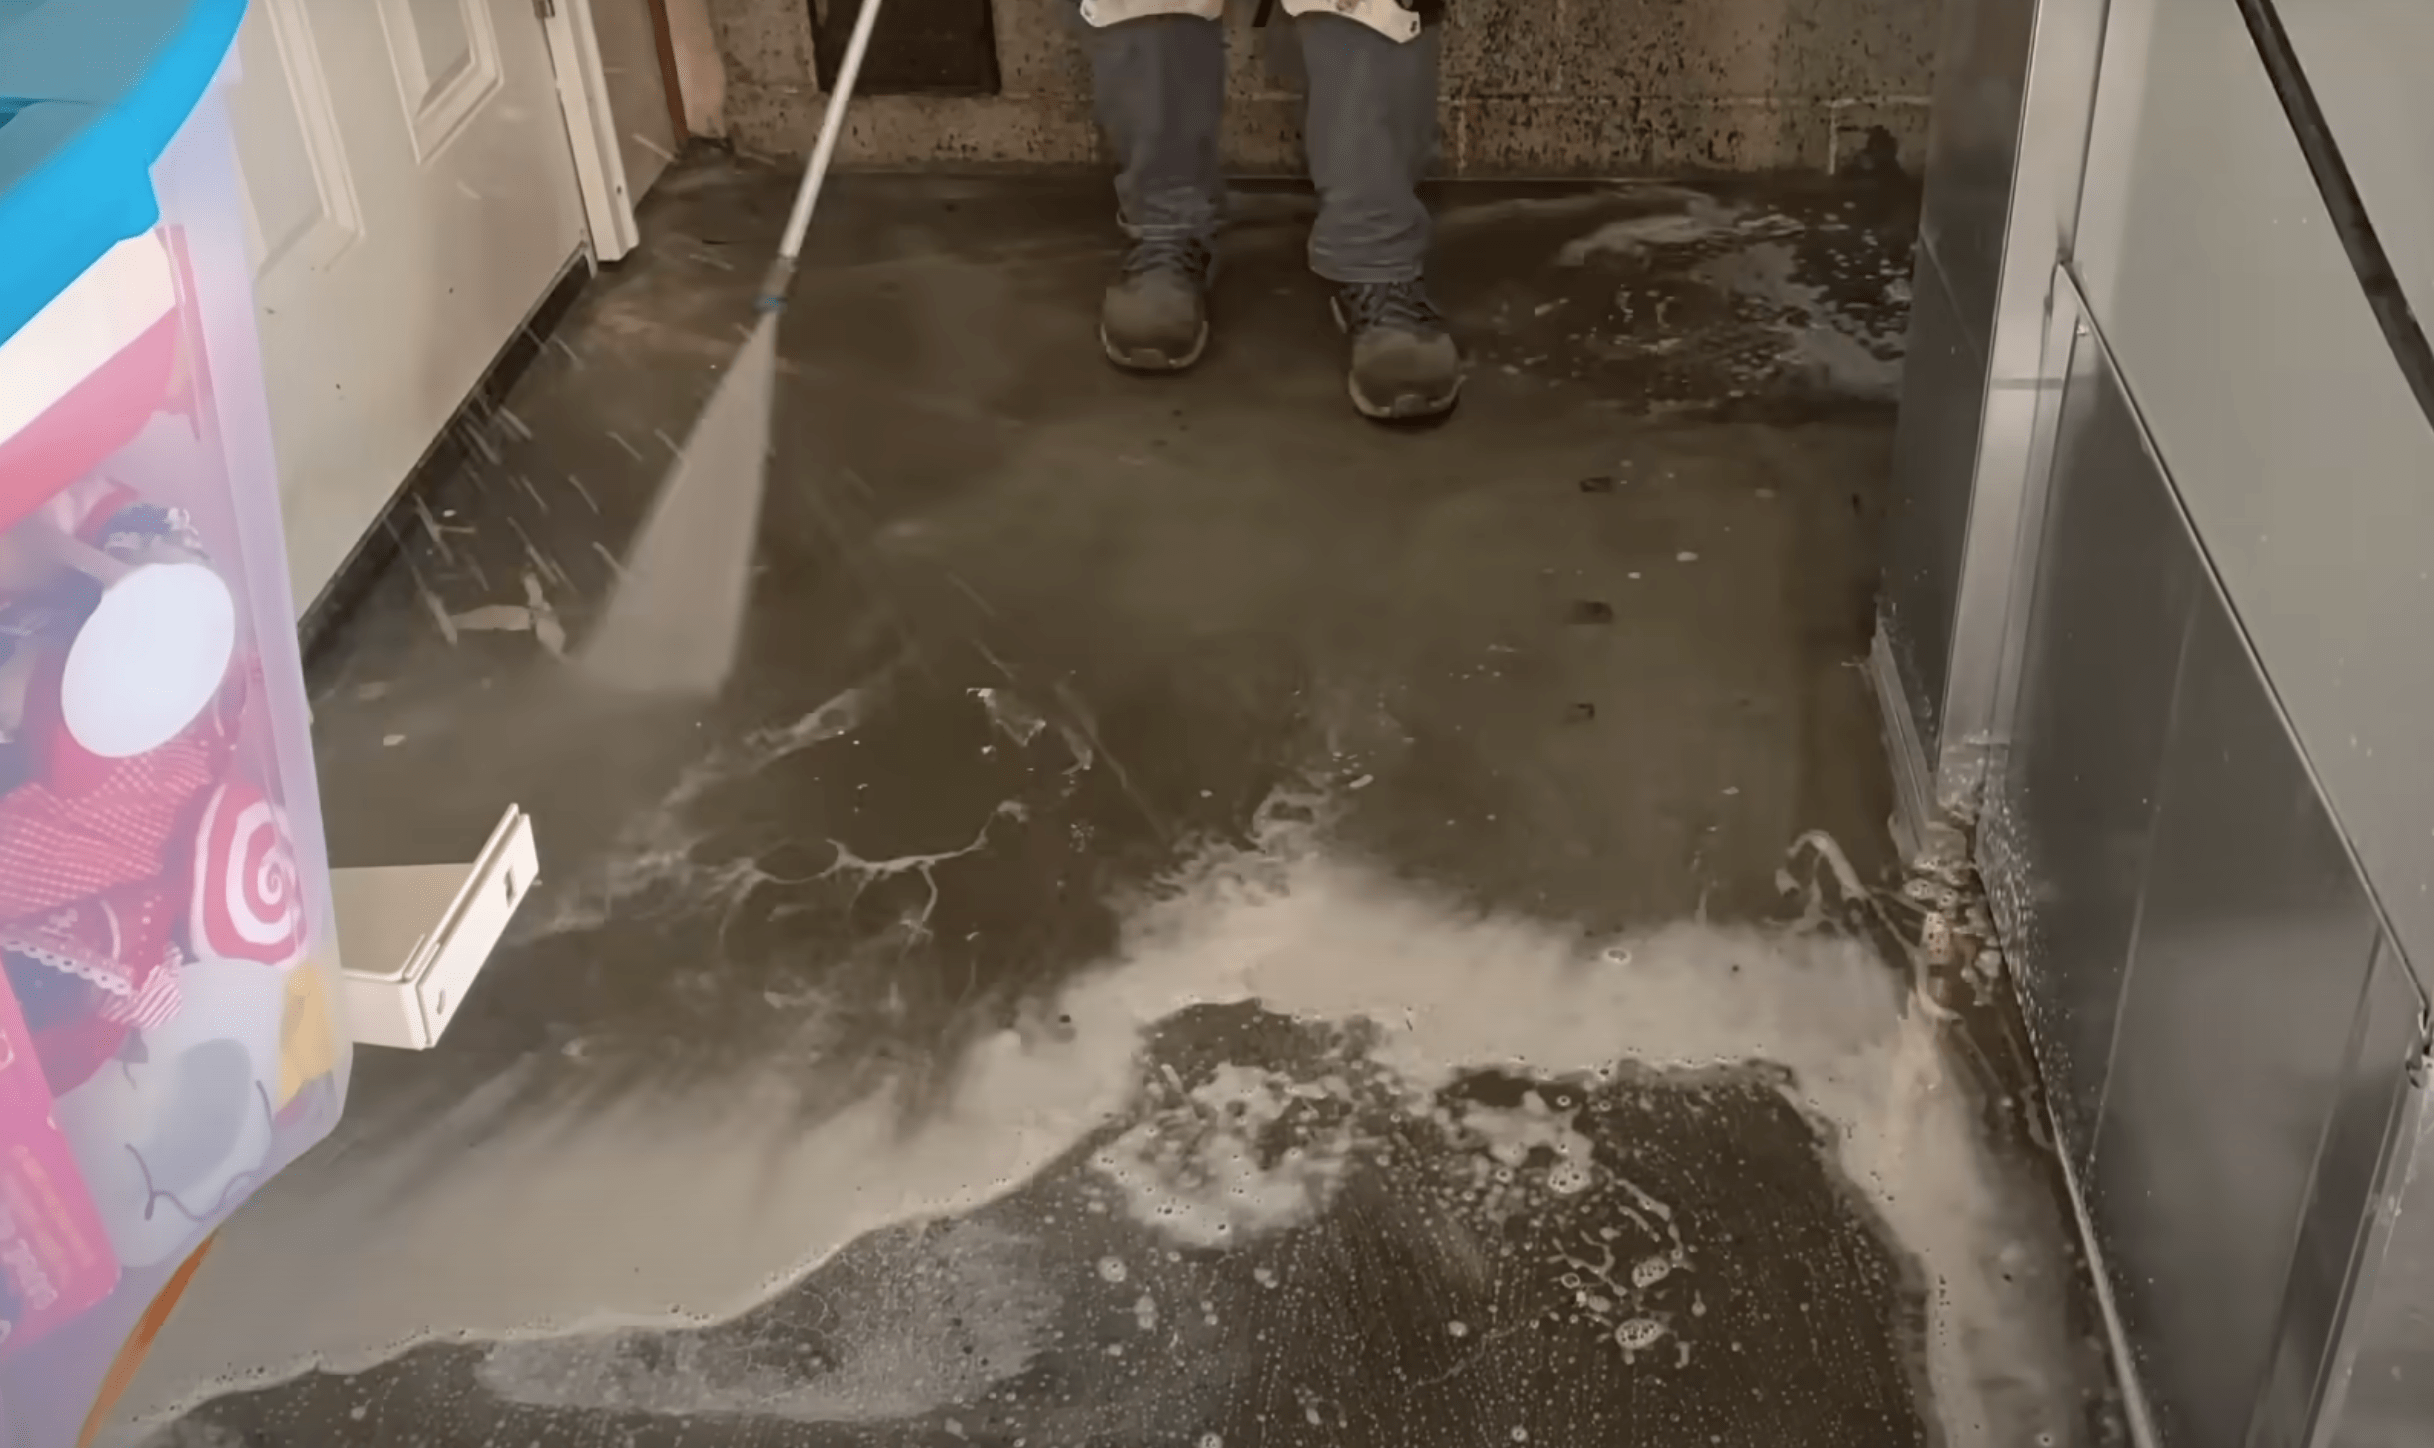
Remove everything from the garage. Check the floor carefully for cracks, oil stains, existing paint or old coatings, and signs of moisture seeping through.
If there is an existing coating, check whether it is firmly attached. Loose or peeling layers must be removed before applying anything new.
Important: If the concrete was poured recently, wait at least 28 days before applying any coating. New concrete holds moisture that must fully evaporate first.
Step 2: Etch the Concrete Surface
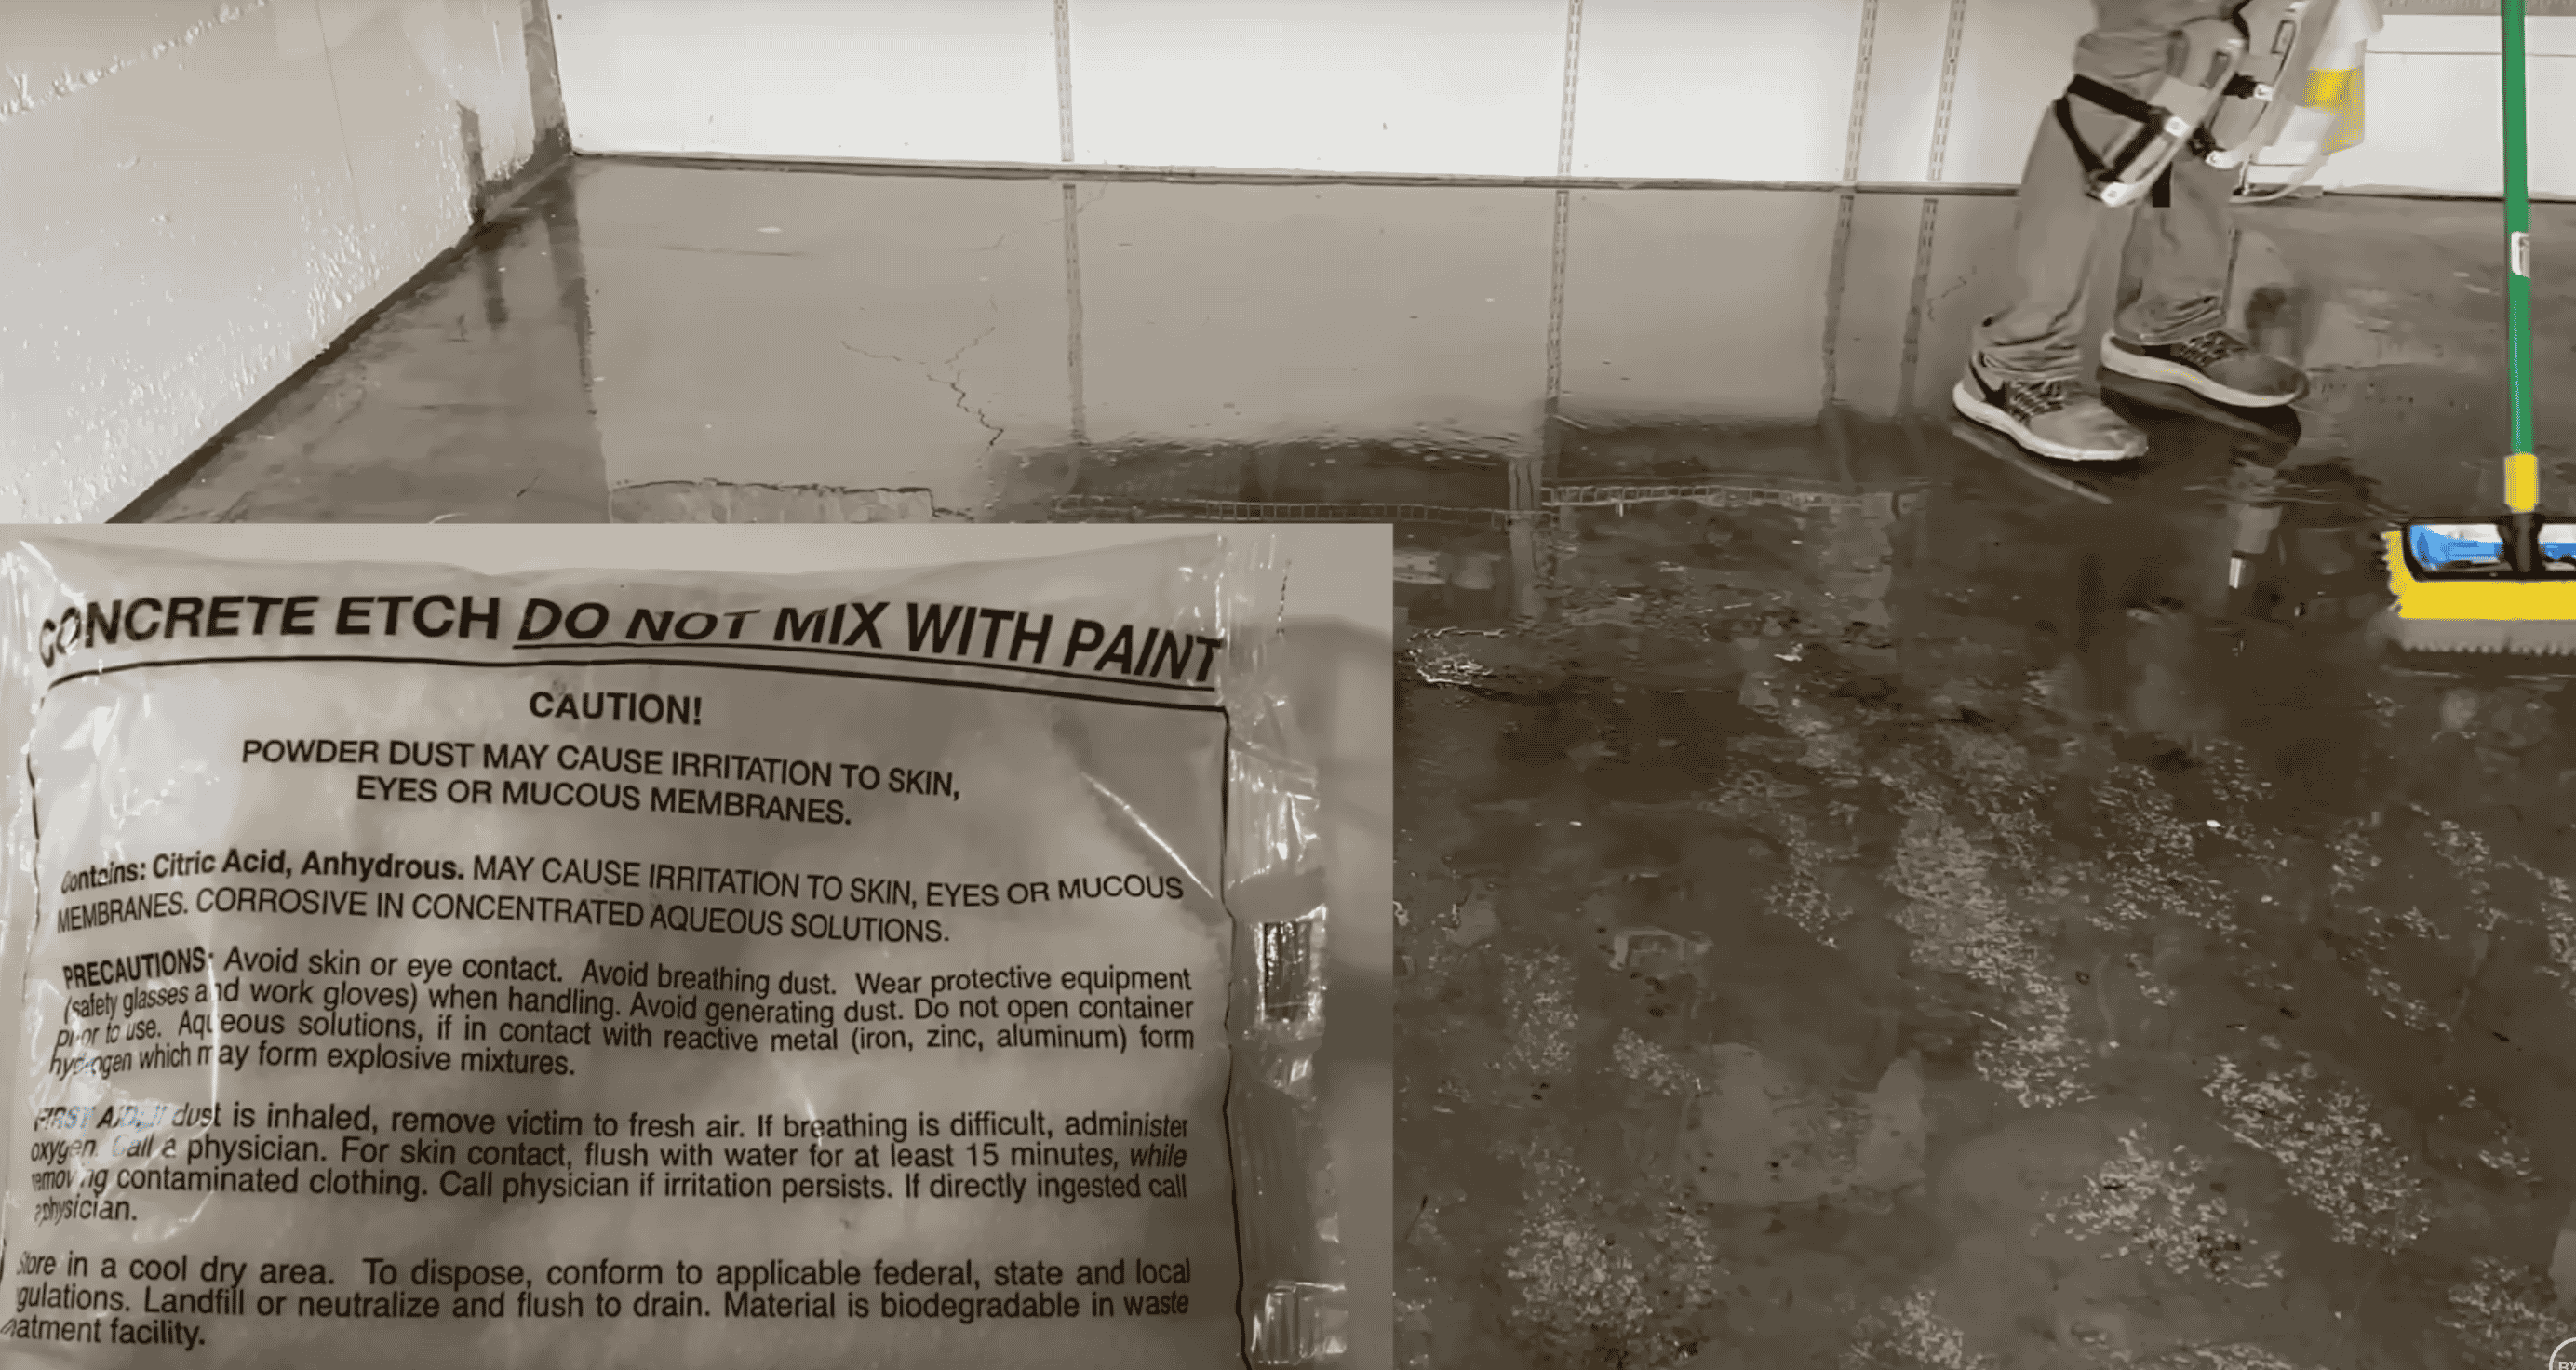
Mix the etching solution with water until fully dissolved. Pour evenly across the floor and scrub in sections. You will hear fizzing as the solution reacts with the concrete; this indicates the pores are opening to improve adhesion.
Rinse multiple times with the power washer to remove all residue. Let the floor dry for 24 to 48 hours before applying any coating.
Alternative: Diamond grinding removes the top layer of concrete, creating even stronger mechanical adhesion. This is the preferred method for smooth or previously sealed floors.
Step 3: Crack and Hole Repair
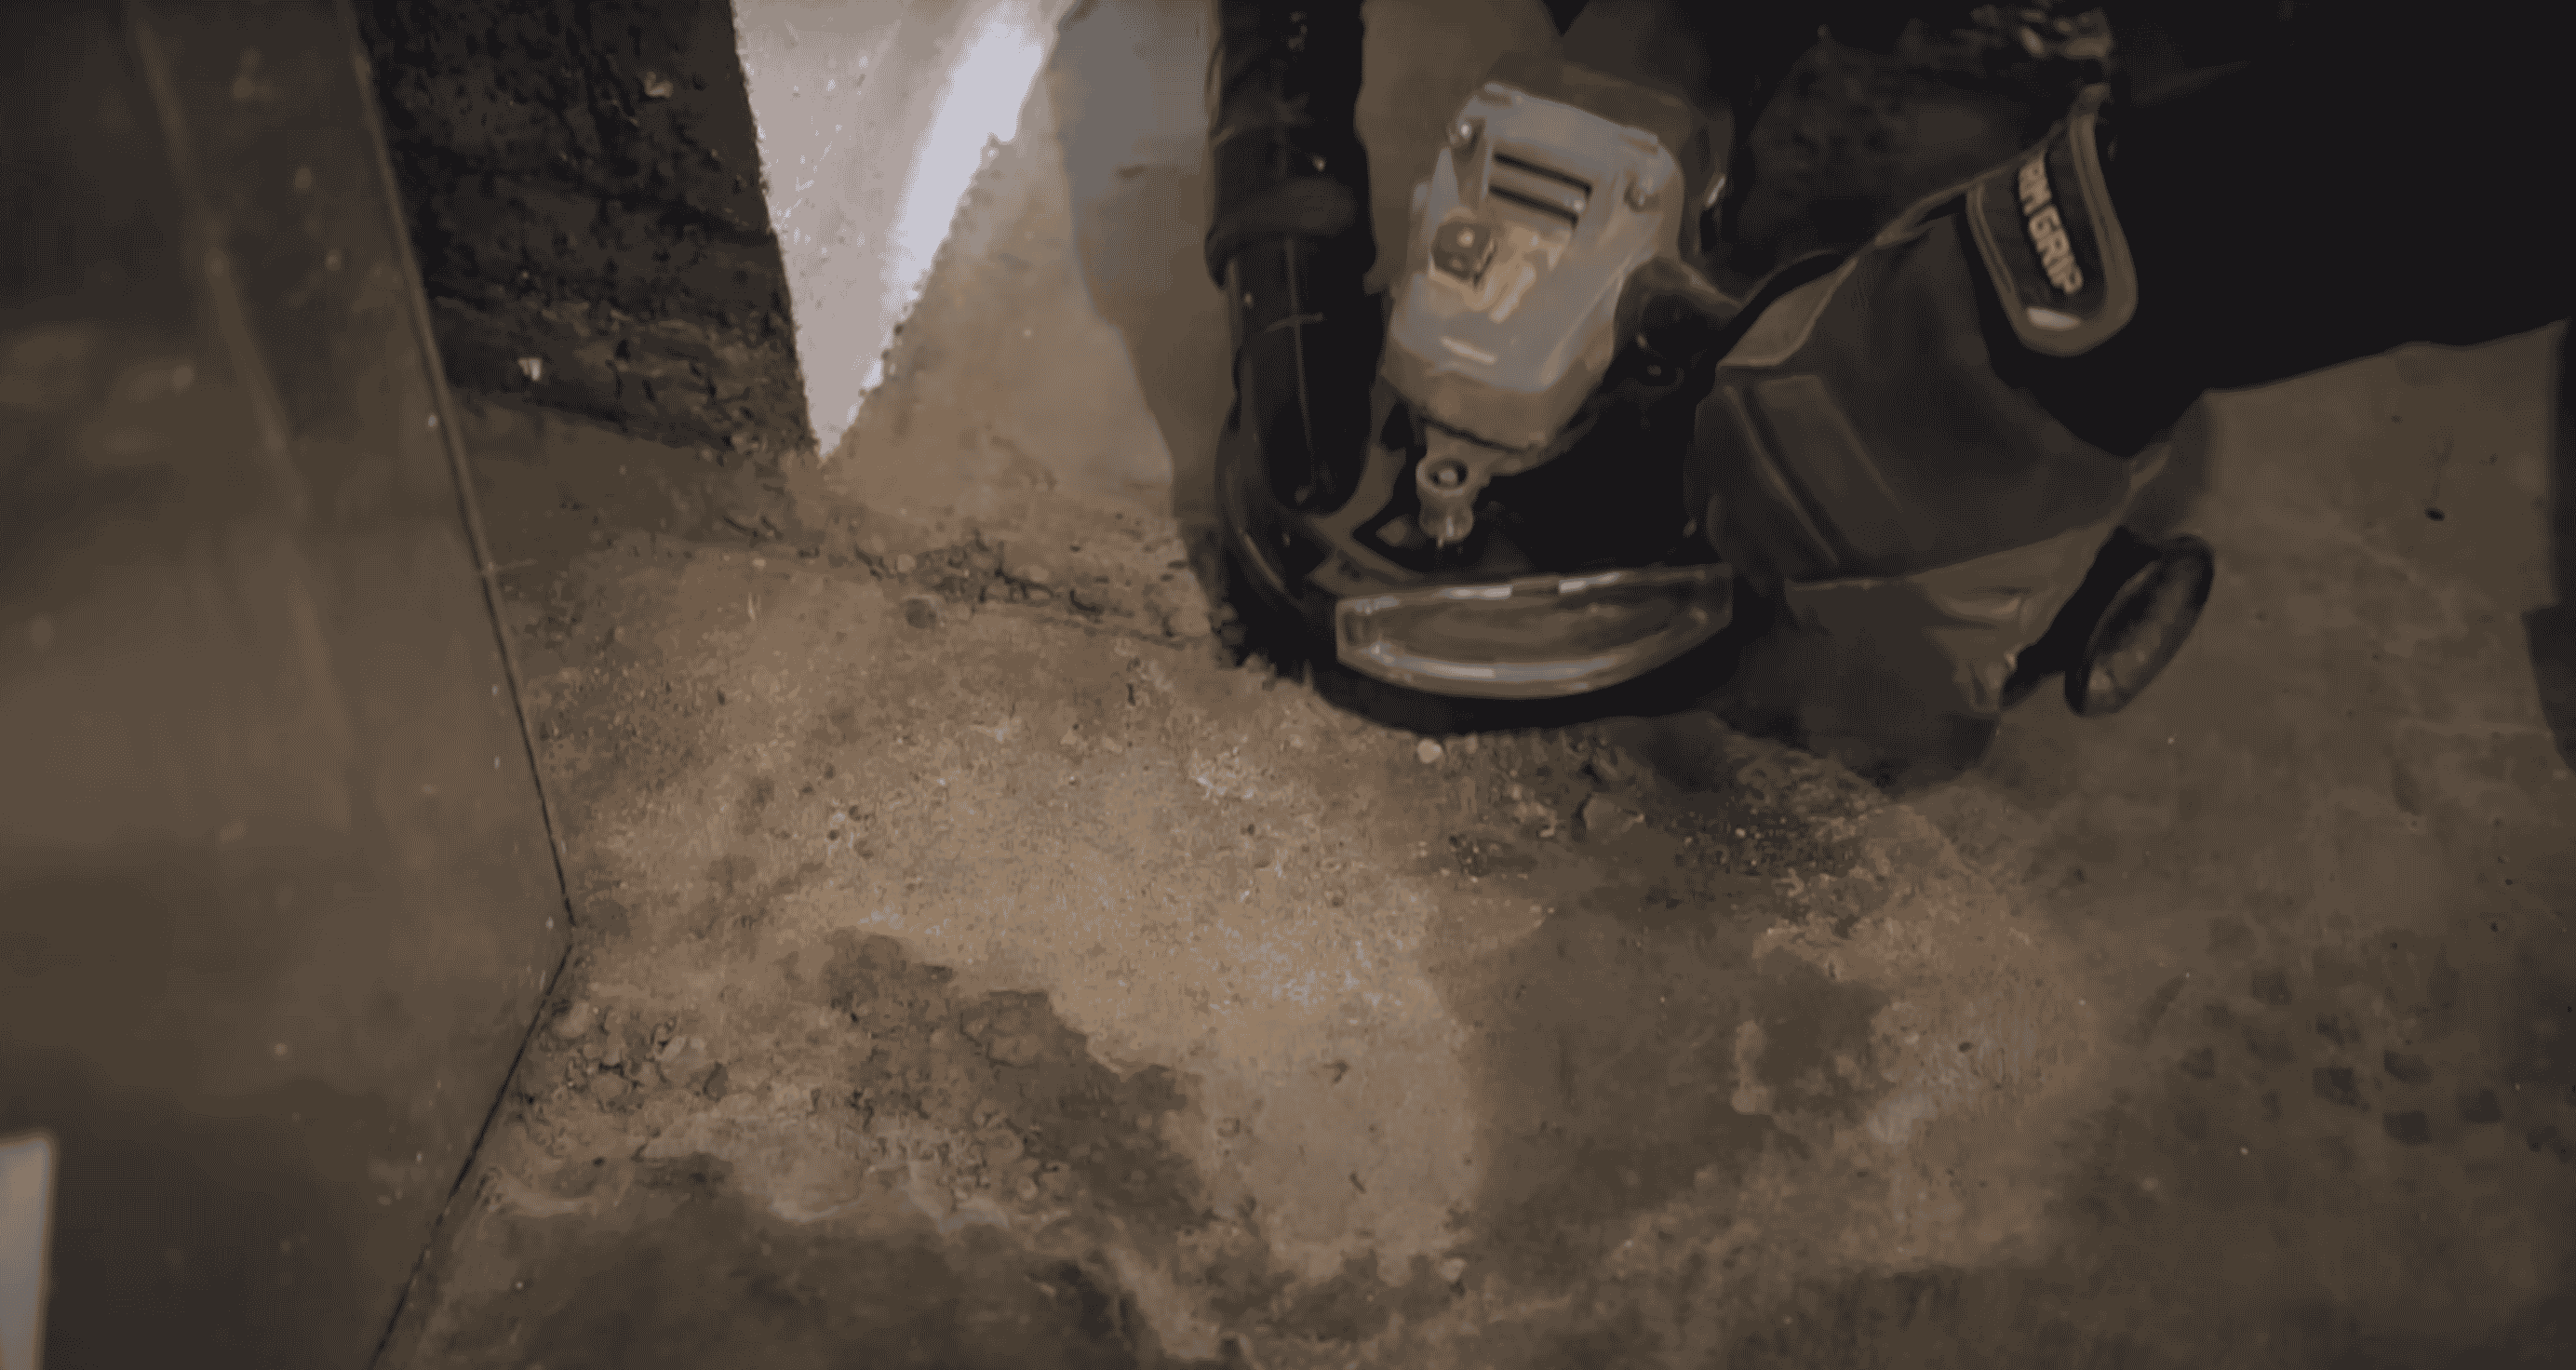
Use an angle grinder with a diamond blade to clean out cracks and grind old oil spots down to bare concrete. Mix the two-part repair compound and fill damaged areas. Only mix what you can use within 30 minutes; the compound sets fast.
Allow 8 hours of drying time. Sand smooth before moving on to coating.
Step 4: Applying the Epoxy Coating
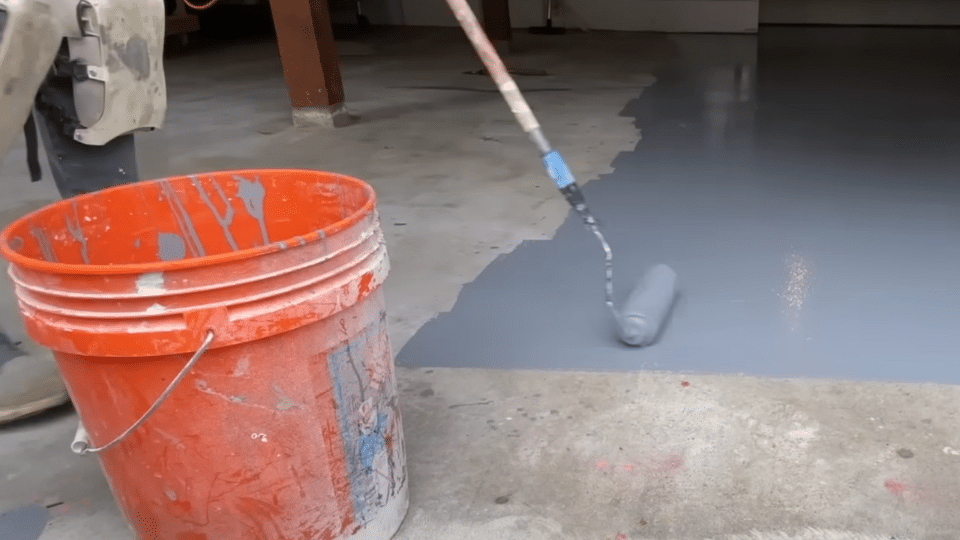
Ensure the temperature is 60-85°F. Mix epoxy components in the pouch, pour into the bucket, and stir well. Use a flat paintbrush for edges, then apply with a roller in a W-pattern for even coverage.
Work in sections with wet edges.
Tip: This is a one-coat application, so maintain consistent coverage throughout.
Step 5: Add Decorative Chips (Optional)
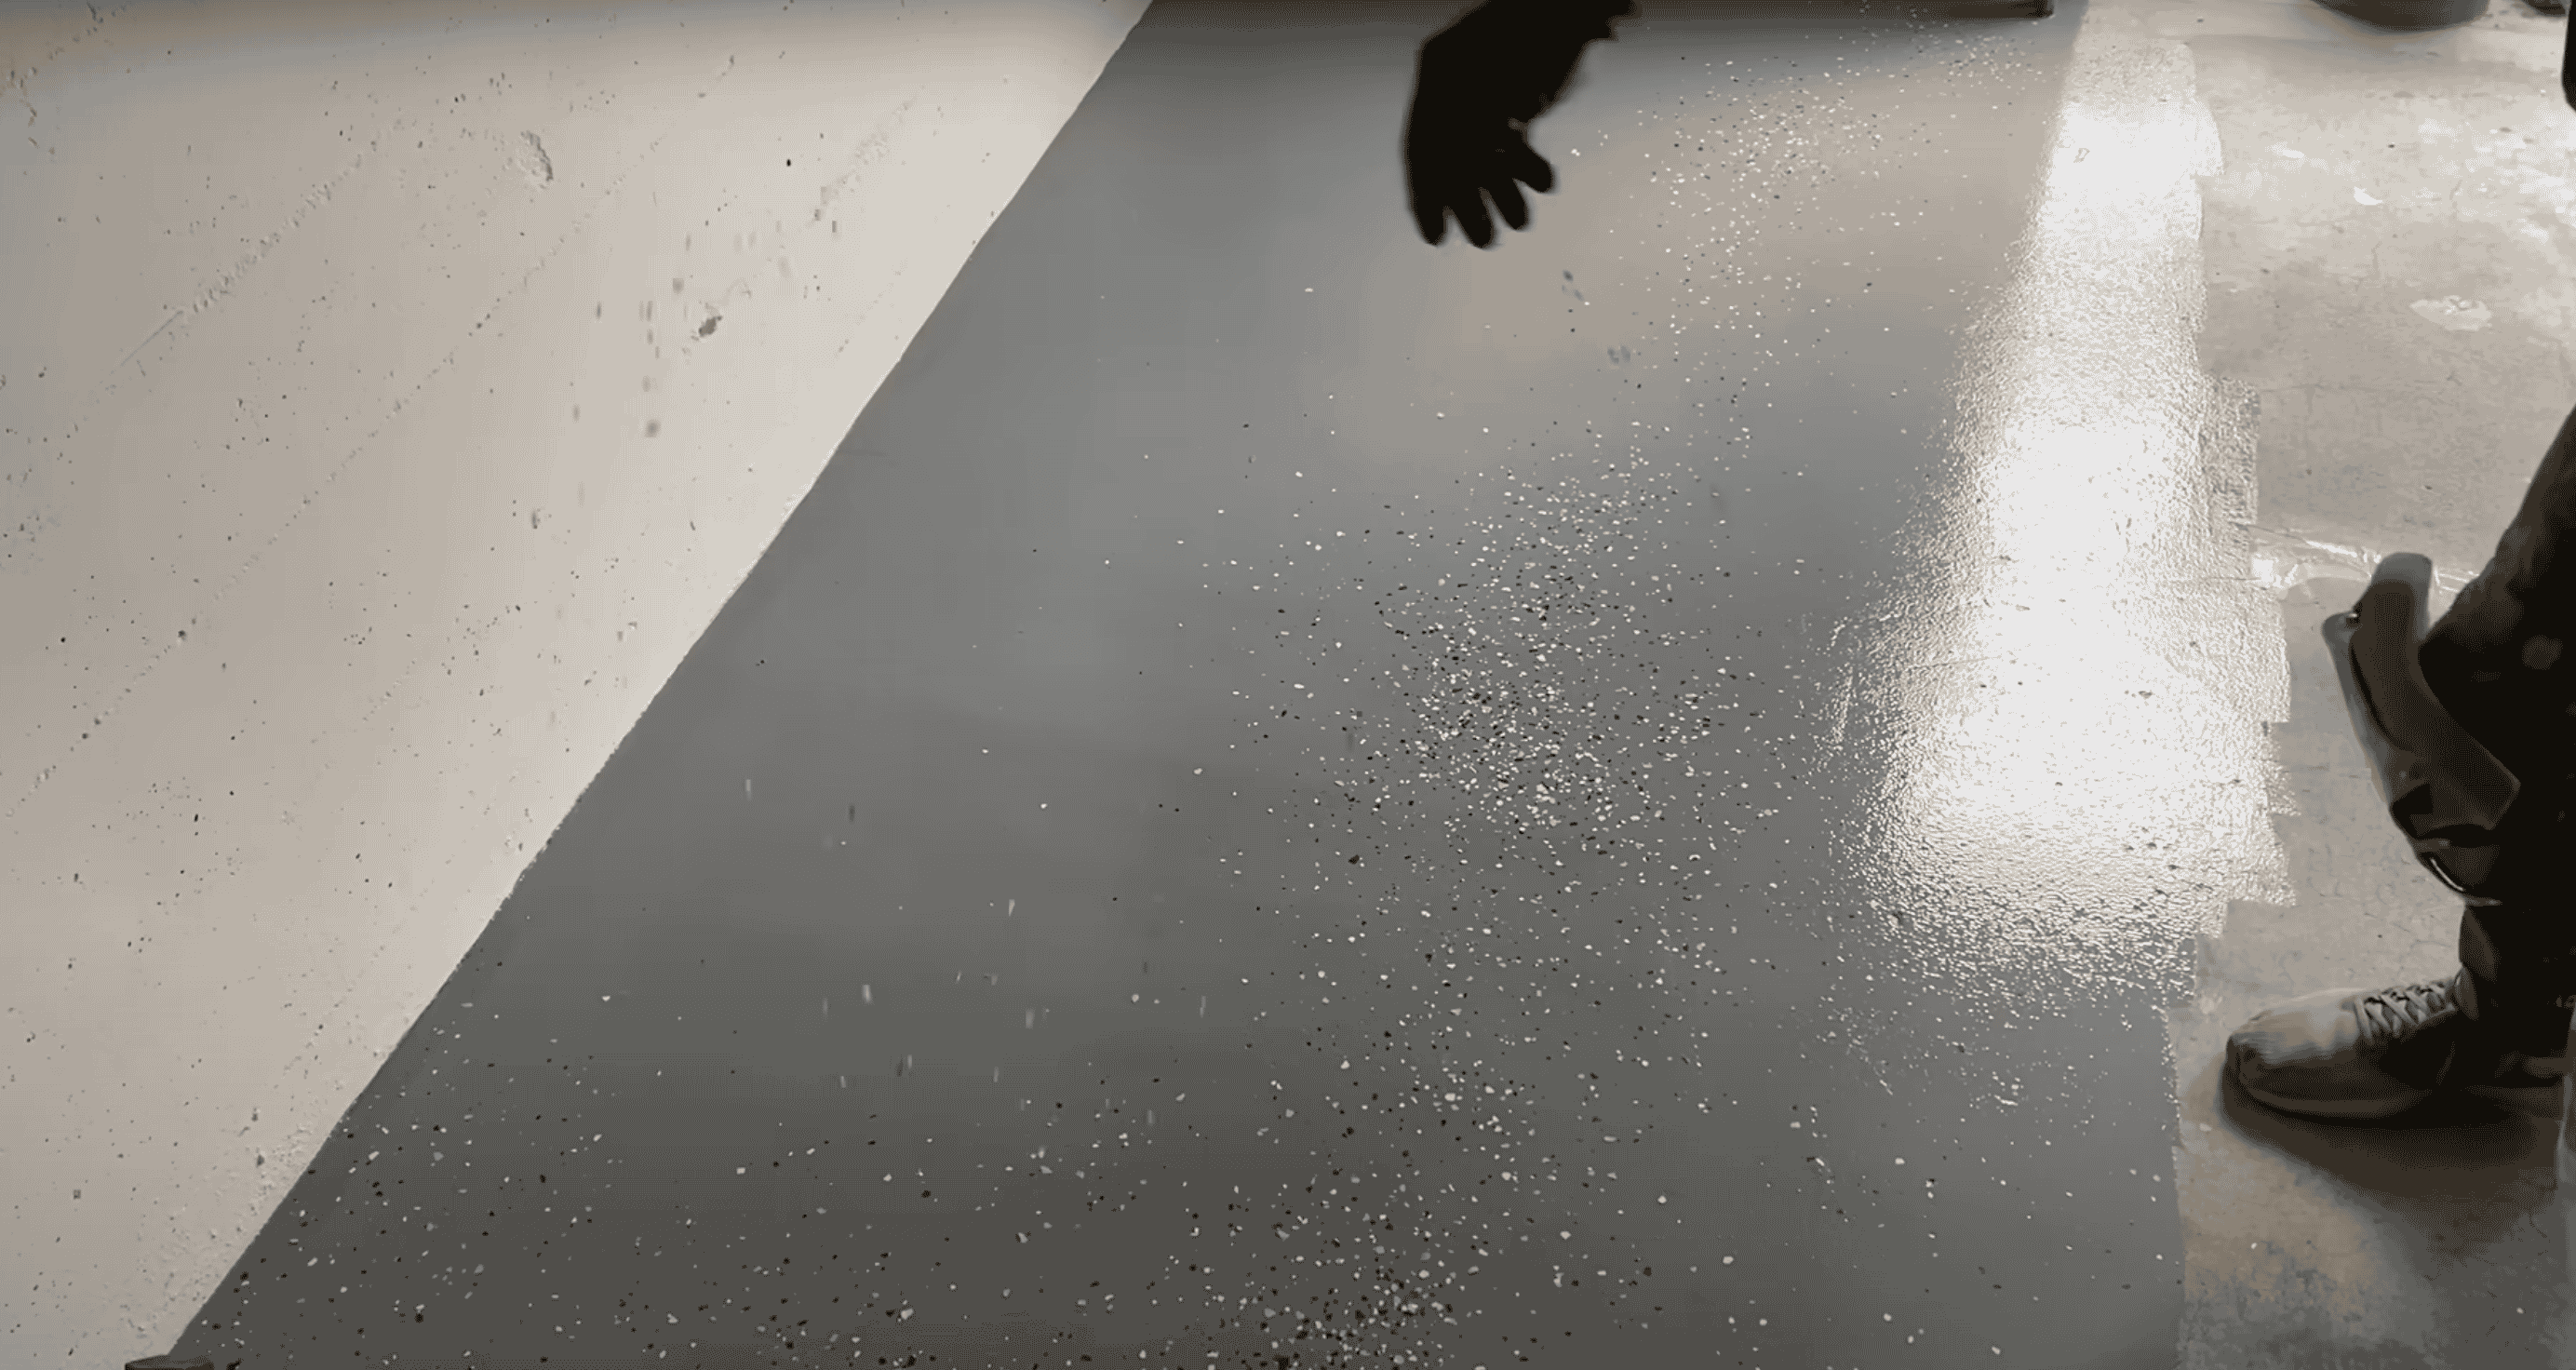
While the base coat is still wet, broadcast paint chips across the surface. Start from the areas farthest from your exit point. Spread evenly and avoid thick piles in any one spot.
Chips add texture, improve grip underfoot, and hide minor surface imperfections in the concrete below.
Step 6: Apply the Clear Topcoat
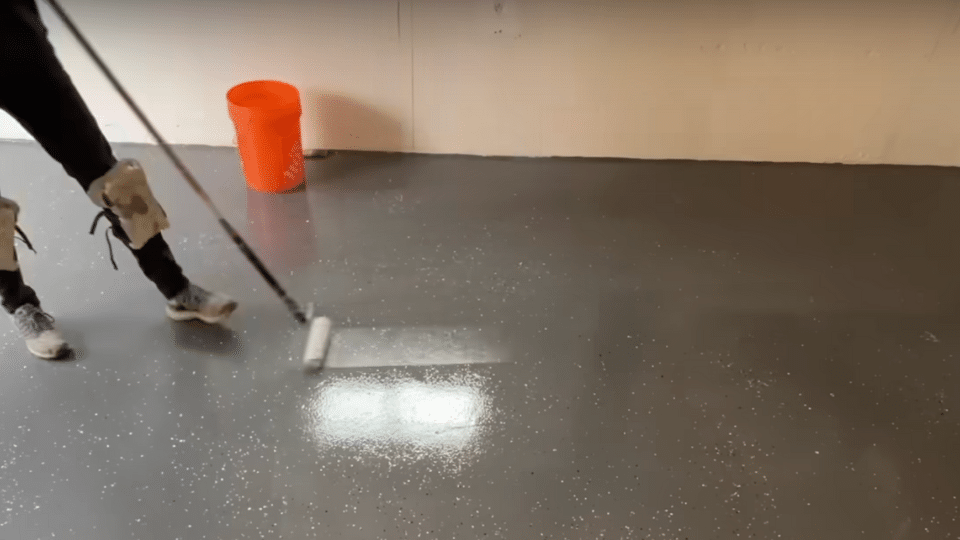
Wait 24 hours after the base coat before applying the clear topcoat. Before loading your roller, wrap painter’s tape around it, then peel it off. This pulls loose fibers that would otherwise mar the glossy finish.
Mix the clear coat and apply with smooth, even strokes across the full floor. The topcoat adds scratch resistance, improves chemical protection, and fully embeds the decorative chips into the surface.
Optional tip: Add an anti-slip additive to the topcoat mix before application. This improves traction on wet floors without changing the appearance, making it a practical choice for garages in wet or humid climates.
Step 7: Allow Full Curing
| Traffic Type | Minimum Wait Time |
|---|---|
| Light foot traffic | 24 hours |
| Heavy use of equipment | 3 days |
| Vehicle parking | 3 to 7 days |
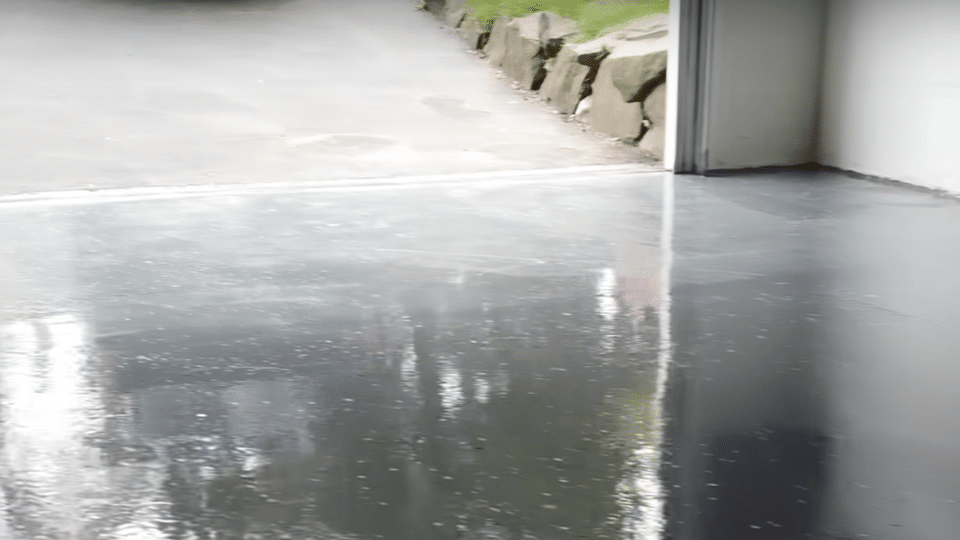
Do not rush this stage. The floor may feel dry before it has fully cured. Parking a vehicle too early causes permanent tire marks and soft spots in the coating surface. If foot traffic is unavoidable during the curing window, lay down temporary floor protection to prevent scuff damage.
Video Tutorial
I’d like to give credit to BYOT for their informative video, which served as a reference for this guide.
How Much Does a DIY Epoxy Garage Floor Cost?
| Item | Estimated Cost |
|---|---|
| Epoxy kit | $100 to $600 |
| Cleaning and degreasing supplies | $20 to $50 |
| Crack repair materials | $20 to $100 |
| Tools (roller, brush, mixer) | $50 to $150 |
| Decorative flakes | $20 to $100 |
| Total for a 2-car garage (~400 sq ft) | $250 to $600 |
Professional installation typically runs $3 to $7 per square foot. A standard 2-car garage costs $1,200 to $3,500 or more, including labor. DIY brings the material cost down to roughly $1 to $3 per square foot for comparable coverage.
Common Mistakes & How to Avoid Them
Refinishing a garage floor with epoxy can transform the space, but even small oversights can lead to poor results. Here are the most common mistakes DIYers make and how you can avoid them.
- Skipping proper cleaning: Dust, oil, and grime prevent the coating from bonding. A single contaminated spot will eventually peel away from the rest of the surface.
- Not testing for moisture: Moisture trapped beneath epoxy can cause bubbling, peeling, and a cloudy finish. Always test before you coat.
- Wrong temperature or humidity: Below 60°F, the coating may not cure properly. Above 85°F, the working time shortens sharply. High humidity also causes adhesion problems throughout the floor.
- Uneven chip coverage: Too few chips look sparse. Too many create an uneven surface. Spread lightly and evenly across the wet base coat.
- Applying too thick a coat: Excess epoxy traps air, causing bubbling. Follow the manufacturer’s coverage rate exactly; more is not better here.
- Parking too soon: The floor can feel dry before it is fully cured. Waiting the full recommended time prevents tire marks and permanent damage to the coating.
By avoiding these mistakes and working patiently through each step, you’ll get a flawless, professional-looking floor that holds up for years.
How to Maintain Your Epoxy Garage Floor
Regular care keeps the coating in good condition for years and protects the time you put into the project.
- Weekly: Sweep or dust mop to remove grit. Grit acts like sandpaper underfoot and dulls the finish over time.
- Monthly: Mop with a pH-neutral cleaner and warm water.
- As needed: Wipe up oil or chemical spills right away. Epoxy resists them well, but sitting liquids can dull the surface over time.
- Every 3 to 5 years: Apply a fresh topcoat to restore protection and shine.
Avoid abrasive cleaners, metal scraping tools, and strong solvents. Place rubber mats under motorcycle stands, heavy equipment, or high-traffic work areas to reduce localized wear on the coating.
DIY vs. Professional Epoxy: What to Consider
| Factor | DIY | Professional |
|---|---|---|
| Cost | $250 to $600 | $1,000 to $3,500+ |
| Installation time | 3 to 5 days (including curing) | 1 to 2 days |
| Finish consistency | Depends on prep quality | More predictable |
| Durability | 3 to 10 years | Up to 20 years |
| Warranty | None | Often included |
DIY epoxy is a practical option for homeowners who can follow detailed instructions and set aside time for proper prep. Professional installation makes more sense for large garages, significant concrete damage, or when a long-term warranty matters.
Conclusion
A DIY epoxy garage floor is one of the most practical upgrades you can make to a garage. It stops stains before they set in, makes cleaning quick, and turns worn concrete into a surface that withstands real daily use.
The prep work decides the outcome. Clean the floor completely, test for moisture, etch the surface, and follow the full curing timeline. Skip any of those steps and the coating will fail, not because of the product, but because of what was under it.
Gather your materials, set aside a full weekend for prep and application, and work through each step at a steady pace. The result is a floor that looks better, cleans faster, and lasts far longer than anything a basic paint job can deliver.
Have questions about your garage project? Leave them in the comments, we would love to help you get it right.
Frequently Asked Questions
How Many Gallons of Epoxy Do I Need for a 2 Car Garage Floor?
A standard 2-car garage (400–500 sq. ft.) usually requires 2–3 gallons of epoxy for one coat, plus additional epoxy for touch-ups or a clear topcoat, depending on the manufacturer’s specified coverage rates.
What Is the Downside of An Epoxy Garage Floor?
Epoxy floors can be slippery when wet, may yellow over time with UV exposure, and require thorough surface prep. Once applied, removal or replacement can be labor-intensive and costly if damaged.
Can You Apply Epoxy Over an Existing Garage Floor Coating?
Only if the existing coating is firmly attached and the surface is properly prepared. Peeling or loose coatings must be fully removed before applying a new layer.