How to Keep Your Cutting Board Fresh & Long-lasting

Your wooden cutting board works hard every day, but skip a few basic care habits, and cracks, stains, and odors can appear sooner than you expect.
Maintaining wooden cutting boards isn’t complicated. It comes down to three simple habits: cleaning after every use, disinfecting after preparing raw meat or seafood, and oiling the wood regularly to keep it from drying out.
This post explains each step, along with the best oils to use, proper storage methods, and the signs that tell you your board needs attention.
Why Wooden Cutting Board Maintenance Matters
Wood is porous. It soaks up moisture, food particles, and bacteria every time you use it. Without regular care, bacteria settle into knife grooves and become nearly impossible to remove.
A neglected board dries out and cracks. Deep cracks trap food debris and raise the risk of cross-contamination, especially after cutting raw meat or poultry.
A well-maintained board, by contrast, stays smooth, resists moisture damage, and holds its natural color for years.
Cleaning vs. Disinfecting vs. Oiling: What Is the Difference?
These three steps serve different purposes, and none of them replaces the others.
- Cleaning removes food residue, grease, and surface dirt after everyday use.
- Disinfecting reduces bacteria after preparing raw meat, poultry, or seafood.
- Oiling (seasoning) replenishes moisture and seals the wood against drying and cracking.
- Conditioning involves applying a beeswax-based cream after oiling for extra water resistance.
Skipping any one of them shortens your board’s life and can affect food safety.
How to Clean a Wooden Cutting Board After Every Use
Clean your board right after each use. Food particles that sit and dry are much harder to remove later.
Step 1: Remove Food Residue Immediately
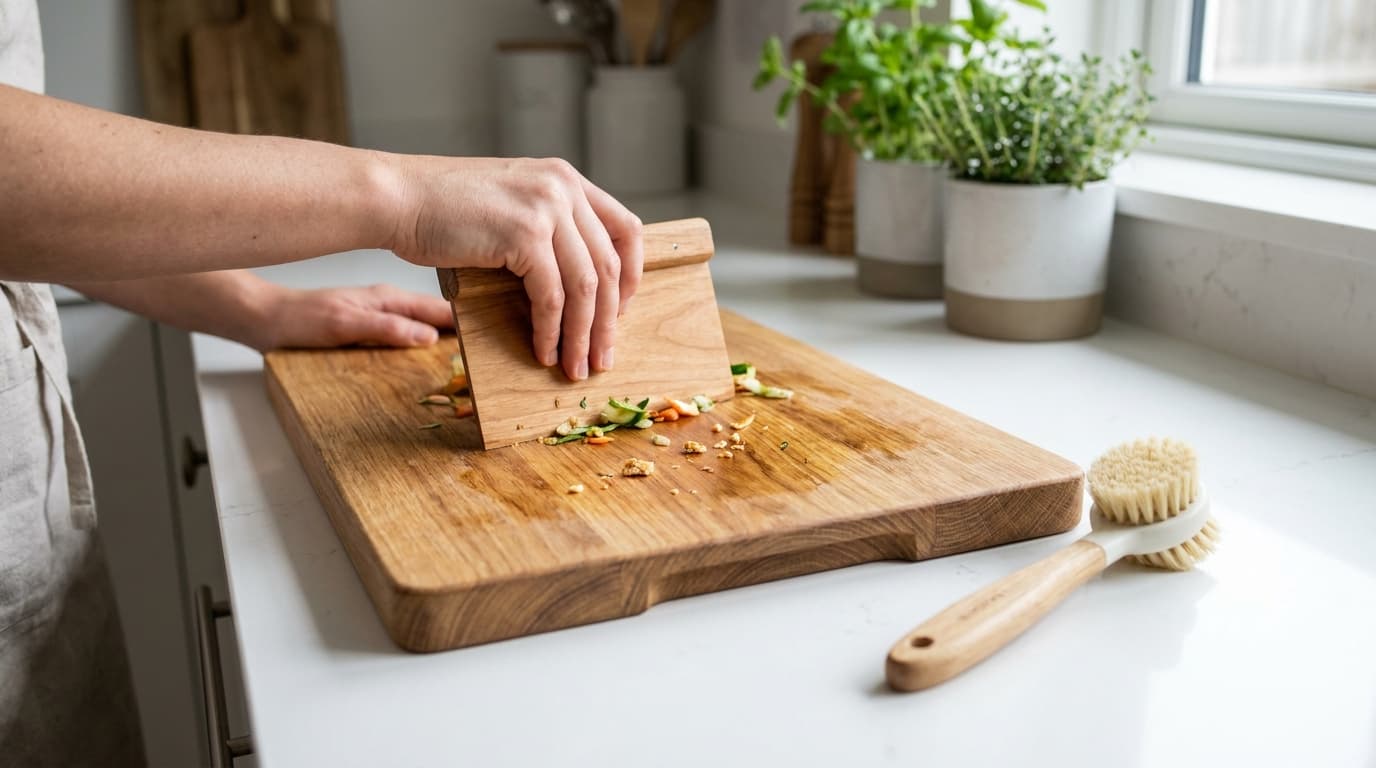
As soon as you finish prepping food, scrape off any leftover bits with a spatula or bench scraper. Meat juices, sauces, and vegetable scraps soak deeper into the grain the longer they stay.
The longer they stay, the deeper they soak into the surface.
For stuck-on bits, use a soft brush. Avoid metal scouring pads; they scratch the wood and create rough spots where bacteria settle.
Step 2: Wash With Warm Water and Mild Soap
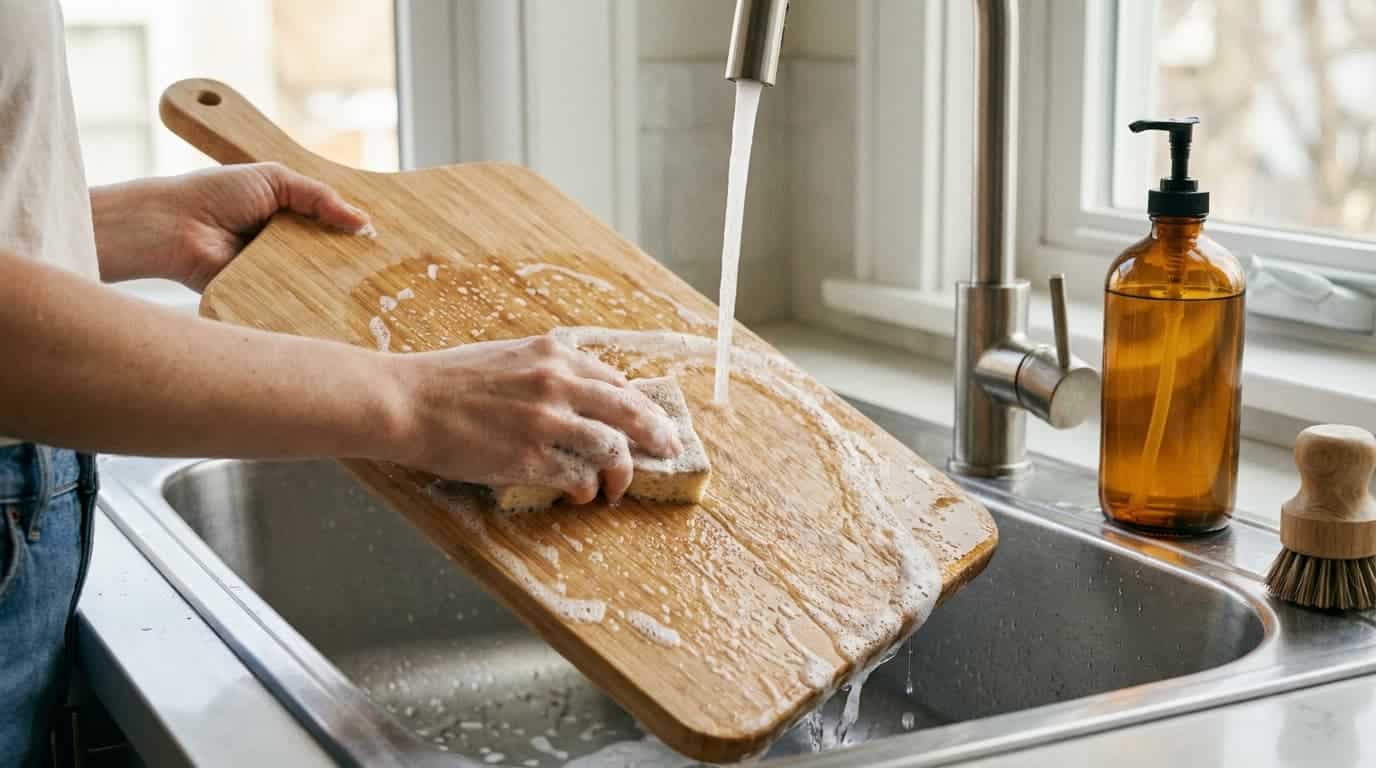
Wash your wooden cutting board with warm water and a gentle dish soap. Scrub both sides, even if you only used one. Bacteria and moisture can transfer to the underside during prep.
Never soak the board in a sink full of water. Wood fibers absorb water quickly, and repeated soaking causes them to swell.
As the board dries, the swollen fibers shrink unevenly, leading to warping and cracking over time.
The same rule applies to the dishwasher. The heat and prolonged exposure to water can split or warp a wooden board in a single cycle. Always wash by hand.
Step 3: Dry the Cutting Board Properly
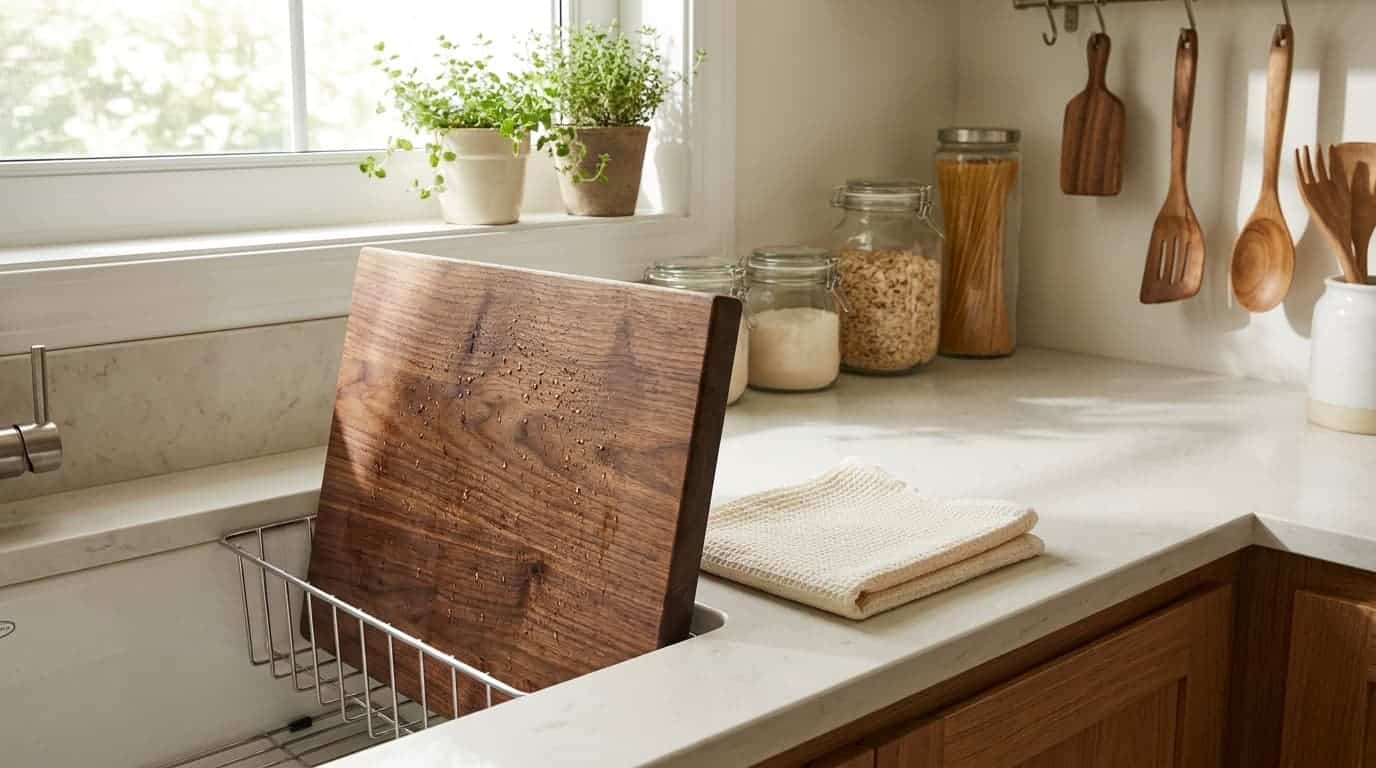
Wipe the board dry with a clean towel right after washing. Then stand it upright, propped against a wall or in a rack, so air reaches both sides.
Never leave a wet board flat on the counter. Moisture trapped underneath promotes bacterial growth and softens the wood over time.
How to Disinfect a Wooden Cutting Board Safely
Cleaning removes visible dirt. Disinfecting reduces harmful bacteria after high-risk prep. Both steps matter.
When to Disinfect the Board
Disinfect your board in these situations:
- After cutting raw meat, poultry, or seafood
- After handling high-risk foods like eggs or unwashed produce
- When you notice odors or stains on the surface
A practical habit: keep a dedicated board for raw meat and a separate one for produce and bread. Kitchen surfaces in general stay cleaner and safer when raw proteins have their own prep area.
Best Ways to Disinfect
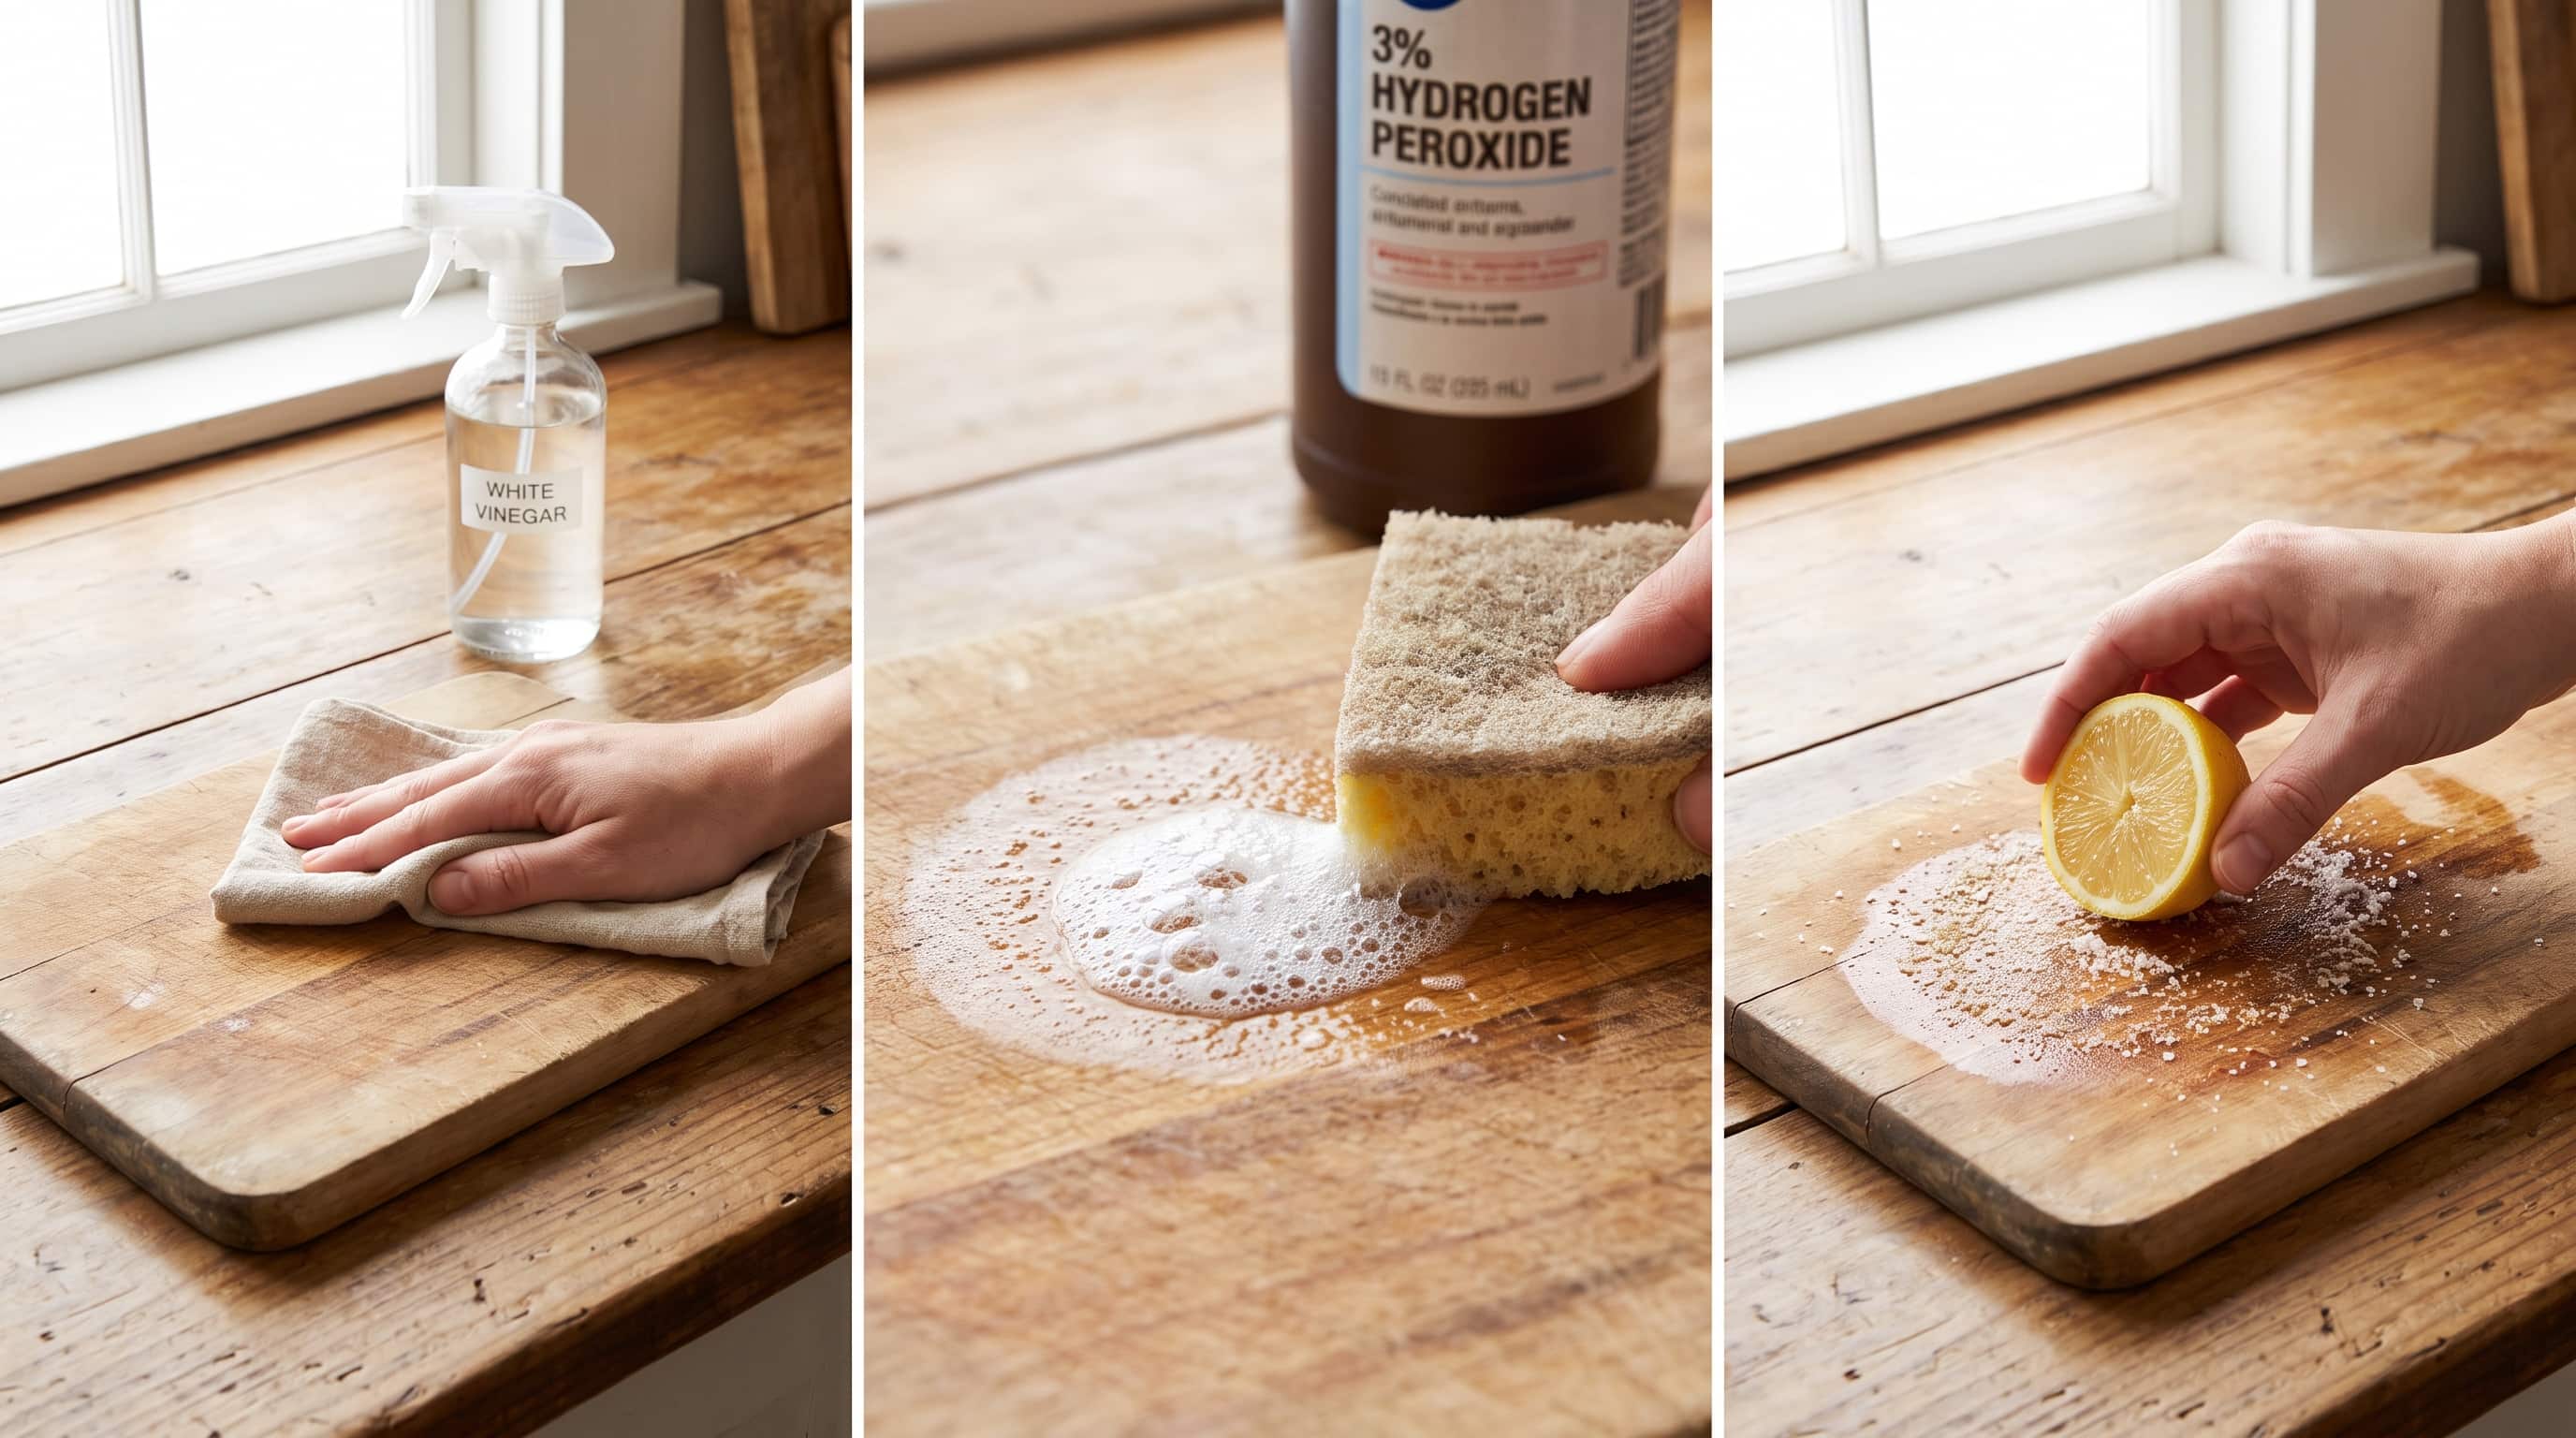
- White Vinegar Solution: Wipe the board with full-strength white vinegar or a vinegar-water mix. It kills surface bacteria like E. coli and Salmonella. Works well for routine maintenance.
- Hydrogen Peroxide: Pour 3% hydrogen peroxide directly onto the board and spread it with a clean sponge. It will fizz as it kills germs. This works best for deeper cleaning after raw meat prep.
- Salt and Lemon Scrub: Sprinkle coarse salt over the board, then scrub with half a lemon. This combination lifts odors and light stains from onions, garlic, or berries.
Note: Rinse and dry the board fully after any disinfecting method before using it again.
How Often Should You Oil a Wooden Cutting Board?
How often you oil depends on how much you use the board and how dry your home is. Use the table below as a starting point.
| Usage Frequency | Recommended Oiling Schedule |
|---|---|
| Daily use | Every 3 to 4 weeks |
| A few times a week | Every 6 to 8 weeks |
| Occasional use | Every 2 to 3 months |
| Dry climate or heated home (winter) | As soon as the wood looks dry |
Do not rely only on a calendar. Watch the wood itself, and oil it whenever the surface looks or feels off.
Signs Your Wooden Cutting Board Needs Oil
Oil your board when you notice any of these signs:
- The surface looks dull or faded compared to when it was new
- It feels rough instead of smooth when you run a hand across it
- Water soaks straight into the wood instead of beading up
- The wood grain looks visibly dry or ashy
- Small hairline cracks begin forming along the surface
Catching these signs early is far easier than repairing a board that has already cracked.
Best Oils for Wooden Cutting Boards
Not every oil is safe for food-contact surfaces. Cooking oils like olive oil, vegetable oil, and canola oil go rancid over time, leaving behind unpleasant odors and sticky residue.
| Oil or Product | Safe to Use? | Notes |
|---|---|---|
| Food-grade mineral oil | Yes | FDA-approved, most widely recommended, odorless |
| Beeswax board cream | Yes | Adds a water-resistant layer on top of mineral oil |
| Fractionated coconut oil | Yes | Stays liquid, does not go rancid |
| Walnut oil | Yes, with caution | Food-safe but unsuitable if anyone has nut allergies |
| Olive oil | No | Goes rancid, causes odors |
| Vegetable or canola oil | No | Goes rancid quickly |
Food-grade mineral oil is the safest and most practical choice for regular maintenance.
How to Oil and Season a Wooden Cutting Board Step-by-Step
Oiling keeps your wooden cutting board sealed against moisture and stops it from drying out. Most boards need this every three to six weeks, depending on how often you use them.
Follow these four steps for the best results.
Step 1: Clean and Completely Dry the Board
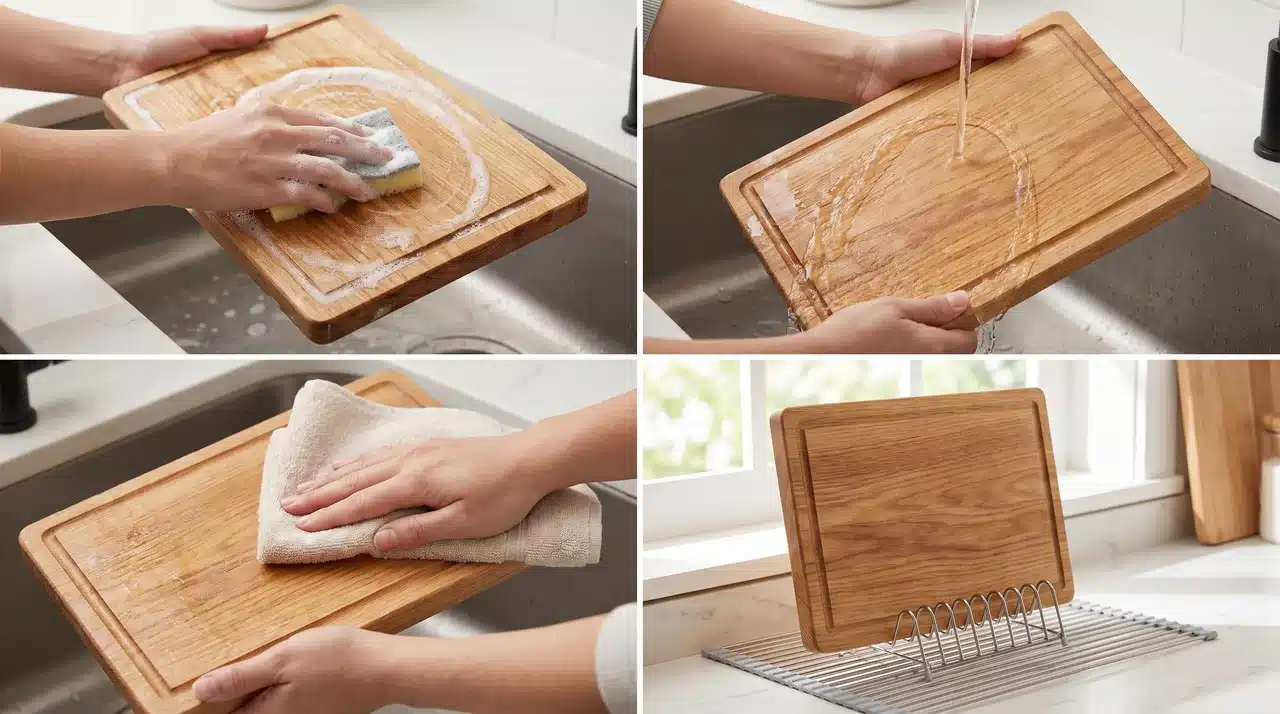
First, wash the board with warm water and mild soap. Rinse well, then let it air dry for several hours, or overnight if possible.
Never apply oil to a damp surface. Trapped moisture beneath the oil can lead to mold growth rather than protection.
Step 2: Apply Food-Safe Mineral Oil
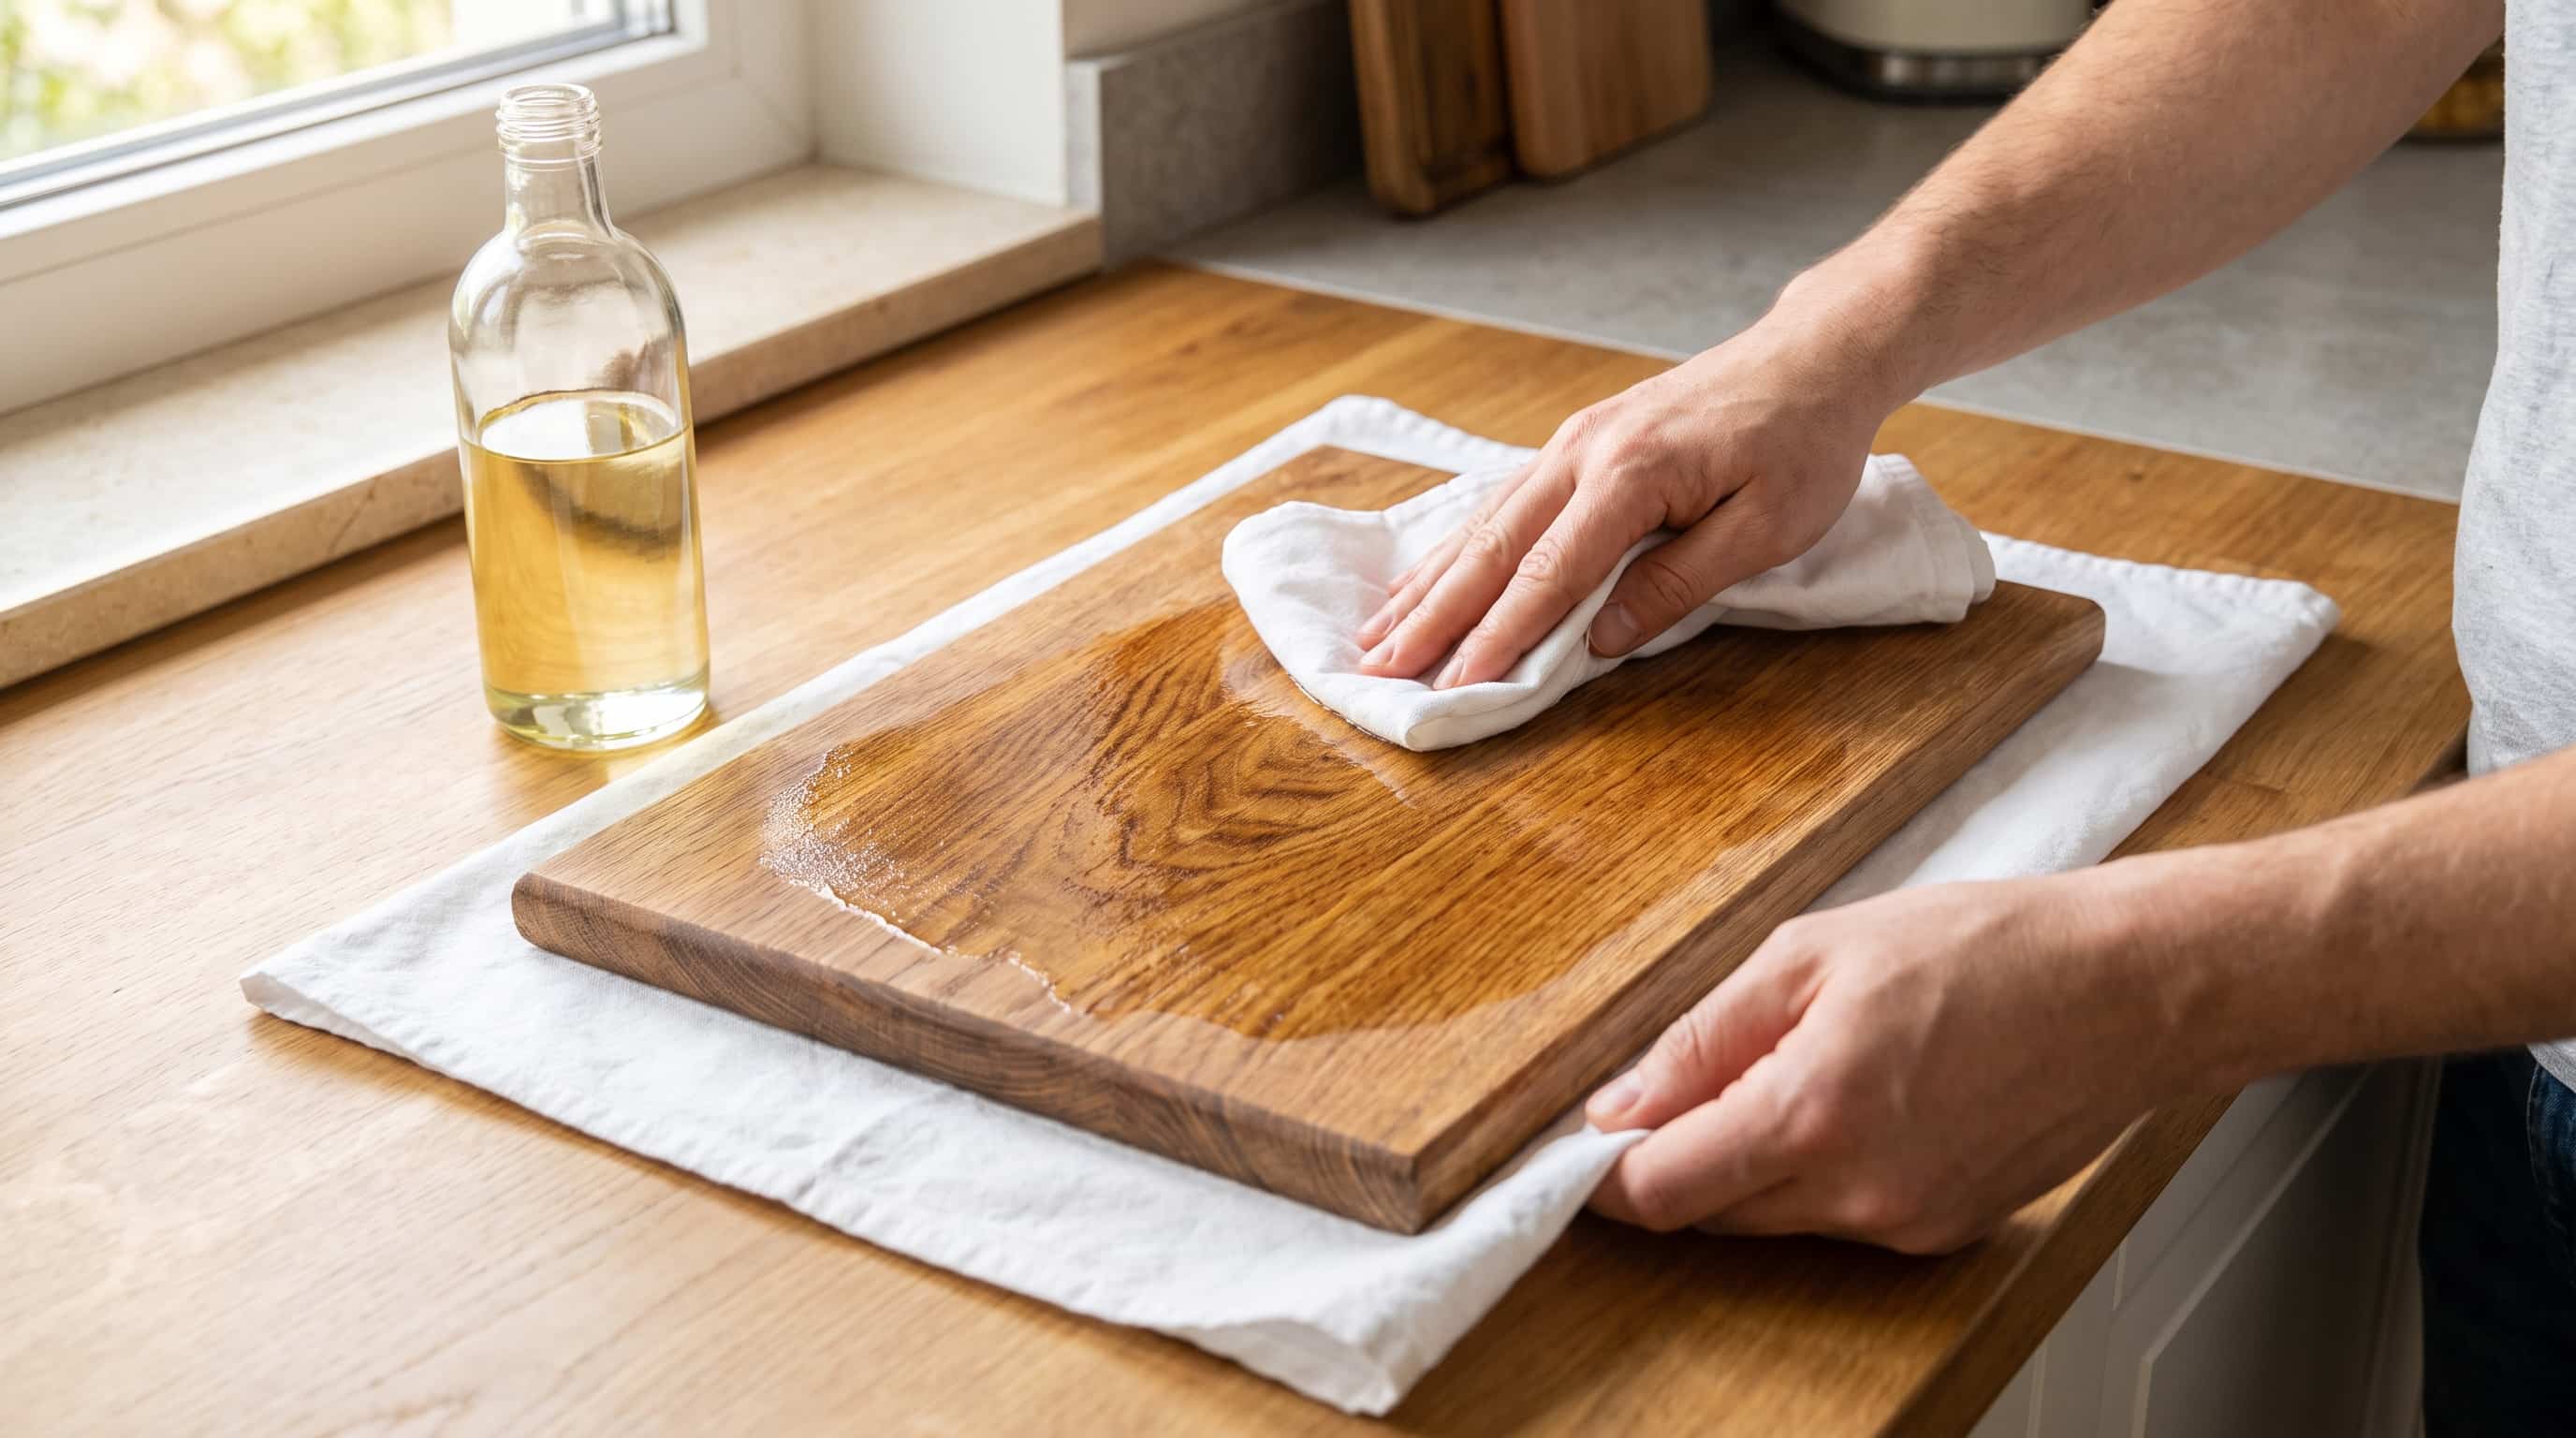
Pour a small amount of food-grade mineral oil onto the board. Spread it evenly with a clean cloth or paper towel, working in the direction of the grain.
Cover the top, bottom, sides, and edges. These areas often get skipped, but they absorb moisture just as easily as the main surface.
Step 3: Add a Protective Wax Layer (Optional)
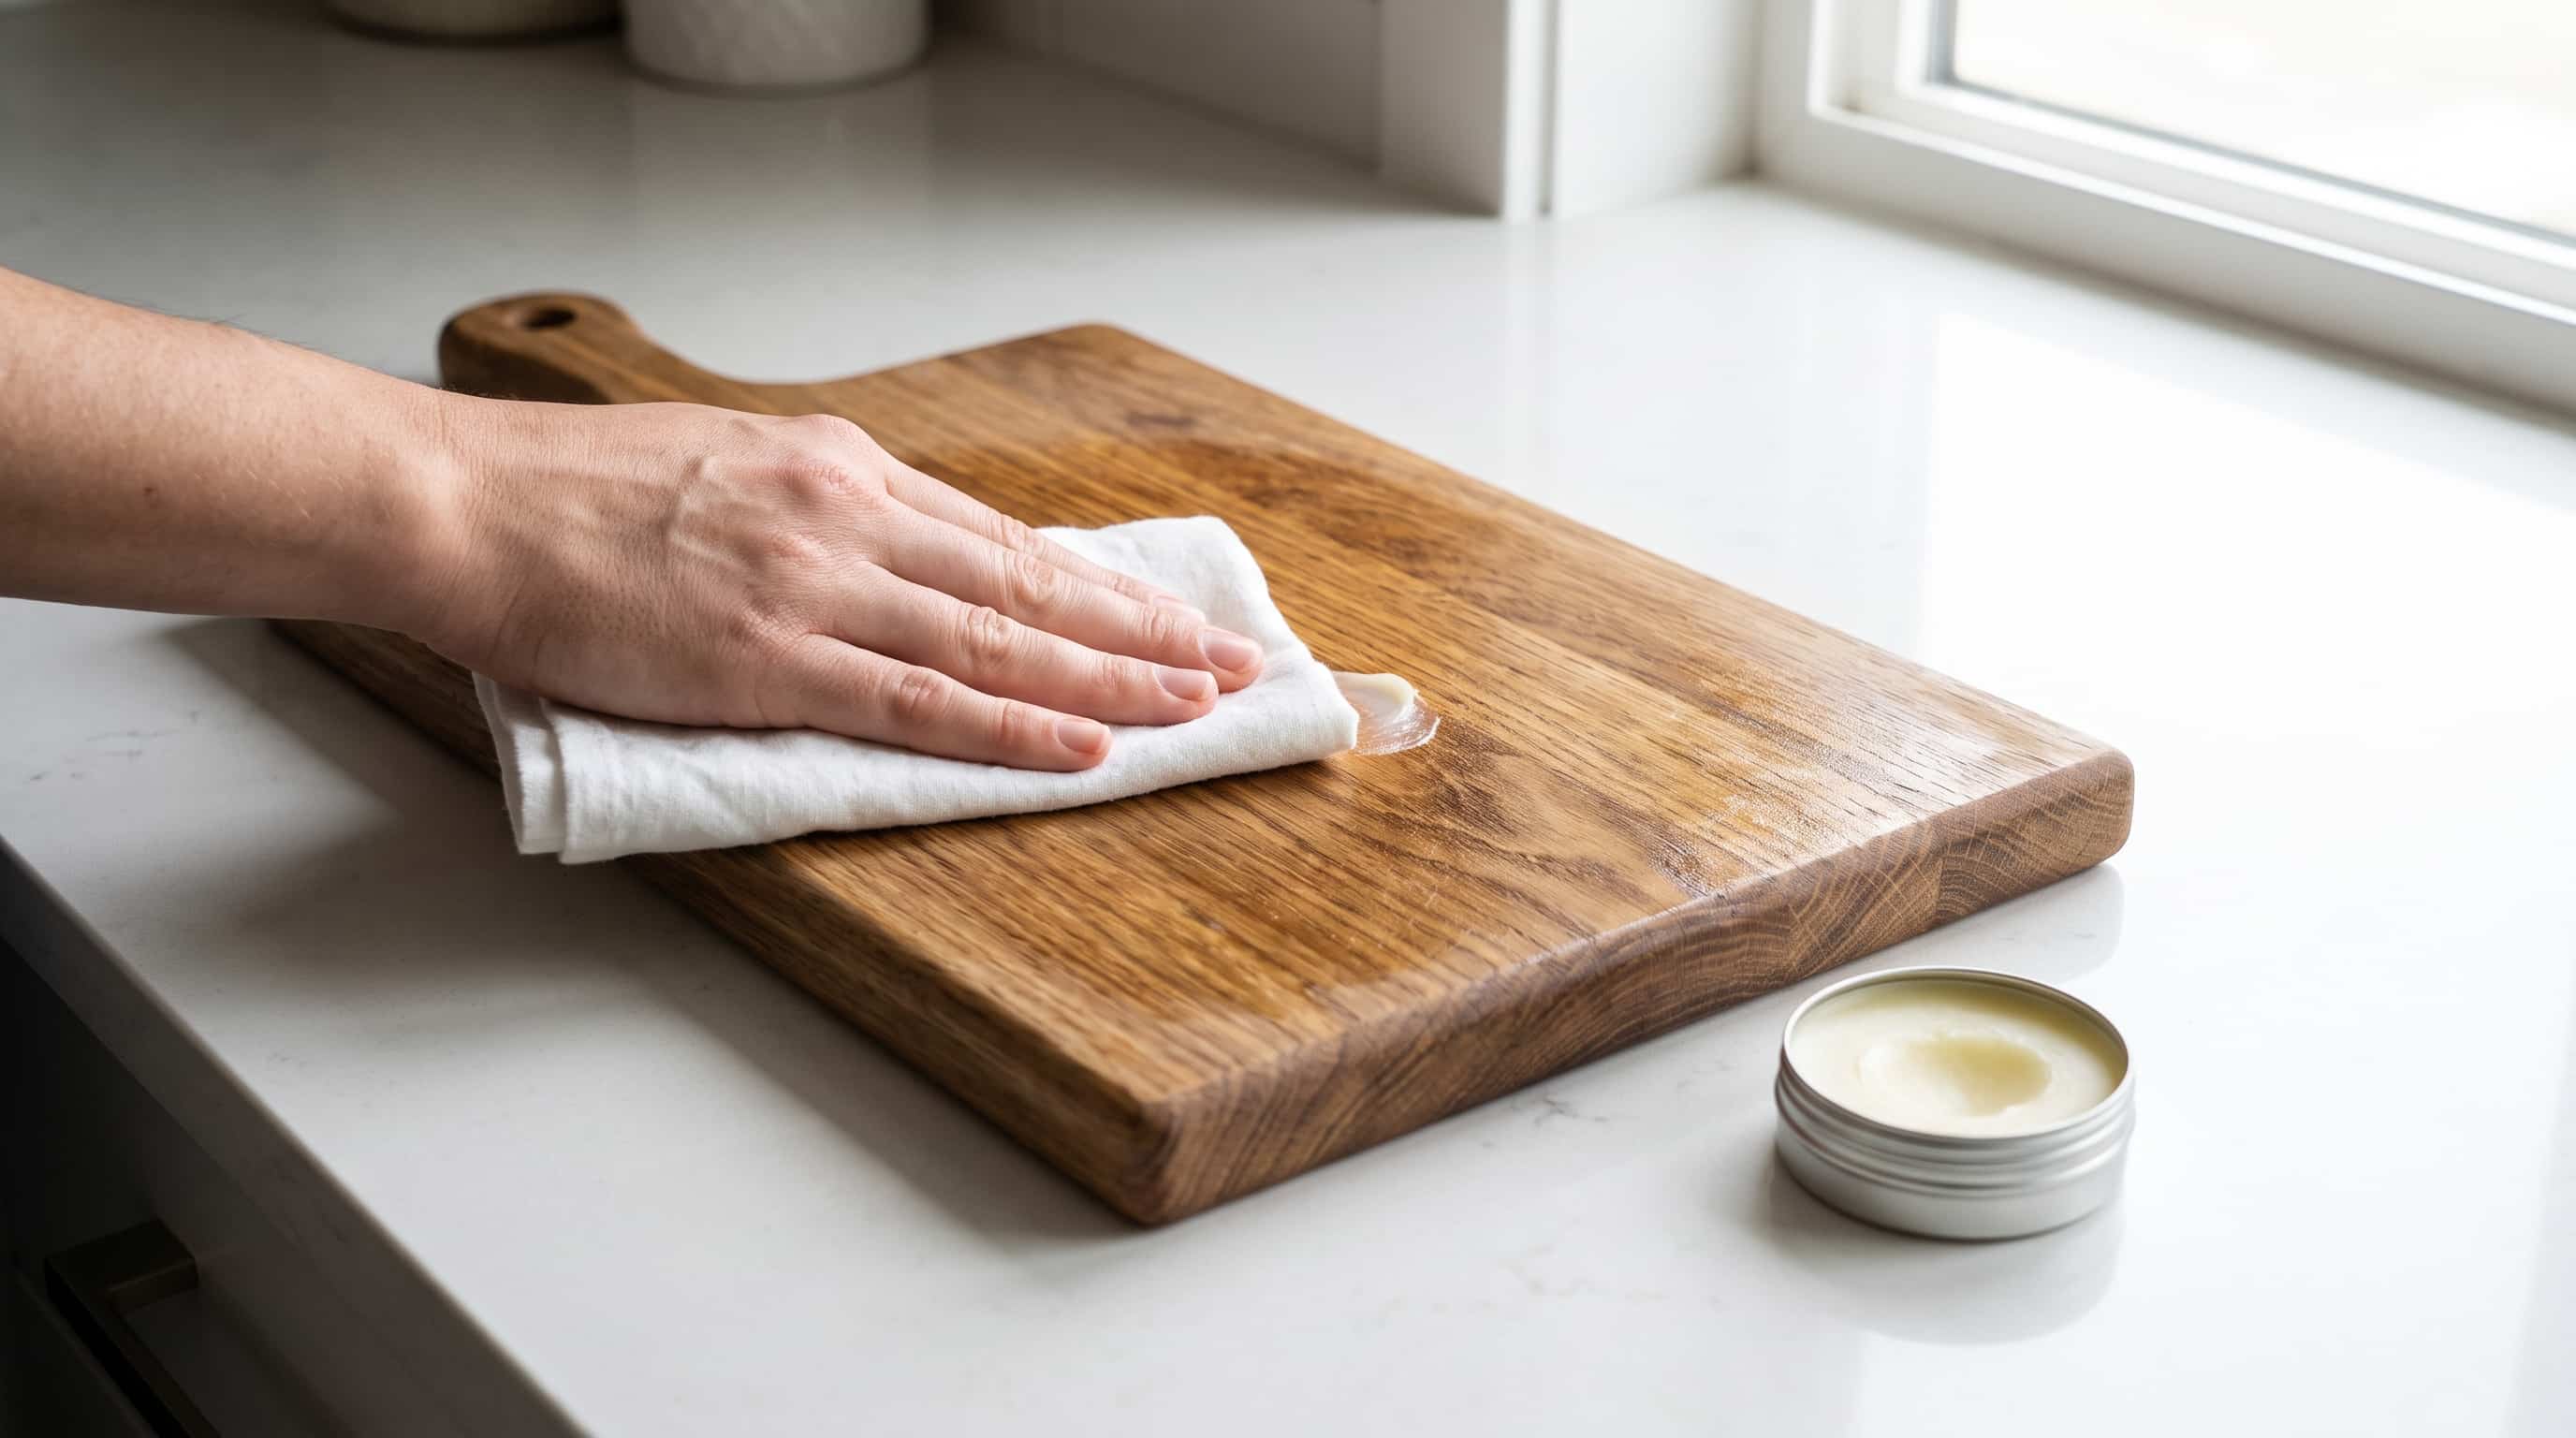
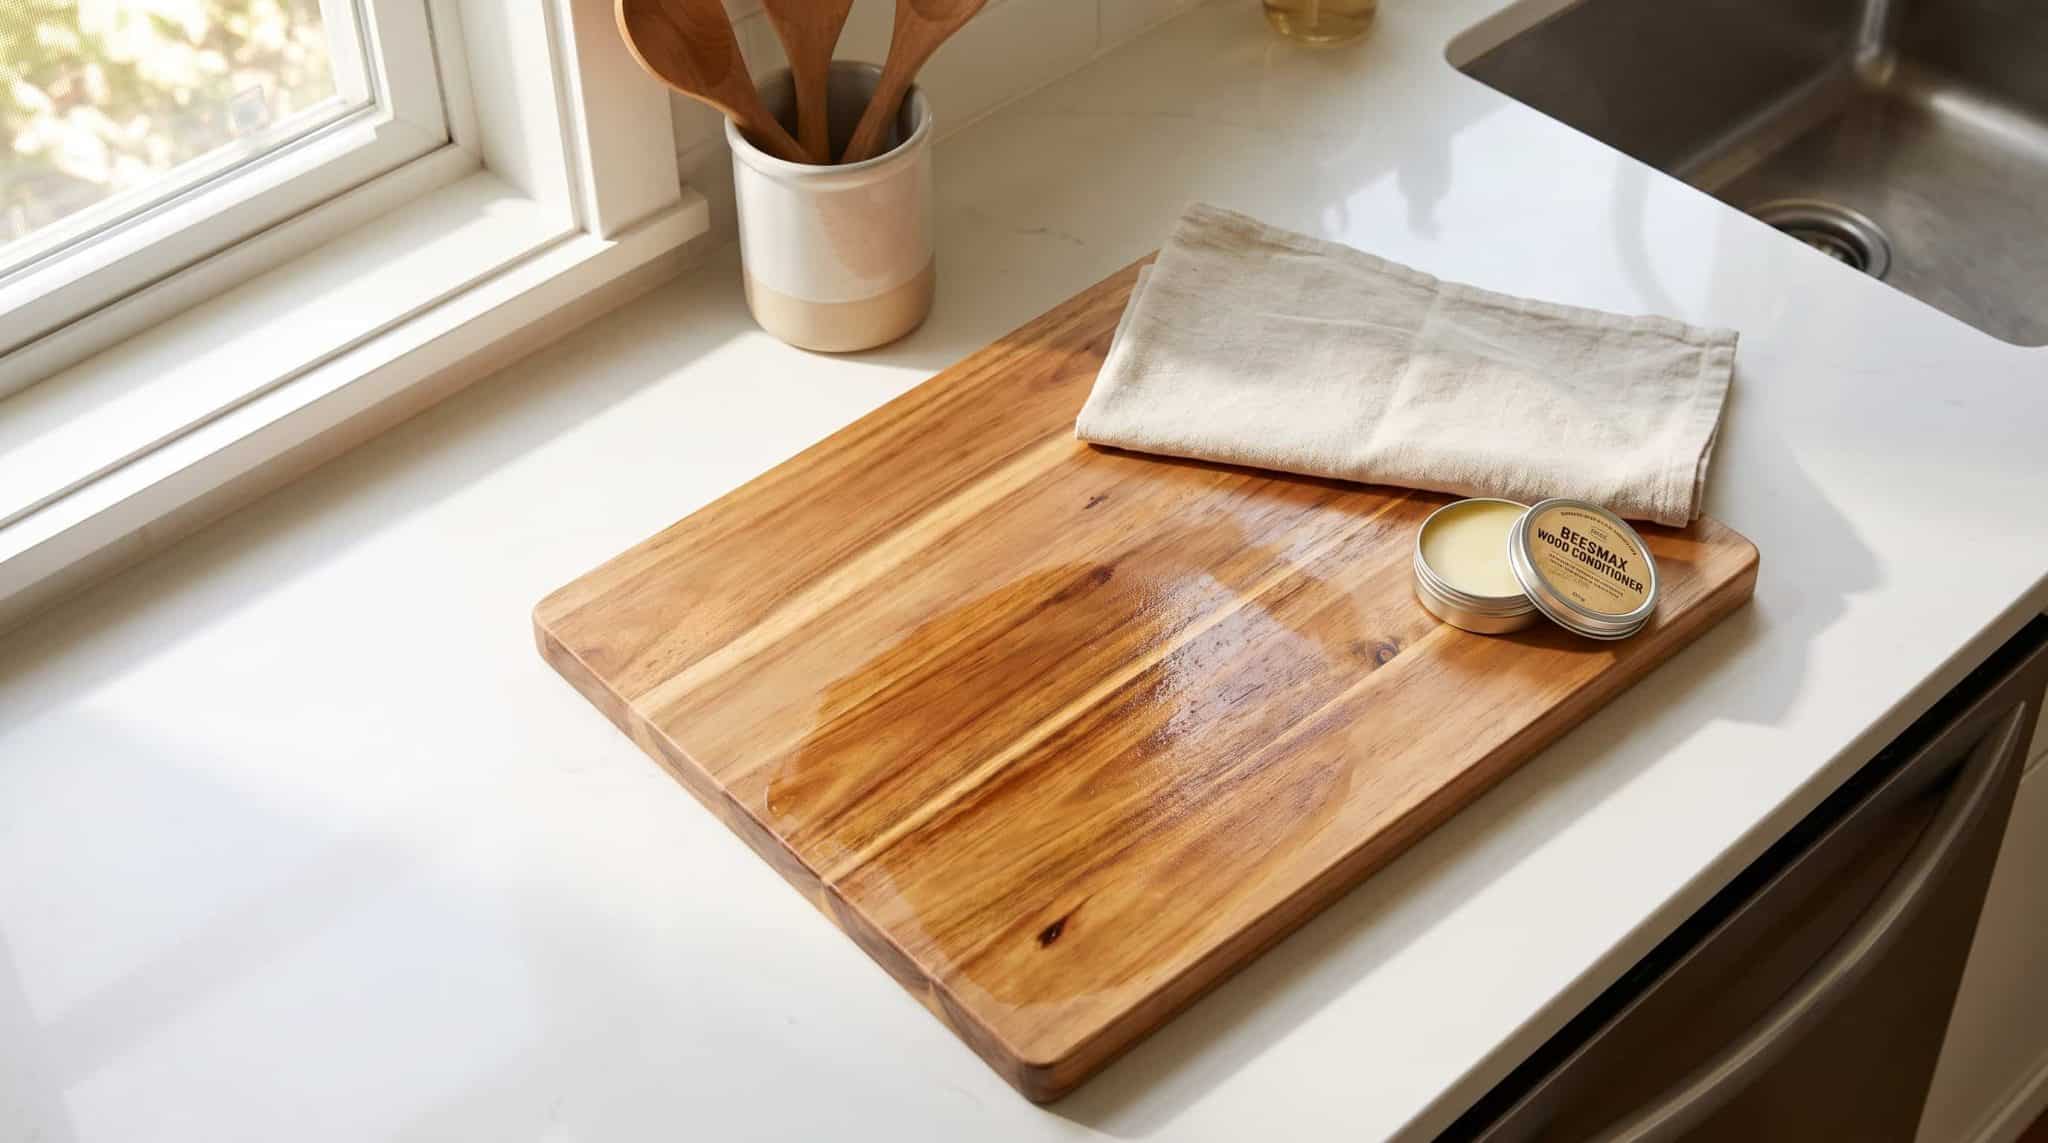
For extra protection, follow the oil with a beeswax-based board cream.
Wax adds a water-resistant layer on top of the oil and helps the surface feel smooth rather than sticky.
This step isn’t required every time you oil the board, but it works well once every few months for boards that see heavy daily use.
Step 4: Remove Excess Oil
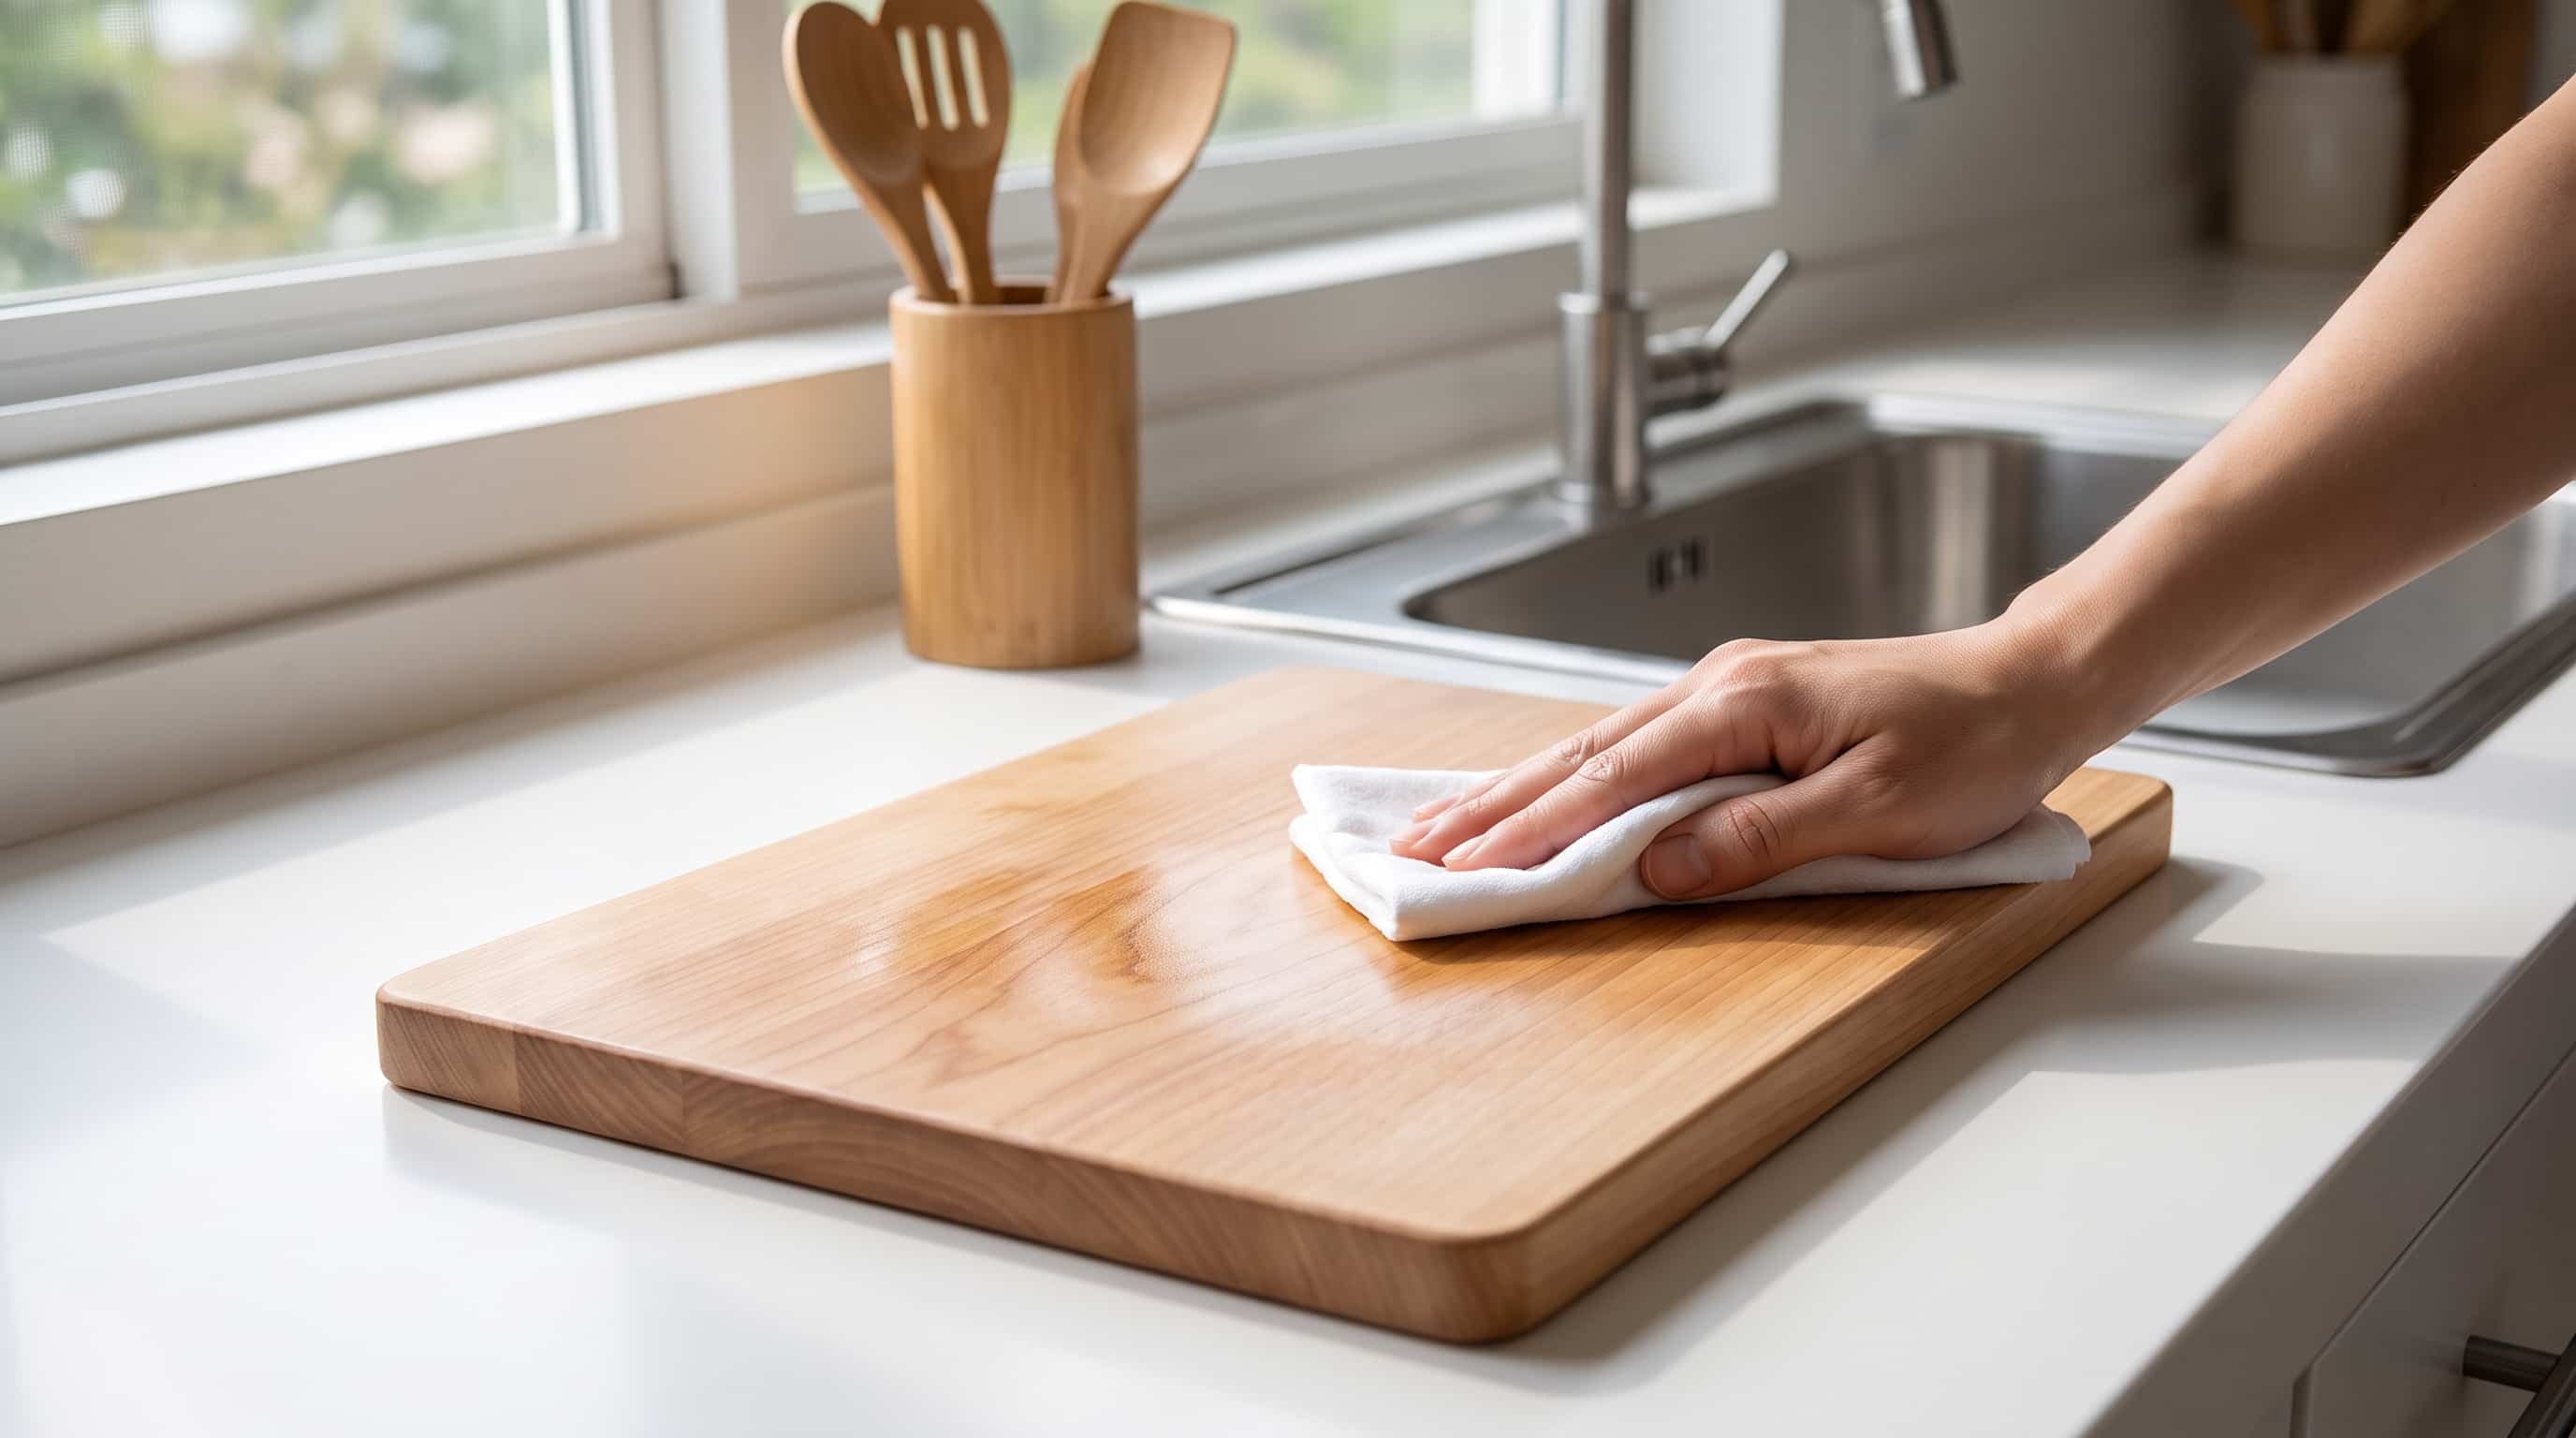
Let the oil soak in for several hours, or overnight for best results. Then wipe off any remaining oil with a clean, dry cloth.
The board should feel smooth, not greasy, once you’re done.
How to Remove Stains and Odors From Wooden Cutting Boards
Even with regular care, wooden cutting boards pick up stains. These are the best ways by which you can get rid of stains.
Removing Food Stains
Sprinkle a generous layer of baking soda or coarse salt over the stained area.
Add a small amount of water to form a paste, or use half a lemon instead of water.
Scrub the paste into the stain using a sponge or brush, following the direction of the wood grain. Let it sit for a few minutes before rinsing.
For deeper or older stains, repeat the process or apply hydrogen peroxide directly to the mark. Let it fizz for a few minutes before wiping clean.
Getting Rid of Strong Smells
Rub a cut lemon over the surface of the board, pressing gently as you go. The acid in lemon juice neutralizes odors from garlic, onion, and fish.
For a stronger fix, sprinkle baking soda over the board, then scrub with the lemon half. This combination lifts both the smell and any surface residue at the same time.
You can also keep a spray bottle of diluted white vinegar on hand. A quick spritz after strong-smelling prep work keeps odors from settling into the wood.
Rinse and dry the board fully after treating stains or smells, then re-oil if the surface looks dry.
How to Store a Wooden Cutting Board
Storage affects your board’s condition just as much as how you clean it.
- Store the board upright in a cool, dry spot with good airflow.
- Keep it away from direct sunlight, ovens, and dishwashers. Heat sources dry out wood unevenly.
- Never stack damp boards together. Trapped moisture between boards leads to mold and warping.
- Do not store the board inside an enclosed cabinet until it is completely dry.
If you have space, a vertical rack on the counter is the cleanest storage option. It keeps the board dry and easy to grab.
How to Sand and Restore a Worn Wooden Cutting Board
Light sanding can bring a worn board back to life.
Use fine-grit sandpaper (around 120 to 220 grit) and sand in the direction of the wood grain. This removes shallow knife marks, stains, and rough patches.
For tips on working safely with wood, sanding wood correctly follows a straightforward process that applies to boards as well.
After sanding, wipe away the dust with a dry cloth and apply a generous coat of food-grade mineral oil. Let it soak in overnight before using the board again.
Do not sand a board that has deep cracks, dark staining through the grain, or mold. Those boards should be replaced.
Common Wooden Cutting Board Maintenance Mistakes to Avoid
Small habits cause most of the damage seen in wooden cutting boards. Here are the mistakes to watch for.
- Soaking the board in water: Wood absorbs water fast, and soaking causes fibers to swell unevenly. This leads to warping and cracks over time.
- Washing it in the dishwasher: Heat, steam, and water pressure can split or warp wood in a single cycle. Always wash wooden boards by hand.
- Leaving it flat while wet: Moisture trapped underneath a flat, damp board encourages both bacterial growth and warping. Stand the board upright to dry instead.
- Skipping oil for months at a time: A board left dry for too long becomes rough and prone to cracking. Set a reminder to oil it every few weeks.
- Storing it near heat or in direct sunlight causes uneven drying, which pulls the wood out of shape. Keep your board in a cool, dry spot instead.
- Using harsh chemicals or bleach at full strength: These can seep into the wood and affect food safety. Stick to mild soap, vinegar, or diluted solutions instead.
When Should You Replace a Wooden Cutting Board?
Replace your wooden cutting board once damage goes beyond what cleaning and oiling can fix.
Deep cracks or dark lines running through the wood trap bacteria and moisture, even after washing.
Persistent odors that don’t lift with lemon or baking soda point to bacteria buried deep in the grain. Heavy warping that won’t flatten with drying and oiling also signals the end of its use.
Grooves and knife scars are normal, but once they become deep enough to hold food debris, cleaning can’t fully reach them.
At that point, a new board is the safer choice for your kitchen.
Conclusion
Knowing how to maintain wooden cutting boards comes down to a handful of consistent habits.
Clean after every use, disinfect after handling raw meat, oil the surface when it looks dry, and store the board upright in a cool spot.
Avoid the dishwasher, skip the cooking oils, and never let the board sit wet on the counter. These small habits prevent the cracking, warping, and odor buildup that cut a board’s life short.
A well-kept wooden board can outlast plastic alternatives by years and stay safe for daily kitchen use throughout. If your board has been skipping oil for a while, that is the best place to start. Give it a generous coat tonight and see the difference by morning.
Have a tip that has worked well for your board? Share it in the comments below.
Frequently Asked Questions
Are Wooden Cutting Boards More Hygienic Than Plastic Ones?
Yes. Wooden cutting boards can be very hygienic when properly cleaned and maintained because wood naturally limits bacterial growth by trapping microbes.
Which Type of Wood is Best for a Cutting Board?
Hardwoods like maple, walnut, and cherry are popular choices because they are durable, gentle on knives, and less likely to develop deep cuts.
Can You Cut Raw Meat on a Wooden Cutting Board?
Yes, you can cut raw meat on a wooden cutting board if it is cleaned and disinfected properly after use.
What Should You Do If a Wooden Cutting Board Starts to Warp?
Light warping may improve by evenly drying and conditioning the board, but severe warping usually means it may need replacement.
Can You Sand a Wooden Cutting Board to Make It Look New Again?
Yes. Light sanding can remove shallow knife marks, stains, and rough patches before applying food-safe mineral oil.