How to Do a Kitchen Deep Clean Without Missing a Spot
Wiping the counter after cooking is not a kitchen deep clean. Grease collects behind the stove. Bacteria hide in fridge door seals. Crumbs pack into drawer corners and stay for months.
Daily cleaning handles what you can see. It cannot reach what is hidden. A proper kitchen deep cleaning targets every missed zone. That includes appliance interiors and the space behind equipment.
It covers the grease-coated surfaces near the stove and buildup in drains and door seals.
This post covers every zone in the right order, with the right product for each surface. It also includes the spots that are always skipped, along with a short routine to keep the kitchen clean between sessions.
What Does Kitchen Deep Cleaning Actually Mean?
Kitchen deep cleaning removes grease, bacteria, and hidden buildup from every area of the kitchen. Regular cleaning covers visible surfaces only. Deep cleaning targets appliance interiors, spaces behind equipment, and the drains and door seals that everyday wiping misses.
Heat causes cooking oil to oxidize and bond with surfaces over time. This creates a sticky layer that a damp cloth cannot remove. That is why degreasers and soaking time matter more than scrubbing force alone. Wiping cleaner off too fast is one of the main reasons a deep clean falls short.
Why Kitchen Deep Cleaning Matters
A kitchen handles raw food, heat, and moisture every day. These three conditions create an environment where bacteria multiply fast. Skipping deep cleaning allows that buildup to grow.
The specific risks from poor kitchen hygiene include:
- Bacteria on surfaces: The CDC reports that common foodborne bacteria, including Salmonella and E. coli, survive on kitchen surfaces. They transfer from raw food to counters and from counters to hands.
- Grease near cooking zones: Grease in the oven, on the stovetop, and in the hood filter is a fire risk. A blocked hood filter cannot pull smoke or oil out of the kitchen air.
- Pest attraction: Sticky grease behind appliances and crumbs in corners give pests a food source and a reason to enter the kitchen.
- Reduced appliance performance: Dust on refrigerator condenser coils makes the unit use more energy. A dirty dishwasher filter leaves dishes dirtier after the wash cycle.
How Often Should You Deep Clean Your Kitchen?
Frequency depends on how often and how heavily you cook. Start with this table and adjust based on what you see. Sticky cabinet doors, a food smell that stays after cooking, or a slow-draining sink all mean the kitchen needs a full session sooner.
| Cooking Frequency | Recommended Deep Clean Interval |
|---|---|
| Light cooking (twice a week or less) | Every 2 to 3 months |
| Regular daily cooking | Every 4 to 6 weeks |
| Heavy cooking (daily frying or baking) | Every 2 to 4 weeks |
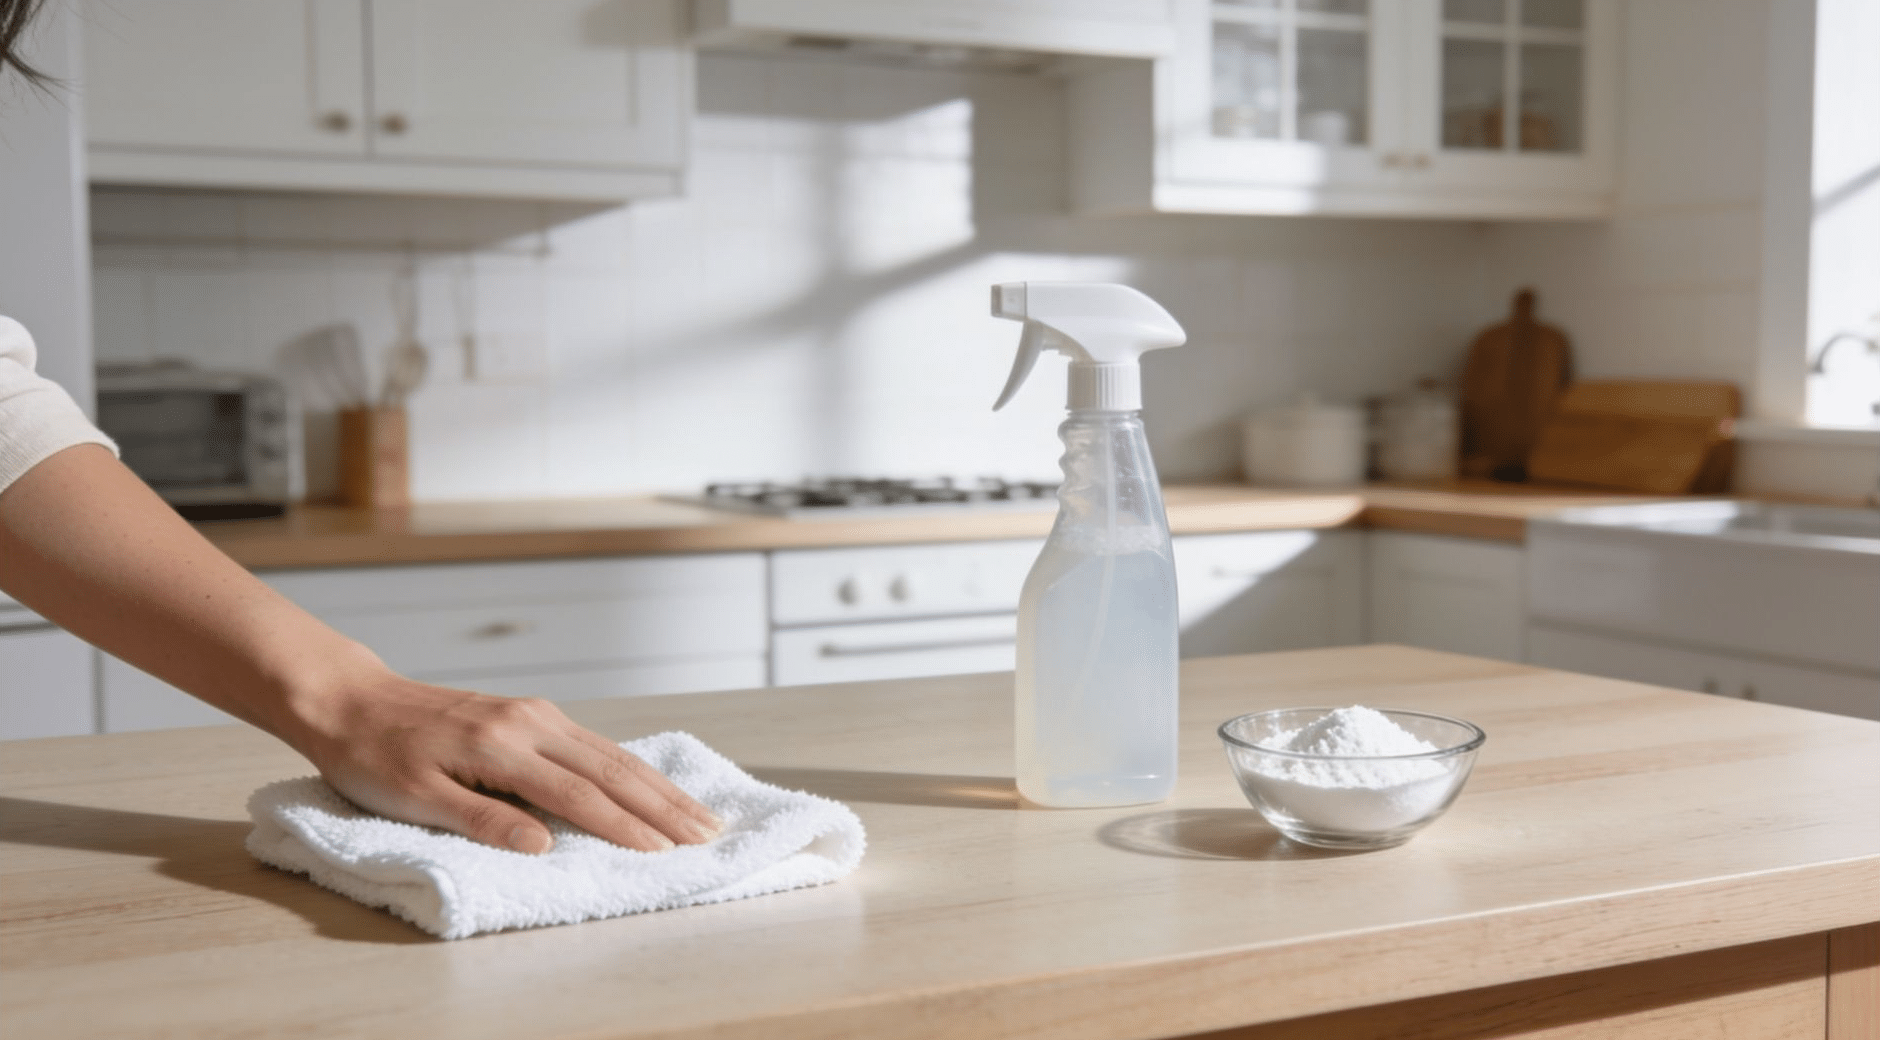
What You Need Before You Start
Gather supplies before you start. Having everything ready prevents stopping mid-clean. Open a window first. Cleaning products release fumes in small, enclosed spaces.
Cleaning products:
- Baking soda
- White vinegar
- Dish soap
- A degreaser (for stovetop, hood filter, and tile backsplash)
- A cleaner that matches your countertop material
Tools:
- Microfiber cloths (at least three, one per zone)
- A stiff-bristled scrub brush
- A bucket of warm water
- Rubber gloves
Use a separate cloth for each area. Using one cloth for the whole kitchen spreads bacteria from the sink to food prep surfaces. There is no visible sign when this happens.
The Right Order for Kitchen Deep Cleaning
Start at the top and work down to the floor. Drips and crumbs from higher surfaces fall onto areas you have not yet cleaned. Floors always come last.
Apply cleaning products first and let them sit. Degreasers need 5 to 15 minutes of contact to break grease bonds before wiping. Rushing this step means scrubbing harder for worse results.
1. Start With the Oven and Stovetop
The oven takes the most time. Start there so it can sit while you work on other areas.
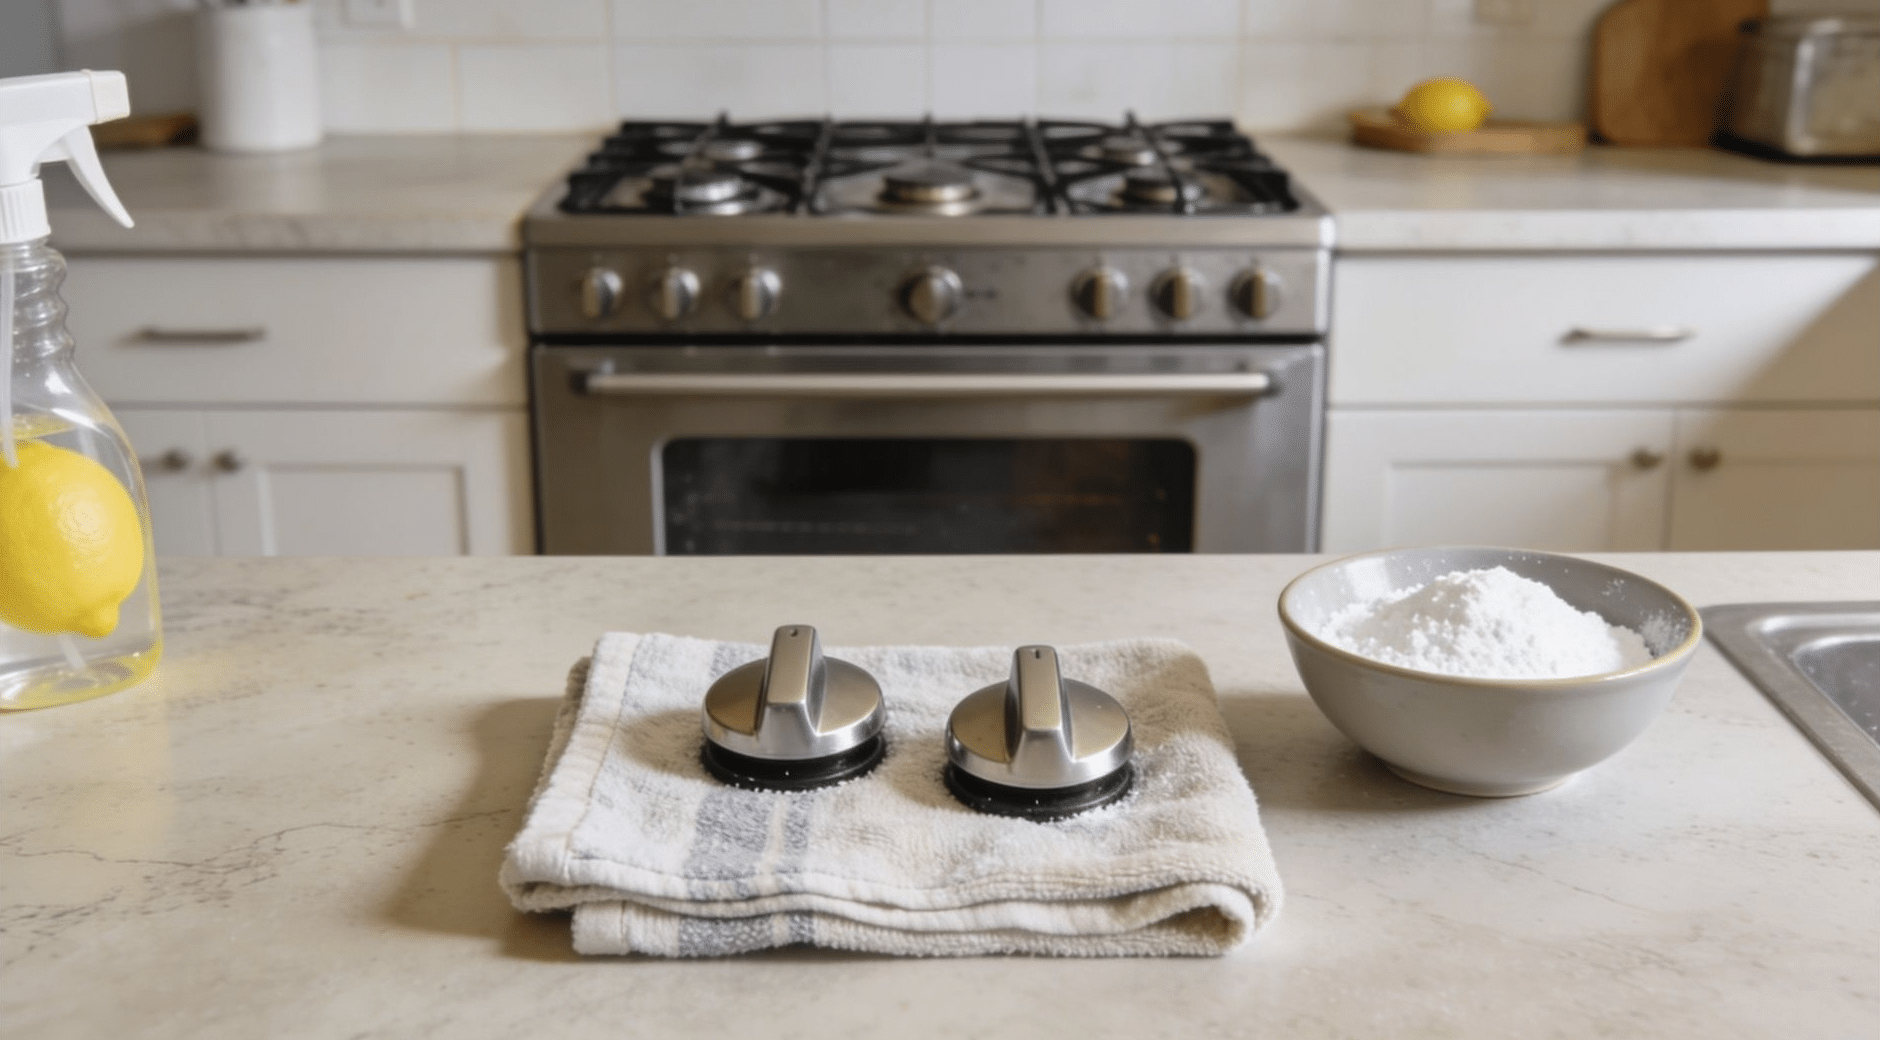
Apply baking soda paste or oven cleaner to the inside. Leave it for 20 to 30 minutes before scrubbing. While it sits, remove the stovetop grates and burner caps and soak them in hot soapy water.
Clean both sides of the oven door glass. The gap between the two panes collects oil and rarely gets touched. Remove the knobs and clean the base where they sit.
Cooking oil from your hands coats those spots every day. If the oven has a self-cleaning setting, run it with the windows open.
2. Refrigerator

Take everything out. Check dates and discard anything expired. Wash the glass shelves in the sink with soap and warm water.
Pop the glass panel out of its plastic frame and clean the grooves. Food packs into those channels and a surface wipe does not clear them. Wipe the rubber door seals carefully.
Mold collects in the folds of those strips. Vacuum or brush the condenser coils at the back or base of the fridge. Dirty coils make the refrigerator use more energy and shorten its working life.
The Energy Star program lists coil cleaning as one of the top steps in home appliance care. Do this every 6 to 12 months.
3. Clean the Sink From Top to Bottom
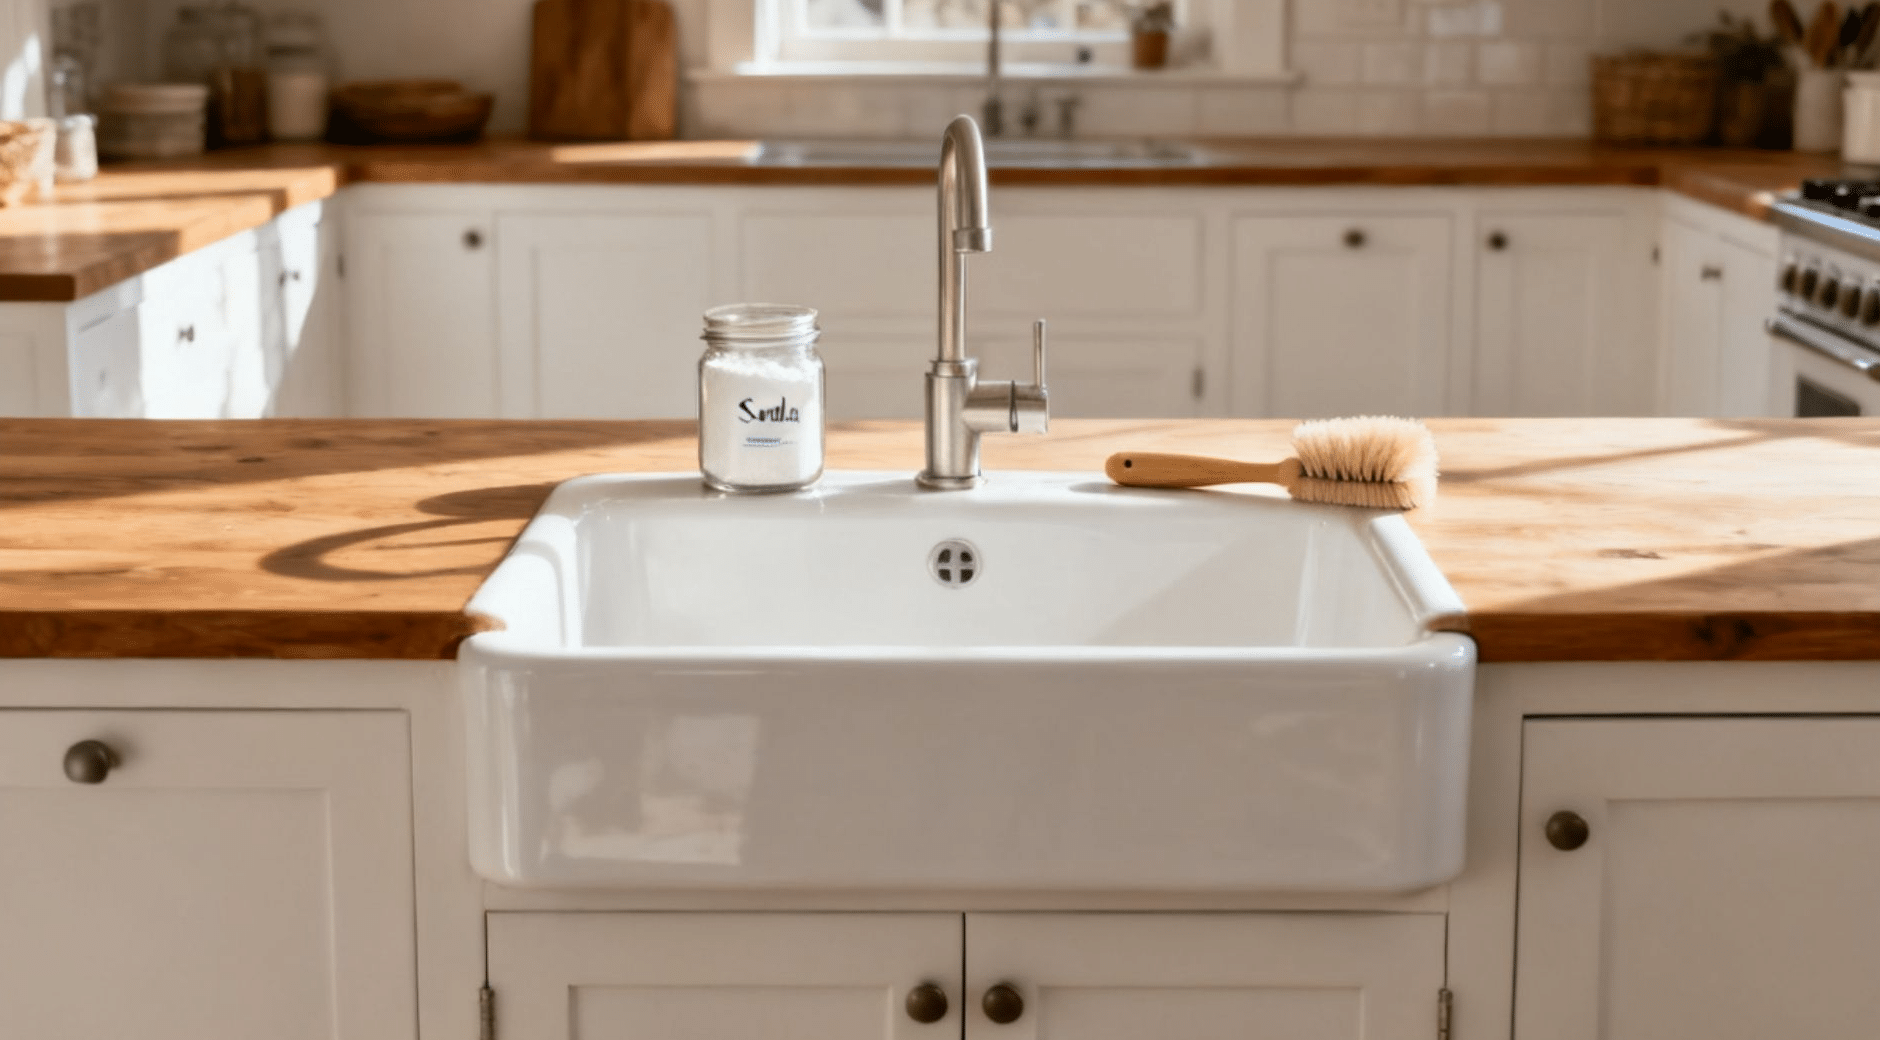
Pour baking soda into the basin and scrub with a stiff brush. Let it sit for a few minutes before rinsing. This method works well for stainless steel sink cleaning as it lifts surface grime without scratching. Move to the faucet base and under the handles. Hardened grime packs in tight around both spots.
Pour baking soda down the drain, follow with white vinegar, and wait five minutes. Then flush with hot water. This breaks up the buildup that causes bad smells. Clear any debris from the drain strainer. Check the cabinet under the sink for moisture or signs of a slow leak.
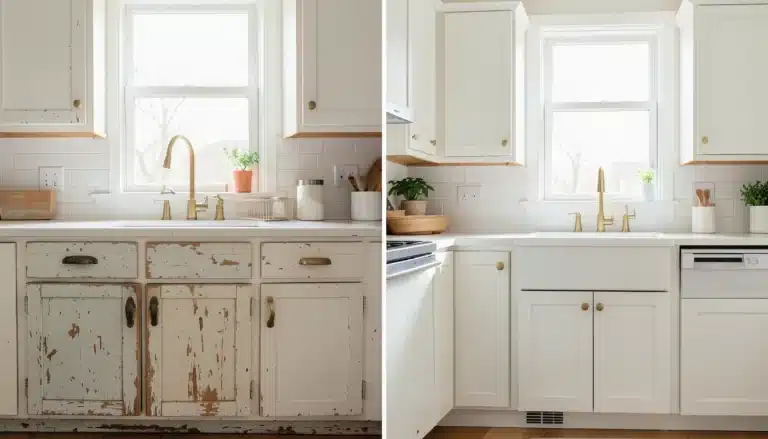
4. Cabinets and Drawers
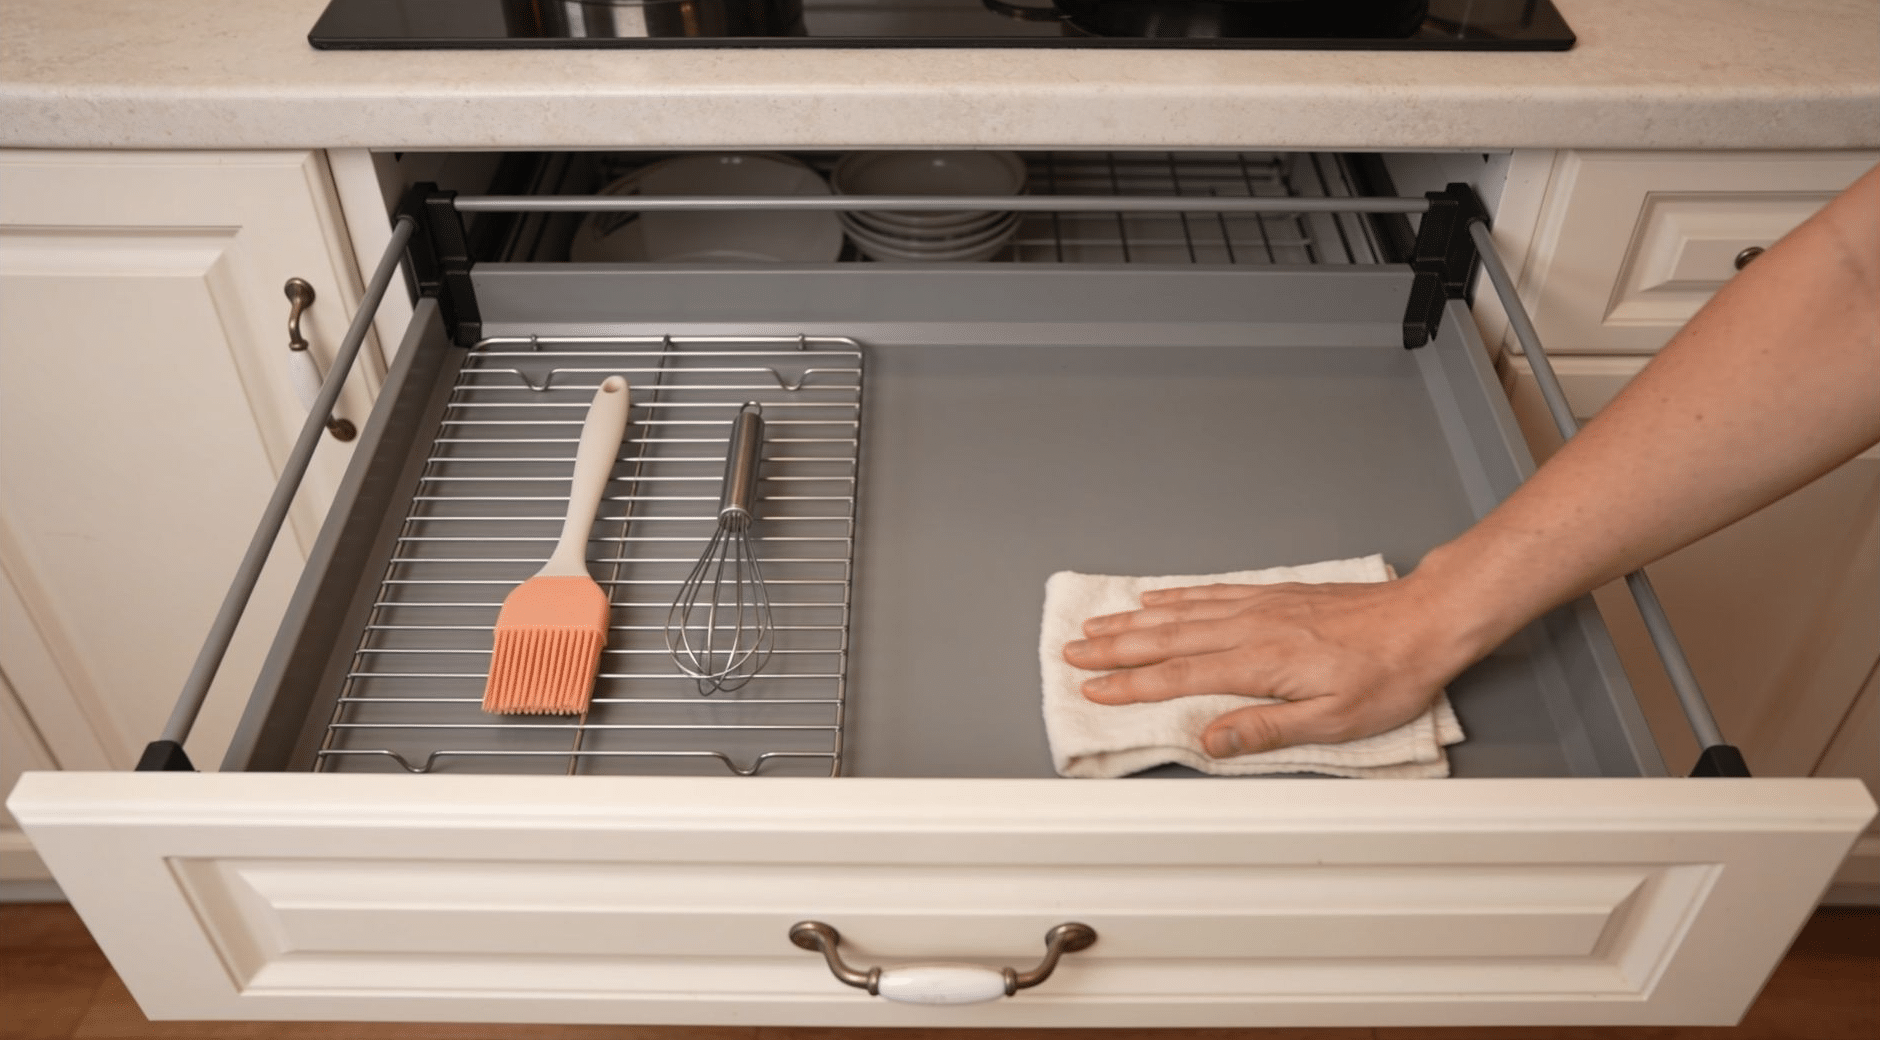
Empty each drawer first. Shake out the crumbs and wipe the interior dry. Clean the front face of each cabinet door and the handle. Cooking oil from your hands coats those surfaces every time you cook.
If your cabinets stop short of the ceiling, clean the tops. A thick layer of dust and oil settles there. While the drawers are empty, remove anything expired or unused.
If deep cleaning reveals surface damage that does not come off, cabinet refacing is a lower-cost option before considering full replacement.
5. Countertops, Backsplash, and the Wall Behind the Stove
Clear everything off the counter. Use a cleaner that matches your counter material. The wrong product leaves permanent marks on stone, wood, and stainless steel.
White vinegar works on laminate but dulls granite and quartz. Use a mild dish soap solution on stone surfaces. A degreaser works best on tile backsplashes.
Pay close attention to the seam where the counter meets the wall. Oil and crumbs pack into that joint and a quick swipe does not pull them out. The wall behind the stove picks up cooking oil with every meal and rarely gets cleaned as part of a routine.
6. Small Appliances
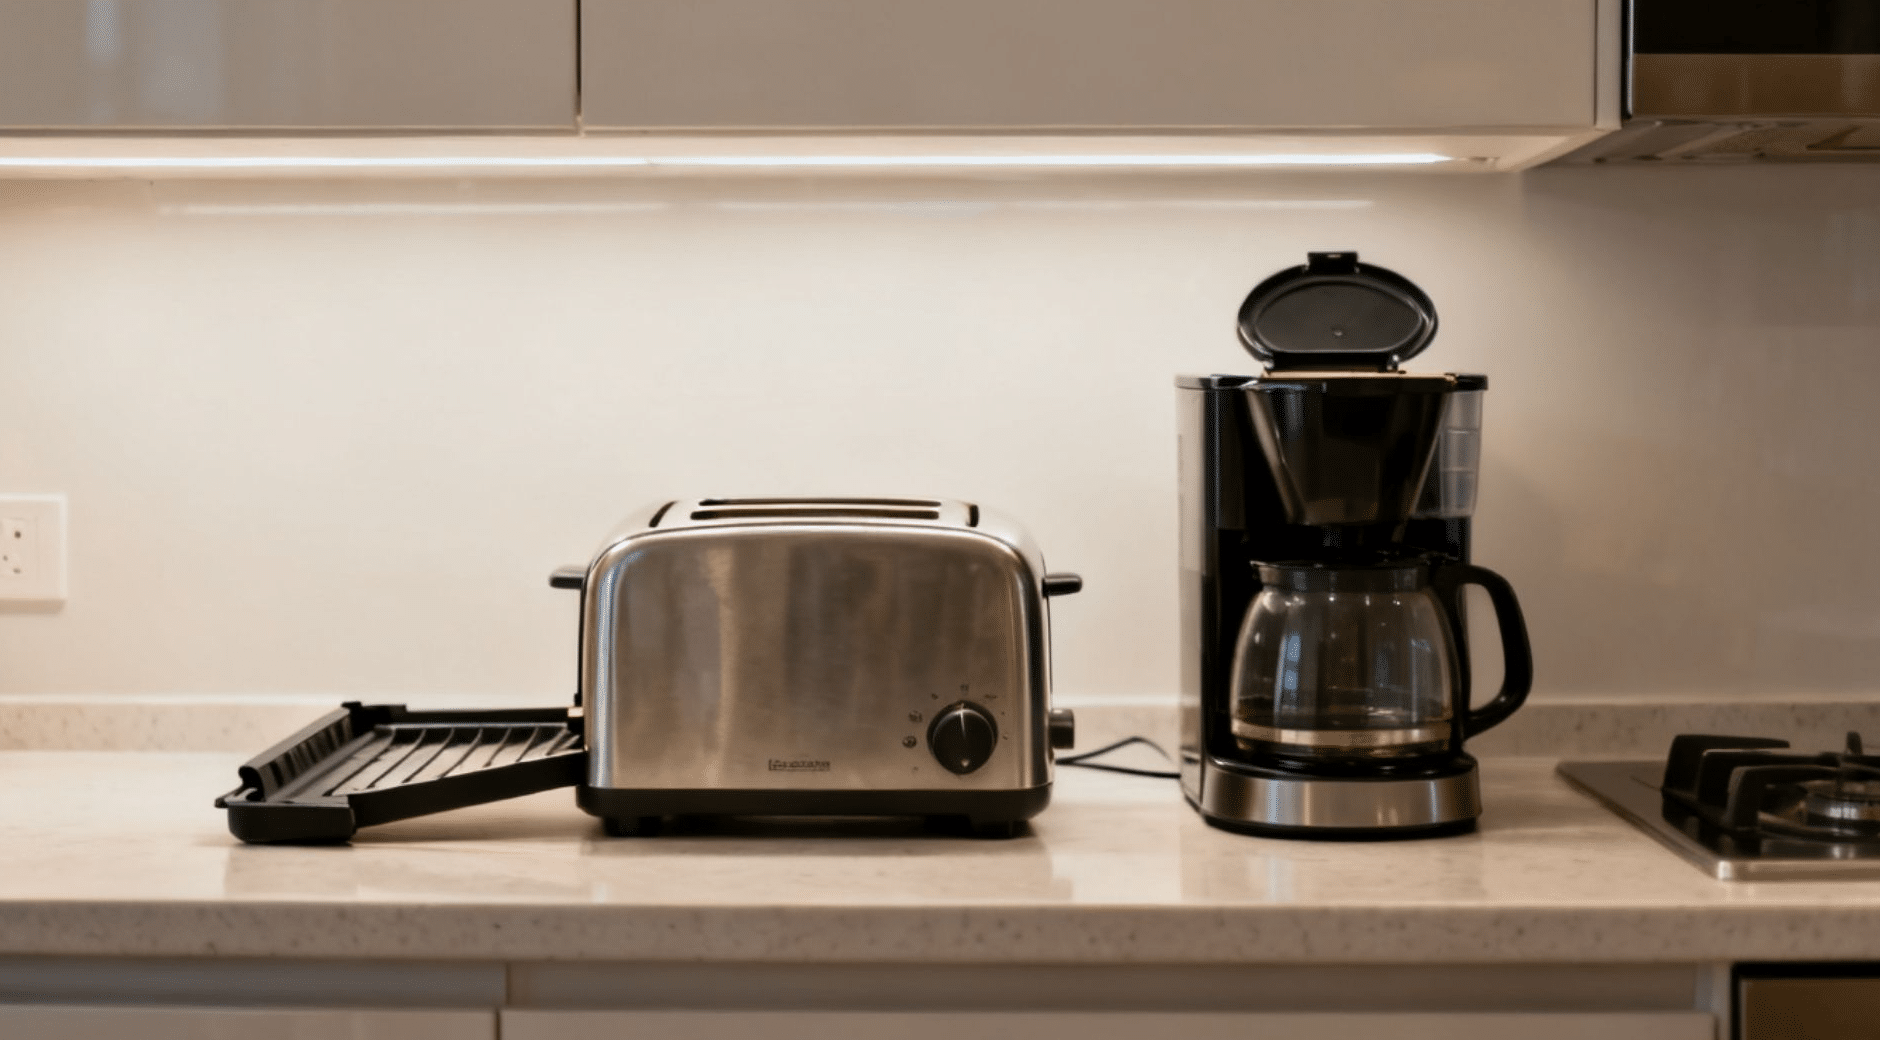
Clean each appliance in the same session so none get left out.
- Microwave: Put a bowl of water with lemon slices inside and run it for five minutes. The steam loosens residue and a cloth clears it in seconds.
- Coffee maker: Run a mix of white vinegar and water through the machine. This clears mineral deposits from inside the unit.
- Toaster: Empty the crumb tray. A full crumb tray is a fire hazard.
- Dishwasher: Pull the filter out from the base and rinse it under running water. A clogged filter causes bad odors and leaves dishes dirtier after the wash cycle.
7. The Range Hood Filter
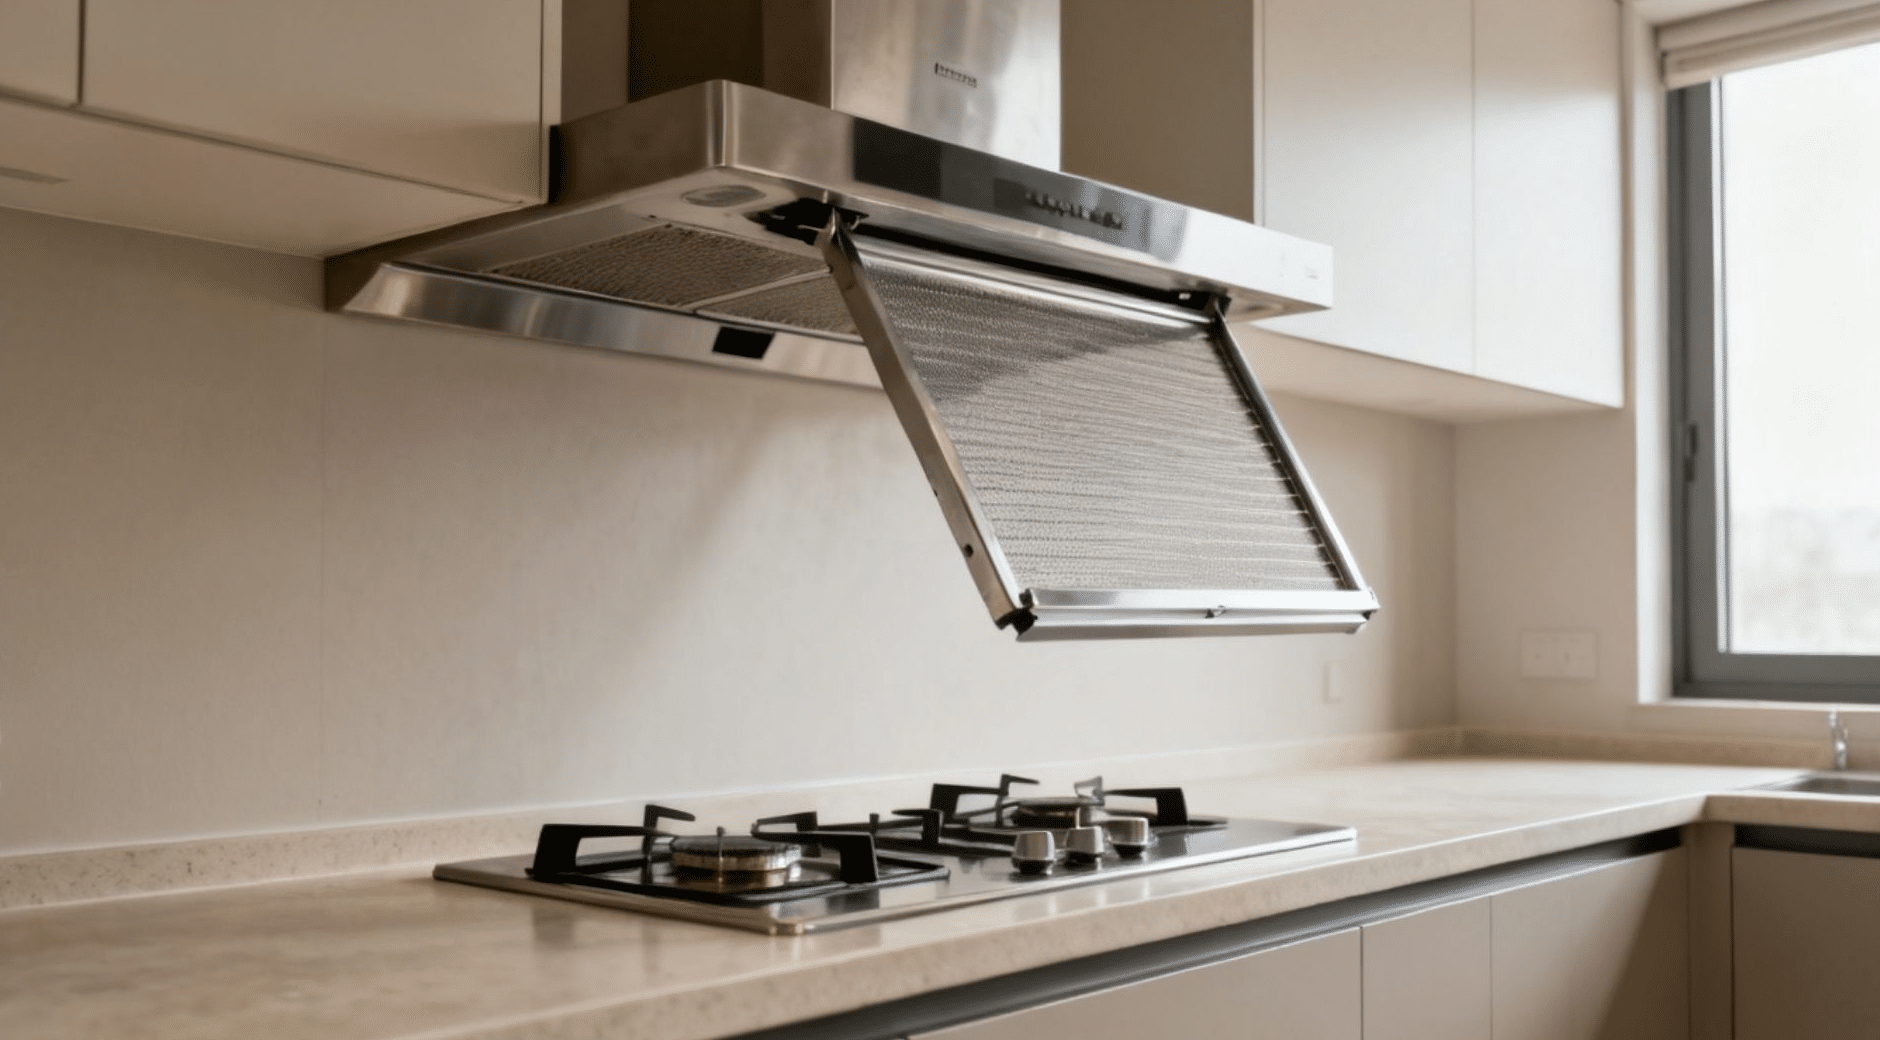
Remove the metal filter and place it in hot water with dish soap and baking soda for 20 minutes. Scrub and rinse. Wipe the inside of the hood and fan housing with a cloth and degreaser.
A clogged filter blocks smoke and grease from leaving the kitchen. When airflow is blocked, cooking fumes stay in the room. Oil settles back onto every surface near the stove. A blocked filter also raises the fire risk. Clean it at least once every three months if you cook daily.
8. Floors (Always Last)
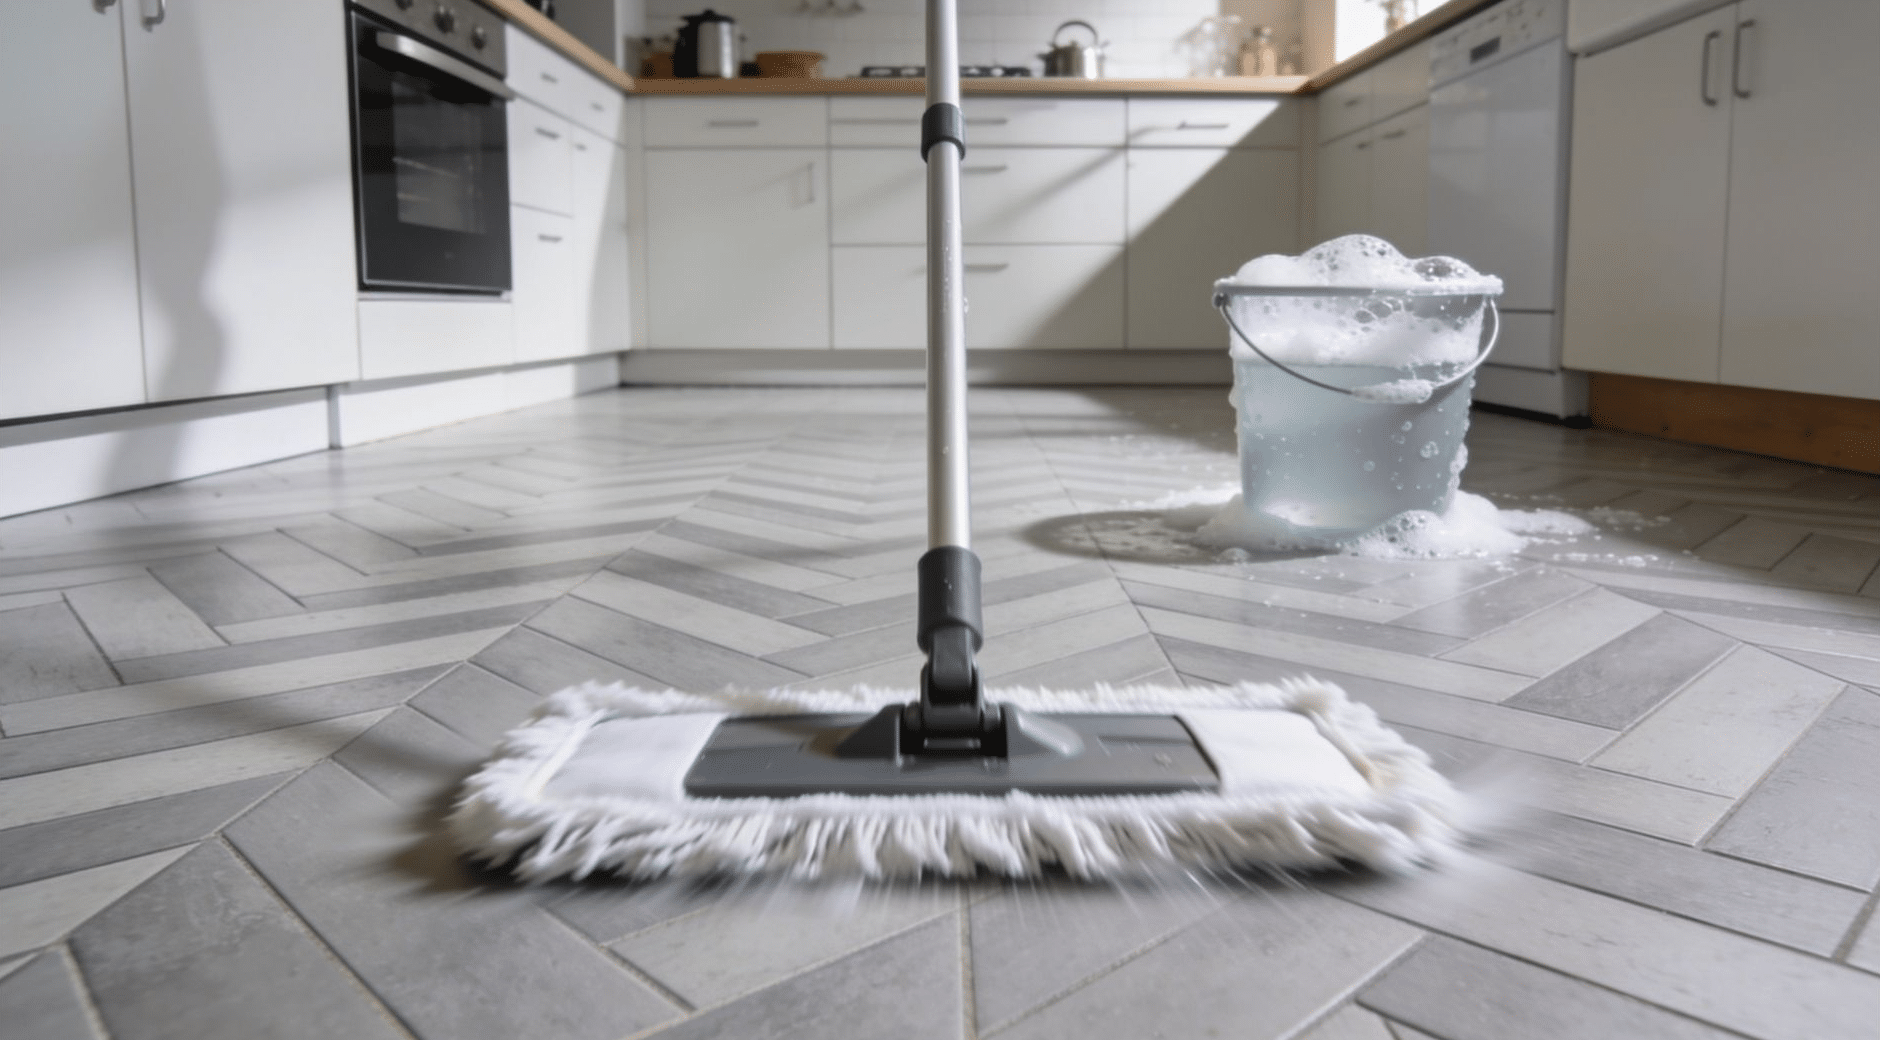
Sweep or vacuum before you mop. Pull the fridge and stove away from the wall, and clean the floor beneath them.
That area usually has a heavy coat of oil and dust that a regular mop never reaches.
Use a floor cleaner that is appropriate for your floor type. Hardwood, tile, and vinyl each need a different product.
For the gap between the floor and the cabinet base, use a thin cloth or an old toothbrush. A standard mop head cannot fit into that space.
Hidden Kitchen Spots That Get Skipped
These areas get missed not because they are hard to clean but because they are easy to overlook. Add all of them to your next session.
- Light switches and outlet covers: Touched throughout the day but rarely wiped down
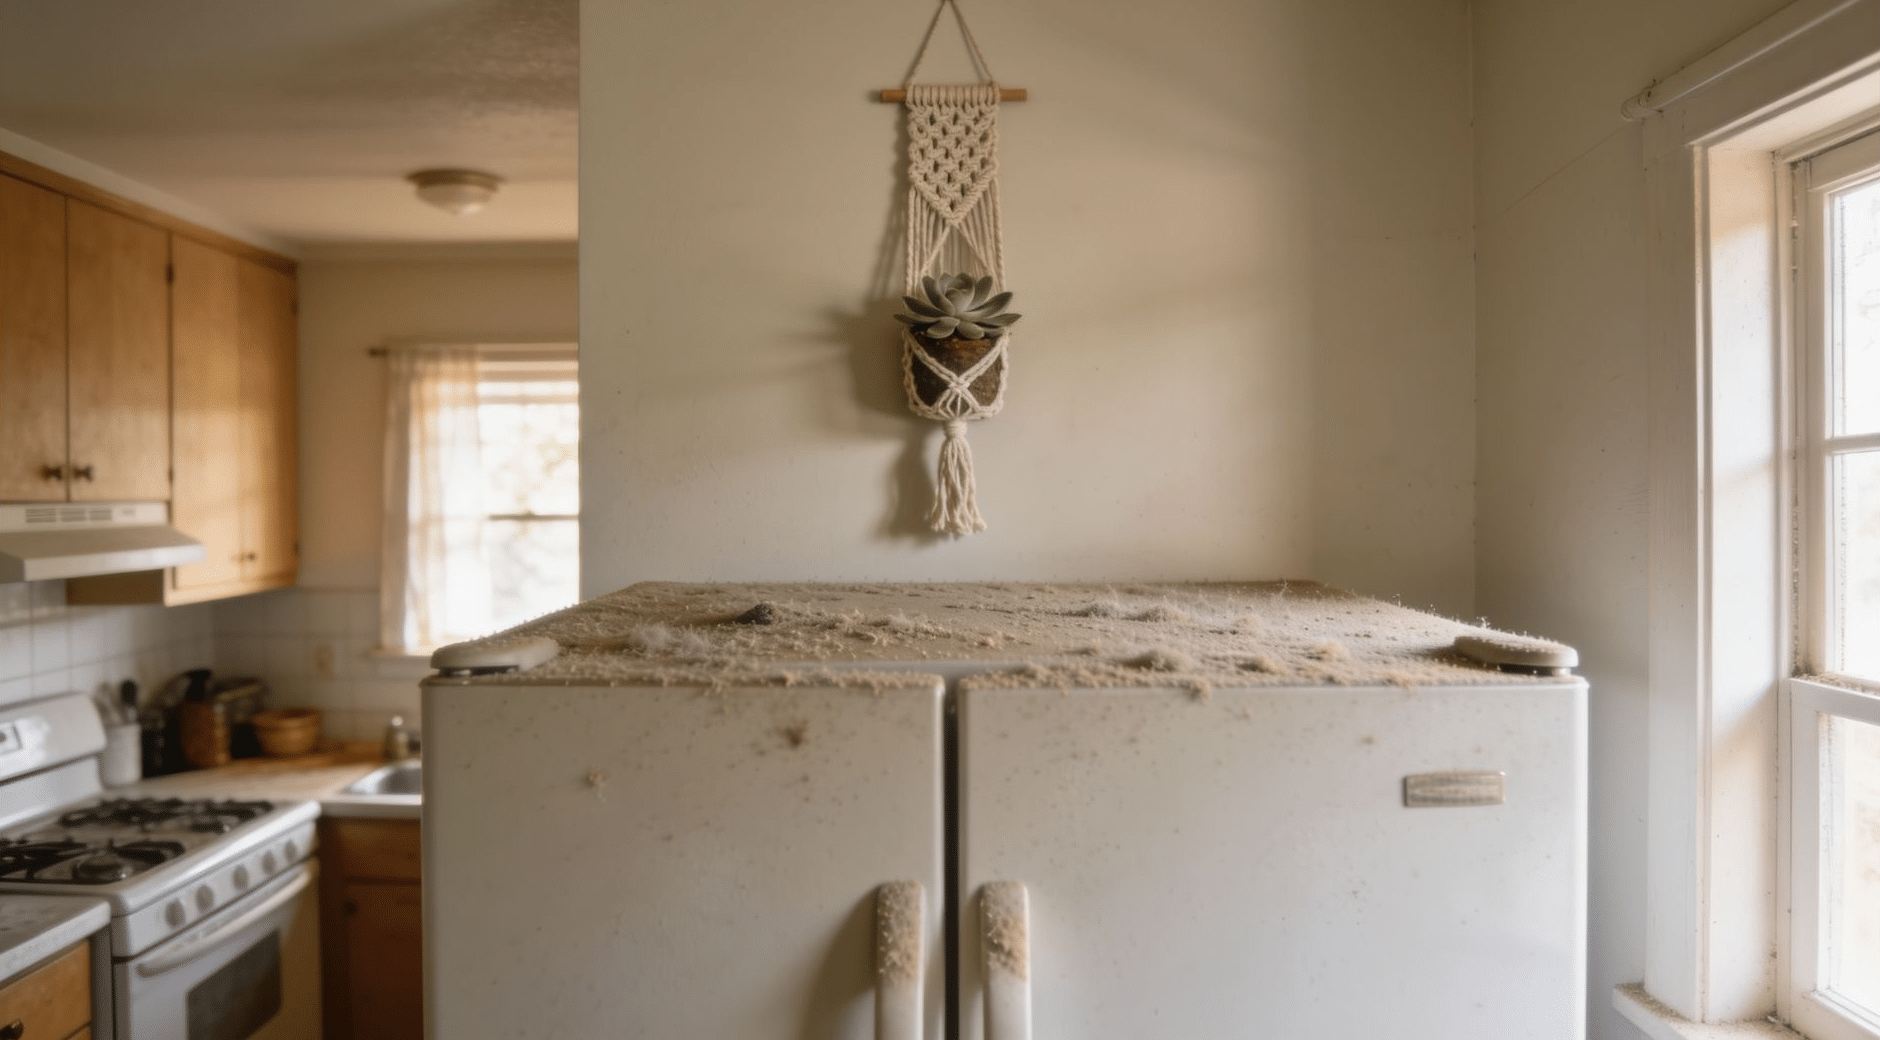
- Top of the refrigerator: Collects a sticky layer of dust and oil, especially when it sits near the stove
- Inside face of cabinet doors near the stove: Oil vapor from cooking settles on the interior surface each time you open the door
- Gap between the fridge and the wall: Dust and food debris collect there and go untouched for months
- Window sills above the sink: Moisture and cooking fumes combine here and create mold faster than almost anywhere else
- Can opener blade and gear: One of the most bacteria-prone tools in any kitchen and one of the least cleaned
What to Use for Kitchen Deep Cleaning
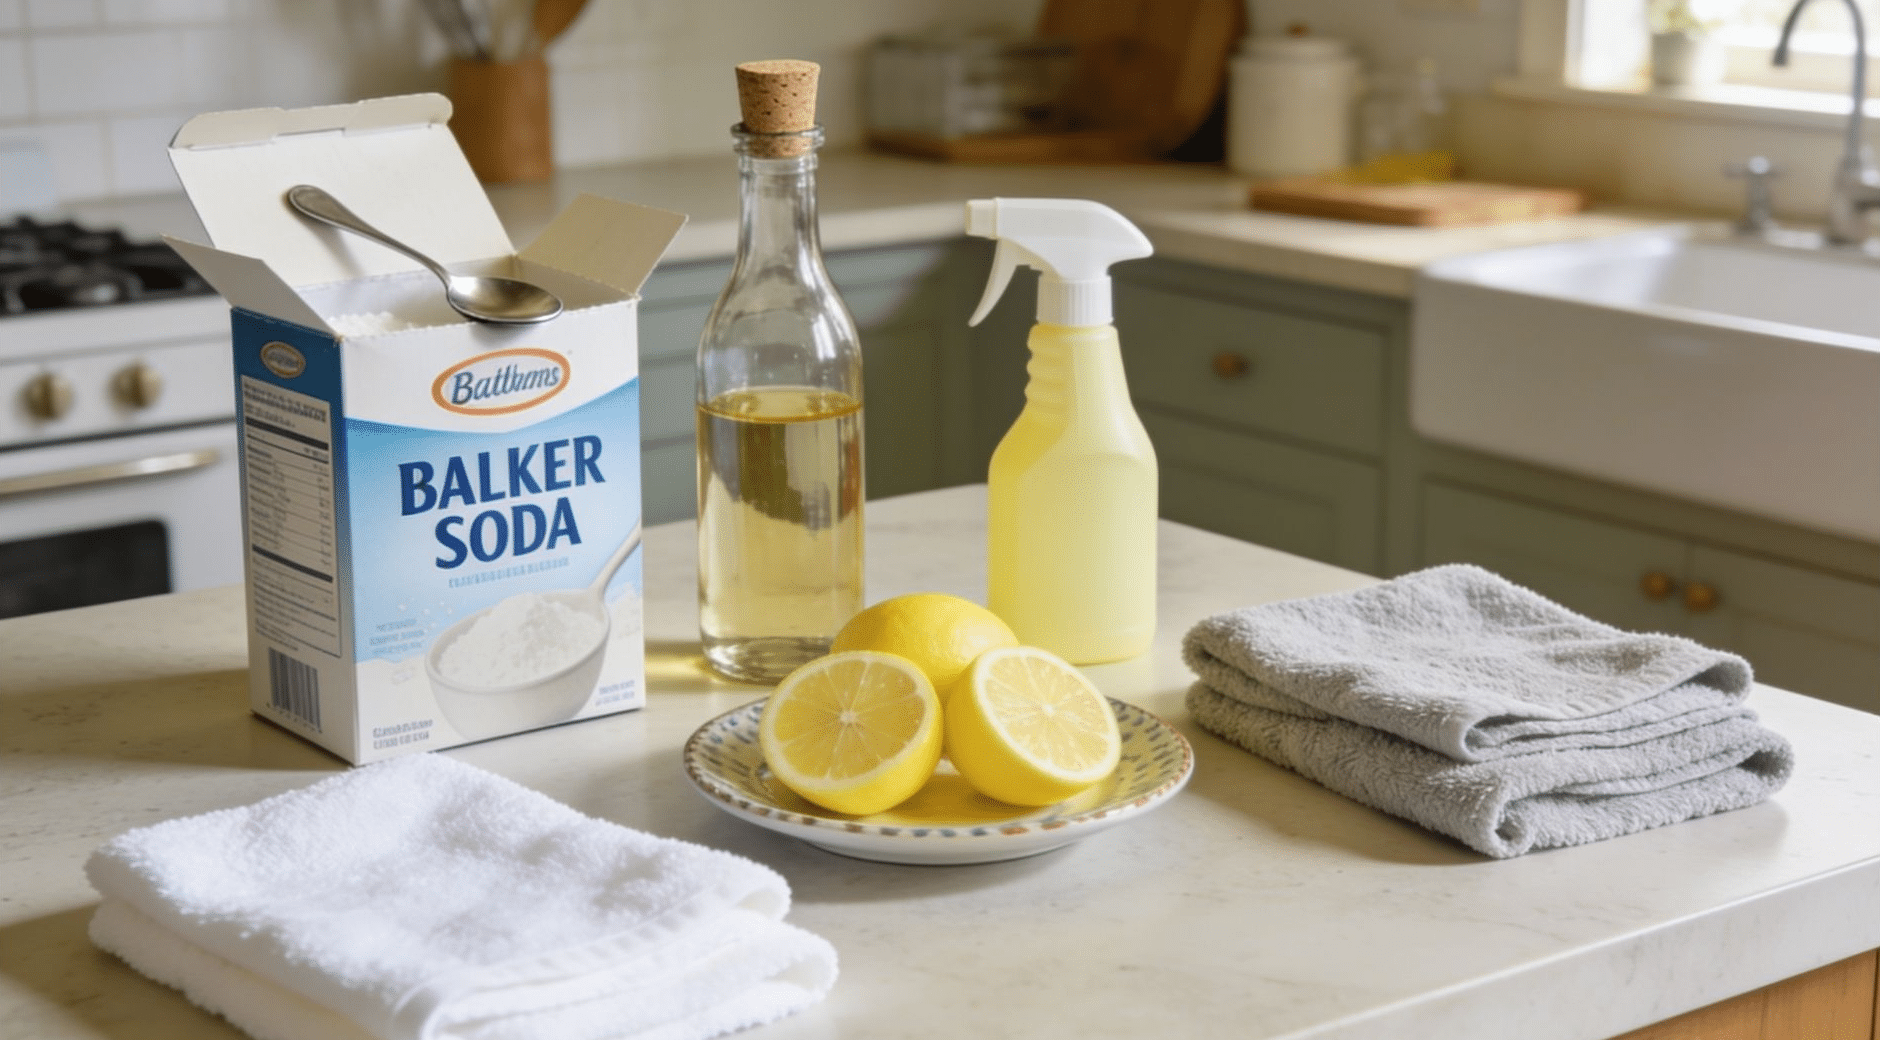
You do not need a full cabinet of specialty products. A few basic items handle almost every surface in the kitchen.
- Baking soda: scrubs the sink basin, softens oven residue, removes fridge odors
- White vinegar: cuts through oil, removes mineral deposits, clears drain smells — skip it on stone countertops where it causes surface damage
- Dish soap and hot water: the most reliable soak for grates, filters, and removable shelves
- Lemon juice: lifts stains and clears bad smells with no chemical scent left behind
- Microfiber cloths: pick up bacteria that sponges tend to spread from surface to surface
On the avoid list: bleach on stone and stainless steel finishes, rough scrubbers on stainless steel, and ammonia-based products near any food prep area.
Kitchen Deep Cleaning Mistakes That Cost You Time
Knowing what not to do saves more time than cleaning faster.
- Starting with floors: any drips or crumbs from surfaces above fall and undo the floor before you finish
- Wiping cleaner off too soon: most degreasers need 5 to 15 minutes of contact time before they break anything down
- Matching the wrong cleaner to the surface: using the right product in the wrong place leaves permanent marks on stone, wood, and stainless steel.
- Cleaning appliance exteriors but not interiors: the outside looks fine, while the inside still holds old food and odor
- Using one cloth for the whole kitchen: bacteria from the sink armoveves to food prep surfaces without leaving any visible sign
- Skipping ventilation: open a window before you start, especially in a small kitchen where fumes from cleaning products build up quickly
How to Keep the Kitchen Clean After a Deep Clean
A short daily routine stops buildup before it needs a full session to fix. These habits take under 15 minutes combined each day and protect the work done during the deep clean.
Every day:
- Run the range hood every time you cook
- Wipe the stovetop before it fully cools
- Dry the sink basin after washing dishes
Every week:
- Steam the microwave with a bowl of water and lemon
- Wipe the cabinet doors closest to the stove
- Pour baking soda and vinegar down the drain
Every month:
- Wipe fridge shelves and remove expired items
- Rinse the dishwasher filter
- Clean the backsplash and the wall behind the stove
Every 3 to 4 months:
- Pull appliances away from the wall and clean behind them
- Soak the range hood filter
- Wipe ceiling vents, light covers, and the tops of upper cabinets
If a deep clean shows the kitchen needs a bigger update, the kitchen remodel planning covers every decision from layout to material selection
Conclusion
A complete kitchen deep clean transforms more than just the look of your space; it improves hygiene, prevents pests, and keeps appliances running efficiently.
By tackling ovens, fridges, sinks, cabinets, and hidden spots in the right order, you remove grime that regular cleaning misses. Using simple tools like baking soda, vinegar, and microfiber cloths makes the process easier and safer.
Maintaining your kitchen afterward with daily, weekly, and monthly routines helps prevent messes and bacteria from building up again.
Deep cleaning is not just a chore; it’s a simple, smart way to keep your kitchen fresh, healthy, and ready for cooking anytime.
Frequently Asked Questions
How long does a kitchen deep clean take?
Usually 2 to 6 hours, depending on kitchen size and buildup. A kitchen on a regular schedule takes less time than one left for months.
What Is the Fastest Way to Clean Kitchen Cabinets?
Empty the cabinets, vacuum up dust and crumbs, then wipe inside and out with warm, soapy water or a 1:1 vinegar-water mix. For greasy wood, use lemon juice and olive oil.
How Do I Deep Clean Heavily Greased Range Hood Filters and Stovetop Grates?
Soak grates and filters in hot soapy water or degreaser for 20–30 mins, scrub with a brush or baking soda paste, then dry completely.
How Do I Naturally Deglaze Kitchen Surfaces without Harsh Chemicals?
Spray a 1:1 vinegar-water mix for general cleaning, or use a baking soda paste to scrub tough grease on stovetops and sinks.