Want to paint doors but worried they’ll end up streaky or uneven? You’re not alone; most people rely only on a brush and feel frustrated when the finish doesn’t look smooth.
It’s a common problem, and it makes a simple weekend task feel like a waste of time.
The good news? There’s a faster, easier way to paint doors without brush marks or drips; just by combining a brush and roller.
It’s the exact method professional painters use, and it works for any interior door, especially raised-panel styles like colonial.
In this blog, I’ll walk you through everything step by step. You’ll learn the right order, tools, and technique to paint doors with clean, even coverage from start to finish, no experience needed.
Let’s fix those streaky finishes for good.
How to Paint Doors?
Door painting changes your home’s appearance while protecting the wood underneath. Many homeowners avoid this project because they worry about getting professional results.
The truth is that painting doors becomes simple when you know the right steps.
Professional painters follow a specific order that ensures even coverage. They combine brushes and rollers for the best results.
Quality tools and proper planning make all the difference.
Tools and Materials Needed
Before you begin, it helps to gather everything in one place. These basic tools and materials will make it easier to paint doors smoothly and with fewer mistakes.
| Item | Purpose |
|---|---|
| Angled Brush | For corners, edges, panel grooves, and trim work |
| Mini Foam/Microfiber Roller | For smooth, even coverage on flat door surfaces |
| Interior Paint | Needed to paint the doors in the finish and color of your choice |
| Painter’s Tape | Optional, use around hinges, knobs, or trim to avoid a mess |
| Screwdriver | To remove handles, knobs, or hinges for cleaner painting access |
| Fine-Grit Sandpaper | Helps smooth the surface and prepare for the next coat |
| Clean Cloth | Wipes away dust before painting, ensuring paint sticks evenly |
Having everything ready before you open the paint can helps you stay focused and organized. It also saves time and reduces the chances of missed steps.
Tip: Lay your tools out near your workspace so you can paint doors without delays or distractions.
Paint Doors with a Brush and Roller: Step-by-Step
Using both a brush and a roller helps you paint doors neatly and efficiently. The brush covers raised areas and edges, while the roller evens out flat sections.
Follow these steps to achieve smooth, consistent results when painting doors.
1. Brush the Panel Squares First
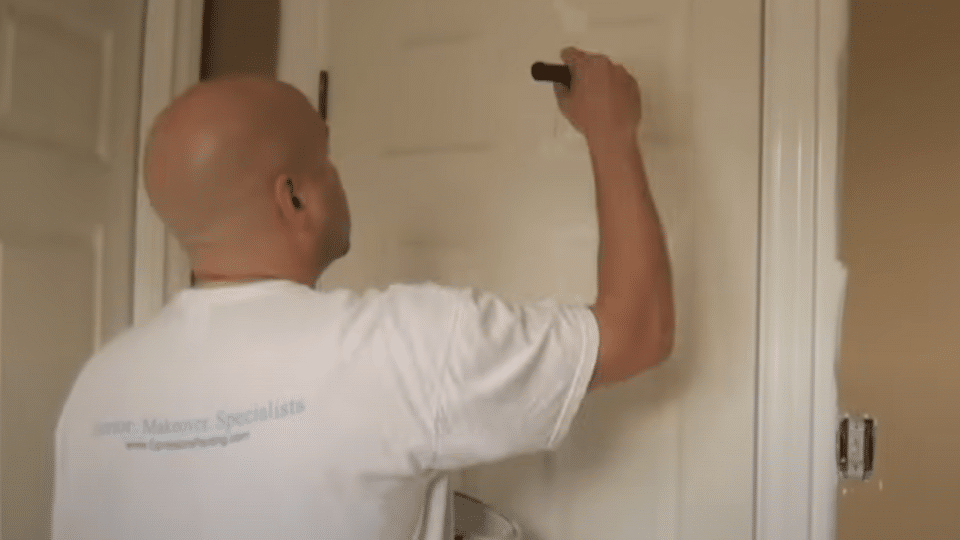
Start with the raised panel squares in the center of the door. Use a small angled brush to work the paint into the corners first, then fill in the rest of each square using light, even strokes.
Focus on applying just enough paint to cover the surface without layering it too thick.
This keeps corners from becoming clumpy and helps avoid streaking.
Tip:
- Dip your brush once for each small square.
- Start at the edges and blend toward the middle.
- Avoid brushing over the same spot repeatedly.
2. Paint the Larger Panels Next
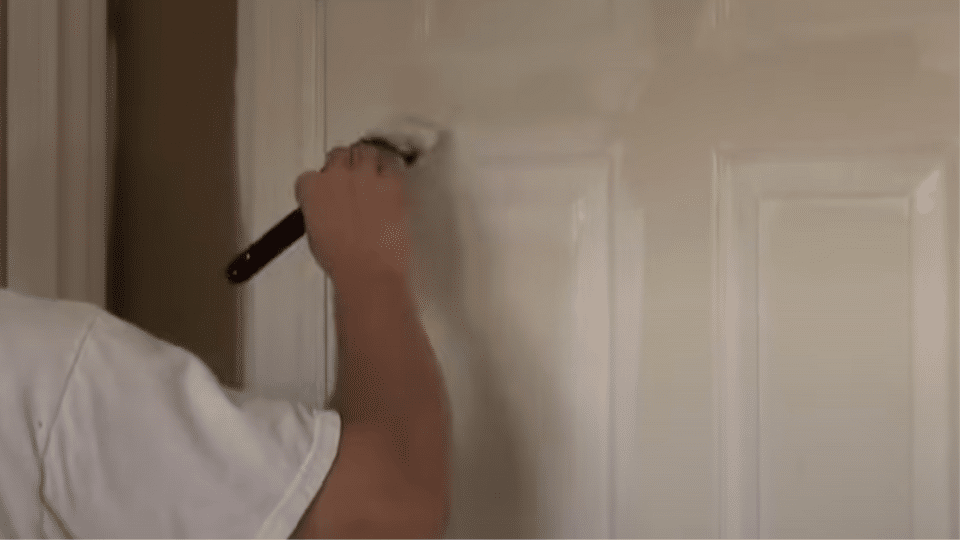
After completing the smaller panels, proceed to the taller rectangular sections. These need a bit more paint, but control is still important.
Use two moderate dips per section, and brush from the center outward to keep the layer uniform.
This also prevents paint from pooling along the outer trim.
Tip:
- Apply steady strokes with even pressure.
- Brush with the grain of the wood, if visible.
- Focus on one section at a time for clean results.
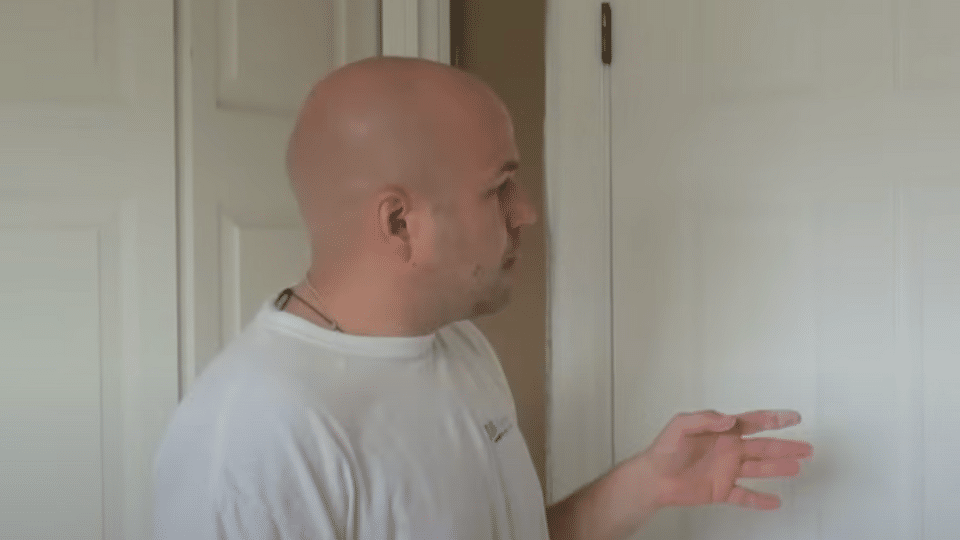
3. Brush Around Handles and Trim
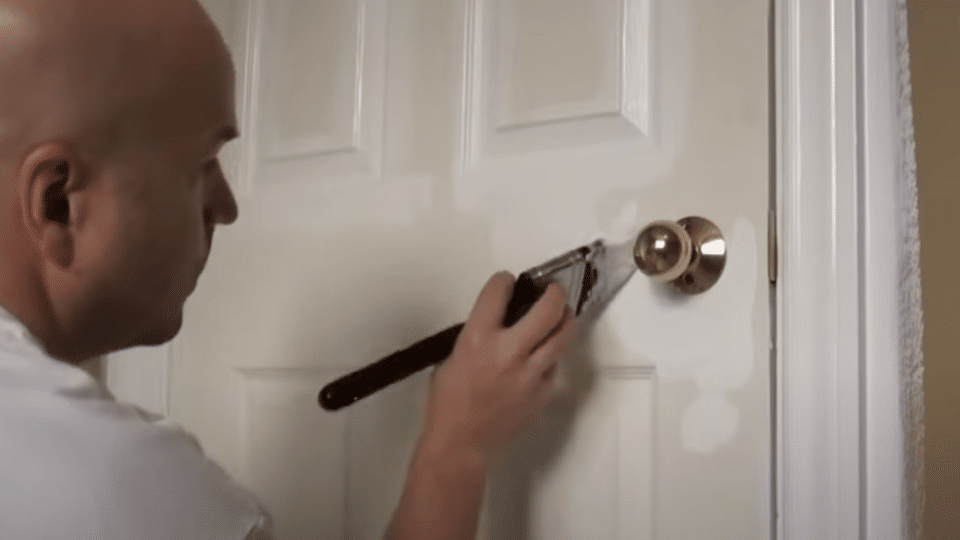
With the main panels done, turn your attention to the detailed areas. This includes painting around doorknobs, hinges, keyholes, and trim.
If the door has been previously painted, it’s usually okay to carefully cut around the hardware.
If it’s new or freshly sanded, removing the hardware is the better choice.
Tip:
- Use painter’s tape to protect hardware if it stays in place.
- Keep brush strokes short and controlled in tight spots.
- Wipe off any smudges before they dry.
4. Check for Missed Spots
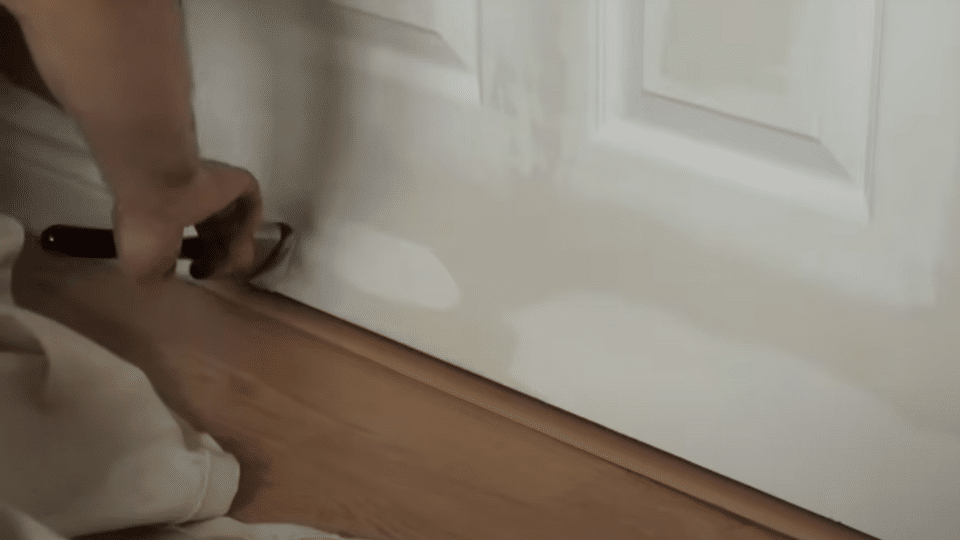
Before moving on, take a close look at the door from multiple angles. Focus on panel edges, corners, and trim where paint often misses.
If you catch any thin spots or drips, correct them now before the surface begins to dry.
A second look can make a big difference.
Tip:
- Use side lighting or a flashlight to spot thin areas.
- Keep your brush handy for immediate touch-ups.
- Inspect the paint while it is still tacky for smoother blending.
5. Apply a Second Coat if Needed
Once the first coat dries fully, evaluate whether the door needs another layer. If you’re covering a dark color or the original paint bleeds through, a second coat will even things out.
Be sure the surface is dry to the touch before starting again.
Light sanding between coats also helps the second layer stick better.
Tip:
- Let the first coat dry for several hours or as recommended.
- Sand gently with fine-grit paper to smooth rough areas.
- Remove all dust before applying fresh paint.
Video Tutorial
I’d like to give credit to Expressions Painting for their informative video, which served as a reference for this guide.
Key Details That Improve the Final Look
Want better results with less frustration? These 5 practical tips will help you paint doors with a smoother finish and fewer touch-ups.
- Prep the Door First: Lightly sand and wipe the surface to remove dust or old residue. This helps the paint go on evenly.
- Start with a Brush, Finish with a Roller: Use a brush for edges and panels, then roll the flat areas to blend everything without visible lines.
- Apply Light Coats: Thick layers cause drips and uneven texture. Use just enough paint to cover the surface, then let it dry thoroughly.
- Roll in One Direction: Roll from top to bottom in long strokes without going back and forth. This keeps the finish smooth.
- Watch for Missed Spots: Step back often and look from side angles to catch thin areas or early drips before they dry.
Common Mistakes to Avoid When Painting Doors
Painting doors might seem straightforward, but small mistakes can lead to drips, uneven coverage, and a finish that chips within months.
Avoiding these common pitfalls ensures your doors look professionally painted and last for years.
1. Using Only a Brush for the Entire Door
- Problem: Creates visible brush marks and takes much longer to complete
- Solution: Use a brush for detailed areas, then follow with a roller on flat surfaces
2. Applying Paint Too Thick
- Problem: Causes drips, uneven texture, and longer drying times
- Solution: Apply light, even coats, and let each layer dry completely before adding more
3. Skipping Surface Preparation
- Problem: Paint doesn’t stick properly and looks patchy or uneven
- Solution: Lightly sand the door and wipe it clean before painting
4. Not Removing or Protecting Hardware
- Problem: Paint gets on door knobs, hinges, and creates messy edges
- Solution: Obliterate hardware or use painter’s tape to protect it during painting
These simple fixes will save you hours of frustration and help you achieve smooth, professional-looking door finishes every time.
Conclusion
Painting doors may seem like a big task, but using a brush and roller makes it much more manageable. This method helps you paint doors with smooth coverage, fewer marks, and less time spent fixing mistakes.
By starting with the detailed areas and finishing with a roller, you achieve better results without extra effort, whether you’re repainting or tackling this project for the first time, and having a clear plan and the right tools matters.
Ready to paint doors in your home? Follow these steps, take your time, and avoid rushing the drying process.
You’ll end up with doors that look clean, fresh, and well done.
If you found this helpful, please share it with someone who is planning to paint doors soon, or bookmark it for your next project.