Is your shed sinking into the ground? You’re not alone. A shifting foundation can lead to doors that won’t close, walls that crack, and floors that sag.
This problem affects thousands of shed owners yearly, but the solution doesn’t need a contractor. With basic tools and the right steps, you can fix your shed foundation this weekend.
Our guide shows you exactly what materials to buy, which tools you’ll need, and the step-by-step process to make your shed solid again. We’ll cover everything from checking the damage to finishing touches.
By following our simple method, you’ll save money and extend your shed’s life by years. Keep reading to learn how to fix your shed foundation right the first time.
When Does a Shed Foundation Need Repair?
Your shed foundation might be crying for help without you knowing it. The signs often start small but grow worse over time. Catching these problems early saves you money and headaches later.
Most shed owners notice the outdoor signs first – those visible changes that hint at deeper issues:
• Visible tilting or leaning of the shed structure, where one side sits lower than the other, making the walls look crooked when viewed from a distance
• Cracks in the foundation that start small but widen over time, allowing water to seep in and causing more damage to the base of your shed
• Water pooling around the shed perimeter after rain, which means drainage problems exist and water isn’t flowing away from your structure
The inside tells its own story too. When you step into your shed, pay attention to how it feels. Is your floor making strange noises? Do doors stick when you try to open them? These functional problems signal foundation issues that need fixing now, not later.
Understanding Your Shed Foundation Type
The first step to fixing your shed foundation is knowing what type you have. Each foundation works differently and shows damage in its own way. Getting this right means your repair job will last longer.
Different shed foundations need different repair methods. The tools, materials, and steps change based on what’s holding up your shed right now.
• Gravel Pad foundations use crushed stone to create a flat, well-draining base. This type allows water to flow through rather than pool, but can wash out or settle unevenly over time.
• Concrete Slab foundations form a solid, one-piece base that supports your entire shed. They resist moisture well but can crack when the ground beneath shifts or freezes.
• Pier and Beam / Concrete Blocks systems lift your shed off the ground using spaced supports. This design helps with air flow and uneven terrain but individual piers can sink.
Why Repair Steps Vary by Type ?
The fix for each foundation depends on how it’s built. A gravel pad might need new material and better drainage. Concrete slabs often require lifting or patching cracks. Block foundations usually need leveling or replacement of sunken blocks.
Your repair plan should match your foundation. Using the wrong method wastes time and money, and might not fix the real problem at all.
Step-by-Step Guide: Shed Foundation Repair
Tools Required:
| Tool | Purpose/Use |
|---|---|
| Shovel | For digging, clearing soil, and regrading around the foundation |
| Level | To check and ensure the shed is even and properly aligned |
| Jack or Bottle Jack | To lift the shed safely for adjustments or replacements |
| Hammer and Nails/Screws | For fastening wooden parts or making structural repairs |
| Measuring Tape | To measure distances accurately during repair or alignment |
| Power Drill or Impact Driver | For drilling holes and driving screws efficiently |
| Concrete Float | To smooth and finish surfaces on concrete slab repairs |
| Circular Saw | To cut wood for skids, beams, or framing components |
Materials Required:
| Material | Purpose/Use |
|---|---|
| Gravel or Crushed Stone | For creating or replenishing a stable gravel pad foundation |
| Concrete Mix or Leveling Compound | To repair cracks, level slabs, or form new supports |
| Pressure-Treated Wood | Used to replace damaged skids or structural support beams |
| Concrete Blocks or Piers | To elevate and support sheds with pier or block foundations |
| Metal Brackets or Anchors | For securing wooden parts and enhancing structural stability |
| Drainage Pipe | To redirect water away from the foundation and prevent water damage |
| Weed Barrier | An optional layer under gravel pads to suppress weed growth and improve drainage |
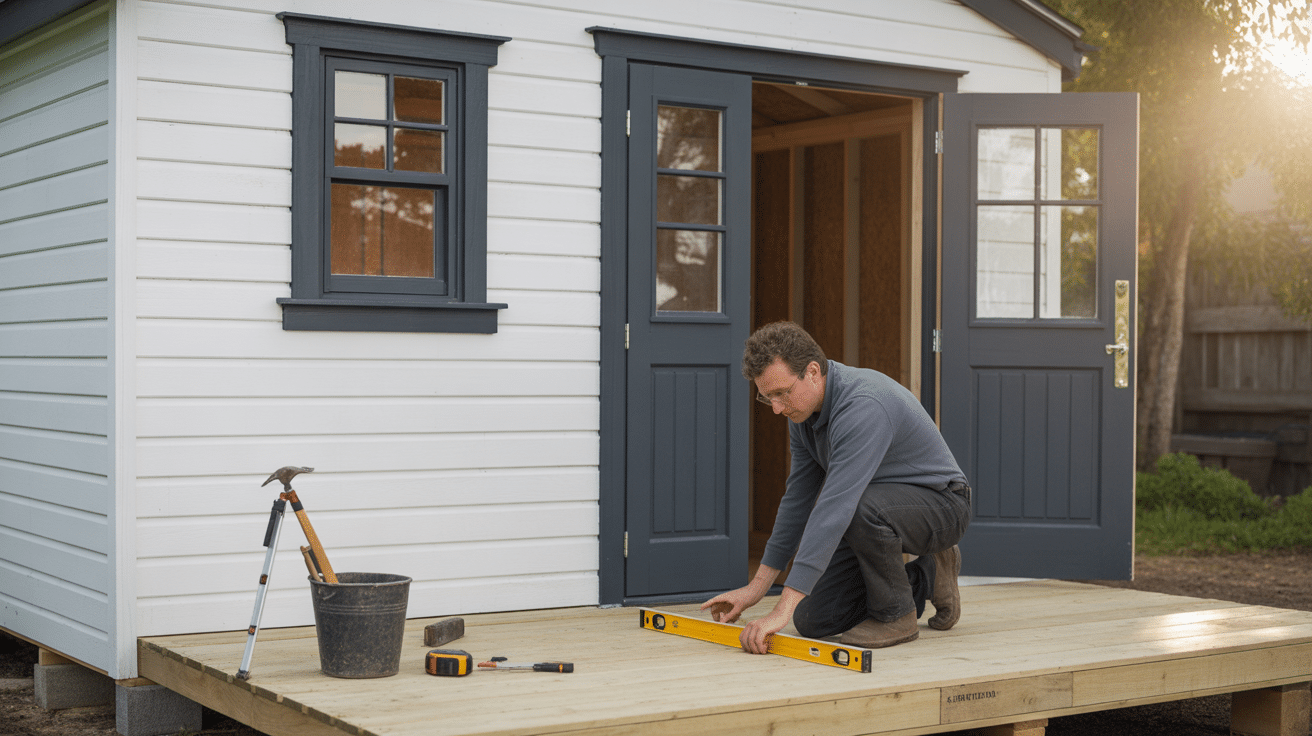
Step 1: Inspect and Diagnose the Problem
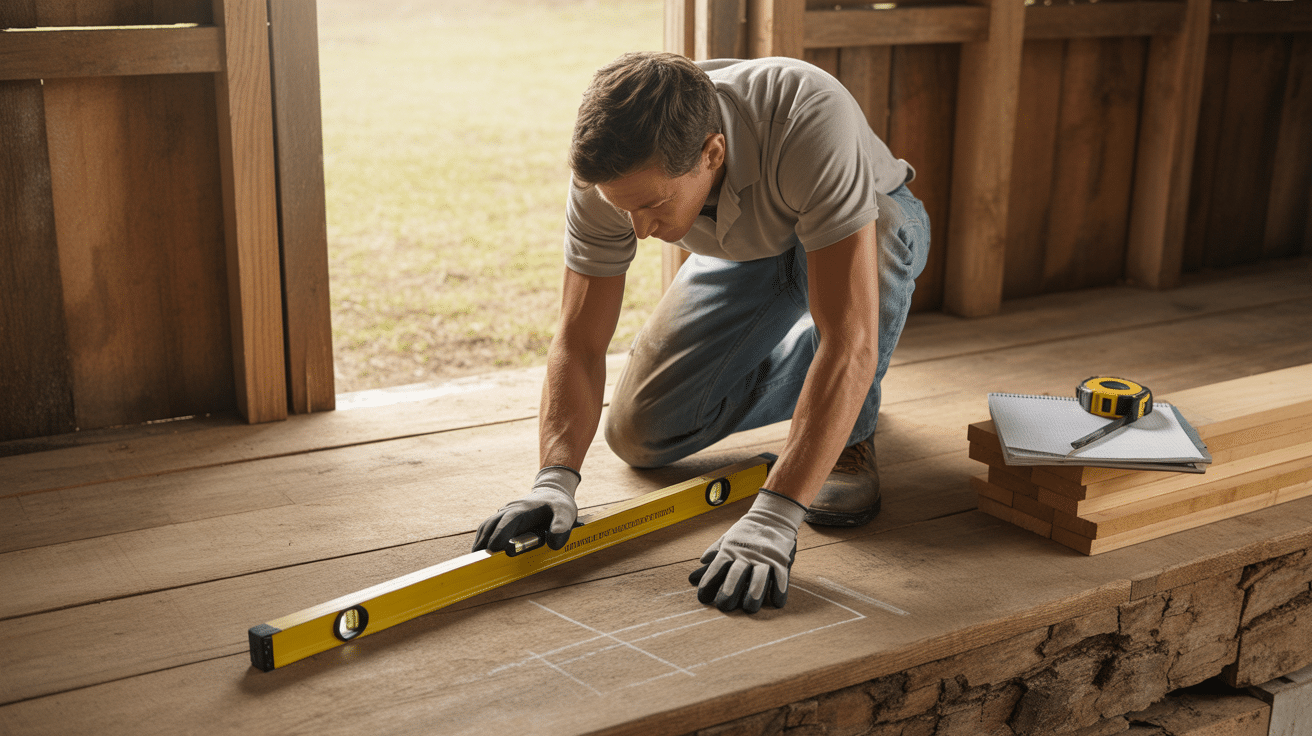
Start by checking what’s wrong with your shed foundation. Look for sloping floors, gaps, or water damage. This helps you find the right fix for your specific issue.
• Use a 4-foot level across the floor and along walls to spot uneven areas – mark these spots with chalk
• Check wooden parts for soft spots or discoloration that show rot has set in
• Take photos of all problems to compare before and after your repairs
Remember: Write down all measurements and issues – this creates your repair roadmap and helps track your progress.
Step 2: Prepare the Work Area
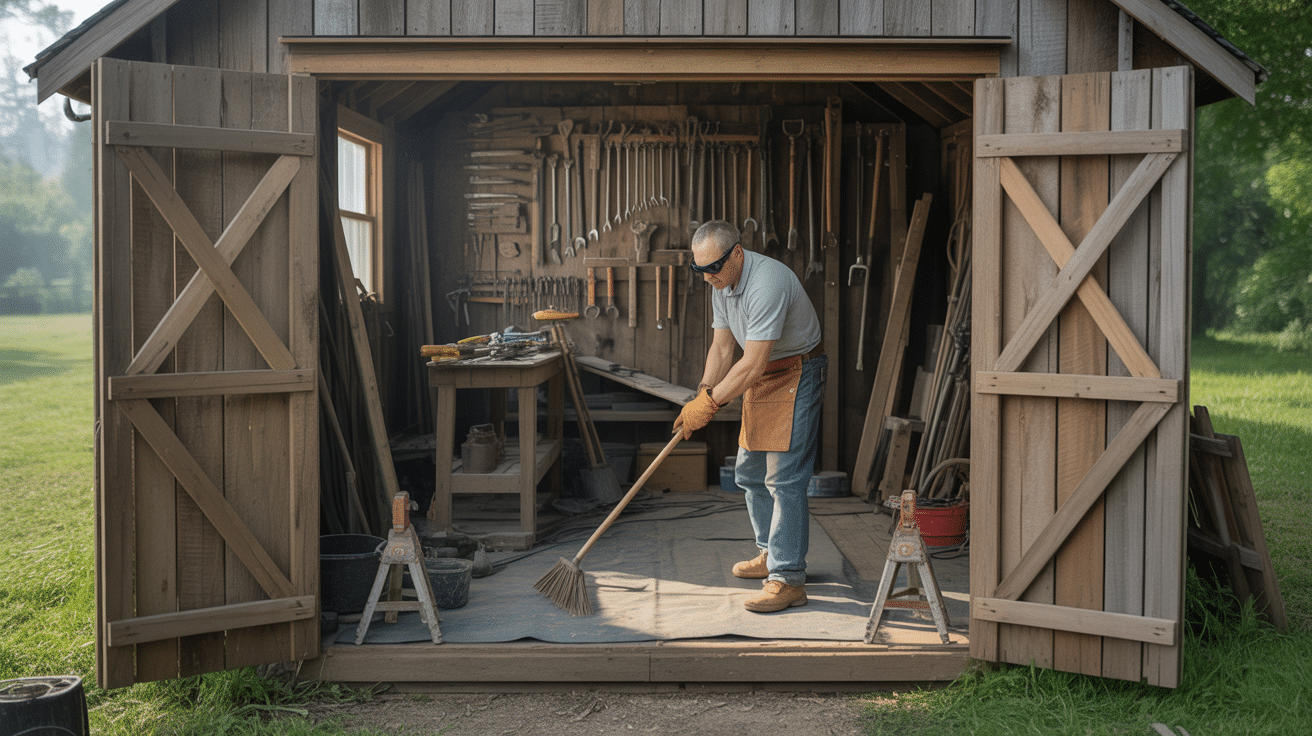
Clear everything out before you start fixing. A clean workspace makes repairs faster and safer. You need room to move tools and materials.
• Remove all items from the shed, or at minimum, clear the areas where you’ll be working
• Set up support jacks underthe main beams if you plan to lift the structure
• Clear a 3-foot workspace around the outside of the shed for access
Remember: Safety comes first – never work under an unsupported shed, and always wear gloves and eye protection.
Step 3: Lift or Stabilize the Structure
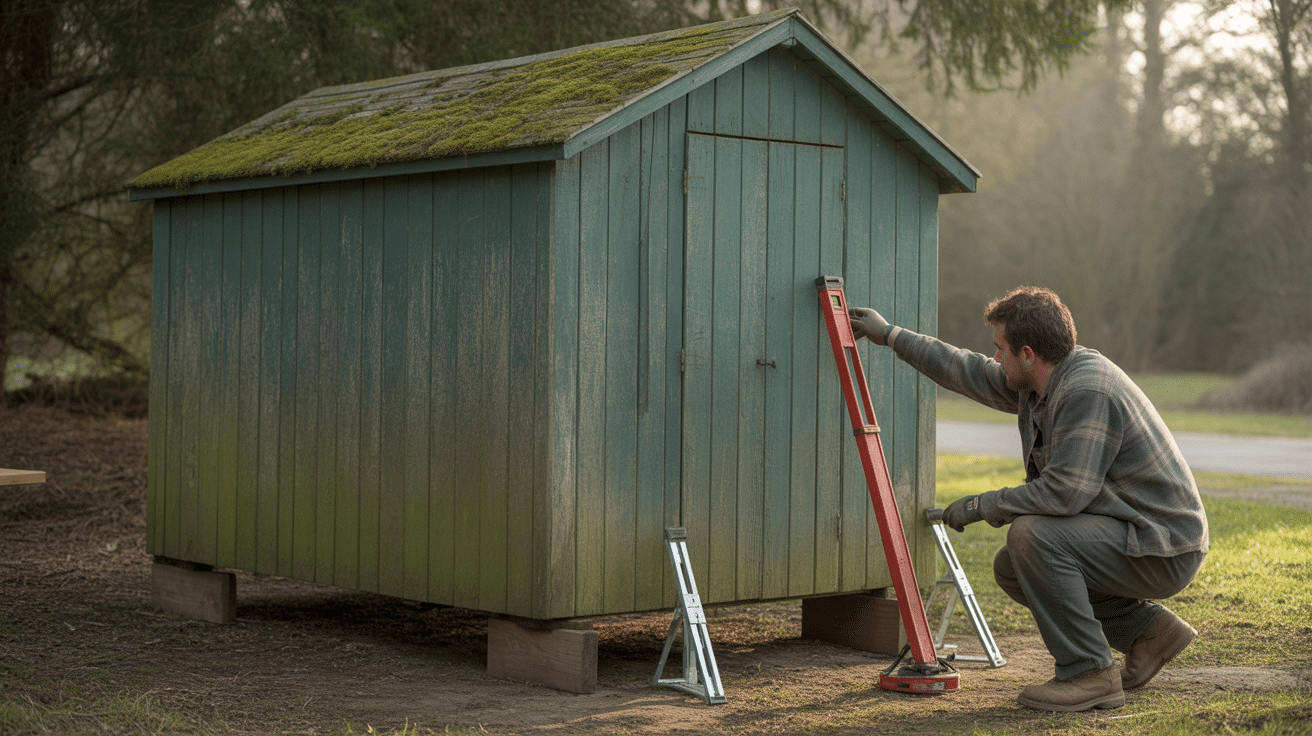
Many repairs need the shed raised slightly to fix what’s underneath. Lifting must be done slowly and carefully to avoid causing more damage.
• Place jacks at key support points – corners and center beams work best
• Lift in small increments (¼ inch at a time) checking for stress on the structure
• Use temporary support blocks as you raise the shed to prevent collapse if a jack fails
Remember: Never lift more than needed – just enough to make your repairs, usually 1-2 inches is plenty.
Step 4: Repair or Replace Foundation Components
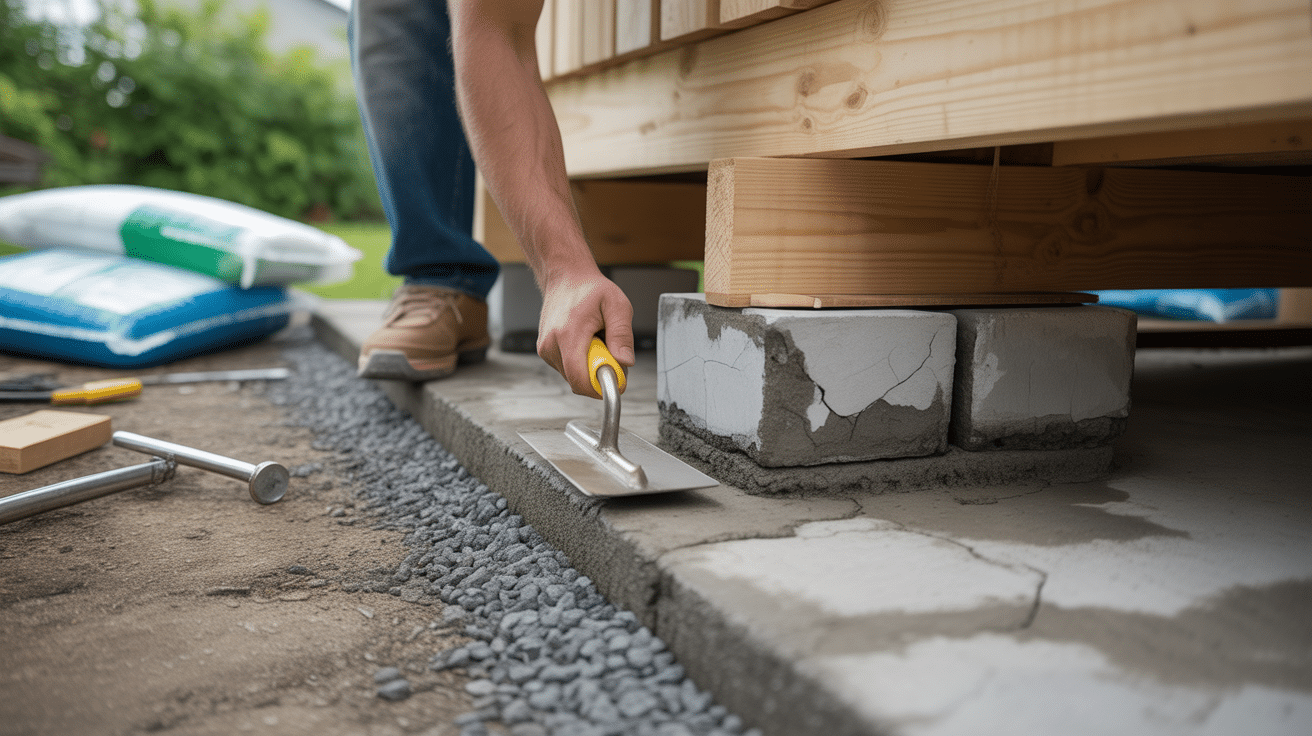
Now fix the actual foundation based on what type you have. Each type has its own fix that works best.
• For gravel pads: Add new, clean gravel in 2-inch layers, tamping each layer firm before adding more
• For concrete slabs: Fill cracks with concrete patch, letting it cure fully before moving forward
• For pier/block systems: Replace damaged blocks or add shims to level the support points
Remember: Use materials meant for outdoor use – treated lumber, concrete rated for foundations, and proper hardware that won’t rust.
Step 5: Re-Level and Test the Shed
After repairs, check that everything sits level. An uneven foundation will just cause more problems down the road.
• Place a long level across multiple points of the floor to confirm it’s even in all directions
• Open and close doors and windows multiple times to check for proper operation
• Look for gaps between the floor and walls that might show lingering problems
Remember: Let any concrete or mortar fully cure (usually 24-48 hours) before removing jacks or supports.
Step 6: Improve Drainage and Reinforce Foundation
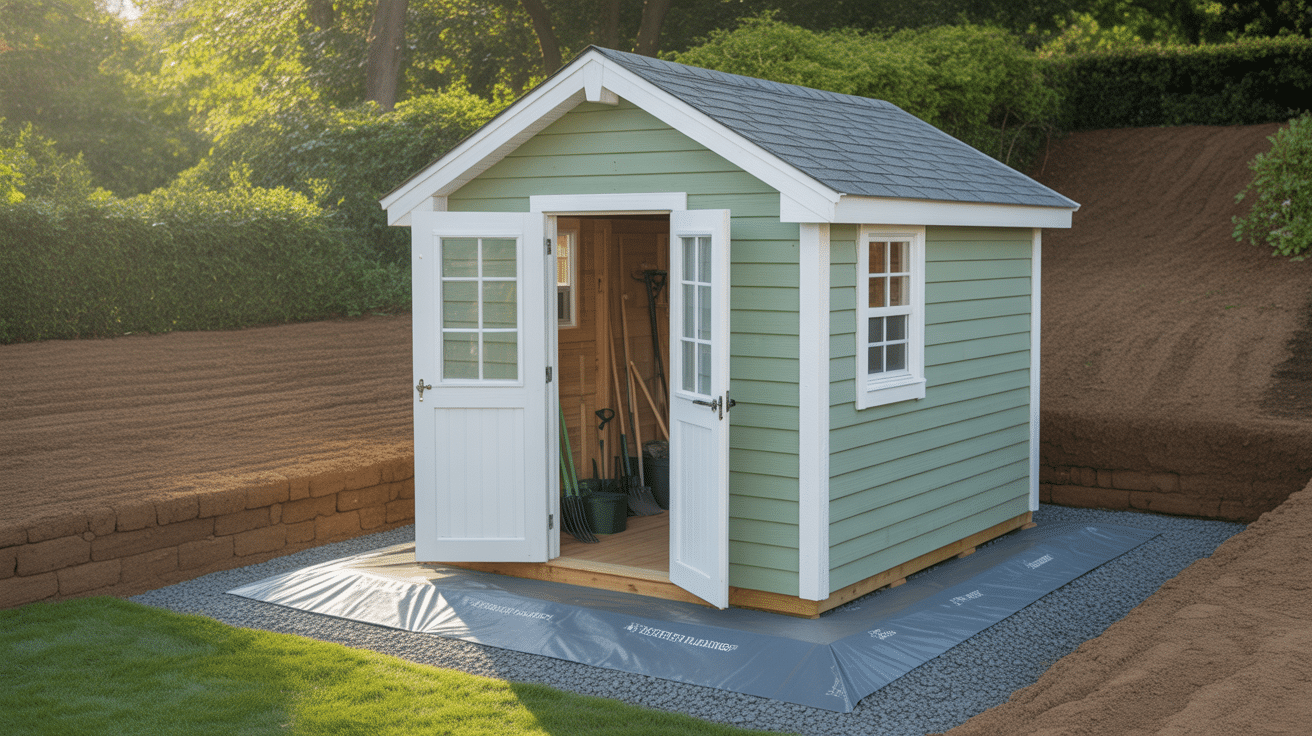
Fix the cause, not just the symptoms. Poor water drainage often leads to foundation issues, so address this last to prevent future problems.
• Create a slight slope away from all sides of the shed (minimum 1 inch drop per 4 feet)
• Install French drains or simple gravel channels to direct water away from the foundation
• Add a vapor barrier under gravel foundations or between the ground and wood components
Remember: Yearly maintenance checks help catch small issues before they become big repairs – mark your calendar!
For more detailed guidance on maintaining proper drainage around your shed, check out these backyard shed maintenance tips.
Tips for Preventing Future Damage
Check your shed foundation twice yearly – spring and fall are ideal times to look for small cracks, settling, and water pooling issues before they grow worse
Keep gutters clean and functional on your shed roof to direct rainfall away from the foundation, adding downspout extensions that carry water at least 3 feet away
Apply wood sealer to exposed wooden parts every 2-3 years, focusing on areas that touch the ground or are near the foundation to stop rot before it starts
Trim all plants and bushes to maintain a 2-foot clearance around your shed, preventing root damage to the foundation and reducing moisture trapped near the walls
Add a layer of gravel around the perimeter to improve drainage and create a buffer zone that keeps water moving away from your foundation during heavy rain
Conclusion
Fixing your shed foundation isn’t as hard as it might first seem. With the right tools, materials, and our step-by-step guide, you can tackle this project yourself.
Remember to check your foundation type, look for early warning signs, and make repairs before small issues grow into major problems. The key is acting quickly when you spot trouble.
Regular checks and simple upkeep will keep your shed strong for years to come. Focus on water control, use weather-resistant materials, and keep plants trimmed back.
By following the tips in this guide, you’ll save money on repairs and extend your shed’s life. Have you fixed your shed foundation before?