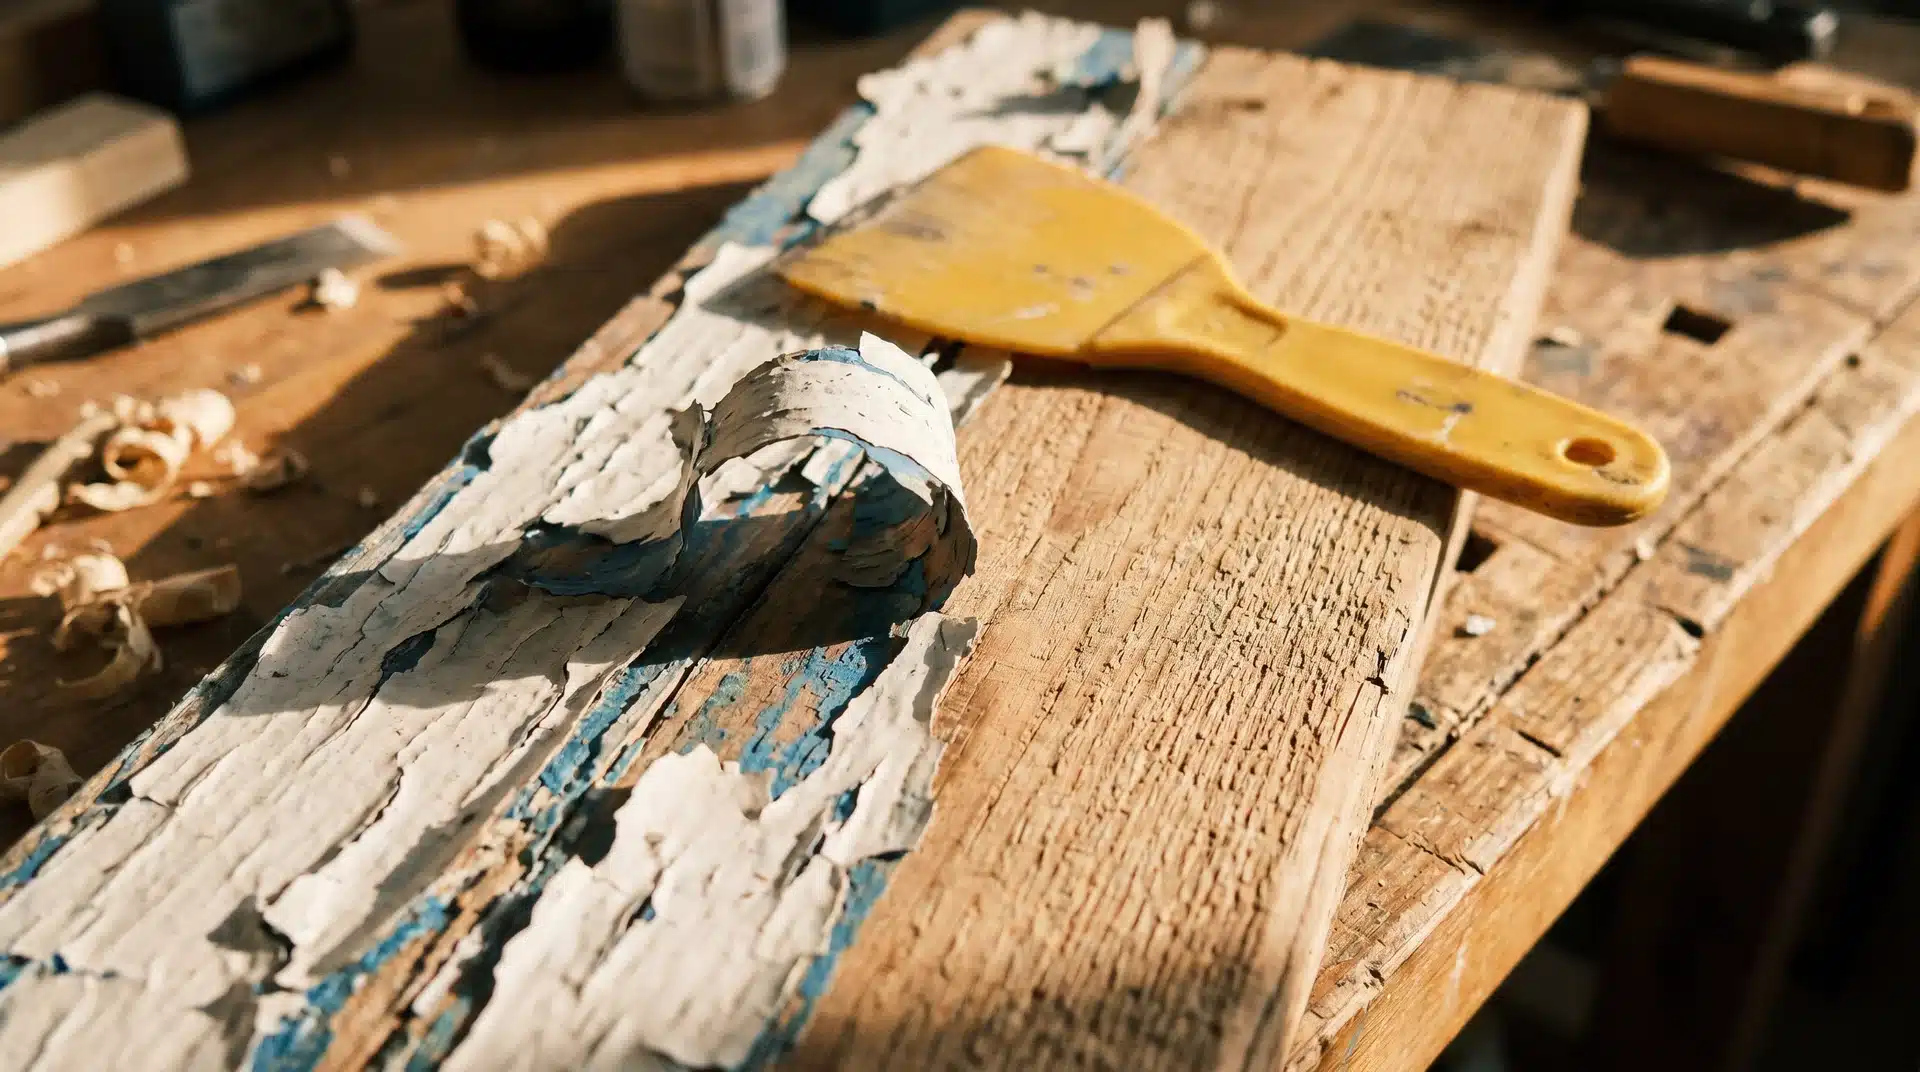
3 Ways to Remove Paint from Wood That Actually Work

There’s nothing quite like the frustration of dealing with old, stubborn paint on wood. It chips, it peels, and it always seems to stick the hardest in the worst possible spots.
The real challenge? Stripping it away without totally destroying the beautiful wood hidden underneath. If you’re staring at a project right now, wondering where to even start, don’t worry.
There are three tried-and-true methods that actually work: chemical strippers, heat guns, and good old-fashioned sanding.
Let’s look at how to pick the right tool for your specific project so you can get that clean, smooth finish without any DIY regrets.
What to Know Before You Start
Before you pick up any tool or product, two things matter most: the type of paint on the wood and the type of wood itself. Getting these two details right saves you time and prevents damage.
| Factor | What to Check | Why It Matters |
|---|---|---|
| Paint Type | Is it oil-based or latex (water-based)? | Oil-based paint needs stronger chemical strippers. Latex often responds to milder options or sanding. |
| Wood Type | Is it hardwood (oak, maple) or softwood (pine, cedar)? | Softwoods scratch and dent more easily. They need a gentler approach. |
| Paint Layers | One coat or multiple layers? | Thick, layered paint calls for chemical strippers or a heat gun. Thin coats may need only light sanding. |
| Wood Age | Is the wood old or new? | Older wood can be more fragile. Test any method in a hidden spot first. |
You can usually check paint type by rubbing a small area with denatured alcohol. If the paint comes off on the rag, it is latex. If it stays put, it is likely oil-based.
Always wear safety gloves, goggles, and a respirator mask before you start. Work in a ventilated area, especially when using chemical strippers or a heat gun indoors.
Method 1: Using a Chemical Paint Stripper
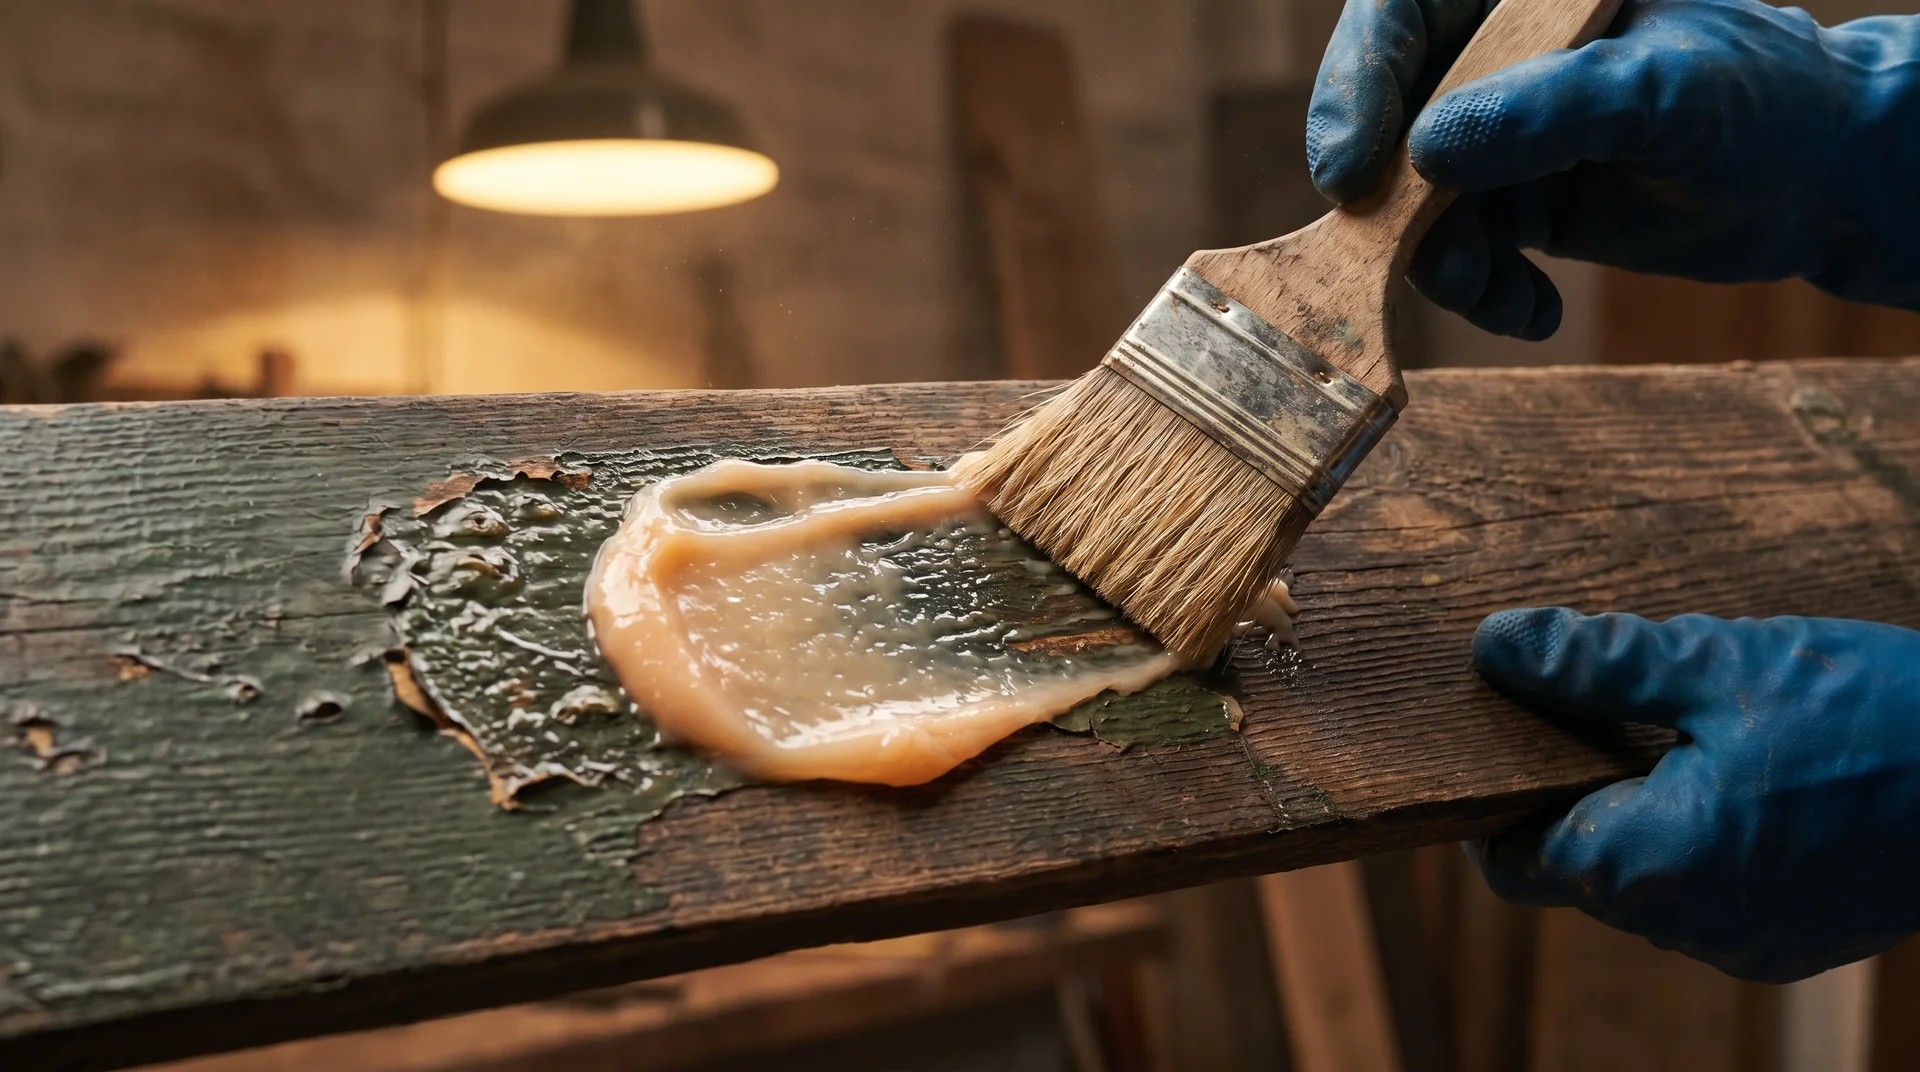
Chemical strippers work by breaking down the bond between paint and wood. This method works best on thick paint layers, intricate carvings, furniture details, and large flat surfaces where sanding would take too long.
Tools and Materials:
- Chemical paint stripper (gel or paste formula)
- Natural-bristle brush
- Plastic scraper or putty knife
- Steel wool (fine grade)
- Mineral spirits or stripper neutralizer
- Rubber gloves, goggles, and a respirator
Steps:
- Apply the stripper. Use a natural-bristle brush to spread a thick, even coat of the stripper over the painted surface. Do not thin it out. You want good coverage.
- Let it sit. Allow the product to sit for the time listed on the label. This is usually 15 to 30 minutes for one coat of latex paint, and up to several hours for thick oil-based layers. You will see the paint start to bubble and lift.
- Scrape off the paint. Use a plastic scraper to lift the loosened paint. Work in the direction of the wood grain. Avoid metal scrapers on delicate wood; they can leave marks.
- Clean with fine steel wool. Go over the surface with fine steel wool dipped in mineral spirits. This removes leftover residue that the scraper missed.
- Neutralize and dry. Wipe the surface clean with a cloth dampened with water or the neutralizer recommended on the stripper label. Let the wood dry fully before sanding or finishing.
Pro Tip: Always test the stripper on a small hidden area first. Some formulas can darken certain wood species, especially pine and cherry.
Method 2: Using a Heat Gun
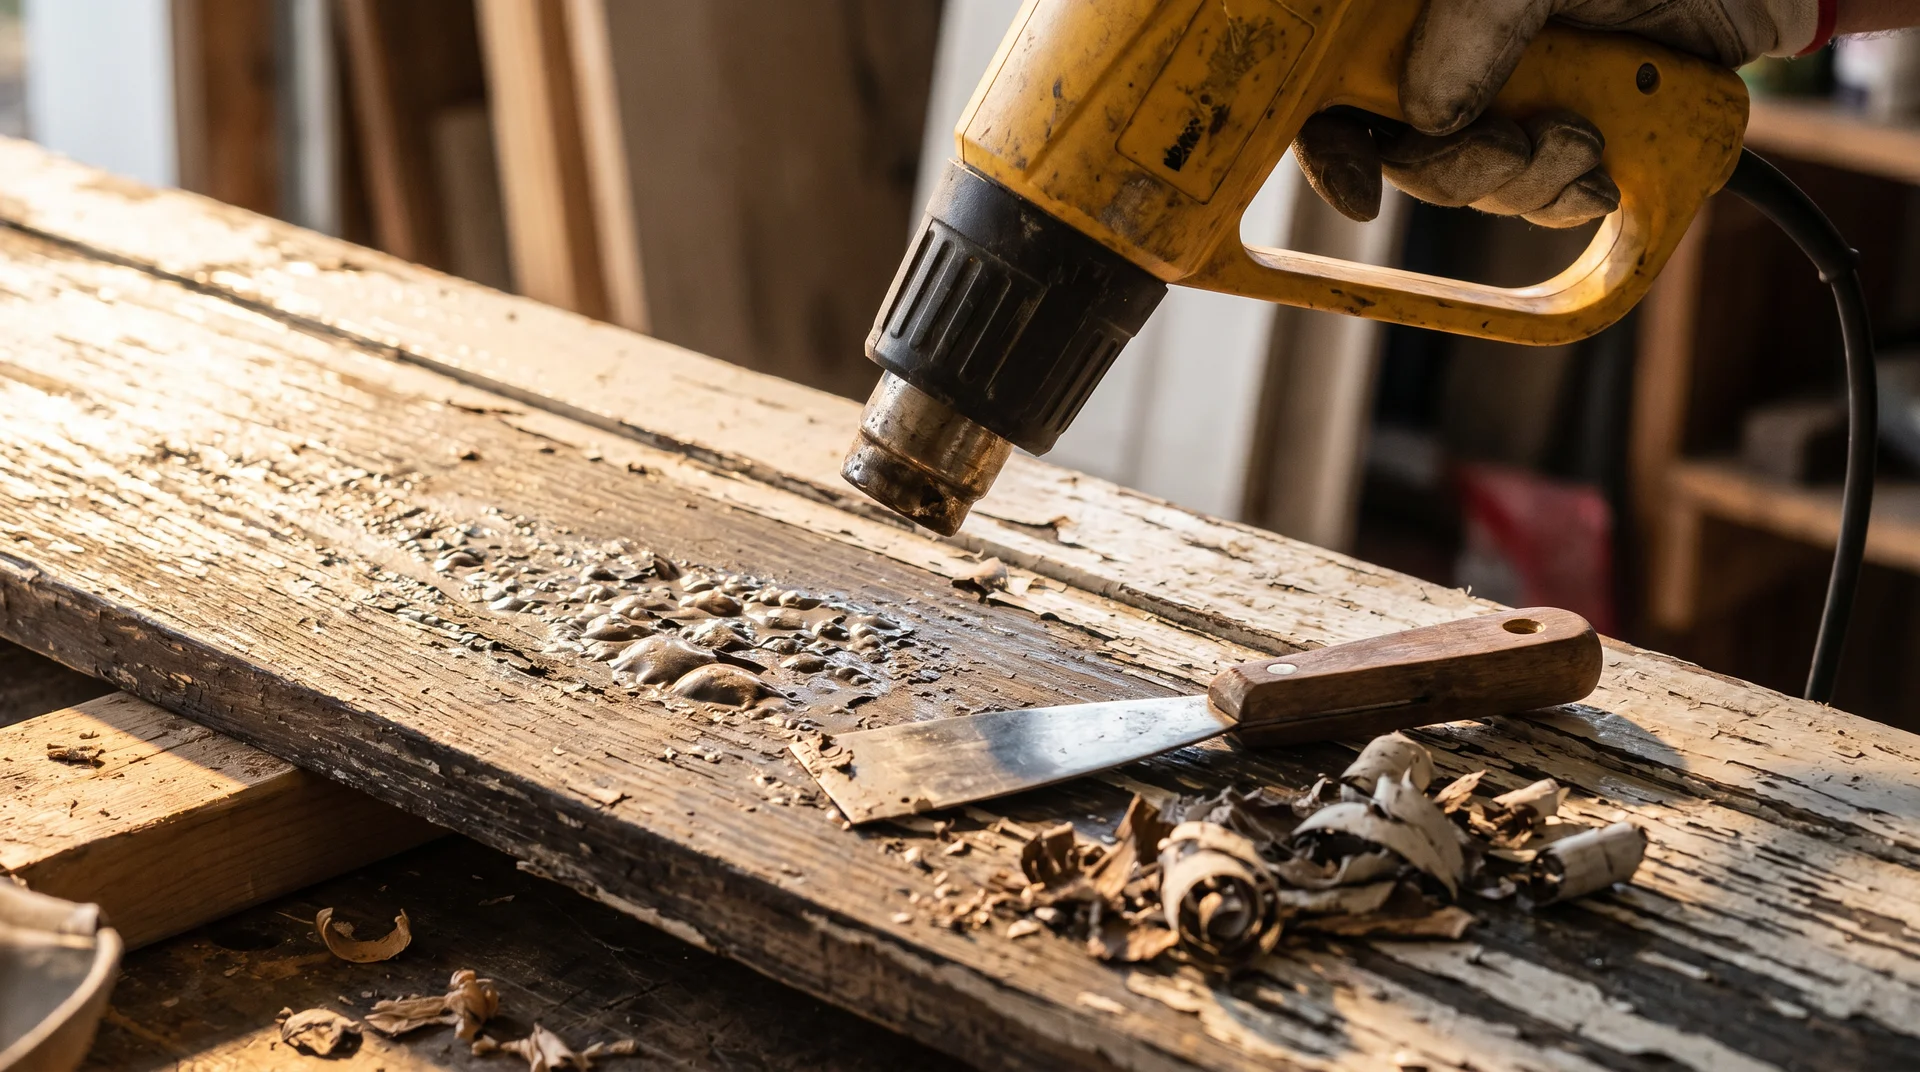
A heat gun softens the paint by applying direct, concentrated heat. Once the paint gets soft enough, you can lift it off cleanly with a scraper. This method works best on thick or multiple paint layers, flat surfaces, and exterior wood trim, where chemical strippers may be inconvenient to use.
Tools and Materials:
- Variable-temperature heat gun
- Flexible metal scraper
- Fine-grit sandpaper (120 to 150 grit)
- Drop cloth
- Heat-resistant gloves and safety goggles
Steps:
- Set up your workspace. Lay a drop cloth under the work area to catch paint chips. Keep a bucket of water nearby as a basic precaution. Make sure the space is well-ventilated.
- Set the heat gun temperature. Start at a lower heat setting (around 300°F to 400°F) for softwoods, or a medium-high setting (500°F to 750°F) for hardwoods with thick paint layers. Avoid the highest settings unless the paint is extremely stubborn.
- Move the gun steadily over the surface. Hold the gun 2 to 4 inches from the wood. Keep it moving in slow, steady passes. Do not hold it in one spot for more than 2 to 3 seconds, or the wood may scorch.
- Scrape while the paint is still warm. As soon as you see the paint bubble and soften, use the scraper to push it off. Work in small sections so the paint does not harden before you scrape it.
- Sand and clean the surface. Once all the paint is off, lightly sand the wood with 120 to 150-grit sandpaper to remove any residue or scorch marks. Wipe clean with a dry cloth.
Pro Tip: Never use a heat gun near lead paint. Homes built before 1978 may have lead-based paint. Use a lead test kit (available at most hardware stores) before applying any heat. The U.S. Environmental Protection Agency provides guidance on safely handling lead paint at home.
Method 3: Sanding
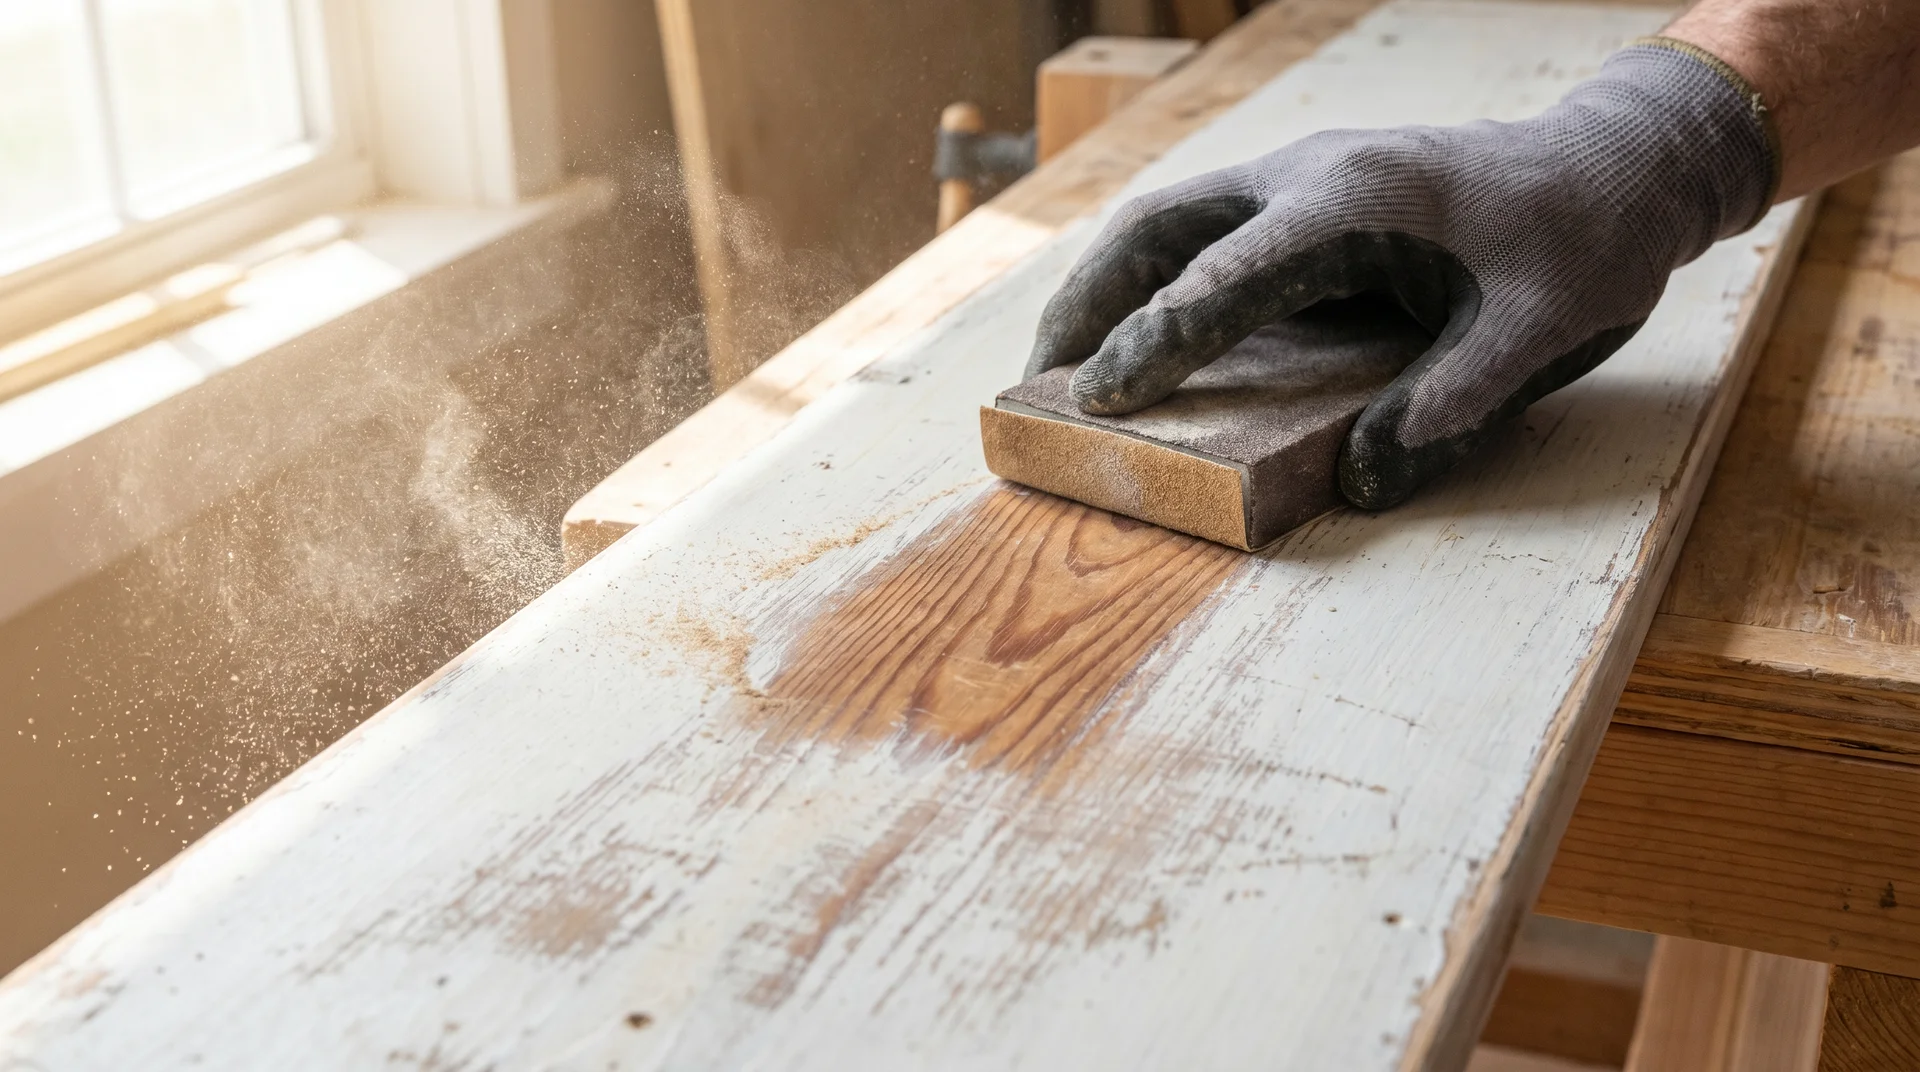
Sanding is the most straightforward way to get paint off wood, especially for thin paint layers, small surfaces, or when you need to prep the wood for a new finish. It works best when the paint is not too thick, and the wood surface is flat or gently curved.
Tools and Materials:
- Coarse sandpaper (60 to 80 grit) for heavy paint removal
- Medium sandpaper (100 to 120 grit) for smoothing
- Fine sandpaper (180 to 220 grit) for finishing
- Sanding block or electric orbital sander
- Tack cloth or a damp rag
- Dust mask and safety goggles
Steps:
- Start with coarse grit. Attach 60- to 80-grit sandpaper to your sanding block or electric sander. Work in the direction of the wood grain using firm, even strokes. Do not press too hard; let the abrasive do the work.
- Move to medium grit. Switch to 100- to 120-grit sandpaper once most of the paint is gone. Continue sanding with the grain to smooth out any marks left by the coarser paper.
- Finish with fine grit. Use 180-220 grit for the final pass. This removes any remaining paint traces and leaves the wood surface smooth and ready for staining or refinishing.
- Wipe the surface clean. Use a tack cloth or a damp rag to pick up all the dust and particles. Let the wood dry before applying any finish.
- Inspect in good lighting. Check the surface under direct light for any paint spots you may have missed. Sand those areas again by hand with fine-grit paper before finishing.
Pro Tip: Always sand with the grain, never across it. Sanding against the grain leaves visible scratch marks that are hard to remove and will show through the stain or clear coat.
How to Remove Paint from Wood Without Damaging the Wood
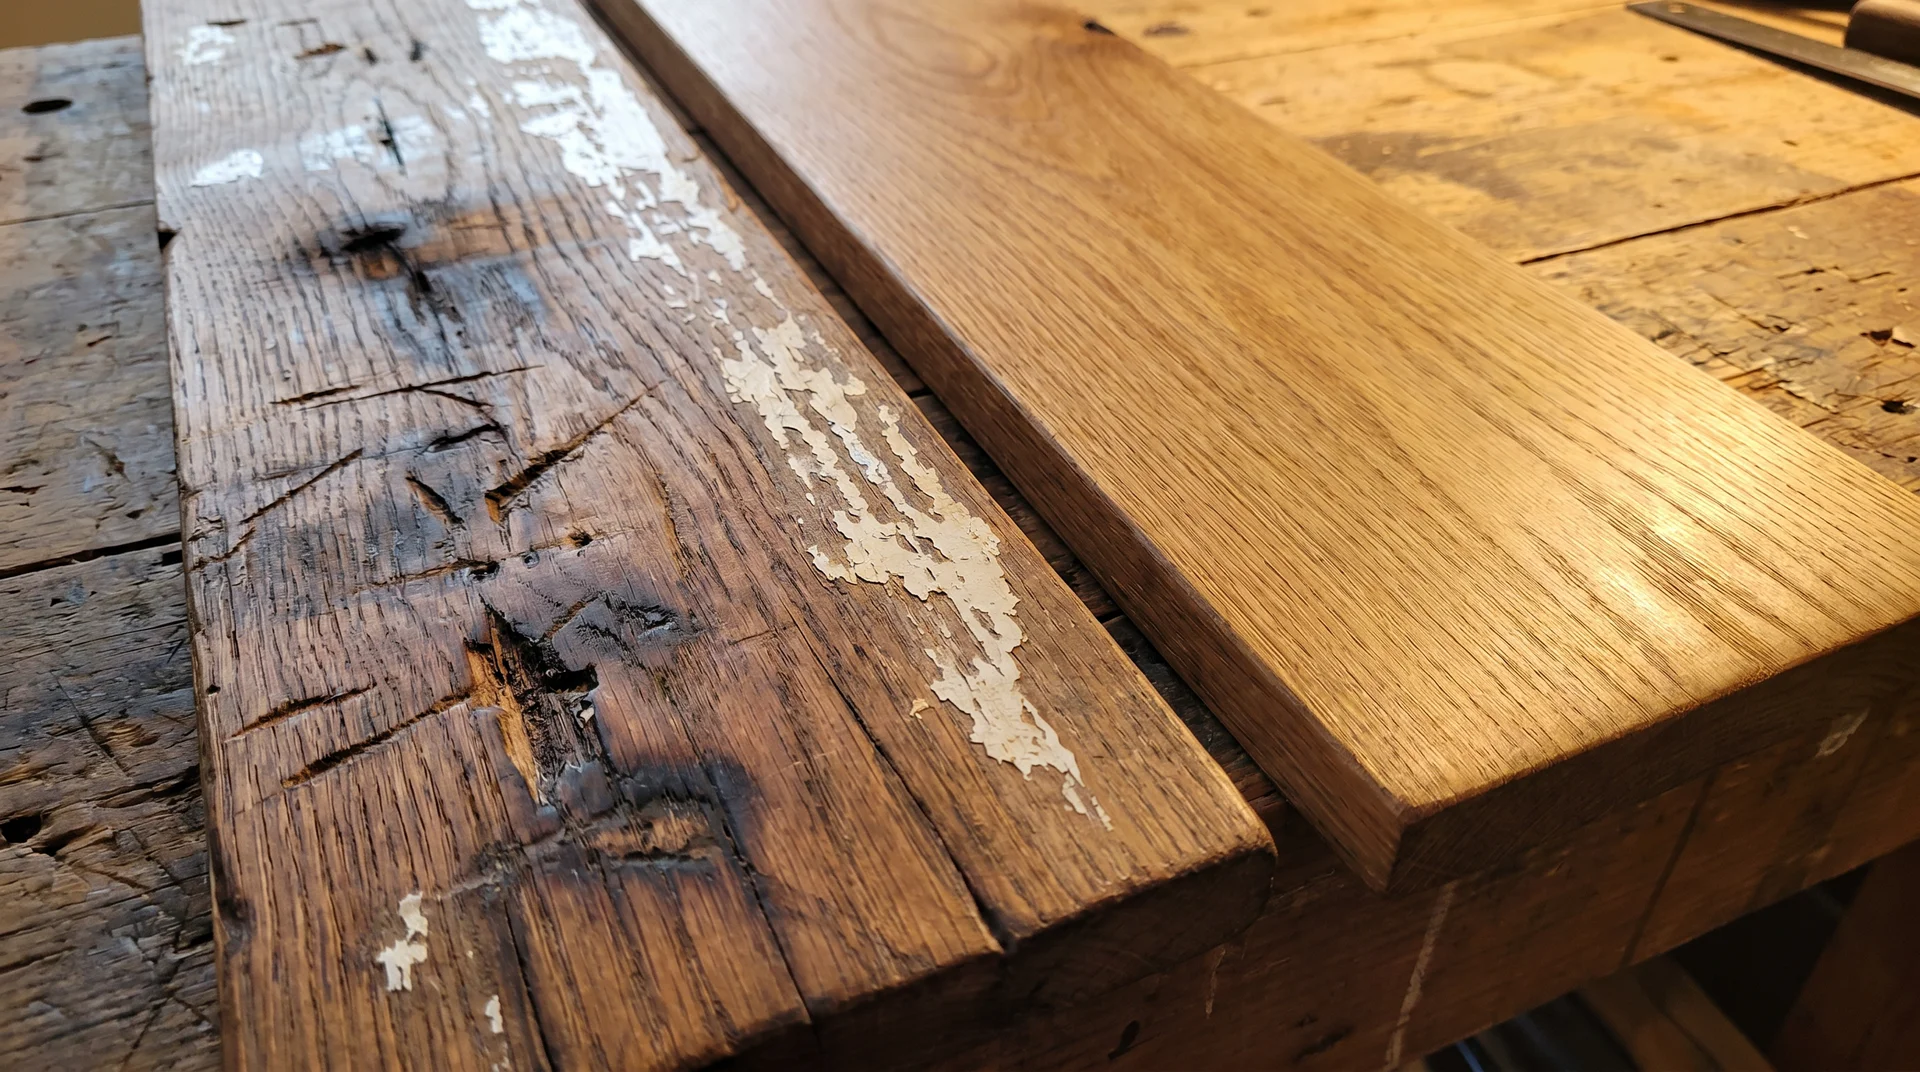
Choosing a method is only part of the job. How you apply it makes all the difference between a clean result and a scratched, gouged surface.
Go Slow and Work in Small Sections
Rushing leads to mistakes. Work on one small section at a time so you can control the pressure and direction of your tools. A deliberate pace protects the wood grain and gives you time to adjust if the paint is lifting unevenly.
Match the Tool to the Wood Type
Softwoods like pine and cedar are softer and more prone to surface damage. For these, avoid coarse sandpaper (anything below 80 grit) on bare wood, and keep the heat gun temperature lower. Hardwoods like oak and maple can handle more pressure, but they still need care near edges and joints.
Test in a Hidden Spot First
Before applying any stripper, using a heat gun, or sanding, test your method on a hidden section of the wood. This is especially useful for antique or stained wood where the surface finish or color may react unexpectedly.
Know When to Call a Professional
If the wood has deep paint penetration, multiple layers of paint, or you suspect lead paint is present, bring in a professional. Trying to strip very old painted wood without proper testing can expose you to hazardous materials. The Consumer Product Safety Commission provides more information on identifying and safely handling lead paint.
Common Mistakes to Avoid
Even with the right tools, small errors can cost you time and damage the wood. Watch out for the ones in the table below before you start.
| Mistake | Why It Happens | How to Avoid It |
|---|---|---|
| Using the wrong method for the paint type | Not checking whether the paint is oil-based or latex before starting | Do the denatured alcohol test first |
| Skipping the neutralizing step | Rushing to finish after chemical stripping | Always apply neutralizer or mineral spirits after stripping |
| Sanding against the grain | Working quickly without paying attention to grain direction | Mark the grain direction with a pencil before you start |
| Overheating the wood | Holding the heat gun too close or in one spot too long | Keep the gun moving; stay 2 to 4 inches away from the surface |
| Not testing first | Assuming all wood reacts the same way to chemicals or heat | Always test any method in a hidden area before full application |
| Using a metal scraper on soft wood | Grabbing the nearest tool instead of the right one | Use plastic scrapers on pine, cedar, and other soft woods |
Small mistakes during paint removal often cause bigger problems than the paint itself. Knowing these in advance keeps your project on track.
How to Get Paint Off Wood Trim?
Wood trim is narrower, more detailed, and closer to walls than other wood surfaces, which makes it harder to work on without making a mess or damaging the surrounding area.
The most reliable way to get paint off wood trim is to use a gel-formula chemical stripper applied with a small brush, followed by a detail scraper or a shaped wooden dowel to reach into grooves.
Tape off the surrounding wall with painter’s tape before you start, and keep a damp cloth nearby to wipe up any drips immediately.
For very thin layers of paint on flat sections of trim, a fine-grit sanding sponge works well and gives you better control than a rigid sanding block.
Conclusion
Knowing how to remove paint from wood the right way saves you time, money, and the frustration of a damaged surface. Chemical strippers work best for thick or layered paint.
A heat gun handles large flat areas efficiently. Sanding is your go-to for light coats and final prep. Always match your method to your paint type and wood type, test in a small spot first, and avoid rushing.
Your wood will thank you for it. If you found this helpful, check out our post on how to prep wood before painting to get your surface ready for a fresh, lasting finish.
Have questions about your specific project? Drop them in the comments below.