40 Ways to Maximize Space in a Small Dorm Kitchen
Living with a Small Dorm Kitchen can be tricky.
The limited space, shared areas, and lack of storage often make it feel more frustrating than functional.
But here’s the good news: you don’t have to settle for chaos or boring meals.
In this article, I’ll share practical, space-saving ideas that work perfectly for tiny dorm kitchens.
From smart storage hacks to compact appliances and clever organization tips, everything here is tailored for dorm life.
Whether you’re a cooking enthusiast or just trying to survive college meals, there’s something for everyone.
Juggling small spaces and tight budgets isn’t easy. That’s why these tips are realistic, affordable, and designed to make your life simpler.
By the time you finish reading, you’ll feel confident tackling your dorm kitchen challenges.
Let’s turn that small space into a functional, creative, and enjoyable kitchen you’ll actually want to use.
Ready? Let’s dive in.
Smart Storage Ideas for Your Dorm Kitchen
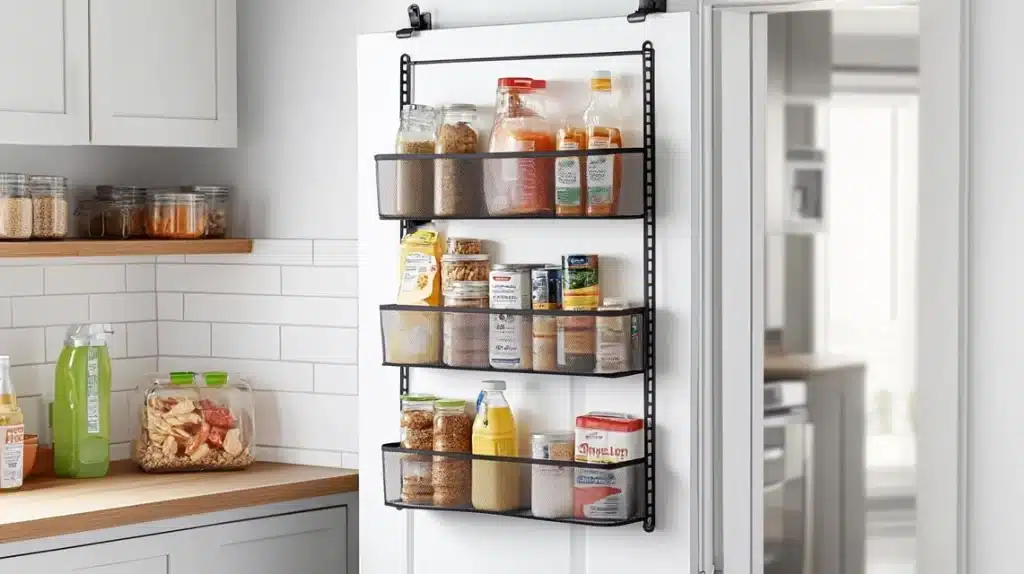
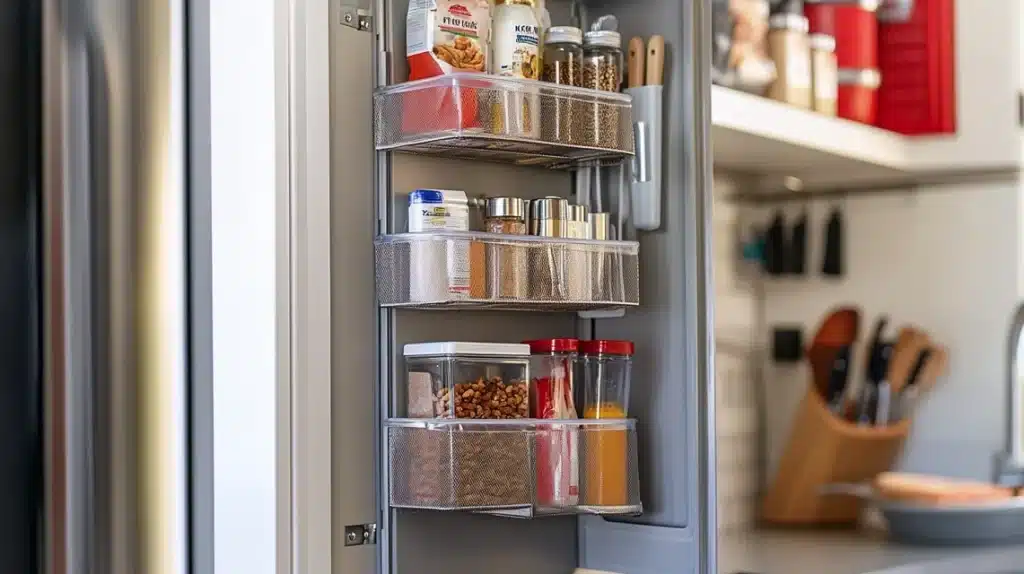
1. Over-the-Door Pantry Organizer
Your door is a valuable space that often goes unused. Transform it into a storage powerhouse. First, measure your door’s width and height. Buy an organizer that fits these measurements.
Installation is simple: hang the organizer over your door using the included hooks. No tools are needed.
Start by organizing your items by how often you use them. Put everyday items at eye level. Store snacks, spices, and cooking tools in the clear pockets. The best part? You can see everything at a glance.
This hack gives you tons of storage without taking up any floor space.
Remember to check that your door can still close properly. If the organizer is too thick, try adding small rubber bumpers to prevent door damage.
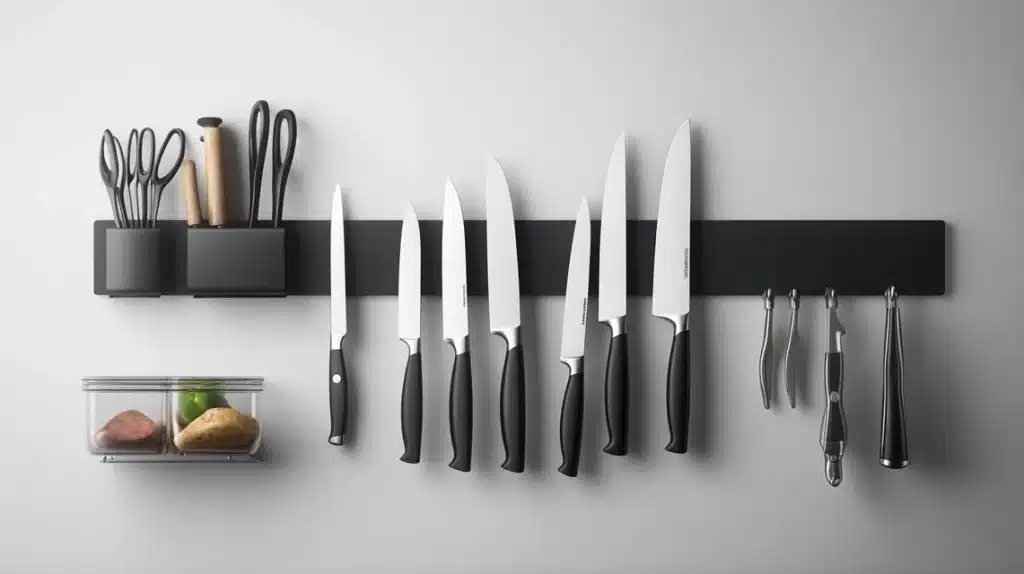
2. Magnetic Knife Strip
Say goodbye to bulky knife blocks. A magnetic knife strip saves precious counter space.
How to install it: First, find a spot on your wall that’s easy to reach but away from your stove. Mark the mounting holes with a pencil. Use a level to make sure it’s straight.
Drill pilot holes and insert wall anchors. Then, screw the strip into place. Test the magnetic strength before hanging your knives. Always place knives with blades pointing up.
Not only does this look cool, but it also keeps your knives within easy reach while cooking.
Pro tip: Use the strip for other metal items, like kitchen scissors or measuring spoons.
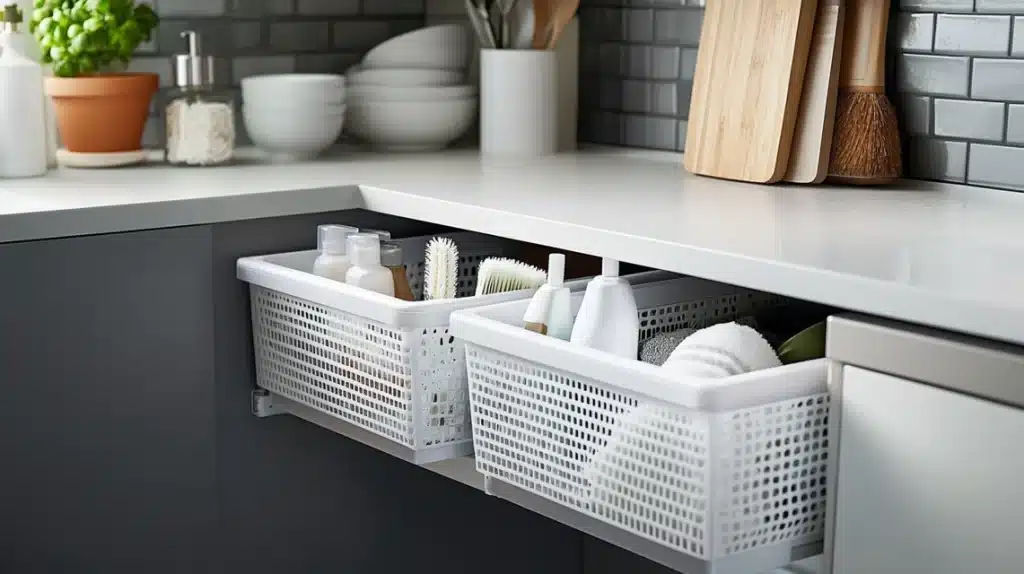
3. Under-Sink Sliding Organizers
The space under your sink is often a mess of cleaning supplies.
Start with measuring the cabinet width and depth. Buy sliding organizers that fit these dimensions. Remove everything from under your sink.
Install the sliding tracks first. Screw them into the cabinet floor, making sure they’re parallel. Snap the baskets onto the tracks.
Now organize your supplies: cleaning products on one side, sponges and brushes on the other. The sliding feature lets you reach items at the back easily.
Work around your sink’s pipes by choosing organizers with adjustable heights.
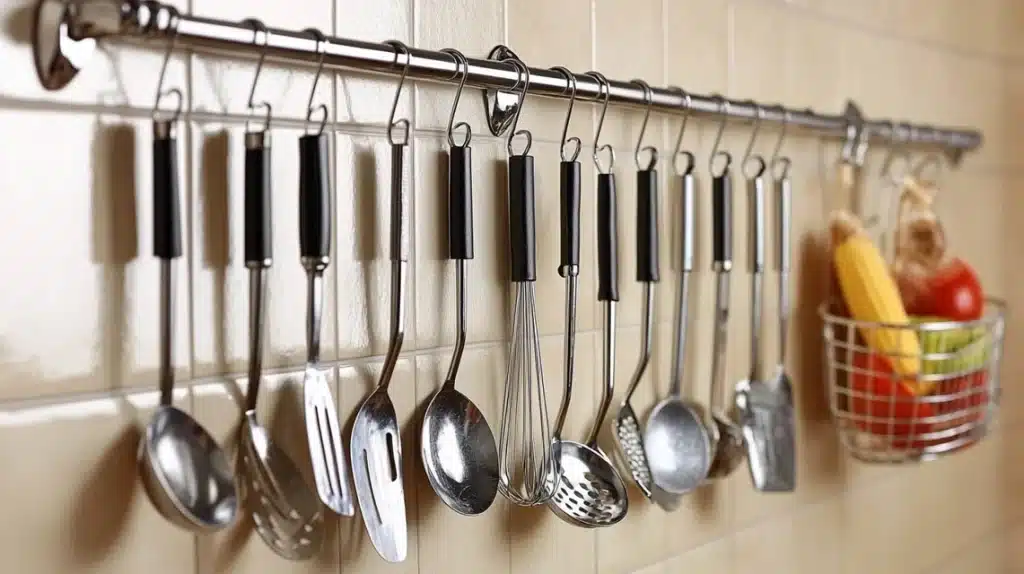
4. Command Hook Utensil Storage
This hack is perfect for renters. Command hooks are your best friend for hanging cooking utensils.
Clean your wall surface with alcohol first. Let it dry completely. Arrange your utensils on a flat surface to plan your layout.
Apply the Command hooks following the package instructions. Wait one hour before hanging anything. Use S-hooks to hang utensils with holes in their handles.
For items without holes, try using small baskets that can hang from the hooks.
Space the hooks about 6 inches apart. Place them where you can easily grab utensils while cooking.
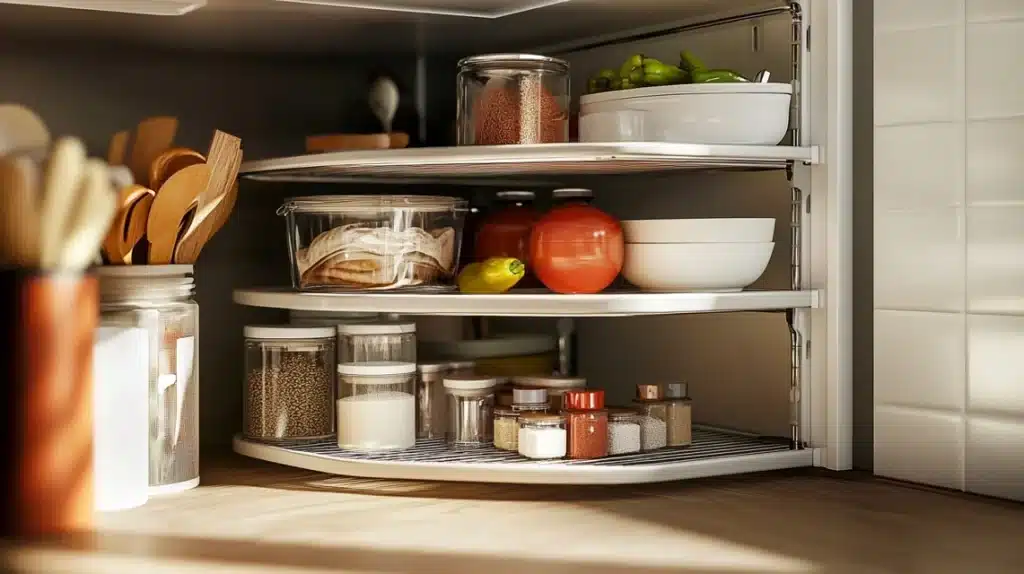
5. Corner Shelf Maximizer
Those awkward corner spaces can become storage goldmines. Start by measuring your corner from both walls.
Buy a corner shelf unit that fits. Some assembly is usually required. Follow the included instructions carefully.
Place larger items like mixing bowls on the bottom shelf. Work your way up with smaller items on top. Use the top shelf for lightweight items you don’t use often. Consider adding non-slip shelf liners to prevent items from sliding.
This setup creates storage space where there was none before.
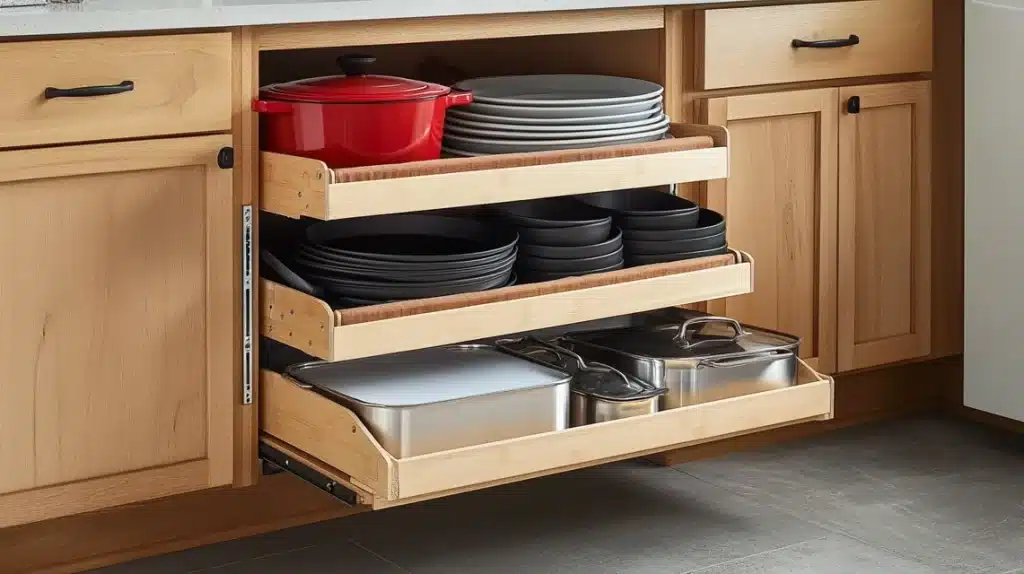
6. Roll-Out Cabinet Organizer
Make every inch of cabinet space count. Begin by emptying the cabinet completely. Measure the interior width, depth, and height. Purchase a roll-out organizer that fits these dimensions.
Install the bottom tracks first, making sure they’re level. Secure them with screws. Attach the side brackets, then slide in the basket. Test the sliding motion several times.
Organize your pots, pans, and lids vertically to maximize space. Add a shelf liner to prevent noise when pulling out the organizer.
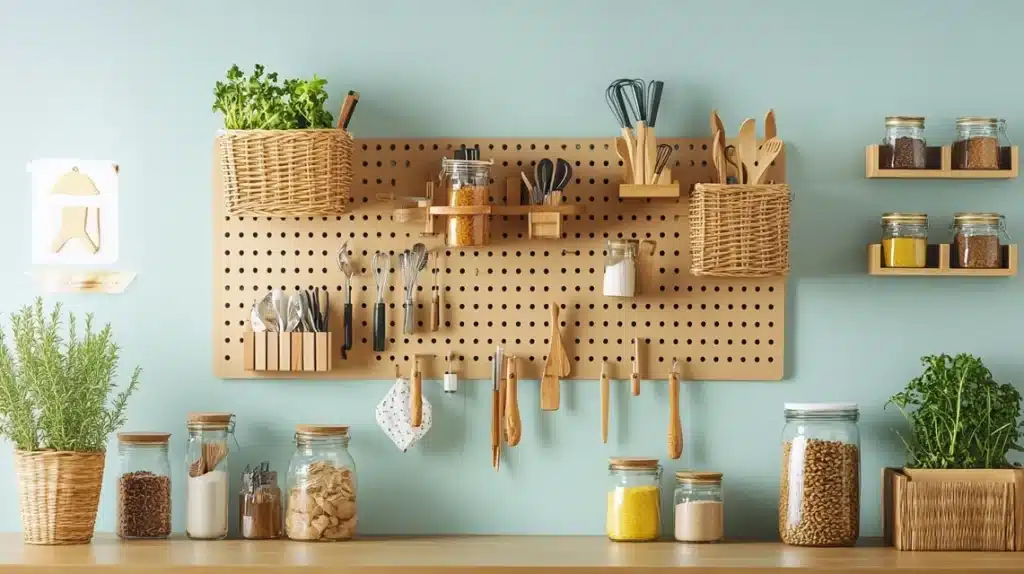
7. Pegboard Wall Storage
A pegboard turns your wall into adjustable storage. First, paint your pegboard if desired. Let it dry completely. Measure and mark where you want it on the wall. Find the wall studs using a stud finder.
Create spacers from small pieces of wood to leave room behind the pegboard for hooks. Attach the spacers to the wall at your marked spots.
Mount the pegboard using screws into the studs. Add hooks, baskets, and shelves wherever you need them.
Change the layout anytime your needs change.
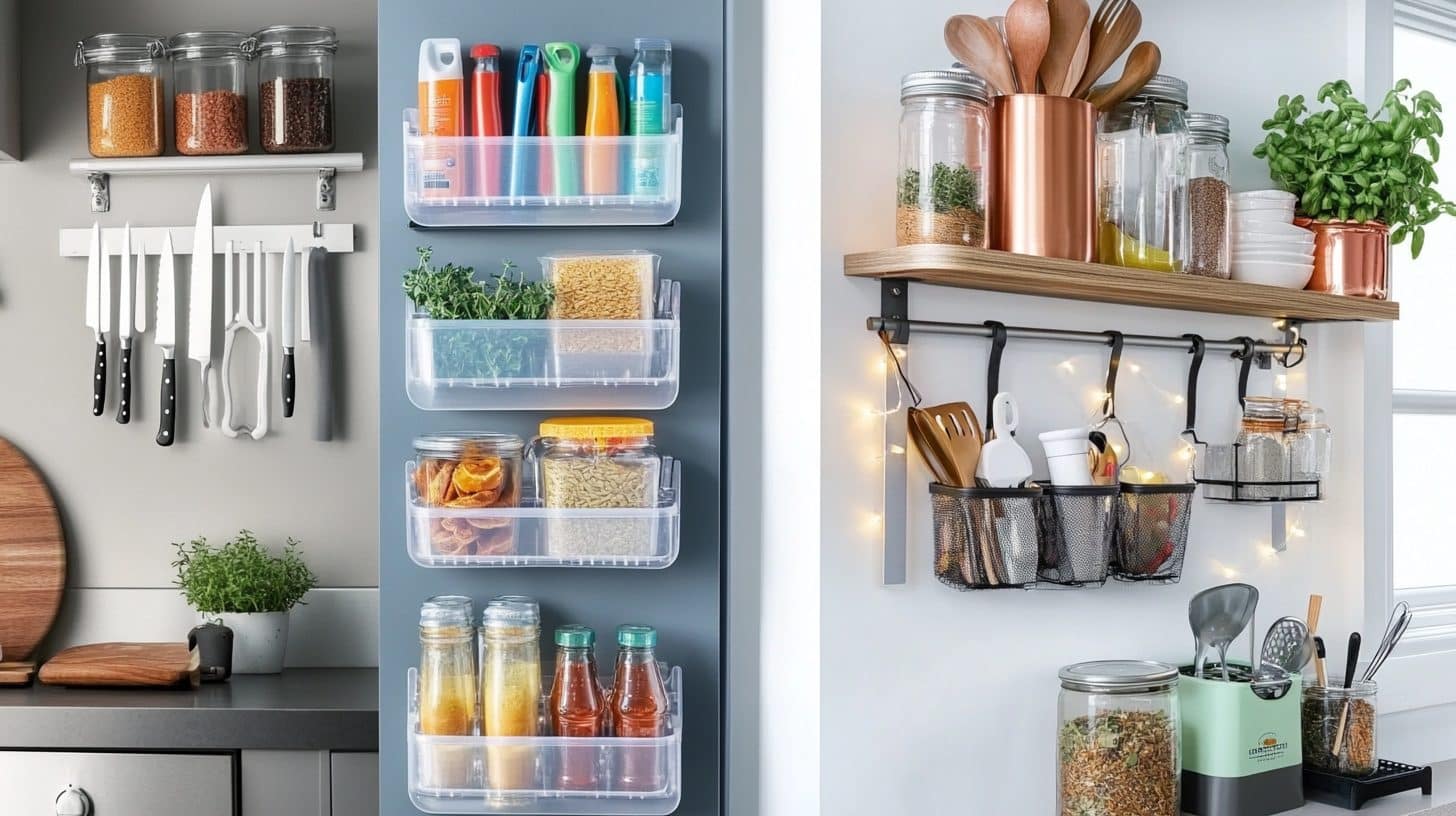
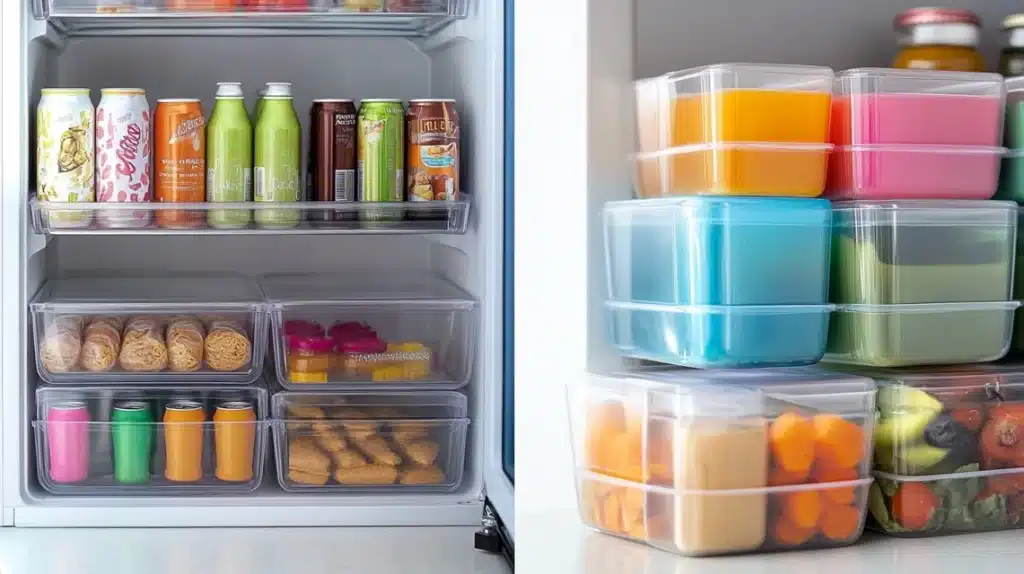
8. Stackable Fridge Bins
Organize your mini-fridge like a pro. Start by taking everything out. Clean all surfaces thoroughly. Measure your fridge’s shelves to know what size bins will fit.
Buy clear bins that stack well. Place drink cans in one bin and snacks in another.
Use long, narrow bins for condiments. Stack bins carefully to maximize vertical space. Label each bin clearly.
Keep frequently used items in front. This system makes it easy to see when you’re running low on supplies.
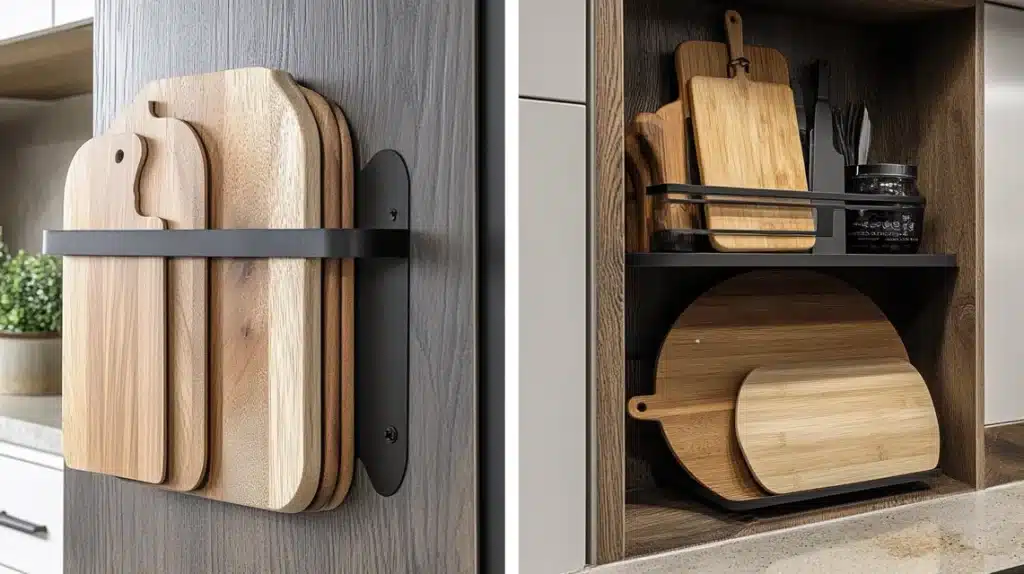
9. Cabinet Door Mounted Cutting Board Holder
Store cutting boards vertically to save space. Clean the inside of your cabinet door thoroughly. Measure and mark where you want the holder. Most holders come with adhesive strips or screws.
If using adhesive, press firmly and hold for 30 seconds. For screws, drill pilot holes first. Slide your cutting boards into place. The vertical storage keeps them dry and easy to grab.
Make sure the boards don’t prevent the cabinet from closing properly.
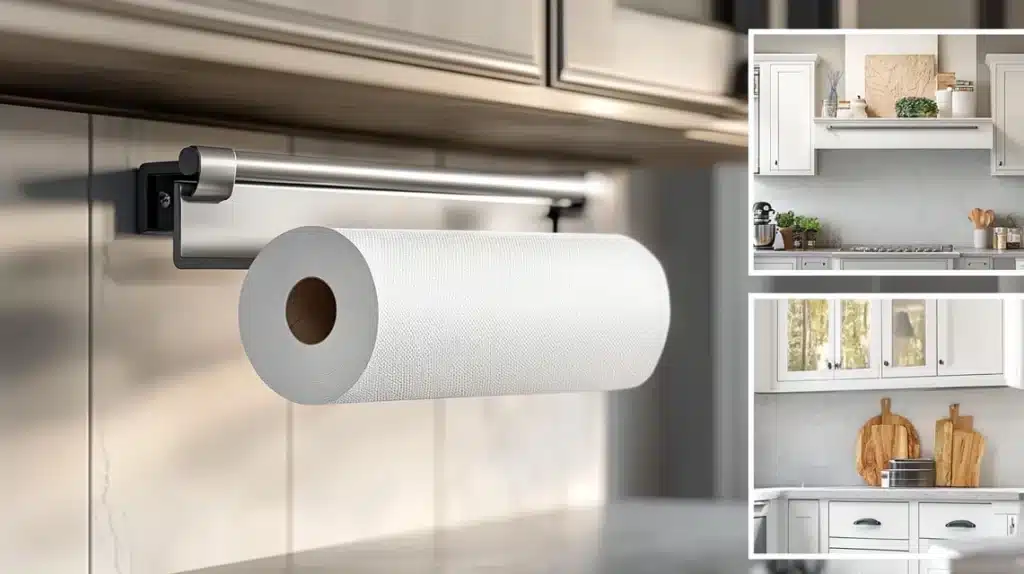
10. Under-Cabinet Paper Towel Holder
Free up counter space with this simple hack. Choose a spot under your cabinet where the paper towels won’t get wet. Mark the mounting bracket locations. Some holders use adhesive strips, and others need screws.
For screw installation, drill pilot holes first. Attach the mounting brackets securely. Slide in the paper towel roll. Test that it spins freely. The holder should be easy to reach but out of the way.
Smart Appliances for Your Dorm Kitchen
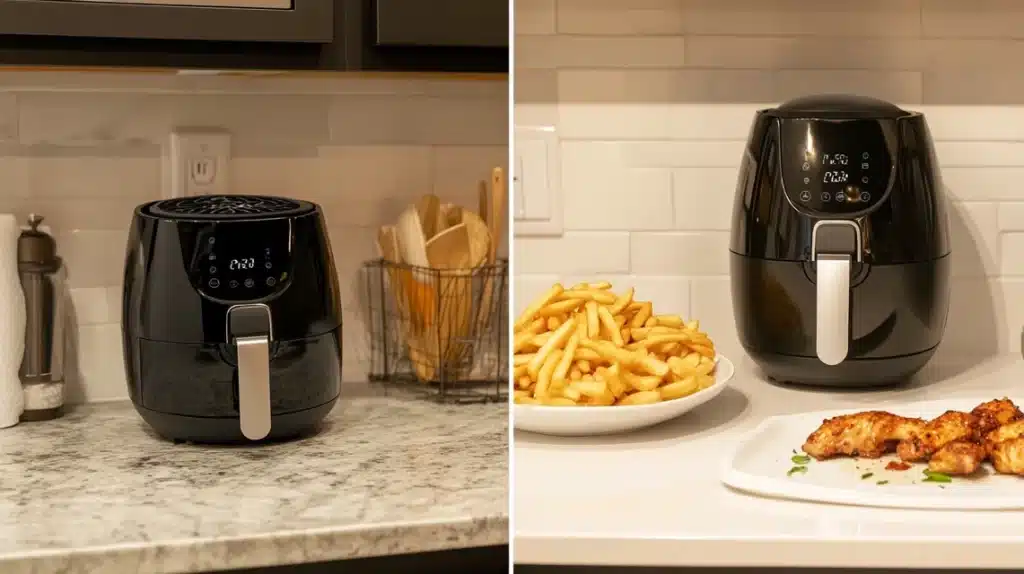
11. Mini Air Fryer
Transform your tiny kitchen into a versatile cooking space. Start with the right size: look for a 2-quart air fryer. These compact powerhouses take up minimal counter space. Place it near an outlet, leaving 5 inches of space around it for ventilation.
Before first use, wash the basket with warm soapy water. Run it empty for 10 minutes to remove any manufacturing residue. Learn the basic temperature settings: 375°F for fries, 400°F for chicken. Clean after each use to prevent odor buildup.
Perfect for cooking single portions without heating up your whole room.
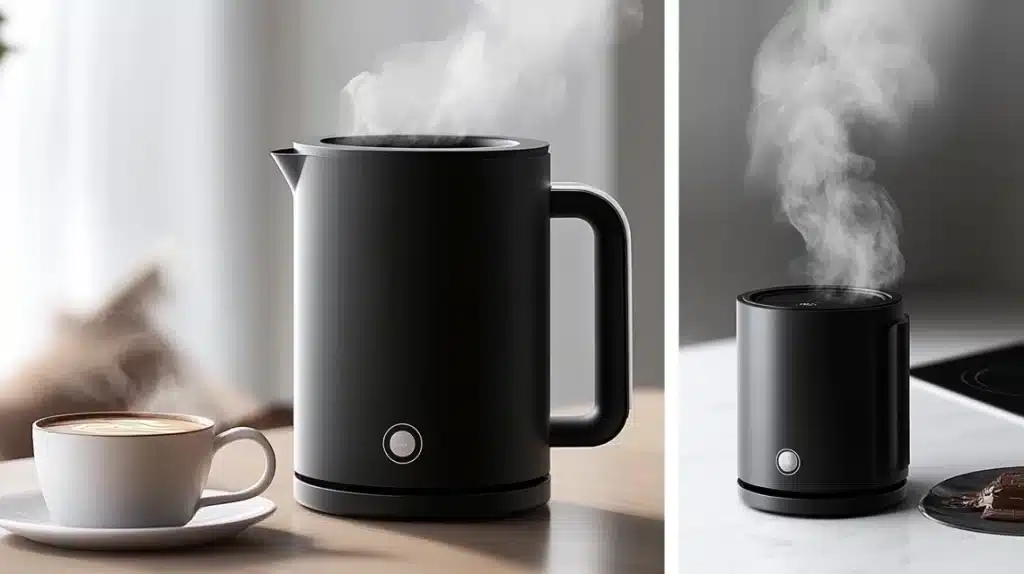
12. Collapsible Electric Kettle
Save precious space with this foldable wonder. Begin by unfolding the kettle to its full size.
Fill only to the marked line – overfilling can cause spills. When not in use, collapse it to one-third its size.
Always use it on a flat, heat-resistant surface. Wait for the kettle to cool completely before collapsing. Store it in a drawer or cabinet when folded.
Remember to descale monthly with equal parts water and white vinegar.
Perfect for tea, instant noodles, and hot chocolate.
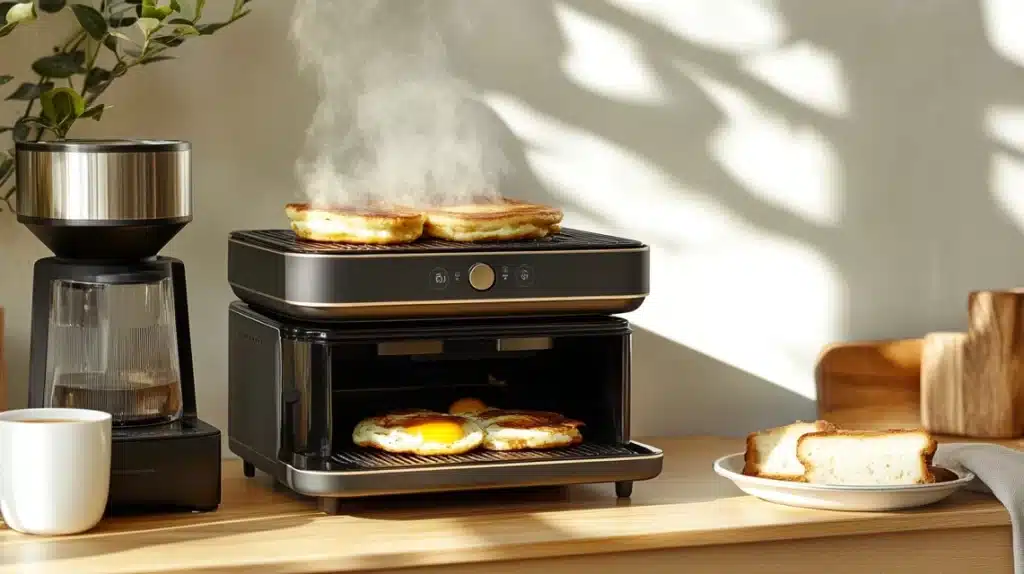
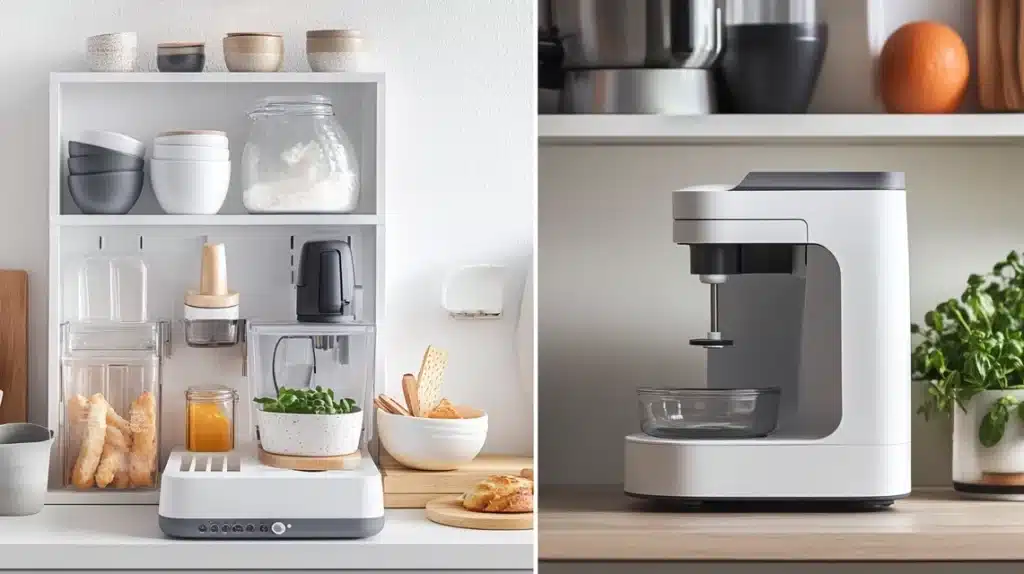
13. 3-in-1 Breakfast Station
This little machine is a morning game-changer. Position it in a corner where you can access all three functions: coffee maker, toaster oven, and griddle. Leave 6 inches of clearance above it.
Start with the coffee maker on the left. Add a paper filter and grounds. While coffee brews, use the griddle for eggs. The toaster oven fits two slices of bread perfectly. Clean each section after use with a damp cloth.
Takes up less space than three separate appliances.
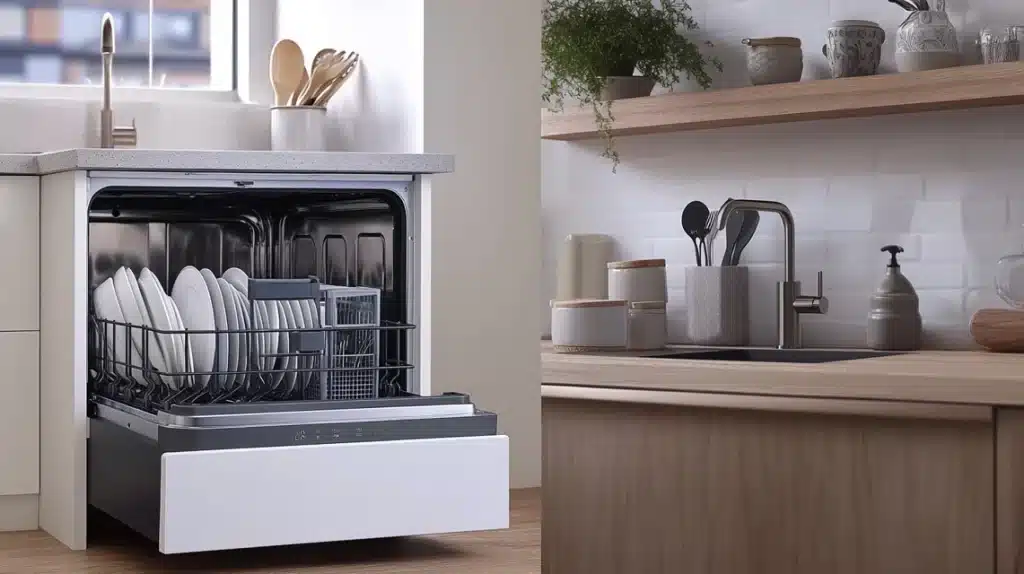
14. Slim Countertop Dishwasher
Yes, dishwashers exist for tiny kitchens. Find a spot next to your sink. These units connect directly to your faucet. Measure your counter height – you need at least 18 inches of clearance.
Install the faucet adapter first. Connect the water hose. Place the drain hose in your sink. Load dishes carefully, it fits about four place settings.
Run it at night to save counter space during the day.
Uses less water than hand washing.
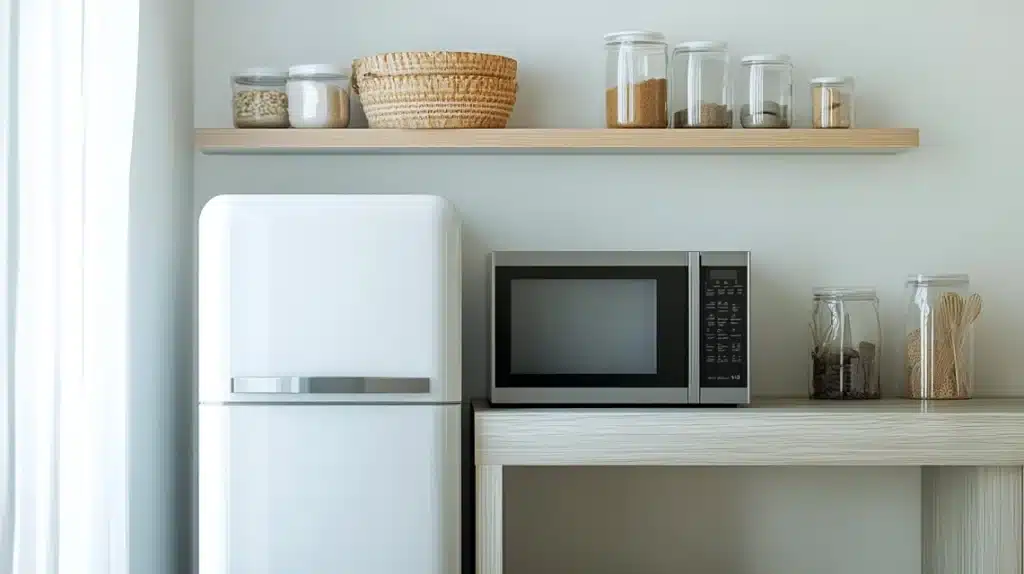
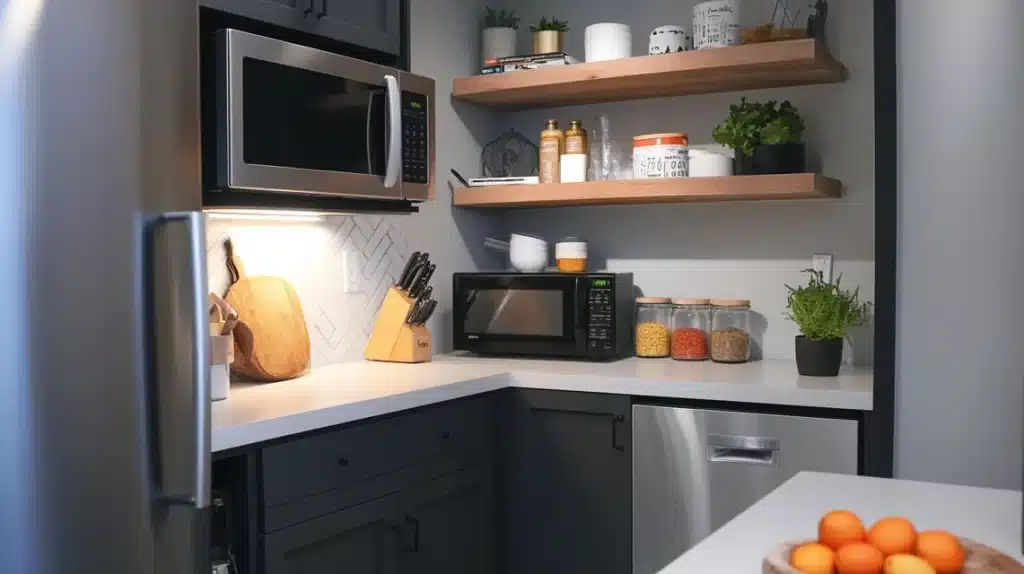
15. Stackable Microwave and Mini Fridge
Create a cooking corner with this smart combo. Start by placing the mini fridge on a level surface. Check that the door opens the right way for your space. Put the microwave on top using a sturdy microwave shelf.
Secure the shelf to the wall with proper anchors. Leave 3 inches of space behind both appliances for ventilation. Use the top of the microwave for lightweight storage only. Clean both units monthly.
This stack uses vertical space wisely.
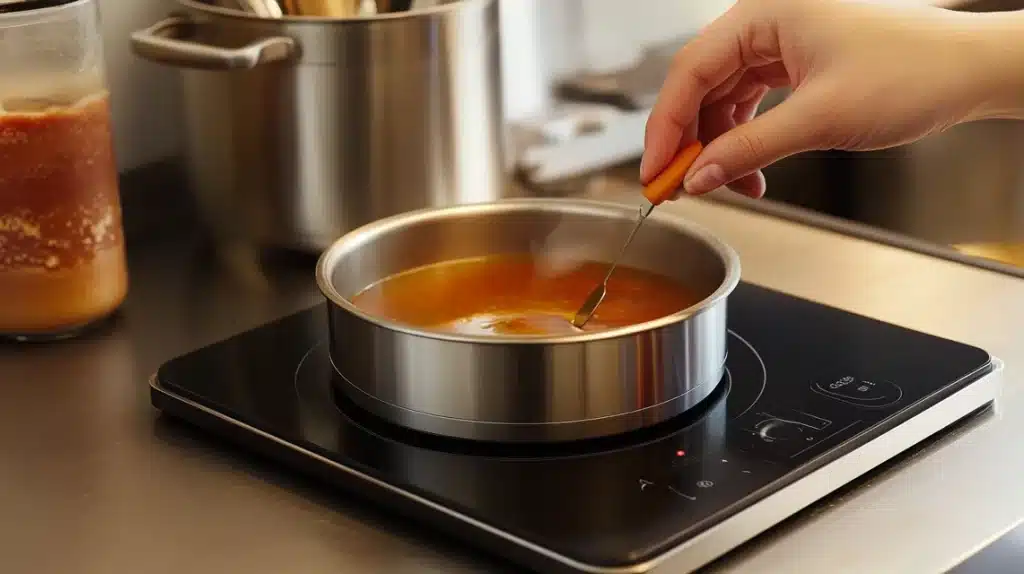
16. Induction Hot Plate
Cook safely without a stove. Choose a single burner model with temperature controls. Place it on a heat-resistant mat. Keep it 12 inches from walls and other appliances.
Test your cookware with a magnet – if it sticks, it’s induction-compatible. Use the power levels wisely: low for simmering, high for boiling. Clean the surface after each use while slightly warm.
Heats up quickly and cools down fast.
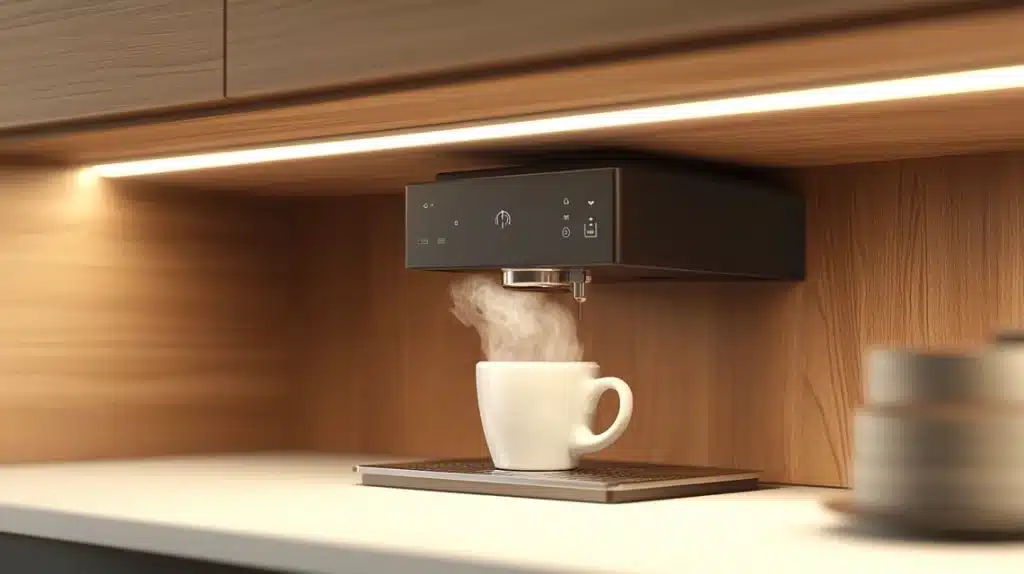
17. Under-Cabinet Coffee Maker
Free up your counter with this space-saving solution. Measure the space under your cabinet first. You need at least 14 inches of clearance. Mark the mounting bracket locations carefully.
Install the mounting bracket with screws into sturdy cabinet material. Hang the coffee maker and secure it. Fill the water reservoir from the front. Empty the grounds daily to prevent mold.
Makes your morning coffee without using counter space.
18. Mini Food Processor
Chop, blend and mix in a tiny footprint. Look for a 3-cup model it’s perfect for small batches. Store it in pieces to save space: base in one spot, attachments in another.
Clean all parts immediately after use. Store the cord wrapped around the base. Use the pulse function for better control. Keep the blade sharp by avoiding frozen foods.
Handles most prep tasks despite its small size.
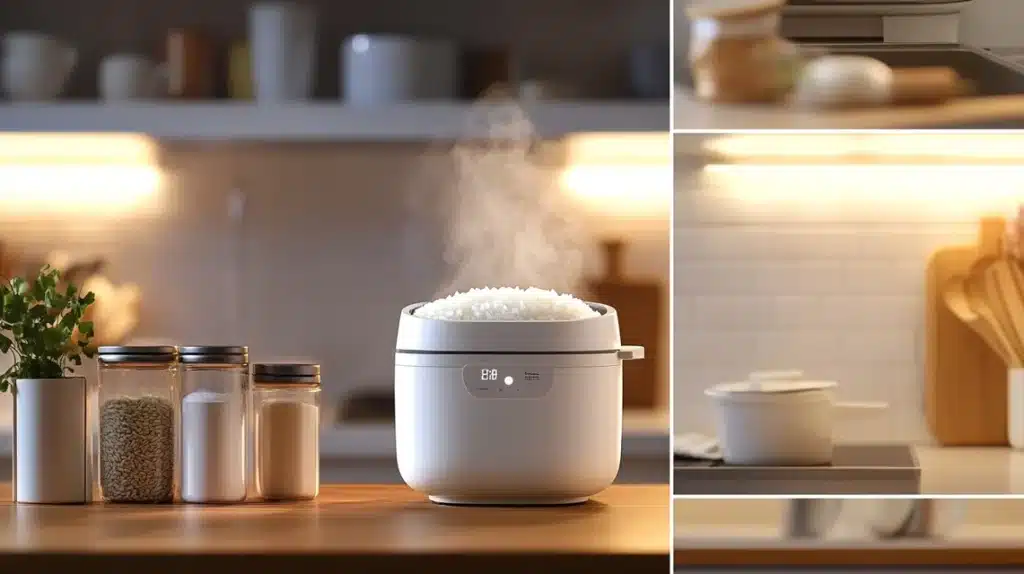
19. Compact Rice Cooker
Perfect rice without watching the pot. Choose a 3-cup cooker – ideal for 1-2 people. Place it where steam can rise freely. Keep it away from cabinets that could be damaged by steam.
Measure rice and water carefully using the included cup. Rinse rice before cooking.
Use the keep-warm function wisely – no longer than 12 hours. Clean the lid and inner pot after each use.
Makes perfect rice while you focus on other tasks.
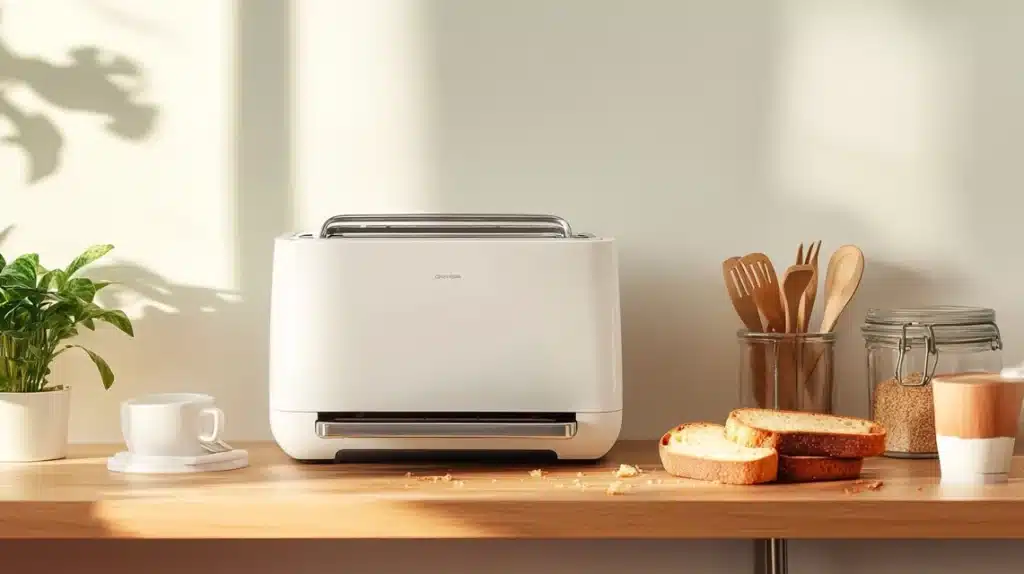
20. Vertical Toaster
Save counter space with an upright design. Place it against the wall but not under the cabinets. Look for a model with extra-wide slots and multiple heat settings. Keep it away from paper towels or curtains.
Clean the crumb tray weekly. Use the bagel setting for thicker items. Don’t force thick items into the slots. Unplug it when not in use to save space and energy.
Creative Kitchen Layouts for Your Dorm Kitchen
21. L-Shaped Efficiency Corner
Transform that awkward corner into a mini cooking haven. Start by measuring your corner space carefully. Place your mini fridge at one end of the L. Set up your microwave above it using a sturdy shelf.
Create a prep station along the other wall. Install a fold-down table or desk that can double as counter space.
Add under-cabinet lights to brighten the workspace. Use the corner space for a rotating organizer to store spices and cooking supplies.
Perfect for tight spaces while keeping everything within arm’s reach.
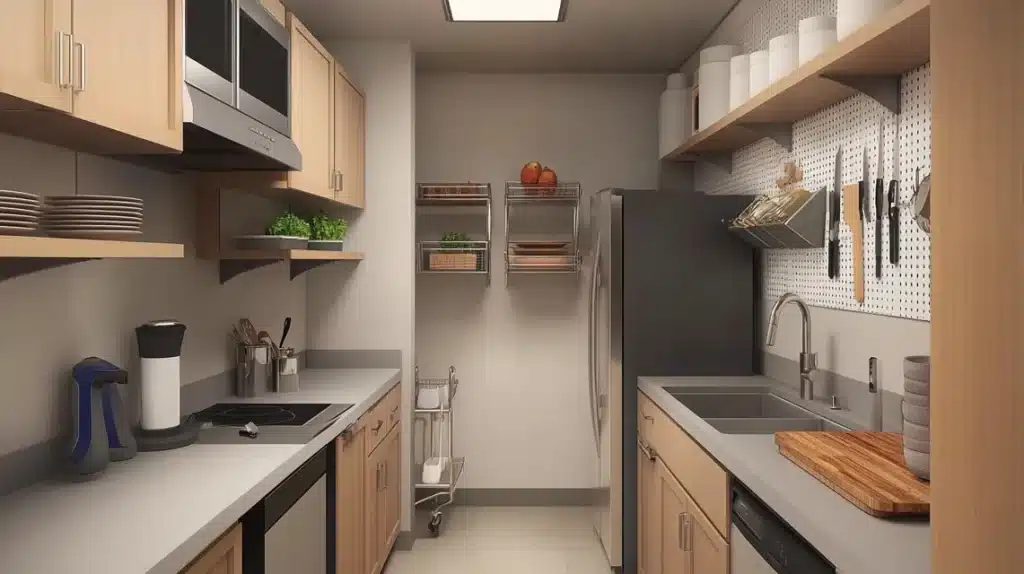
22. Vertical Galley Setup
Make the most of a narrow wall. Begin with tall storage units on one side. Install a pegboard wall system above your prep area. Mount floating shelves at different heights for visual interest and extra storage.
Create zones: cooking, prep, and cleaning. Use vertical dividers to store baking sheets and cutting boards.
Add hooks under shelves for hanging mugs and utensils. Consider a rolling cart that can be tucked away when not needed.
Maximizes vertical space while keeping your floor area open.
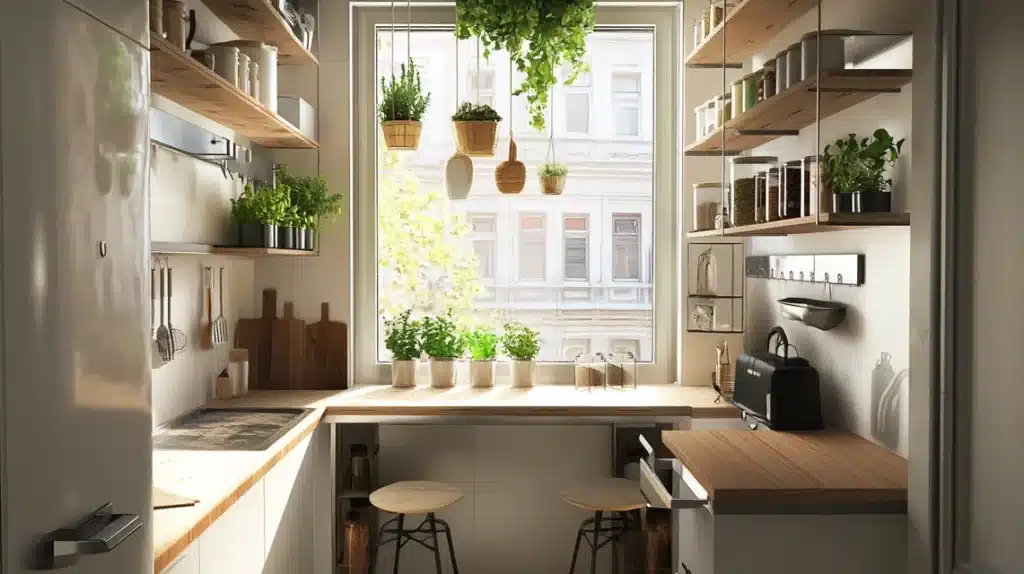
23. Window-Focused Workspace
Turn your dorm window into a focal point. Position your prep station under the window for natural light. Use tension rods to hang plants and small containers for herbs. Install simple shelves on either side of the window.
Keep the windowsill clear for ventilation. Add a small fold-down table beneath the window for eating or extra prep space.
Use light-colored storage containers to reflect natural light. Consider adding a mirror opposite the window to bounce light around.
Makes your space feel bigger and brighter.
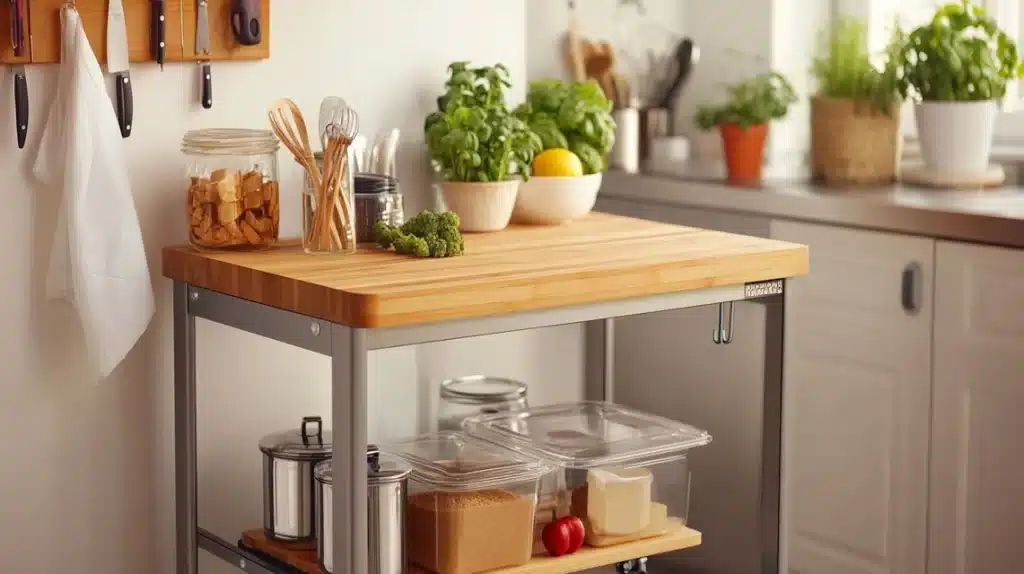
24. Mini Kitchen Island Solution
Create a movable workspace. Choose a sturdy cart with wheels and locks. Look for one with at least two shelves. Add a butcher block top for a proper work surface. Install hooks on the sides for hanging tools.
Store heavy items on the bottom shelf for stability. Use clear containers on the middle shelf for easy access.
Keep the top clear for prep work. Add a paper towel holder to one end. Lock the wheels when in use.
Rolls away when you need floor space.
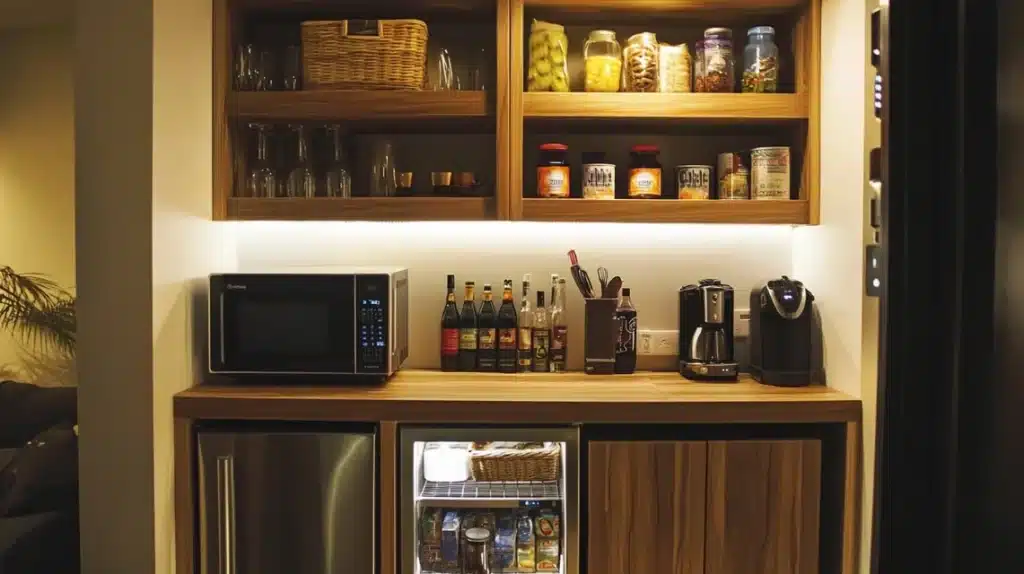
25. Studio-Style Kitchenette
Design a compact all-in-one station. Start with a tall bookshelf as your main storage. Add your microwave at counter height. Install a mini fridge below. Use the upper shelves for dry goods in clear containers.
Create a coffee station at eye level. Add baskets for snacks and cooking tools. Install a strip of LED lights under each shelf.
Use magnetic strips on the sides for knife storage. Keep frequently used items at waist height.
Everything you need in one organized tower.
26. Hidden Pantry Wall
Maximize space behind your door. Install an over-door organizer with clear pockets. Add a second organizer for cleaning supplies. Use magnetic strips on the door’s metal surface for spice storage.
Label everything clearly for easy access. Store heavy items in lower pockets. Use small bins for loose packets and seasoning mixes.
Add hooks at various heights for aprons and oven mitts. Keep a step stool nearby to reach the top pockets.
Opens up valuable storage without taking floor space.
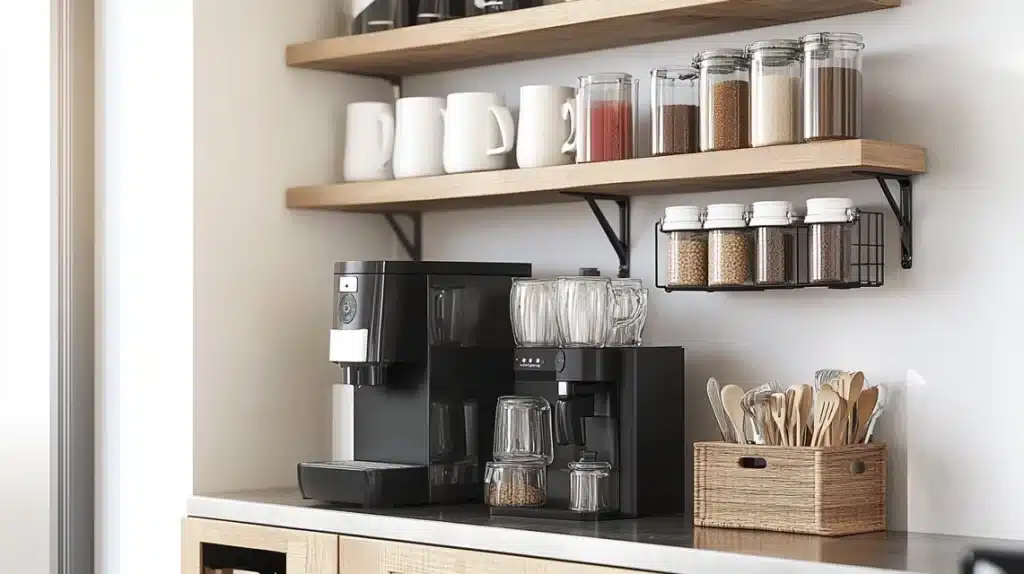
27. Compact Coffee Corner
Create a dedicated beverage station. Choose a corner away from your prep area. Install floating shelves in a staggered pattern. Place your coffee maker on a lower shelf. Store mugs and supplies above.
Add a small basket for tea bags and coffee pods. Install hooks under shelves for hanging mugs. Use clear canisters for coffee beans and sugar.
Add a small drawer unit below for extras. Keep a waste bin nearby for the grounds.
Perfect for morning routines without cluttering your prep space.
28. Mini Breakfast Bar
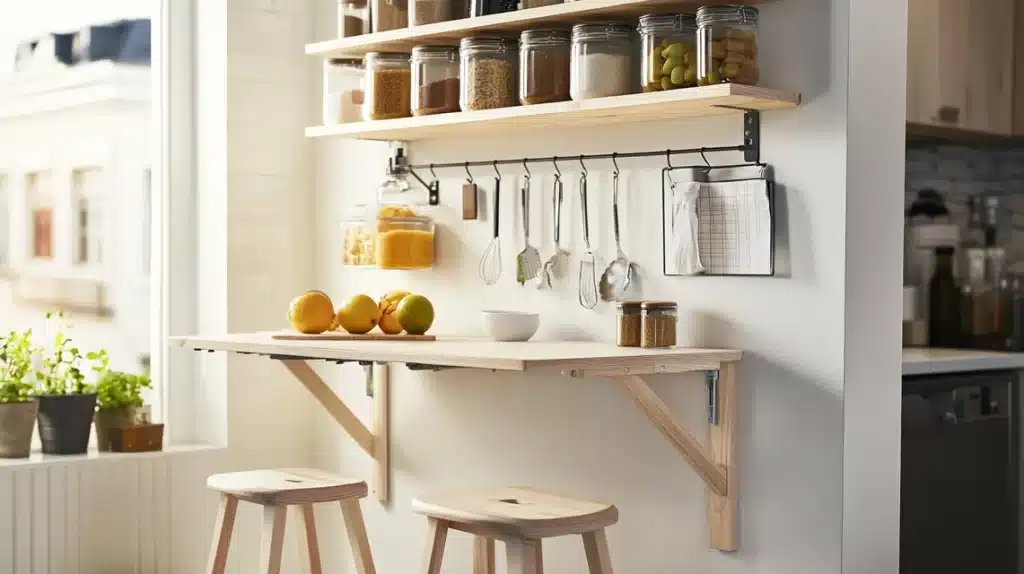
Build a space-saving eating area. Install a wall-mounted table that folds down when needed. Choose one with a storage compartment inside. Add two compact stools that slide underneath. Mount a small shelf above for condiments.
Use magnetic containers on the wall to store breakfast essentials. Add hooks for hanging fruit baskets.
Install a paper towel holder underneath. Consider adding a small bulletin board for recipes and notes.
Creates an eating space that disappears when not in use.
29. Rolling Pantry Station
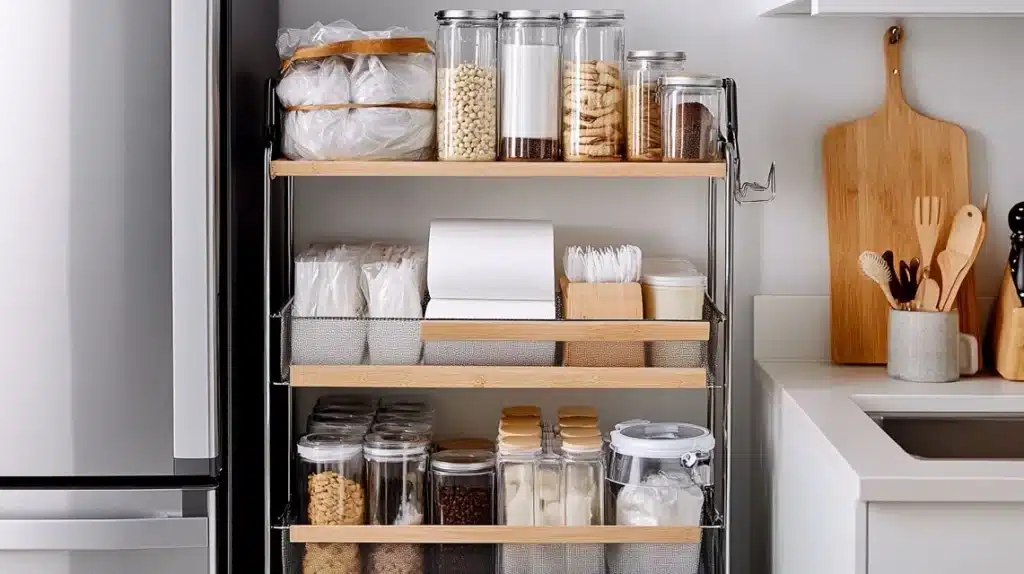
Design a mobile storage solution. Select a narrow rolling cart that fits between your fridge and the wall. Add clear storage containers at different levels. Install dowels across the top for paper towels and foil rolls.
Use small bins for sorting snacks and supplies. Add labels to everything for easy identification. Install a spice rack on one side.
Keep heavier items on lower shelves. Add a hook for your apron.
Slides out when you need it, hides away when you don’t.
30. Minimalist Cooking Zone
Create an efficient cooking space. Start with a single induction burner on a heat-safe surface. Add a slim cutting board that stores vertically.
Mount magnetic knife strips above your prep area. Install floating shelves for essentials.
Use stackable containers for dry goods. Add under-cabinet lights for better visibility.
Keep cooking utensils in a rotating holder. Install a small fan for ventilation. Use drawer organizers for utensils and tools.
Stylish and Functional Decor Ideas for Your Dorm Kitchen
31. Floating Mason Jar Garden
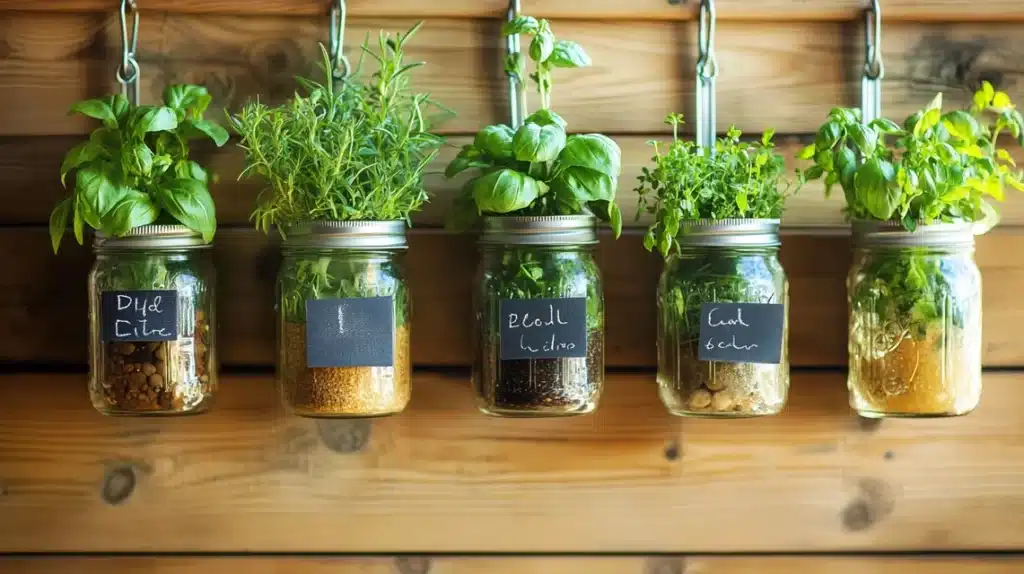
Bring life to your kitchen walls. Create a vertical herb garden using mason jars and wooden planks. Paint the planks to match your style.
Attach metal pipe clamps to hold the jars. Mount the planks securely with wall anchors.
Plant easy-growing herbs like basil, mint, and chives. Add small stones at the bottom for drainage.
Label each jar with chalk markers. Water weekly and trim regularly. Position near a window for natural light.
Fresh herbs add color and flavor to your cooking.
32. Vintage Crate Display
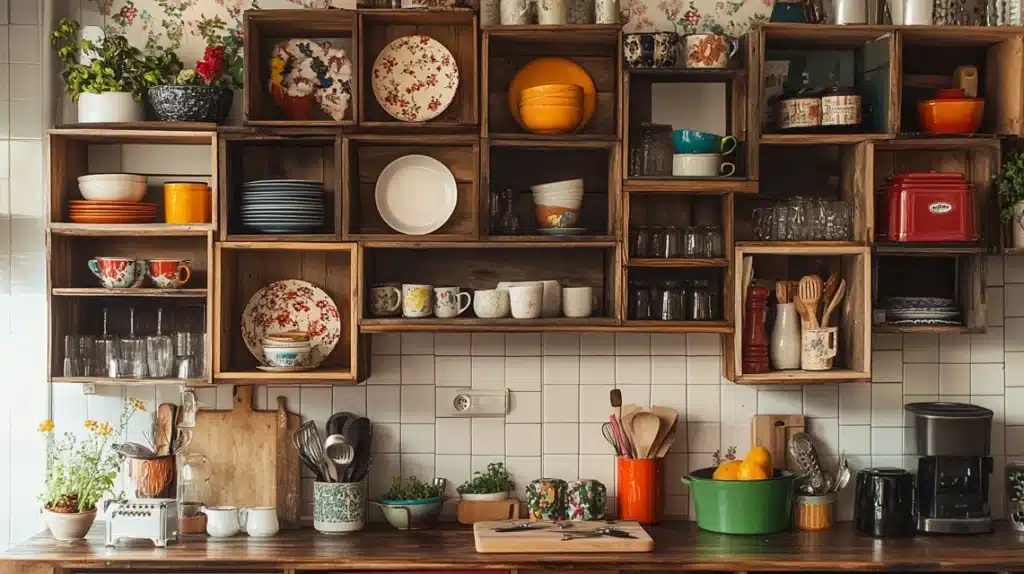
Add rustic charm and storage. Source wooden crates from flea markets or craft stores. Sand them smooth and stain or paint them. Stack them in an interesting pattern. Secure them to the wall with L-brackets.
Display colorful dishes and cooking tools. Add battery-operated puck lights for ambiance.
Line the crates with pretty contact paper. Use some crates as open shelving and others with doors for hidden storage.
Combines storage with vintage style.
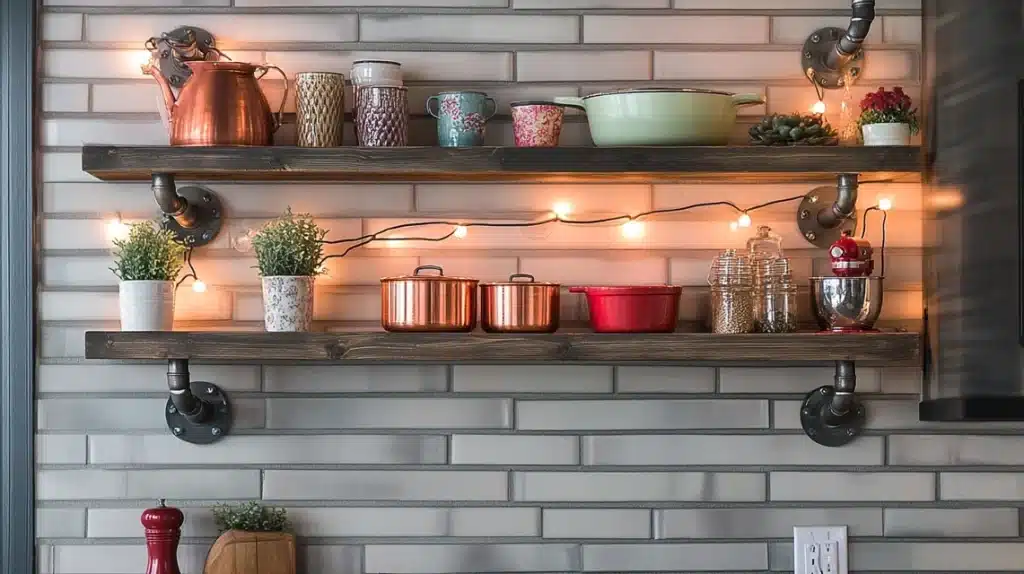
33. Industrial Pipe Shelving
Create an urban-chic look. Install metal pipes as shelf brackets. Choose dark wood planks for contrast. Space shelves 12 inches apart. Add pipe flanges at the wall for extra support.
Display copper cookware and colorful containers. Hang string lights along the pipes.
Use decorative brackets for a more polished look. Add small potted succulents between items.
A modern industrial style that’s totally removable.
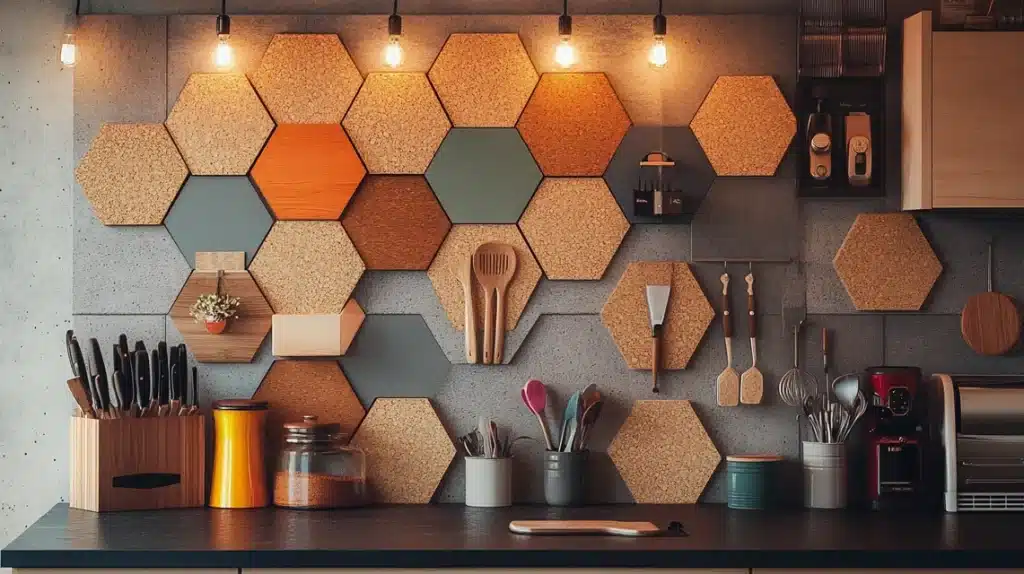
34. Geometric Cork Board Wall
Make organization beautiful. Create a pattern with hexagonal cork tiles. Paint some tiles in your accent color. Leave others natural. Attach them securely with removable adhesive.
Pin up recipes and photos. Add small hooks for lightweight utensils.
Create zones for different types of notes. Include a small calendar section. Add LED string lights around the edges.
Functional art that keeps you organized.
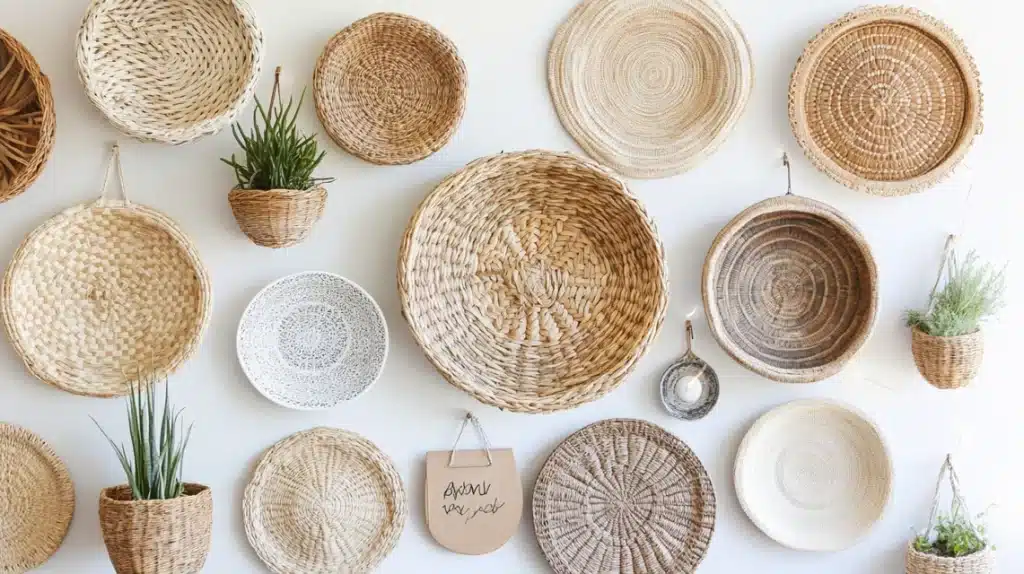
35. Woven Basket Gallery
Add texture and storage. Collect various sizes of flat-backed baskets. Paint them in coordinating colors. Arrange them in a pleasing pattern on your wall. Secure with removable hooks.
Store lightweight items in each basket. Add fairy lights between baskets. Include small air plants for greenery.
Label baskets with hanging tags. Mix in some decorative plates or trivets.
Natural textures that double as storage.
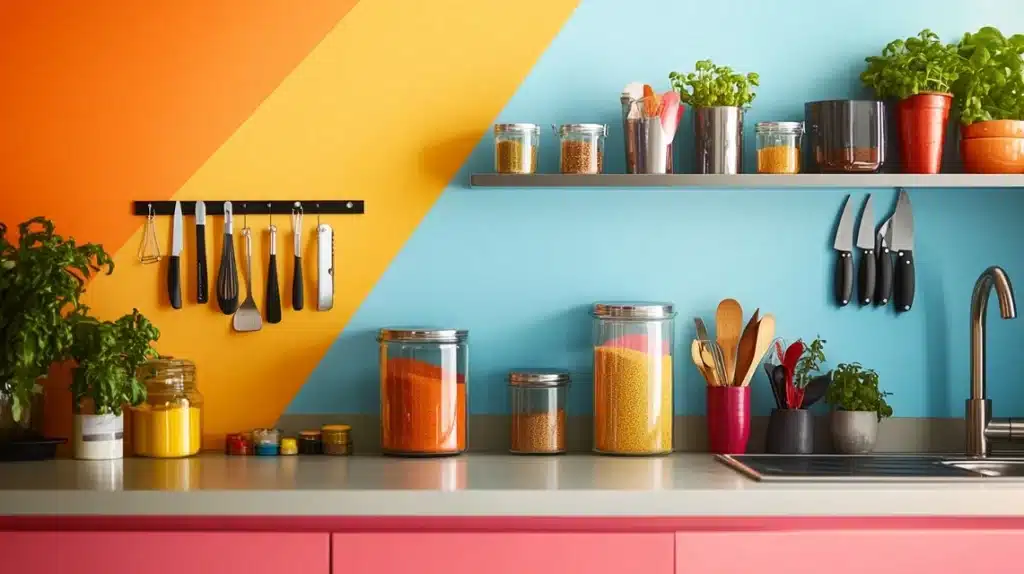
36. Magnetic Paint Accent
Create an interactive wall. Paint a section of the wall with magnetic primer. Cover with your favorite color. Add geometric patterns using washi tape. Create zones for different items.
Hang magnetic spice tins in a pattern. Add magnetic hooks for utensils. Use magnetic frames for recipes.
Include a magnetic whiteboard for lists. Add battery-operated stick-on lights.
Makes your walls work harder.
37. Hanging Glass Globe Display
Add sparkle above your space. Install clear glass globes at different heights. Use LED battery-operated tea lights inside. Hang them from removable hooks or a mounted rod.
Fill some globes with fairy lights. Leave others empty for a clean look.
Add colored glass globes for interest. Arrange in clusters for impact. Keep them away from cooking areas.
Creates ambiance without taking counter space.
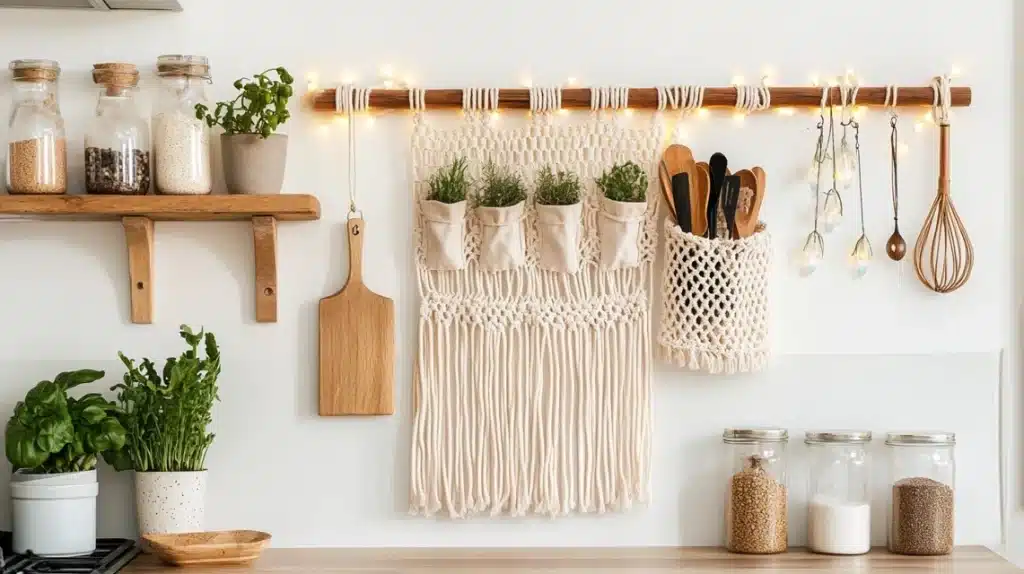
38. Macramé Tool Organizer
Bring boho style to storage. Create or buy a macramé wall hanging with pockets. Choose natural cotton rope for a clean look. Add wooden beads for detail. Install with a sturdy rod.
Store lightweight tools in the pockets. Add small plants for color. Weave fairy lights through the pattern.
Include hanging crystals for sparkle. Label pockets with wooden tags.
Soft texture meets practical storage.
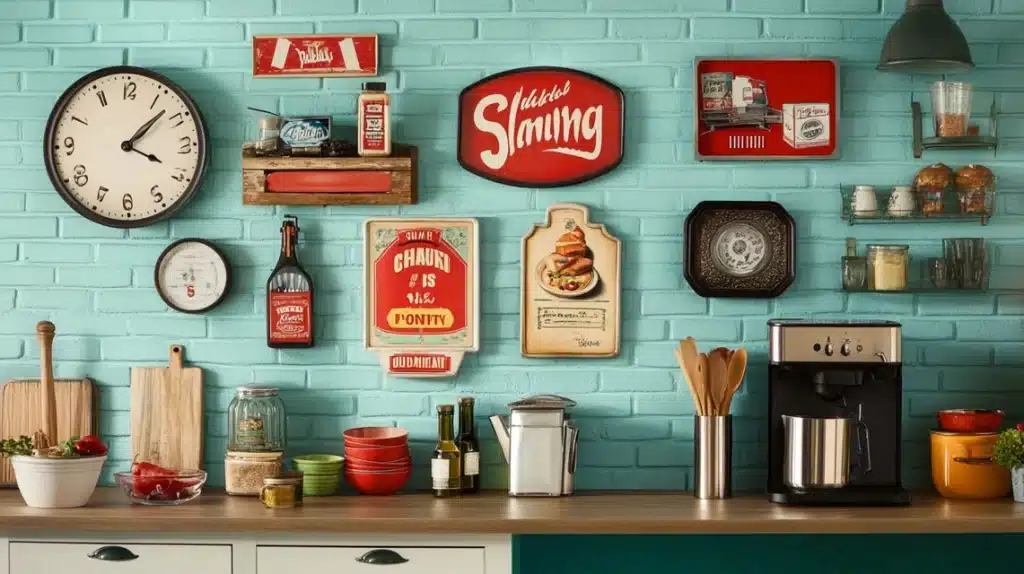
39. Retro Sign Collection
Add personality to your walls. Collect vintage-style kitchen signs. Mix metal and wooden pieces. Create a gallery wall arrangement. Use removable hooks for hanging.
Include some light-up pieces. Add clock faces for function. Mix in small mirrors to reflect light. Keep a consistent color theme.
Add battery-operated spotlights above.
Brings character while filling empty wall space.
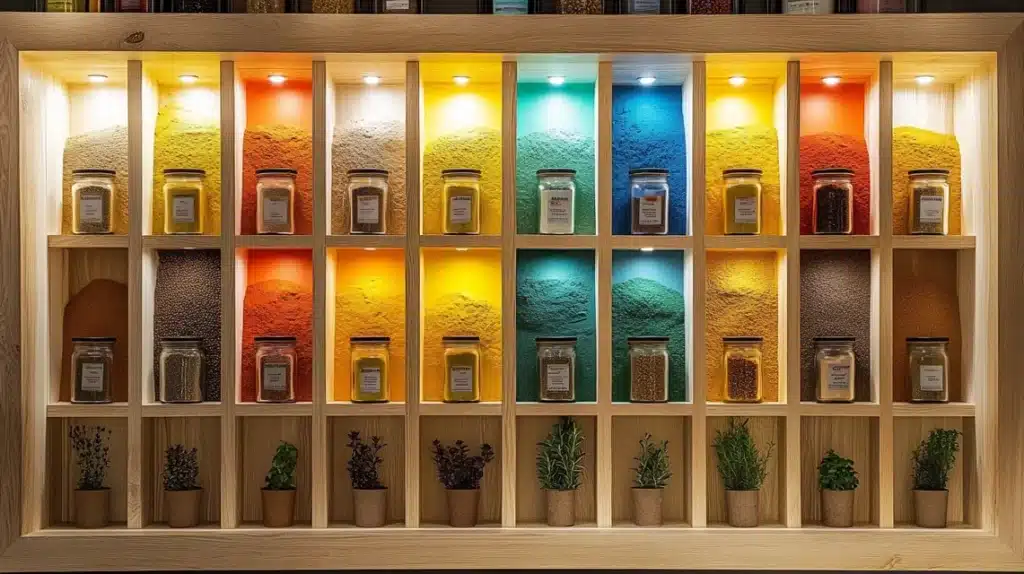
40. Shadow Box Spice Display
Turn storage into art. Install shallow shadow boxes in a grid pattern. Paint the inside of each box a different color. Add small ledges for spice jars. Label the edges clearly.
Arrange spices by color for visual impact. Add LED strip lights around the frames.
Include some boxes for small plants. Mix in vintage cooking postcards.
Keep frequently used spices at eye level.
Budget-Friendly Dorm Kitchen Solutions
1. Smart Thrift Shopping
Timing is everything when it comes to thrift store shopping for your kitchen needs. Monday mornings are your best bet, as stores typically put out weekend donations during this time.
Keep an eye out for “color tag” sales, where items with specific colored tags can be marked down by 50% or more. This can lead to amazing deals on kitchen essentials.
When thrifting for kitchen items, some things are better deals than others. Cast iron skillets are excellent thrift store finds because they’re easy to restore and can last a lifetime.
Look for Pyrex dishes, stainless steel utensils, and mason jars – these items are durable and usually priced well below retail. Wooden cutting boards can also be great finds, often needing just a simple cleaning and oiling to be as good as new.
However, be cautious with certain items. Avoid non-stick pans with visible scratches, as they could be unsafe to use. Skip plastic containers with stains, as they might harbor bacteria.
When considering electric appliances, only buy if the store allows testing before purchase. Stay away from chipped enamelware and items with rust.
2. Creative DIY Storage Solutions
Transform your space with simple, affordable storage solutions. A mason jar storage wall can be created for just a few dollars.
Clean your jars thoroughly, spray paint the lids in coordinating colors, and screw them under a shelf or cabinet. This creates an attractive and functional storage system for dry goods.
Wooden crate shelving offers another budget-friendly option. Many grocery stores give away their wooden crates for free. Sand down any rough edges, stack them in an appealing arrangement and secure them with L-brackets.
Adding casters to the bottom makes them mobile, and the entire project typically costs less than $10.
Tin can organizers provide a practically free storage solution. Save your tin cans, remove labels, and clean thoroughly. Cover them with contact paper or paint to match your decor.
Group them together to create an organizer for cooking utensils, or mount them on the wall for additional storage.
3. Budget-Friendly Starter Kits
Starting from scratch doesn’t have to break the bank. A basic kitchen setup can be assembled from dollar store finds for around $20. This includes essential cooking utensils, measuring cups and spoons, a dish drying rack, basic cleaning supplies, storage containers, and dish towels.
For a more comprehensive setup, consider a mid-range starter kit from retailers like Walmart. Around $50 will get you a basic cookware set, including an 8-inch non-stick pan, a 2-quart pot with a lid, a basic knife set, mixing bowls, a colander, and a cutting board. These items might not be top-of-the-line, but they’ll serve you well through your dorm years.
Online bundle deals often provide the best value. Amazon Basics and similar brands offer complete cookware sets with utensils and storage containers for around $75. These sets typically include everything you need to start cooking in your dorm kitchen.
4. Money-Saving Shopping Strategies
Timing your purchases can lead to significant savings. The best deals typically appear during back-to-school sales in August, Black Friday in November, and post-holiday clearance in January. End-of-semester sales in December and May can also yield great bargains as stores clear out inventory.
Consider shopping at restaurant supply stores for durable, no-frills kitchen equipment at wholesale prices. IKEA offers student discounts and often has good deals on kitchen basics.
Dollar stores are excellent for utensils and basic tools. Don’t forget to check Target’s clearance sections and Amazon warehouse deals for discounted items.
5. DIY Cleaning Solutions and Maintenance
Save money by making your own cleaning supplies. A simple all-purpose cleaner can be made by mixing water, vinegar, and lemon juice in a spray bottle.
This costs less than a dollar per bottle and works just as well as commercial cleaners. For drain maintenance, use a mixture of baking soda and vinegar followed by hot water – a solution that costs about 50 cents per use.
Proper maintenance of your kitchen items will save money in the long run. Season cast iron regularly with oil, hand wash non-stick pans, and use wooden utensils to prevent scratches.
Store pans with paper towels between them to prevent damage. For knives, hand wash only and store them in a wooden block or magnetic strip to maintain their edge.
6. Creative Food Storage Solutions
Don’t throw away glass jars and containers – repurpose them for food storage.
Clean pasta sauce jars make excellent containers for dry goods.
Coffee cans with lids, large yogurt containers, and juice pitchers can all be repurposed for storage.
For produce, use old mesh bags for onions, paper bags for herbs, and glass jars for keeping carrots fresh in water.
These budget-friendly solutions can help you create a functional and organized dorm kitchen without spending a fortune.
Remember that creativity and patience in finding deals can lead to significant savings while still getting everything you need for a well-equipped kitchen space.
Conclusion
So, what do you think? Ready to make your small dorm kitchen work for you?
I know dorm life comes with its challenges, especially when it comes to cooking. But you’ve got this. With the ideas I explored—from clever storage hacks to compact appliances, you can turn even the tiniest kitchen into a space you’ll love.
Which tip will you try first? Maybe a hanging rack to free up counter space? Or a multi-purpose appliance that saves both time and energy?
Remember, it’s not about having a big kitchen. It’s about making the most of what you have.
You don’t need a gourmet setup to create meals you enjoy. With a little creativity, your dorm kitchen can become a cozy and functional corner of your college life.
Got a favorite hack or idea that worked wonders? I’d love to hear about it. Let’s make dorm cooking as fun and easy as it should be.
Frequently Asked Questions
What Should I Do if There’s a Small Kitchen Fire?
First, never use water on grease fires. Keep a small fire extinguisher rated for kitchen fires in your space. Use baking soda or a pot lid for minor fires or cover the flame.
If unsure, evacuate immediately and call emergency services. Prevention is key – never leave cooking food unattended.
How Do I Maximize Counter Space in a Tiny Kitchen?
Use vertical storage whenever possible. Install removable shelving and hooks. Consider foldable cutting boards and collapsible colanders. Use the back of cabinet doors for storage.
Get a rolling cart that can be tucked away when not in use. Magnetic strips for knives save valuable drawer space.
How Can I Reduce Cooking Odors in My Room?
Open windows when cooking. Use a small portable fan near the window. Cook odorous foods in common kitchen areas when possible.
Keep baking soda nearby to absorb smells. Clean all surfaces immediately after cooking. Consider getting an air purifier.
Where Can I Find the Best Deals on Kitchen Supplies?
Watch for back-to-school sales at major retailers. Check dollar stores for basics. Visit thrift stores for kitchen tools.
Sign up for store apps to receive coupons. Consider splitting the costs of bigger items with roommates. Look for student discounts at home goods stores.
How Can I Stock a Pantry on a Budget?
Buy non-perishable items in bulk when on sale. Focus on versatile ingredients like rice, pasta, and canned goods. Join store loyalty programs.
Shop at discount grocery stores. Consider splitting bulk purchases with friends. Keep a price book to track the best deals.





pin up: pin up casino – pinup az
vavada casino: vavada – vavada вход