I get it, your composite deck probably looked amazing when it was first installed, but now it’s looking a bit tired and grimy.
Weather, foot traffic, and everyday life have taken their toll, and you’re wondering if there’s a way to restore that fresh, clean look without breaking the bank or spending your entire weekend scrubbing.
Here’s the good news: cleaning composite decking is way easier than you might think, and I’m going to walk you through exactly how to do it right.
In this guide, I’ll share the step-by-step process I use to get composite decks looking like new again, plus the common mistakes that can damage your decking (and how to avoid them).
You’ll learn which cleaning products work best, the tools that make the job easier, and how to maintain that fresh look in the long term.
Techniques for Cleaning Composite Decking
This section provides practical methods for cleaning and maintaining composite decking, from basic soap-and-water solutions to specialized cleaning products.
Method 1: Basic Soap Cleaning
Best for: Regular maintenance and light dirt buildup
Mix 2 tablespoons of mild dish soap with 1 gallon of warm water. Apply the solution to small sections of your deck, scrubbing with a soft-bristled brush in the direction of the grain, then rinse immediately with your hose. This gentle method works well for weekly or monthly cleaning and won’t damage your decking material.
Method 2: Vinegar Treatment
Best for: Mold, mildew, and green algae spots
Combine 1 part white vinegar with 3 parts water in a spray bottle. Spray the mixture onto problem areas and let it sit for 10-15 minutes to break down organic stains. Scrub gently with a soft brush, paying particular attention to grooves where mold tends to grow. Rinse thoroughly with water. This natural solution is safe around plants and effective against biological growth.
Method 3: Oxygen Bleach Power Clean
Best for: Stubborn stains and heavy mold buildup
Mix oxygen bleach powder with warm water according to package directions (typically 1 cup per gallon). Apply to your deck with a brush or mop and let sit for 10-15 minutes. Scrub thoroughly to remove tough stains, then rinse well with plenty of water. This stronger method handles deep cleaning jobs while remaining safe for composite materials.
Now that you know your cleaning options, lets walk through Method 1 step-by-step since it's the safest starting point for most decks. This basic approach will handle the majority of cleaning situations without any risk to your composite material.
Basic Soap Cleaning Method of Composite Decking
Here’s your step-by-step guide to getting that composite deck looking fresh again. I’ll walk you through each stage so you can tackle this project with confidence and get great results.
Tools and Materials:
These tools will make your cleaning day go smoothly without any frustrating surprises. Gathering everything beforehand means you won’t have to stop mid-project to hunt for supplies.
| Tool/Material | Purpose |
|---|---|
| Soft-Bristle Brush | Scrubbing without damaging the surface |
| Broom | Sweeping away debris |
| Bucket | Mixing and holding cleaning solution |
| Garden Hose | Rinsing the deck |
| Mild Dish Soap | General cleaning solution |
| Deck Cleaner | Specialized cleaner for composite decks |
| Oxygen Bleach/Vinegar | For stubborn mold and stains |
| Mop | To remove dirty water for a cleaner finish |
| Deck Sealer (Optional) | For protection after cleaning |
Step 1: Clear and Prepare Your Workspace
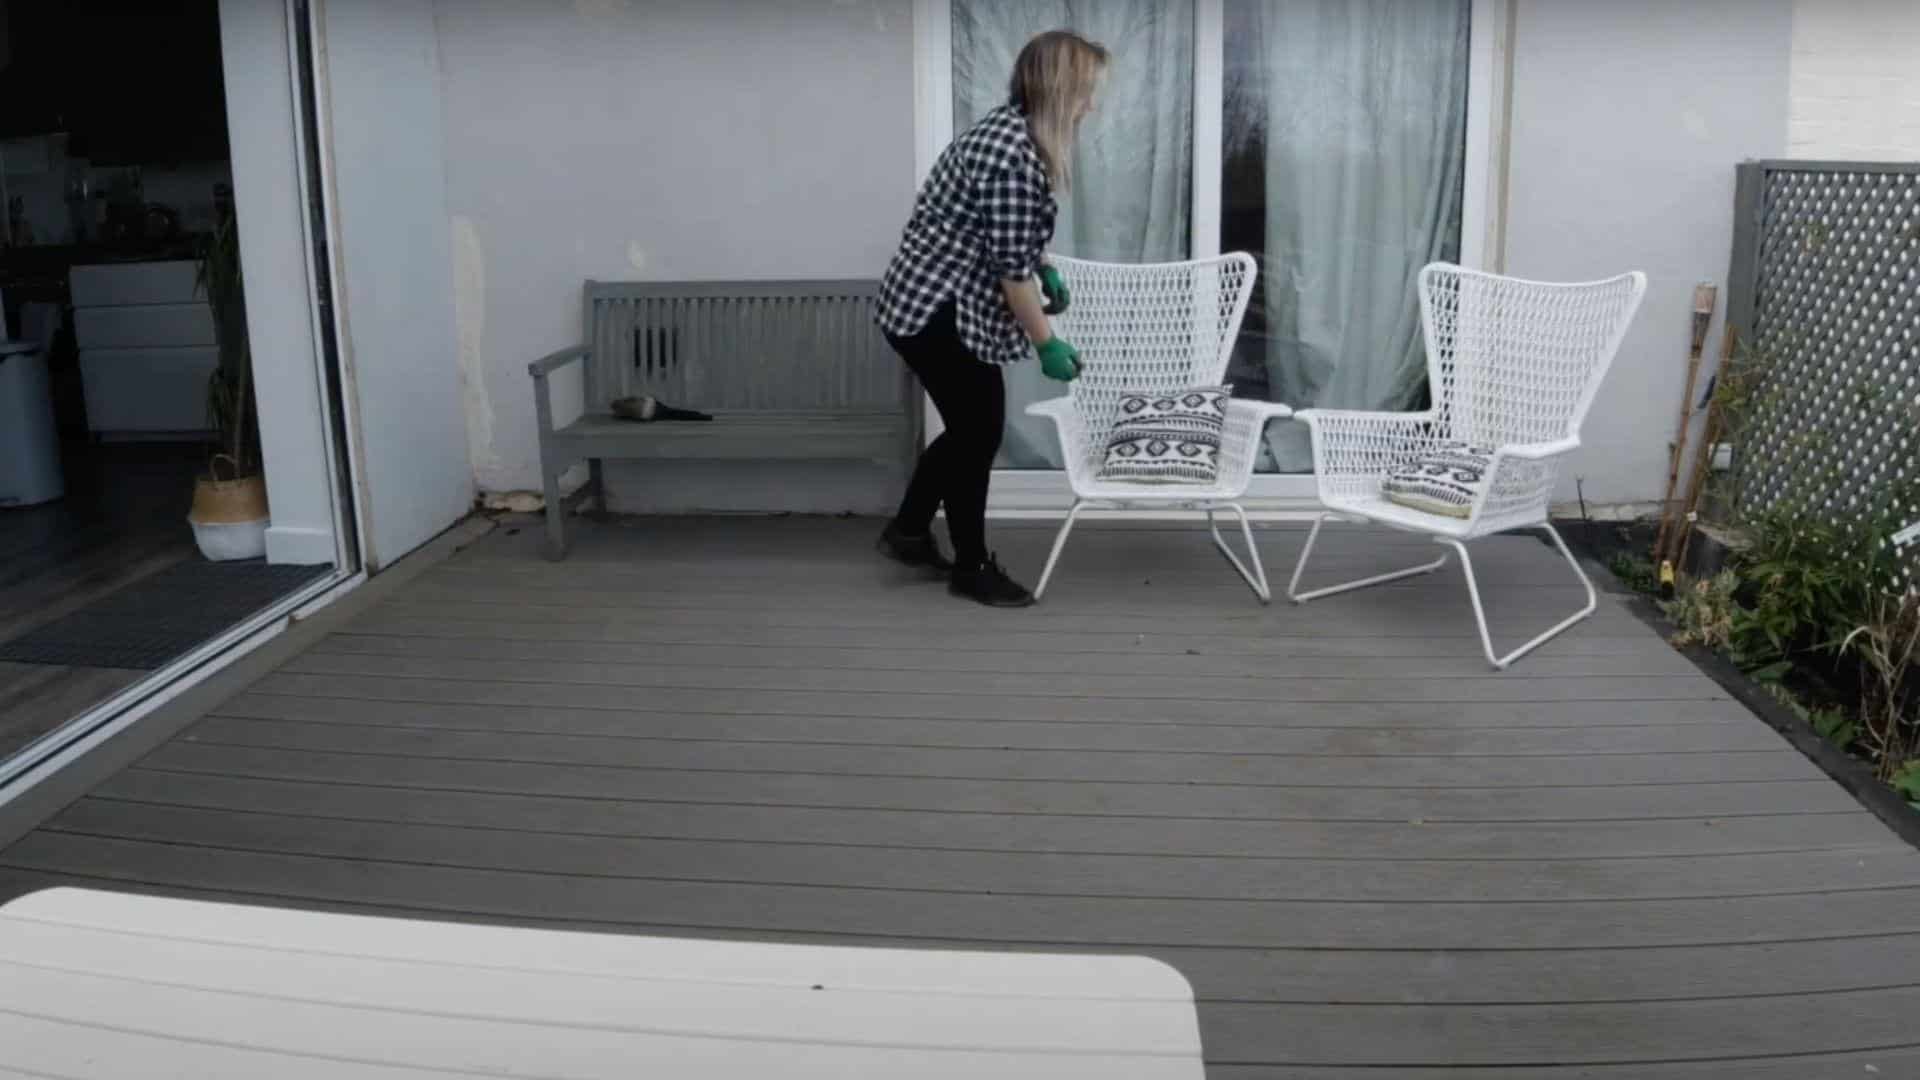
Getting your deck ready for cleaning is half the battle. A good prep job makes everything else go smoother and saves you time later.
- Move all furniture, grills, planters, and decorations off the deck.
- Check for loose boards or damaged areas that need attention.
- Cover nearby plants with a plastic sheet.
- Ensure good access to water and drainage.
Pro Tip: Take photos before moving furniture so you remember the exact placement. Work on cloudy days to prevent cleaning solutions from drying too quickly in direct sunlight.
Step 2: Remove Surface Debris
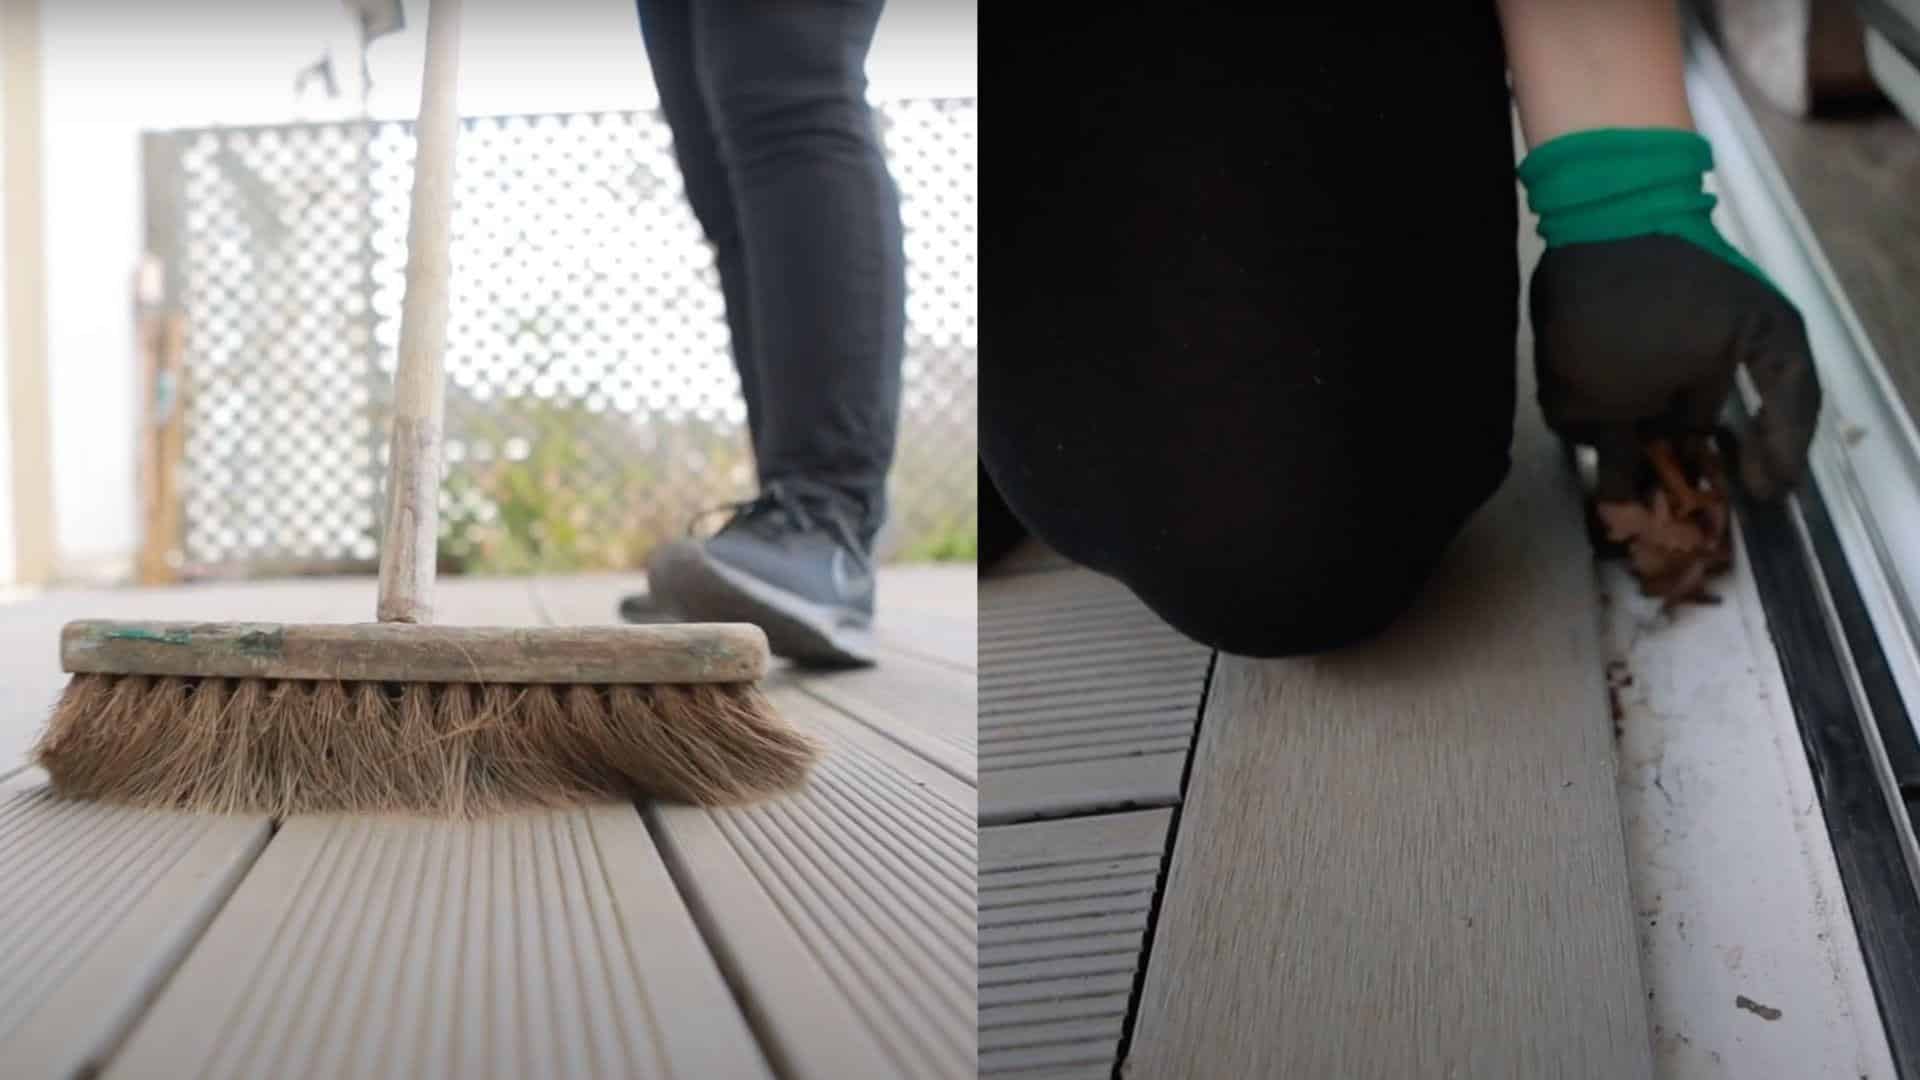
Time to get rid of all the stuff that’s been collecting on your deck over the months. This step prevents scratches during the actual cleaning process.
- Sweep thoroughly with a stiff broom to remove leaves and dirt.
- Use a leaf blower for stubborn debris stuck in grooves.
- Clear out weeds growing between the boards.
- Pre-rinse the entire surface with your garden hose.
- Focus on corners and railings where grime tends to accumulate.
Pro Tip: Sweep in the direction of the board grain, not against it. Use a putty knife to gently remove stuck debris from grooves without scratching the surface.
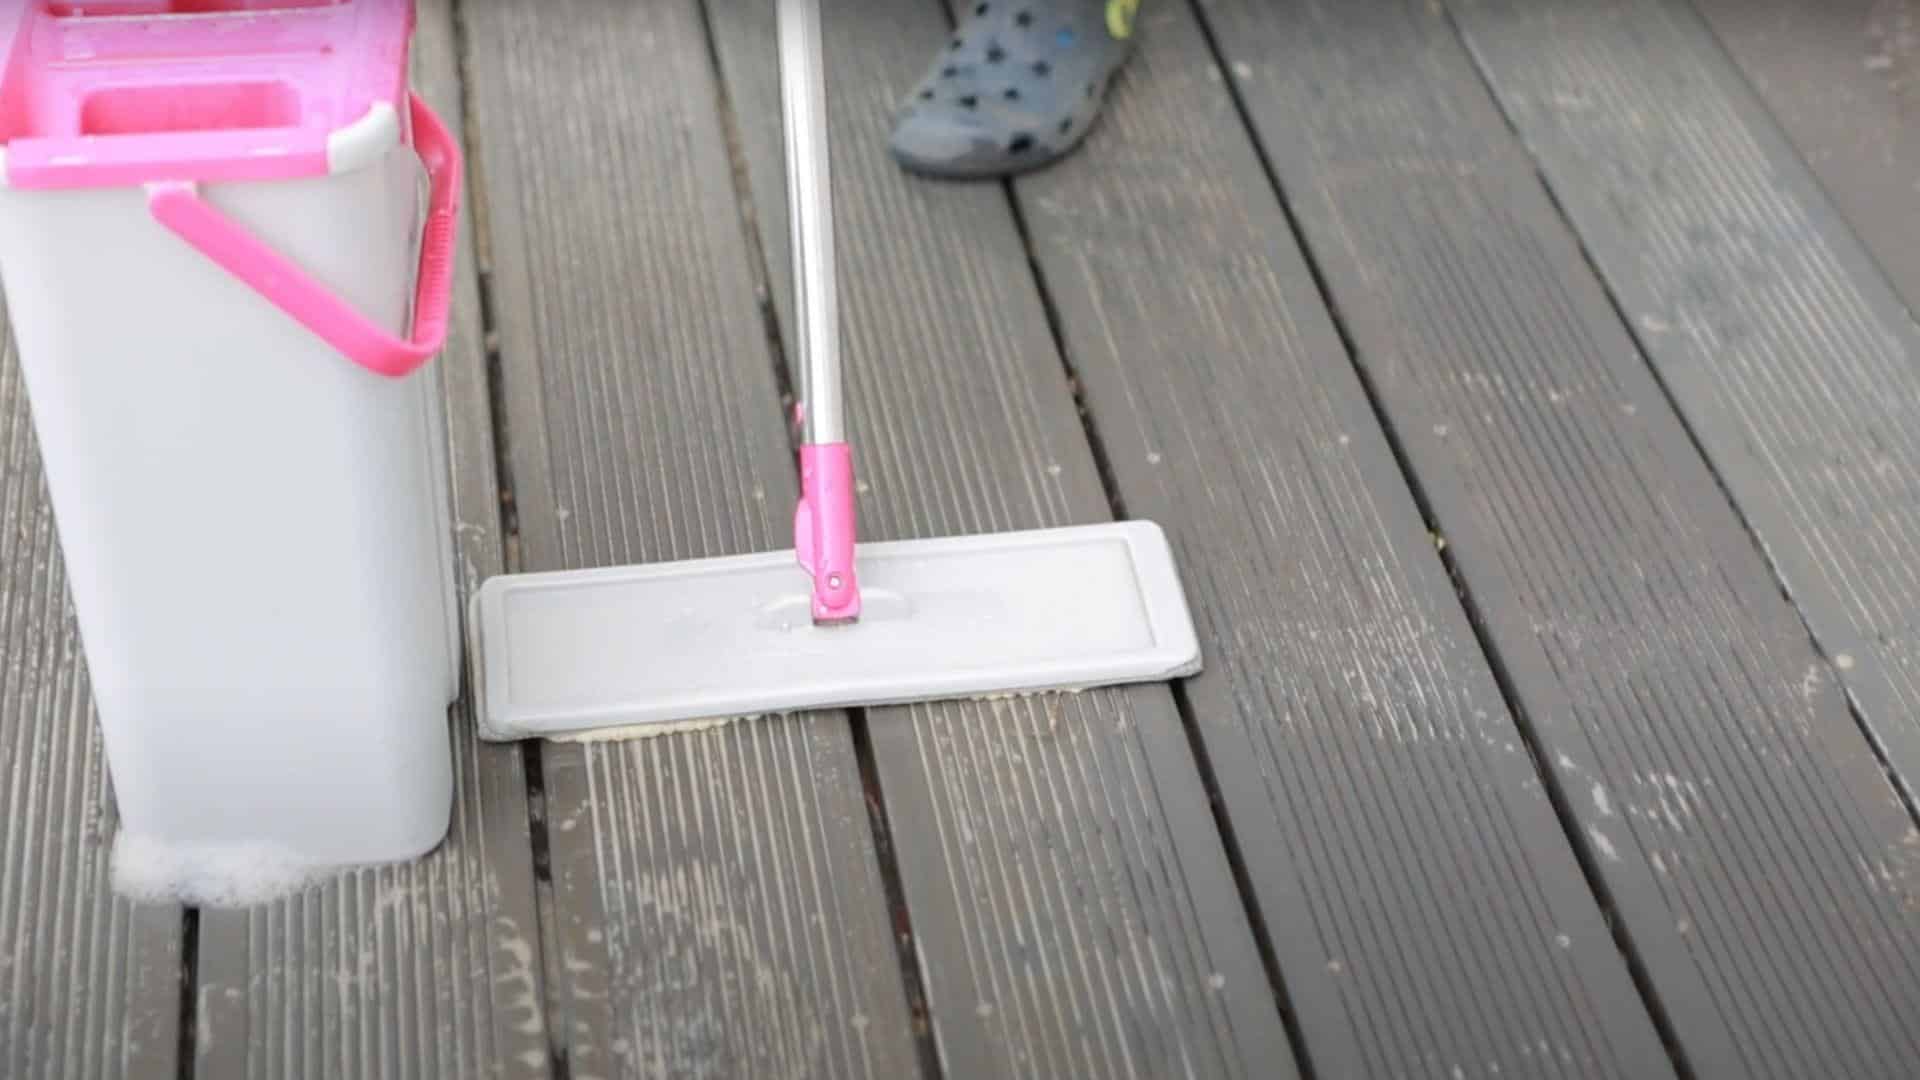
Step 3: Apply Your Cleaning Solution
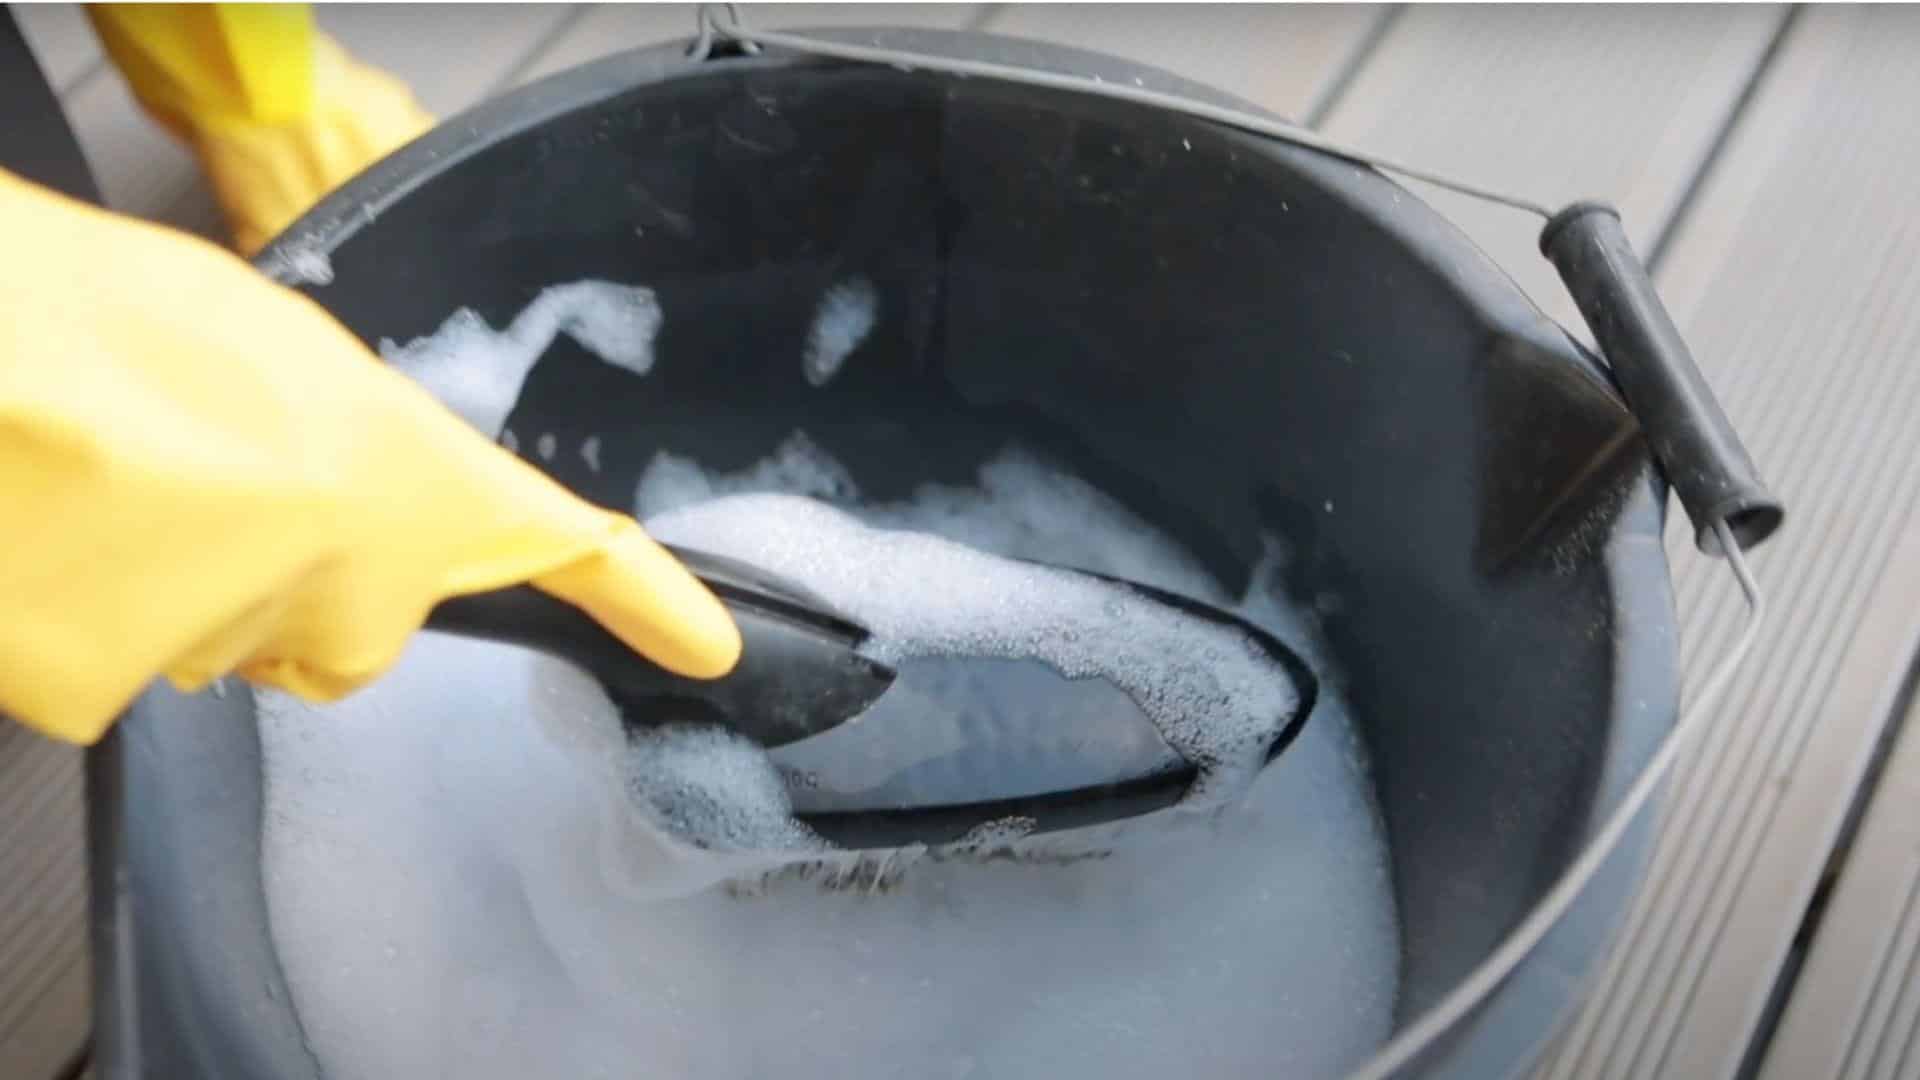
Now we get to the actual cleaning part. Work in manageable sections so the cleaner doesn’t dry out before you have a chance to scrub it properly.
- Mix warm water with mild dish soap in a bucket (2 tablespoons per gallon).
- Start at one end and work across in 4-foot sections.
- Apply solution generously with a mop or a large sponge.
- Let it sit for 5-10 minutes to allow the grime to break down.
Pro Tip: Start with the furthest corner and work toward your water source. Keep a spray bottle handy to re-wet areas that dry too quickly.
Step 4: Scrub the Surface Clean
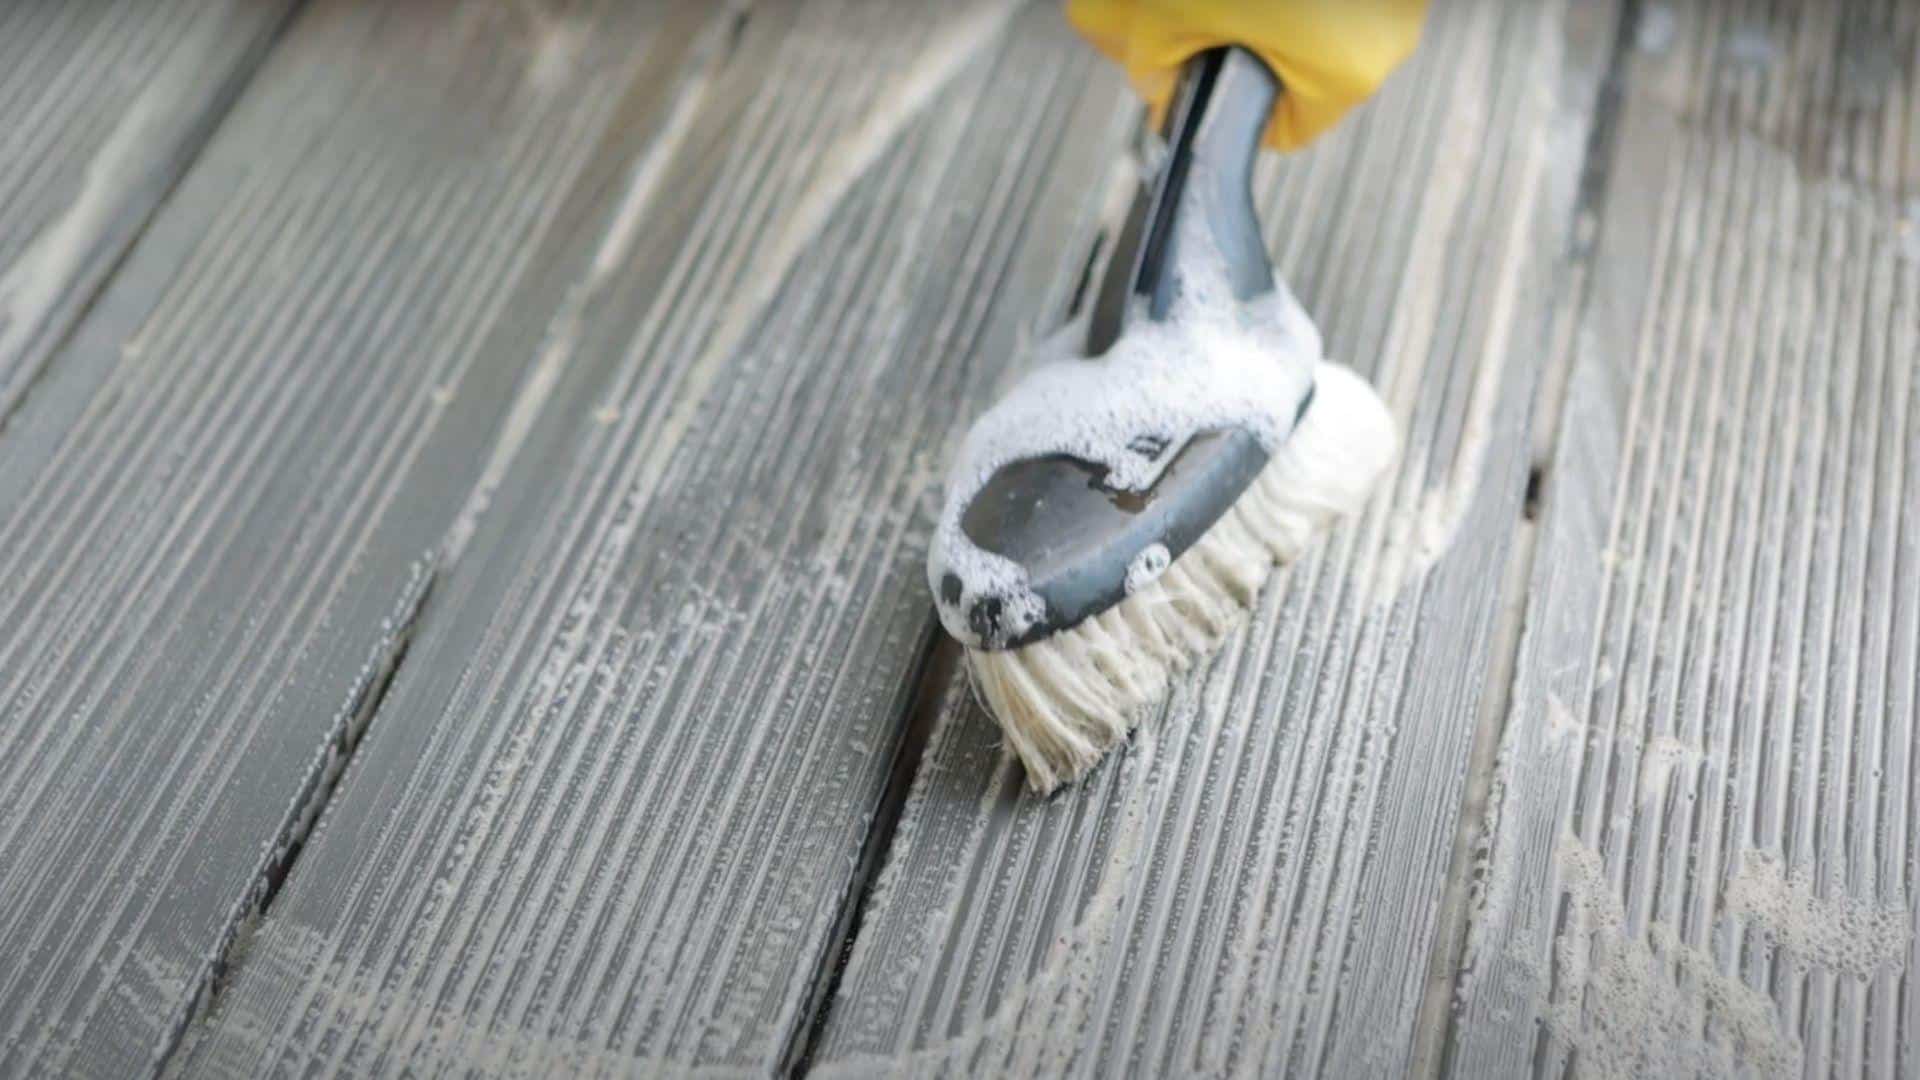
This is where you’ll see the real difference happening. The key is to work with the grain direction, not against it, to avoid surface damage.
- Use a soft-bristle brush or deck brush for scrubbing.
- Work along the length of boards, not across them.
- Apply steady pressure without overdoing it.
- Focus extra attention on high-traffic areas.
- Rinse each section immediately after scrubbing.
Pro Tip: Use a long-handled brush to save your back from constant bending. Dip the brush in clean water periodically to prevent spreading dirt around.
Step 5: Handle Tough Stains and Spots
Some stains need special treatment beyond basic soap and water. Here’s how to deal with the most common problem areas you’ll likely encounter.
- For mold and mildew: Mix equal parts white vinegar and water, apply, and scrub gently.
- For grease stains: Apply dish soap directly, let sit 15 minutes, then scrub.
- For rust marks: use a composite deck cleaner specifically designed for removing metal stains.
- For leaf stains: Try oxygen bleach and water solution (follow package directions).
Pro Tip: Test any cleaning solution on a hidden area first to check for discoloration. Always work from the outside of stains inward to prevent spreading.
Step 6: Final Rinse and Dry

The last step is just as important as the first one. A thorough rinse prevents soap residue from attracting more dirt and undoing your hard work.
- Rinse the entire deck with clean water, working from high to low.
- Make sure all soap and cleaning solution is completely gone.
- Use a squeegee or push broom to help water flow toward the drainage.
- Allow 24-48 hours for complete drying before replacing furniture.
- Check for missed spots once everything is dry.
Pro Tip: Rinse in the same direction as the board grain for best results. Schedule cleaning before a few sunny days to speed up the drying process naturally.
Video Tutorial
I would like to give credit to Georgina Bisby DIY for their informative video, which served as a valuable reference for this guide.
How to Protect Your Deck After Cleaning
Protecting your deck after cleaning is crucial to maintaining its appearance and preventing weather damage. Follow these simple steps to ensure your deck stays in excellent condition for years to come.
1. Immediate Steps After Cleaning
Allow your deck to dry completely for 24-48 hours before applying any treatments. Check that the wood feels dry to the touch and avoid working during humid weather conditions.
While waiting, inspect the entire deck for loose boards, protruding nails, or rough splinters that need attention. Sand down any rough areas and replace damaged boards to ensure a smooth, safe surface.
Proper preparation sets the foundation for long-lasting protection.
2. Protection Methods
Staining provides excellent protection and should be applied within 48 hours of cleaning. Semi-transparent or solid stains offer the best protection against weather damage. Apply the stain evenly using a brush or roller, working in manageable sections.
Sealing works well if you prefer to maintain the natural wood appearance. Clear wood sealers protect against moisture while allowing the wood grain to show through.
Waterproofing products offer specialized protection for deck surfaces. These treatments work particularly well on horizontal surfaces and joints where water tends to collect.
Choose the right protection method based on your deck’s wood type and desired appearance.
3. Maintenance Schedule
Check your deck monthly by removing leaves and debris that can trap moisture. Look for areas where water pools and address drainage problems promptly.
Every season, inspect all railings and structural components for stability. Clean away surface dirt and stains as they appear, and trim back any vegetation growing too close to the deck structure.
Plan for annual deep cleaning and reapplication of protective coatings. This is also the perfect time to tighten loose hardware and replace any worn boards or railing sections.
Regular maintenance prevents costly repairs and extends your deck’s lifespan.
4. Weather Considerations
Apply all treatments during dry weather when no rain is expected for at least 48 hours. Avoid working in extreme temperatures below 50°F or above 90°F, as these conditions can affect how well the products cure.
Work in shaded areas when possible to prevent treatments from drying too quickly and creating uneven coverage.
Timing your protection work with the right weather conditions ensures maximum effectiveness.
Conclusion
Cleaning composite decking doesn’t have to be complicated or expensive. With basic soap and water, you can restore your deck’s original appearance and keep it looking great for years to come. The key is consistency – regular maintenance prevents buildup, making deep cleaning unnecessary.
Remember to always work with the grain, test cleaning solutions first, and give your deck time to dry completely. These simple steps protect your investment and ensure your outdoor space stays welcoming for family and friends.
Ready to get started? Grab your supplies this weekend and see the difference a proper cleaning makes. Your refreshed deck will be the perfect backdrop for summer gatherings, morning coffee, or quiet evening relaxation. Have you tried any of these cleaning methods before? Share your results in the comments below.
Frequently Asked Questions
Can You Use Dawn Dish Soap to Clean Composite Decking?
Yes, Dawn dish soap works great for composite decking. Mix 2 tablespoons per gallon of warm water for safe, effective cleaning.
What Gets Algae Off Composite Decking?
White vinegar mixed with water is an effective way to remove algae. For stubborn buildup, oxygen bleach solutions also work well on composite materials.
Is Oxi Clean Good for Cleaning Composite Decks?
Yes, OxiClean is safe for composite decks and effectively removes tough stains. Always test on a small area first before applying it full-scale.