Are you tired of looking at your boring, unused yard?
I was, too, until I realized the power of hardscaping. When properly installed, pavers, retaining walls, and patios can change your outdoor space from wasted land into a functional, beautiful extension of your home.
I know what you’re thinking: hardscaping looks complicated and expensive. That’s what I thought, too. But with the right approach, tools, and knowledge, anyone can create professional-quality hardscaping that lasts for years.
Want to know how to make your outdoor oasis without breaking the bank?
In this guide, I’ll walk you through each step of a successful hardscape installation. From proper base preparation to the final touches, you’ll learn exactly how to build outdoor spaces that will make your neighbors stop and stare.
What Is Hardscape?
Hardscape refers to all the non-living, permanent elements in your outdoor space that provide structure, function, and design value.
Unlike softscape (which includes plants, trees, grass, and other living components), hardscape features are built with durable materials like stone, concrete, wood, and brick. These solid elements form the foundation and framework of your landscape, creating defined spaces where you can enjoy outdoor living.
Why Hardscape Matters for Your Outdoor Space?
Hardscape improves outdoor spaces by adding structure and usability, reducing maintenance, boosting property value, and improving drainage to prevent erosion.
- Adds Structure and Usability: Hardscape elements create functional areas for walking, dining, and relaxing that would be impossible with plants alone.
- Reduces Maintenance: Once installed, hardscape features require minimal upkeep compared to plants that need constant watering, pruning, and care.
- Enhances Property Value: Well-designed hardscape can significantly boost your home’s curb appeal and market value.
- Improves Drainage and Prevents Erosion: Features like retaining walls and proper grading help manage water flow and protect your property.
Step-by-Step Process for Hardscape Installation
Hardscape enriches outdoor spaces by adding structure, reducing maintenance, boosting property value, and improving drainage.
Tools Required:
| Tool | Purpose |
|---|---|
| Patent-pending adjustable sleeves with red markers | For precise height control and screed guide alignment |
| String lines | Used to establish straight lines and elevation references across the site |
| Level | Ensures that surfaces and edges are perfectly horizontal |
| Square bars with catchable ends | Serve as screed rails; their shape prevents slipping and improves stability. |
| Screed beams (14-foot beams) | Used to level out sand or gravel by sliding across the guide rails |
| Carpenter square | Maintains 90° angles at corners and layout points |
| Compactor | Compresses base materials to create a stable and even surface |
Materials Required:
- Sand base material- Provides a smooth, adjustable bedding layer for final leveling
- Gravel base- Acts as the foundational layer, offering drainage and structural support
Step 1: Installing the Adjustable Sleeve System
Install the patent-pending sleeve system at your project corners, with the red part facing down. Adjust each sleeve to your desired height using the first pin (the example shown is 5 inches above grade).
Use a level to ensure each sleeve is horizontal and tighten the collar to lock the elevation. This system enables a one-person operation, eliminating the need for multiple workers.
Once all sleeves are positioned, connect them by running string lines through the top groove of each sleeve. Secure by wrapping the string once around each sleeve. Measure down from the string to verify all elevations match your planned depth. The sleeve system eliminates constant remeasuring during installation.
Pro Tip: For larger projects, leave an opening in the middle of your string layout to allow machines to bring in base materials without disturbing your measurement points.
Step 2: Prepare the Base

After positioning your sleeves and connecting them with string lines, compact the soil thoroughly to create a solid foundation. The sleeve system lets you use the different grooves as built-in guides for all elevation checks without needing a tape measure.
This ensures consistent measurements regardless of worker experience. The middle groove on each sleeve marks where your gravel base should reach.
Add gravel and level it slightly below the collar height, leaving 1-1.5 inches for your sand base. Use the string lines to check for proper drainage slope. Before proceeding, inspect the entire gravel surface and fix any high or low spots.
Pro Tip: Check the entire gravel surface for high or low spots before moving forward. A flat, even base now means fewer problems later in the project.
Step 3: Create the Sand Base
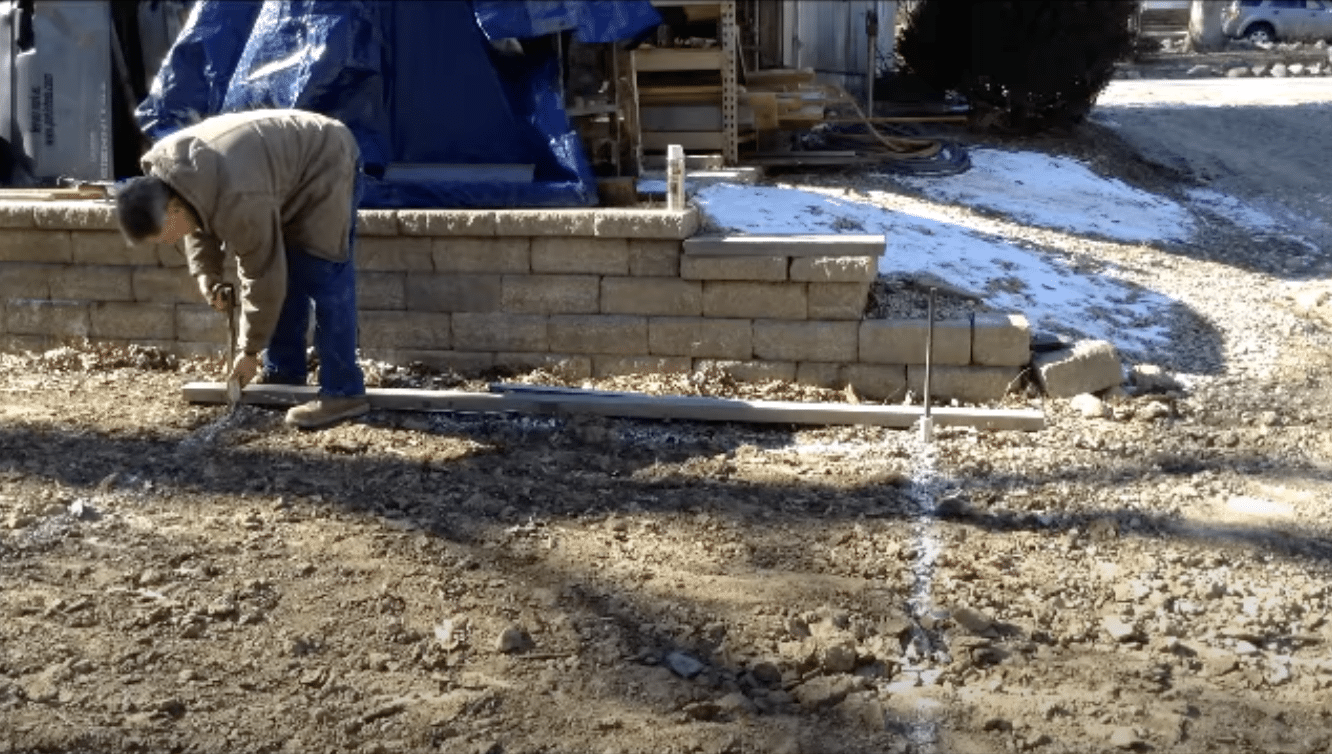
Move your string line from the top groove to the middle groove of the sleeves, which marks the top of your sand layer. Use custom square bars with catchable ends instead of round bars that sink in sand.
These square bars provide stability and can be extended with additional pieces that automatically level with each other. Position these bars at the exact height of your string line to serve as rails for screening.
Place the bars parallel to each other at a distance your screed beam can span. After positioning, place a long screed beam across them to check for any “bellies” in the middle.
Pro Tip: If working in cold weather and your sand is frozen or chunky, break it up before screeding to ensure a smooth, even base.
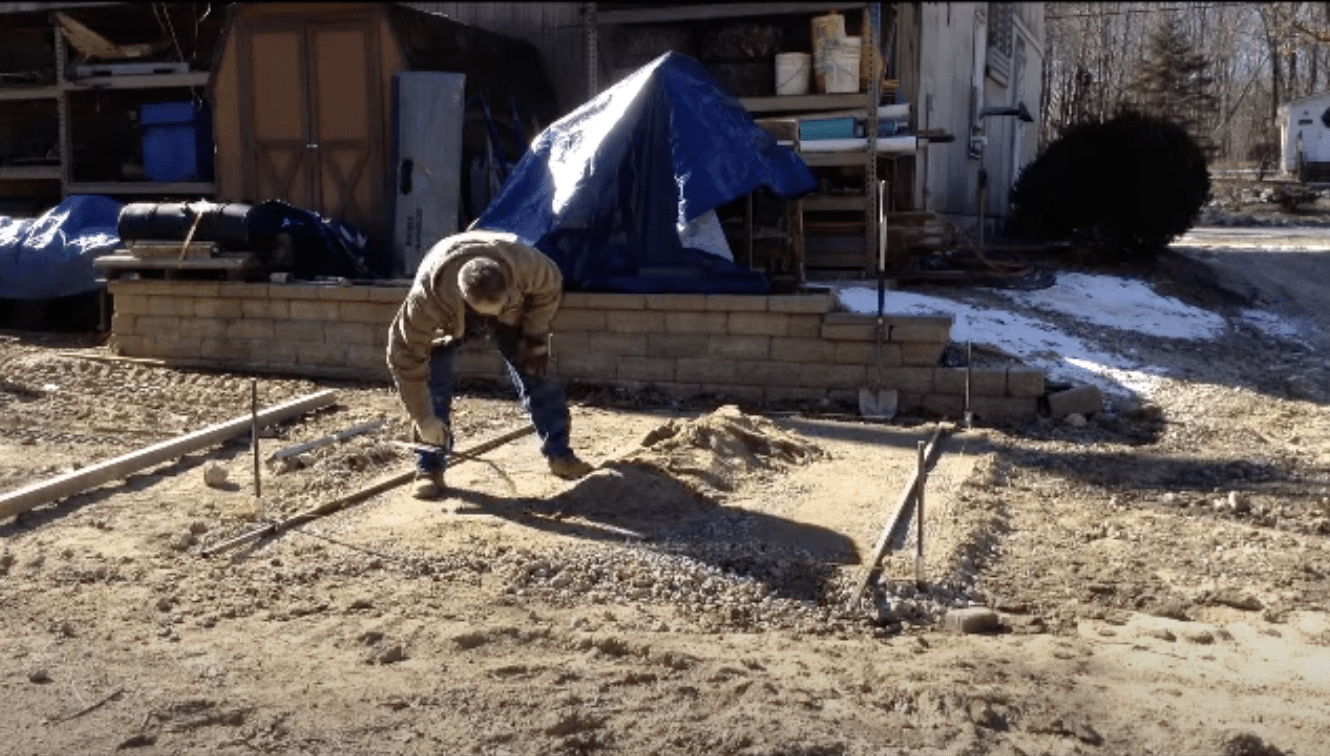
Step 4: Spread the Sand
With square bars properly positioned at the correct height, place your screed beam across them and pull it across the sand with consistent pressure. This creates a level surface for your pavers. Move methodically from one end to the other, adding sand to fill low spots.
Make multiple passes if needed to ensure the sand is evenly distributed. Watch for any ridges or valleys that form as you pull and adjust accordingly.
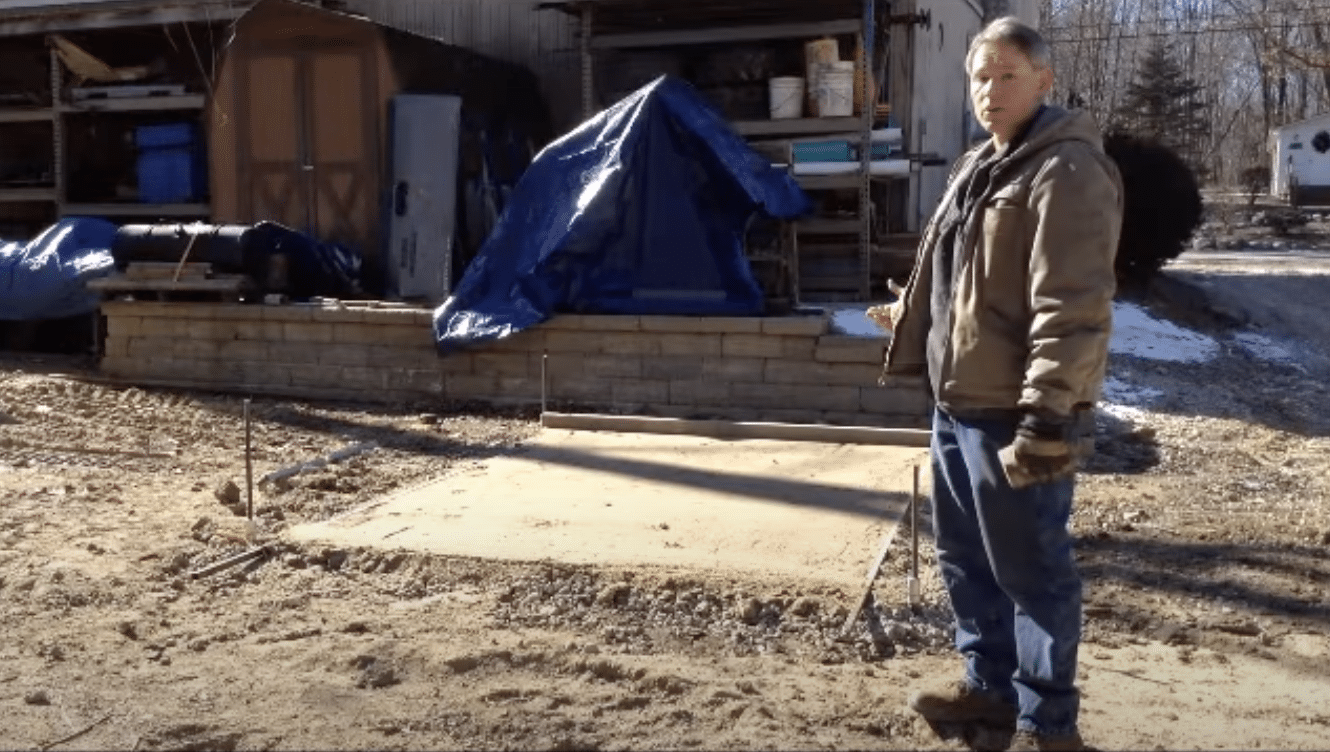
After completing the screeding, you would normally remove the sleeves, but for demonstration purposes, they were left in place to show how the final elevation relates to the initial setup.
Pro Tip: When screeding, pull with steady, consistent pressure. Avoid pushing the sand as this creates uneven areas that will affect the final surface.
Step 5: Set Up for Paver Placement
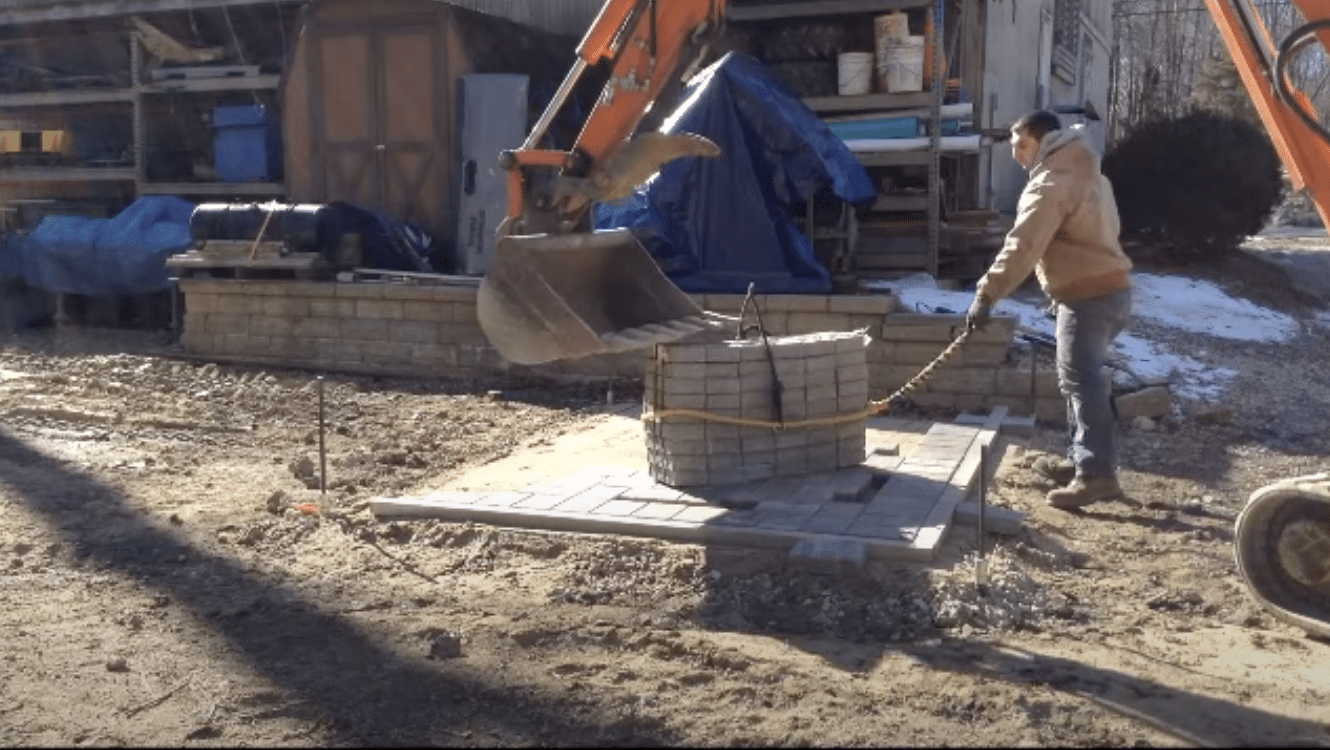
After leveling the sand, repurpose your screed beams to create a layout guide for pavers. Using a carpenter square, create a giant square with your 14-foot beams to ensure perfect 90-degree corners.
Once verified, lock the beams in place by positioning pavers on either side. This creates a fixed guide that won’t shift during installation. For areas beyond beam reach, extend your guide using string lines.
This setup provides a reliable reference for laying pavers in straight, even rows and ensures your pattern stays aligned throughout the entire project.
Pro Tip: Double-check your square measurements before laying pavers. A small alignment error at the start will grow larger across the project area.
Step 6: Install and Compact Pavers
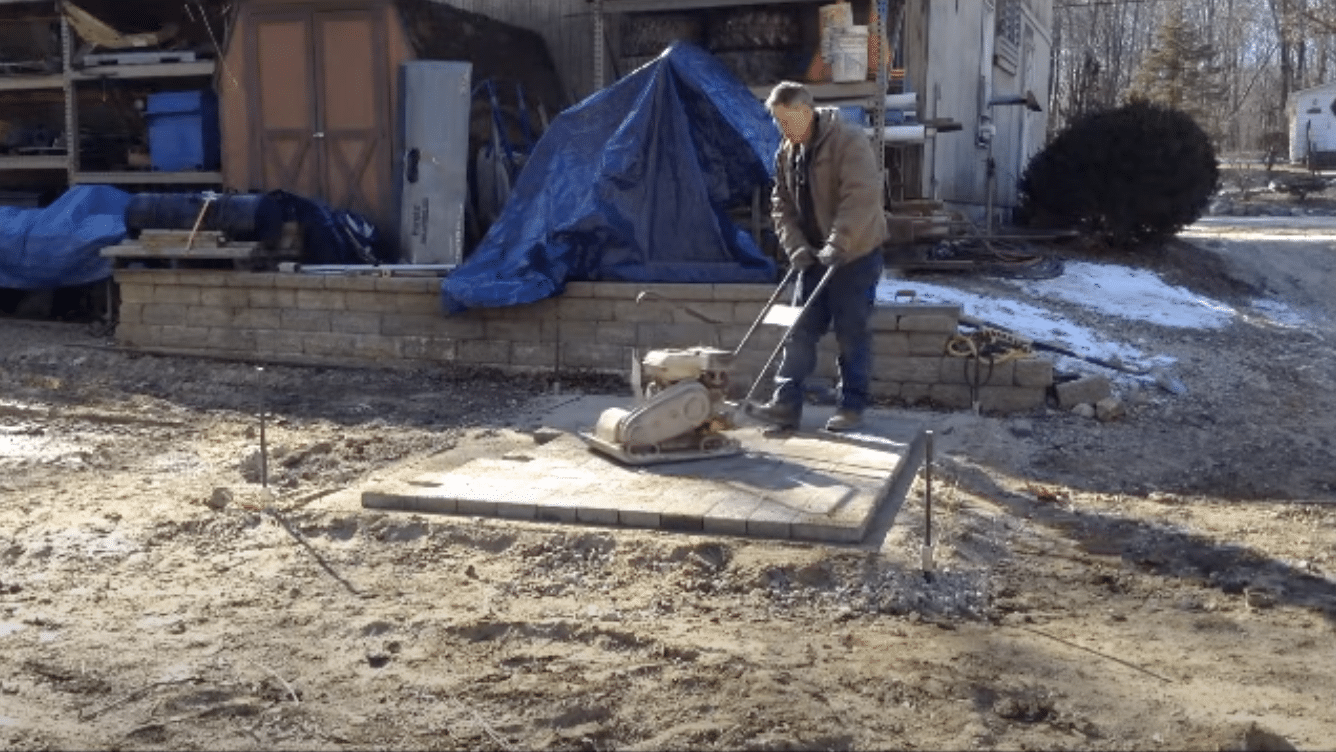
With your square layout guide in place, begin placing pavers along the beam edges, working outward in a consistent pattern. If needed, use spacers to maintain uniform joints between pavers.
Work from a corner outward, kneeling on already-placed pavers to avoid disturbing the sand. After all pavers are in place and necessary cuts made, prepare for compaction. For permanent installations (unlike the demonstration), install edge restraints before compaction to prevent shifting.
Use a plate compactor to settle pavers into the sand base in multiple directions across the entire surface. Afterward, check that everything remains level with your initial height markers.
Pro Tip: After compaction, check that all pavers remain level with your initial height markers. Place a beam across the surface to verify the final result matches your planned elevation.
Special thanks to Bob M for providing valuable insights in their video, which I referenced while creating this guide.
Common Pitfalls and How to Avoid Them
Avoid these foundational mistakes to ensure your hardscape is structurally sound, durable, and visually flawless from the ground up.
1. Inadequate Base Preparation
Mistake: Skipping proper excavation or using insufficient base material depth.
Solution: Dig to a minimum depth of 6-8 inches (deeper for driveways). Add base material in 2-inch layers, compacting each layer thoroughly with a plate compactor before adding the next.
2. Poor Compaction
Mistake: Failing to compact each layer of the base properly, leading to settling and uneven surfaces.
Solution: Compact each layer of base material separately using a plate compactor. Make multiple passes in different directions to ensure uniform compaction. The base should feel solid with minimal give when walked on.
3. Improper Slope for Drainage
Mistake: Creating a perfectly level hardscape that causes water pooling.
Solution: To allow water runoff, incorporate a slight slope (about 2%) away from buildings. Use a level with slope indicators or string lines to maintain consistent drainage throughout the project.
4. Missing or Weak Edge Restraints
Mistake: Omitting edge restraints or installing them improperly, allowing pavers to shift and spread.
Solution: Install high-quality edge restraints securely against the pavers. Place spikes every 12-18 inches and ensure the restraint sits on compacted base material, not on bedding sand. Backfill and compact soil against the restraint for additional stability.
5. Incorrect Sand Bedding
Mistake: Using the wrong type of sand or an uneven sand layer for bedding.
Solution: Use concrete sand (not play sand) at a uniform 1-inch thickness. Screed the sand carefully and avoid walking on it before laying pavers. Never fill low spots in the base with extra sand.
Your DIY vs. Hiring a Pro: What to Consider?
Before laying the first paver, it’s essential to decide whether to do it yourself or hire a professional. Each option has unique benefits and trade-offs.
| Factor | DIY Hardscaping | Hiring a Professional |
|---|---|---|
| Cost | Saves 40–60% on labor costs | Higher upfront costs due to labor charges |
| Satisfaction | Pride in building something yourself | Less hands-on involvement in daily progress |
| Time Commitment | It can take weeks or months of weekends | Faster completion by a skilled crew |
| Skill Level Needed | Requires research and hands-on learning | Professionals bring years of experience and training |
| Equipment Access | May need to rent tools (compactor, saws, etc.) | Already equipped with the right machinery |
| Project Quality Risk | Mistakes can cause uneven settling or drainage problems | Better long-term durability and structural integrity |
| Permit & Code Handling | Must learn and apply for permits yourself | Pros typically handle permits and follow local codes |
| Scheduling | You work on your own time | May have to wait for contractor availability |
Whether you choose to DIY for the satisfaction and savings or hire a pro for speed and precision, the key is to align your choice with your timeline, budget, and comfort level so your hardscape stands strong for years to come.
Conclusion
Altering your outdoor space through hardscaping isn’t just about adding pavers and walls; it’s about creating lasting value that pays dividends for years to come.
Remember, every successful hardscape project starts with patience and attention to detail. Whether you tackle this as a weekend warrior or entrust it to seasoned professionals, the principles remain the same: solid preparation, quality materials, and methodical execution.
Your yard has been waiting for this change. With these proven methods in hand, you’re equipped to build outdoor spaces that will serve your family for generations while adding substantial value to your home.
Please share your project plans in the comments below or browse our other guides on outdoor living spaces to continue building your dream landscape.
Frequently Asked Questions
How Long Does It Take to Hardscape?
Small hardscape projects, such as a simple patio, typically take 2-5 days to professionally install. Larger projects with multiple features can take 2-4 weeks, depending on size, complexity, and weather conditions.
How to Hardscape on A Budget?
To hardscape on a budget, use affordable materials like gravel or concrete pavers instead of natural stone.
Is Hardscape Cheaper than Concrete?
No, hardscape isn’t cheaper than concrete because concrete is actually one type of hardscape material.